

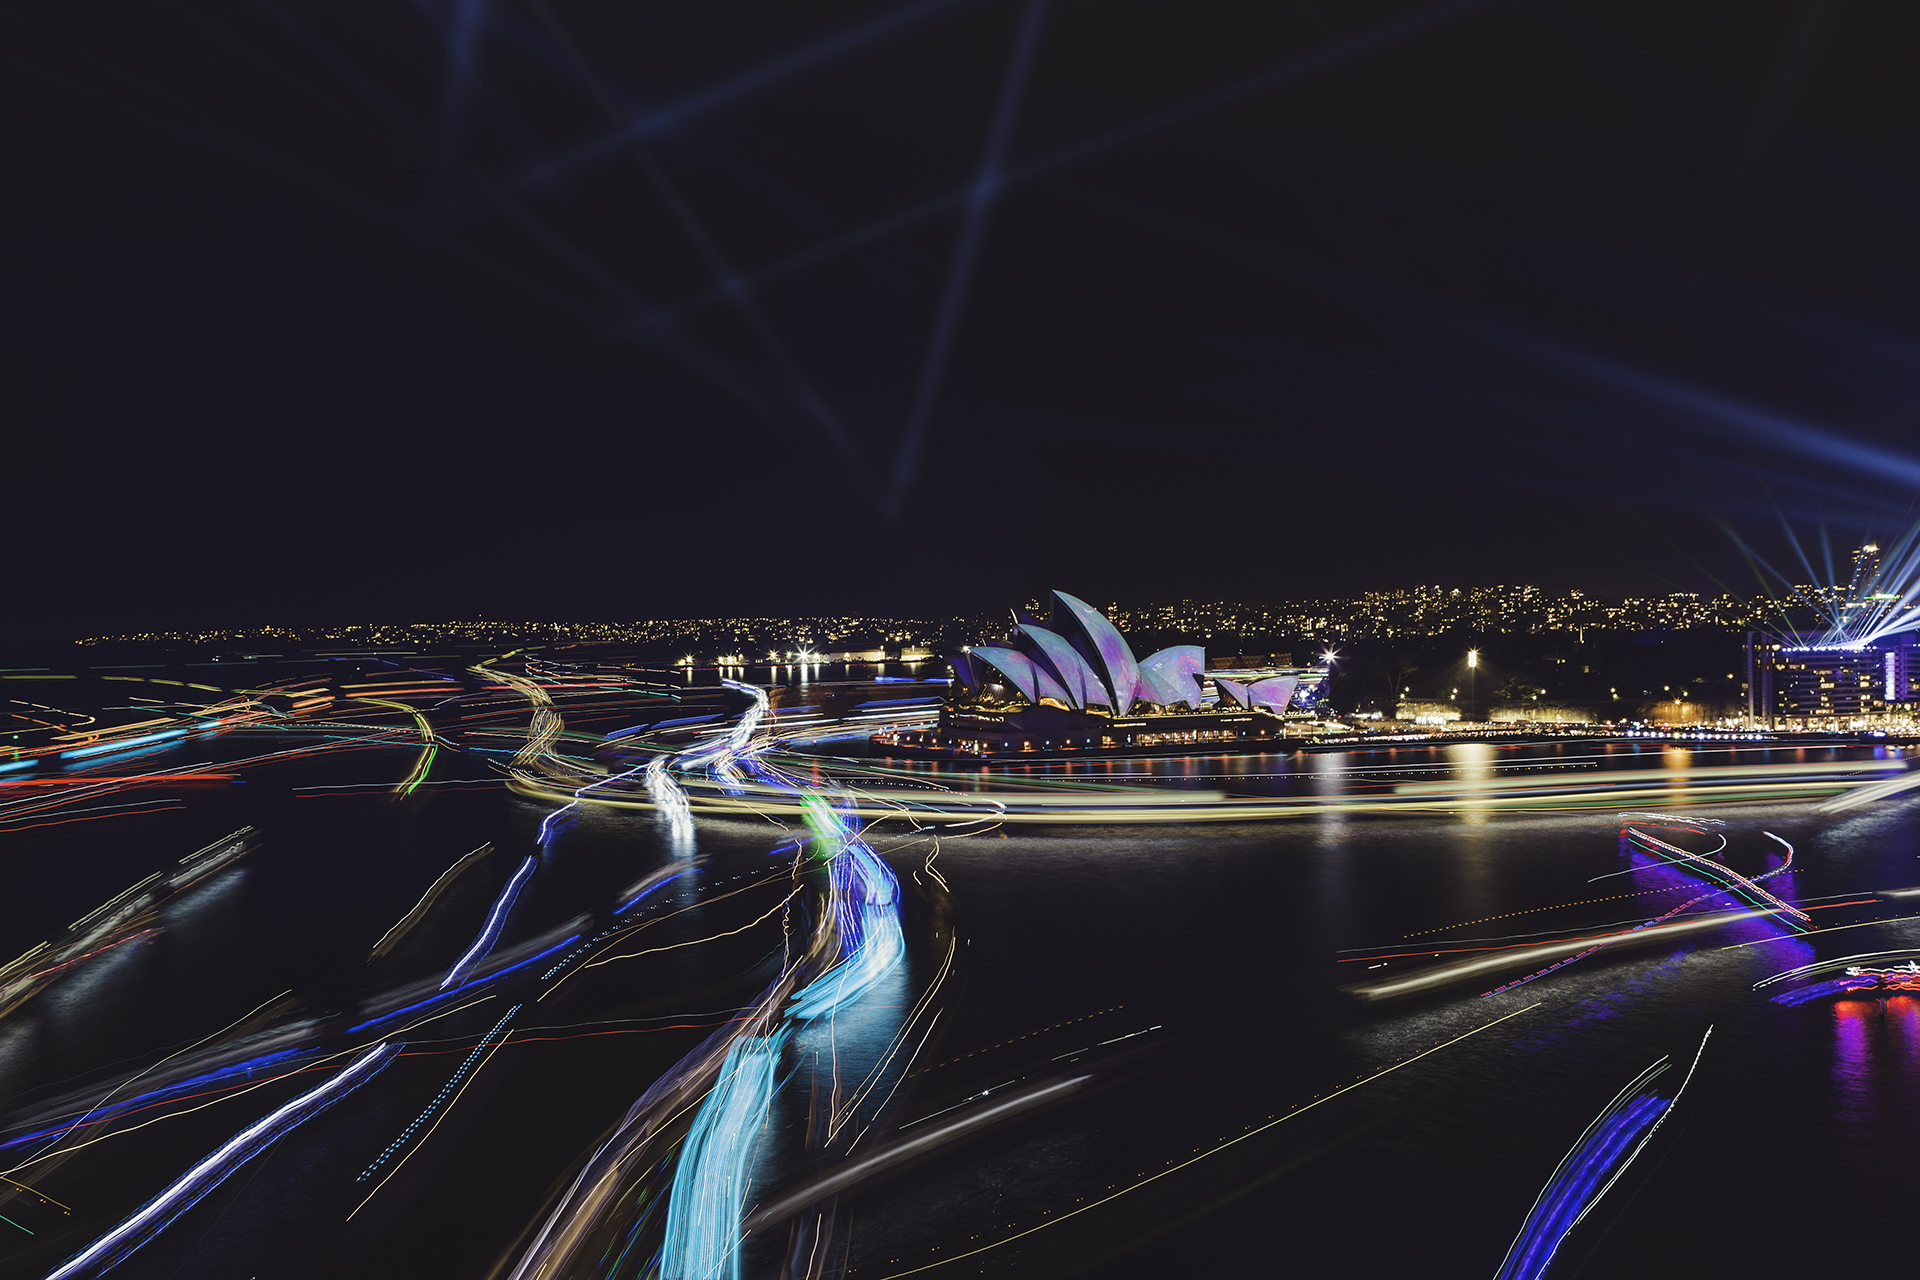
2019 Vivid Light Festival - Image by Isaac Vorrieter
Night Photography - 5 Best Tips
Ever wanted to blend a series of your best night shots but was not sure of the process. It actually is much more simple than you think. It’s all about location, planning and great composition. Vivid light festival was the perfect venue to practice this effect.
Below are 5 easy steps to get your creative juices excited about night photography. The ideas are endless and the ambience at night is other worldly. As seen in the images above and below, I assisted my customers in editing these shots with the same 5 step process. 5
2019 Vivid Festival - Image by Maggie Hong
1. Make a Series
Goes without saying a tripod will be an essential tool. All your images need to stay in one position. Choose a tripod that is sturdy and has at least eye level height. There might be some locations that need to be higher than chest height because of railings, walls or fences.
Tripods that don’t move too much with wind or ground movement will be advantageous as well. Once you have locked down on your ideal composition make sure there is a lot of movement in the scene.
The image above was done with 10 photos. Each photo at 30 seconds, F11 on ISO 100. Every location will require some minor tweaking with one or more of the three base settings. When you scroll through your images to check the review make sure you have not moved your camera even a millimetre.
You can try different types of movement such as car trail lights in a busy location. Back red lights are always easier to work with than front white lights which appear blown out. If you wish to darken the road then a simple ramp up of F16-22 will work well.
If you have a 3 - 6 stop filter and cable release you can also increase your exposure time in bulb mode. Bulb mode allows you to shoot longer than 30 seconds. try up to 1 minute with a series of 5 - 10 shots. My favourite angle if accessible is from up high looking down on traffic.

Ueno, Tokyo

Adobe Lightroom - Open As Layers
2. Open As Layers
Once you have edited and chosen your best series of photos from the exact location, simply open them up as layers. I tend to use Adobe Lightroom first for all my editing and then I simply right click to open as layers in photoshop. It is important that whatever edits you do for your series that cropping is uniform for all of them.

Align all Layers in Photoshop
3. Align Layers
Simply select all layers and click edit > Auto Align Layers. If the layers seem to have skewed or moved a bit, you can fix this at the end process. You can either crop or use the content aware tool to add in missing sections of the photo.

Lighten Blend Mode in Photoshop
4. Lighten Blend Mode

Blend Mode - Click Lighten Option
Underneath Normal you will have multiple options for blend mode. Once you scroll over and then click the Lighten option you will immediately see all layers blending into one fabulous shot. Make sure all your layers are selected.
5. Flatten All layers
For the last and final step, flatten all layers to decrease your file size. As seen in the screen shot below, make sure to still have all your layers selected. Click on layers and at the bottom of the sub menu you will find the option to flatten all layers.

Ueno, Tokyo