Why Understanding Light is Paramount
Without light there is darkness. This article is just about using sun or moon light (no artificial light). Also known as ambient light it may light environments indoors or outdoors, undercover or in darker areas outside. This article does not involve any use of camera flash, it’s purely about the best free resource we have above us everyday. All types of camera users welcome.

Avoid the Mozzies
4 CHARACTERISTICS OF NATURAL LIGHT
Before you learn about the different types of light you first need to understand the characteristics within which sometimes gets confused as a type of light.
1. COLOUR TEMPERATURE
As the day progresses, the colour temperature of the light changes. The light is warmer in the morning and evening, and cooler in the midday sun. This is because the sun is lower in the sky in the morning and evening, and higher at midday. The lower the sun is in the sky, the more the light has to travel through the atmosphere, which filters out the blue light and makes the light warmer.
When the sun is higher in the sky, the light is less filtered and has a higher colour temperature. This is why the light is cooler in the midday sun.

Warm Colour & Soft/Diffused Light (Uluru Sunset)
As a photographer, you can use this to your advantage. Warm light is great for creating a cozy, intimate feeling, while cool light can add a fresh, vibrant feel to your photos. Experiment with different times of day to see how the light affects your photos.
As the seasons change, so does the quality of natural light. In the winter, the sun is lower in the sky and its light has a blue tint to it. This blue light creates cool, crisp images. In the summer, the sun is higher in the sky and its light is more yellow. This warmer light creates softer, more relaxed images.

Kata Tjuta
2. INTENSITY
As a photographer, one of the most important things to understand is how to use light intensity to create contrast. This can be done by harnessing the light and using balance between the shadows and highlights.
Light intensity is useful for photographers because it can help to create contrast in an image. This is done by using the light to create shadows and highlights. The shadows can be used to create depth and dimension in an image, while the highlights can be used to create a sense of light and airiness.
When using light intensity to create contrast, it is important to find a balance between the two. Too much light can wash out an image, while too little light can make it appear flat. Finding the right balance will allow you to create images that are full of contrast and interest.

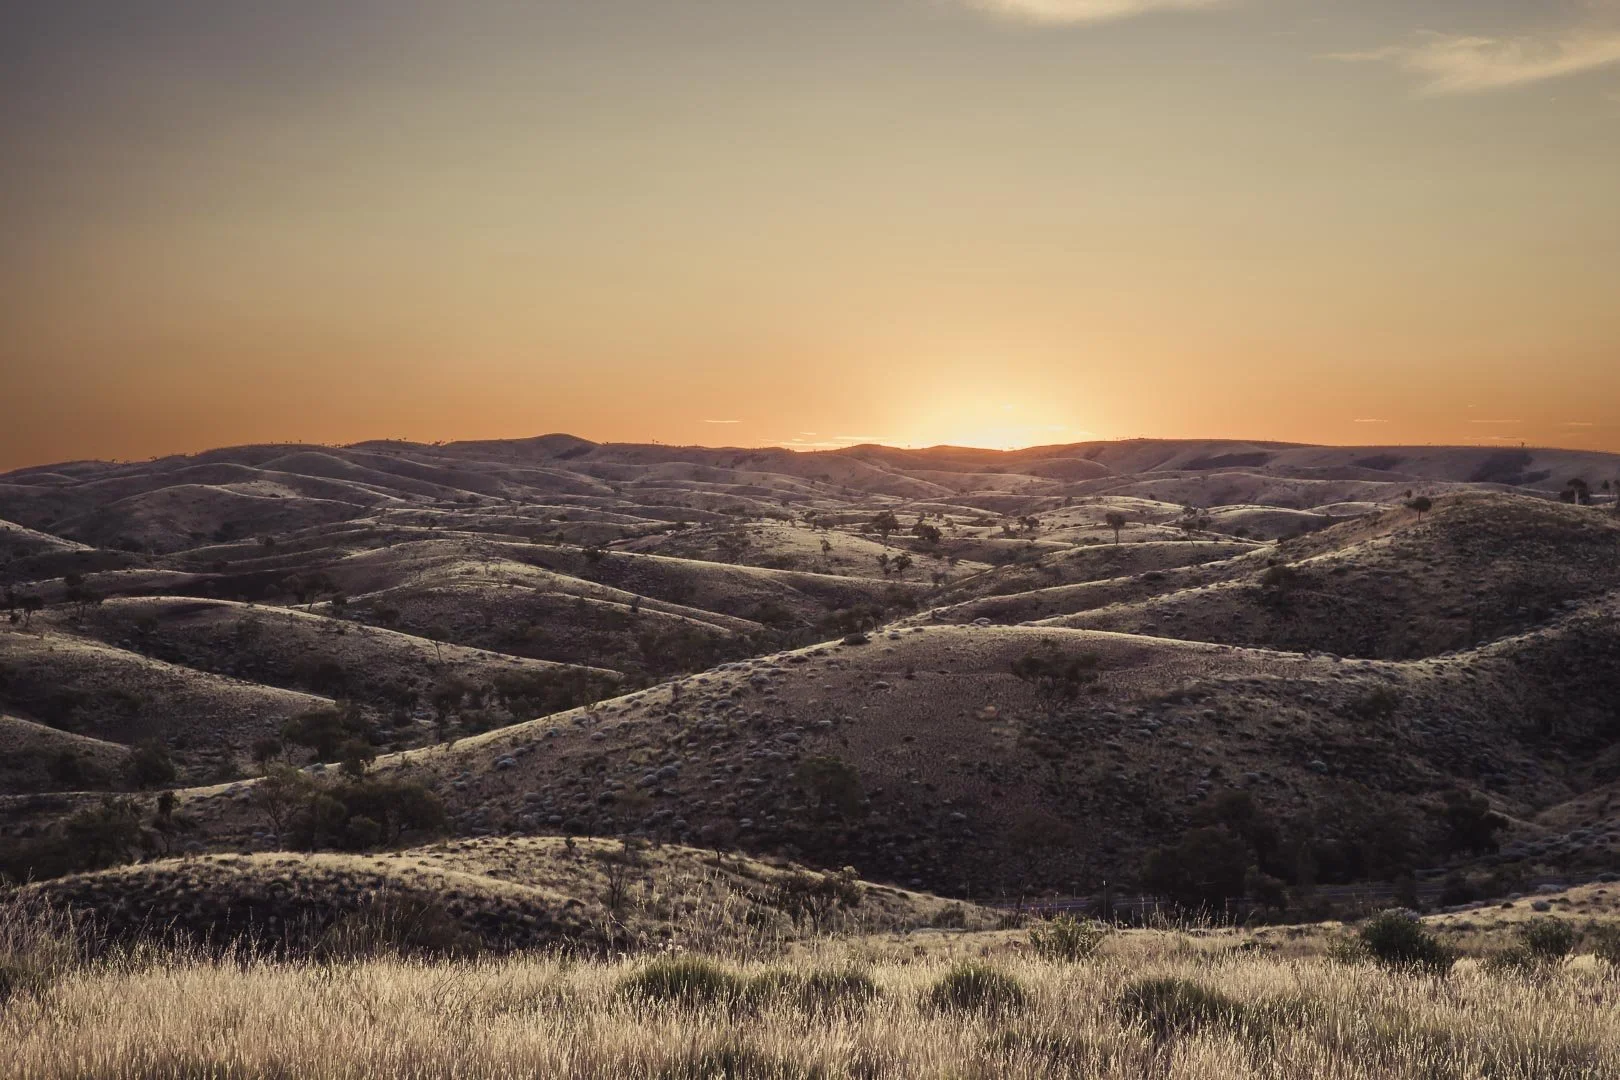
Intensity of Light/Harsh Dark Shadows (Spinifix Bush)
3. QUALITY
Light is one of the most important aspects of photography, and the quality of light can make or break a photo. The light can be hard or soft, and each has its own advantages and disadvantages.
Hard light is direct and intense, and it can create dramatic shadows. This type of light is often used in portraiture, as it can create a sense of depth and dimension. However, hard light can also be harsh and unflattering, so it's important to use it sparingly.
Soft light is diffused and gentle, and it can be very flattering. This type of light is often used in fashion photography, as it can make the subject look their best. However, soft light can also be too subtle and lack depth.
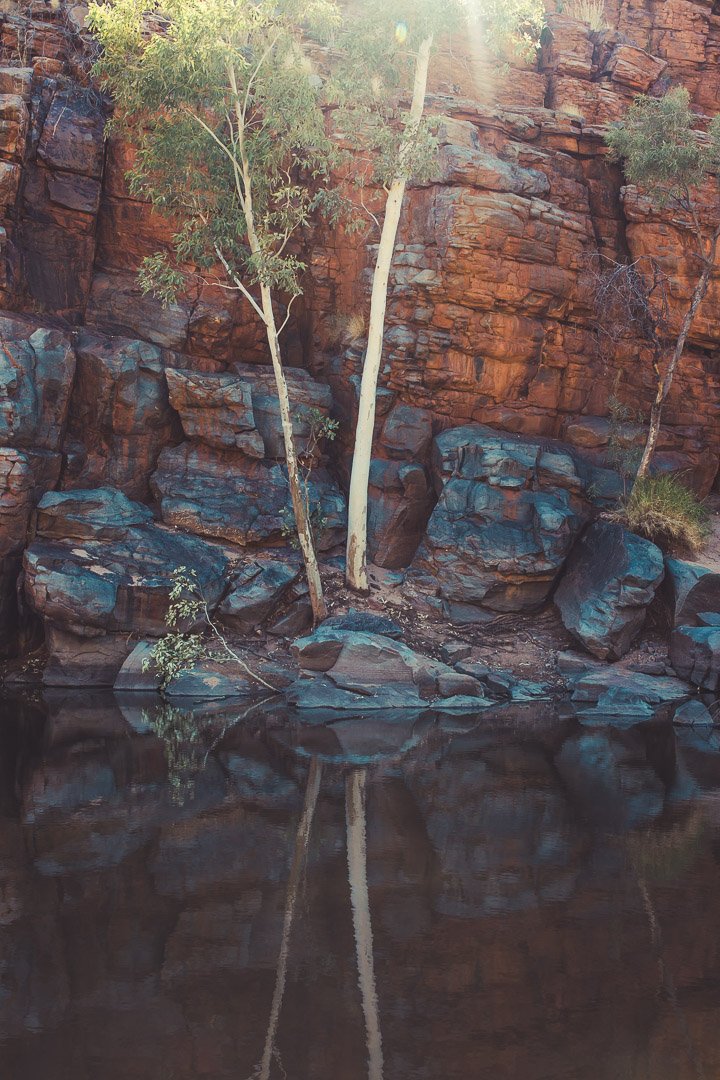
Mixed Quality Reflected/Diffused/Warm Colours (Ormiston Gorge)
4. DIRECTION
Direction of light is a term used to describe the position of the sun in relation to the subject being photographed. The angle of the sun relative to the subject will determine the direction of light, and this can be a useful tool for photographers to use when trying to create certain looks in their images.
When the sun is high in the sky, the light will be more direct and will create harsher shadows. This can be used to create contrast and drama in an image. If the sun is lower in the sky, the light will be more diffused and will create softer shadows. This can be used to create a more gentle and romantic look in an image.
Knowing how to use the direction of light to your advantage can help you create the type of image you envision. Pay attention to the time of day and the position of the sun to control the direction of light in your photos.
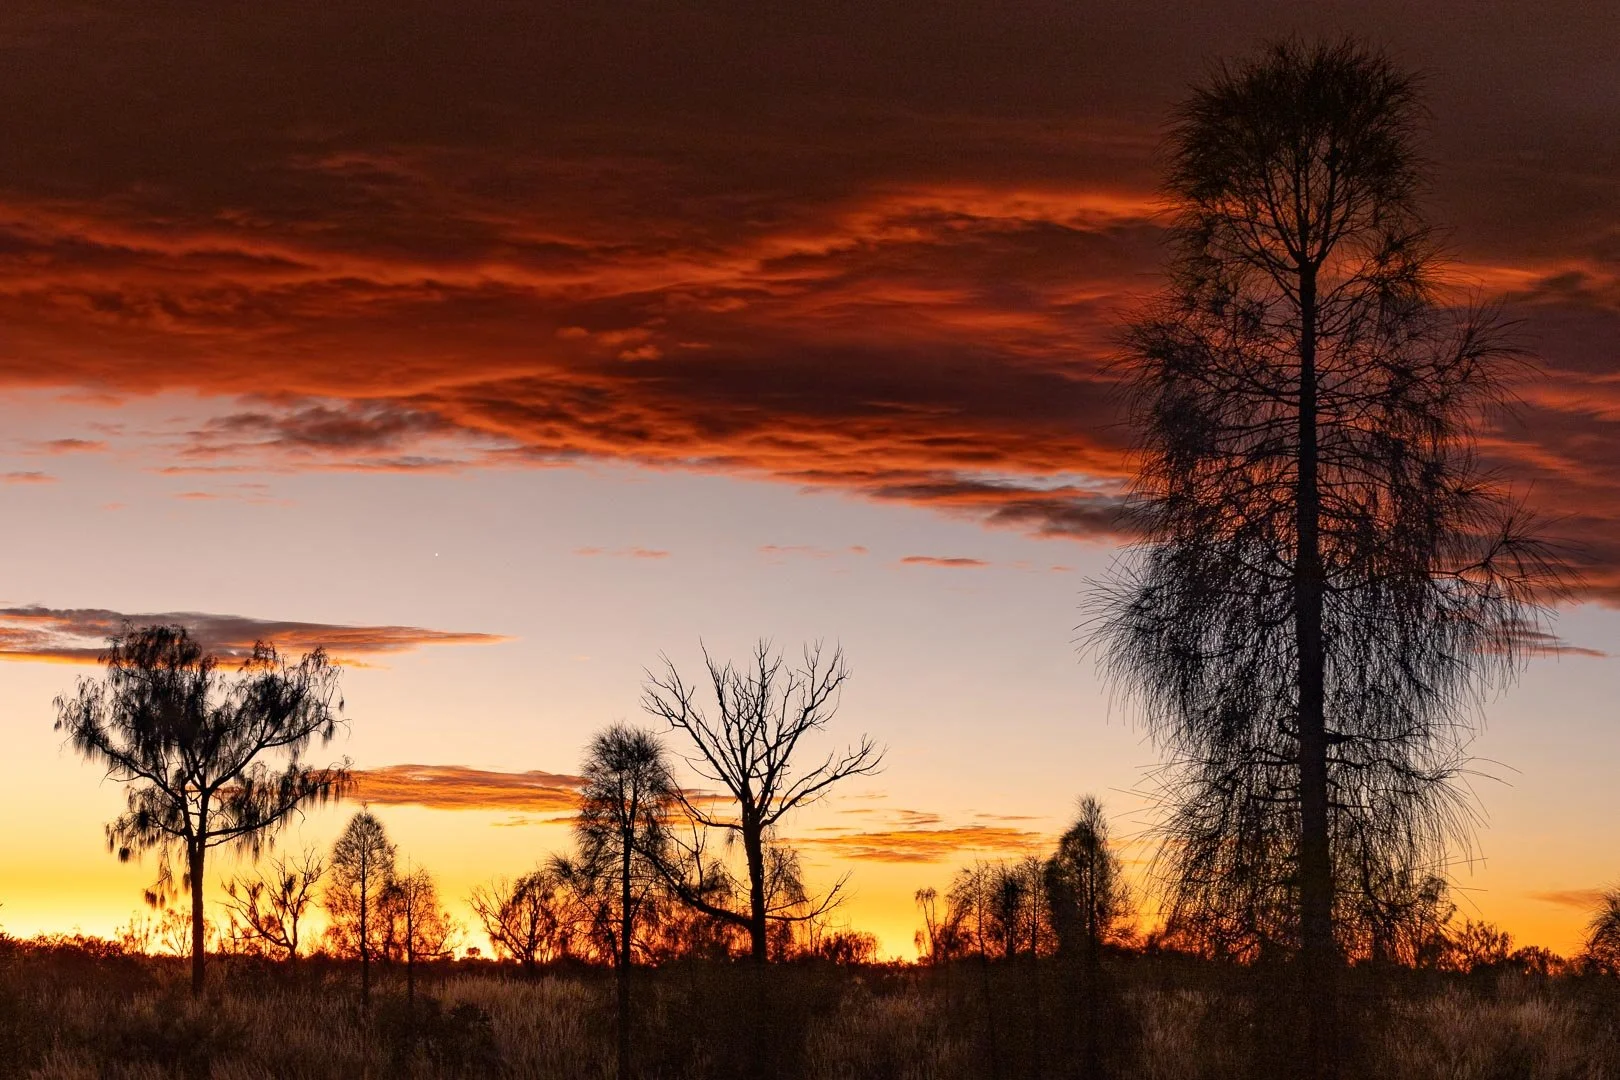
Direct Diffused Glow (Uluru Sunrise)
TYPES OF LIGHT
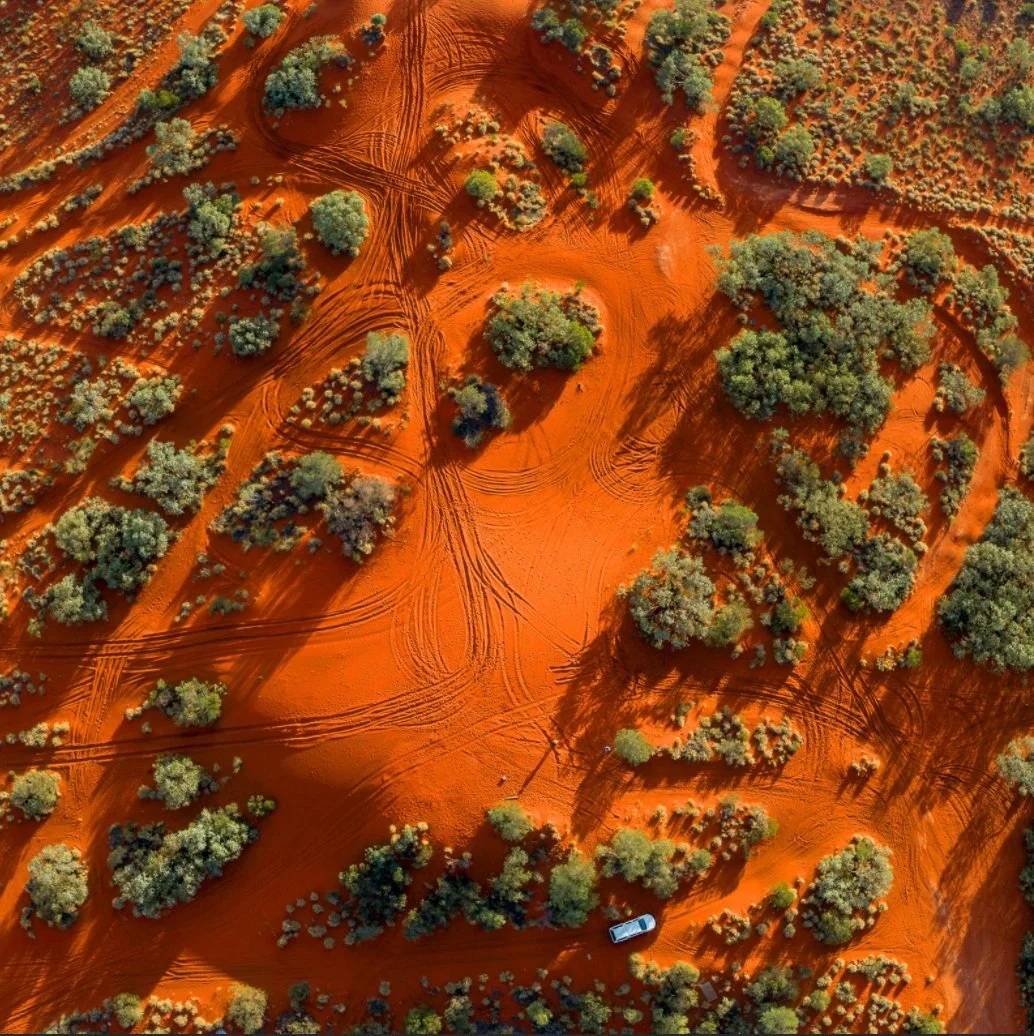
Hard/Direct Light (Drone Shot Alice Springs)
1. Hard/Direct Light
Hard or direct light is harsh and can create deep shadows. It is often associated with midday sun. This type of light can be difficult to work with, but can also create some interesting effects. If you are photographing in hard light, be sure to pay attention to the shadows that are being cast.
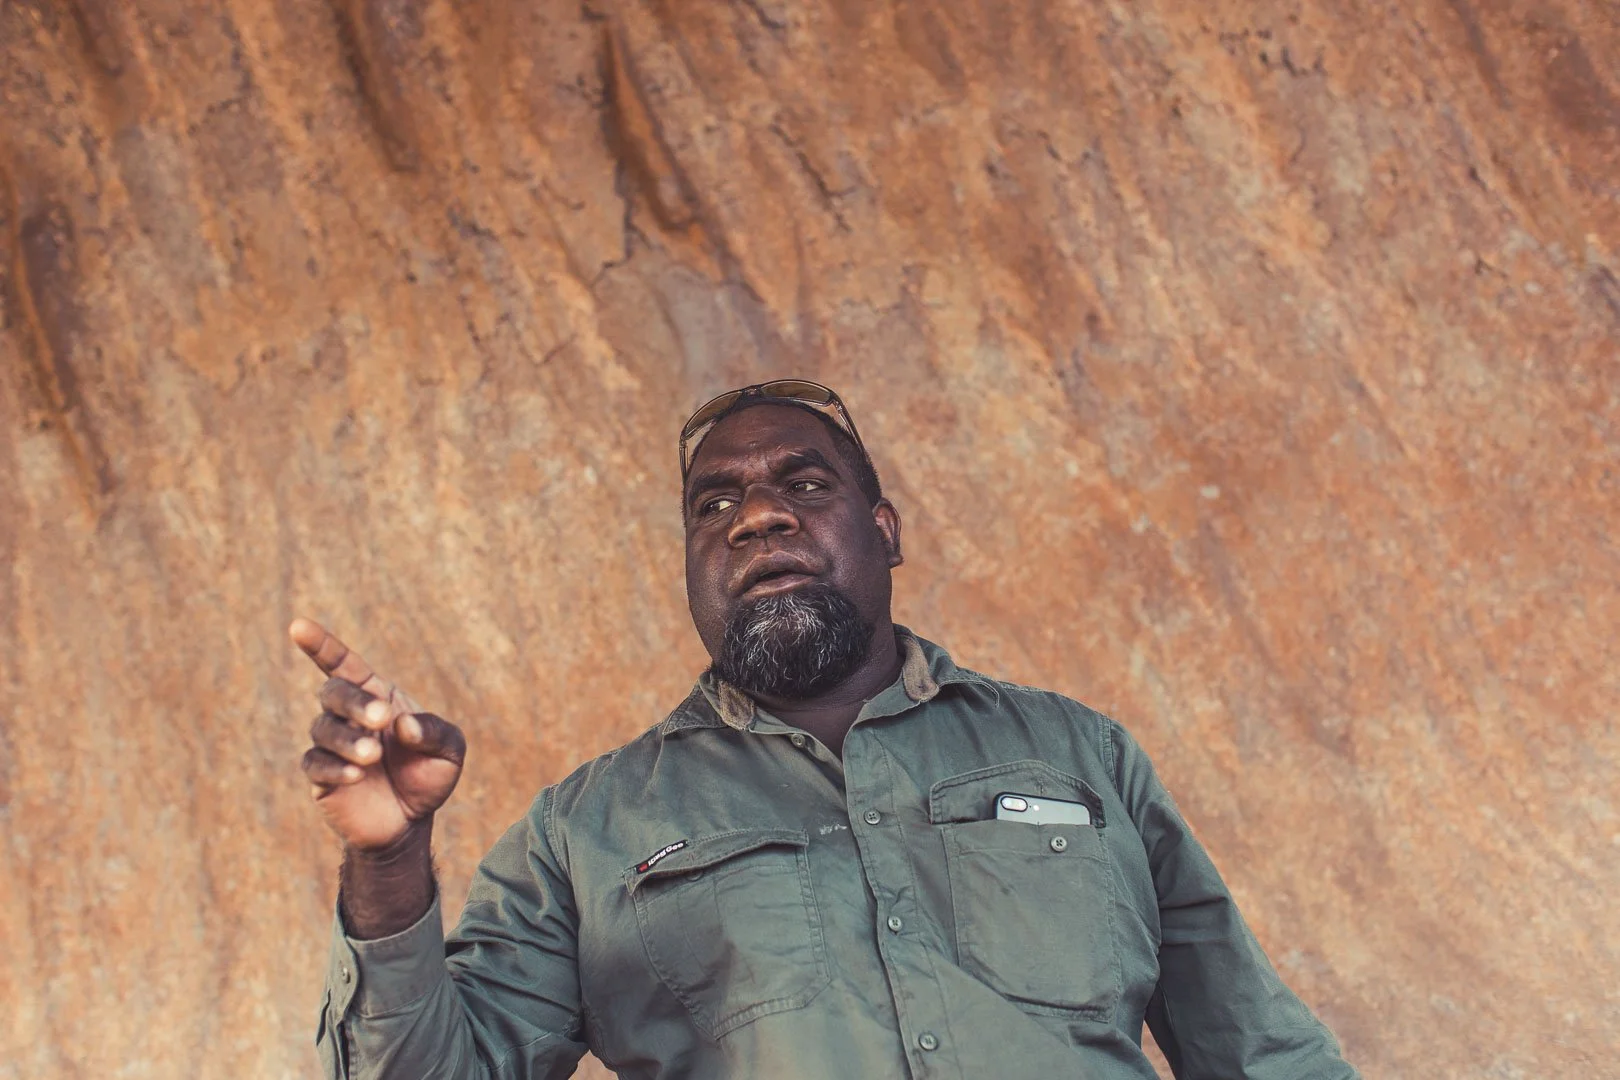
Soft/Diffused Light in the shade (Anangu Guide Uluru)
2.Soft/Diffused Light
Soft or diffused light is much more gentle than hard light. It is often associated with cloudy days or the light that filters through trees. This type of light is much easier to work with and can create some beautiful images.

Water reflection
3.Reflected Light
Reflected light is light that has bounced off of another surface. This can be the light that reflects off of a lake or the light that bounces off of a white wall. This type of light can be very beautiful, but can also be very unpredictable.

Indoor Natural Window Light (Alice Art Portraits)
4.Window Light
Pay very close attention to the characteristics (listed above) of light entering the room. Turn off any artificial light sources. Choose the best time of day to portray the best characteristic you are after. Always check the angle of the light and whether or not you can control its intensity as well after you have chosen the time of the best suited and of course conducive weather forecast (sunny/overcast/rainy)

Dappled Light (Uluru Tree Shadow)
5.Dappled Light
Dappled light is the result of sunlight that has been filtered through tree leaves and projected on a nearby surface. It casts interesting shadows on your subject and could make your image more compelling. It can also be the natural shaping through a material casting a mix of highlights and shadows.

Twilight at Kata Tjuta
6.Twilight
Twilight is the transition between day and night (before the sun rises or after it sets) and always has a cool color, has low contrast, and is soft/diffused.
Civil Twilight
Civil Twilight is the time of day just after the sun has set or risen. Often the brightest and most intense light if its cloudless. Be careful not to blind yourself. Nautical twilight is the time of day just before the sun rises or sets. Also known as dawn or dusk Sometimes also referred to as the blue hour or just a few minutes of blueness when the colour temperature is lower than normal. It is also known as the best time to capture full moon silhouettes.

Nautical Twilight. Field of Lights Uluru
Astronomical twilight is the time of day when the sun is just below the horizon. Best suited to Astrophotography photographing the night sky such as the Milky Way and the moon. You can also use the moonlight to light the landscape in dark locations with no light pollution.

Uluru Astrophotography
3 LIGHT ANGLES
1.Front Lit
A subject is front lit if the light is behind you and is directly hitting your subject.. Light coming from this direction will partially or fully eliminate shadows.

Uluru
2.Side Lit
A subject is side lit if the light hits the subject from the left or right side, adding drama and emphasizing texture.

Uluru
3.Back Lit
Conversely, a subject is considered backlit if the light is coming from behind the subject, which can produce a glow, silhouette, shadow, or light flare.

Uluru