
Title: Mastering Smartphone Photography: A Comprehensive Guide to Capturing Stunning Photos
Mobile Camera Basics
Access: Open the app via the home screen, app drawer, or lock screen shortcuts.
Switching: Use the toggle icon to flip between the front (selfie) and rear cameras.
Zooming: Pinch the screen or use the slider. Physical movement is better than digital zoom, which lowers image quality.
Modes: Experiment with options like Portrait, Night, or Panorama to fit your specific environment

Shooting Modes:
Auto: The default setting for everyday shots; the camera handles all technical adjustments automatically.
Portrait: Blurs the background while keeping the subject sharp to create a professional, "depth-of-field" look.
Night: Uses long exposure and software to capture clear, detailed photos in low-light or dark environments.
Panorama: Stitches multiple shots together as you pan, perfect for wide landscapes or large groups.
Pro/Manual: Provides full control over ISO, shutter speed, and focus for experienced users.

Basic Technical Cheat Sheet
Manual Adjustments:
Exposure: Controls brightness. Tap the screen to set a focus point, then swipe up or down to manually lighten or darken the shot.
Focus: Tap your subject on the screen to sharpen it. Check your app for tracking or continuous autofocus features to keep moving subjects clear.
White Balance: Ensures colour accuracy based on lighting. Use Auto for general use, or select presets (like Daylight or Fluorescent) to match your environment.
Features and menus vary by model, so the best way to master your device is through manual exploration and experimentation.

Composition Cheat Sheet
Composition Techniques:
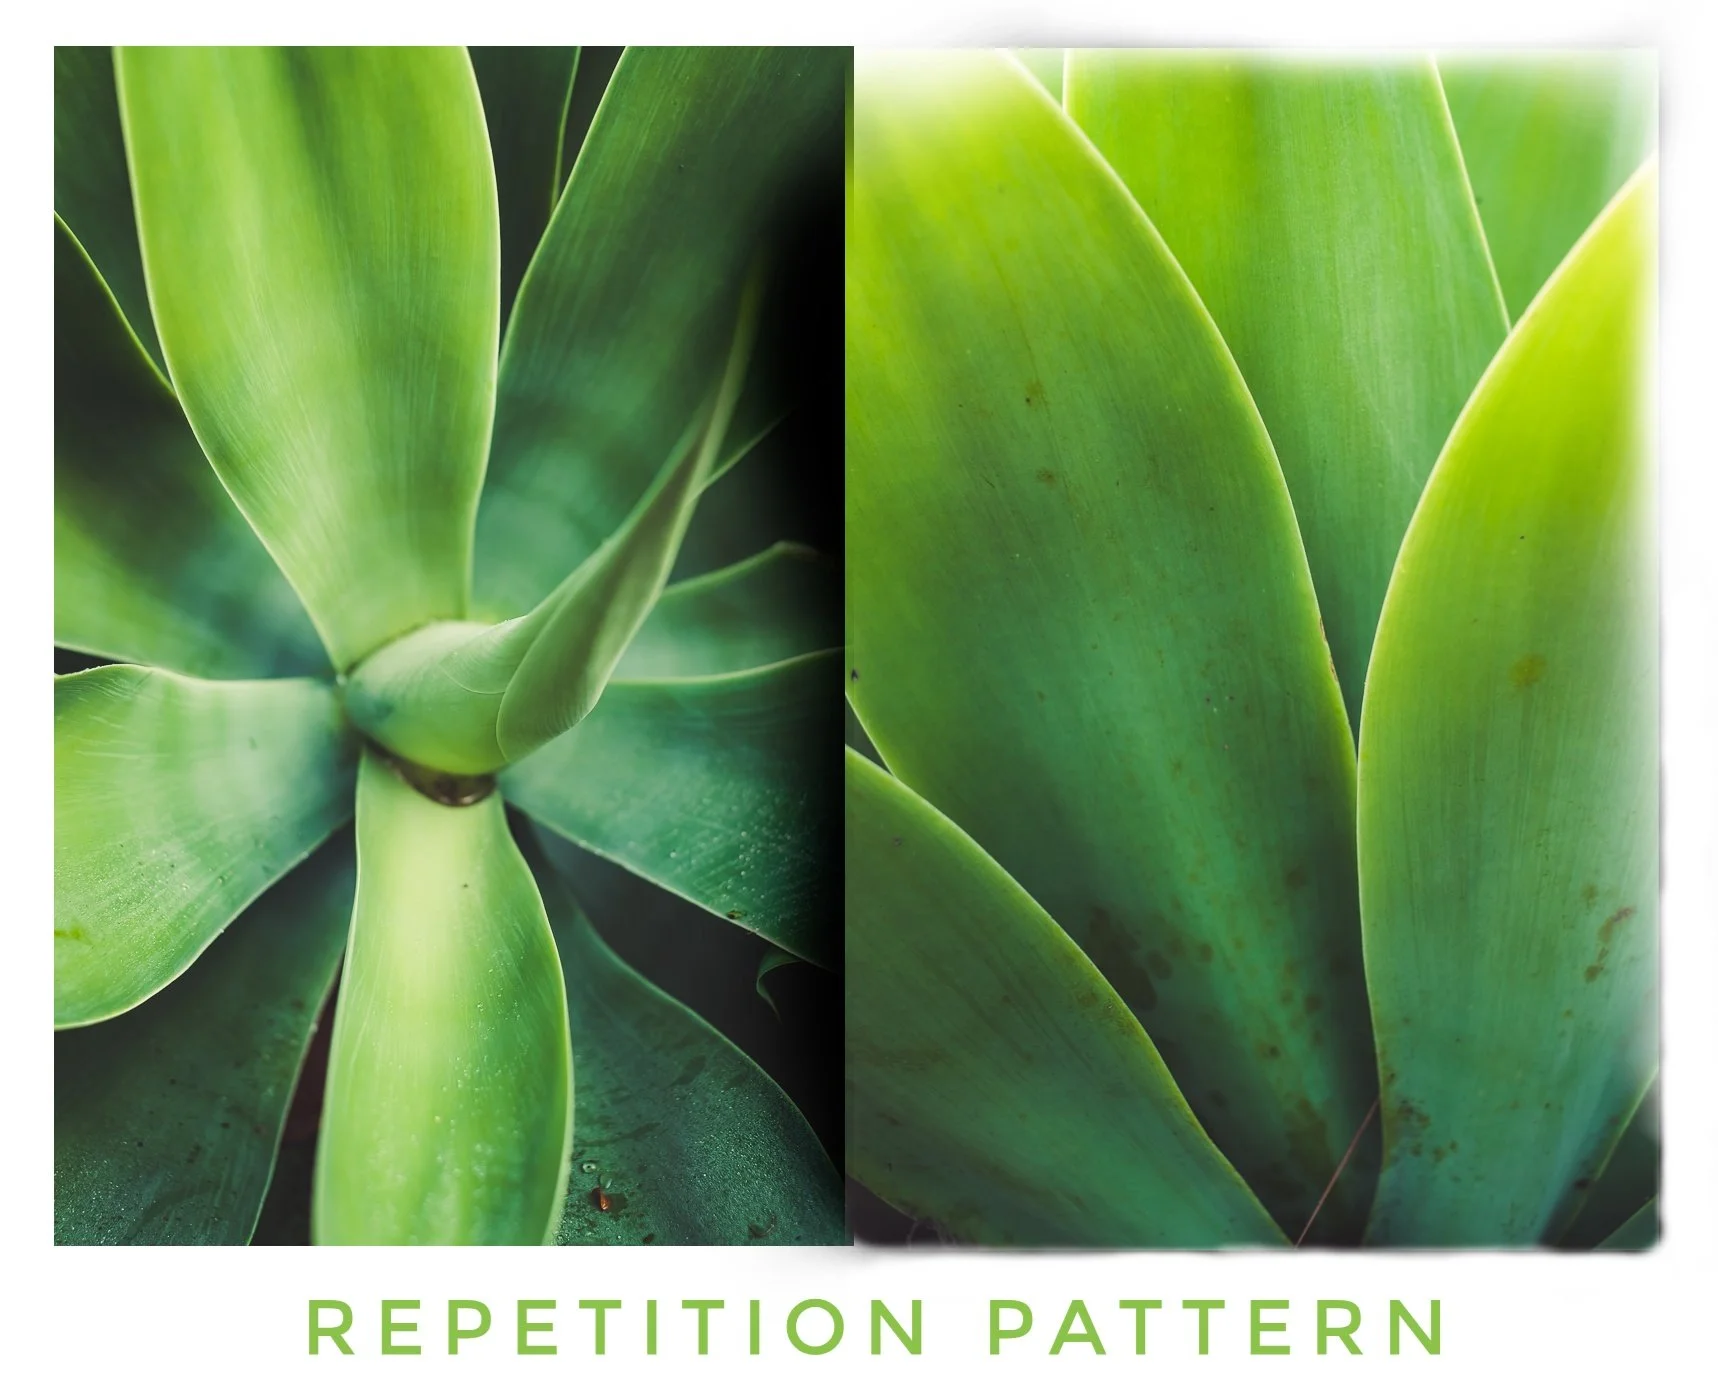
Balance & Structure: Use the Rule of Thirds (gridlines) for balance, and look for symmetry or patterns to create harmony.
Guiding the Eye: Use leading lines or natural framing to direct the viewer’s focus toward your subject.
Perspective: Change your point of view (high or low angles) and use negative space (empty areas) to make your subject pop.
Impact: Fill the frame to remove clutter, and use bold colour contrast or lighting to add depth.
Creativity: Don't be afraid to break the rules—the best shots often come from experimenting with unconventional styles to tell a story
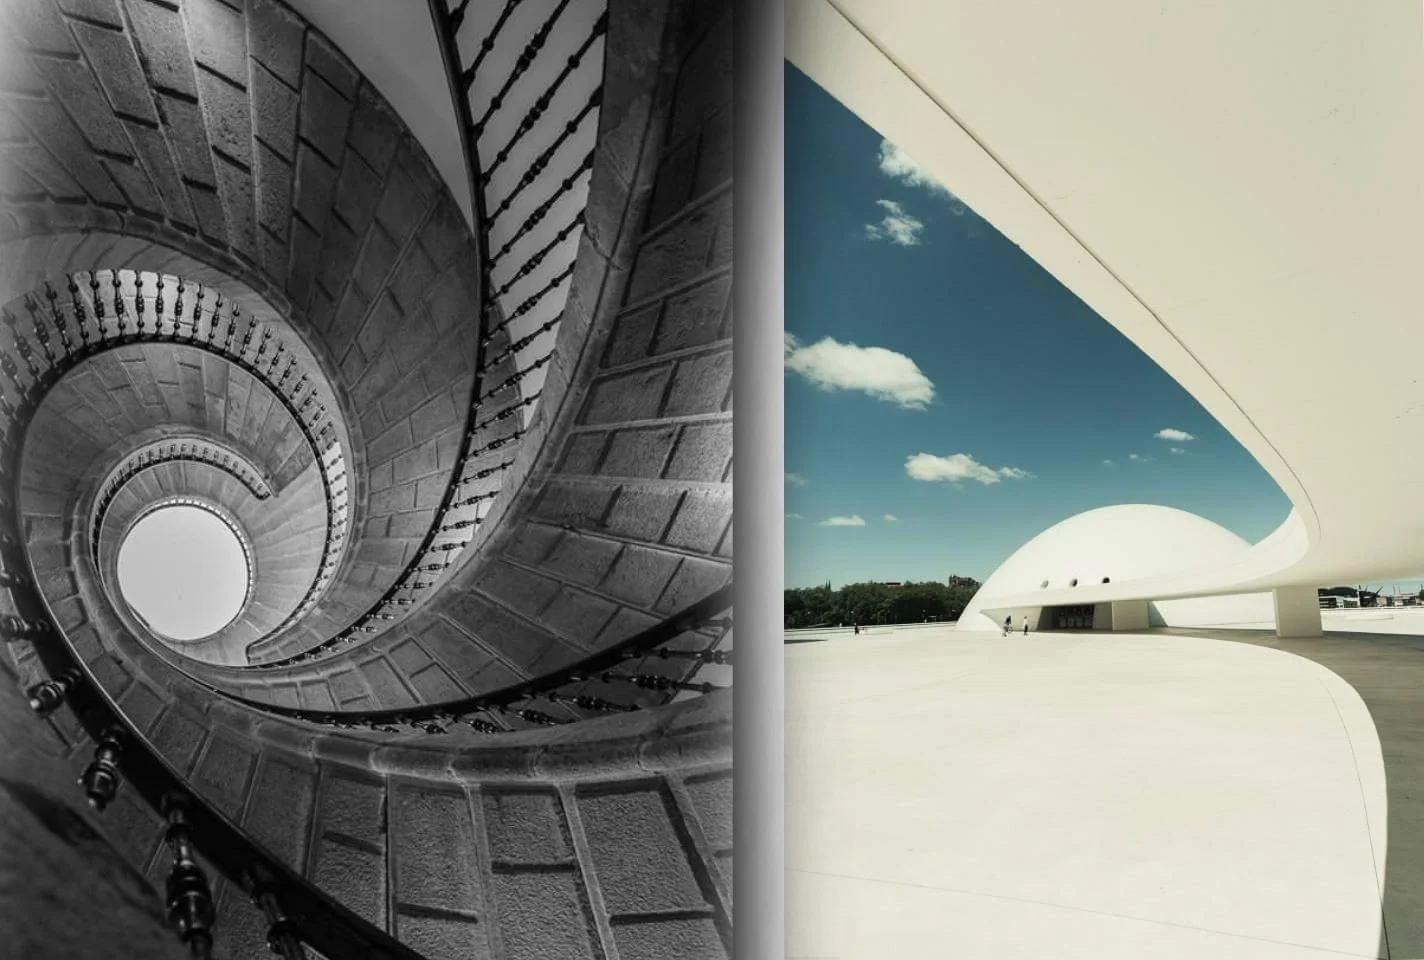
Spanish Architecture - Old & Modern
Using Natural Light
Quality & Timing: Aim for Golden Hour (soft/warm) or Blue Hour (cool/moody). Observe how direction and intensity change throughout the day.
Softening Light: Avoid harsh midday sun by moving to the shade or using a diffuser to spread light evenly.
Backlighting: Place the light behind your subject to create artistic silhouettes or a glowing "halo" effect.
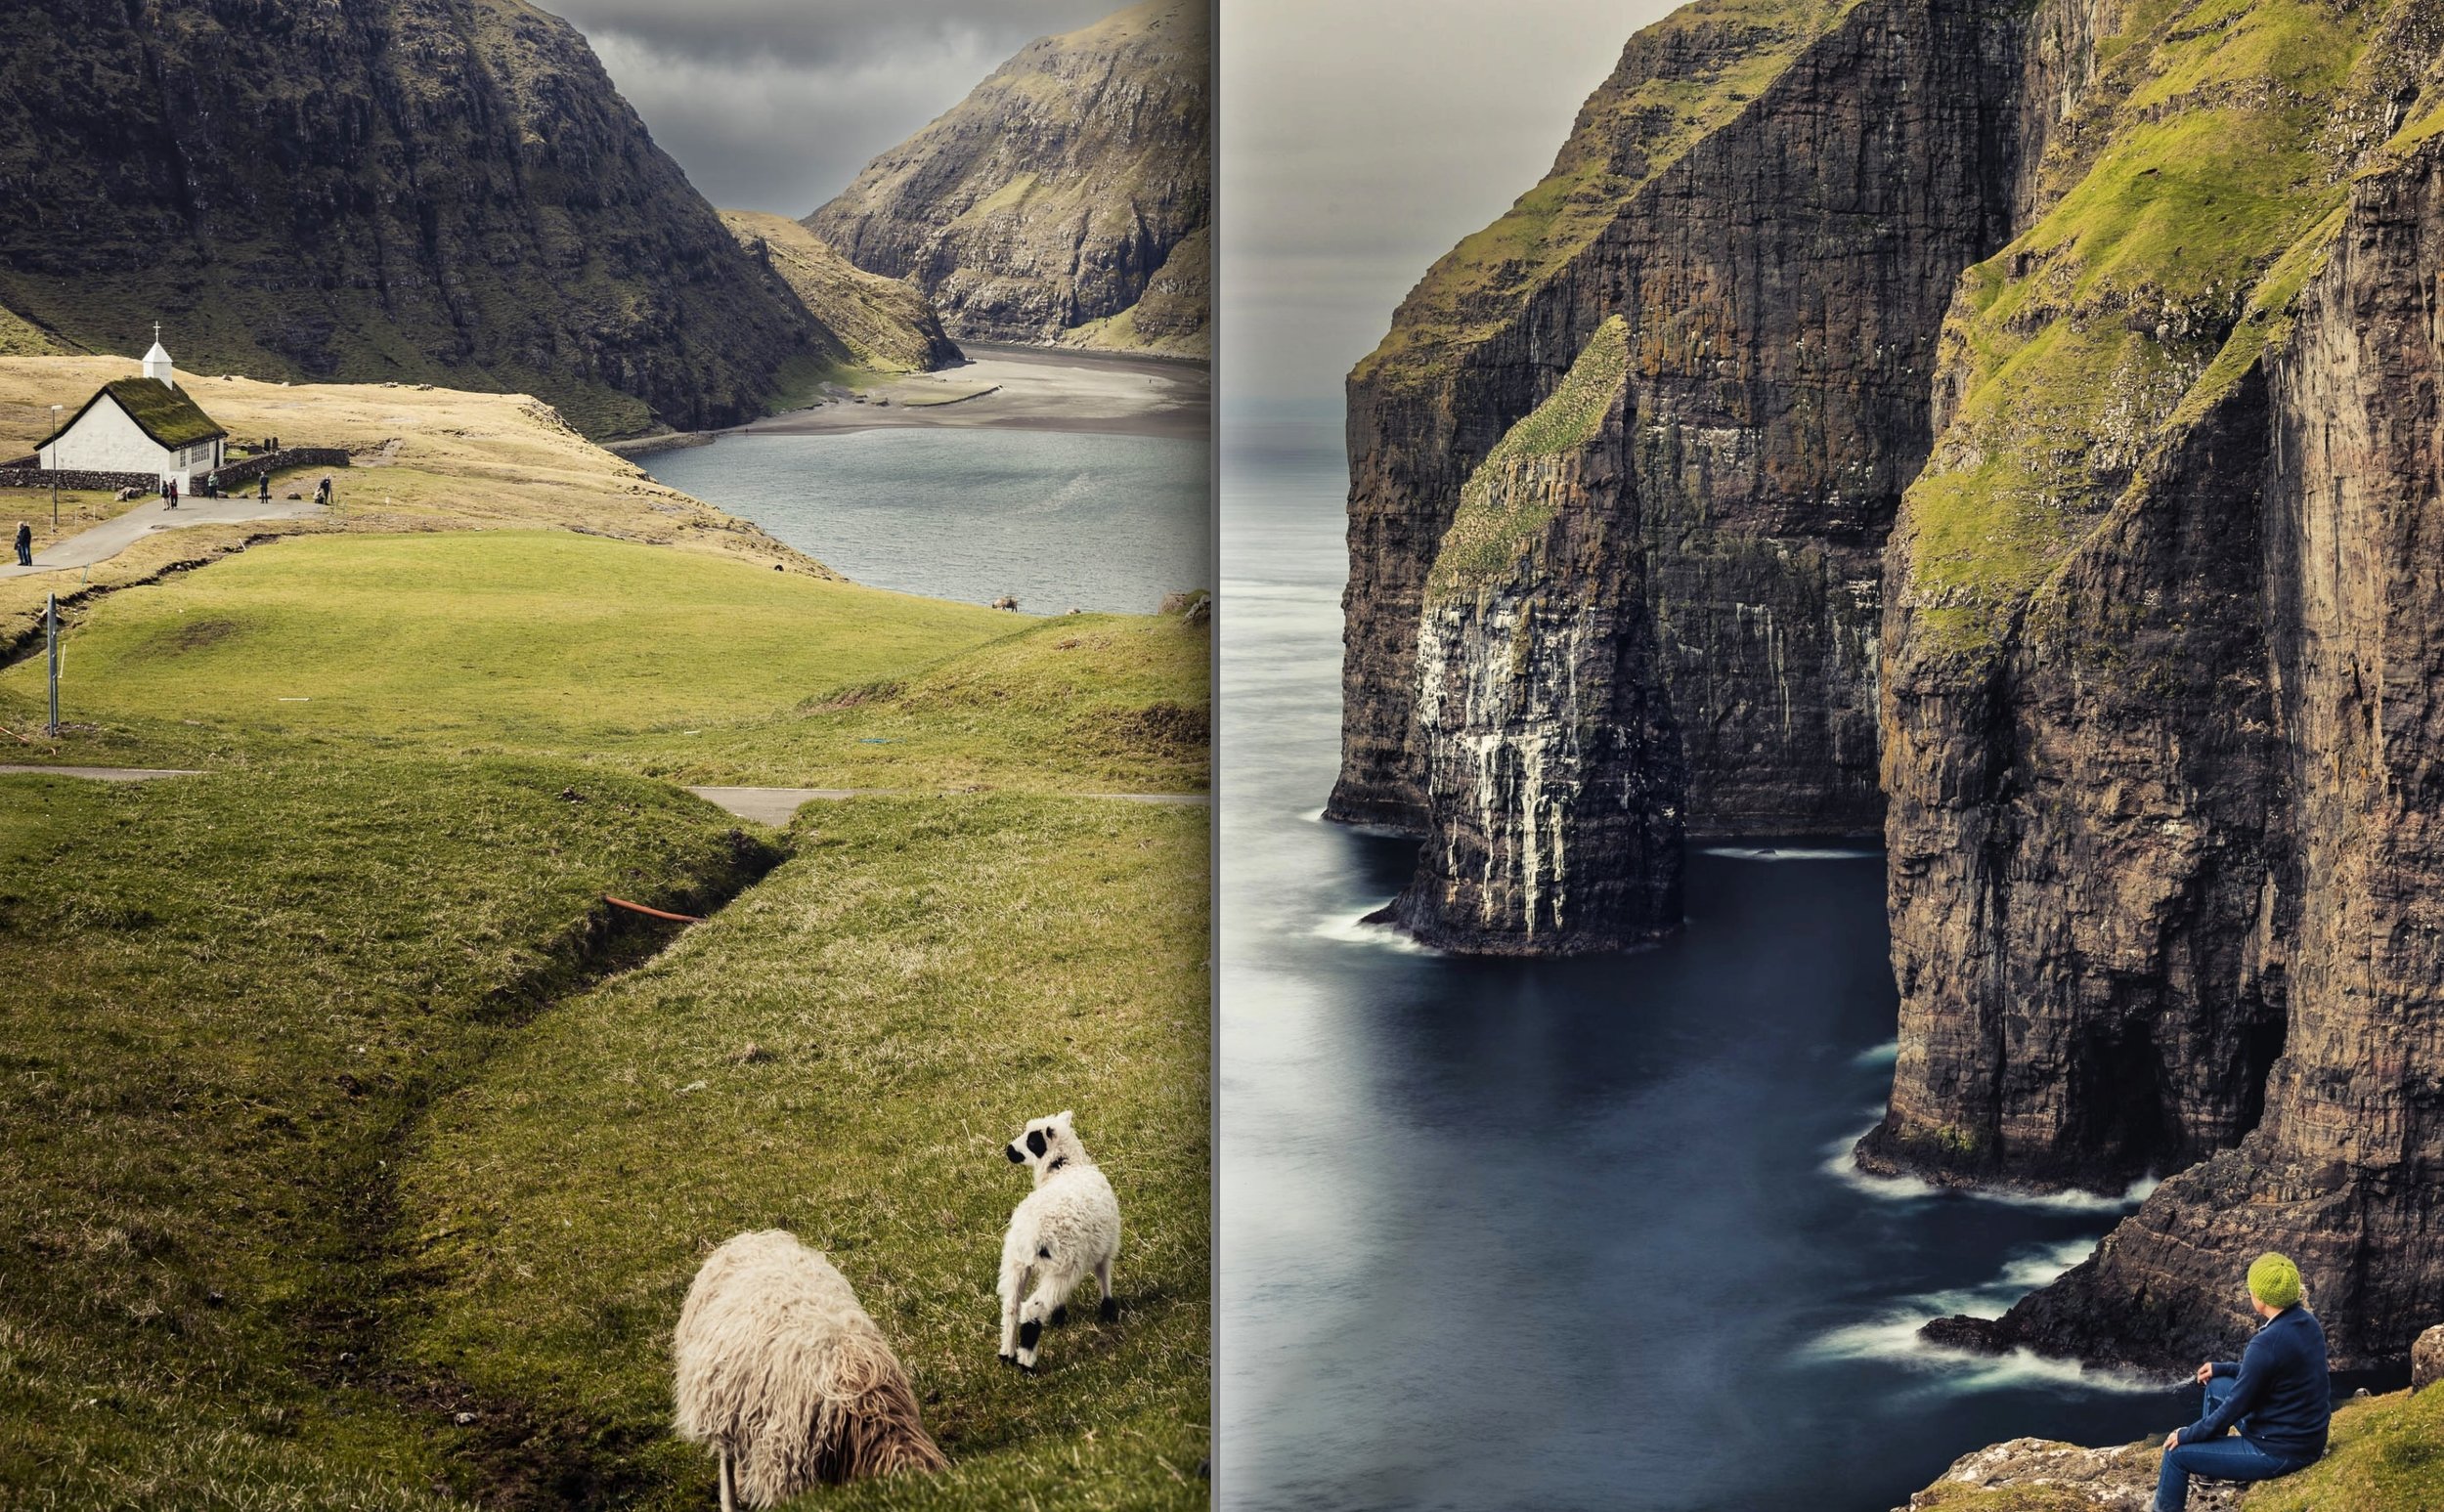
Faroe Islands Landscapes
Solving Lighting Challenges
High Contrast: Use HDR mode or exposure blending to keep details in both the brightest highlights and darkest shadows.
Mixed Light: If indoor and outdoor lights clash, manually adjust your White Balance to fix weird colour casts.
Low Light: Stabilise your phone with a tripod, use a wider aperture (if your phone allows), and slightly increase ISO (but watch for grain).
Controlling Exposure
The Triangle: Balance Aperture, Shutter Speed, and ISO to find the perfect brightness.
Exposure Compensation: Use the manual slider (usually a sun icon) to quickly brighten (+) or darken (-) your shot.
Tools: Check your Histogram to ensure you aren't "clipping" (losing detail) in the blacks or whites.
Focus Control
Autofocus: Tap your subject on the screen to set the focus point; use face detection for better portraits.
Manual Focus: If your phone allows, use sliders to manually sharpen subjects that autofocus might miss (like objects behind glass).
Blurring the Background (Shallow Depth of Field)
Physical Distance: Move closer to your subject and keep the background distant to naturally blur the surroundings.
Software: Use Portrait Mode or third-party apps to simulate a professional blurred background (bokeh).
Pro-Tips for Sharp Photos
Stability: Use two hands, brace your elbows, or use a tripod to prevent blur from camera shake.
Focus Lock: Long-press your subject to lock focus so the camera doesn’t reset when you move.
Burst Mode: Hold the shutter button to take rapid-fire shots, increasing your chances of a sharp photo of moving subjects.
Top Editing Apps
Adobe Lightroom: Best for advanced tools like selective edits and professional presets.
Snapseed: A Google-developed app featuring a healing brush and perspective correction.
VSCO: Famous for film-inspired filters and a minimalist aesthetic.
Photoshop Express: A simplified tool for quick fixes like cropping and exposure.
Afterlight: Great for adding textures, overlays, and unique frames.
Essential Editing Techniques
Correction: Crop to improve composition and straighten tilted horizons.
Lighting & Color: Adjust Brightness and Contrast for impact, and tweak White Balance to fix unnatural skin tones or lighting.
Detail: Use Sharpening for crispness and Clarity to make textures pop.
Cleanup: Use Spot Healing to remove blemishes or distracting background objects.
Style: Apply Filters/Presets for a consistent look, but use moderation to keep the photo looking natural.

Snapseed Editing App
Creative Editing Techniques:
Blending & Composites: Use Double or Multiple Exposures to overlay images for a surreal effect. Combine various elements into a Collage to tell a story.
Dynamic Range & Detail: Use HDR to merge exposures for balanced light and shadow, and Panoramic Stitching to create ultra-wide views.
Motion & Focus: Use Long Exposure for silky water or light trails. Try Tilt-Shift to blur the top and bottom of a photo, making real-life scenes look like miniature models.
Styling: Use Color Grading to shift hues and tones for a specific mood. Enhance Reflections and Symmetry to add depth and visual balance to your shots.
Selective Editing (Targeted Adjustments)
Selection Tools: Use the lasso, brush, or marquee tools to isolate the specific area you want to change.
Adjustment Layers: Apply changes like brightness or colour non-destructively, meaning you don't permanently alter the original photo.
Layer Masks: Use black paint on a mask to hide an effect and white paint to reveal it, allowing for pixel-perfect precision.
Refining: Use feathering or smoothing to blend the edges of your edits so they look natural rather than "Photoshopped."
Personalising with Text & Graphics
Design-Heavy Apps: Use Canva or Over for professional-looking templates, fonts, and graphic overlays.
Creative Software: Use Adobe Photoshop or Pixlr for high-level control over text placement, blending modes, and custom stickers.
Social Media: Quick options like Snapchat are great for adding fun, casual stickers and filters before saving to your gallery.
Capturing the Shot
Portrait Mode: Use this built-in feature to create a blurred background (bokeh). If your phone lacks it, use the Lens Blur tool in Snapseed during editing.
Posing & Direction: Talk to your subject to get natural expressions. Focus on candid moments and experiment with different angles to capture their personality.
Natural Lighting: Use soft, diffused light (like near a window or in shade). Avoid harsh, direct sunlight to prevent unflattering shadows.
Enhancing the Result
Skin & Features: Use Portrait editing apps to subtly retouch skin, remove blemishes, and brighten eyes.
Technical Tweaks: Adjust exposure and white balance specifically to ensure skin tones look accurate and healthy.
Styling: Apply filters to add mood, but use them sparingly so the subject remains the main focus.

Planning & Composition
Preparation: Research landmarks and check the weather beforehand. Lighting and conditions significantly shift the mood of a photo.
Structure: Use the Rule of Thirds by placing key elements along gridlines or intersections for balance.
Visual Guidance: Incorporate leading lines (like roads or rivers) to guide the viewer’s eye and seek out symmetry for harmony.
Perspectives: Get low or find high vantage points to offer a unique viewpoint.
Facebook +8
Lighting & Camera Modes
Golden & Blue Hour: Shoot during the soft, warm light of Golden Hour (sunrise/sunset) or the moody, deep tones of Blue Hour.
HDR Mode: Use this in high-contrast scenes to balance details in both shadows and bright areas.
Panorama: Pan slowly and steadily to capture expansive vistas that a single wide-angle shot can't fit.
Facebook +3
Finishing Touches
Refine: Fine-tune brightness, contrast, and saturation in editing apps to bring out your photo's best qualities.
Personal Style: Use these techniques as a foundation to experiment and develop your own photographic voice.

Kyoto Dusk - Tripod used in night mode
Essential Tools
Night Mode: Use this built-in feature to merge multiple exposures for brighter, detailed shots. Keep your hands very steady, as it uses a longer exposure time.
Stability: Low light requires a slow shutter, so use a tripod, lean against a wall, or use a self-timer to prevent blur from camera shake.
Manual Control: If available, lower the shutter speed for more light, but keep ISO as low as possible to avoid grainy "noise."
Special Scenarios
Cityscapes: Look for reflections and vibrant lights. Use leading lines (like lit-up bridges) to create depth in the dark.
Fireworks: Use a tripod and a long exposure to capture light trails. Manual settings work best here to keep the ISO low while the shutter stays open.
Astrophotography: Find a spot away from light pollution. Use a tripod, set focus to infinity, and use a long exposure to capture stars or the Milky Way.

Tripod & Night mode used
Advanced Techniques
Long Exposure: Use apps to manually slow the shutter speed for creative effects like light trails, light painting, or silky water.
RAW Format: Shoot in RAW to keep all sensor data. Unlike JPEGs, these files offer maximum flexibility for post-processing and detail recovery.
Manual Control: Use third-party apps to take full command of ISO, shutter speed, and white balance to match your exact creative vision.
Pro Accessories
External Lenses:
Wide-angle: For expansive landscapes.
Telephoto: For high-quality zoom.
Macro: For extreme close-ups (flowers/insects).
Stabilisation: Use tripods or gimbals to eliminate shake, especially for long exposures and video.
External Lighting: Use portable LED lights or softboxes to overcome the limitations of small smartphone sensors in dark environments.

Kanazawa in Spring
Optimising for Social Media
Sizing & Format: Resize photos to match each platform's specific aspect ratio (e.g., vertical for Instagram) and use JPEG for the best balance of quality and fast loading.
Compression: Use tools to shrink file sizes without losing visual detail; this ensures your images load instantly for viewers.
Protection: Add a discreet watermark (like your name or logo) if you want to protect your images from unauthorised use.
Building a Portfolio
Curate: Quality over quantity. Select only your best work to create a strong, cohesive narrative.
Platform & Design: Use sites like Squarespace, Behance, or 500px. Choose a clean, responsive layout that looks great on both desktop and mobile.
Organise: Group photos into categories or themes and add brief captions to provide context or tell a story.
Update: Regularly refresh your gallery with new work to show your growth as a photographer.

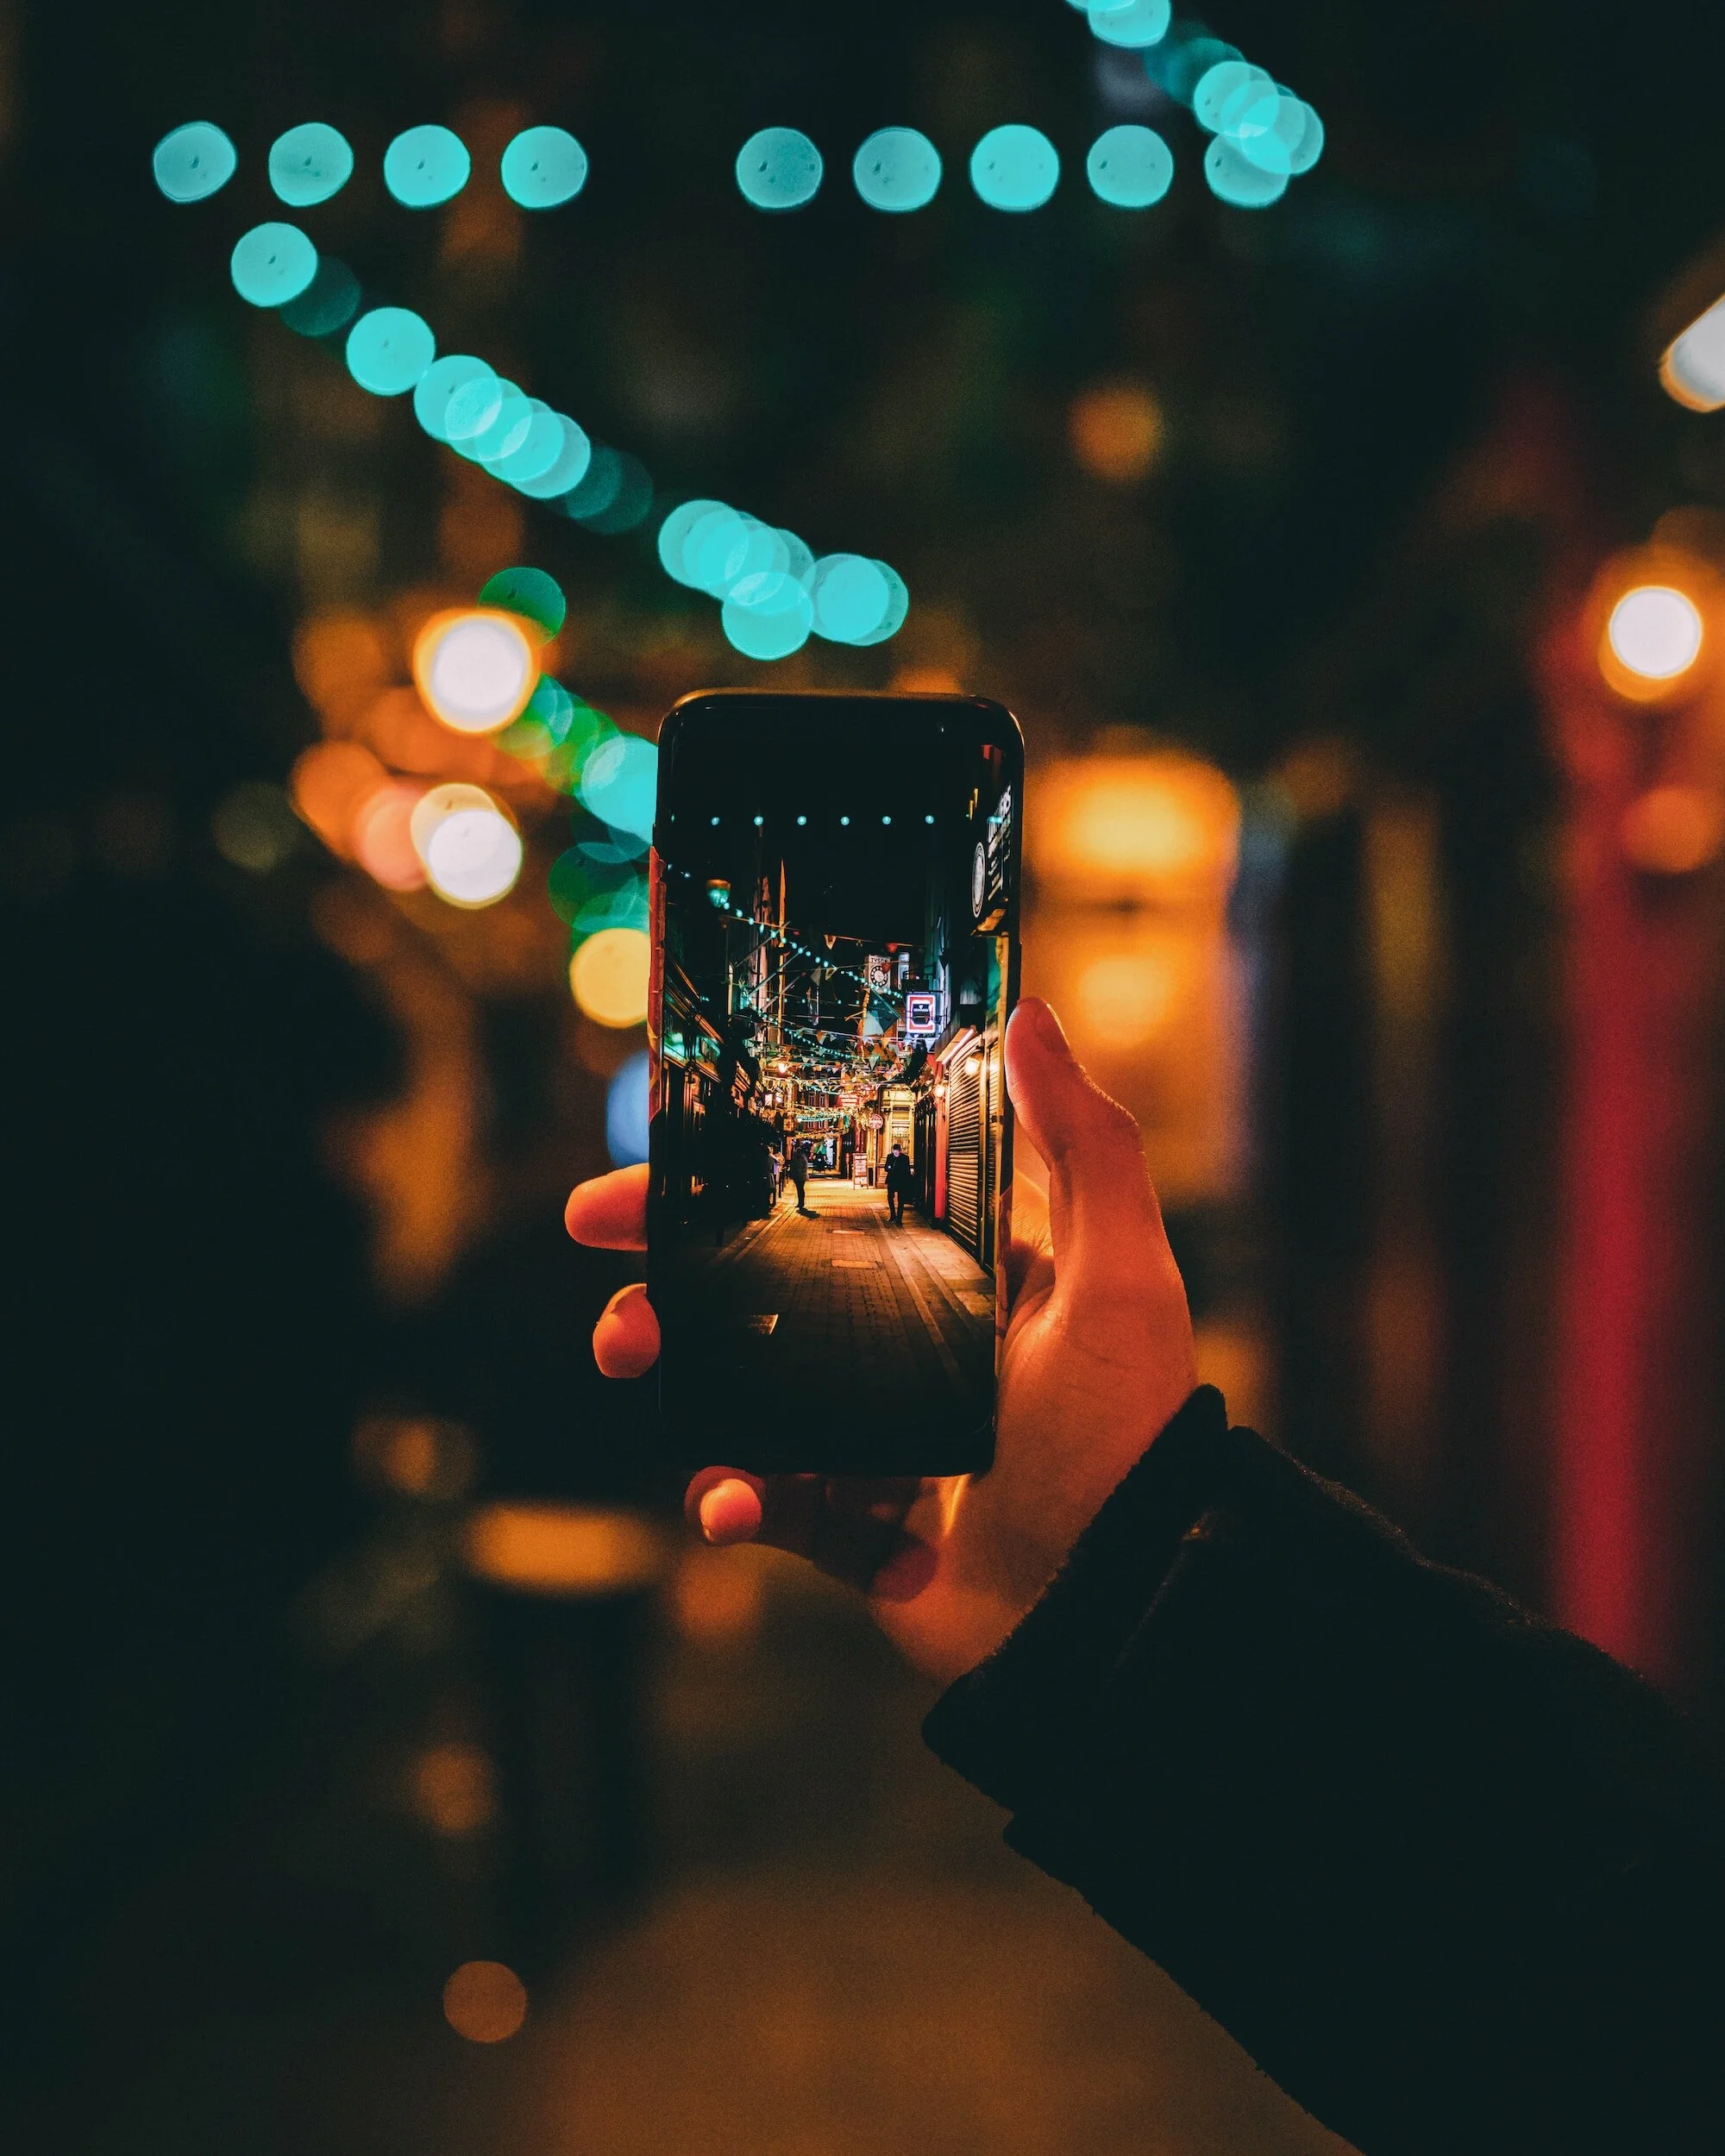
Instagram Post - Kyoto at night handheld
Community Engagement:
Be Active: Join platforms like Instagram, Flickr, or EyeEm to share your work and interact with others through likes and comments.
Use Hashtags: Research and apply relevant photography hashtags to increase your visibility and connect with specific niche groups.
Compete: Join challenges and contests to test your skills and get your work noticed by a wider audience.
Network: Collaborate on projects or attend local meetups to find inspiration and build connections with other photographers.
Grow: Seek constructive feedback in forums and stay open to learning from more experienced peers to sharpen your skills.

Kyoto in Spring
Fixing Common Photo Issues
Blur & Sharpness: Stabilise your phone using a tripod or surface. Always tap your subject to lock focus before shooting to avoid soft images.
Lighting: If a shot is too bright or dark, swipe up or down on the screen to manually adjust exposure. Use Night Mode or HDR to reduce grain (noise) in dark settings.
Composition: Avoid centering every subject. Use the Rule of Thirds or Leading Lines to make photos more professional and engaging.
Mistakes to Avoid
Physical Habits: Never use digital zoom (walk closer instead) and always clean your lens with a microfiber cloth to remove oily smudges.
Editing & Settings: Avoid over-processing with too many filters. Explore your phone’s native modes (like Macro or Portrait) rather than sticking to Auto.
Safety: Regularly back up your library to the cloud or a computer to prevent losing your work.
Battery & Storage Tips
Power: Lower your screen brightness, close unused background apps, and use Battery Saver mode when shooting for long periods.
Space: Regularly clear your cache and delete duplicate or poor-quality shots. Move large files to Cloud Storage (Google Drive/iCloud) or an external drive to keep your phone fast.

Philosophers Path - Kyoto
Key Takeaways Recap
Technique: Use Composition (Rule of Thirds), Lighting (Golden Hour), and Manual Focus/Exposure to build a strong foundation.
Versatility: Master different styles like Portraits, Macro, Panoramas, and HDR to handle any subject.
Post-Processing: Use Editing Apps to refine your look and develop a unique visual style.
Mindset: Experiment constantly and practice regularly to find your creative voice.
Next Steps for Growth
Learn: Watch tutorials on YouTube or take structured courses on Udemy.
Connect: Join communities like VSCO or Flickr to share work and get inspired.
Read: Explore books like The Art of iPhone Photography for deeper insights.
Engage: Attend workshops or local exhibitions to learn from the pros in person.
Final Thought: Smartphone photography is a continuous journey. With the tools and techniques you've learned, you're ready to capture stunning, professional-quality images.
Hokkaido in Winter