0
Skip to Content
Alfonso's Photography Workshops & Courses
Photo Courses & Photo Tours
Photography Gift Cards
Photo Tours in Spain, Japan, The Philippines, Australia & Faroe Islands
Australian Photography Micro Adventures
Photo Tours Uluru - Kings Canyon Photography Tour
Tasmania Photography Tours
Japan Photography Tours
Philippines Photography Tour
Faroe Islands Photography Tour
Spain Photography Tours
New Zealand Photography Tour
Croatia Photography Tour
Sydney Photography Courses
Melbourne Photography Courses
Brisbane Photography Courses
Adelaide Photography Courses
Perth Fremantle Photography Courses
About Us
Contact Us
Alfonso's Photography Workshops & Courses
Photo Courses & Photo Tours
Photography Gift Cards
Photo Tours in Spain, Japan, The Philippines, Australia & Faroe Islands
Australian Photography Micro Adventures
Photo Tours Uluru - Kings Canyon Photography Tour
Tasmania Photography Tours
Japan Photography Tours
Philippines Photography Tour
Faroe Islands Photography Tour
Spain Photography Tours
New Zealand Photography Tour
Croatia Photography Tour
Sydney Photography Courses
Melbourne Photography Courses
Brisbane Photography Courses
Adelaide Photography Courses
Perth Fremantle Photography Courses
About Us
Contact Us
Photo Courses & Photo Tours
Photography Gift Cards
Folder: Photo Tours
Back
Photo Tours in Spain, Japan, The Philippines, Australia & Faroe Islands
Australian Photography Micro Adventures
Photo Tours Uluru - Kings Canyon Photography Tour
Tasmania Photography Tours
Japan Photography Tours
Philippines Photography Tour
Faroe Islands Photography Tour
Spain Photography Tours
New Zealand Photography Tour
Croatia Photography Tour
Folder: Australian City Photography Courses
Back
Sydney Photography Courses
Melbourne Photography Courses
Brisbane Photography Courses
Adelaide Photography Courses
Perth Fremantle Photography Courses
About Us
Contact Us
Uluru Emu Dreaming Astro (Copy) View fullsize
Kata Tjuta-7.jpg View fullsize
Kata Tjuta-4.jpg View fullsize
Uluru-2.jpg View fullsize
Uluru-3.jpg View fullsize
Uluru-9.jpg View fullsize
Uluru-11.jpg View fullsize
Uluru-13.jpg View fullsize
Uluru-23.jpg View fullsize
Uluru.jpg View fullsize
Uluru-38.jpg View fullsize
Field Of Lights Dawn-2.jpg View fullsize
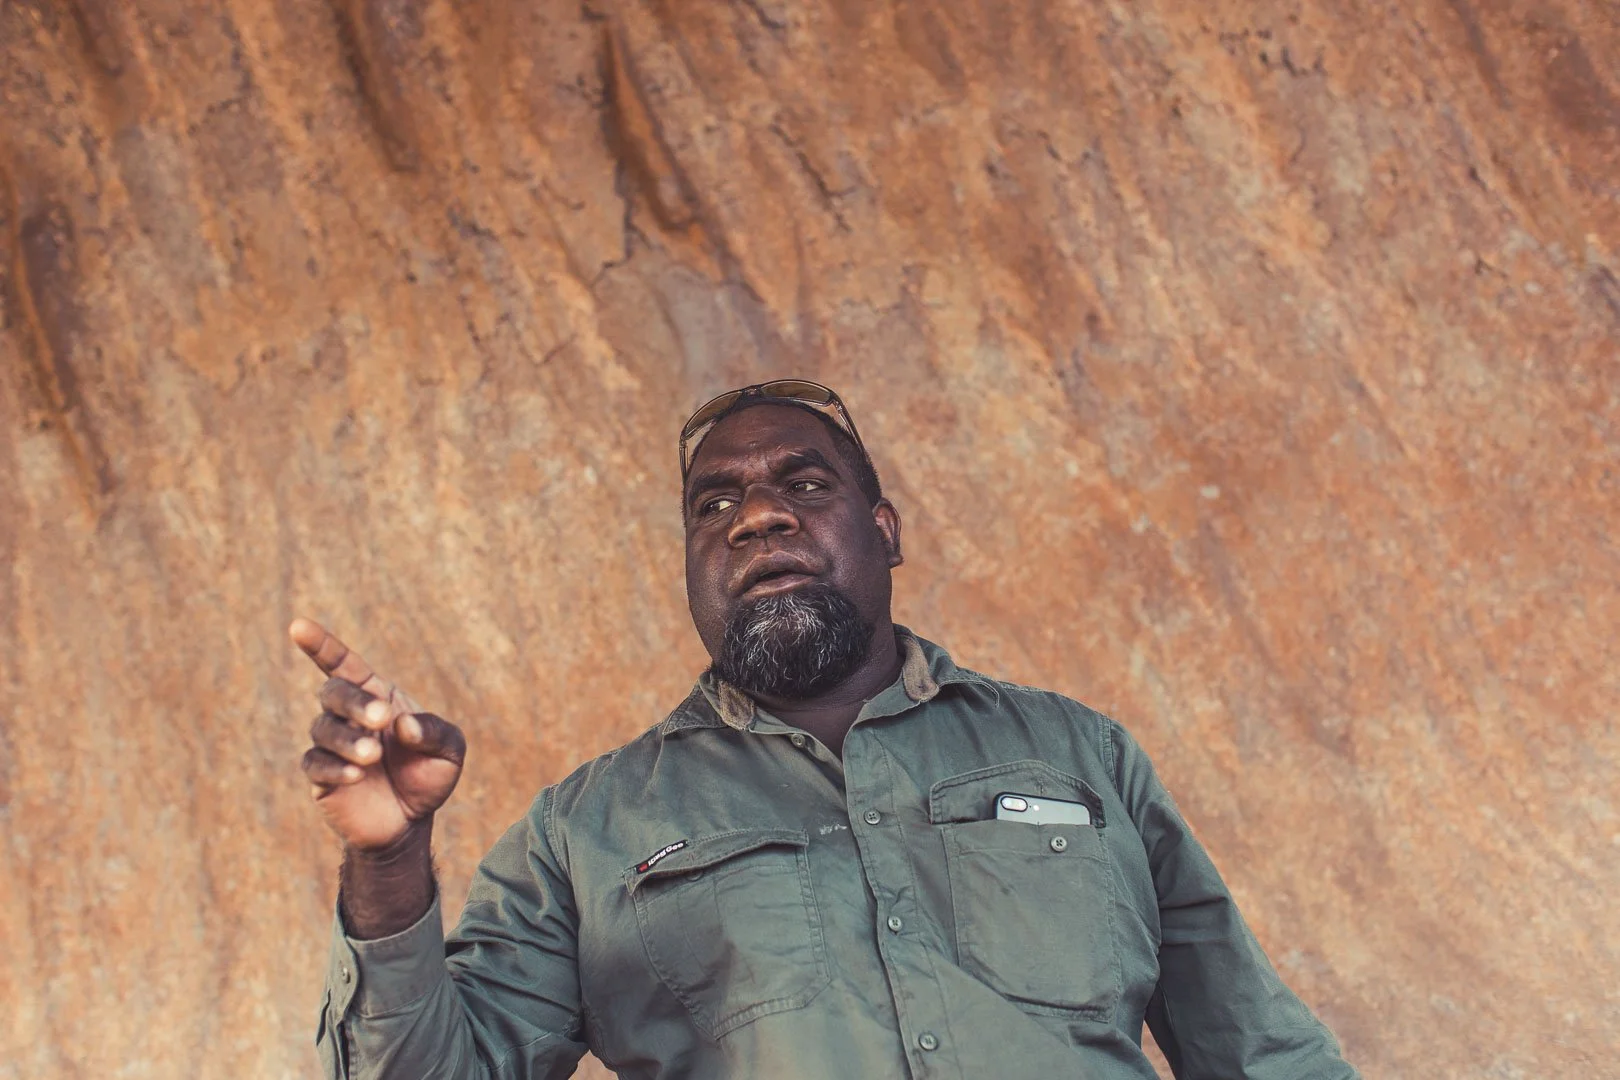
Lake Amadeus-Mt. Connor-6.jpg View fullsize
Lake Amadeus-Mt. Connor-10.jpg View fullsize
Uluru-20.jpg View fullsize
Uluru-31.jpg View fullsize
Glen Helen-2.jpg View fullsize
Glen Helen-24.jpg View fullsize
Glen Helen-25.jpg View fullsize
Glen Helen-29.jpg View fullsize
Glen Helen-32.jpg View fullsize
Alice-6.jpg View fullsize
Glen Helen-6.jpg View fullsize
Alice Springs-5.jpg View fullsize
Alice Springs-12.jpg View fullsize
Alice Springs-13.jpg View fullsize
Alice Springs-14.jpg View fullsize
Alice Springs.jpg View fullsize
Owl Desert Park.jpg View fullsize
Glen Helen-11.jpg View fullsize
Glen Helen-16.jpg View fullsize
Uluru-18.jpg View fullsize
Alice-4.jpg View fullsize
Glen Helen-17.jpg View fullsize
Alice.jpg View fullsize
Uluru-17.jpg View fullsize
Uluru-6.jpg View fullsize
Uluru-25.jpg View fullsize
Uluru-10.jpg View fullsize
Uluru-26.jpg View fullsize
Field Of Lights Dawn.jpg View fullsize
Lake Amadeus-Mt. Connor-2.jpg View fullsize
Uluru sunrise trees.jpg View fullsize
Glen Helen-10.jpg View fullsize
Coroboree Rock Astro.jpg View fullsize
Coroboree Rock Pano.jpg View fullsize
Glen Helen-3.jpg View fullsize
Glen Helen.jpg View fullsize
Uluru-3.jpg View fullsize
Uluru-5.jpg View fullsize
Uluru Emu Dreaming Astro (Copy)
Kata Tjuta-7.jpg
Kata Tjuta-4.jpg
Uluru-2.jpg
Uluru-3.jpg
Uluru-9.jpg
Uluru-11.jpg
Uluru-13.jpg
Uluru-23.jpg
Uluru.jpg
Uluru-38.jpg
Field Of Lights Dawn-2.jpg
Lake Amadeus-Mt. Connor-6.jpg
Lake Amadeus-Mt. Connor-10.jpg
Uluru-20.jpg
Uluru-31.jpg
Glen Helen-2.jpg
Glen Helen-24.jpg
Glen Helen-25.jpg
Glen Helen-29.jpg
Glen Helen-32.jpg
Alice-6.jpg
Glen Helen-6.jpg
Alice Springs-5.jpg
Alice Springs-12.jpg
Alice Springs-13.jpg
Alice Springs-14.jpg
Alice Springs.jpg
Owl Desert Park.jpg
Glen Helen-11.jpg
Glen Helen-16.jpg
Uluru-18.jpg
Alice-4.jpg
Glen Helen-17.jpg
Alice.jpg
Uluru-17.jpg
Uluru-6.jpg
Uluru-25.jpg
Uluru-10.jpg
Uluru-26.jpg
Field Of Lights Dawn.jpg
Lake Amadeus-Mt. Connor-2.jpg
Uluru sunrise trees.jpg
Glen Helen-10.jpg
Coroboree Rock Astro.jpg
Coroboree Rock Pano.jpg
Glen Helen-3.jpg
Glen Helen.jpg
Uluru-3.jpg
Uluru-5.jpg

Art Shop ‍ ‍Photo Gallery‍ ‍FAQS   Testimonials   Camera Gear   Travel Photography Blog   Terms and Conditions

Alfonso Calero Photography, ABN 76 141 357 235, Sydney, NSW, 2000, Australia   61294279636   alfonso@alfonso.com.au