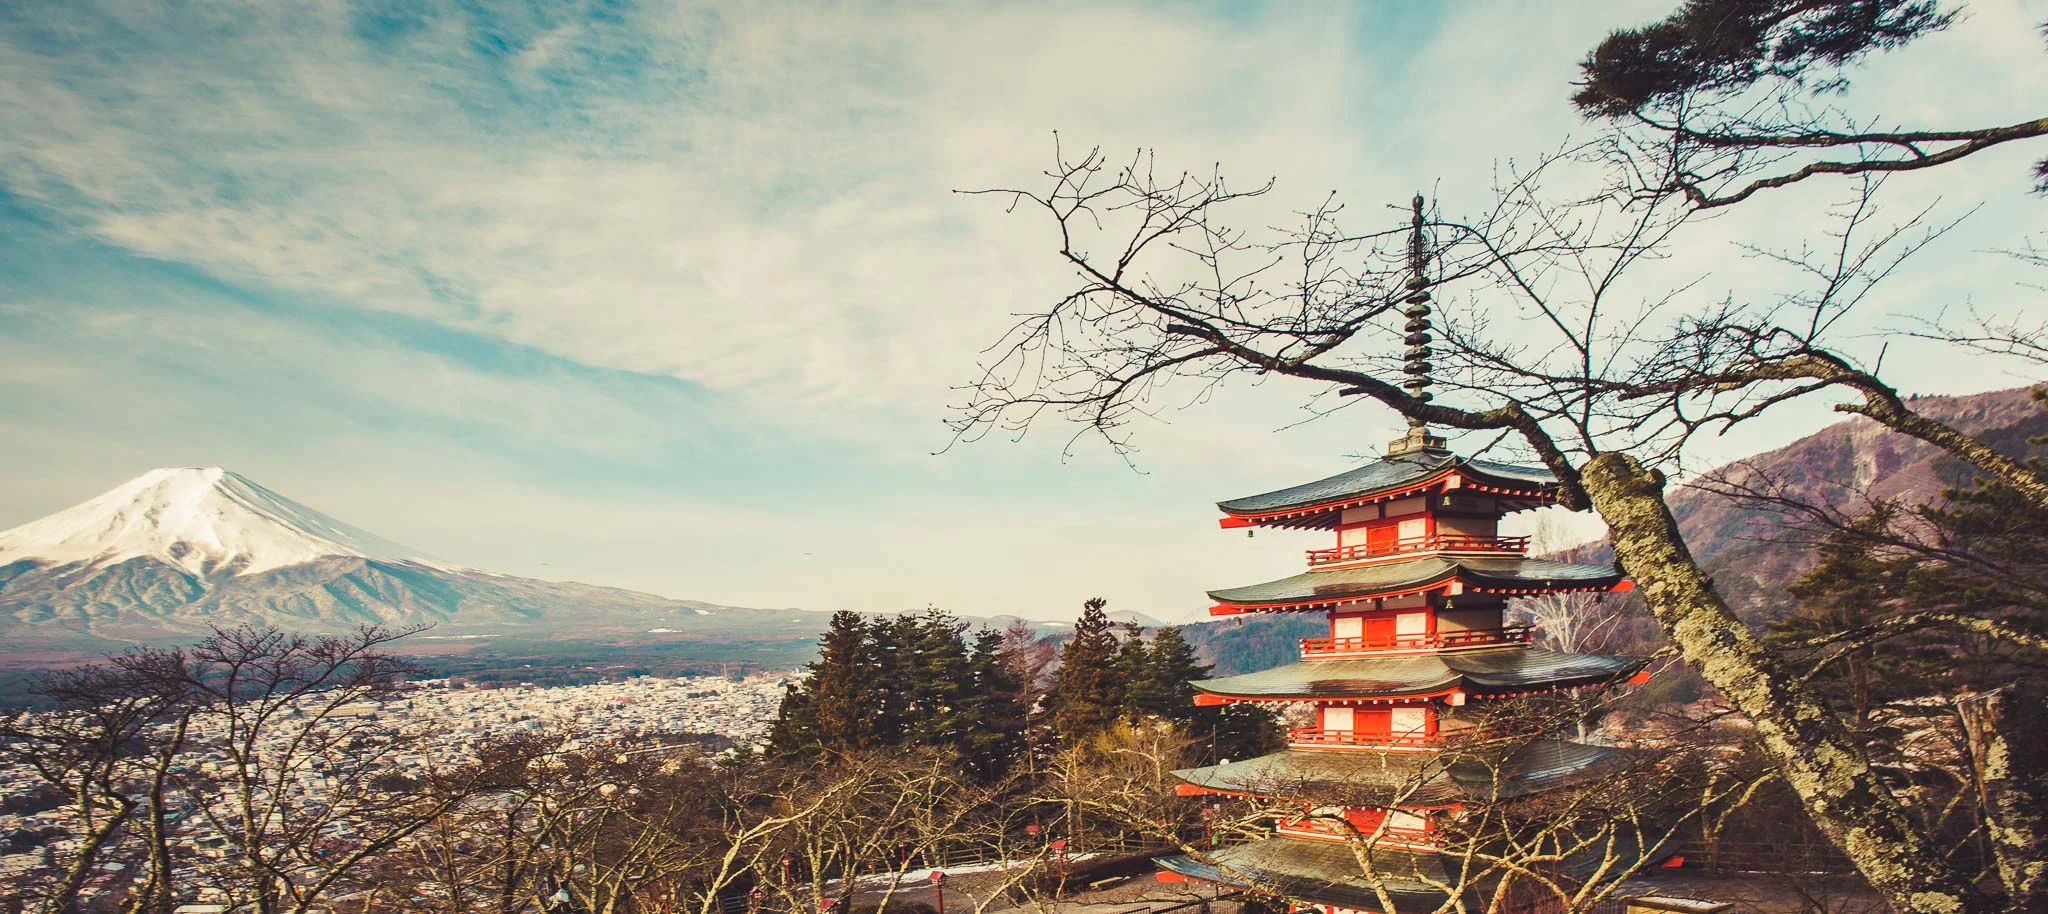
Photo Tours
&
Tips on Travel Photography

Brisbane's 5 Best Night Photo Locations
On a recent trip to Brisbane to shoot some new content and visit staff, I was flabbergasted to see how much Brisbane has changed over the last 4 years. The skyline as you can see from the night scapes shots has really grown into a major Australian Metropolis.

Brisbane's 5 Best Photo Locations
Brisbane's 5 Best Night Photo Locations
On a recent trip to Brisbane to shoot some new content and visit staff, I was flabbergasted to see how much Brisbane has changed over the last 4 years. The skyline as you can see from the night scapes shots has really grown into a major Australian Metropolis.
Below are 5 suggested locations that will surely bring out the best in this beautiful city.

Google Map Walking Route
Kangaroo Point Cliffs Park
At sunset you can capture the many colours of the sky and at dusk you can capture the golden glow of the buildings. The warm tones of the sun at this time brings out the rich colours of the rock.
Kangaroo point cliffs is a great location because you have this contrast of nature versus city life. Start with short exposures and as the light goes down your exposures become longer. Be patient and wait for the boats to come along.

Kangaroo Point Cliffs Park

Kangaroo Point Boardwalk
Bar Spritz
Bar Spritz is an Italian Bar where you can get great views of the city. Next to the bar you can find a steep stair access down to the waters edge. From there you can walk along the river bank to River life Ferry Wharf.
Here you will find many access points to shoot at different angles towards the city. Having a strong torch to light paint the foreground trees and shrubs will come in handy,

Cliffs Of Kangaroo Point

River Bank

Story Bridge
At night the cars, lights and buildings create a vibrant energy on the story bridge. You can feel it when you walk along it, it’s such a buzz. You may have to switch to a faster shutter Speed to avoid the ground shaking from passing cars. This will help avoid blurry shots so best to turn on your lens stabilisation or vibration reduction if available.
Just by looking up and having a low angle you can create architectural abstract forms of the bridge. A tungsten white balance was used to create a bluish tone.
Alternatively, you can shoot in Auto White Balance Mode if you are shooting in a RAW instead of JPG format. This will allow you much more control in edit to adjust the colour temperature as you please.

Story Bridge
Wilsons Outlook Reserve
There are a few popular spots along Bowen terrace where you can set your camera up and capture some spectacular Brisbane city landscapes. I wanted to choose a perspective where the buildings were centered in the composition, so I choose a spot at Wilsons outlook.
Tilt the tripod so the bridge seems level and use a wide focal length 18mm or wider. The longer your exposures are the more the clouds will start to dance.

Wilsons Outlook Reserve
5. New Farm River Walk
From Wilsons Outlook Reserve you will find a lift to take you down to the water’s edge. Shooting from a lower angle along the boardwalk will allow to a new perspective.
Creative Techniques: Just for fun you can try some funky techniques of zooming in and out while the shutter is open. You can also try rocking your tripod back and forth gently to create a abstract expressionist style of shot. Last but not least you can also experiment with multiple exposures by covering your lens and moving your shot a few inches and then uncovering your lens to reveal some interesting effects.
Light Painting Techniques: On our night workshops if time permits we also experiment with light painting using led lights to create orbs. Juxtoposted with the bridge in the background can add another point of interest in the foreground.
Felon Brewery
When you are done shooting just next door is a fabulous brewery/restaurant. A great spot to have dinner and a beer. Don’t forget to try their wood fired pizzas!

New Farm River Walk
MY TRAVEL PHOTOGRAPHY KIT
Camera: Fujifilm XT3 | Lenses: 35mm (F1.4) & 14mm (F2.8) | Tripod: Sirui T024SX | Macbook Pro 13 inch | Total Weight: 5 Kg.
Camera Settings: Depending on many lighting situations these settings may vary from shot to shot but as a benchmark range to work from here are some basic settings.
F11 | ISO 100 | 30 Seconds
Join us on a Night Photography or Day Course in Brisbane.
Faroe Islands Epic Photo Locations
Faroe Islands Epic Locations

Gongutúrur / Hvithamar Trailhead
*Sudoroy Island*
1. *Ásmundarstakkur*: A scenic cliff with a historic lighthouse. Tips: Capture the lighthouse from a low angle, emphasizing the dramatic cliffs.

Ásmundarstakkur
2. *Sumba*: A picturesque village with traditional Faroese houses. Tips: Focus on the colorful houses, and consider capturing the village from a high vantage point.

Sumba
3. *Famjin*: A charming village with a beautiful church. Tips: Take a wide-angle shot of the church and the surrounding landscape.

Famjin Church
4. *Kikarin á Eggini*: A scenic viewpoint with a unique rock formation. Tips: Experiment with different angles and compositions to capture the unique shape of the rock.
*Vagar Island*
1. *Bour*: A scenic village with a beautiful lake. Tips: Capture the reflections of the surrounding hills in the lake.

Bour
2. *Mulafossur Falls*: A stunning waterfall. Tips: Get close to the falls for a dramatic shot, or capture the falls from a distance to show the surrounding landscape.

Mulafossur Falls
3. *Witches Finger*: A unique rock formation. Tips: Experiment with different angles and lighting conditions to capture the unique shape of the rock.
4. Slavecliff Lake (also known as Sørvágsvatn or Leitisvatn) on the Faroe Islands is a stunning location for photography! 200DKK Hiking Fee ( June, 2024)

Slavecliff Lake
*Kalsoy Island*
1. *Trollanes*: A scenic village with traditional Faroese houses. Tips: Focus on the colorful houses and the surrounding landscape. 200DKK Hiking Fee (June,2024) A.K.A. James Bond Island where Daniel Craig (Spoil Alert) dies in his last movie. They even have a gravestone up the top of that hill.

Trollanes
2. *Mikladalur*: A picturesque village with a beautiful valley. Tips: Capture the valley from a high vantage point, and consider using a wide-angle lens.

*Burdoy Island*
1. *Klaksvik*: A charming town with a beautiful harbor. Tips: Capture the colorful boats and the surrounding hills.
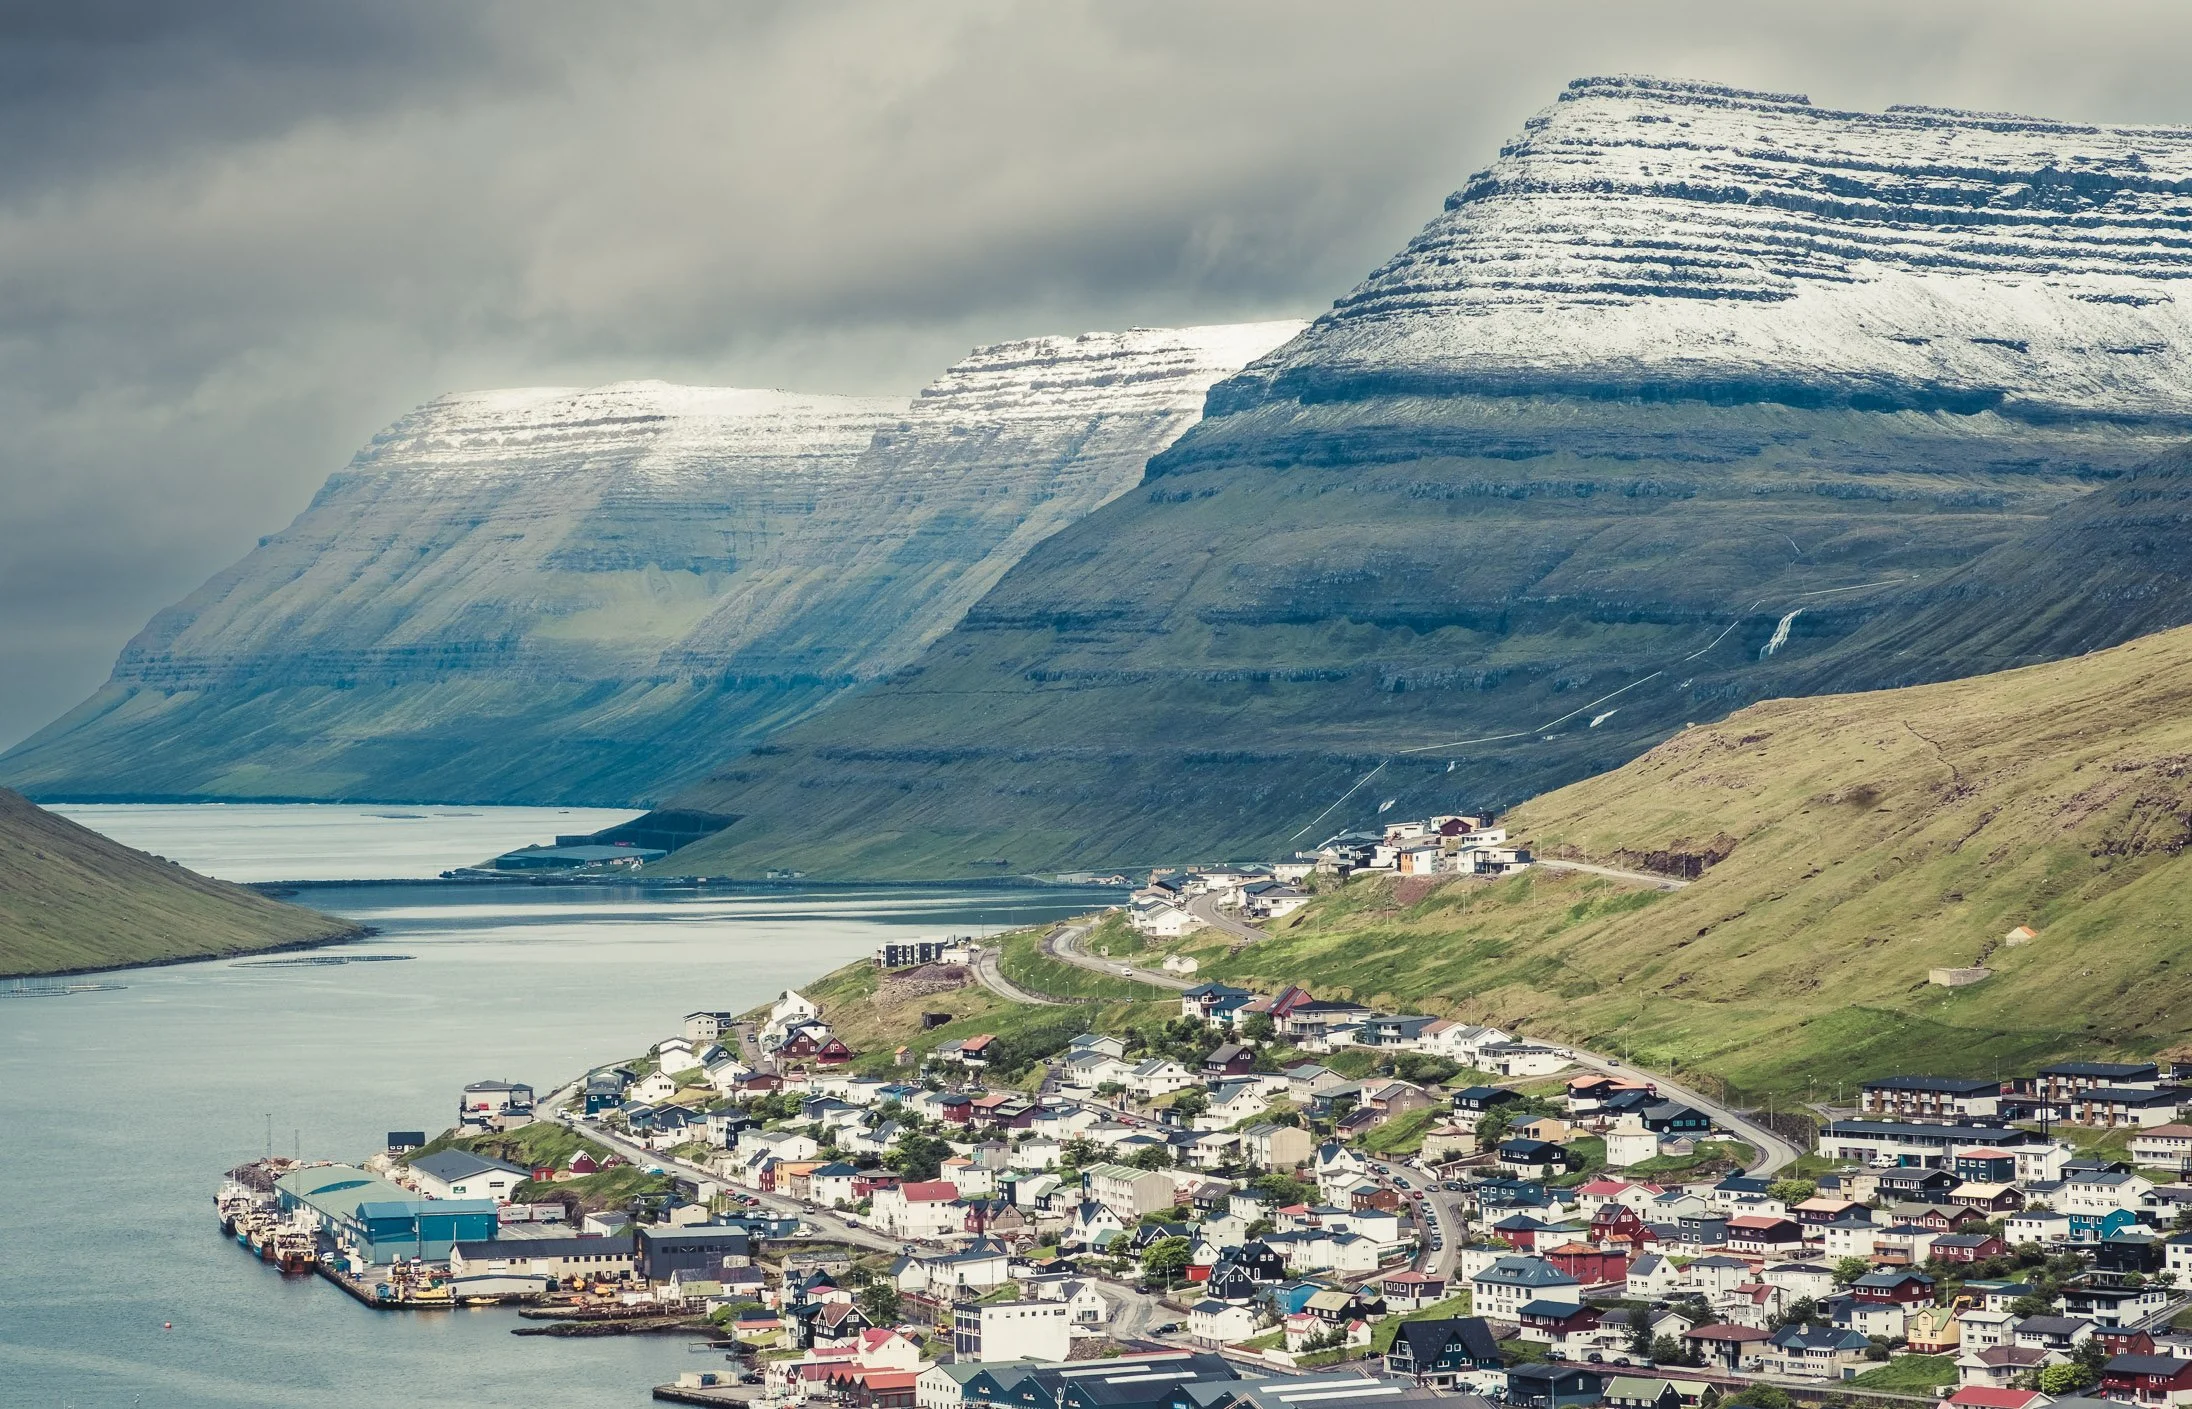
Klaksvik
2. *Vidaredi*: A scenic viewpoint with a unique rock formation. Tips: Experiment with different angles and compositions to capture the unique shape of the rock.

Vidaredi
*Esturoy Island*
1. *Gongutúrur / Hvithamar Trailhead*: A scenic hiking trail with stunning views. Tips: Capture the views from the trail, and consider using a wide-angle lens.
2. *Gjogv*: A picturesque village with a beautiful gorge. Tips: Focus on the colorful houses and the surrounding landscape.

Gjogv

Eidi near Gjogv
*Streymoy Island*
1. *Torshavn Old Town*: A charming historic town with colorful houses. Tips: Capture the narrow streets and the traditional Faroese architecture. Grass on roofs for insulation in winter.

Torshavn Old Town
2. *Saksun*: A scenic village with a beautiful beach. Tips: Focus on the beach and the surrounding hills.

Saksun
3. *Tjornuvik*: A picturesque village with a beautiful valley. Tips: Capture the valley from a high vantage point, and consider using a wide-angle lens.
Remember to always respect the local environment and regulations, and enjoy your photography adventure in the Faroe Islands!
The Faroe Islands are a fantastic place to spot puffins! Here are some locations where you can find these adorable birds:

Nicknamed “sea parrots” – and sometimes “clowns of the sea“
1. _Mykines Island_: Known for its large puffin colony, Mykines is a must-visit for puffin enthusiasts.

Puffins are migratory birds that visit Mykines, and other areas of the Faroe Islands, during the summer breeding season. However, they usually arrive at the end of April and start leave at the beginning of September.
2. _Sørvágur_: This village on Vágar Island is close to the puffin colony at Sørvágsvatn Lake.
3. _Vestmanna Cliffs_: On the west coast of Streymoy Island, these cliffs are home to a large puffin colony.
4. _Tjørnuvík_: This village on Streymoy Island has a small puffin colony nearby.
5. _Eysturoy Island_: Several locations on this island, like the village of Eiði, have puffin colonies.

Eidi
6. _Nólsoy Island_: This small island is a puffin paradise, with a large colony and easy access.

There are about 500000 pairs of Atlantic puffins in the Faroe Islands.
When visiting these locations, remember to:
- Respect the birds' habitat and keep a safe distance.
- Avoid disturbing the grass and vegetation, as puffins nest in burrows.
- Follow local guidelines and rules for puffin watching.
- Be patient and enjoy the experience!
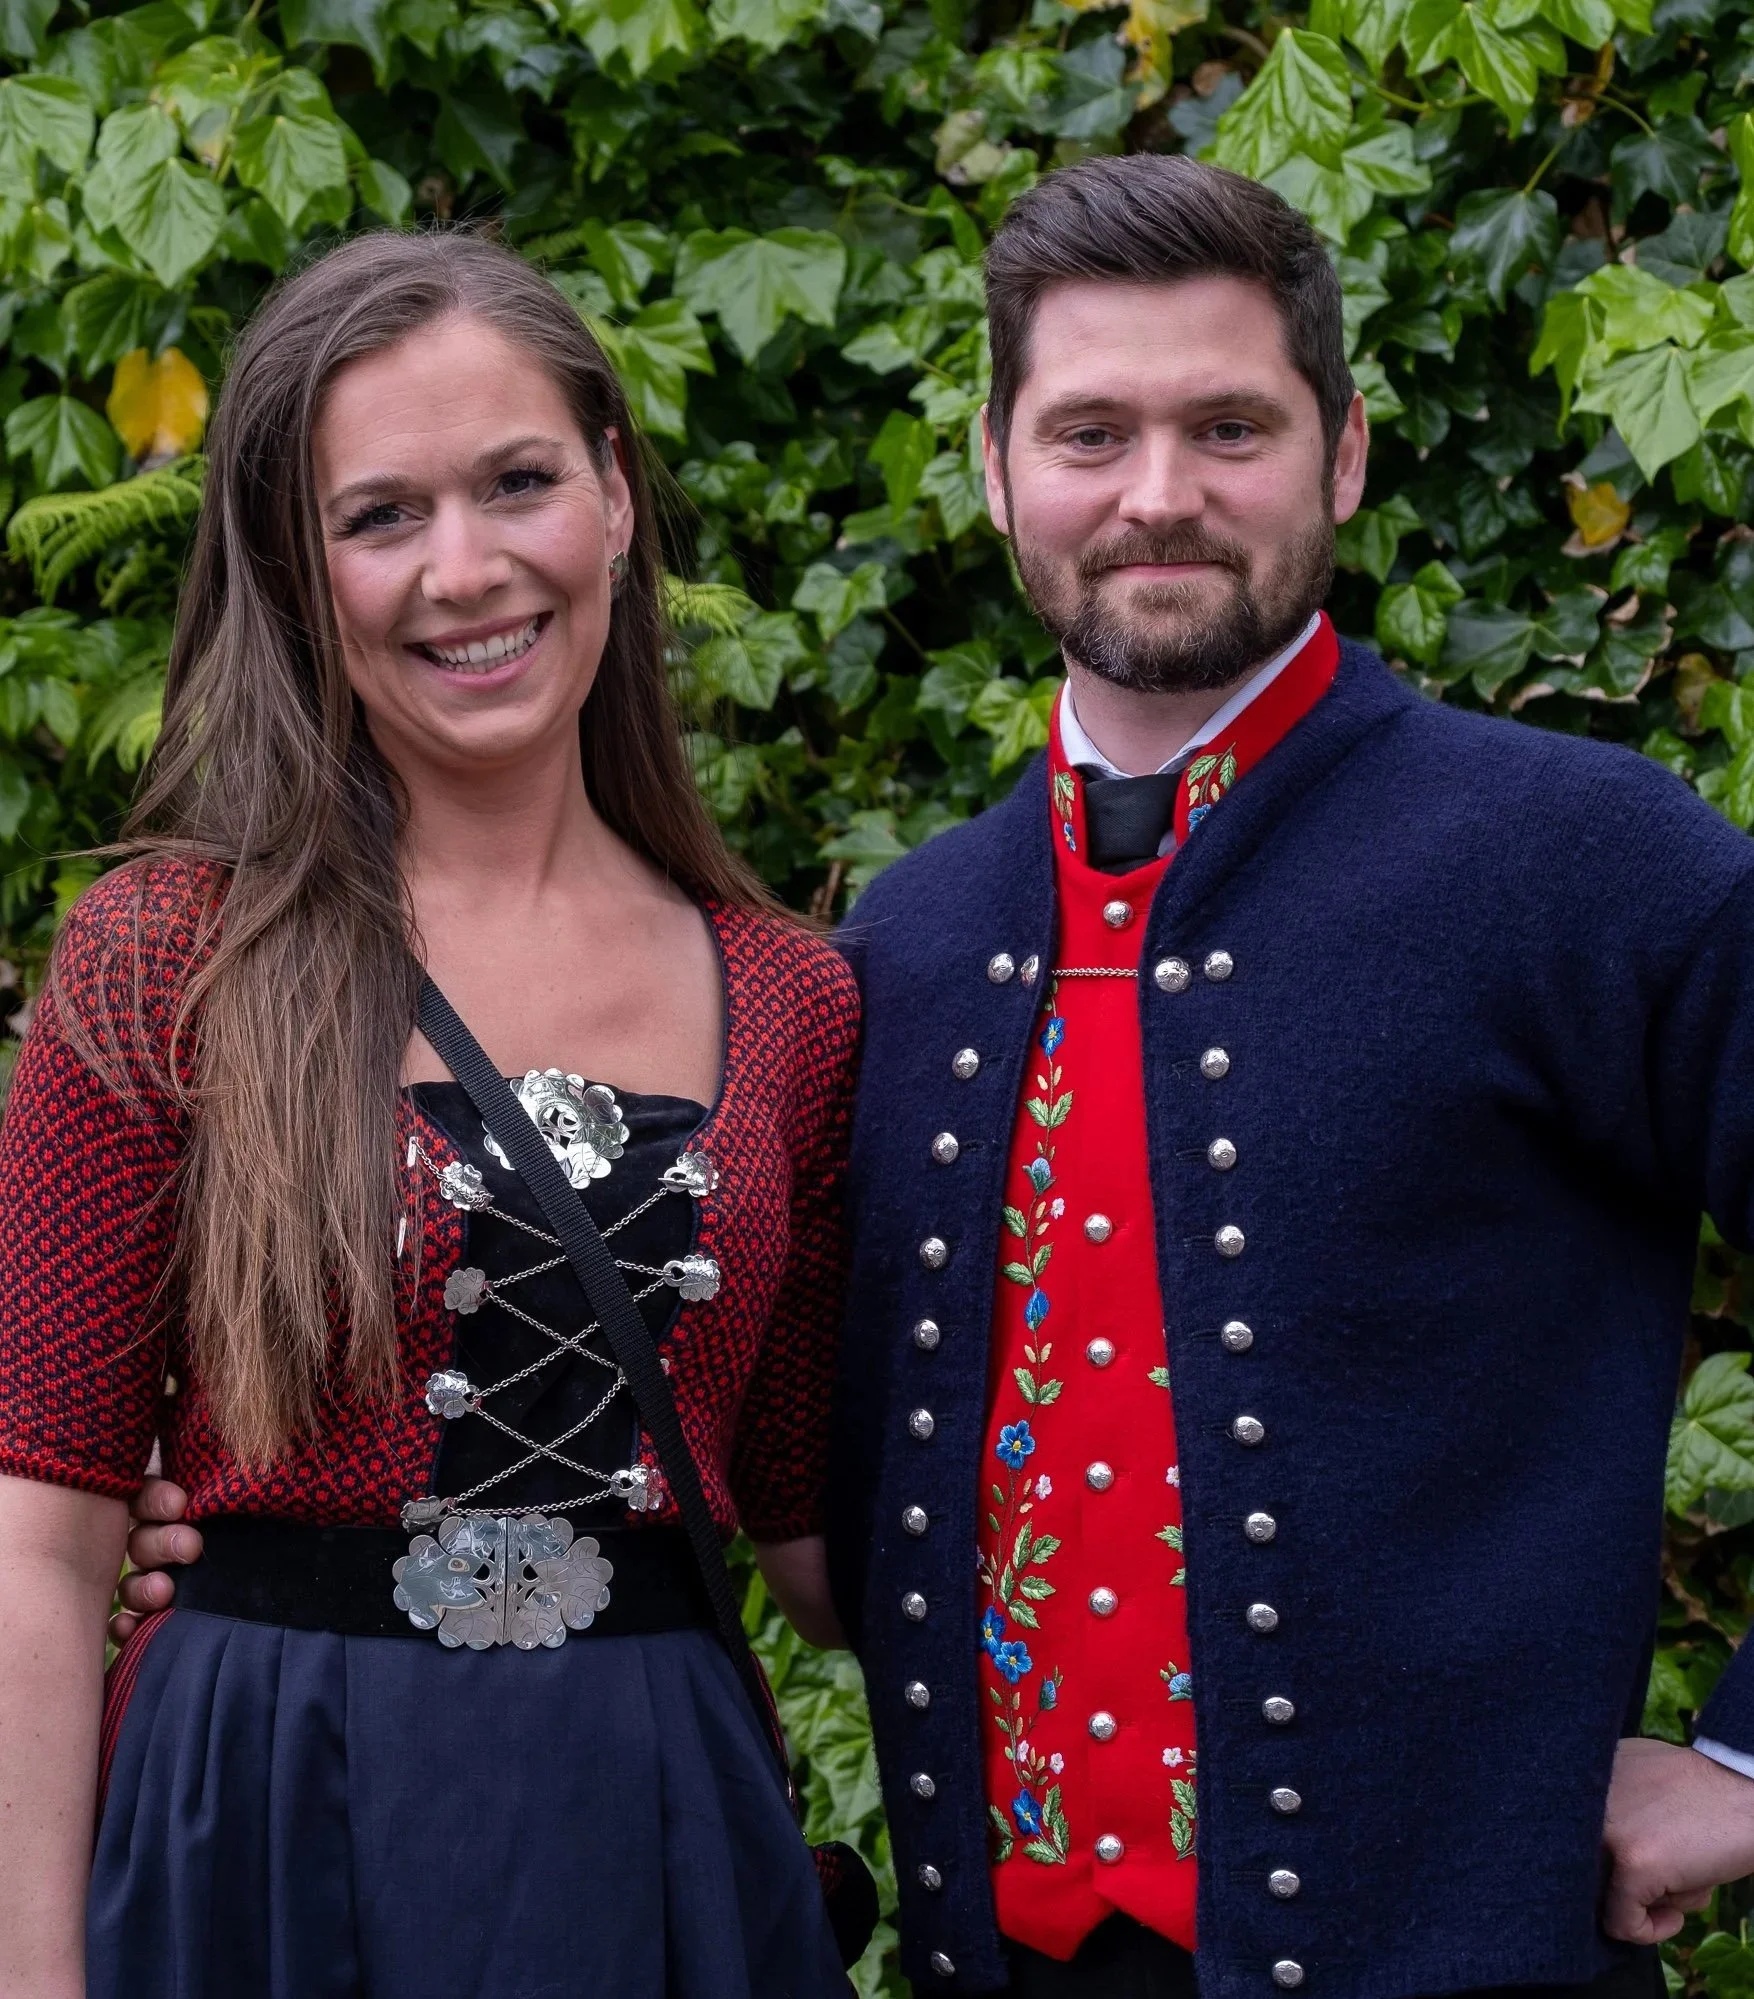
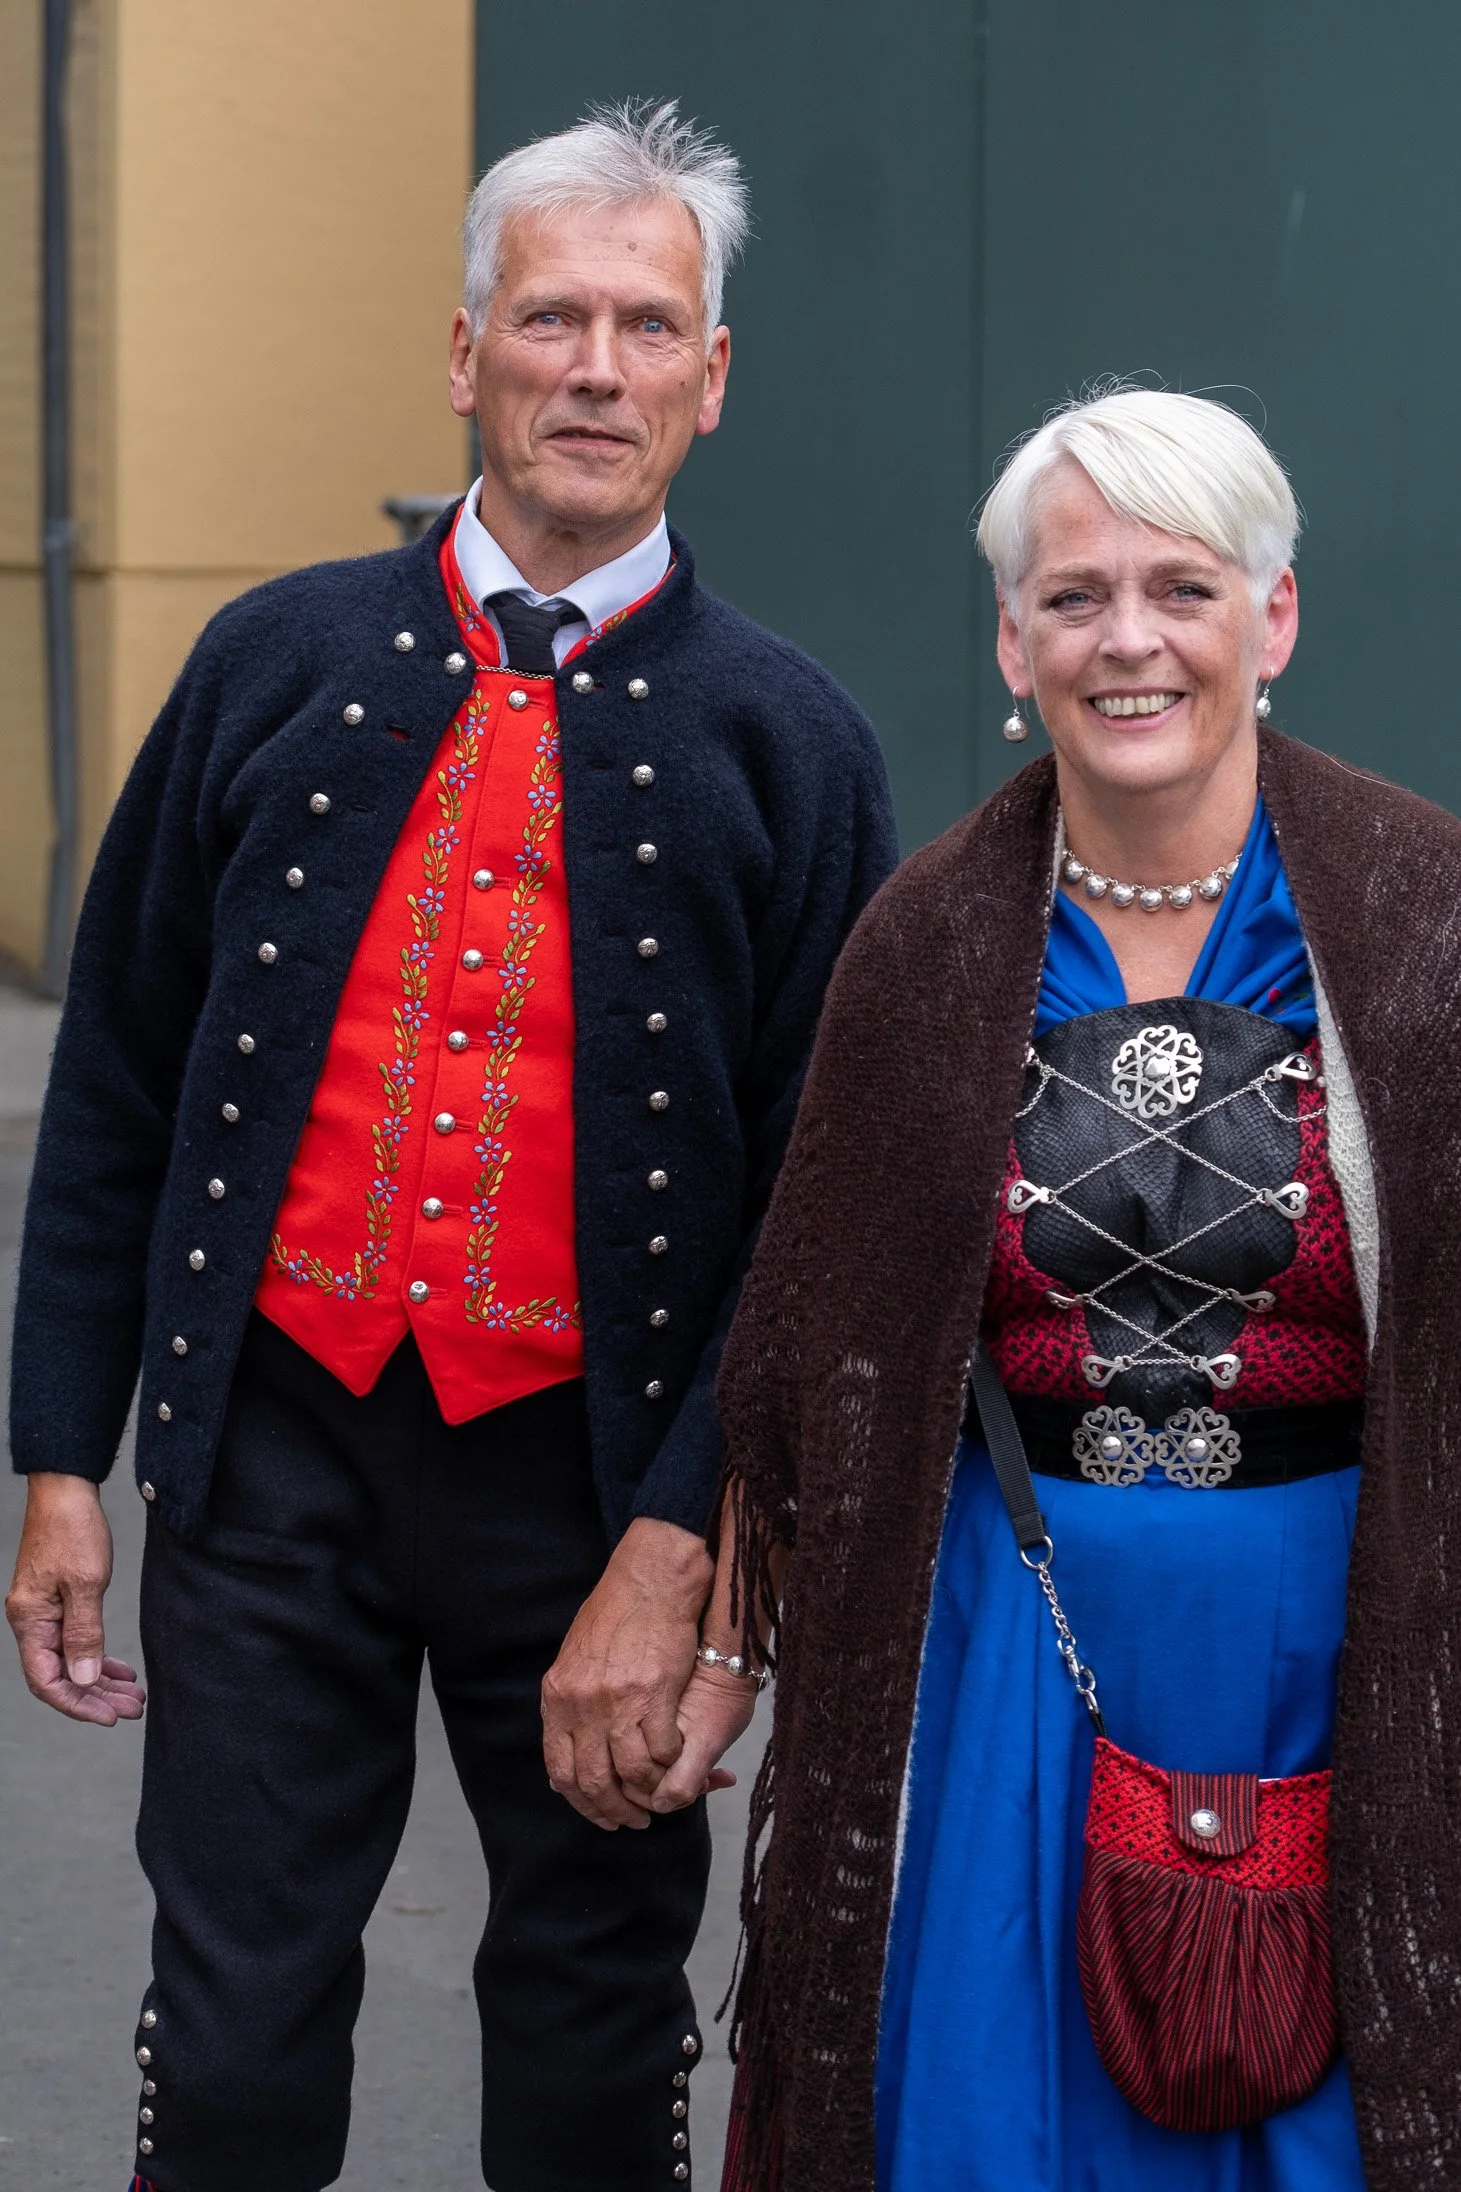
Faroese Traditional wear
Please note that puffins are most active during the breeding season (April to August), and some locations may require hiking or boat trips to access the colonies. Always prioritize safety and responsible wildlife tourism. Happy puffin spotting!
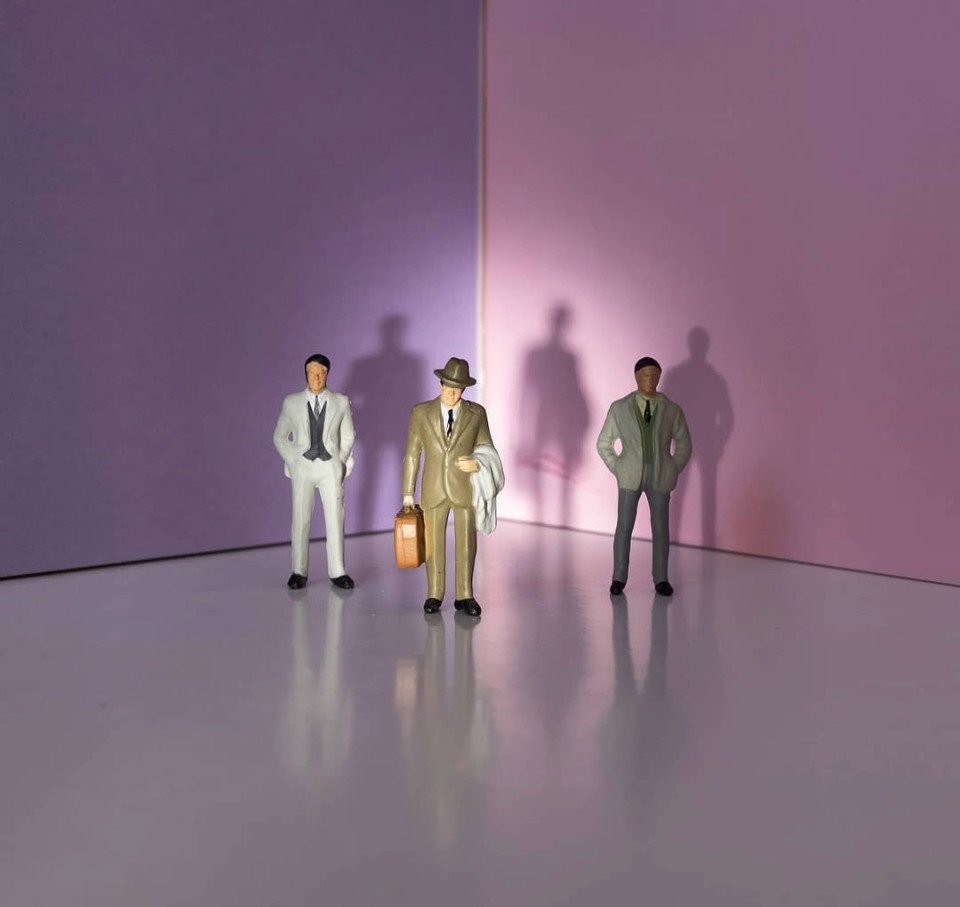
Little People Smartphone Photography Project
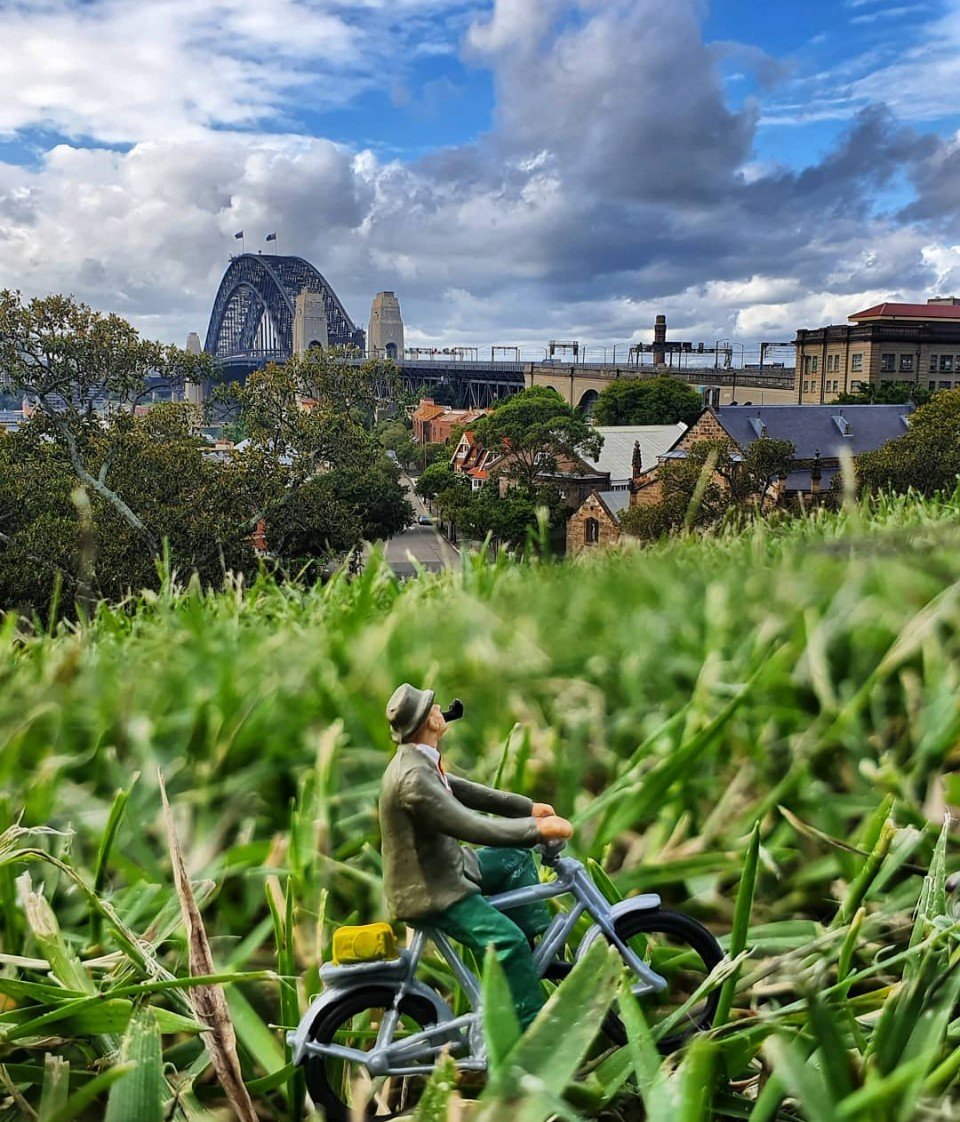
Environmental Macro Shots (Outdoor)
For many years I have been collecting little figurines usually used for train sets. Below is a video which gives you an overview of the different types of miniature photography. There are five different types of macro photography and a digital camera or smartphone can be used for any. In this article I only focus on using a smartphone (Google Pixel 9 Pro) in portrait mode. The challenge is to find the narrative in context to the environment or objects used.
5 Types of Miniature Photography
Environmental Macro Shots (Outdoor)
Outdoor scene with household items (Indoor)
Neutral Background Macro Shots (Indoor)
Minimal Macro Shots (indoor/outdoor)
Complex background scene (indoor)
Below is a short video of world famous artist Tatsuya Tanaka and how his set up has evolved over the years to produce calendars and books.
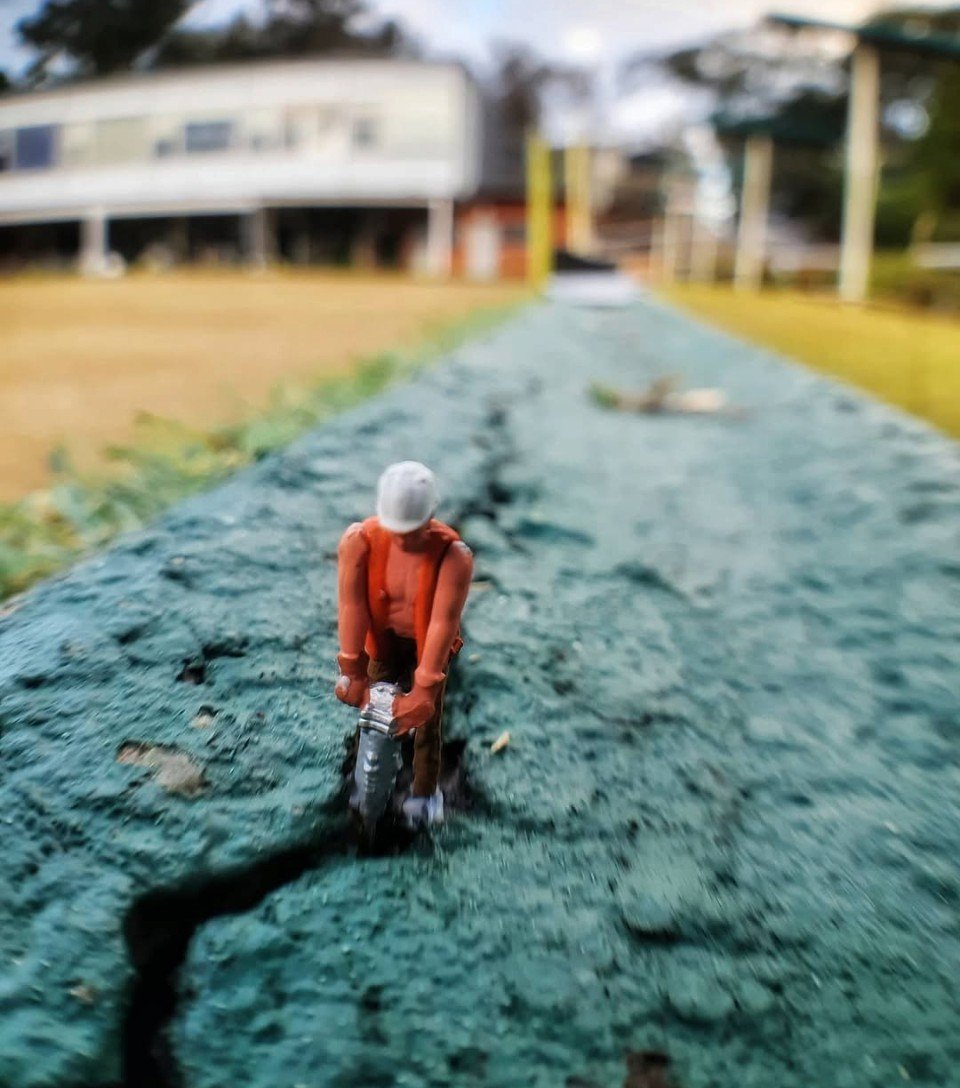
Environmental Macro Shots (Outdoor)
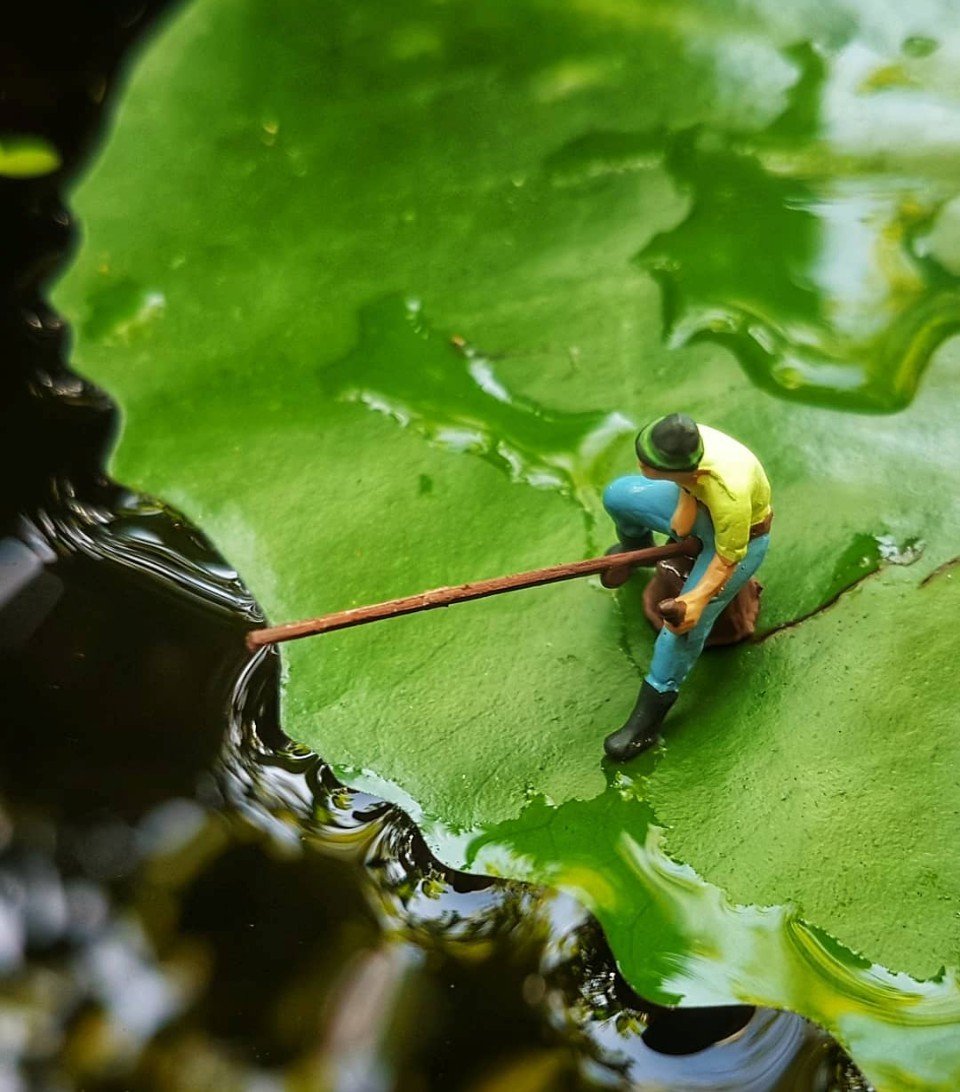
Environmental Macro Shots (Outdoor)
Neutral Background Macro Shots (Indoor)
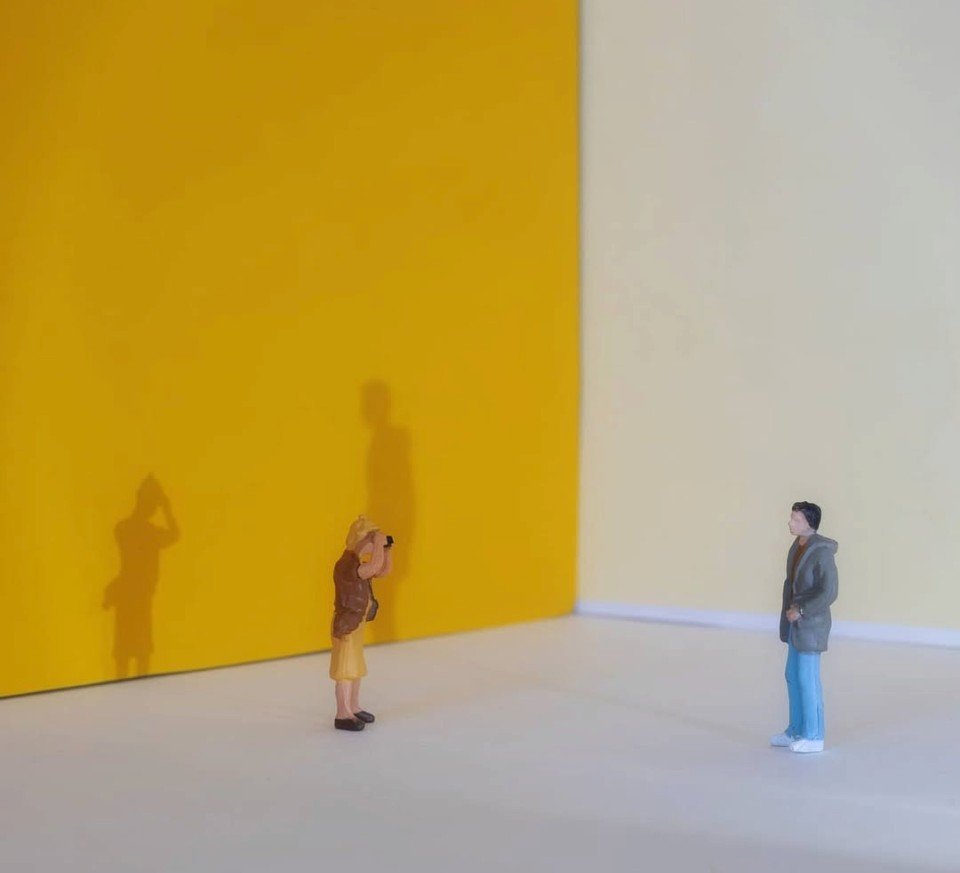
Neutral Background Macro Shots (Indoor)
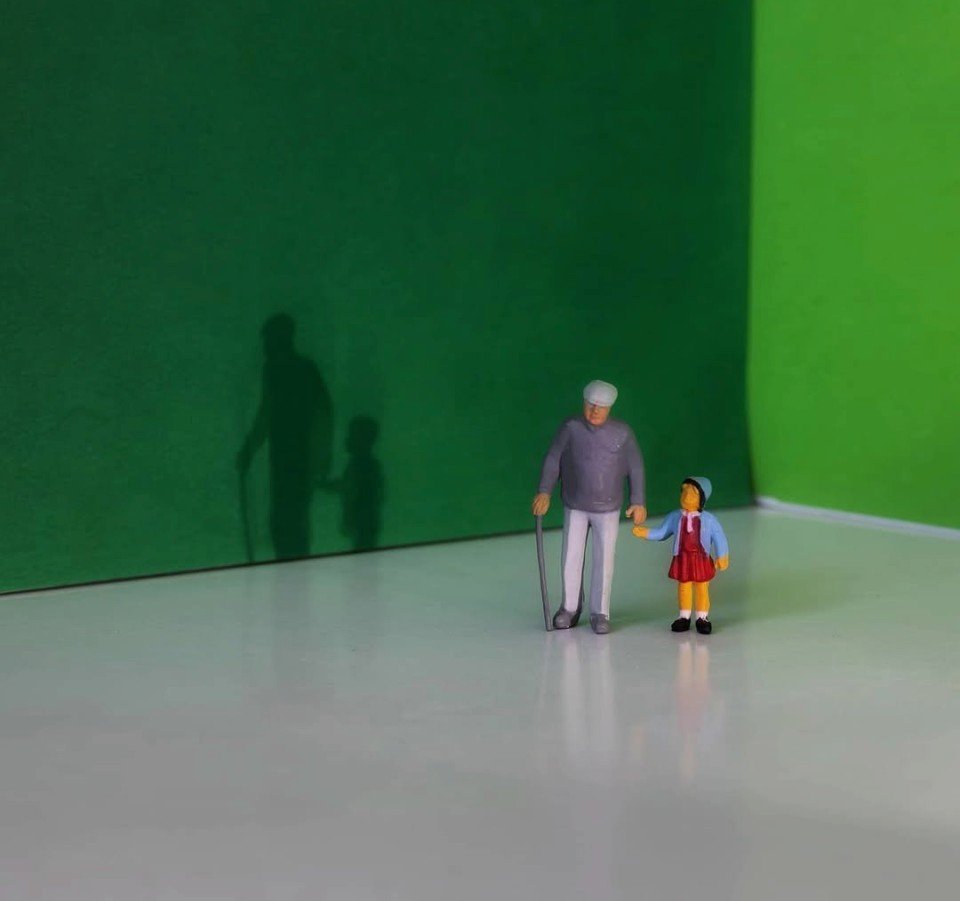
Neutral Background Macro Shots (Indoor)
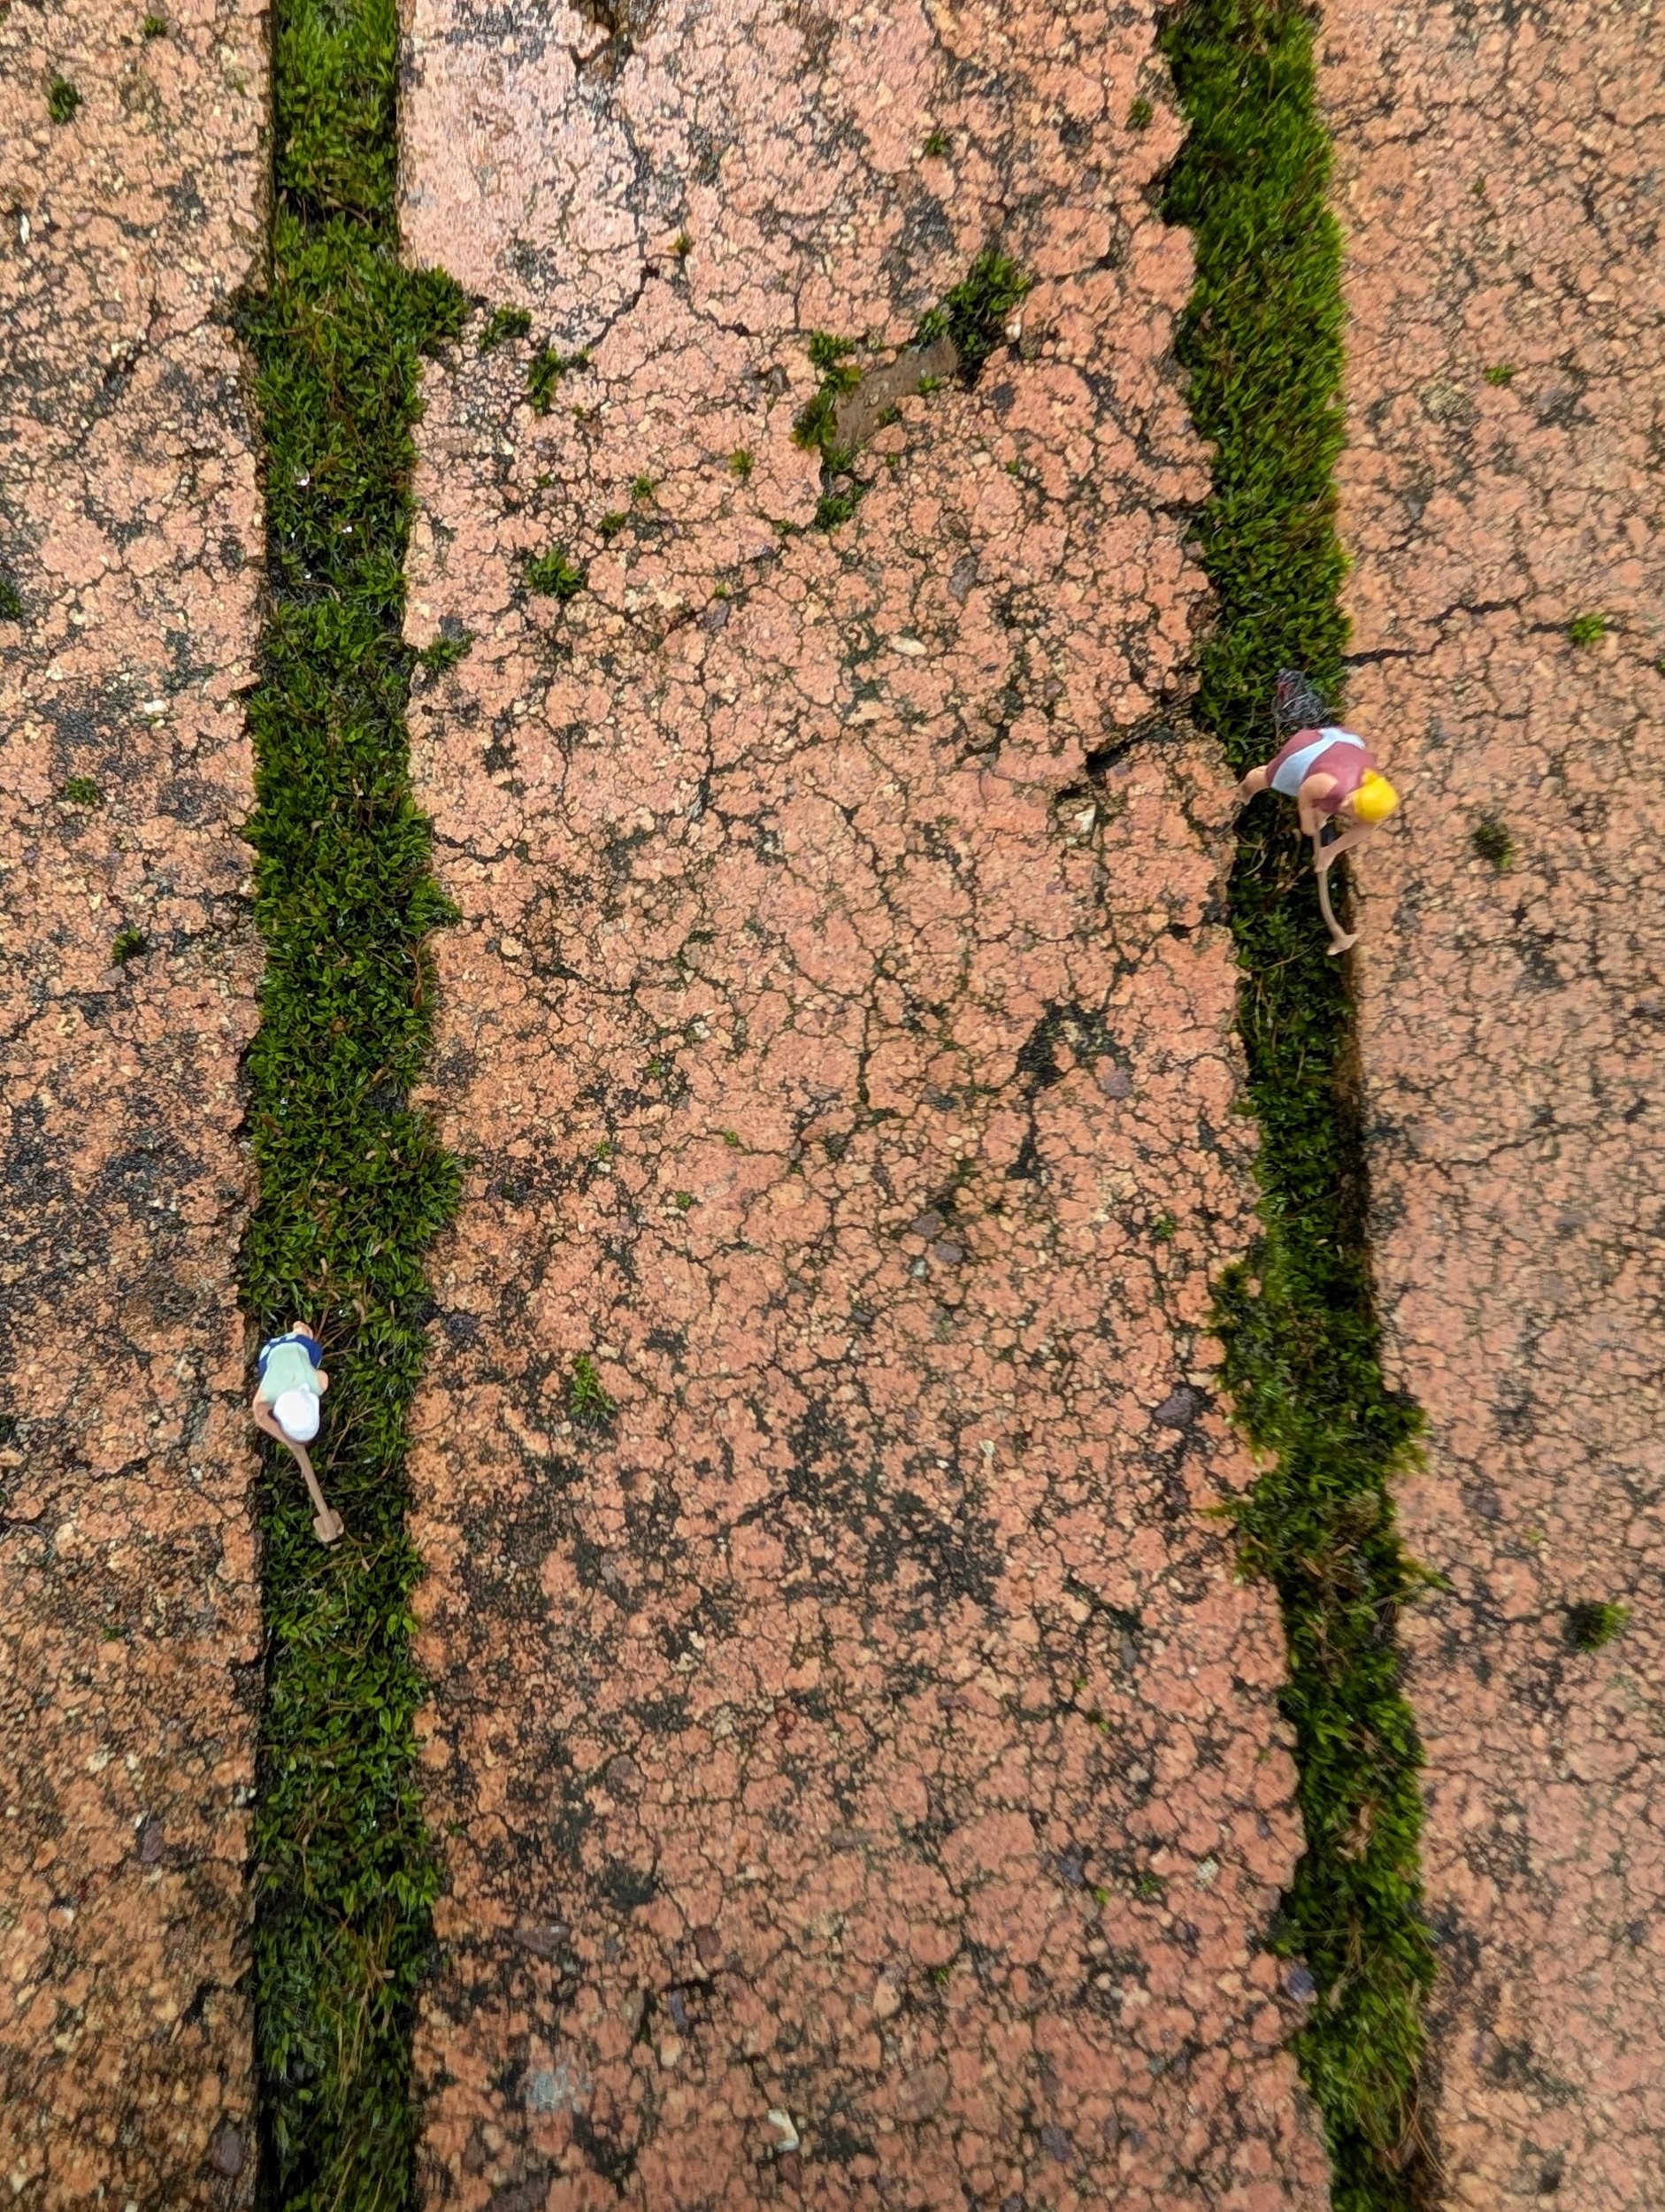
Environmental Macro Shots (Outdoor)
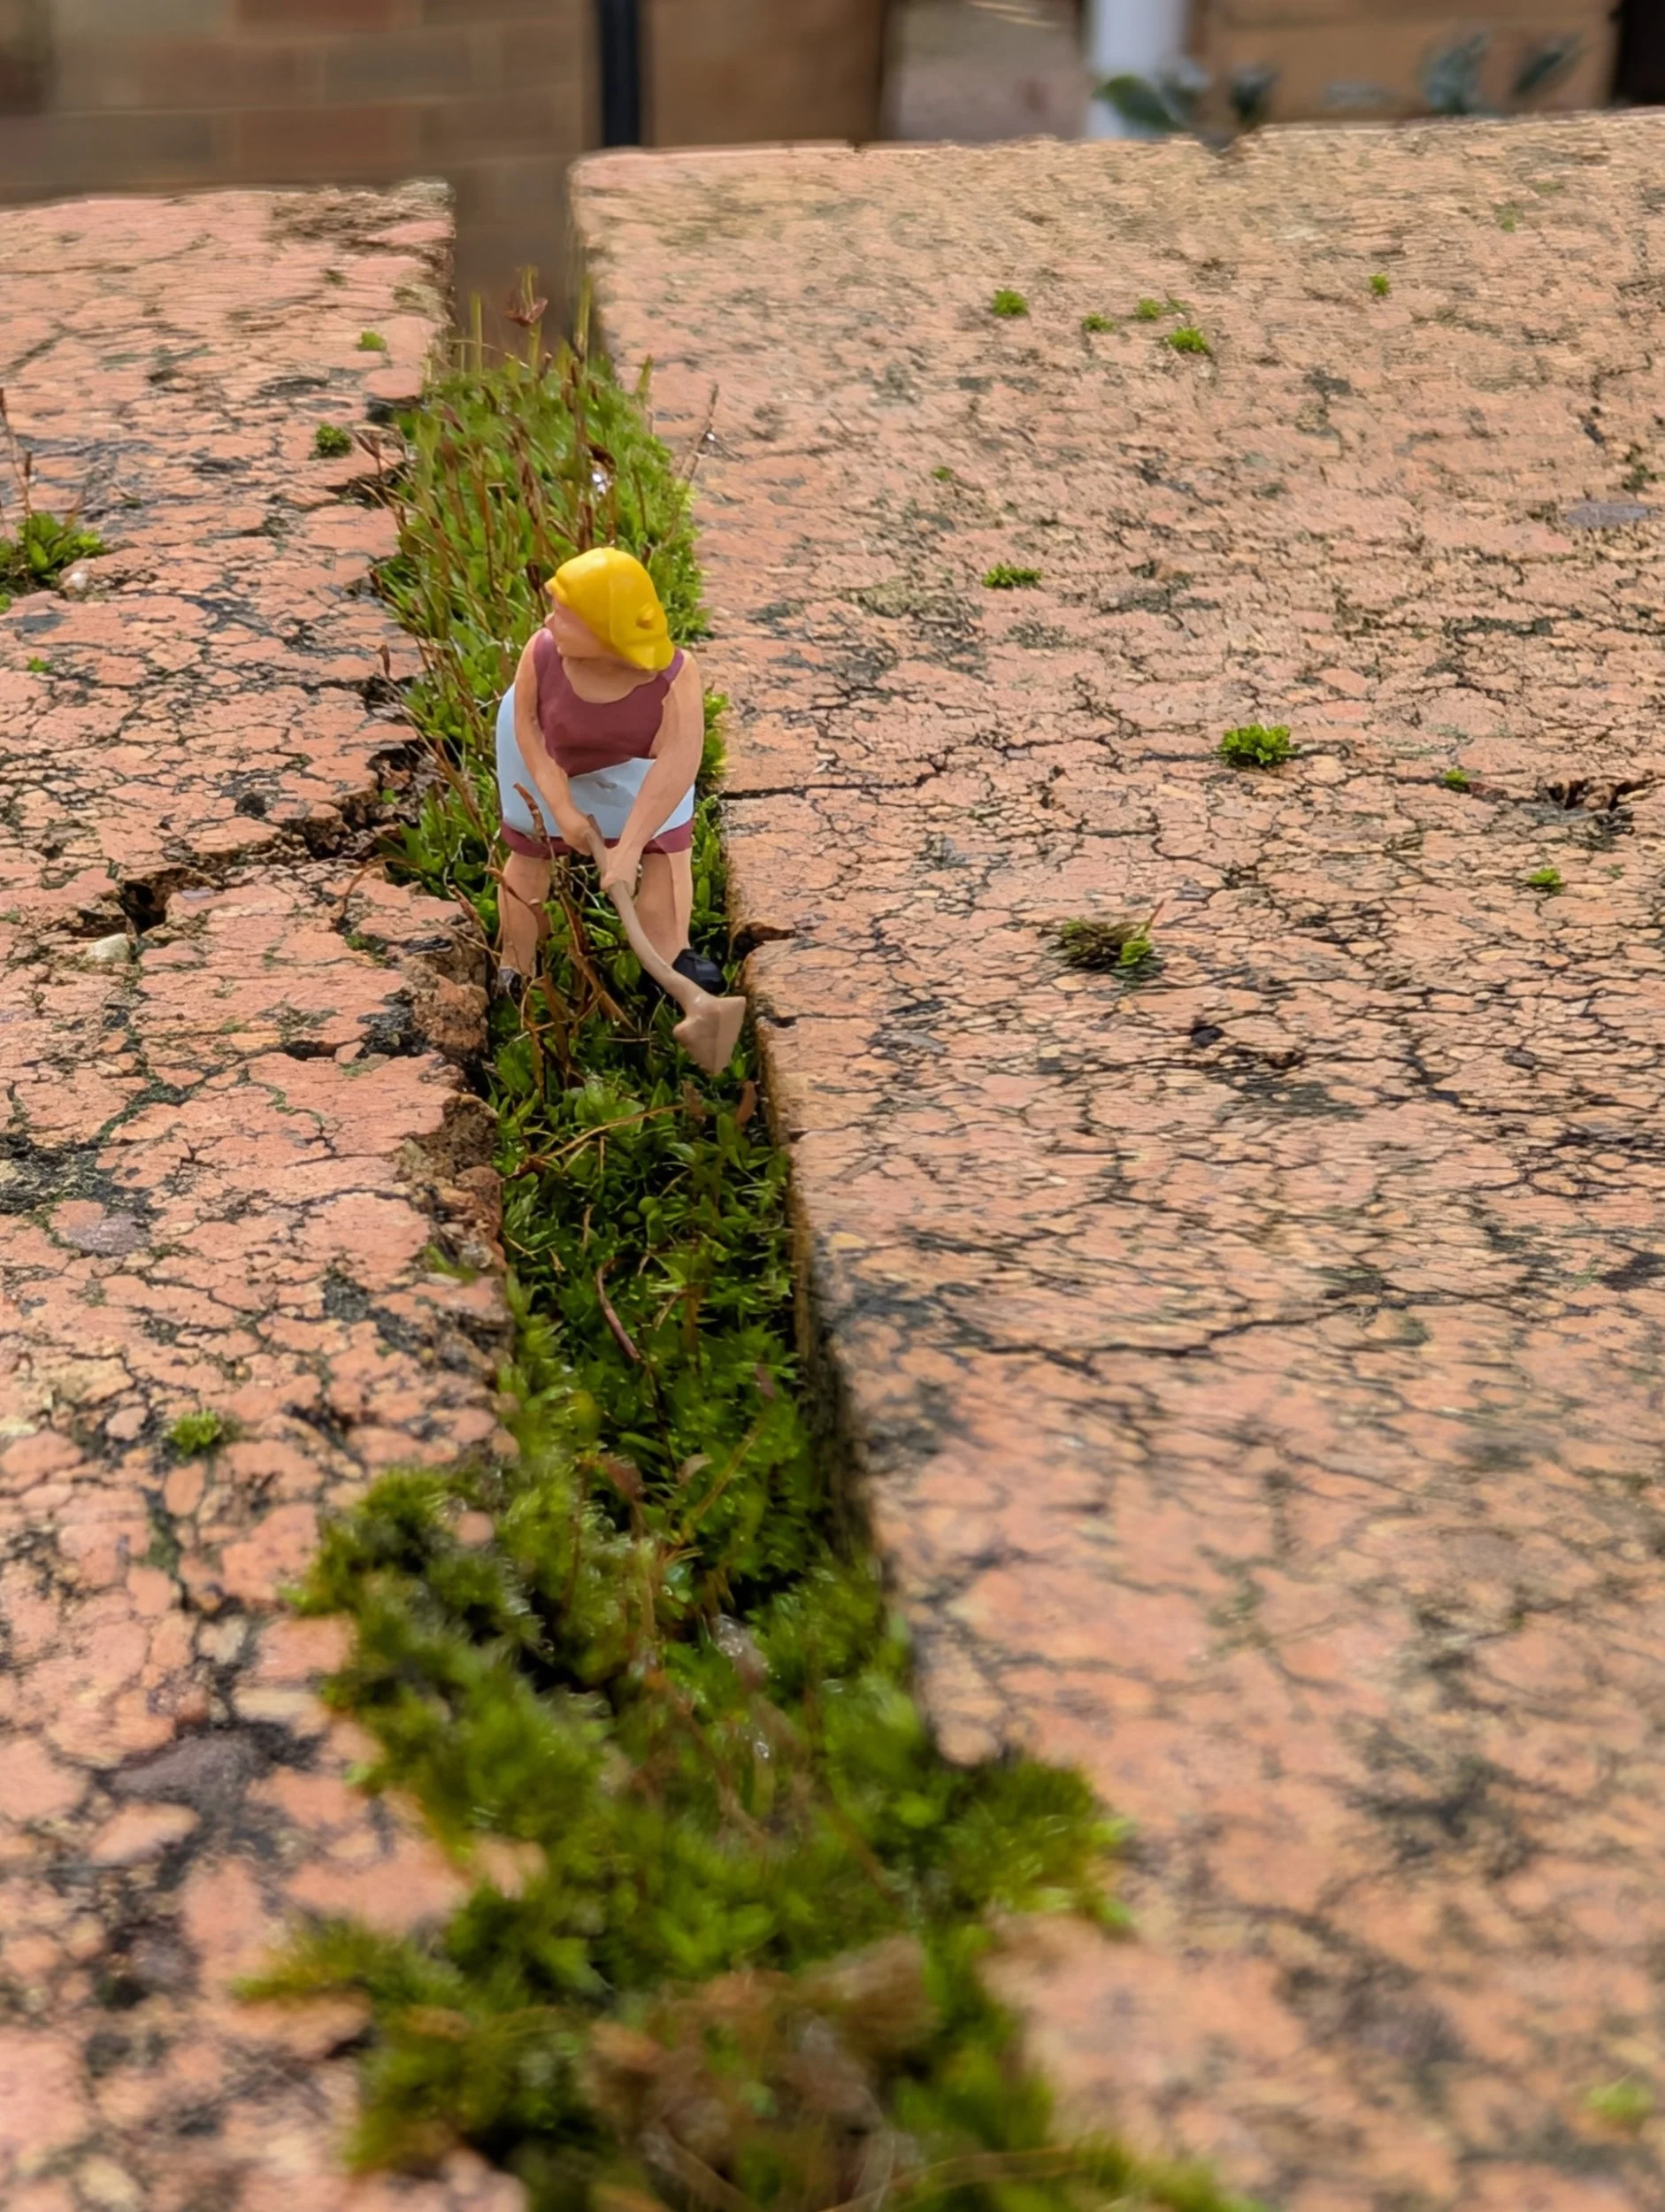
Environmental Macro Shots (Outdoor)

Sevilla's 5 Best Photo Locations
Seville is the capital of southern Spain’s Andalusia region. It's famous for flamenco dancing. Major landmarks include the ornate Alcázar castle complex, built during the Moorish Almohad dynasty. We based ourselves in an apartment close to the cathedral.
Sevilla’s 5 Best Photo Locations
Seville is the capital of southern Spain’s Andalusia region. It's famous for flamenco dancing. Major landmarks include the ornate Alcázar castle complex, built during the Moorish Almohad dynasty. We based ourselves in an apartment close to the cathedral.
Most of Seville can be tackled on foot. Below is a google map route highlighting the best spots for photography for first time visitors. Even though the walk will only take 35 minutes I would encourage you to head down as many back alleys as possible.
Getting lost in Seville is a fun adventure. Have your gps on your phone to get you back on track to visit the 5 key locations. Triana across the river is another lovely area if you wish to experience more flamenco culture.

1. Plaza De Espana
Built in 1928 for the Ibero-American Exposition world fair in 1929. Famous film location for Lawrence of Arabia & Star Wars attack of the clones.
Plaza de España is actually set within the Maria Luisa Park, which originally was part of the gardens of the Alcázar palace. It is a landmark example of the Regionalism Architecture, mixing elements of the Renaissance Revival and Moorish Revival (Neo-Mudéjar) styles of Spanish architecture.

Plaza De Espana

Plaza De Espana with two lovely tourists from Valencia.
2. Royal Alcazar
Landmark Moorish royal palace with fountain-filled gardens, ornate arches & 16th-century tiles. I would strongly suggest you book your tickets online to jump the lines. The whole walk will take you about 2 hours. There is so much detail in the architecture.
Coincidentally a convenience store called 711 is when Islam arrived in Spain and stayed till 1492. The baths underneath the main building are worth a look.

Alcazar Baths

Alcazar
3. The Jewish Quarter
Is a stones throw from the Alcazar and the Cathedral. Through a labyrinth of laneways you can enjoy getting lost in this area. Keep your gps on your mobile if you need to hit a destination but be prepared to explore what this zone has to offer.
Riddled with fantastic tapas bars you can't go wrong with a google review search mostly rating 4 stars. Any of the small churches in the area are equally as impressive if not more charming than the cathedral.

La Juderia Laneways
4. El Rinconcillo Restaurant
Seville’s most ancient bar, is a place with centuries of history located in the old town. Since 1670 until today, thousands of people have been charmed by this singular place that still preserves the magical taste of the old Seville.
Enjoying its popular and delicious tapas in this unique location is like making a time travel that enchants visitors from all over the world every single day. Once you place your drink and food order the waiter will write the prices with a chalk on the table or bar to keep a tab of your bill.


Codfish with Tomato Sauce.
5. Metropol Parasol
A wooden structure located at La Encarnación square, in the old quarter of Seville, Spain. It was designed by the German architect Jürgen Mayer and completed in April 2011.
Best described as waffles in the sky but also known as The wooden structure of mushrooms. Unique in the world, is 150 meters long by 70 meters wide and about 30 high; also it contains 3500 parts joined by nearly 3,000 knots and screws 16M.
In total, 3,500 cubic meters of raw wood Finnish pine micro-laminate (KERTO) coated waterproof, breathable and flexible polyurethane.

Bonus Extra: Casa De Pilates
La Casa de Pilatos (Pilate's House) is an Andalusian palace in Seville, Spain, which serves as the permanent residence of the Dukes of Medinaceli. It is an example of an Italian Renaissance building with Mudéjar elements and decorations. It is considered the prototype of the Andalusian palace.
The Casa de Pilatos has around 150 different azulejo (Spanish glazed tile) designs made in the 1530s by the brothers Diego and Juan Pulido, one of the largest early-modern azulejo collections in the world.
Join me in Southern Spain
MY TRAVEL PHOTOGRAPHY KIT
Camera: Fujifilm XT3 | Lenses: 35mm (F1.4) & 14mm (F2.8) | Tripod: Sirui T024SX | Macbook Pro 13 inch | Total Weight: 5 Kg.

Madrid's 5 Best Photo Locations
Once again in a series of articles for my frequently visited cities, I have compiled a list of locations for first time photographers to Madrid. The list is open to interpretation and I encourage you to go off the beaten path.
Madrid's 5 Best Photo Locations

Once again in a series of articles for my frequently visited cities, I have compiled a list of locations for first time photographers to Madrid. The list is open to interpretation and I encourage you to go off the beaten path. It is a rough guide to get lost with a purpose. In my last two articles on Tokyo and Barcelona I focused on street portraits, architecture and night shots of the city. While in Madrid in April I walked the city streets with my customers as seen in the Google map below.
The city has a population of almost 3.4 million with a metropolitan area population of approximately 6.7 million. The looped walk I have put together without stopping should take about an hour and thirty minutes. Most of my photo walks without a break last around three hours before fatigue kicks in. The city is vast so I have chosen to pick the most popular and easily tackled parts on foot. You can start and stop wherever you like. Puerta Del Sol is a central starting point as seen in the photo below.

Madrid Photo Walk
1. Puerta Del Sol
Compared to Barcelona with a grid map pattern, Madrid has more radial patterns. It's fascinating to research if the behavior of walkers varies according to how a city is planned. Let me know in the comments if you have any good evidence to show differences between radial and grid urban planning. With your smart phone gps following your path it's fun to get a little lost sometimes. Serendipity will lead you to some fabulous photos you would not normally discover. Other points of interest nearby are Plaza De Pontejos and Plaza De Santa Ana which are easily found on Google Maps.

Orthopedic shop near Sol
2. Plaza San Miguel
If you are looking for good tapas at Mercado San Miguel and want to try a bit of everything from different provinces of Spain, this is the perfect place for lunch or a snack. Keep in mind it's not cheap but it's convenient. Kind reminder to exercise common sense with your valuables in these dark and crowded places. If you can manage to get a table close to natural light, food photography hand held works great with a 50mm macro lens. A small reflector also comes in handy to throw some more light into shadows.

Madrid view from the Vincci Capitol Hotel Rooftop Bar
3. Barrio De La Latina
From Plaza Mayor is one of Madrid's most vibrant main squares. Another ten minute walk from here and you can reach a barrio with fewer tourists. Despite having gone through gentrification, the menu of the day is usually the best choice with 3 courses included for 10-12 euros. Weekdays during the day have much less foot traffic. The two main streets that are home to the majority of bars and restaurants are Cava Alta and Cava Baja. A good meeting point if you want to meet a friend at night is Plaza De La Cebada. Other nearby points of interest are Plaza de La Paja, Plaza del Humilladero, Plaza de San Andrés, and Plaza de Puerta Cerrada.

Madrid Street Portraits
4. El Prado Museum
A trip to Madrid is not complete without a visit to this vast museum. Give yourself a few hours to thoroughly enjoy all the old and new art that is on offer from 10 am. The area is known as the avenue of the arts. Two other museums nearby are Thyssen-Bornemisza and Renia Sofia. I usually visit museums in the middle of the day when the sunlight is harshest. It also gives me a break from shooting as photography is not usually allowed. Art for me has always been an endless source of inspiration.
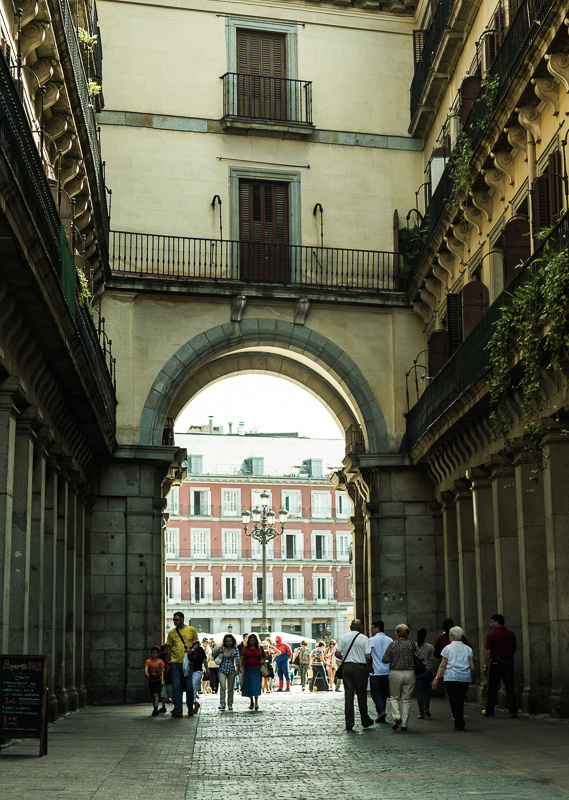
Plaza Mayor
5. El Retiro Park & Gran Via
The opulent few regularly stroll through this park. Everyone from dog walkers to joggers, locals love to relax here. This location can be welcome break from car pollution and heavy traffic. A must see destination in the park is the Palacio de Cristal glass pavilion. Keep in mind that the park is 350 acres. Another point of interest is the iconic Metropolis building which is on the corner of Calle De Alcala and Gran Via. It's a great spot to set up for a night shot with car lights and lovely architecture. Anywhere along Gran Via you will find equally impressive architecture. Any suggestion on other locations are more than welcome in the comments.
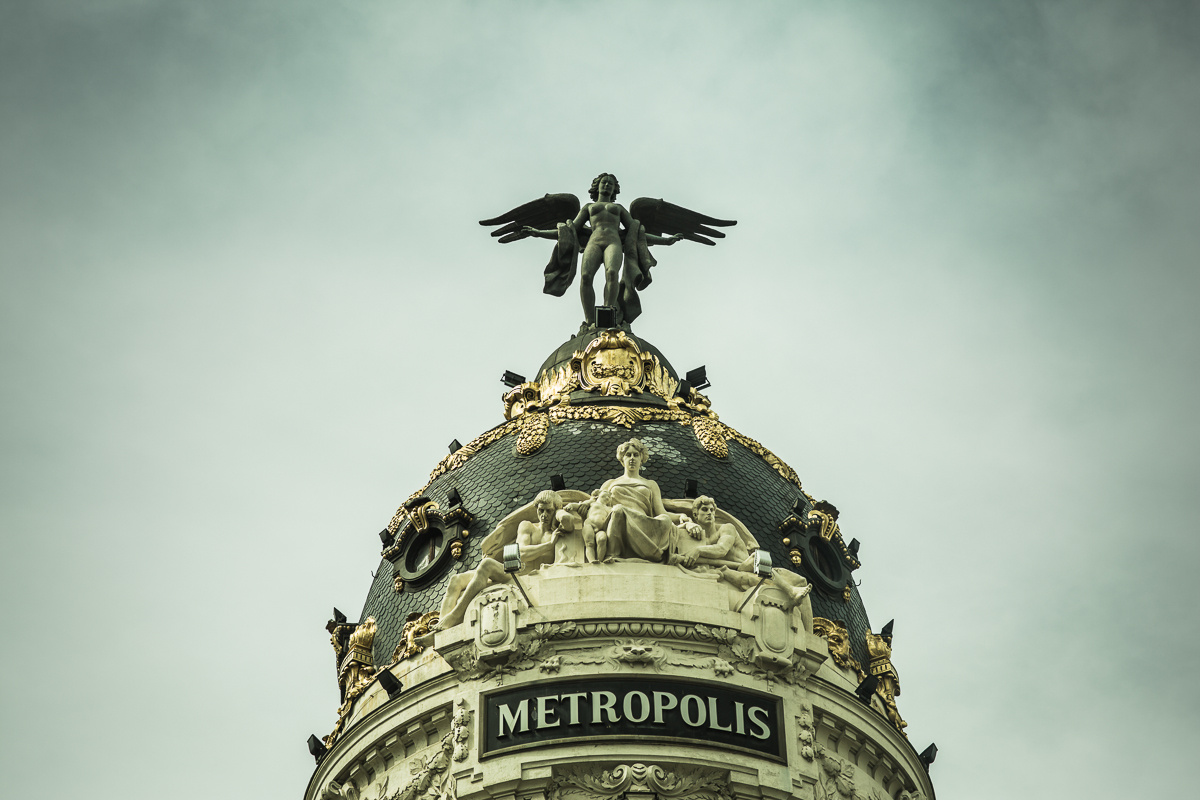
Metropolis Building on the corner of Gran Via and Calle Alcala
Alfonso Calero – Travel Photographer from Sydney specialising in portraits and landscapes. Regular traveller with my small photo workshops/tours in Australia , Japan, The Philippines and Spain.

5 Best Photo Locations - Kanazawa
After 4 consecutive years of visiting Kanazawa it is time to put together this list. Being in the right place at the right time is imperative in capturing the perfect photo.
Kanazawa’s 5 Best Photo Locations
After 4 consecutive years of visiting Kanazawa it is time to put together this list. Being in the right place at the right time is imperative in capturing the perfect photo.
I like to compare Kanazawa to Kyoto. Located on the Japan Sea side it’s an easy Shinkansen Ride (Bullet Train) from Tokyo. Many day trippers manage to still get around and see all the key locations.
Unlike Kyoto, Kanazawa is much smaller in size and easy to get around on foot. Thanks to Google Maps I have mapped out a perfect walk you can tackle over two days.

Kanazawa Walking Route

Omicho Market
Breakfast at the fish market is the perfect way to start the day. When Tsukiji fish market in Tokyo moved to a new brand new location, I felt it lost a little bit of it’s history. Luckily, I have found a fabulous substitute at half the prices.
The prime quality of the produce come fresh from the Japan sea only a short drive from the city. If you are snapping some portraits of vendors make sure they don’t have any signs prohibiting photography.
When in doubt, simply gesture to ask for permission. Sushi Don (Assorted sashimi on rice) King Crab (Kani), Sea Urchin (Uni) and Eel (Unagi) are always a stand out.

Omicho Market - Smoked Trout

Omicho Market

Kenroukuen

Kanazawa Castle
2. Kanazawa Castle
The interior of the castle is not the main attraction but the actual exterior and the grounds surrounding the castle are impressive.
If you are here in spring or autumn, then you will need half an hour to walk around the perimeter. After breakfast at the fish market a short 10 - 15 minute walk will help digest a full stomach.
Many opportunities for street portraits of young ladies in kimono.

Geisha in Shimonshincho

Kanazawa Castle Portrait

Kanazawa Castle

Kenrokuen Garden

Kenrokuen Garden
3. Kenroku-en Garden
Rated as the third best garden in Japan. The best spots to shoot from are around the pond. The large pine trees are another attraction.
Most ancient trees are propped up with poles to support the hanging branches. Some of the Karasaki pine trees are from the 18th century.
Every November, Kanazawa prepares its beautiful gardens for the heavy winter snows of the Sea of Japan, protecting its trees with yukizuri ropes and its earthen walls with komo straw mats.
Having lunch at the tea house over looking the pond, sitting on the tatami (straw) matt floor and basking in the afternoon sun are a very relaxing experience.

4. Higashi Chaya Tea District
Literally translates as east area tea houses. This is the area where Geisha live and work. Many of their homes are tea houses.
Renting a kimono and taking photos in the back alleys is such a fun way to explore. Kanazawa is known as the gold leaf product centre of japan. Don’t be surprised to see gold leaf in almost everything you eat and drink.
Even soft serve ice cream and sushi has gold leaf. Lacquerware craftsmen are also know in Kanazawa. This is a Unesco heritage listed district.
The local government also assists all locals with maintenance costs to keep uniformity and beauty in the architecture. Not to be missed, is the Shimonshincho area across Asano river at dusk.


Wedding Shoot at Higashi Chaya
5. Nagamichi Samurai District
Nomura house is a small Samurai museum with a very compact but picturesque Japanese garden.
Being a lower ranking Samurai Nomura san would only receive 1200 units of rice from the emperor compared to the Kanazawa castle which received over a 1 million units.
Nevertheless, the samurai district has many more smaller homes that have been converted to tea houses and restaurants.

Nagamichi Samurai District

Nagamichi Samurai District
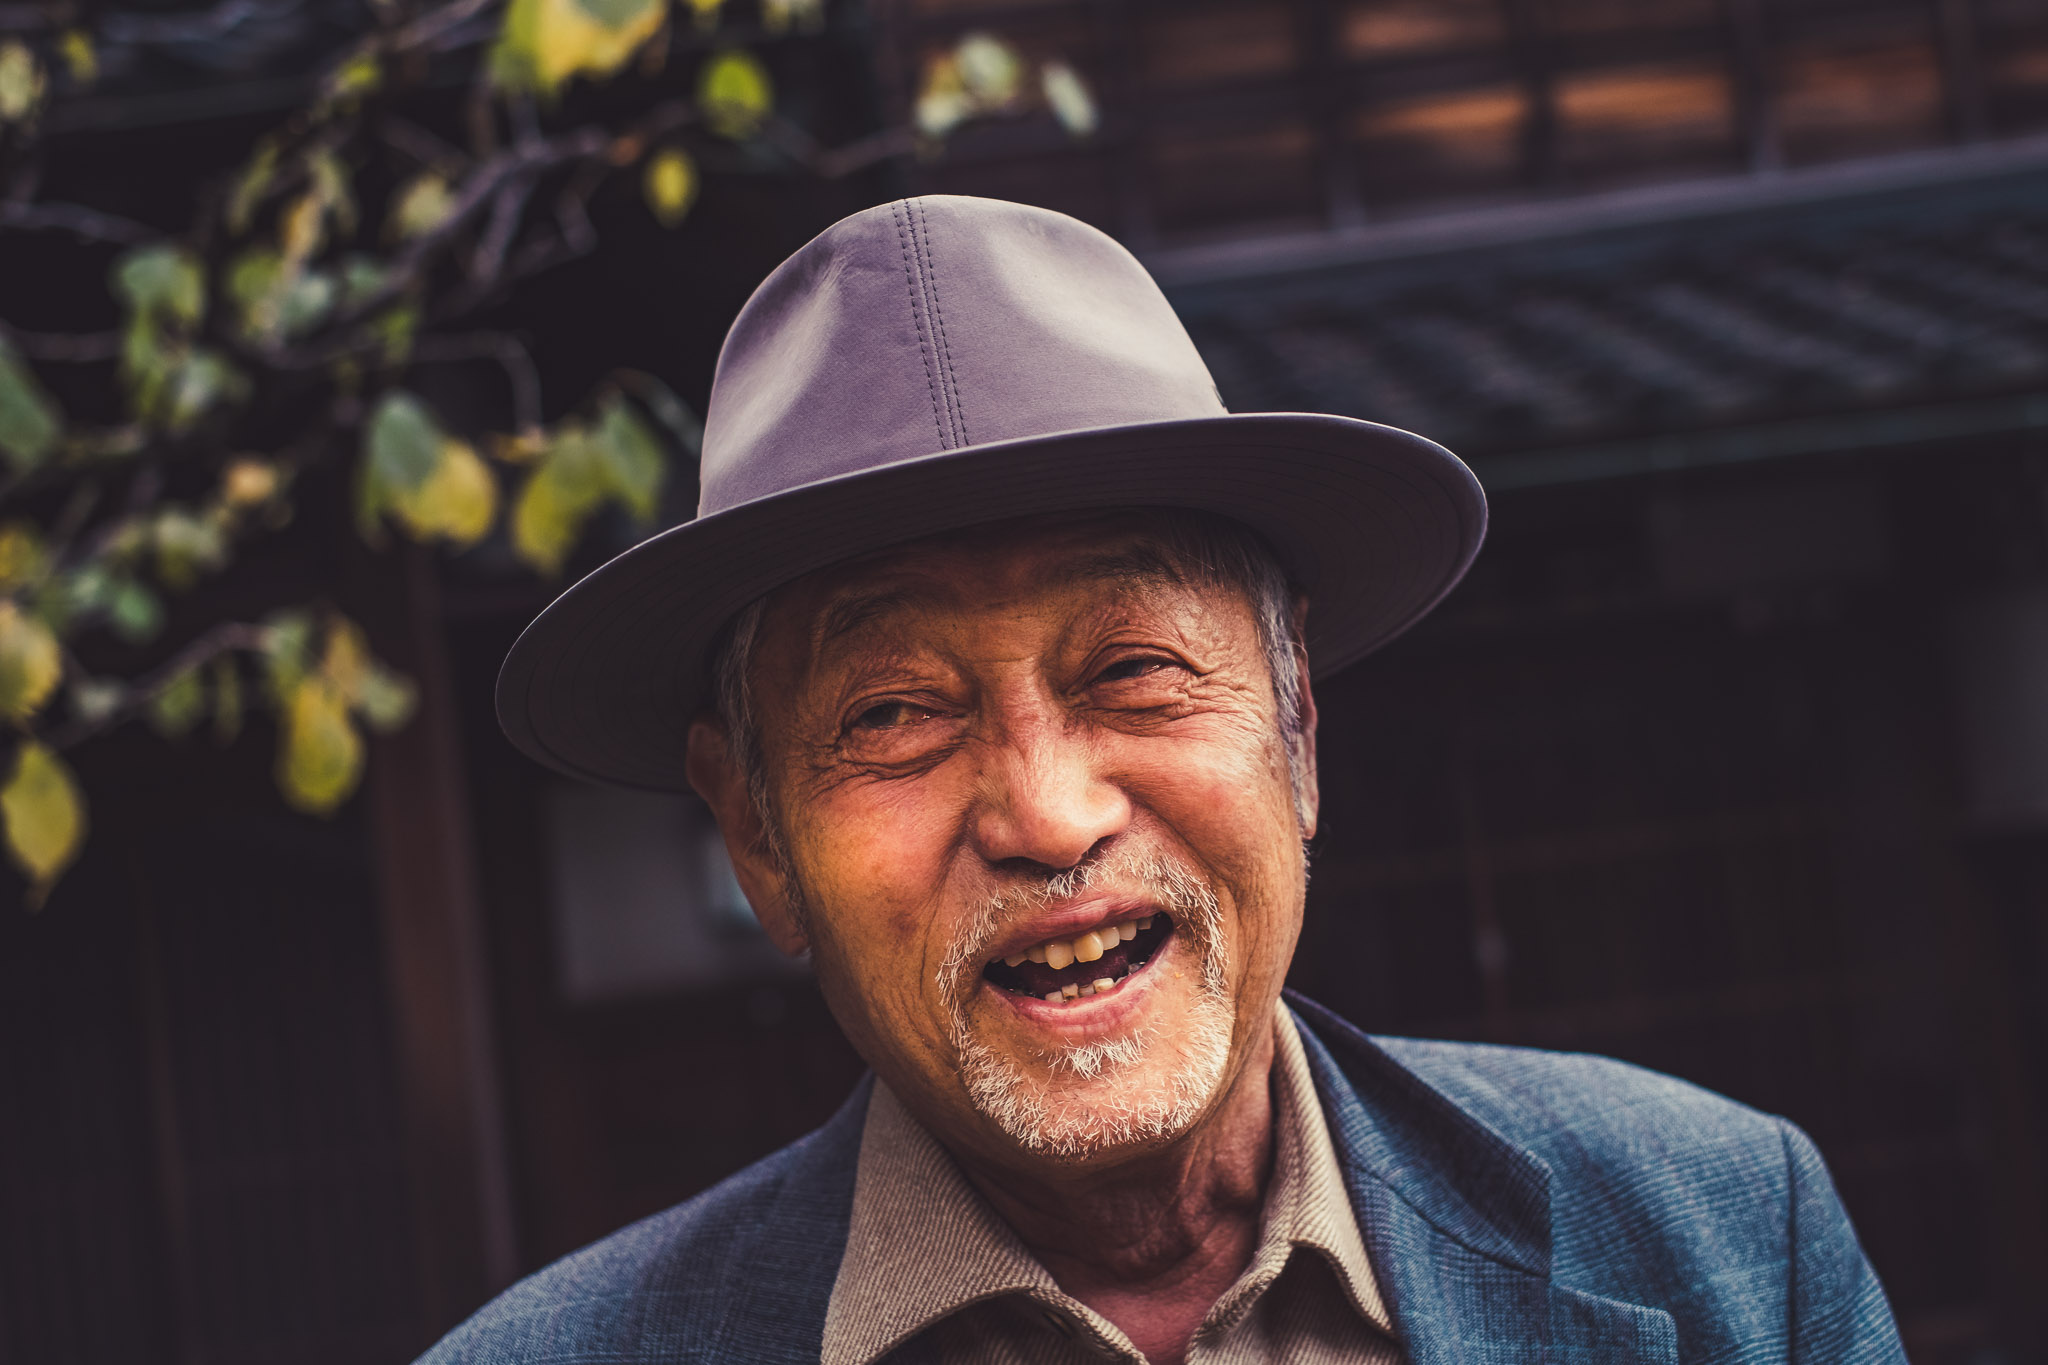
Samurai District local

Second hand CD & DVD Shop.
Side Trip - Ainokura
If you have a day to spare, I highly recommend a night in a 200 year thatched roof farmhouse. The Unesco Heritage listed village of Ainokura has less tourists than Shirakawago.
It’s a bit difficult to get to which makes it more appealing.
My Travel Photography Kit
Camera: Fujifilm XT3 | Lenses: 35mm (F1.4) & 14mm (F2.8) | Tripod: Sirui T024SX | Macbook Pro 13 inch | Total Weight: 5 Kg.


8 Lesser Known Locations in Kyoto & Tokyo
Tourism in Japan is growing, and fast. According to JNTO, the estimated number of international travelers to Japan in March 2018 was about 2.6 million (+18.2% from the previous year), making it the biggest March ever.
8 Lesser Known Locations in Kyoto & Tokyo

Famous Comedian Takeshi Kitano once said that Japan had sacrificed its cultural integrity for the sake of money, thus implying that foreign tourism was polluting the Japanese spirit.
There's even a new word in the Japanese media being used a lot lately. "Kanko Kougai" which translates to "Tourist Pollution".
Japan is my second home and have had a love affair with this country for over 30 years. As a long time photo tour operator I always try to capture a beautiful image of this wonderful culture and landscape.
However the reality is lately it has becoming increasingly difficult to avoid crowds of people in the most iconic spots.
Despite this, there are still plenty of great locations off the beaten track. Compared to my last article on Kyoto and Tokyo's more popular destinations, here are eight lesser known places. Do you have any other suggestions?

Kyoto
Otagi Nenbutsu
Otagi Nenbutsu is a quirky temple nestled up in the hills of Arashiyama. After you finish shooting the Bamboo grove a 30 minute walk up the hill will bring you to 1200 stone statues.
The whimsical faces filled with moss and bursting with character will leave you laughing all day.

Haratanien
Haratanien is the perfect spot for Cherry Blossoms in a private garden with over 300 trees. It's just a five minute cab ride from the Golden Temple, however check with locals before you go as the 1500 ¥en fee is a little steep.
If your timing is spot on you can enjoy a sake and bento box under a tree with blossoms falling on your head.

Haratanien

Aquaducts
Aquaducts
Hidden behind the Nanzenji Temple are a number of unique Aquaducts still in use. The repitition of arch shaped bricks has become a popular spot for the auspicious kimono models who infest the area.
Built during the Meiji Period (1868-1912), the aqueduct is part of a canal system that was constructed to carry water and goods between Kyoto and Lake Biwa in neighbouring Shiga Prefecture.
Paths run alongside the canal that lead into the surrounding forest.

Aquaducts
Kyoto Station
Transient travellers often pass the massive train station in a hurry but few consider a look at this architectural splendour. The 15-storey, glass-plated grey monolith, which stands out in sharp contrast to the city”s traditional architecture was inaugurated in 1997.
Designed by Hiroshi Hara who also designed Osaka's Umeda Sky Garden. Kyoto Station interior feels like being in the skeleton of a grey futuristic megatron.

Tokyo
Yanaka Ginza
Is located close to the old downtown areas of Ueno and Nippori. One of the few areas of Tokyo that was not destroyed during the war. Lots of old houses still line the streets. Various laneways and hidden alleys can still provide culinary delights and an authentic cultural experience. I would suggest a walk from Ueno station following your google map you will pass Yanaka cemetery.

Shibamata
When walking out of Shibamata Station, you are greeted by a bronze statue of the films’ hero, better known as Tora-san, who became the symbol of the district after director Yoji Yamada’s series grew into a long-running hit. The area feels likes a mini version of Asakusa. The local temple and the traditional houses are worth a quick look before you venture to the local shrine at the end of the main pathway.

The Edo river located behind the shrine sometimes offers a row boat ride. The 10 minute ride is soothing and the ambience feels rural and remote from the hustle of busy Tokyo.
You can also experience life like a local watching dog walkers, fishermen and baseball players along the wide river bank.

Tokyo International Forum
A unique building in front of Yurakucho Station, with a vast atrium that provides a stunning venue for the international exchange of culture and information, and makes a perfect spot for street portraits in the afternoon.

Tokyo International Forum
Beams of light and shade make for a dramatic black and white. The ship like shape is monumental in scale and generous with natural light. Designed by U.S. architect Rafael Vinoly with an intent to be accessible and maintain an ambience of warmth.

Kawagoe
30 minute train ride from Tokyo you will find lots of merchant store houses, which have now been converted into shops and restaurants. If you are into architectural photography the two storey buildings are well preserved.

Kawagoe is also famous for elegant examples of early twentieth century brick, cement and stone architecture inspired by Taisho Romanticism. f you have been to Japan before please do yourself a favour of choosing somewhere new on your next trip.
Madrid's 5 Best Photo Locations
Once again in a series of articles for my frequently visited cities, I have compiled a list of locations for first time photographers to Madrid. The list is open to interpretation and I encourage you to go off the beaten path.
Once again in a series of articles for my frequently visited cities, I have compiled a list of locations for first time photographers to Madrid. The list is open to interpretation and I encourage you to go off the beaten path. It is a rough guide to get lost with a purpose. In my last two articles on Tokyo and Barcelona I focused on street portraits, architecture and night shots of the city. While in Madrid last May of 2026 I walked the city streets with my customers as seen in the Google map below.
The city has a population of almost 3.2 million with a metropolitan area population of approximately 6.5 million. The looped walk I have put together without stopping should take about an hour and thirty minutes. Most of my photo walks without a break last around three hours before fatigue kicks in. The city is vast so I have chosen to pick the most popular and easily tackled parts on foot. You can start and stop wherever you like. Puerta Del Sol is a central starting point as seen in the photo below.
Madrid Photo Walk
1. Puerta Del Sol
Compared to Barcelona with a grid map pattern, Madrid has more radial patterns. It's fascinating to research if the behavior of walkers varies according to how a city is planned. Let me know in the comments if you have any good evidence to show differences between radial and grid urban planning. With your smart phone gps following your path it's fun to get a little lost sometimes. Serendipity will lead you to some fabulous photos you would not normally discover. Other points of interest nearby are Plaza De Pontejos and Plaza De Santa Ana which are easily found on Google Maps.
Orthopedic shop near Sol
2. Plaza San Miguel
If you are looking for good tapas at Mercado San Miguel and want to try a bit of everything from different provinces of Spain, this is the perfect place for lunch or a snack. Keep in mind it's not cheap but it's convenient. Kind reminder to exercise common sense with your valuables in these dark and crowded places. If you can manage to get a table close to natural light, food photography hand held works great with a 50mm macro lens. A small reflector also comes in handy to throw some more light into shadows.
Madrid view from the Vincci Capitol Hotel Rooftop Bar
3. Barrio De La Latina
From Plaza Mayor is one of Madrid's most vibrant main squares. Another ten minute walk from here and you can reach a barrio with fewer tourists. Despite having gone through gentrification, the menu of the day is usually the best choice with 3 courses included for 15-20 euros. Weekdays during the day have much less foot traffic. The two main streets that are home to the majority of bars and restaurants are Cava Alta and Cava Baja. A good meeting point if you want to meet a friend at night is Plaza De La Cebada. Other nearby points of interest are Plaza de La Paja, Plaza del Humilladero, Plaza de San Andrés, and Plaza de Puerta Cerrada.
Madrid Street Portraits
4. El Prado Museum
A trip to Madrid is not complete without a visit to this vast museum. Give yourself a few hours to thoroughly enjoy all the old and new art that is on offer from 10 am. The area is known as the avenue of the arts. Two other museums nearby are Thyssen-Bornemisza and Renia Sofia. I usually visit museums in the middle of the day when the sunlight is harshest. It also gives me a break from shooting as photography is not usually allowed. Art for me has always been an endless source of inspiration.
Plaza Mayor
5. El Retiro Park & Gran Via
The opulent few regularly stroll through this park. Everyone from dog walkers to joggers, locals love to relax here. This location can be welcome break from car pollution and heavy traffic. A must see destination in the park is the Palacio de Cristal glass pavilion. Keep in mind that the park is 350 acres. Another point of interest is the iconic Metropolis building which is on the corner of Calle De Alcala and Gran Via. It's a great spot to set up for a night shot with car lights and lovely architecture. Anywhere along Gran Via you will find equally impressive architecture. Any suggestion on other locations are more than welcome in the comments.
Metropolis Building on the corner of Gran Via and Calle Alcala
Overnight Stays Near Madrid
If you can manage an overnight stay that would be much better as these places are less crowded at night or early in the morning.
El Escorial
Located 45 kilometers northwest of Madrid, the Royal Monastery of San Lorenzo de El Escorial is a massive 16th-century UNESCO World Heritage site built by King Philip II. This grand complex serves as a palace, monastery, and royal mausoleum showcasing strict Renaissance design.
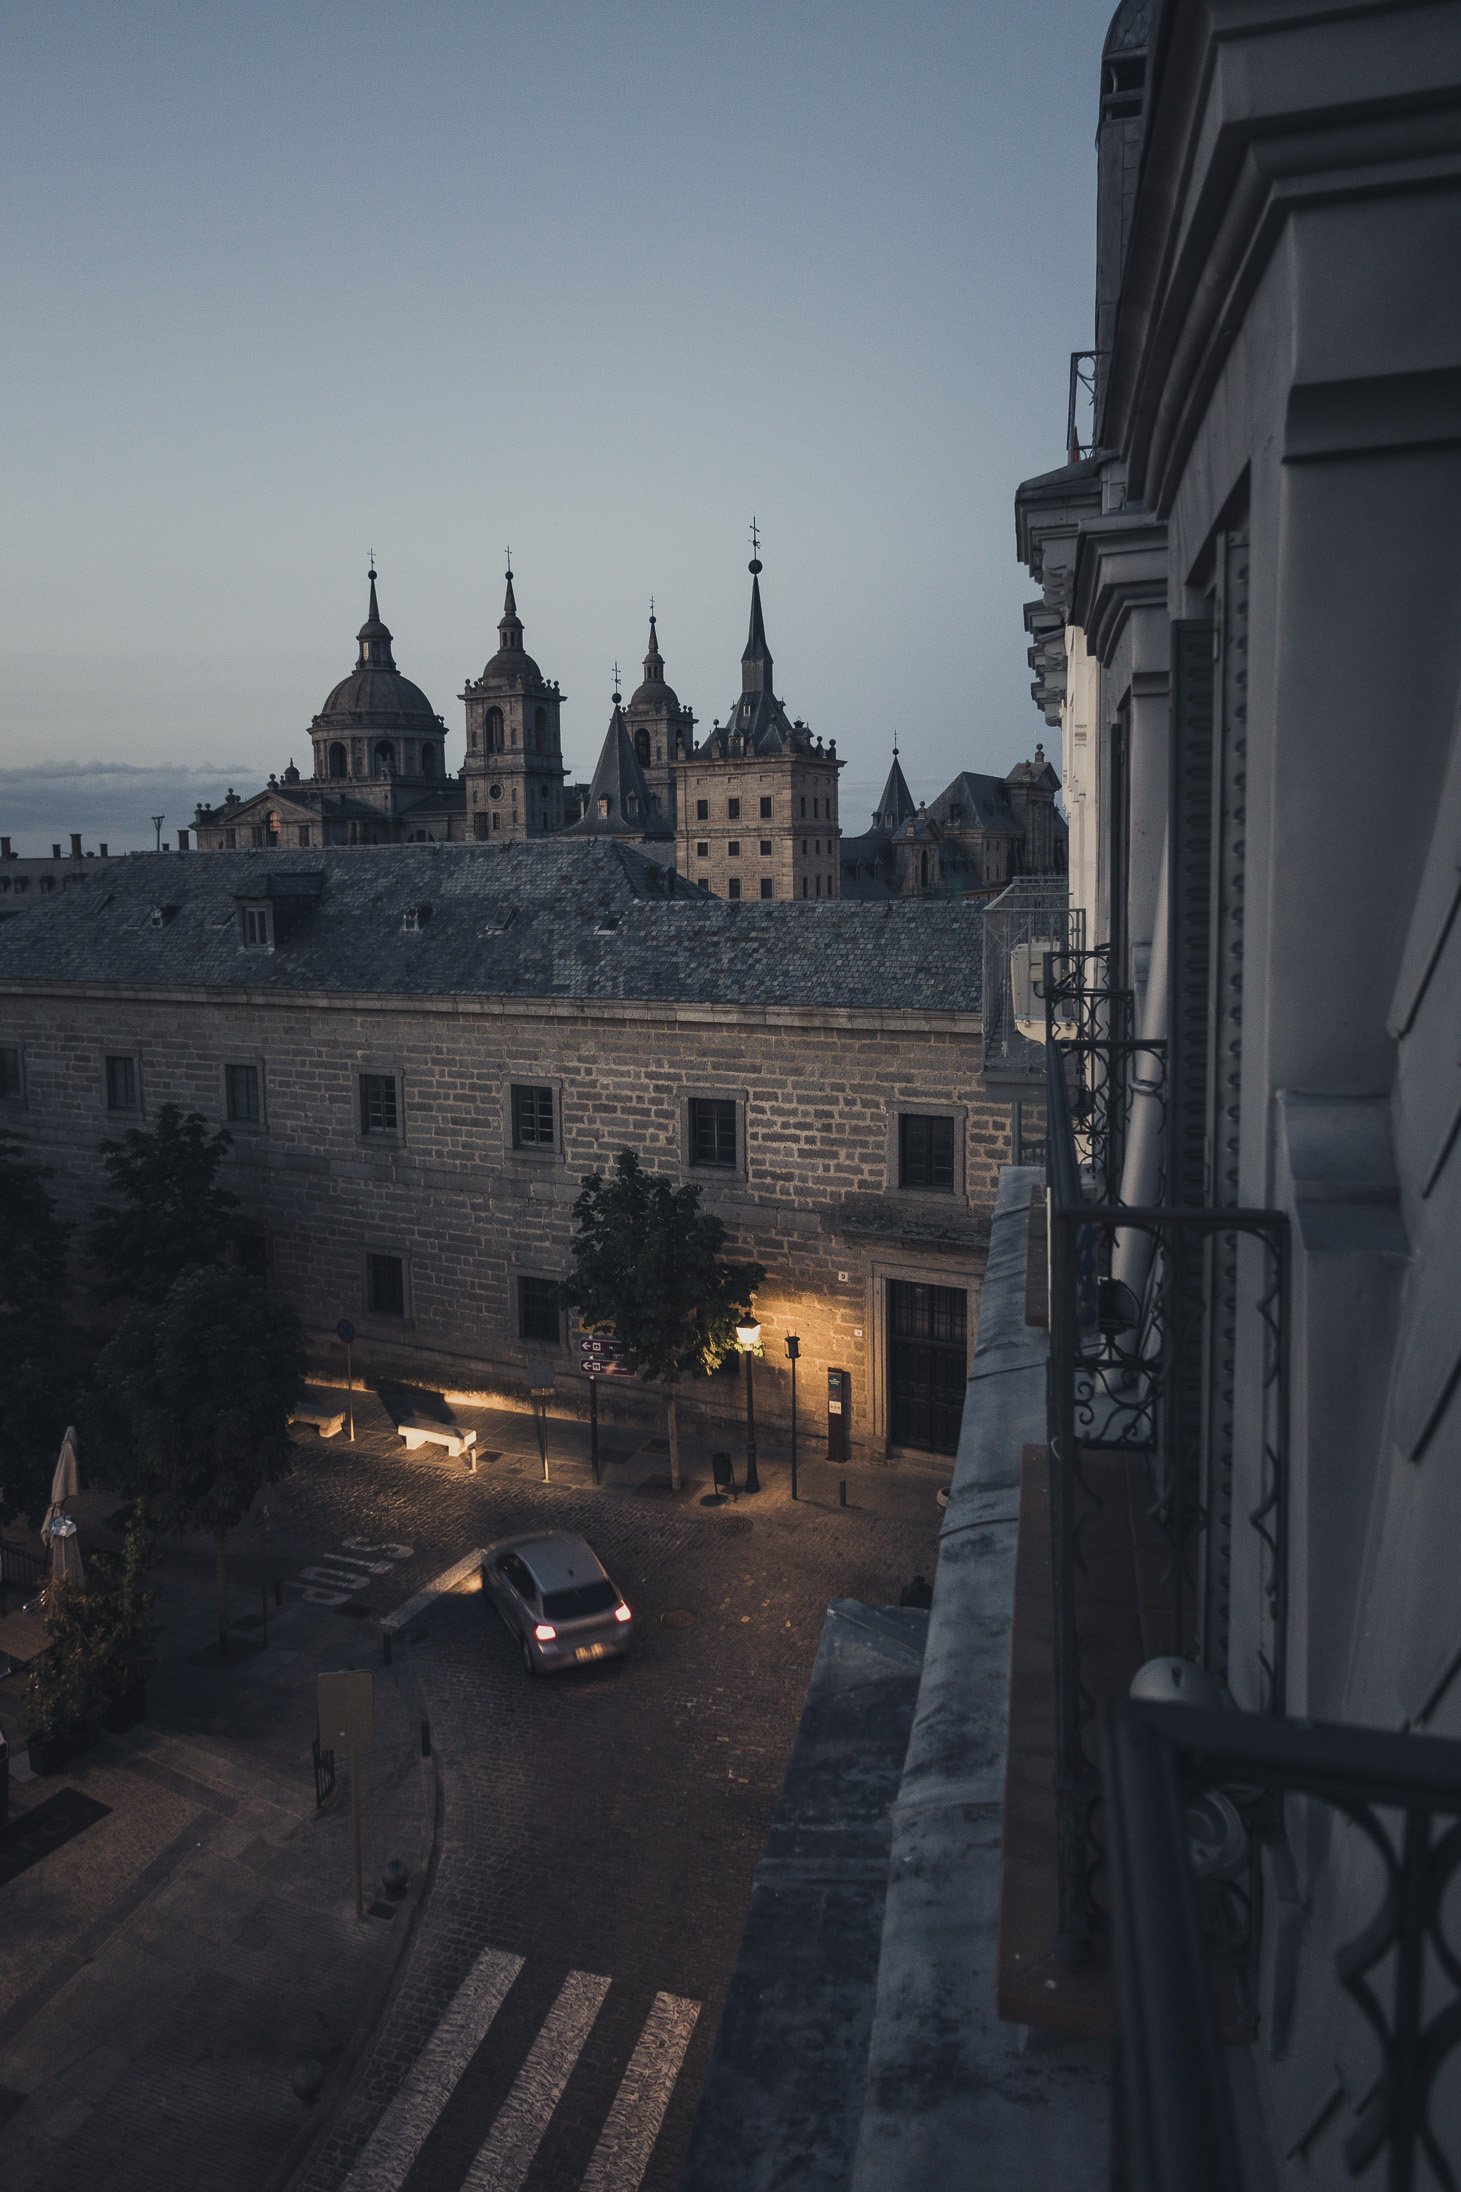
Hotel in Plaza San Lorenzo
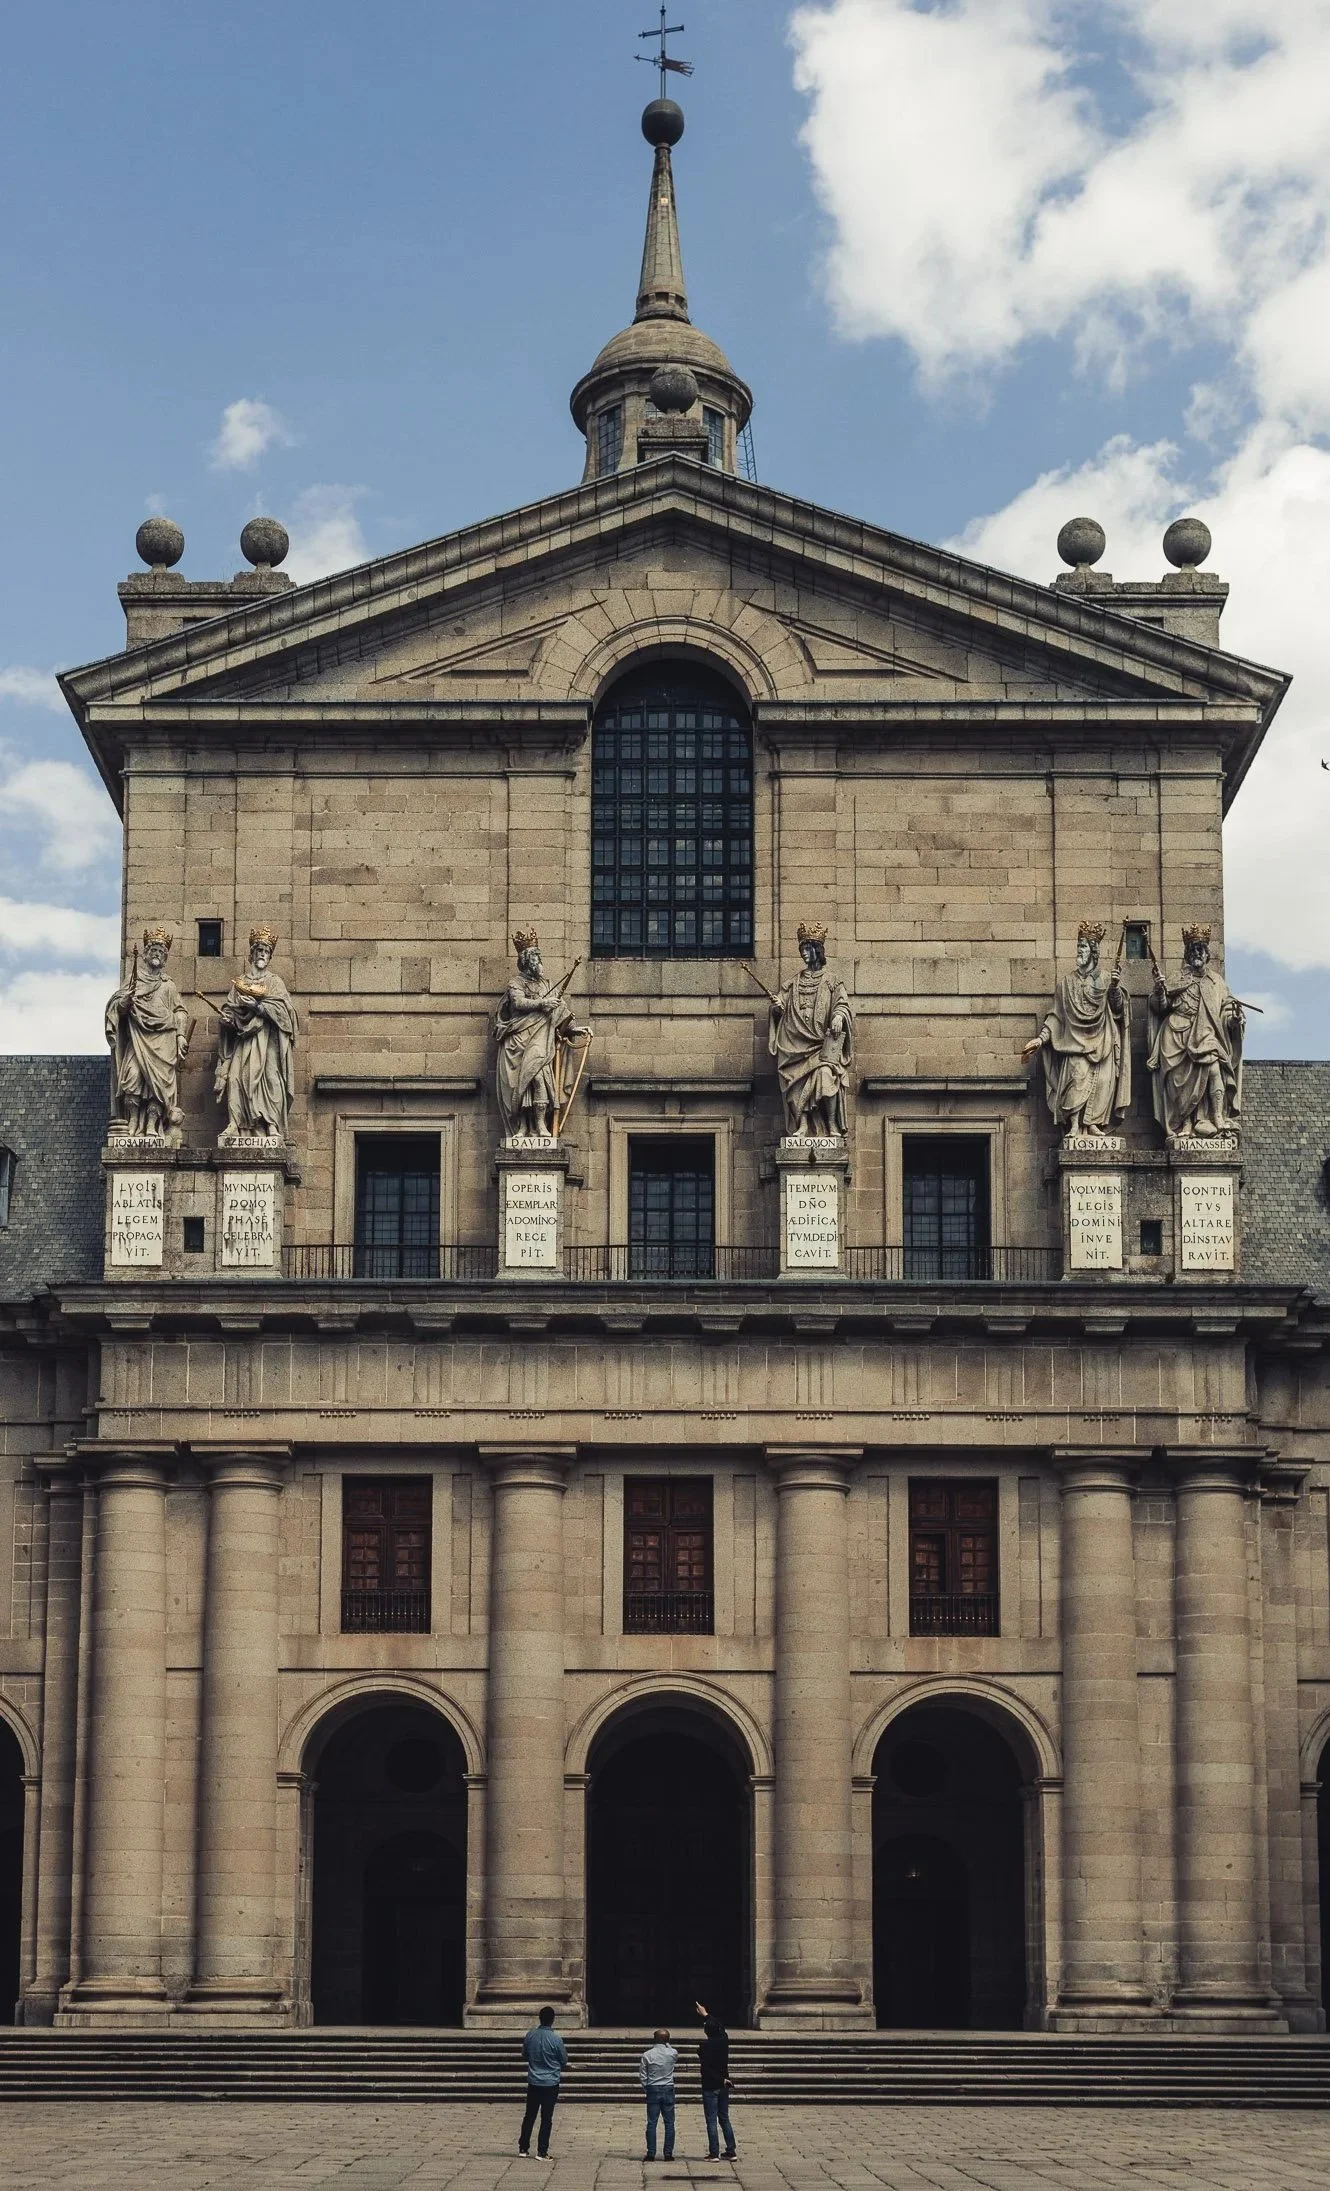
El Escorial
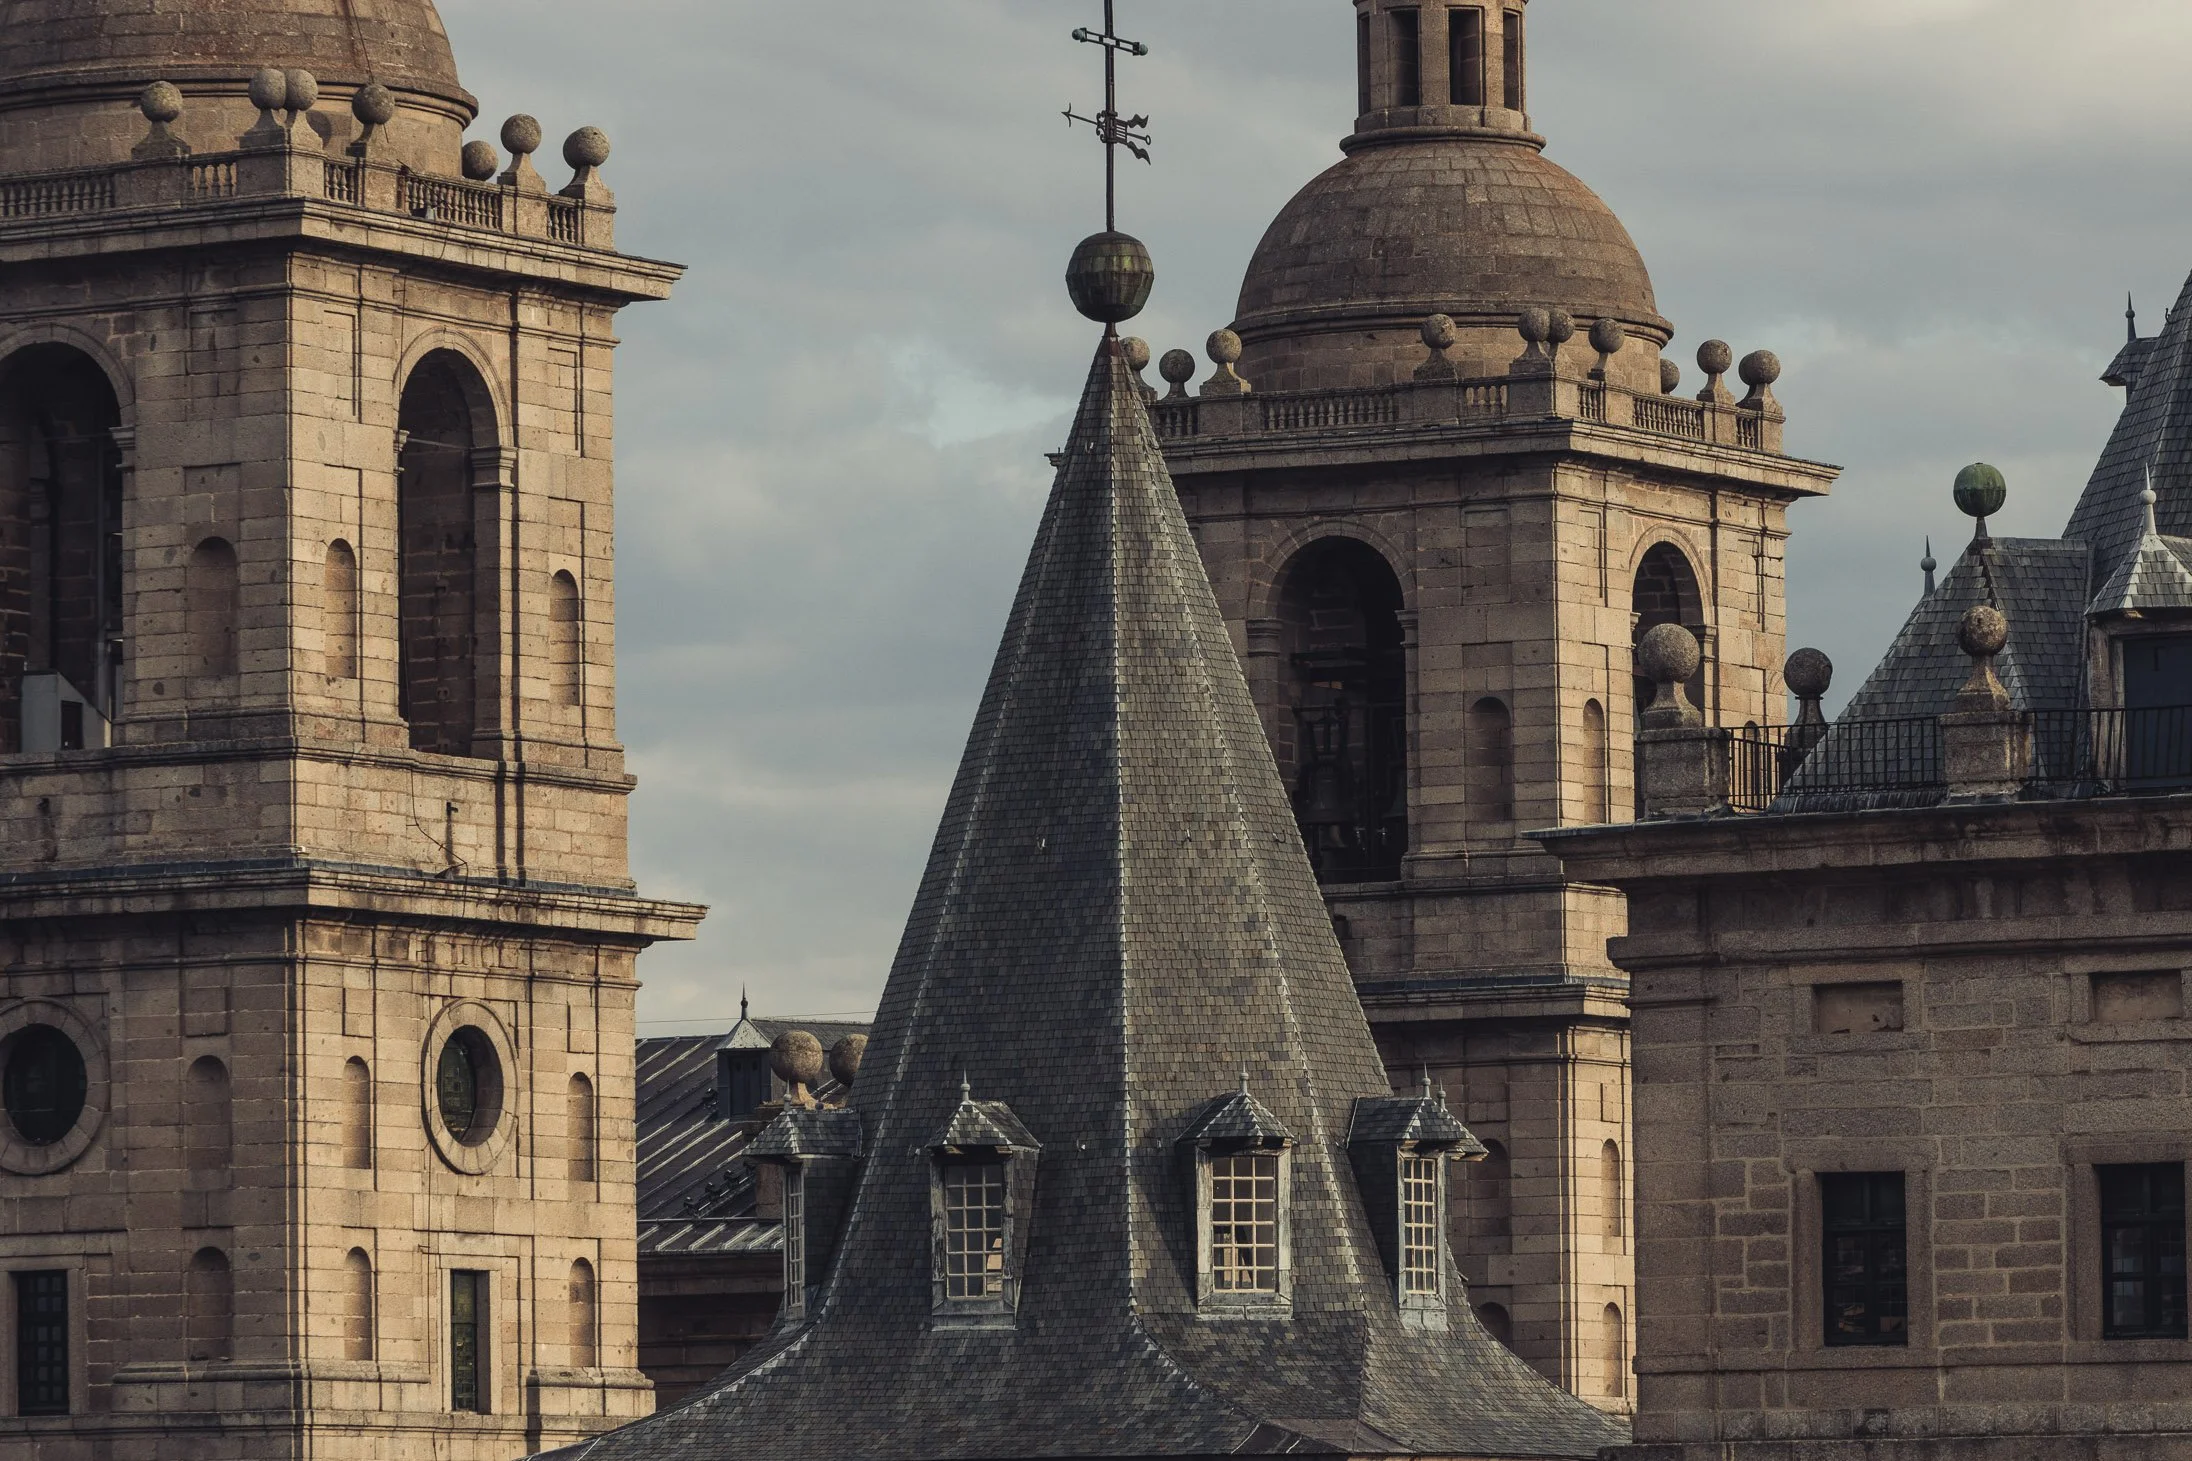
El Escorial Close Up
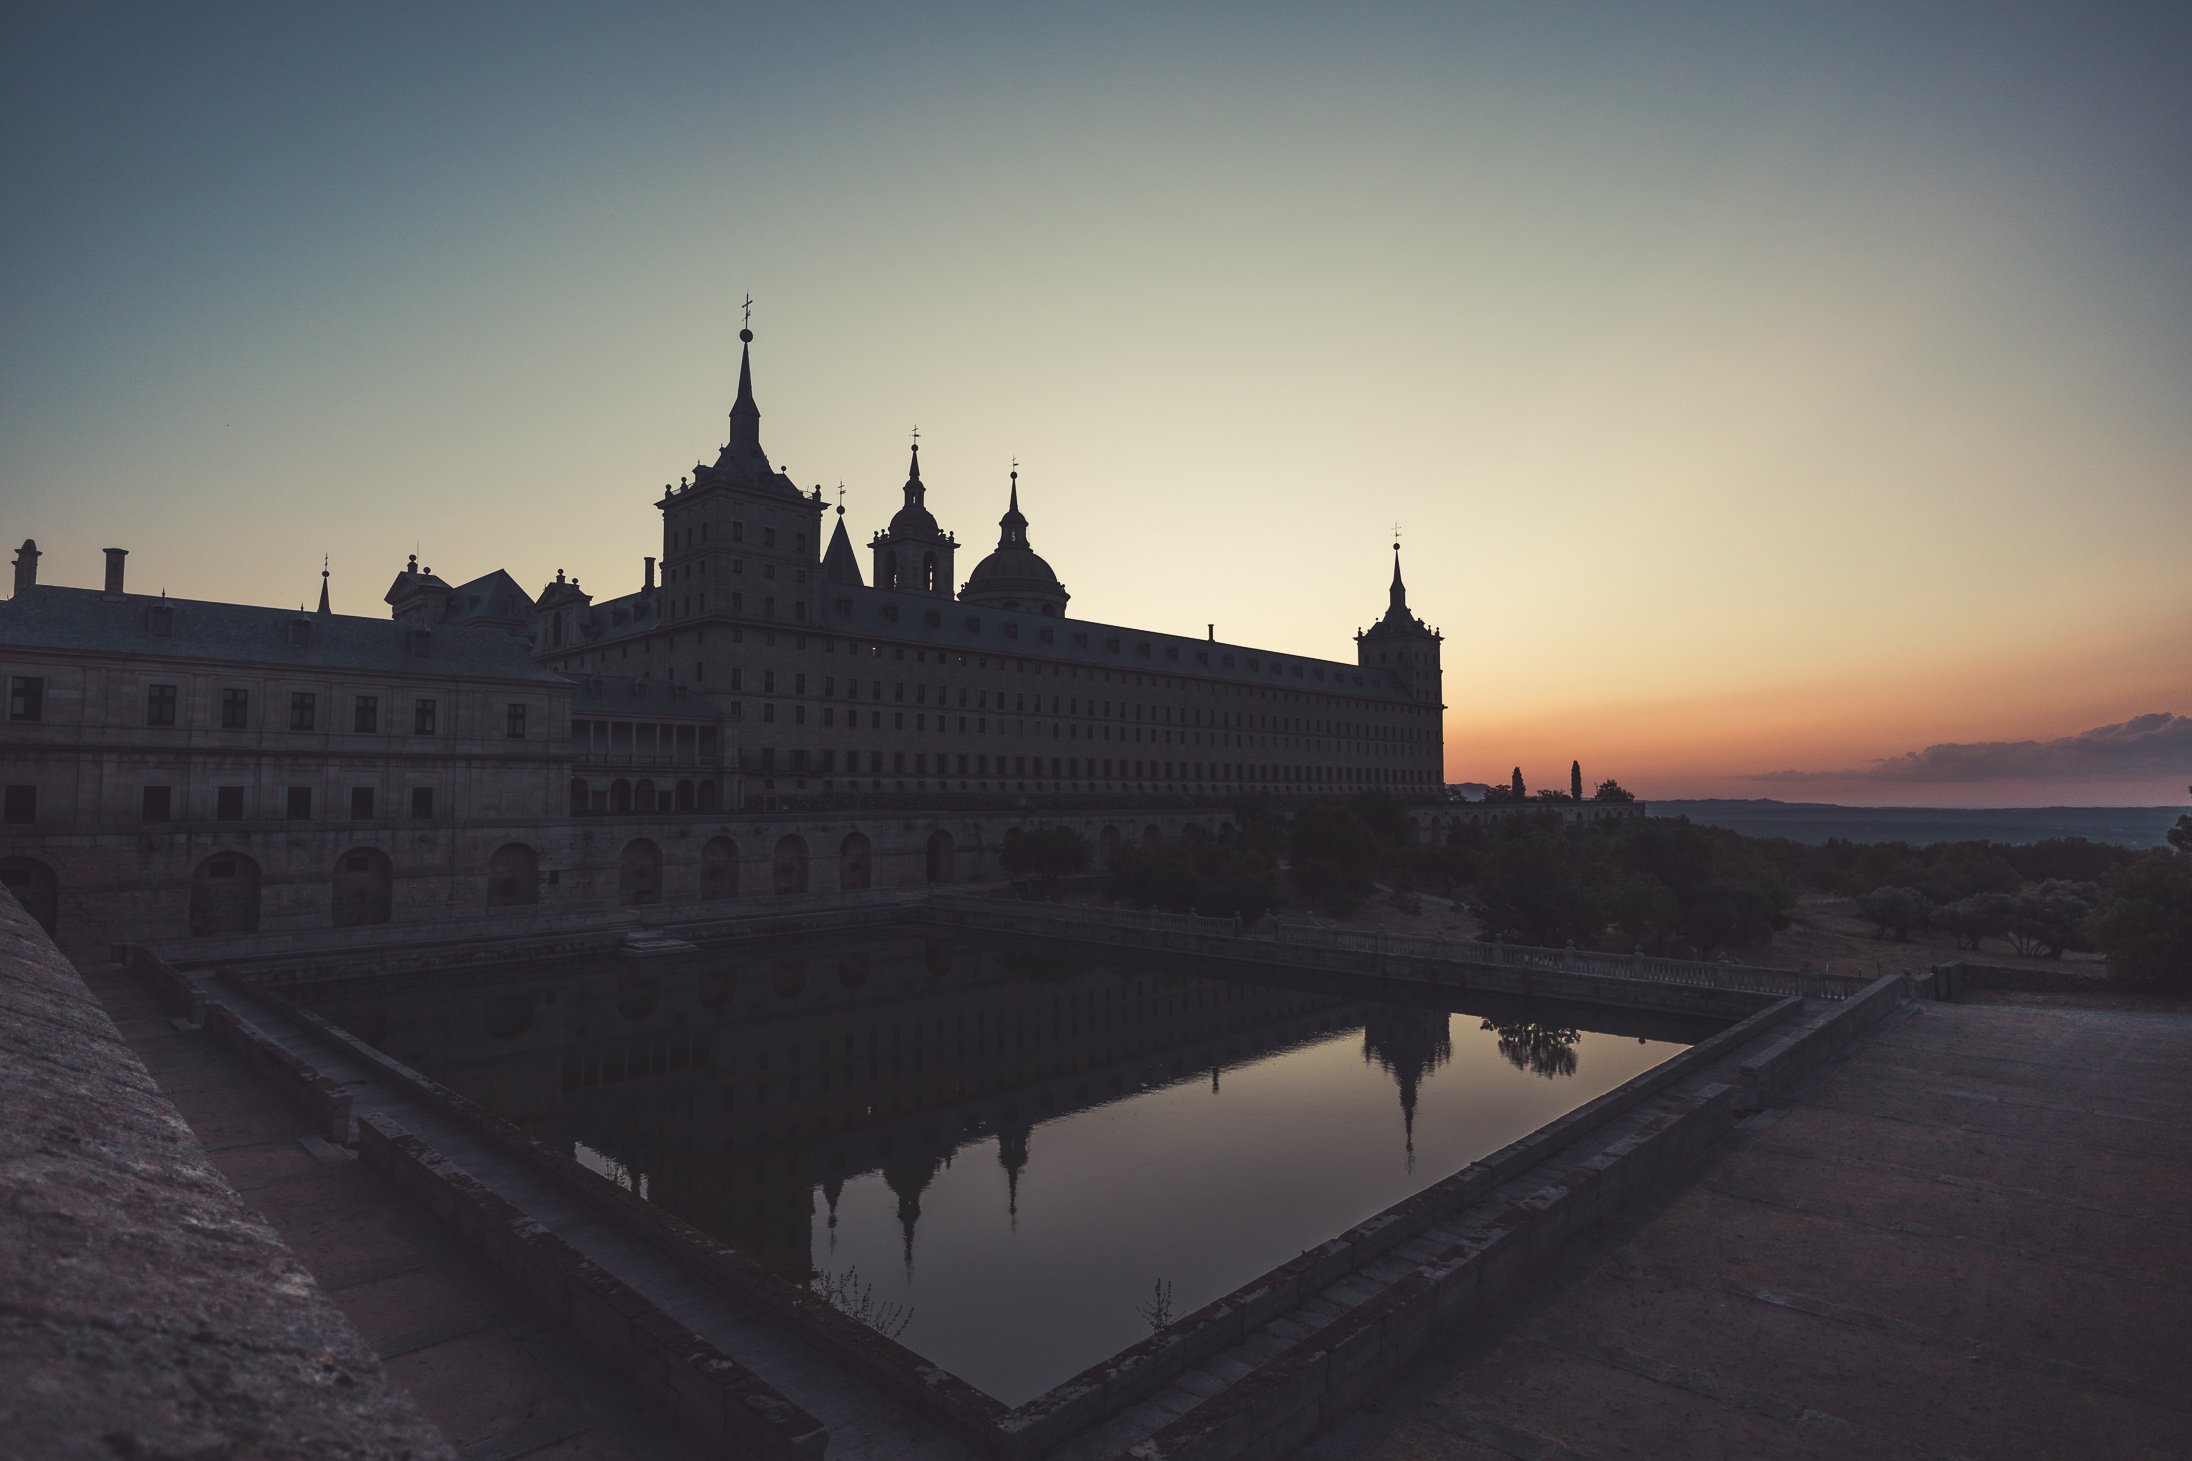
El Escorial
Toledo
🚄 By High-Speed Train (Renfe Avant)
Time: Exactly 33 minutes.
Details: Trains depart from Madrid Atocha Station and drop you off at Toledo’s beautiful neo-Mudéjar station.
Tip: Book tickets a few days in advance, as popular morning commuter and weekend slots sell out quickly.

Toledo Sunrise
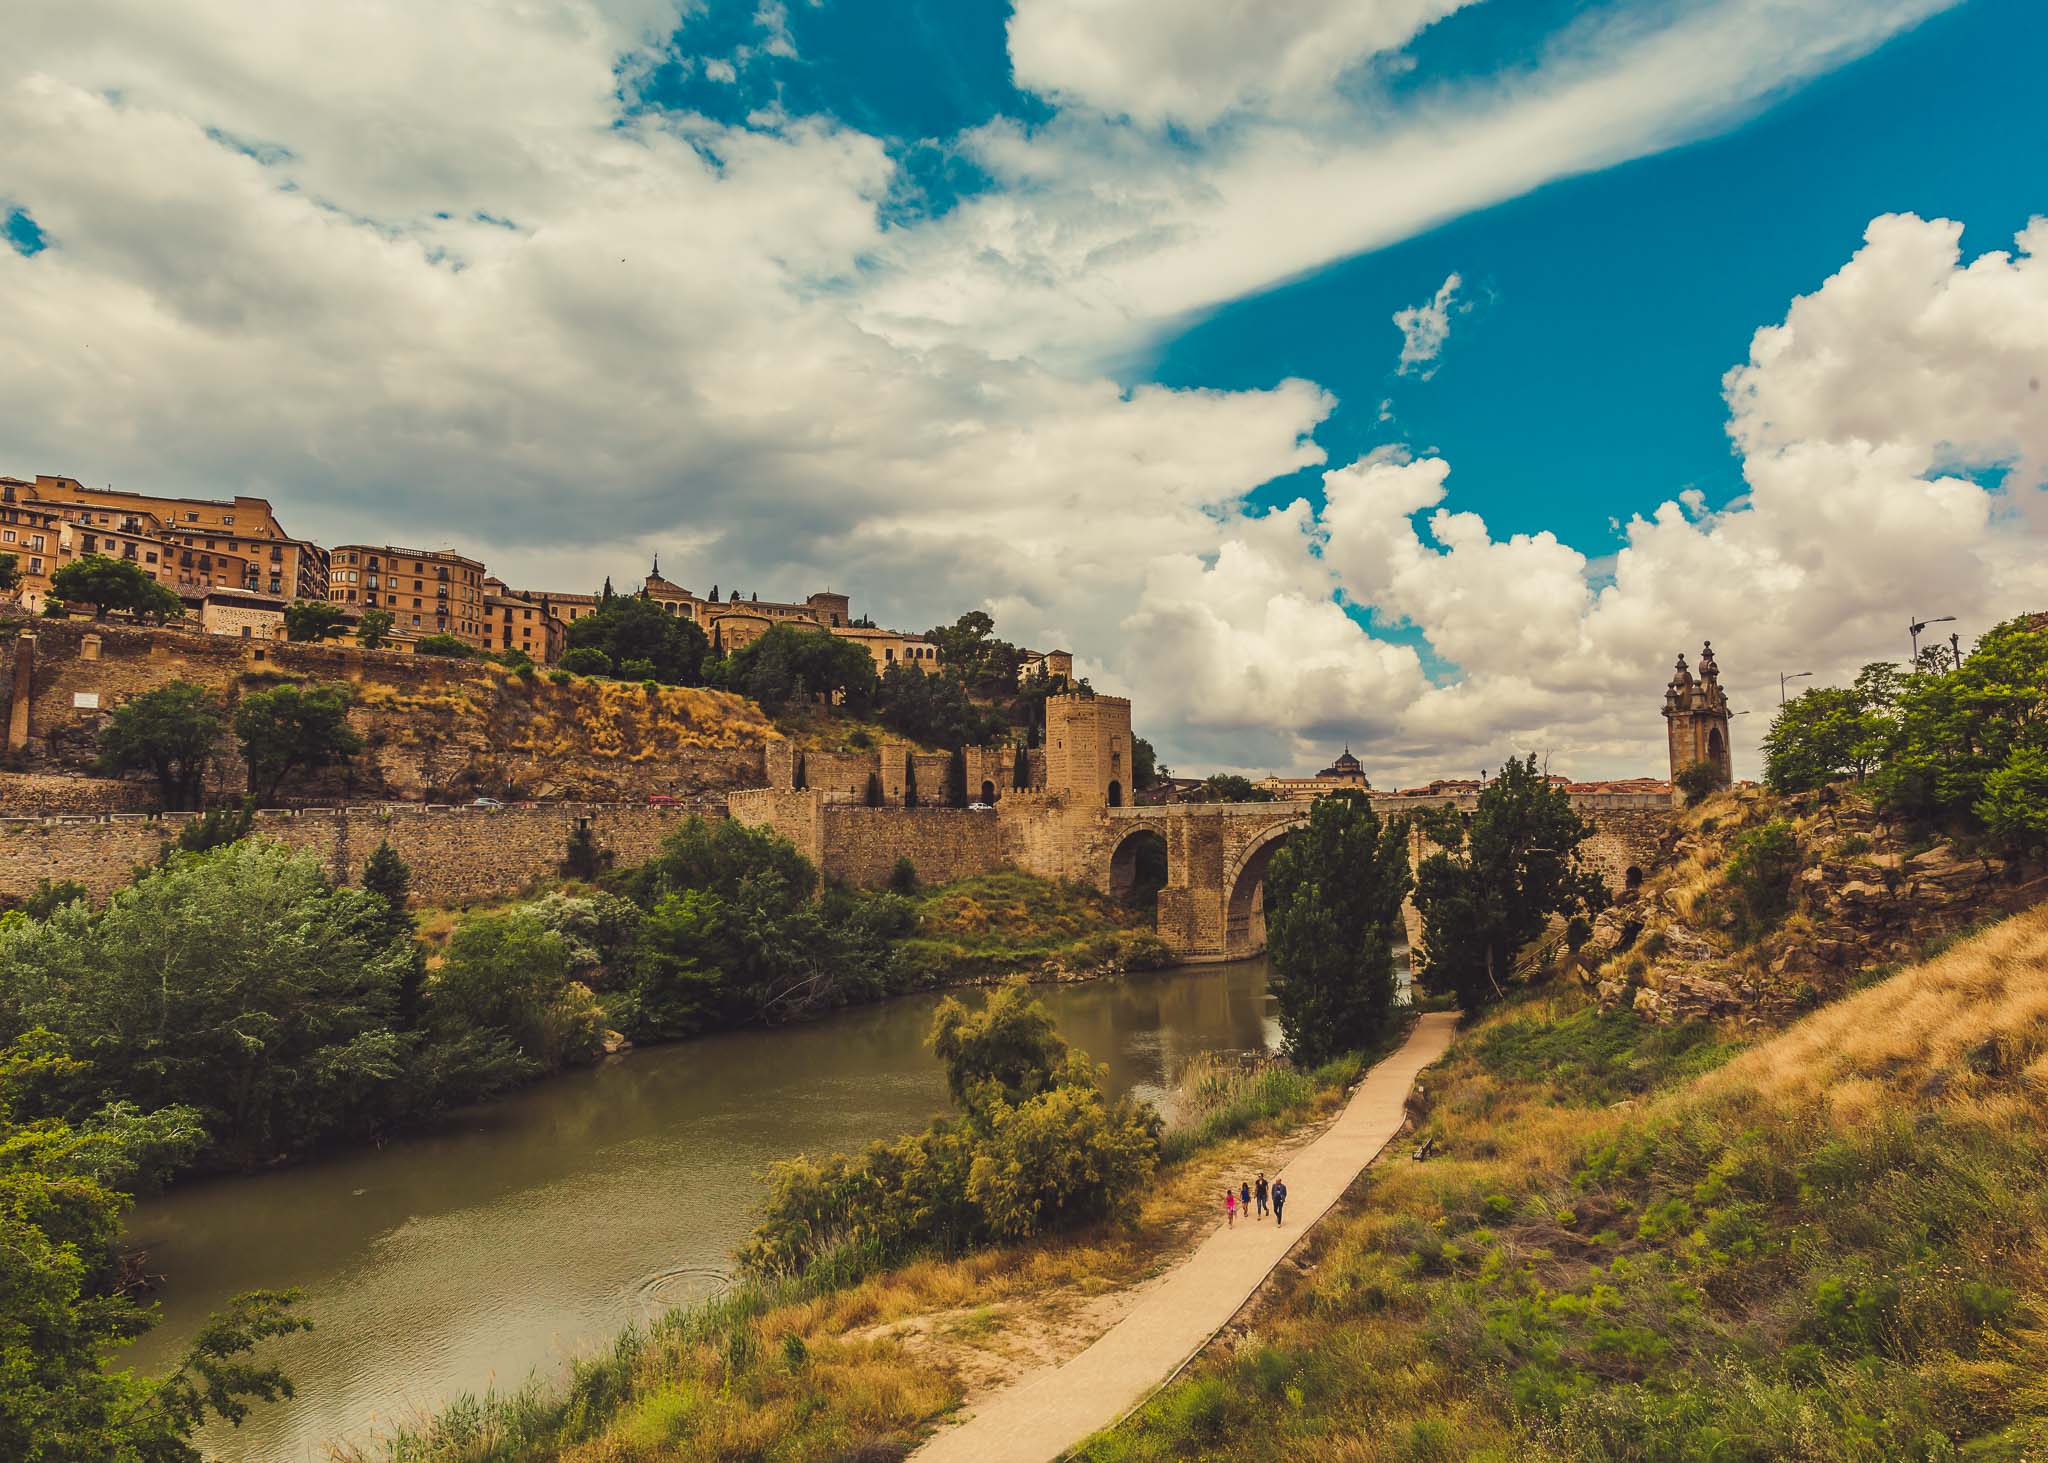
Toledo along Tagos River
Alfonso Calero – Travel Photographer from Sydney specialising in portraits and landscapes. Regular traveller with my small photo workshops/tours in Australia , Japan, The Philippines and Spain.
London's Top Ten Photo Locations
If you are into photo walks and travelling light, then this list will be useful on your next travels. London is a massive city so its worth putting aside at least five full days to have a good look around.
London’s Top Ten Photo Locations
London is massive so feel free to add your favourite photo locations in the comments below. This article is geared for first timers. Using only one prime lens 35mm (F1.4) on my Fujifilm XT3 camera, I walked through some key areas of London to capture my visual story of this incredible city. Below are a list of ten areas and the surrounding locations in each spot.
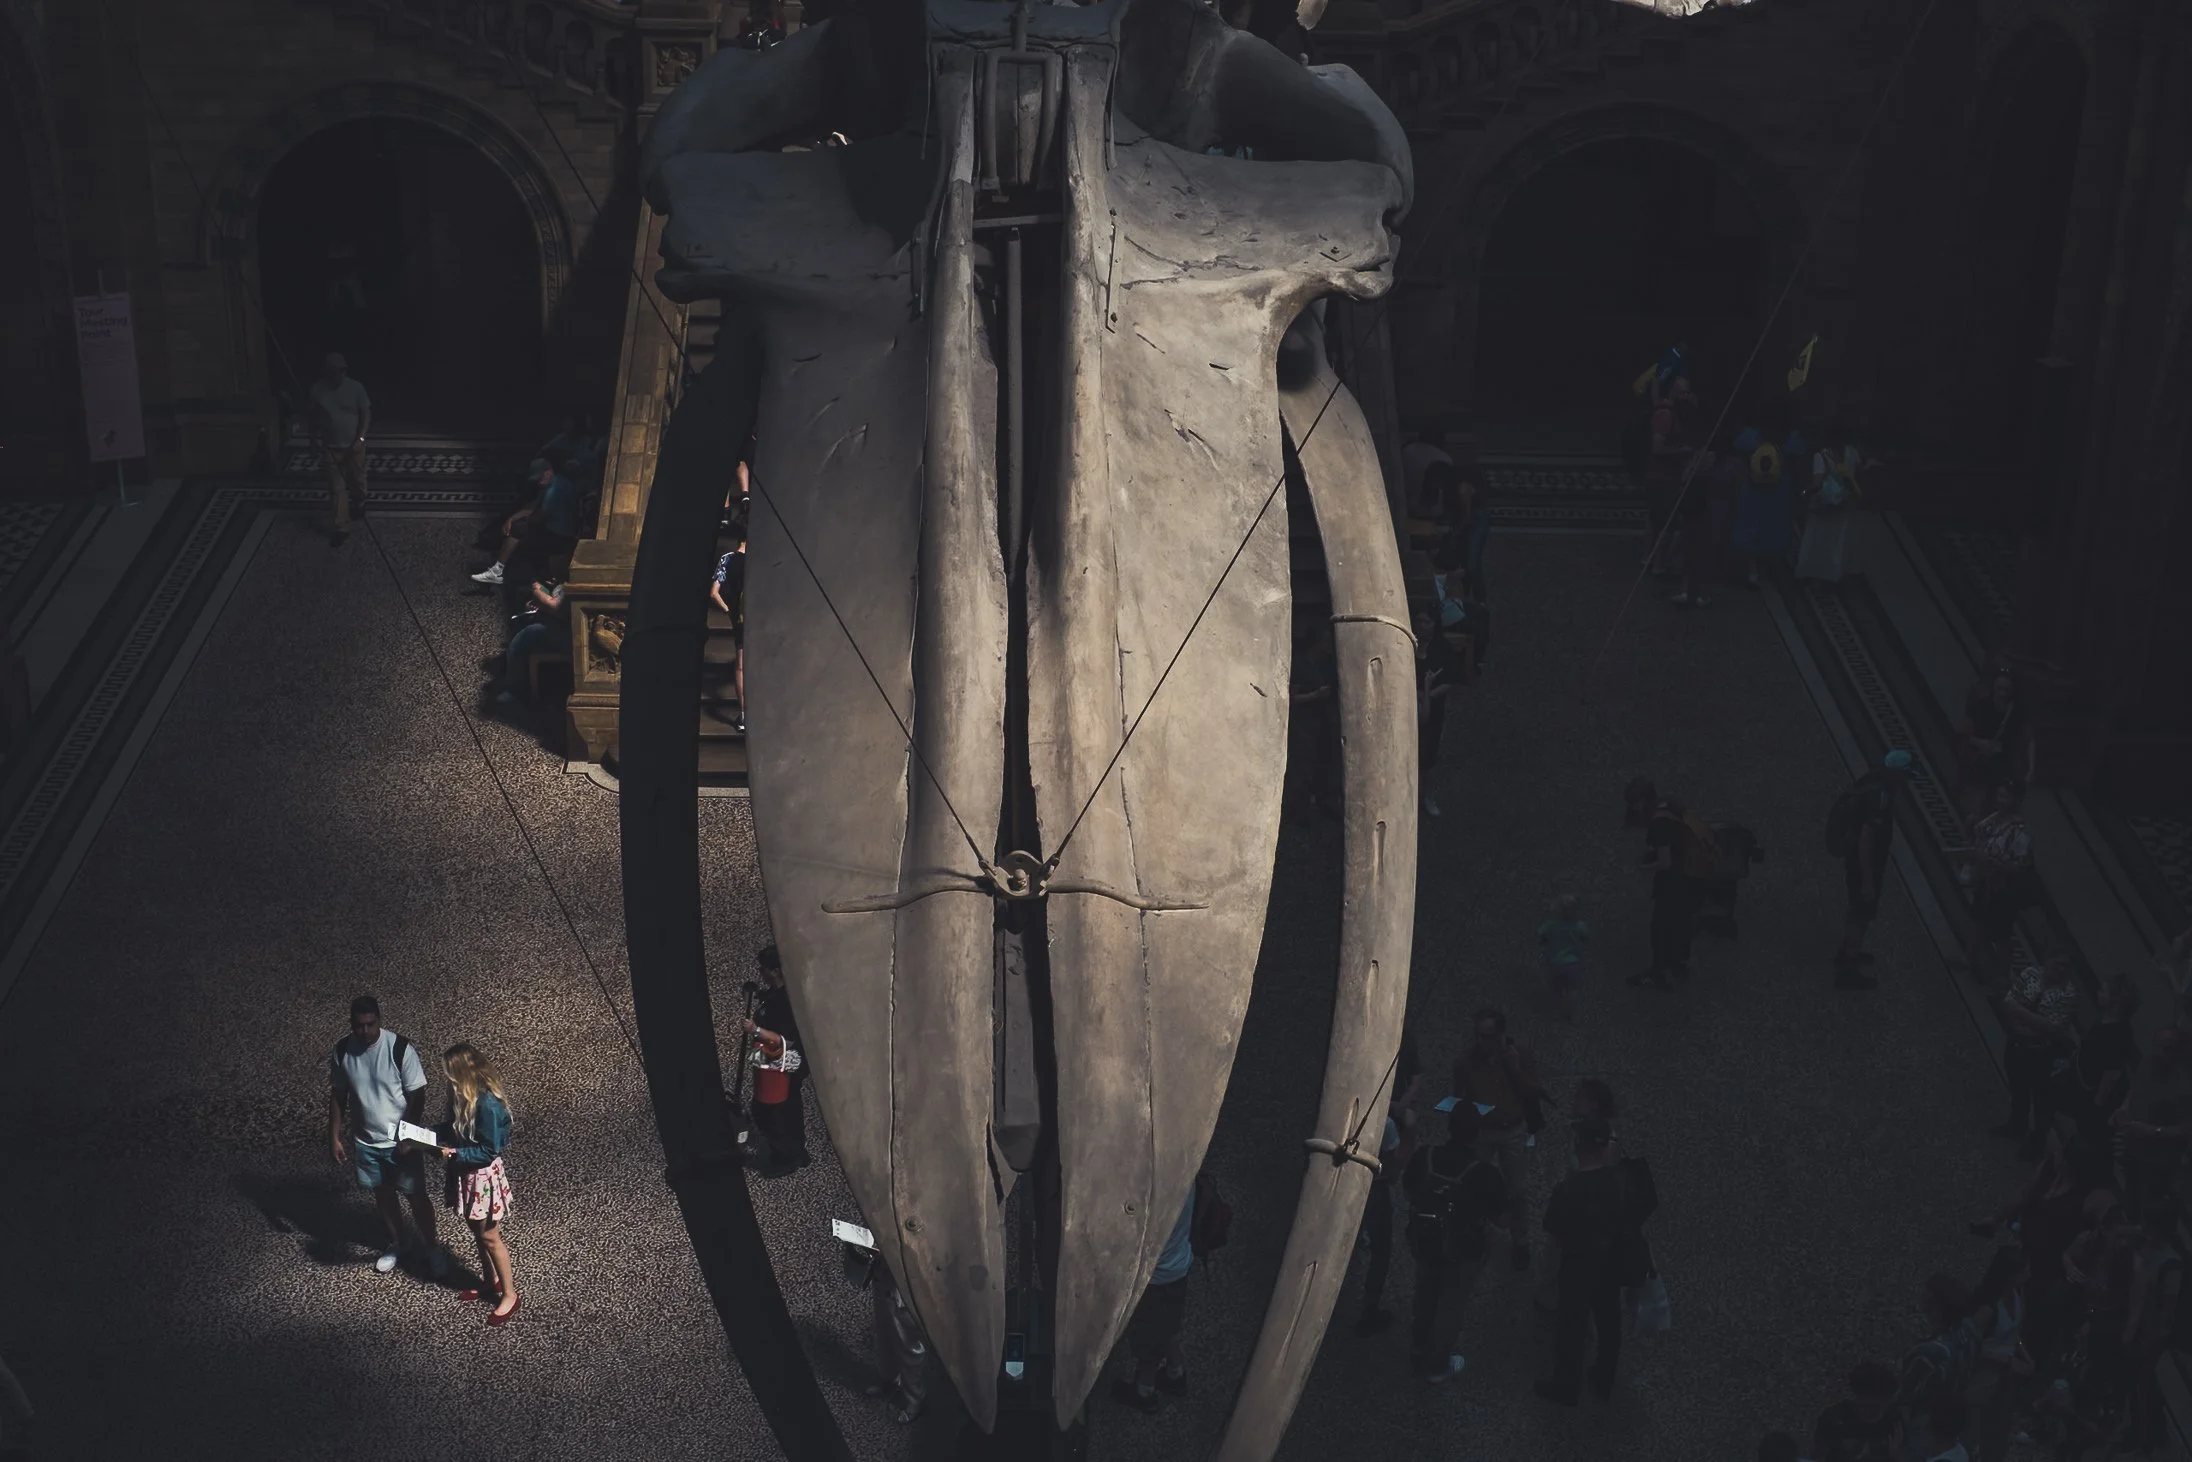
Natural History Museum
St. Patricks Cathedral
The cathedral serves as the mother church of the Diocese of London in the Church of England. It is on Ludgate Hill at the highest point of the City of London
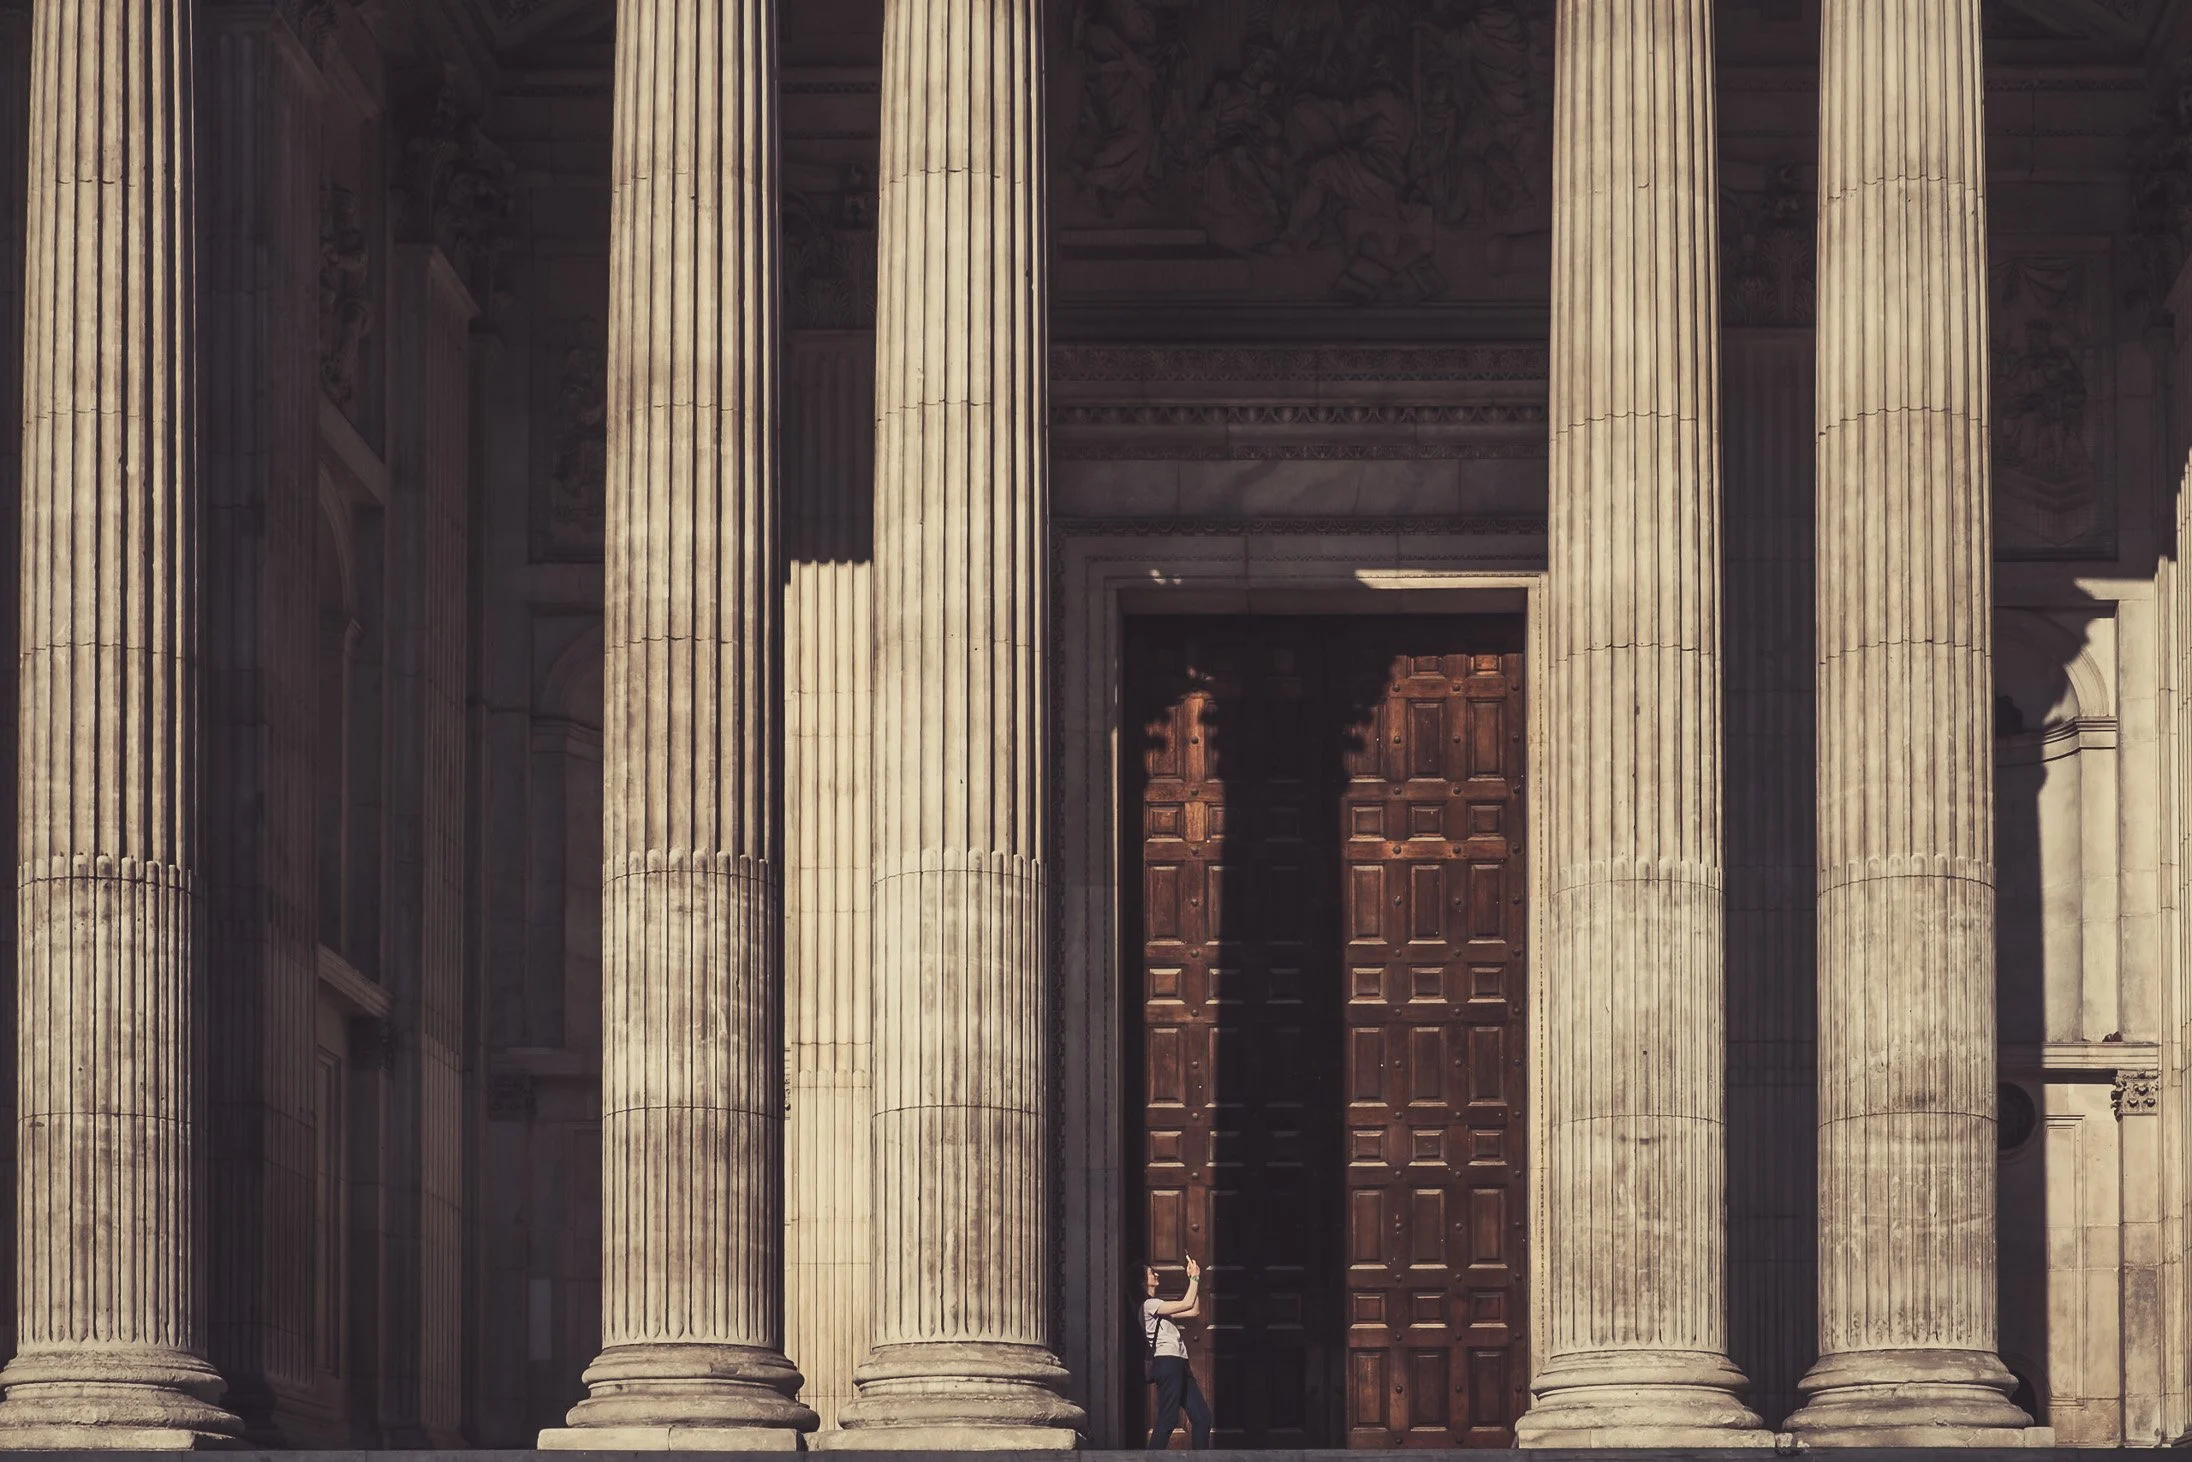
St. Pauls Cathedral
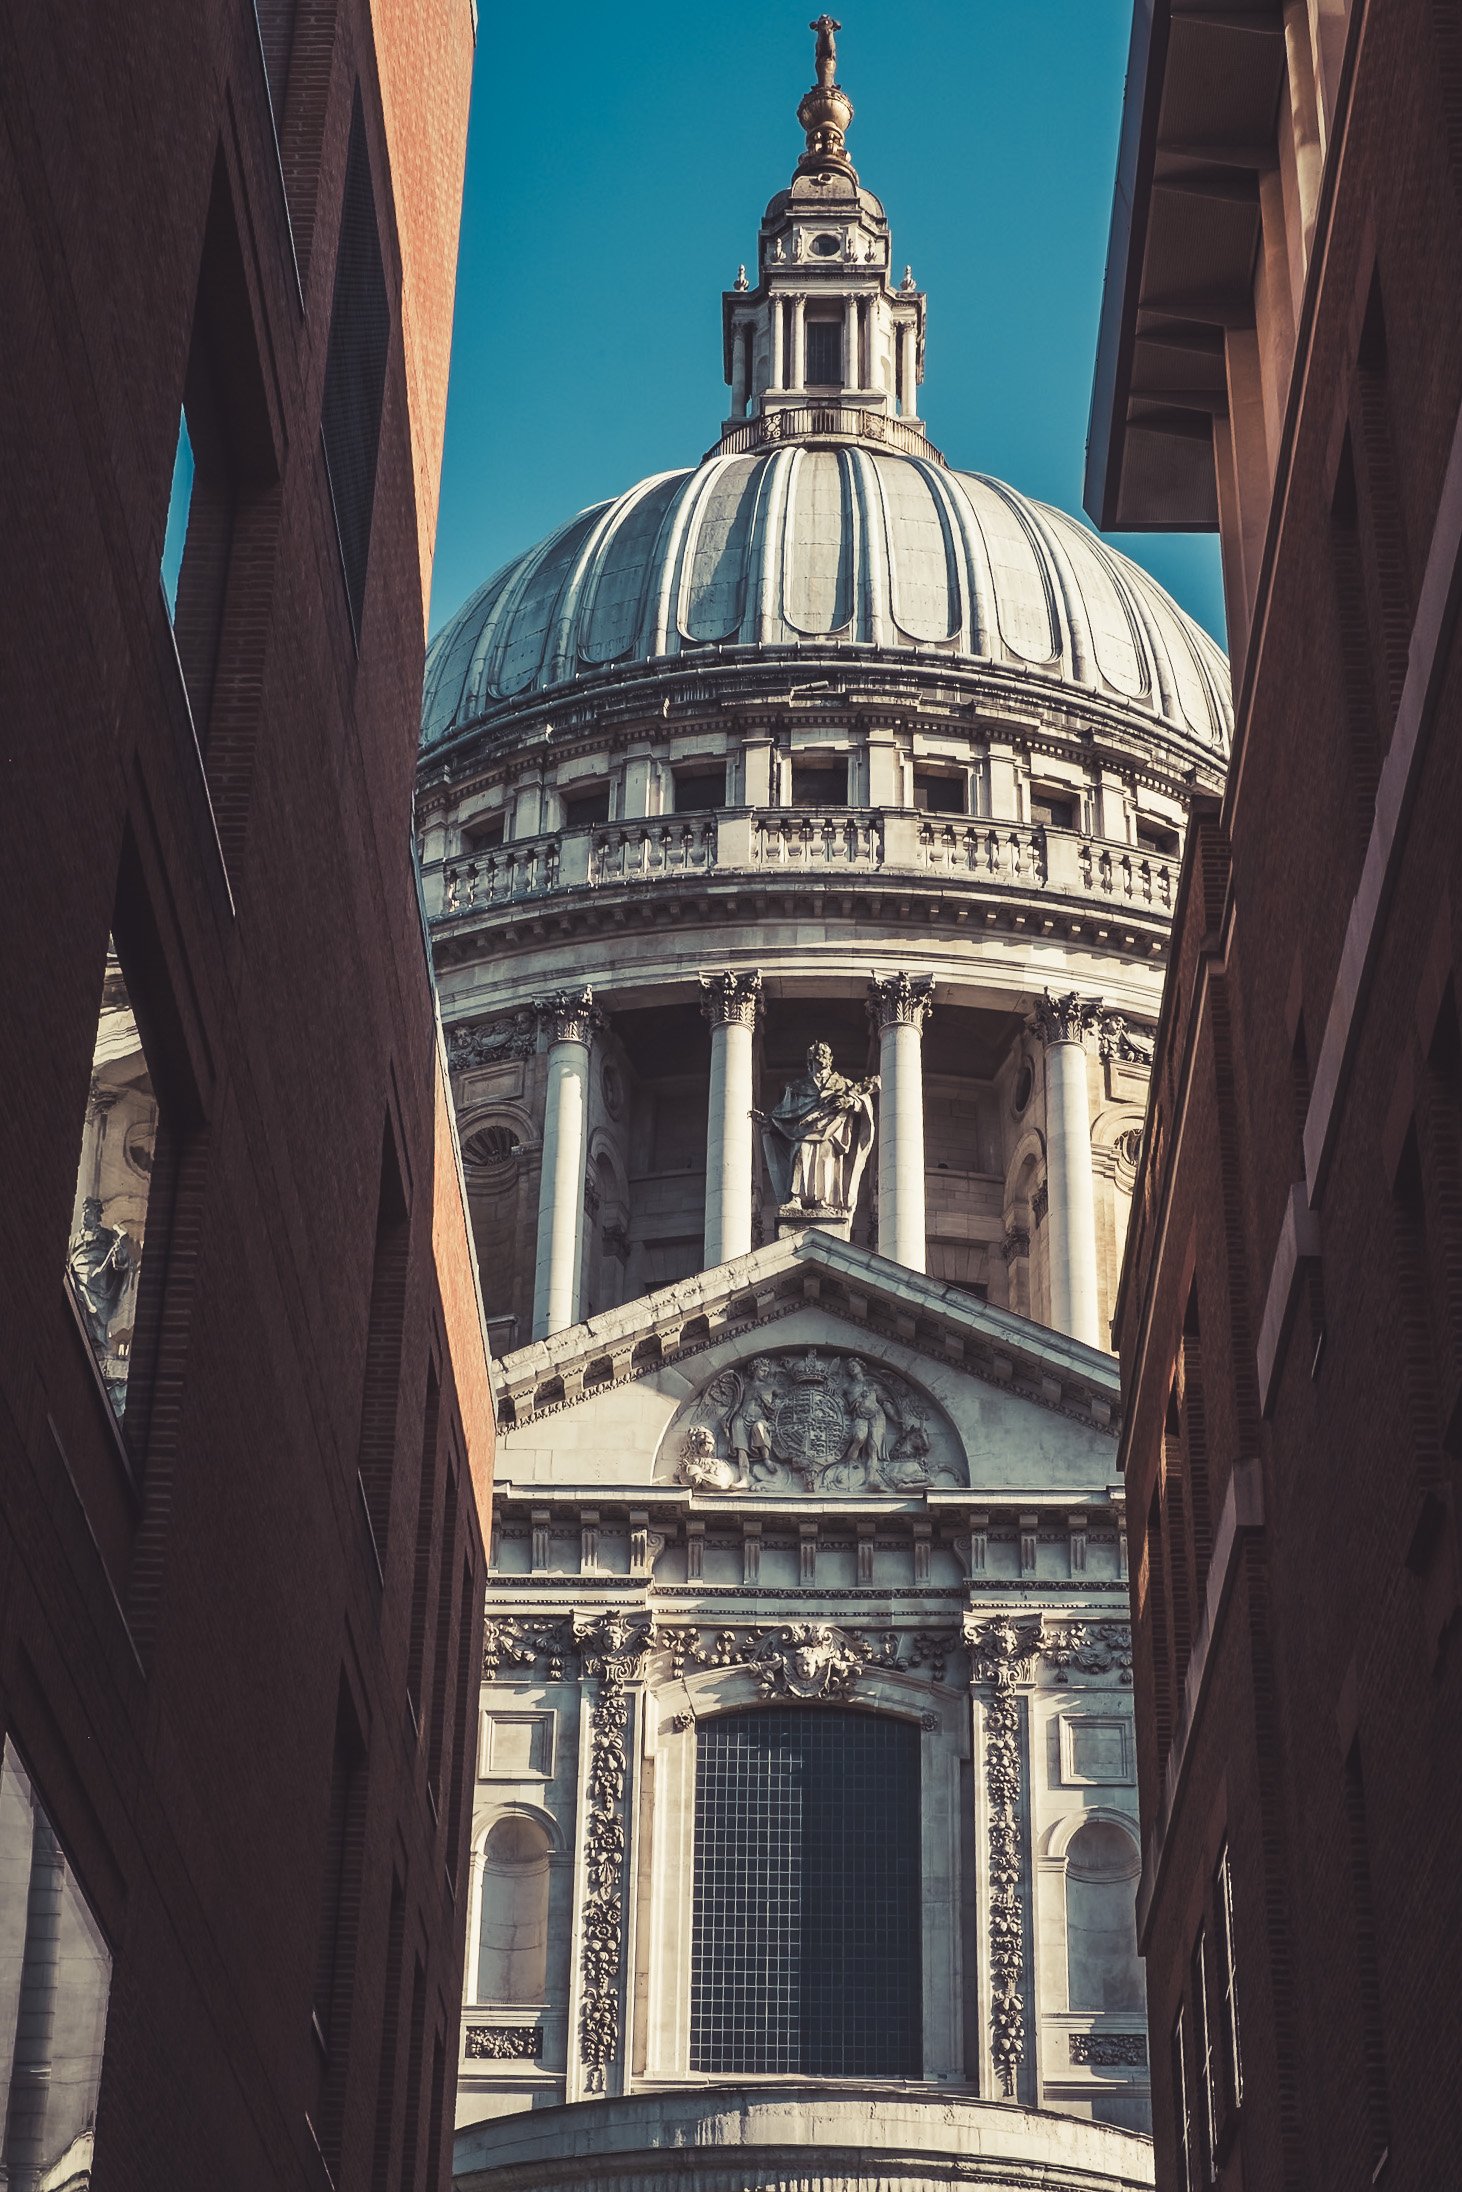
St. Pauls Cathedral
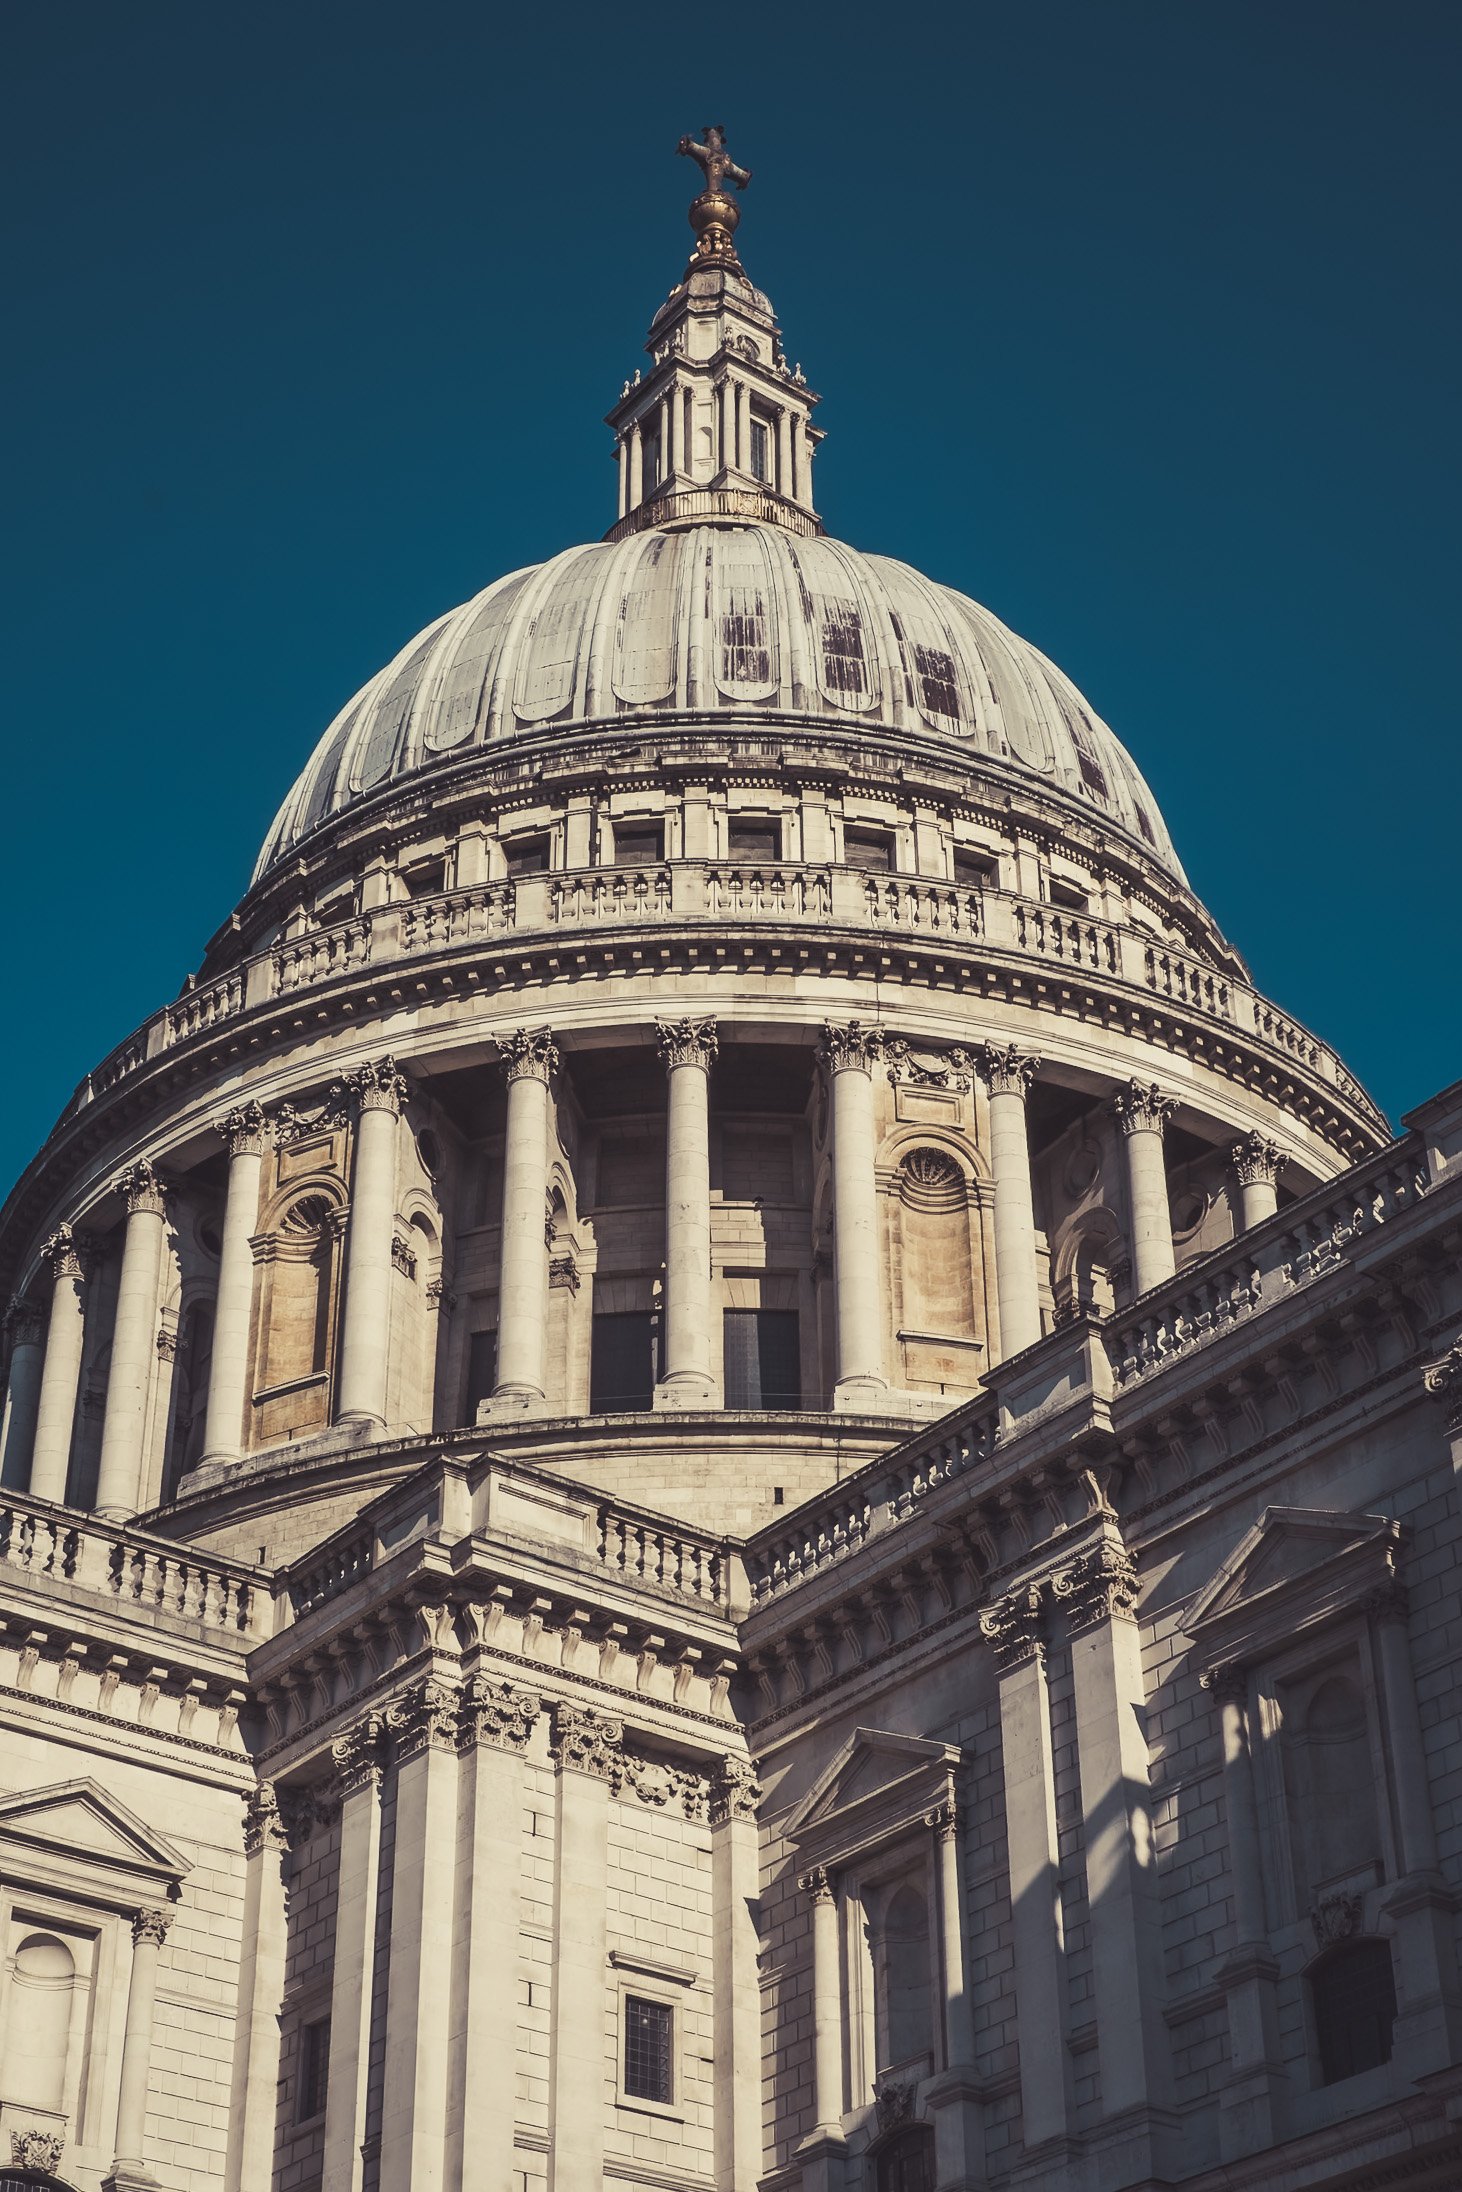
St. Pauls Cathedral
TOWER BRIDGE
Was built to ease road traffic while maintaining river access to the busy Pool of London docks. Built with giant movable roadways that lift up for passing ships, it is to this day considered an engineering marvel and beyond being one of London's favourite icons.
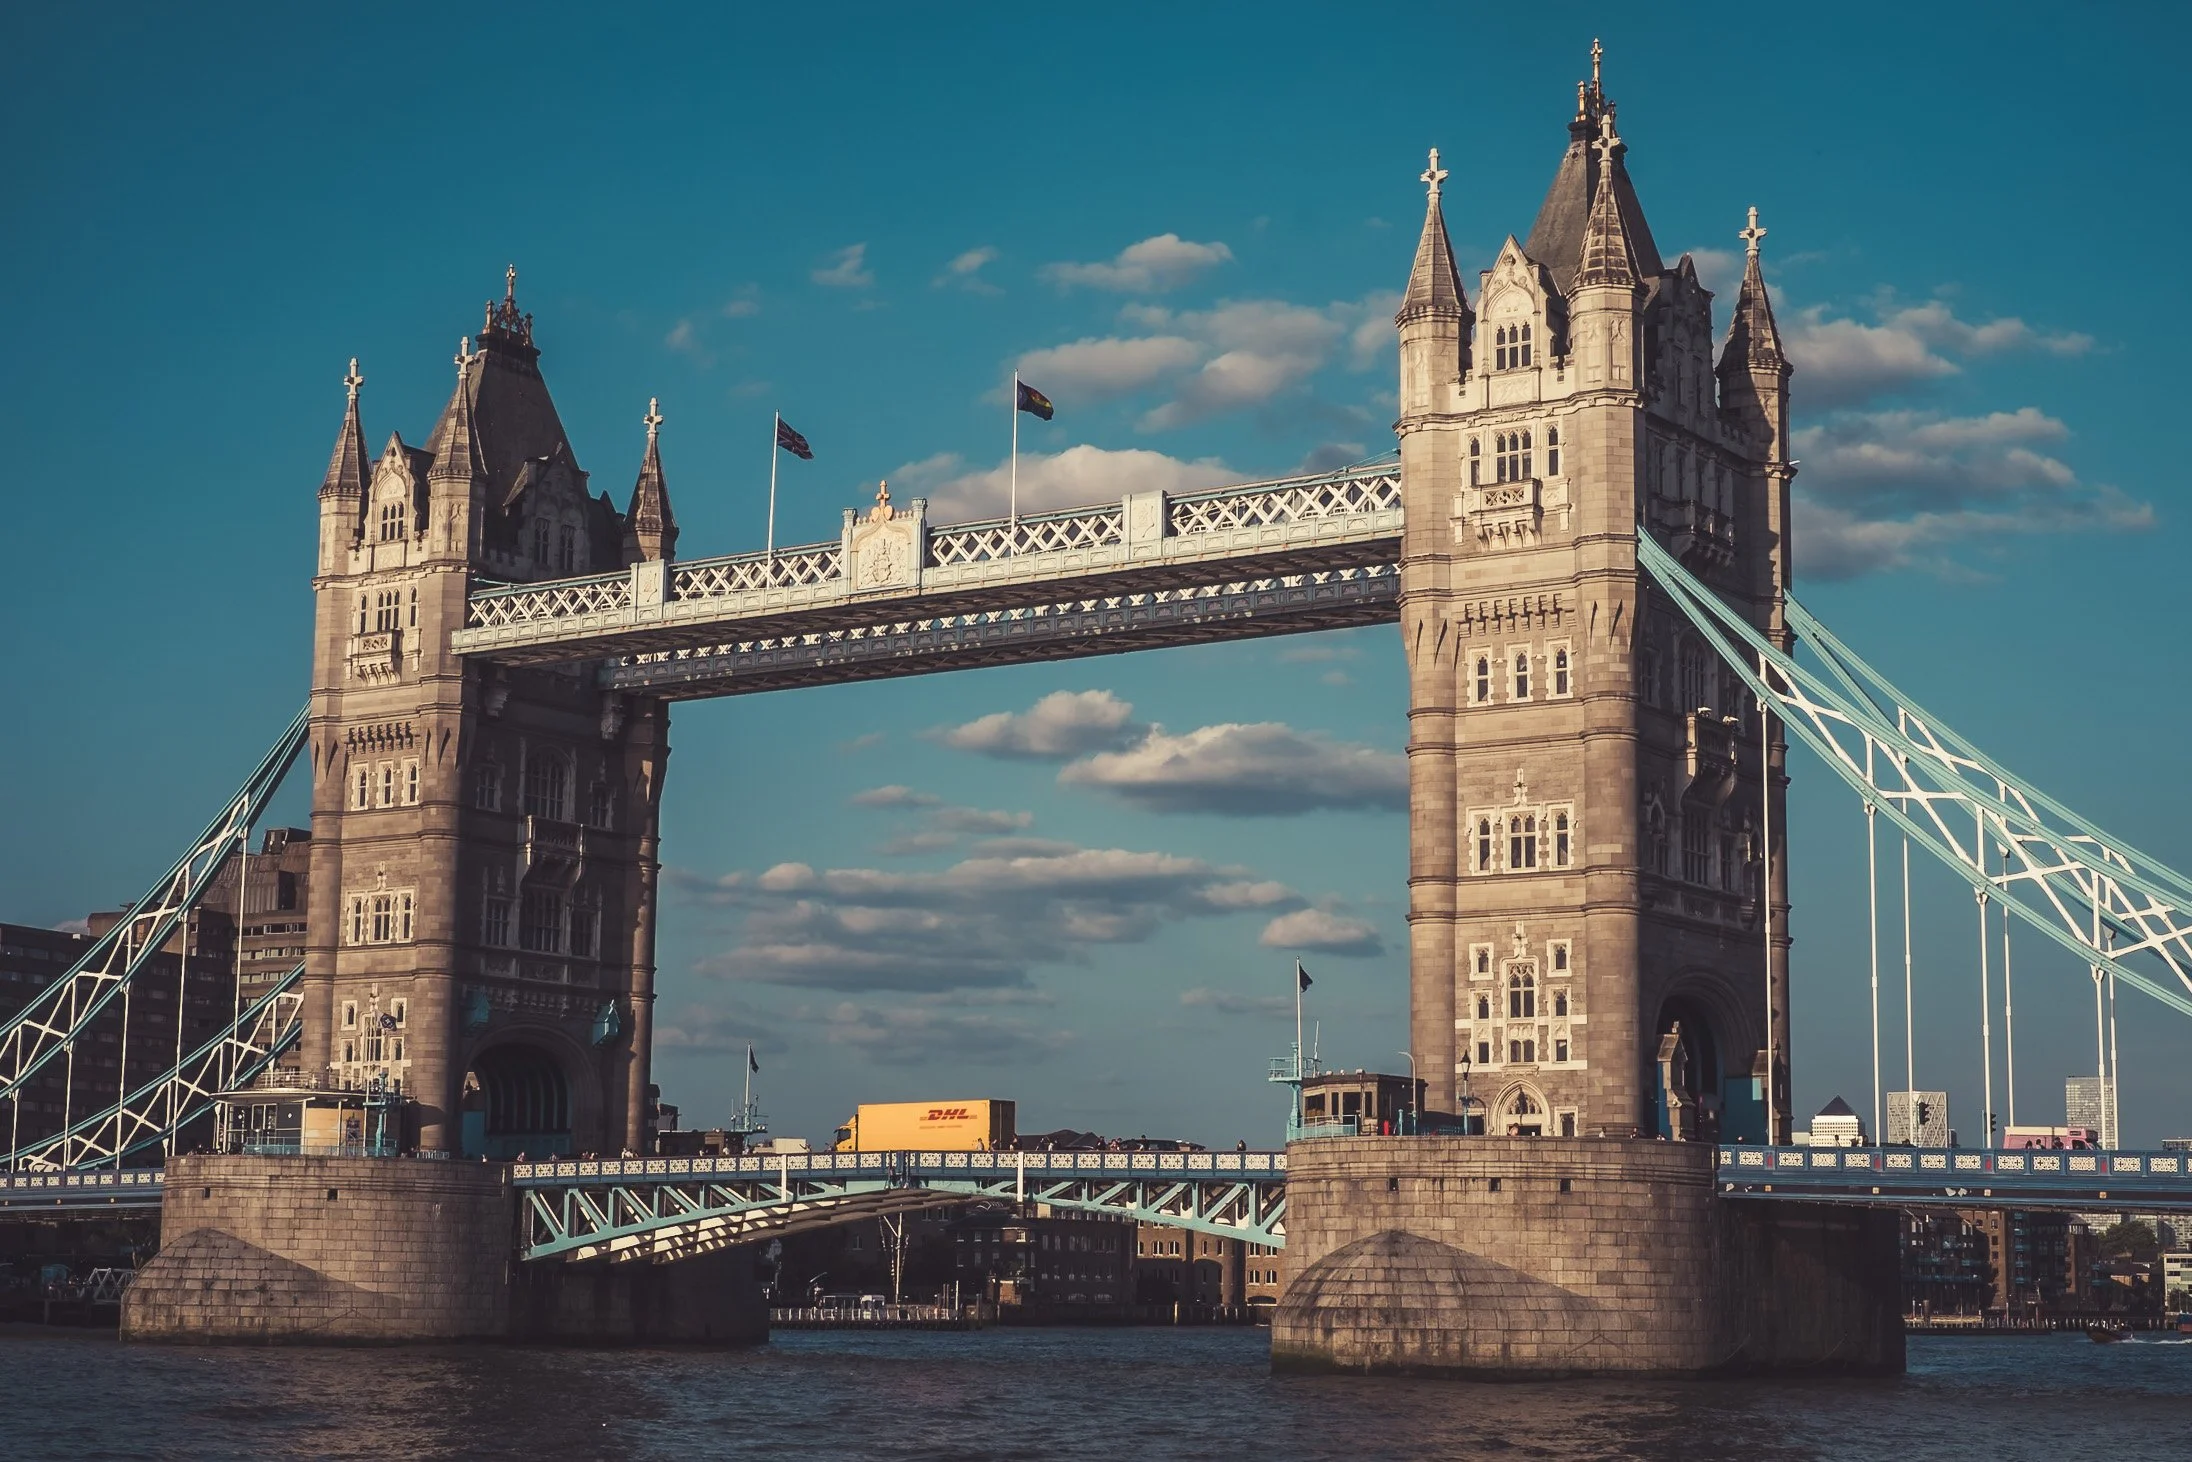
Tower Bridge
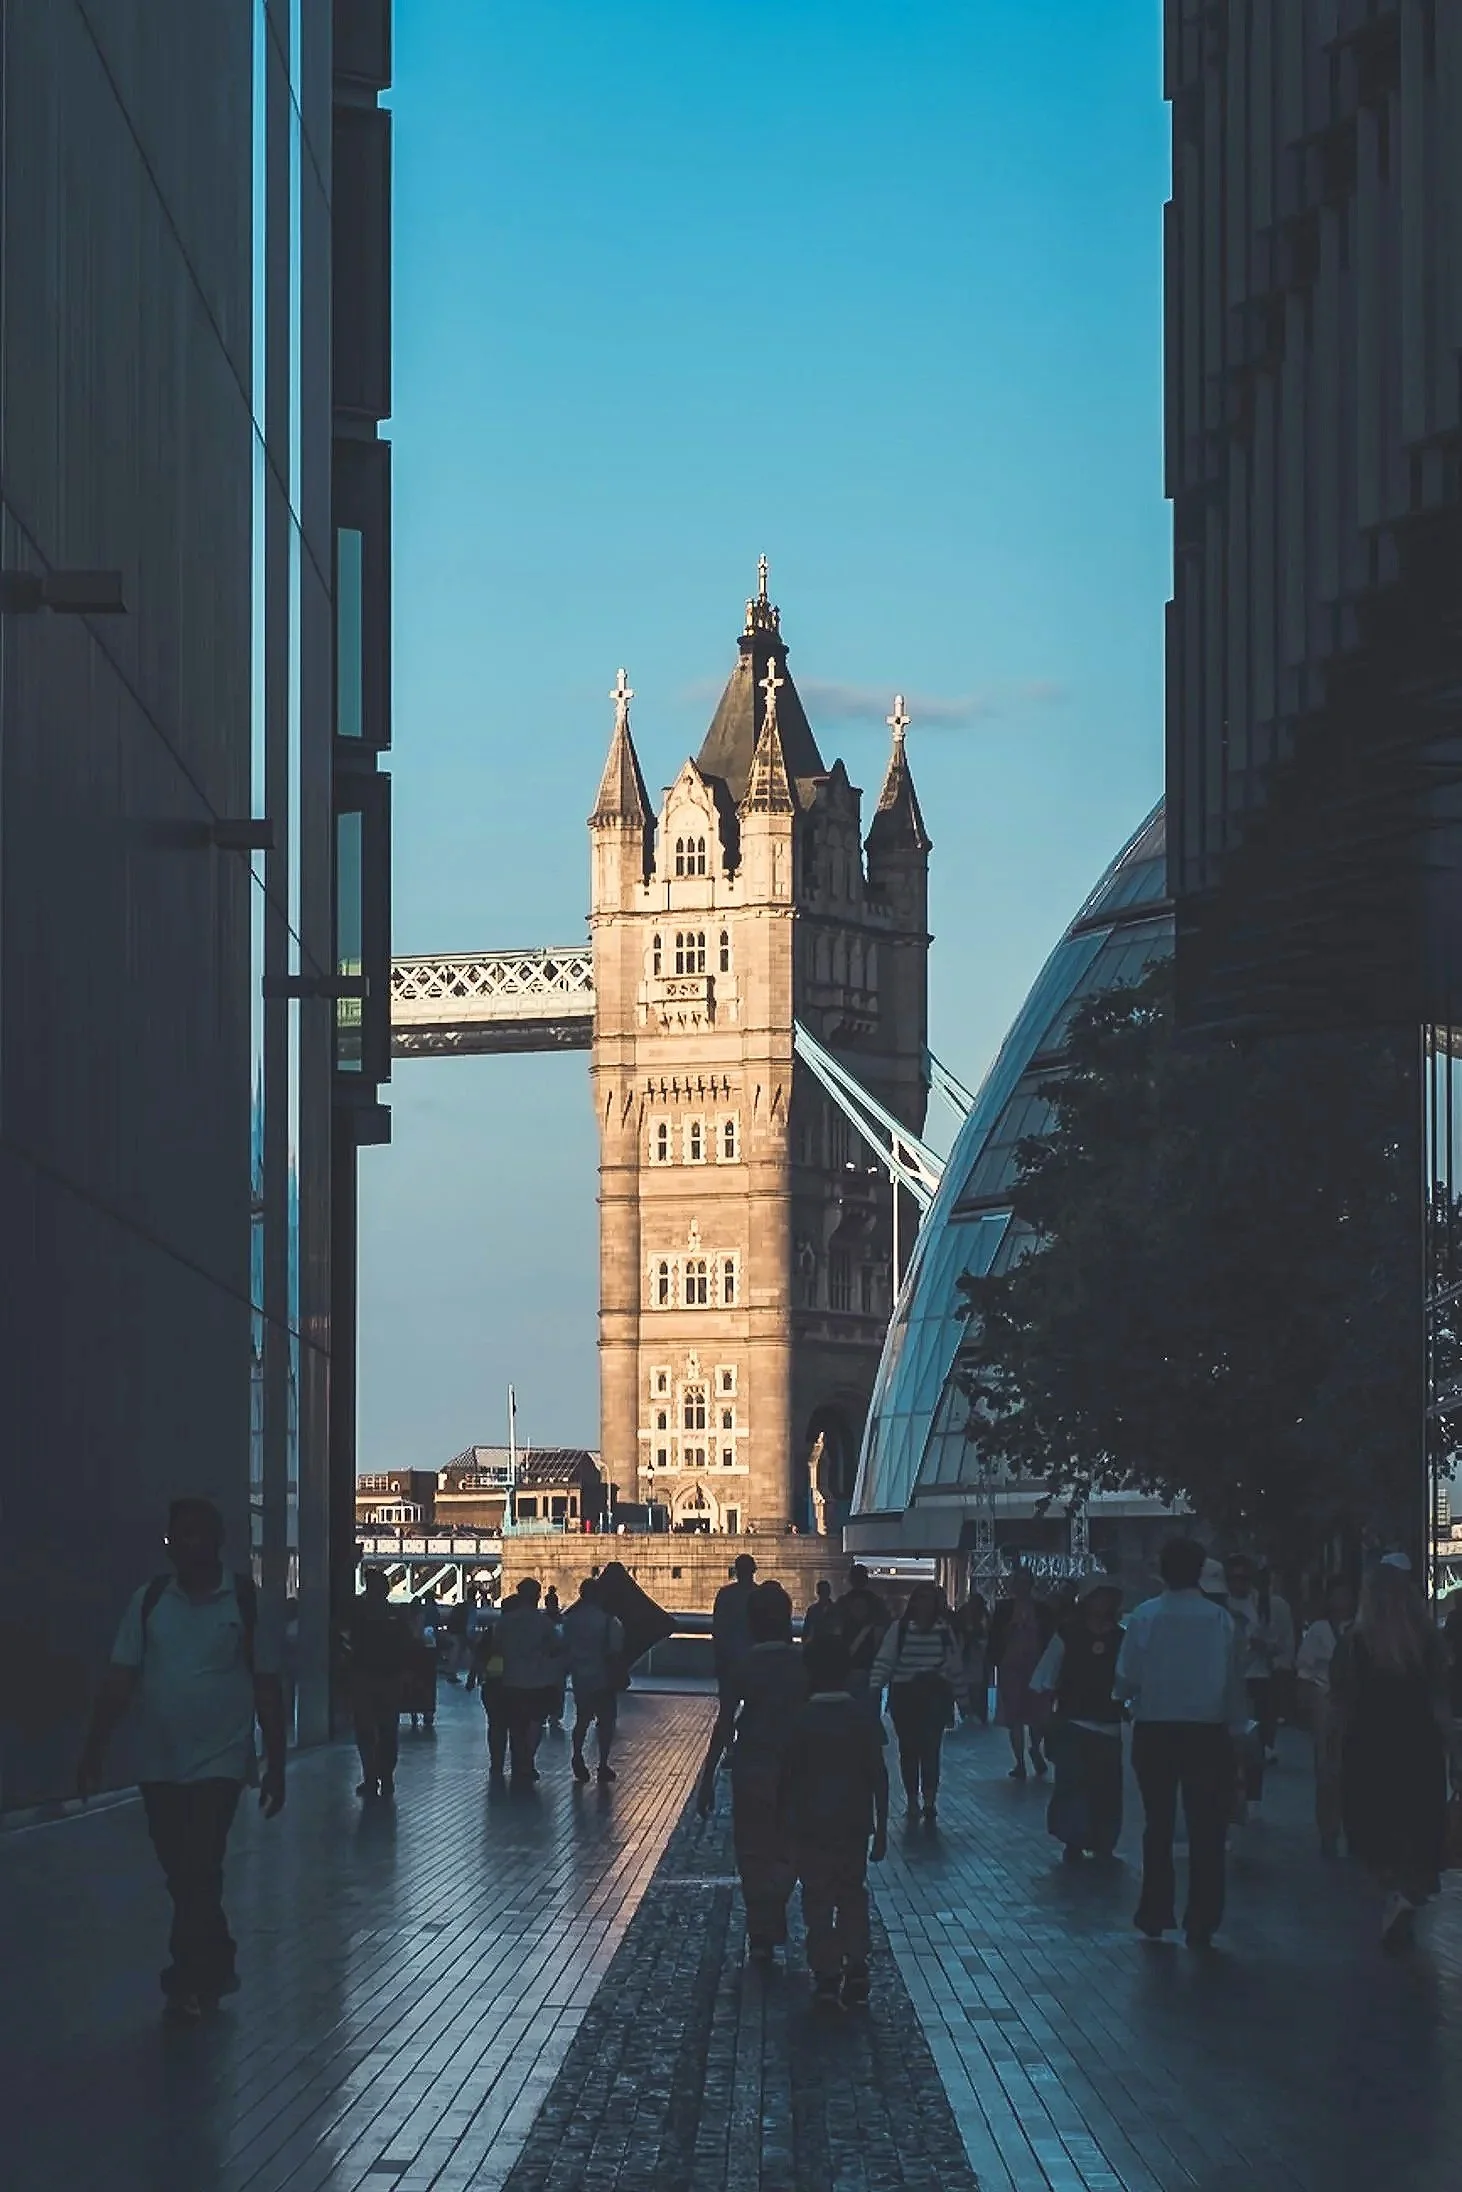
Tower Bridge
BUCKINGHAM PALACE
The land where the Palace now sits had been owned by historical figures like William The Conqueror and the monks of Westminster Abbey, before the Duke of Buckingham bought it in the late 17th Century. He built Buckingham House there and it was bought by King George III in 1761.
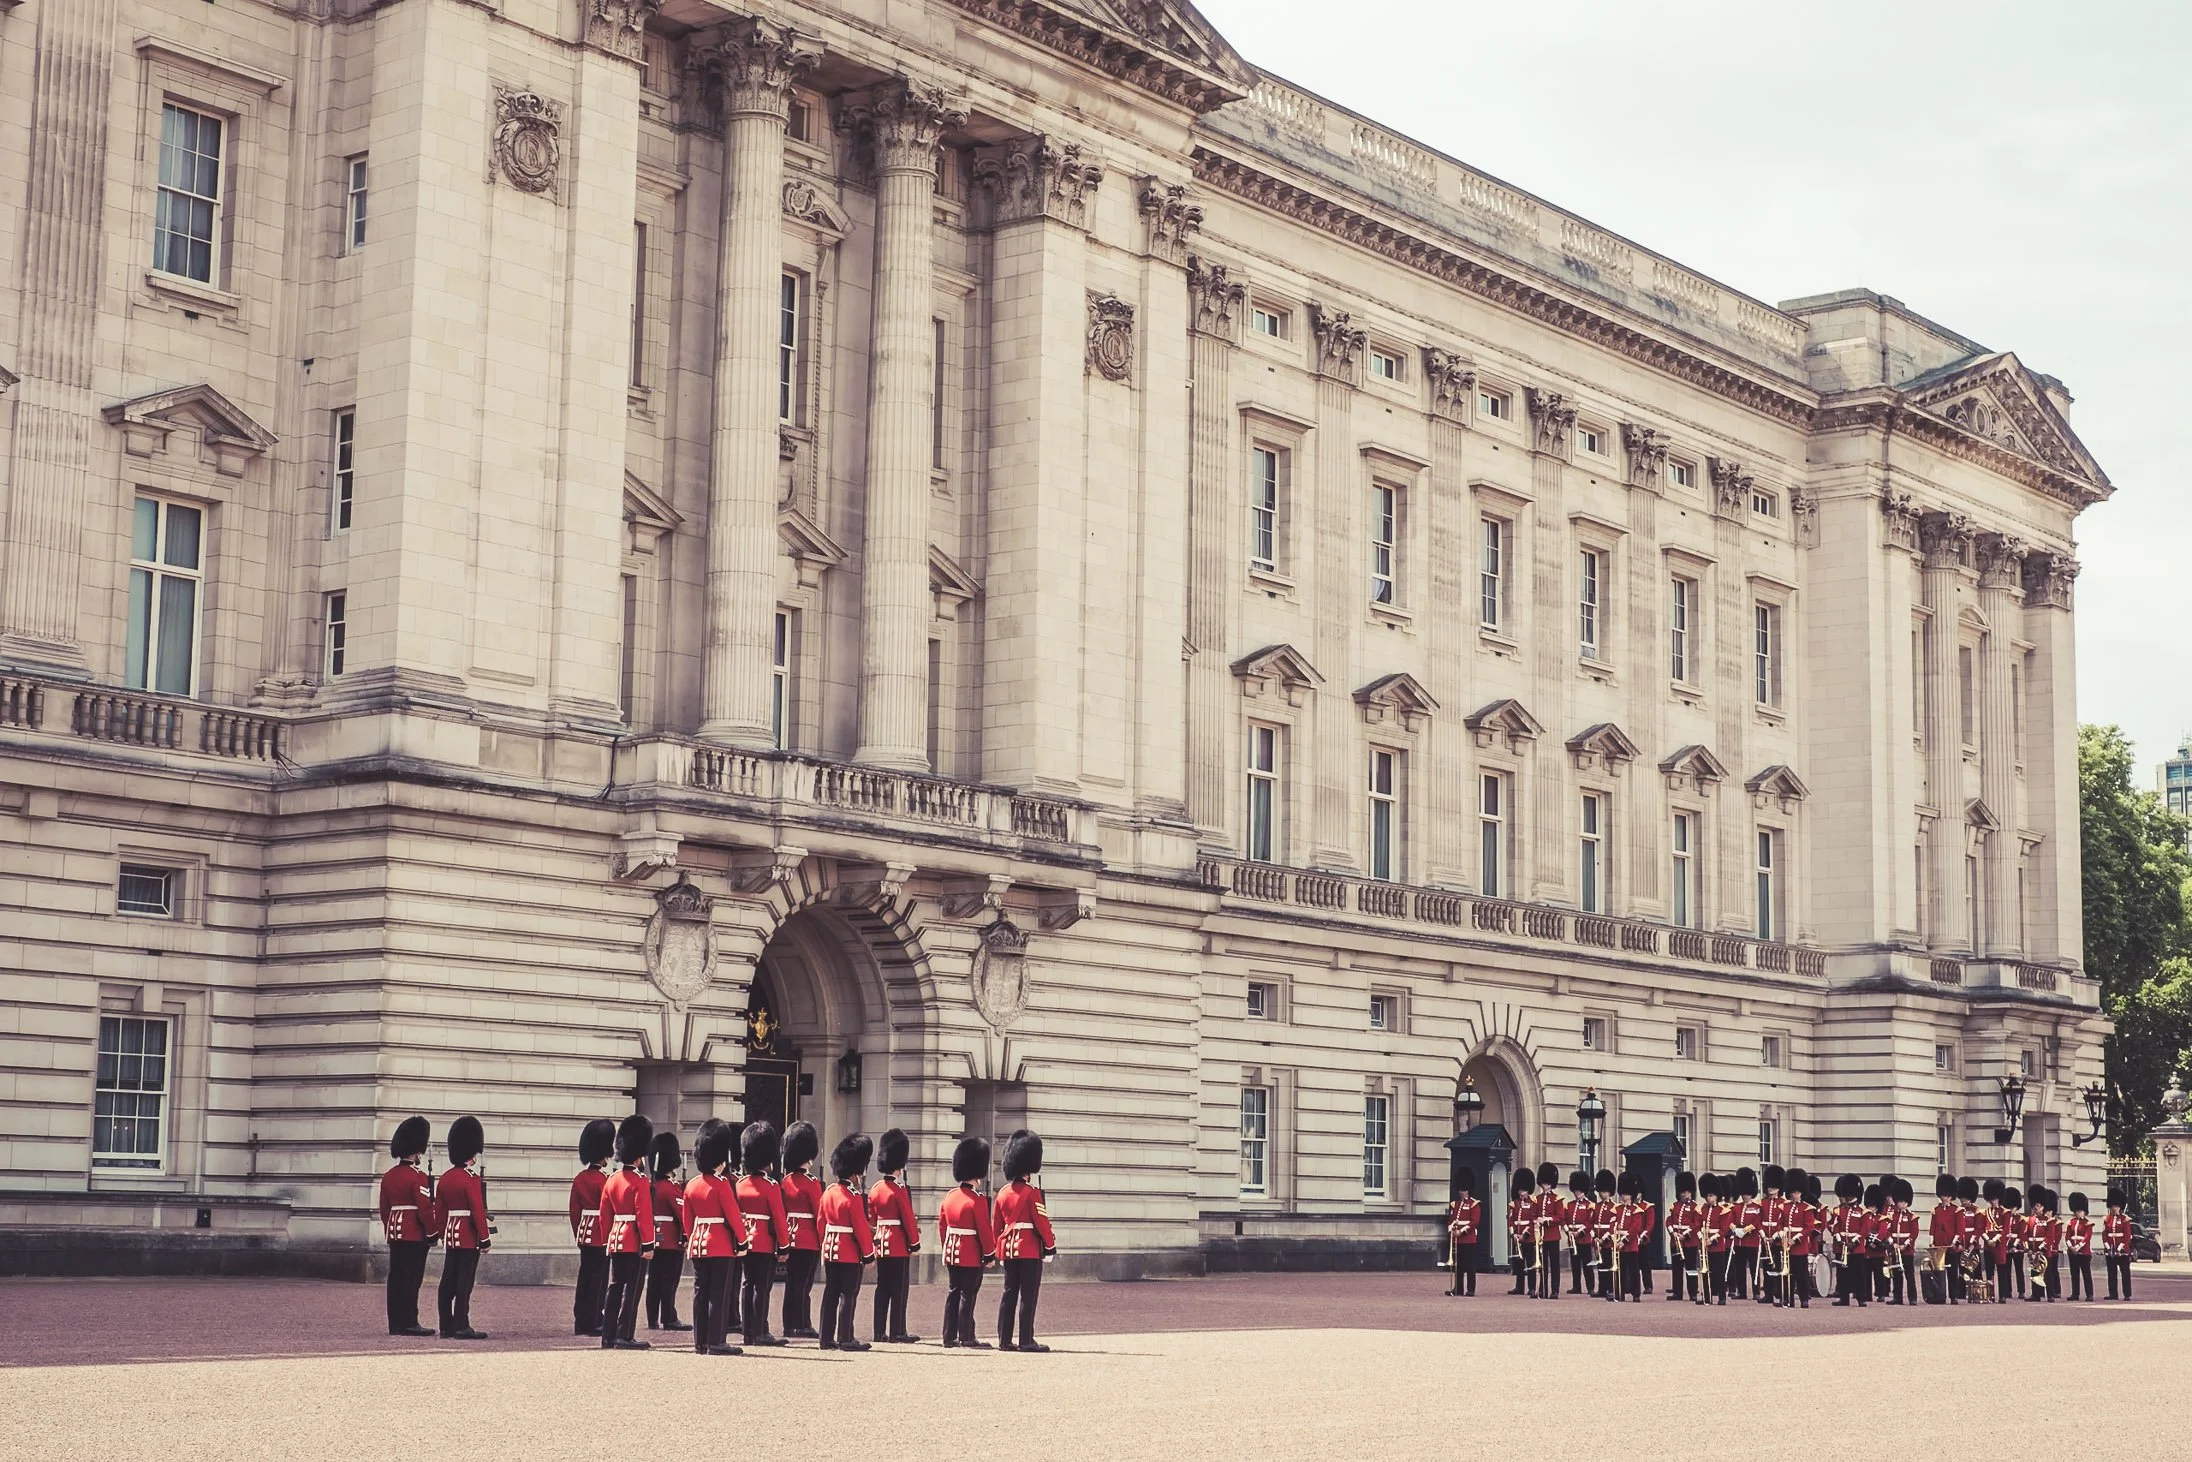
Buckingham Palace
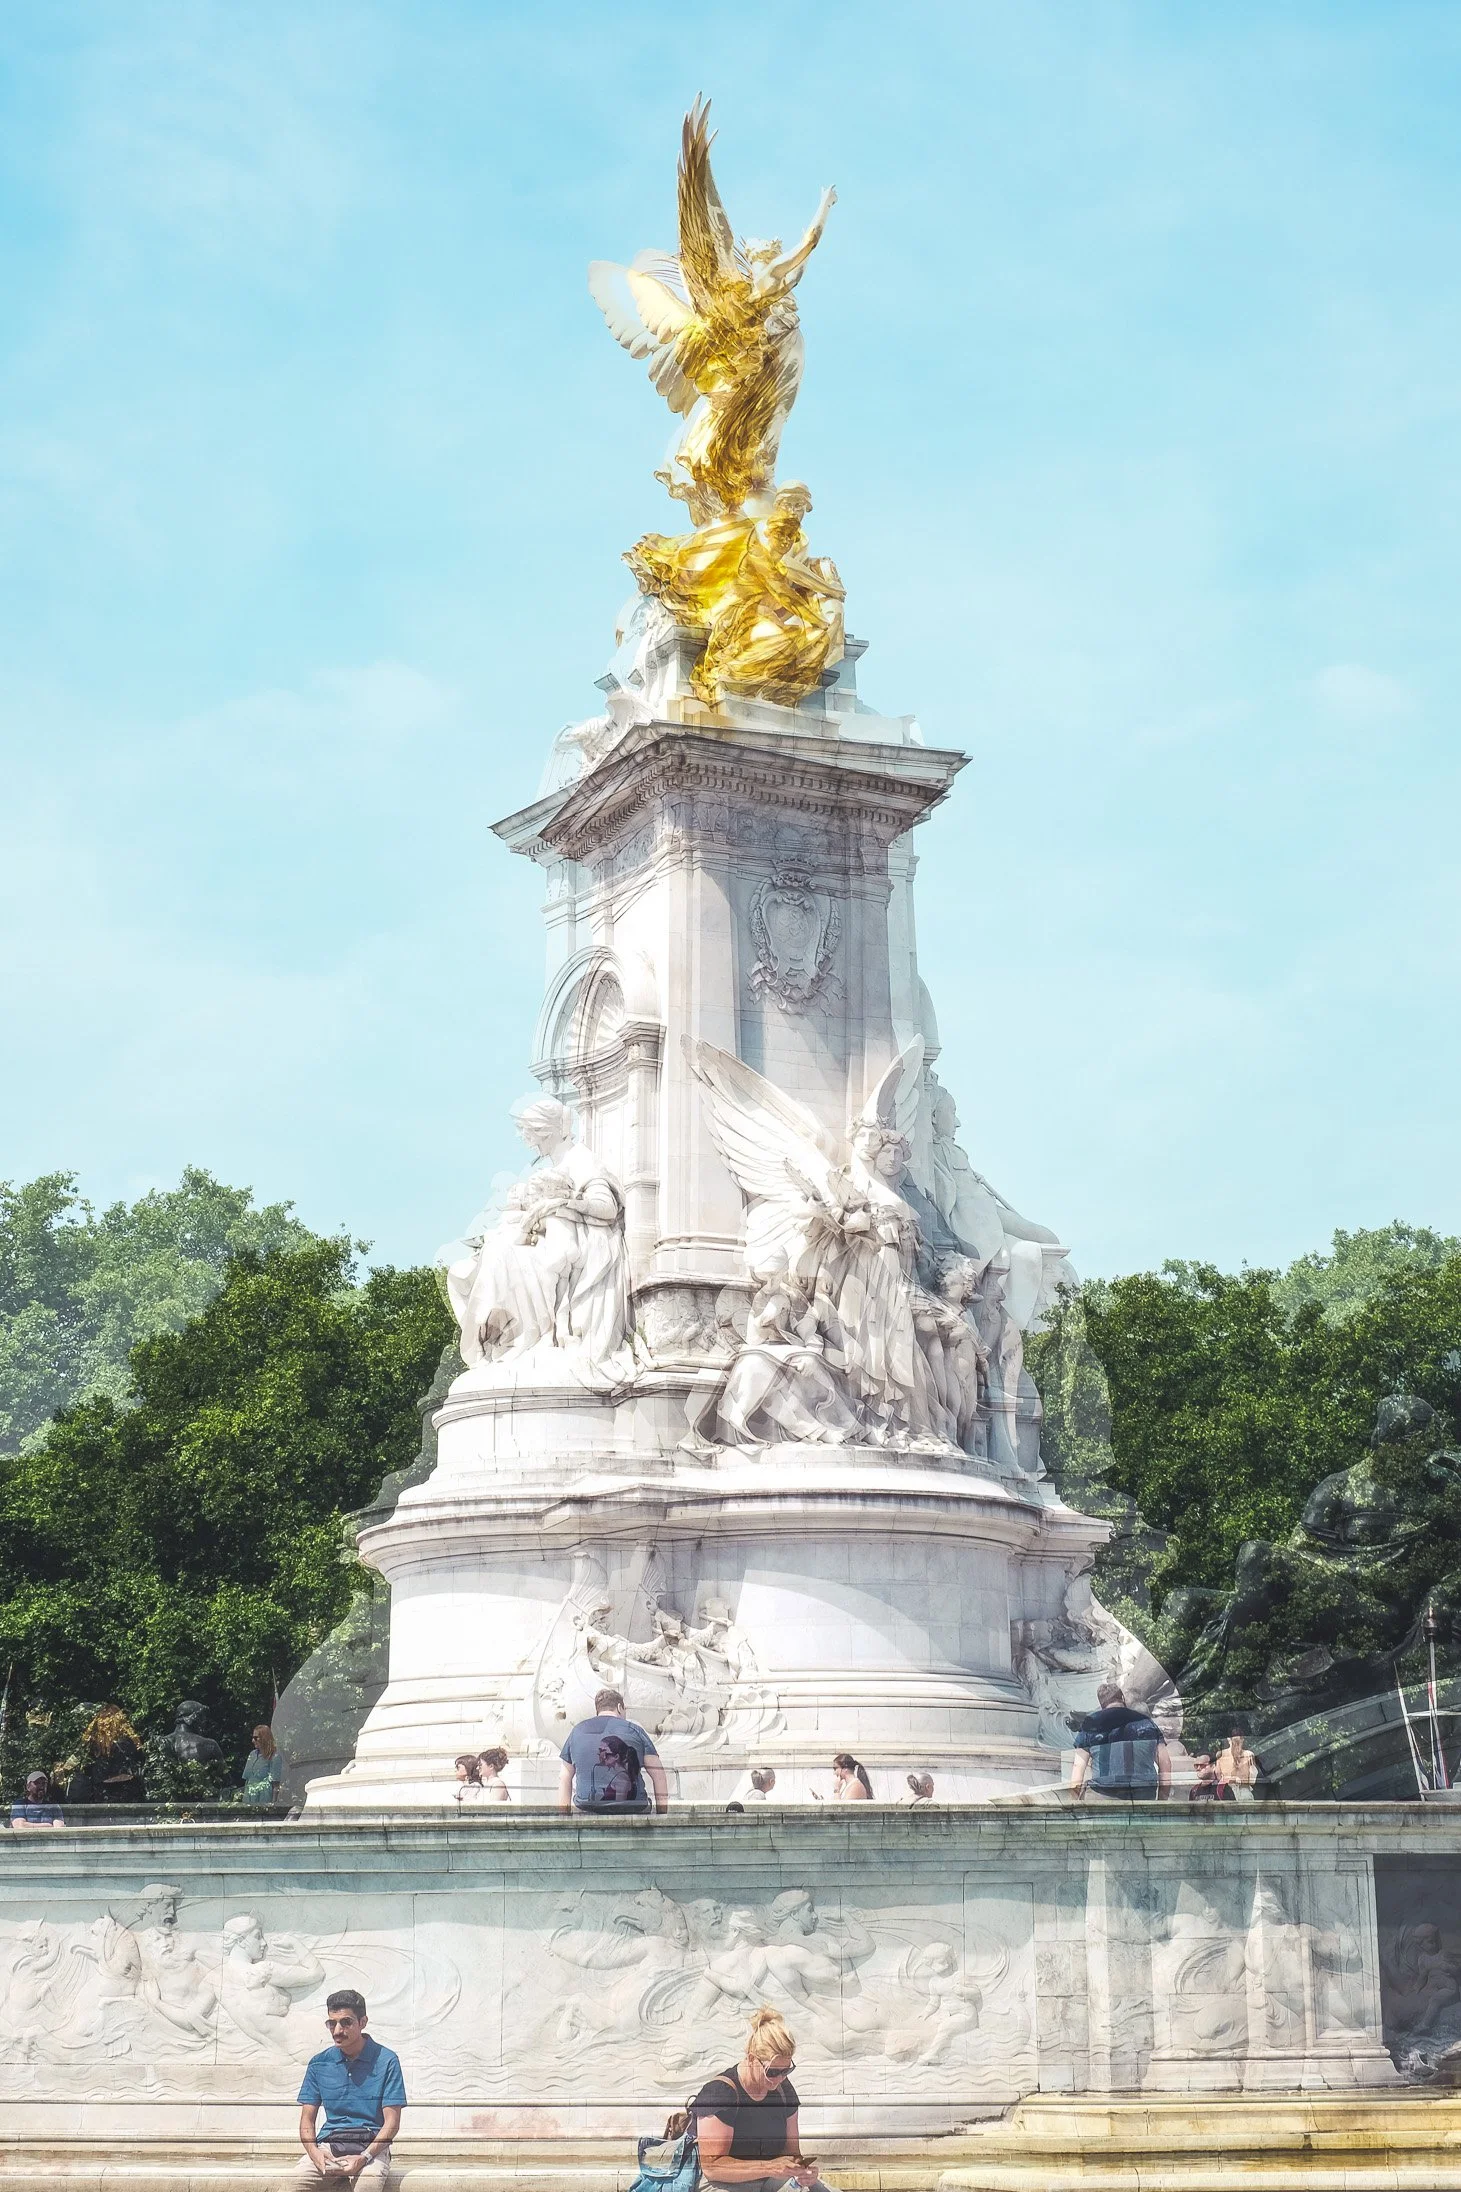
Queen Victoria Memorial
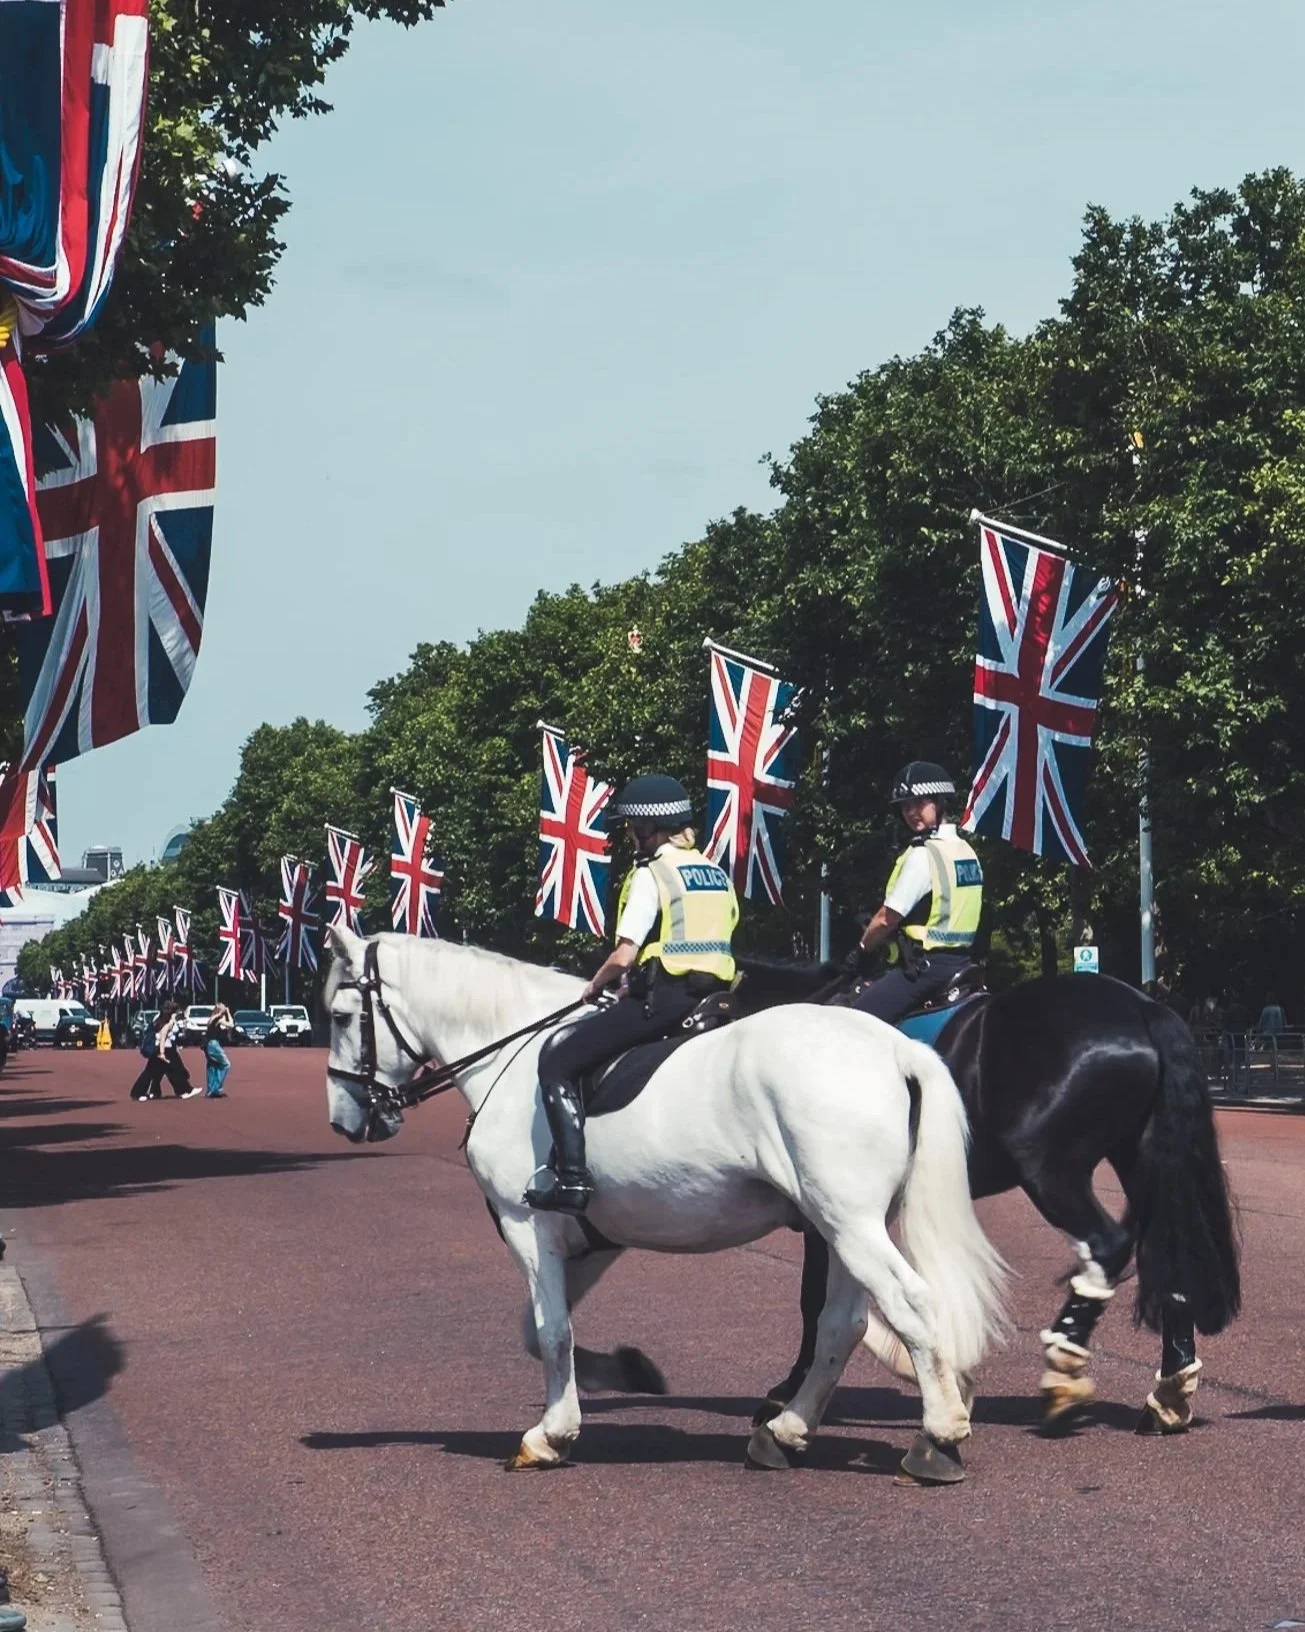
The Mall - Buckingham Palace
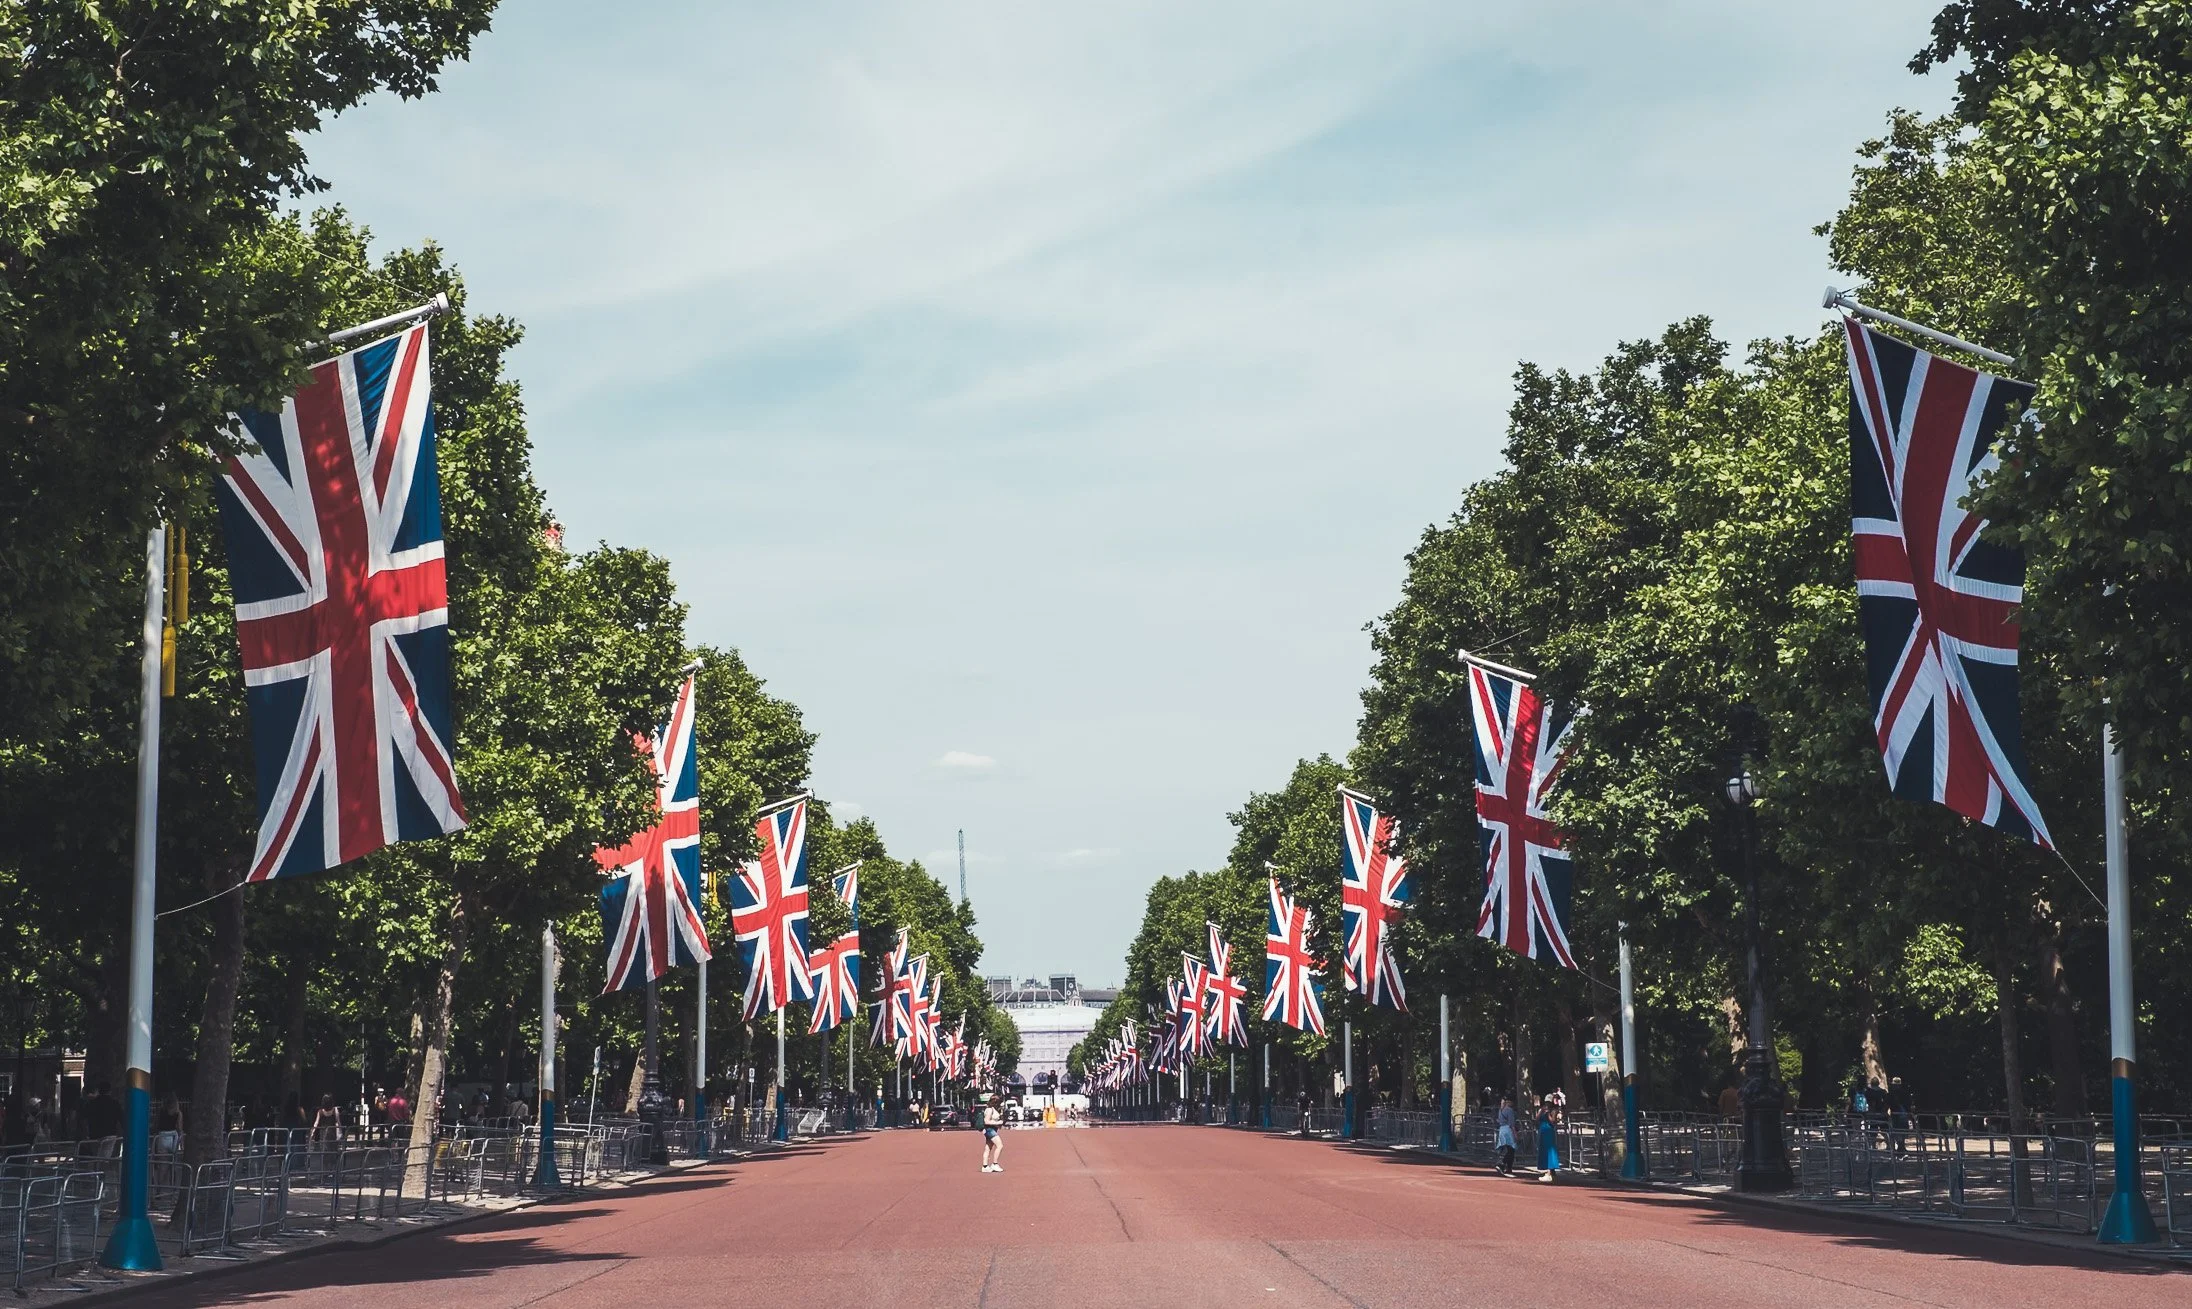
The Mall - Buckingham Palace
ST. JAMES PARK
St James's Park is a 23-hectare urban park in the City of Westminster, central London. A Royal Park, it is at the southernmost end of the St James's area, which was named after a once isolated medieval hospital dedicated to St James the Less, now the site of St James's Palace
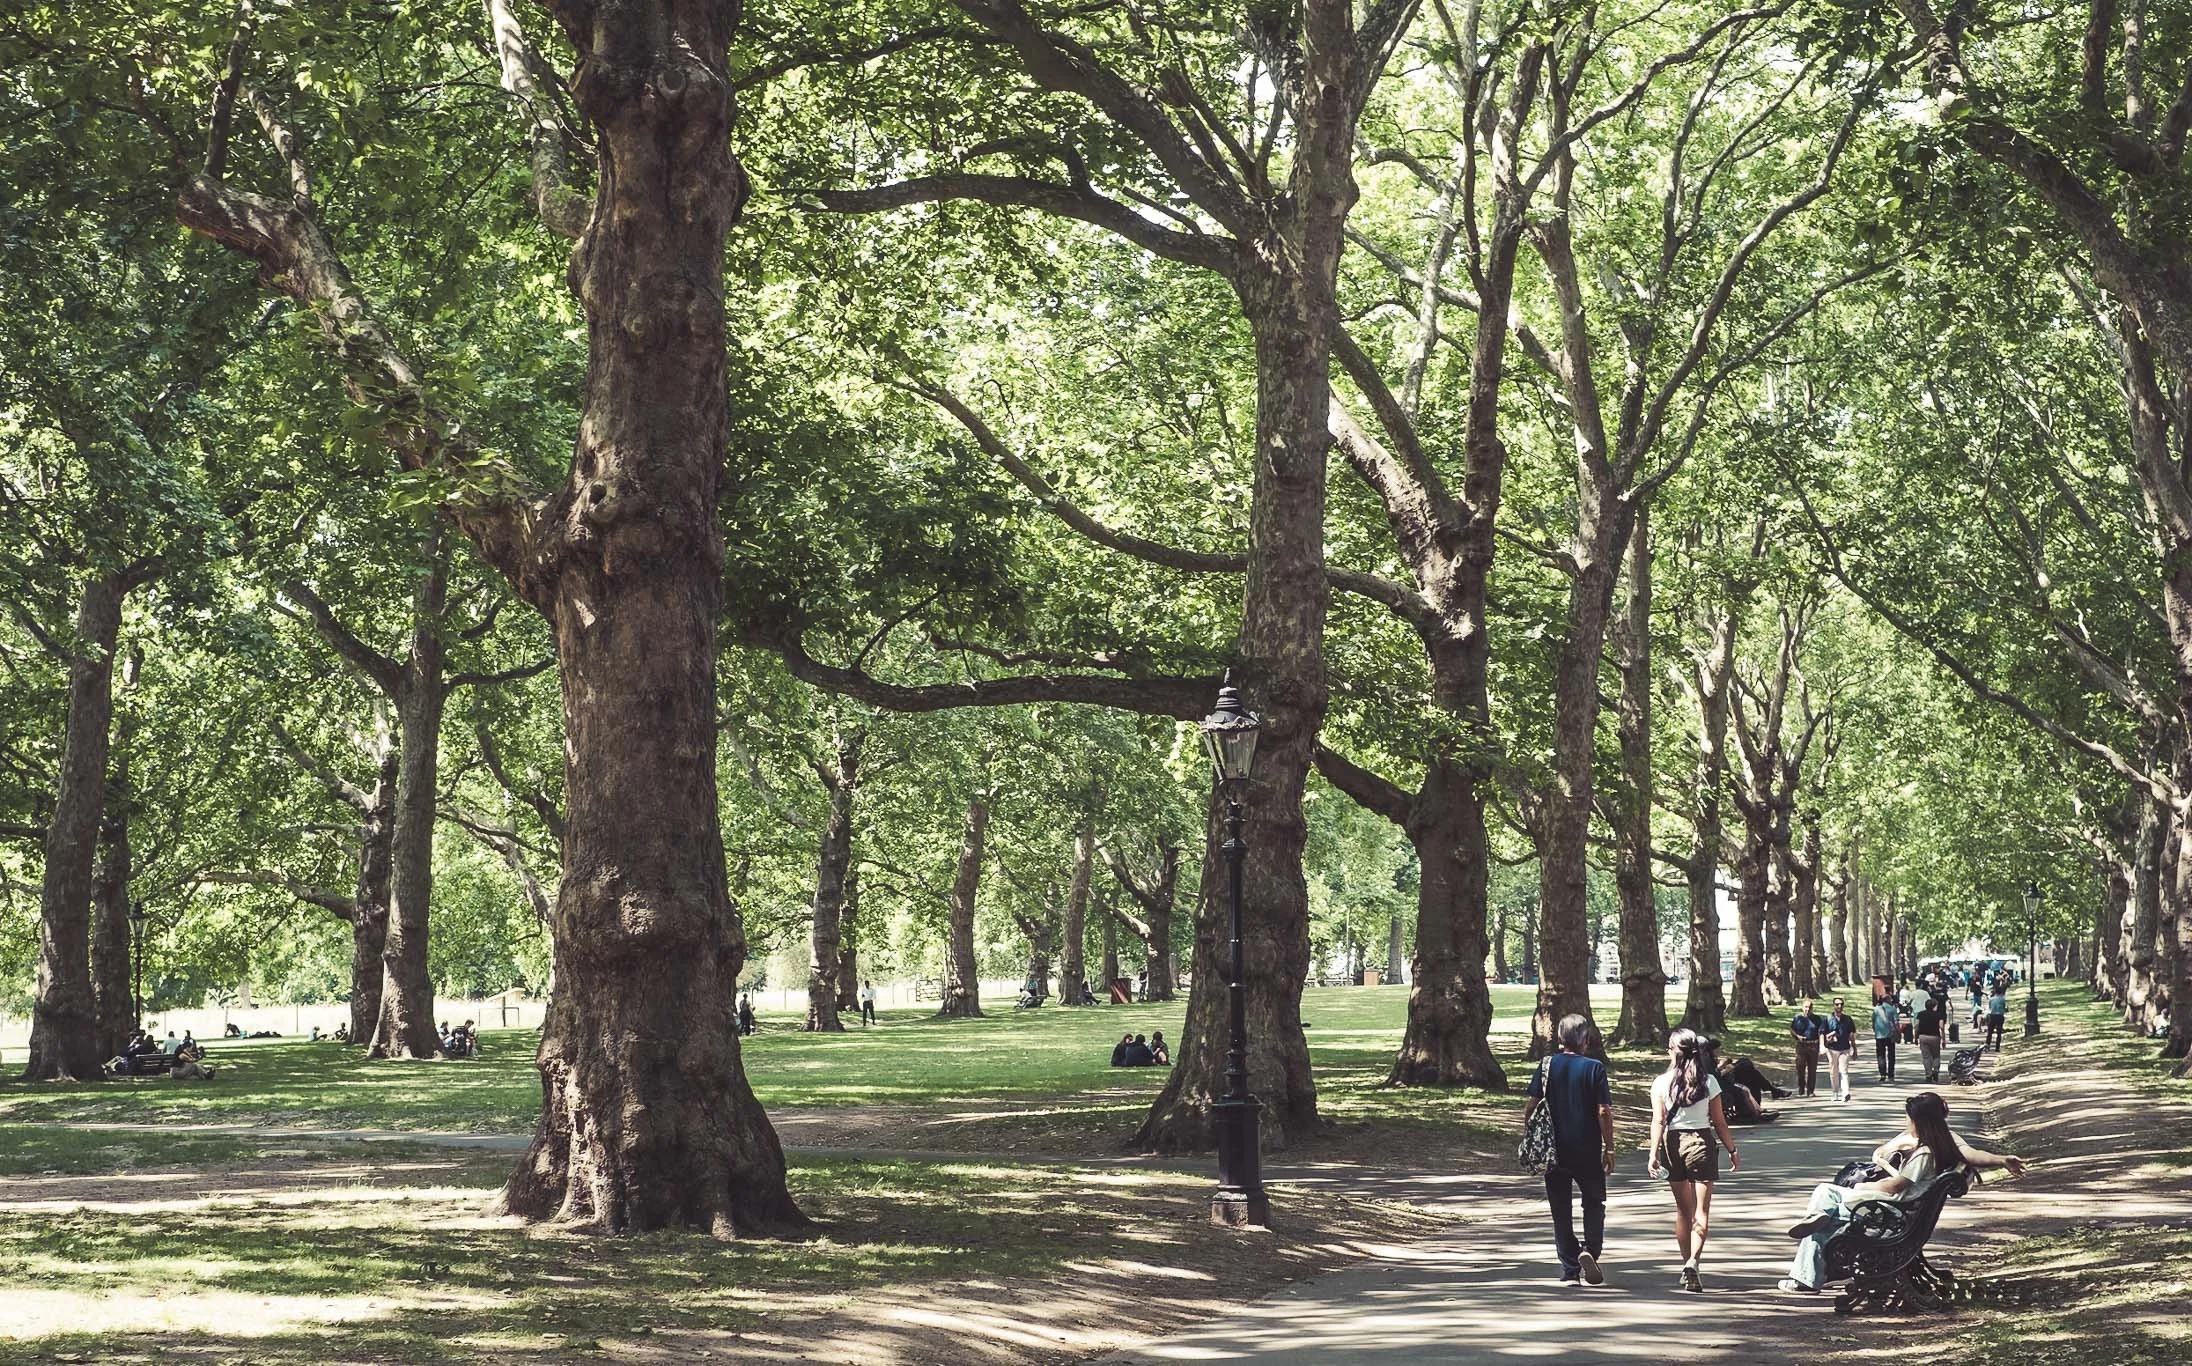
St. James Park
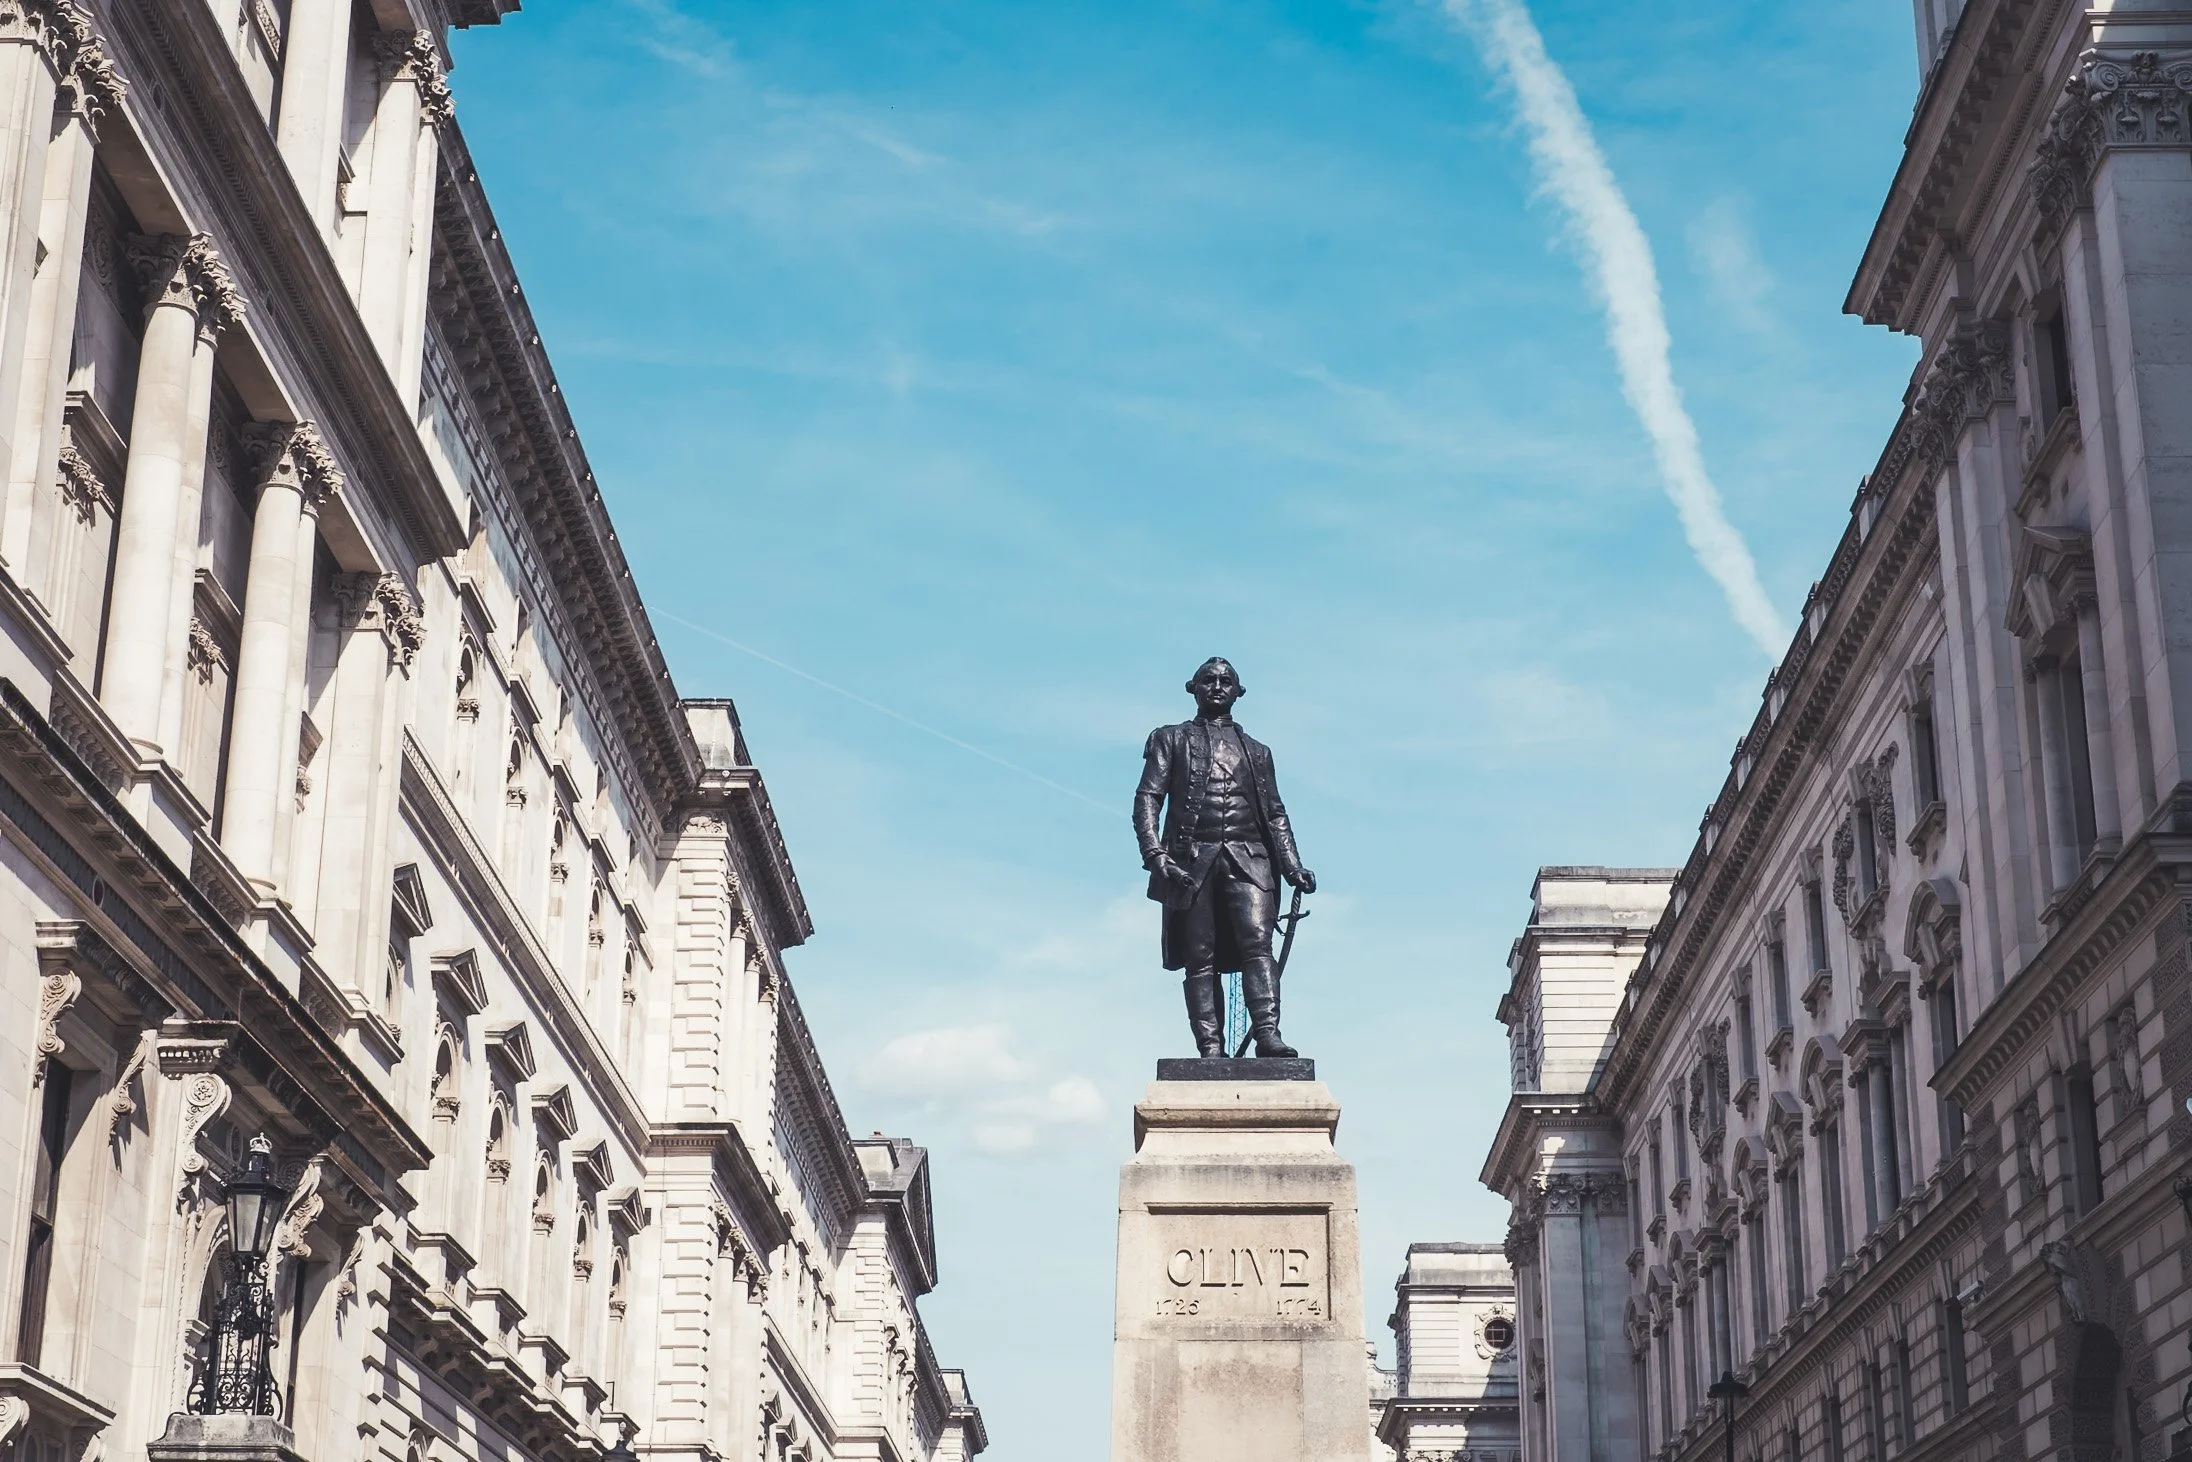
Across from St. James Park (Robert Clive Memorial)
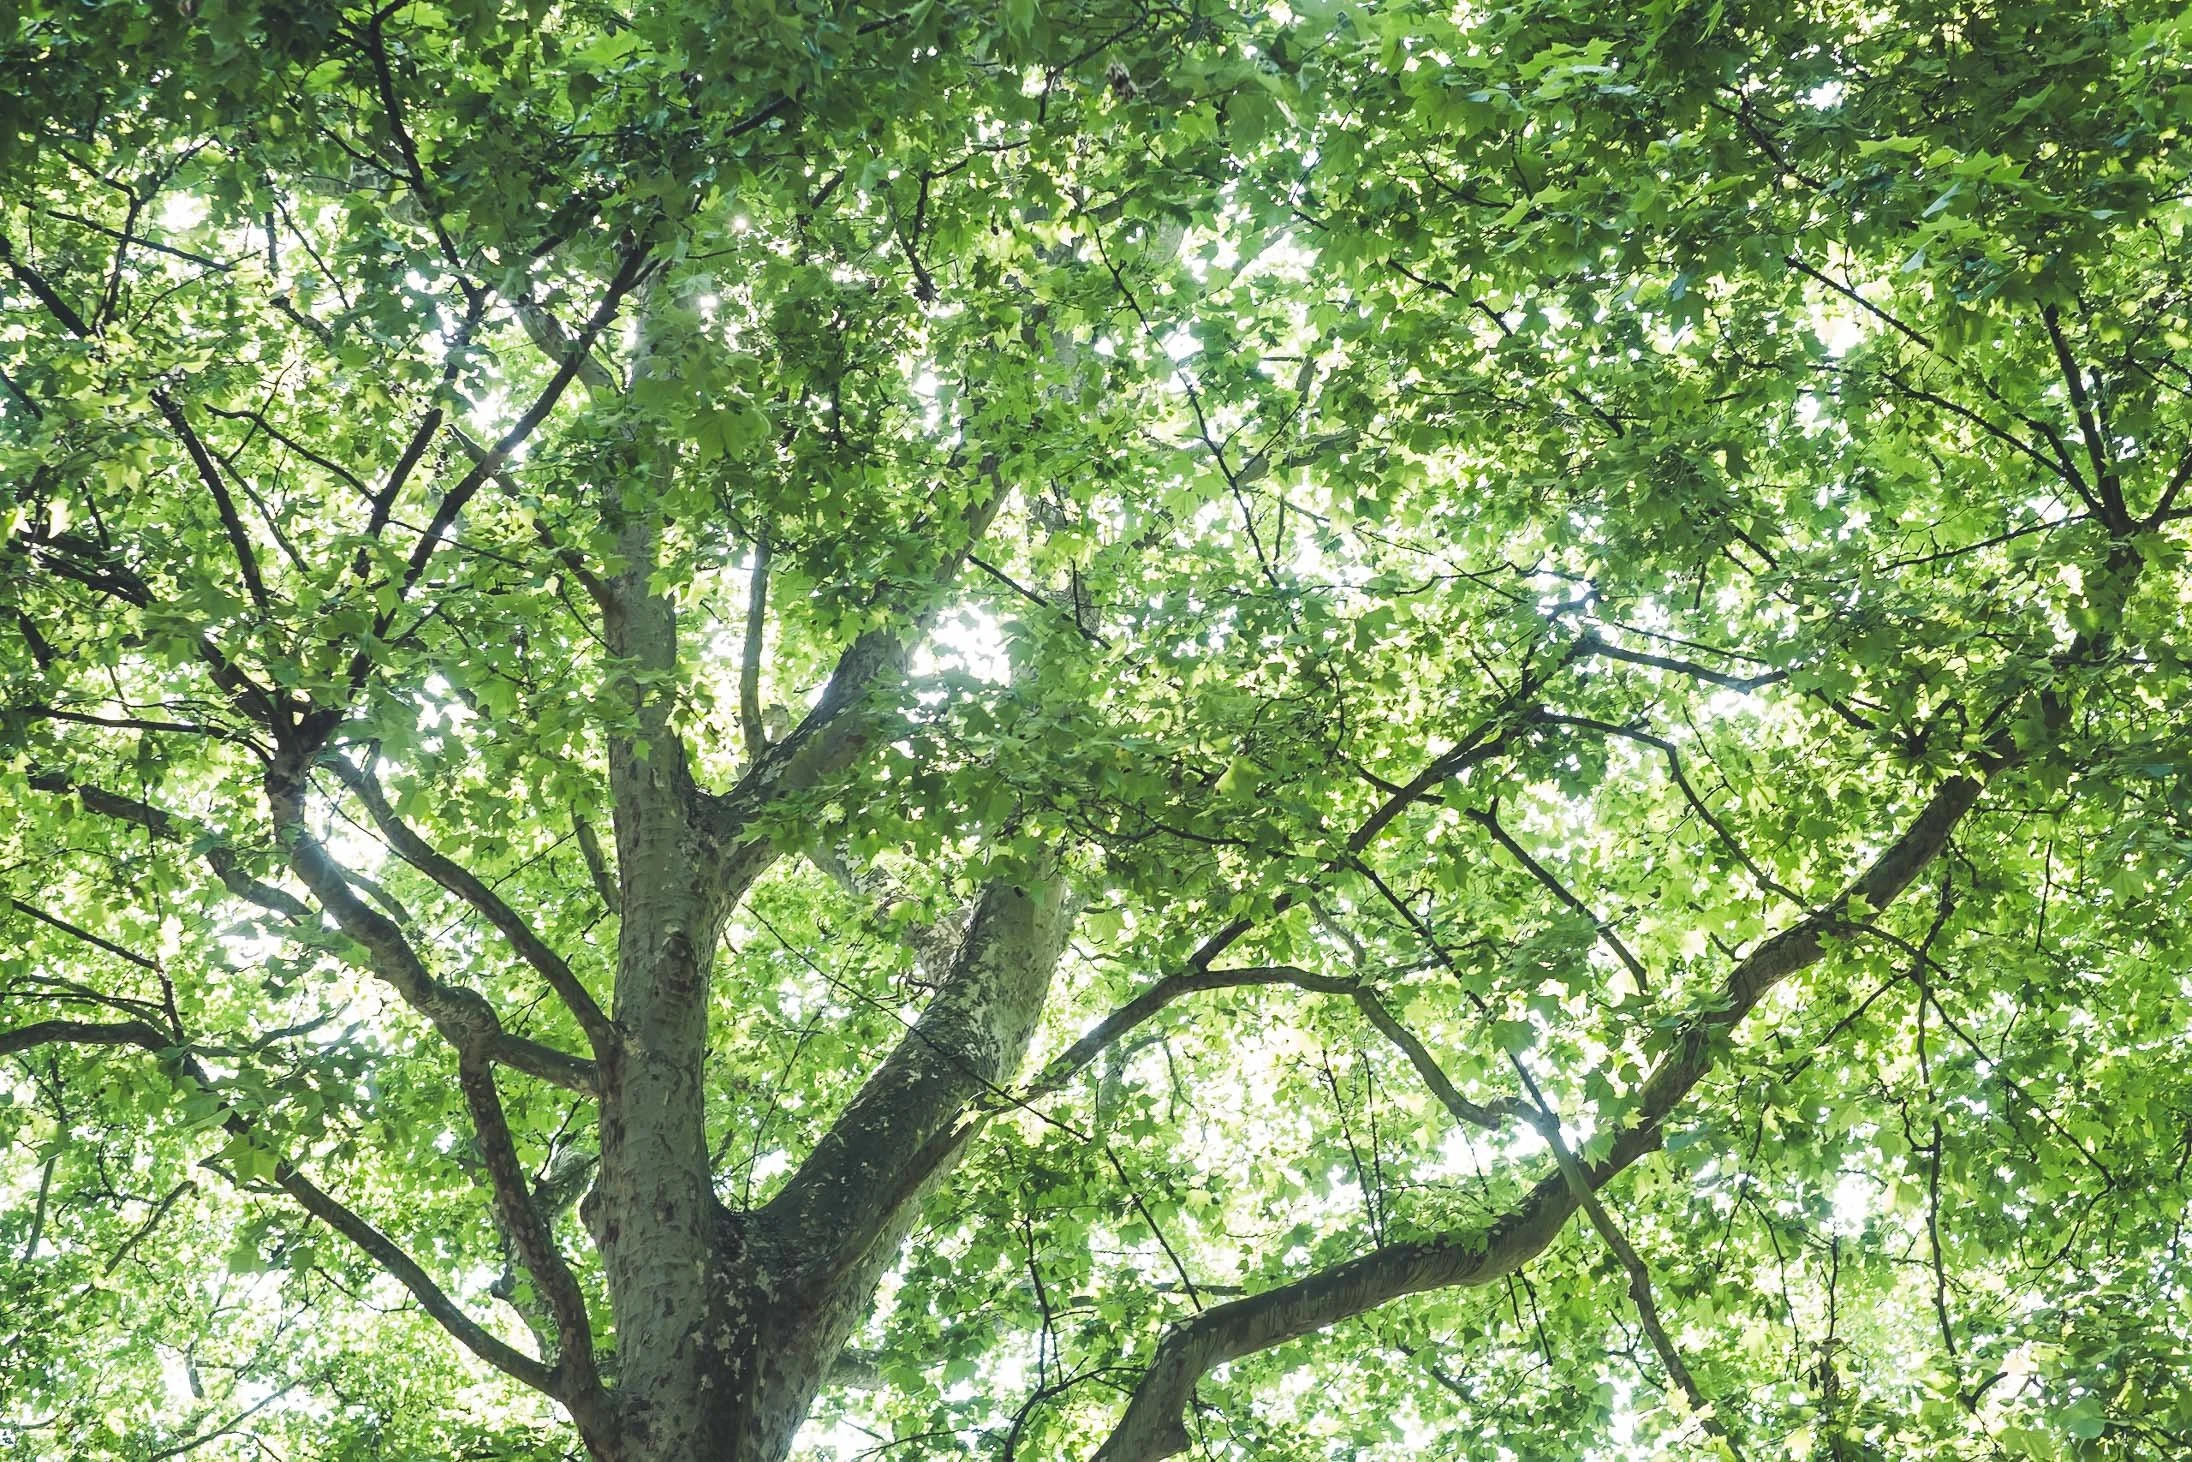
St. James Park
BIG BEN & WESTMINSTER
Big Ben is the nickname for the Great Bell of the Great Clock of Westminster, and, by extension, for the clock tower which stands at the north end of the Palace of Westminster in London, England. Originally named the Clock Tower, the structure was renamed the Elizabeth Tower in 2012 to mark the Diamond Jubilee of Queen Elizabeth II. The clock is a striking clock with five bells.
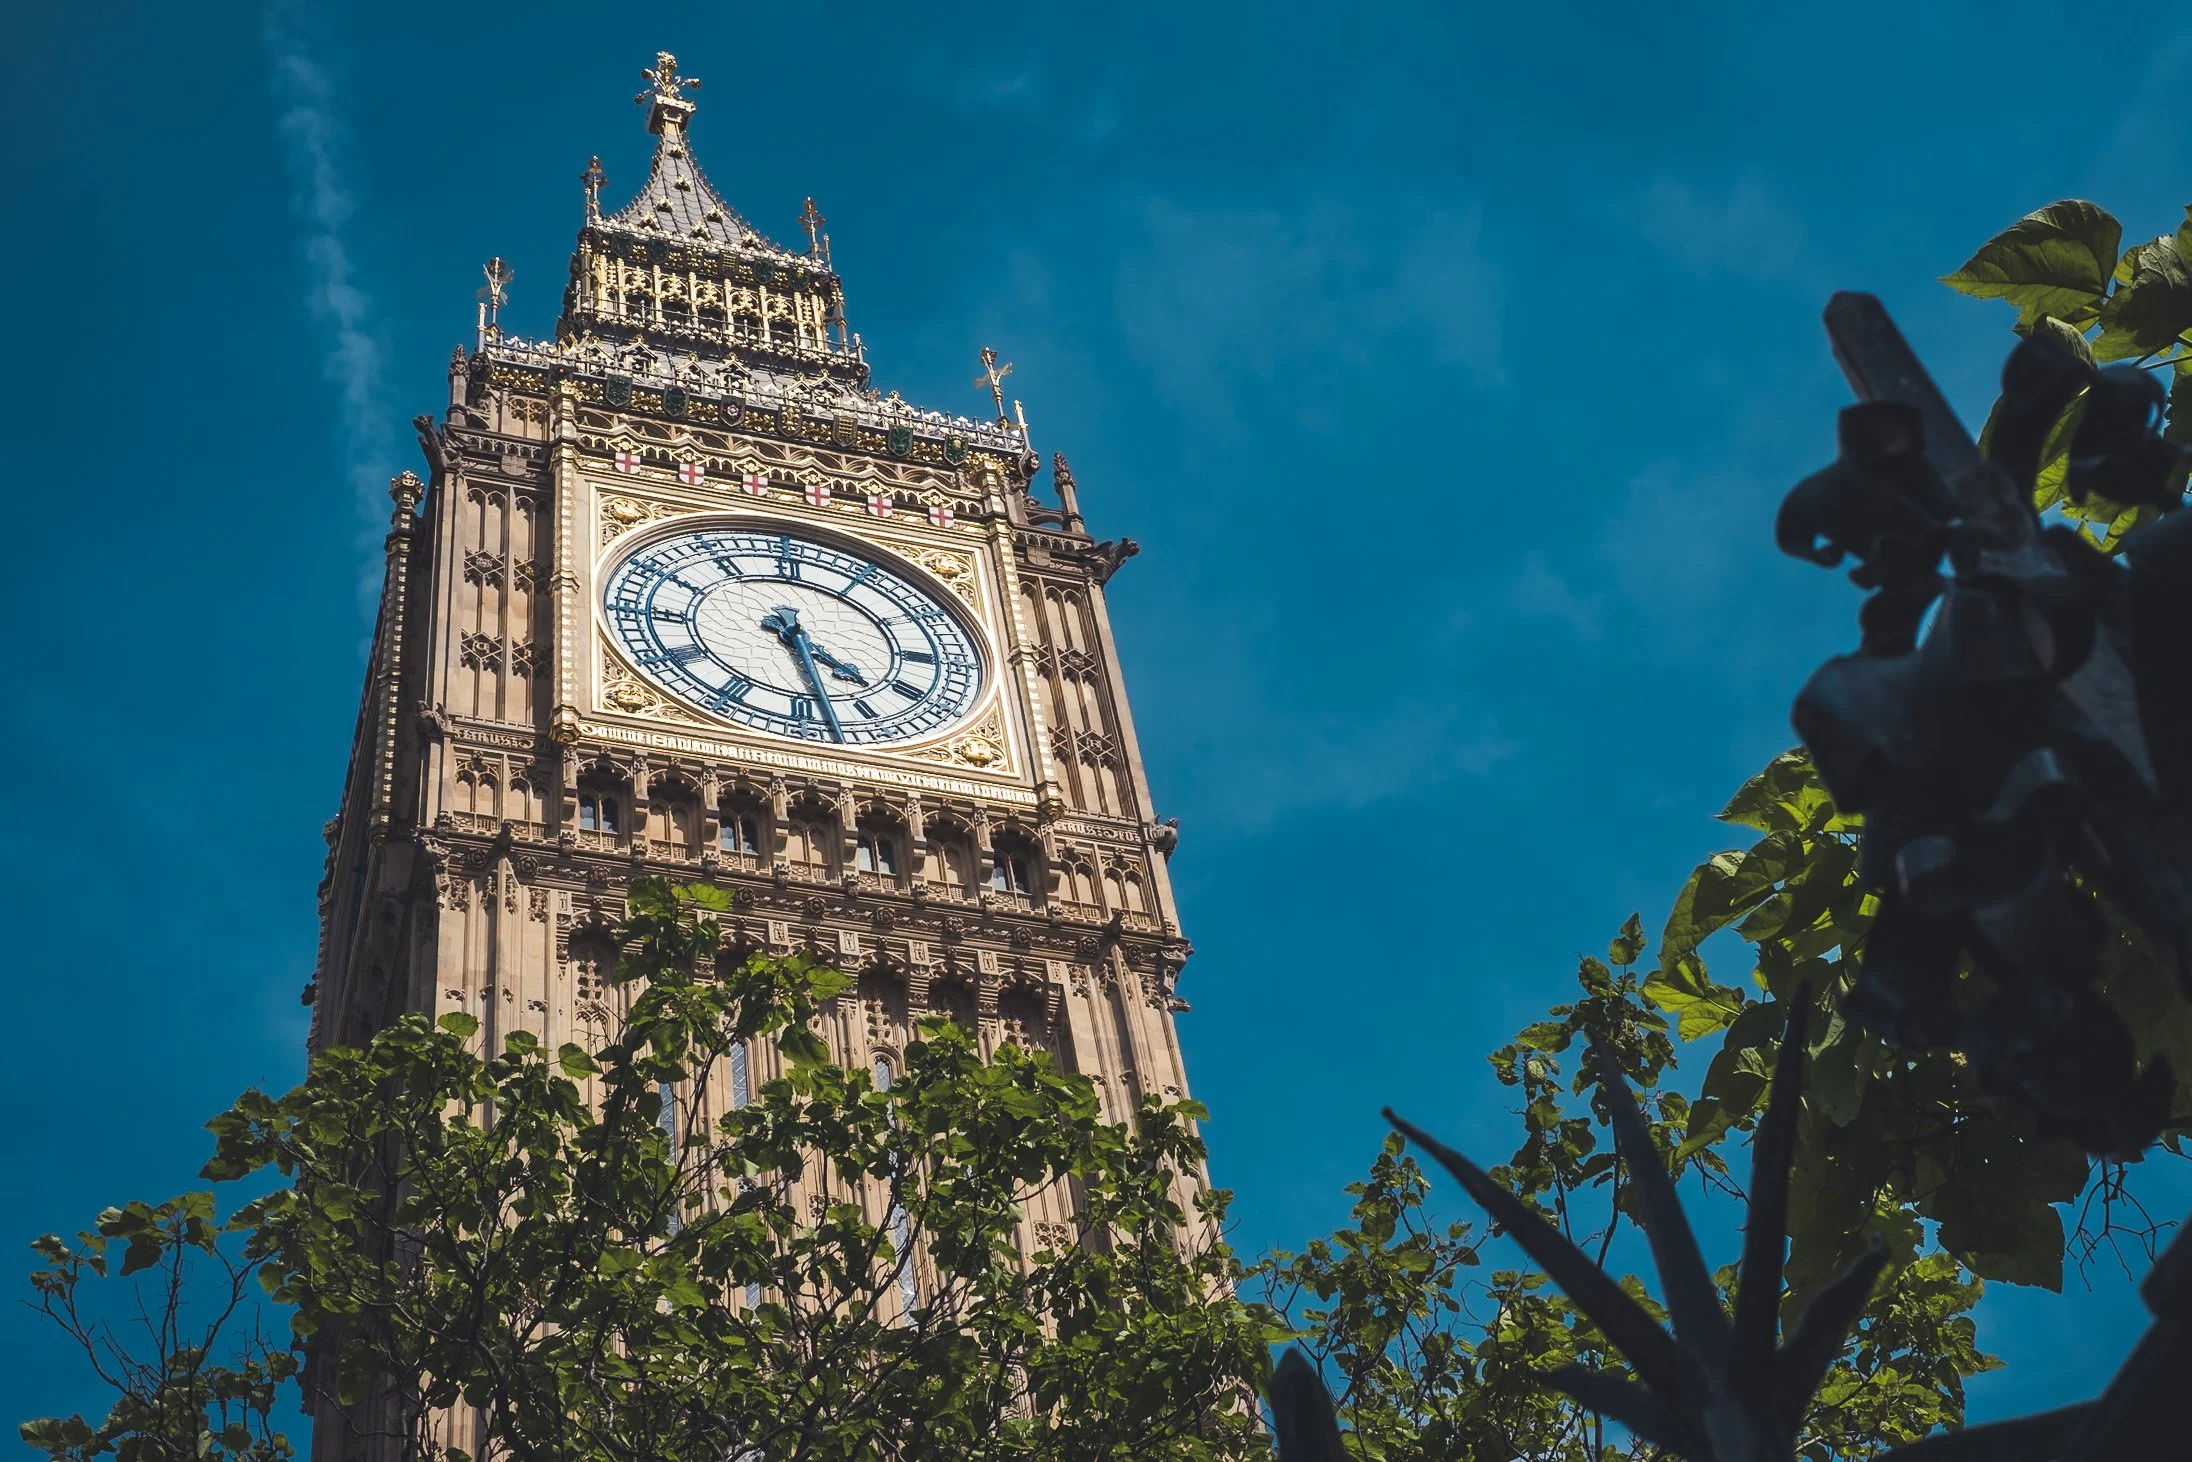
Big Ben
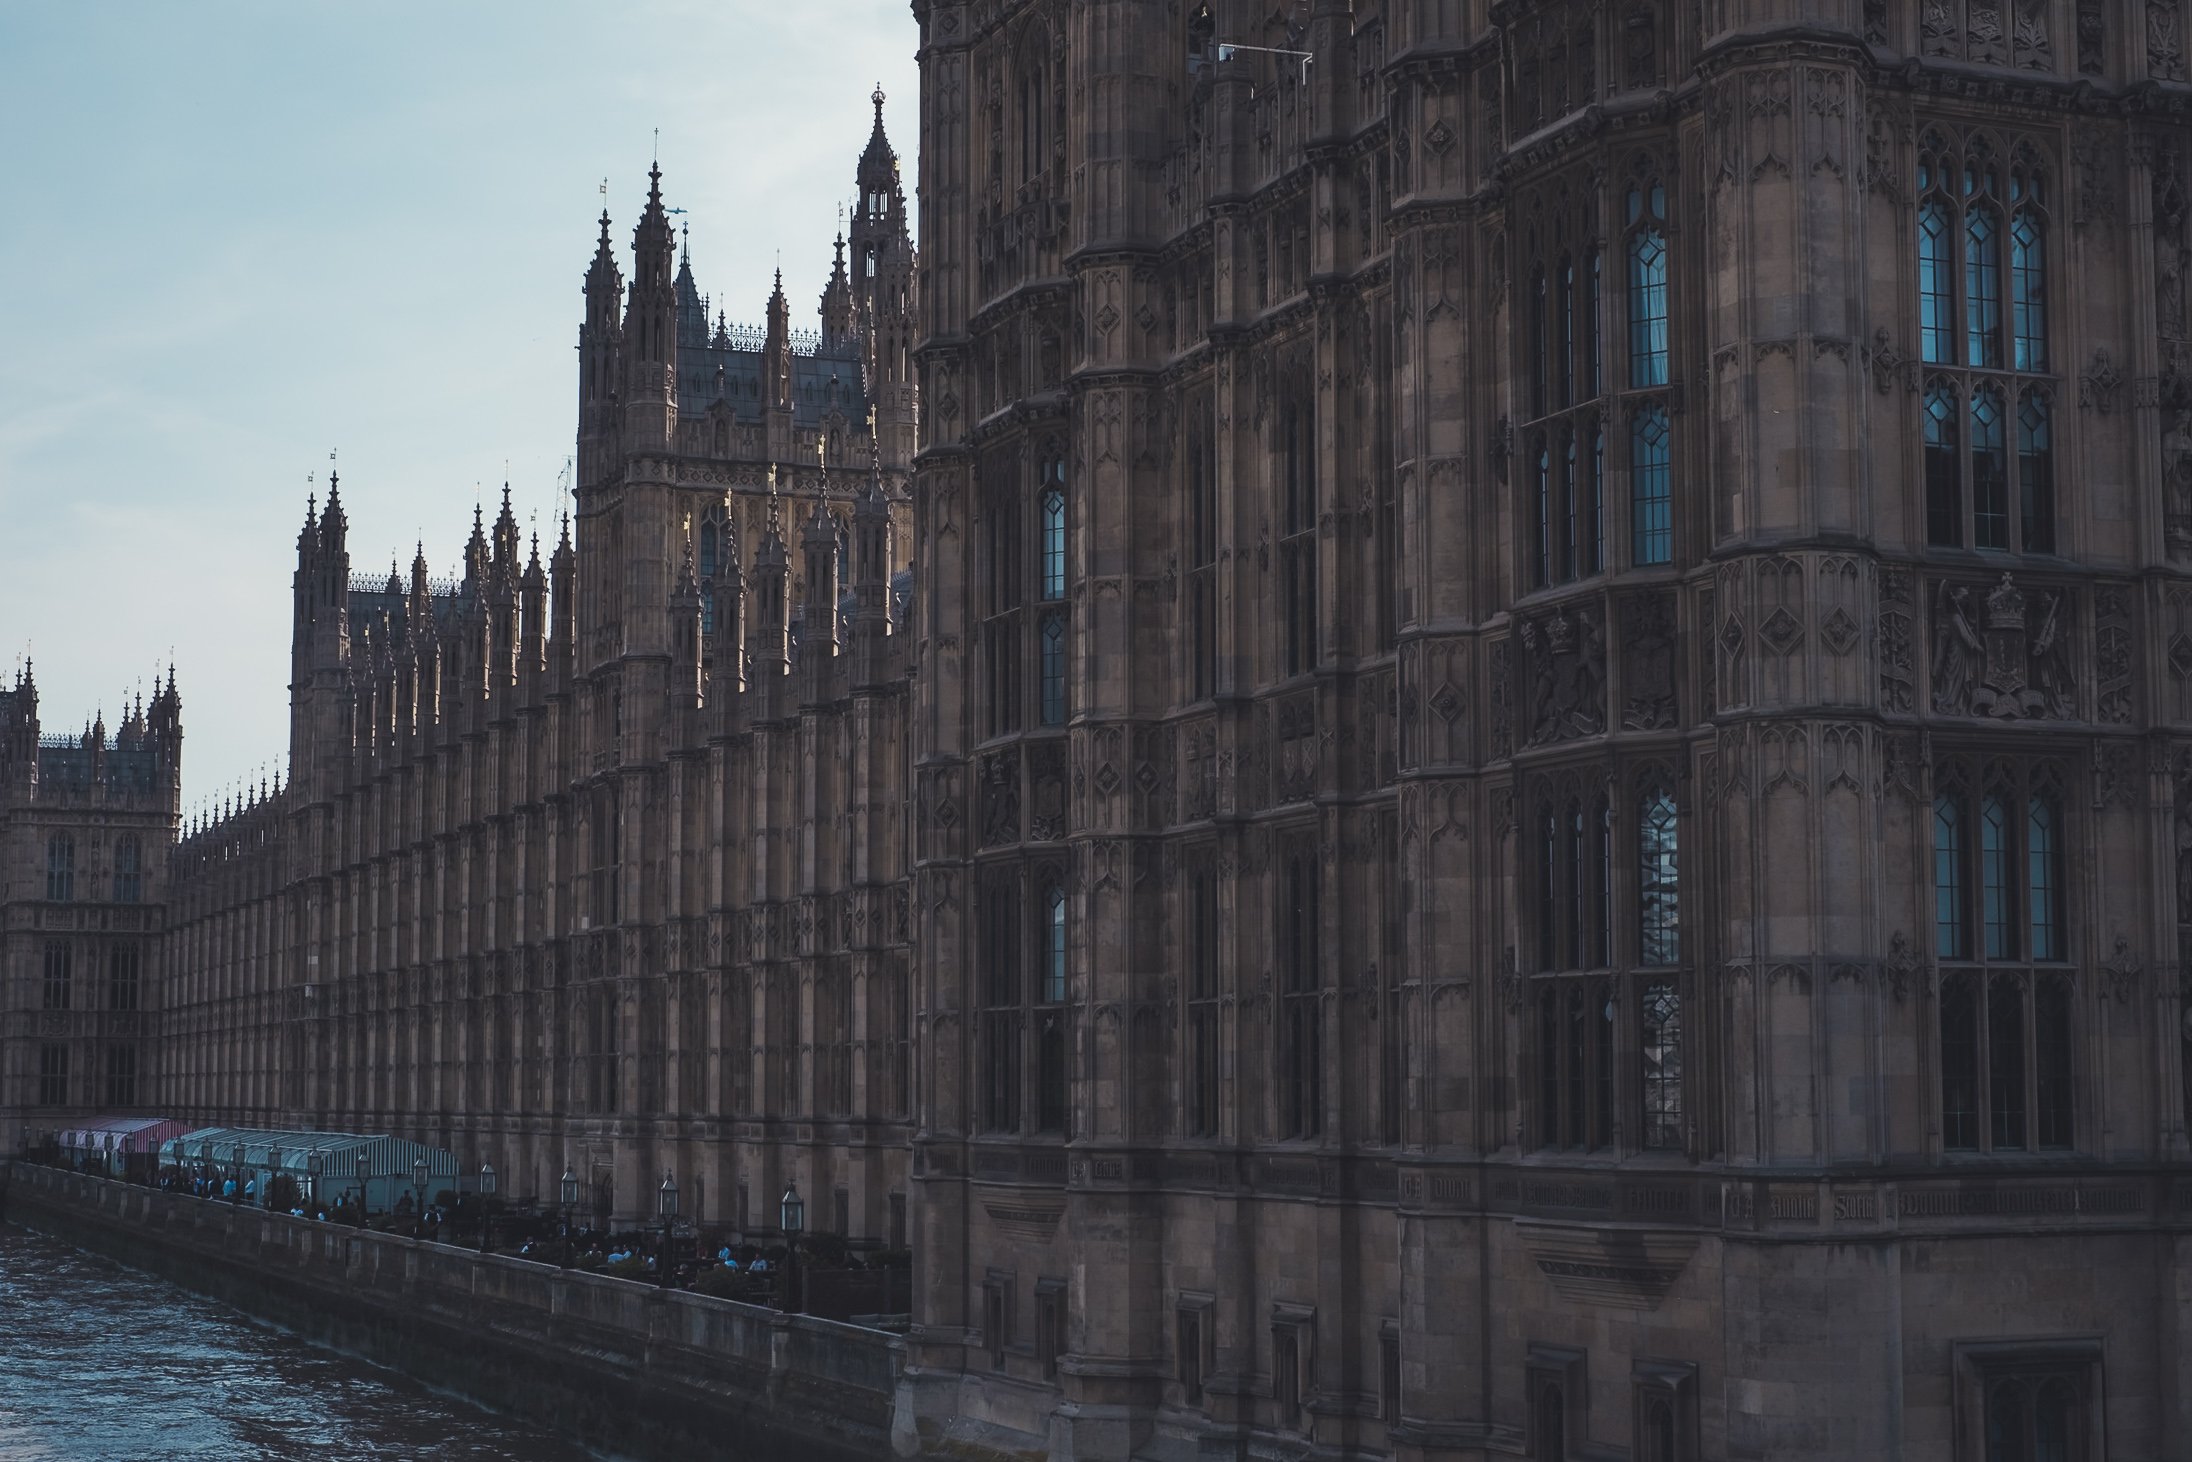
Westministr
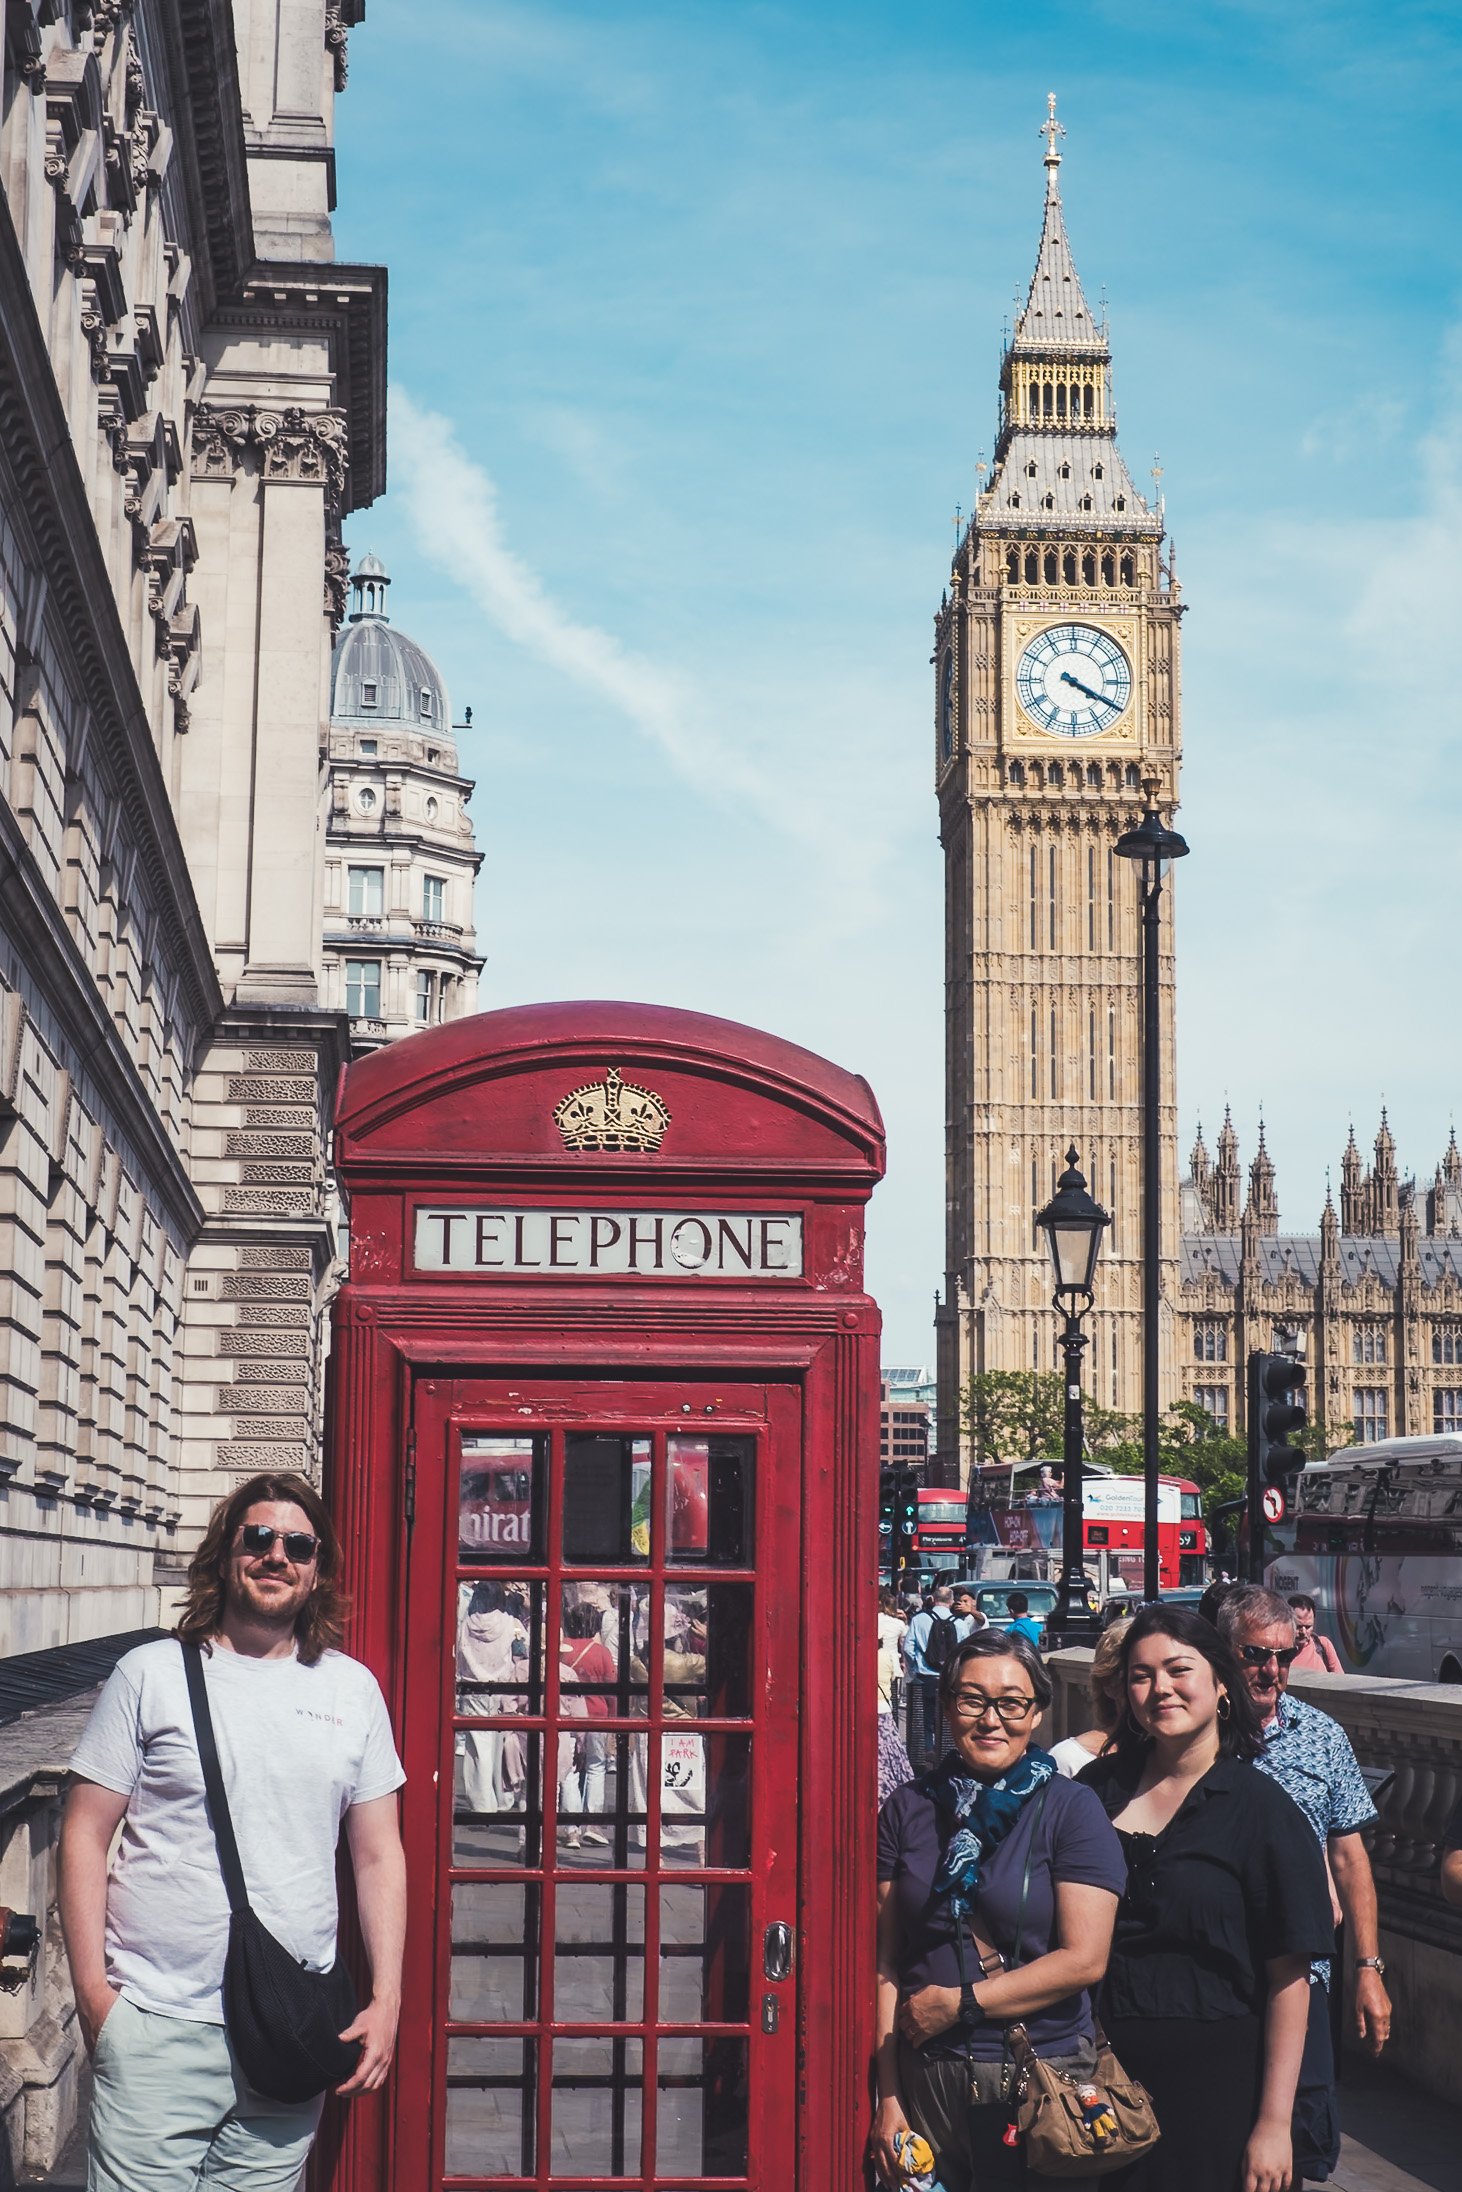
Big Ben
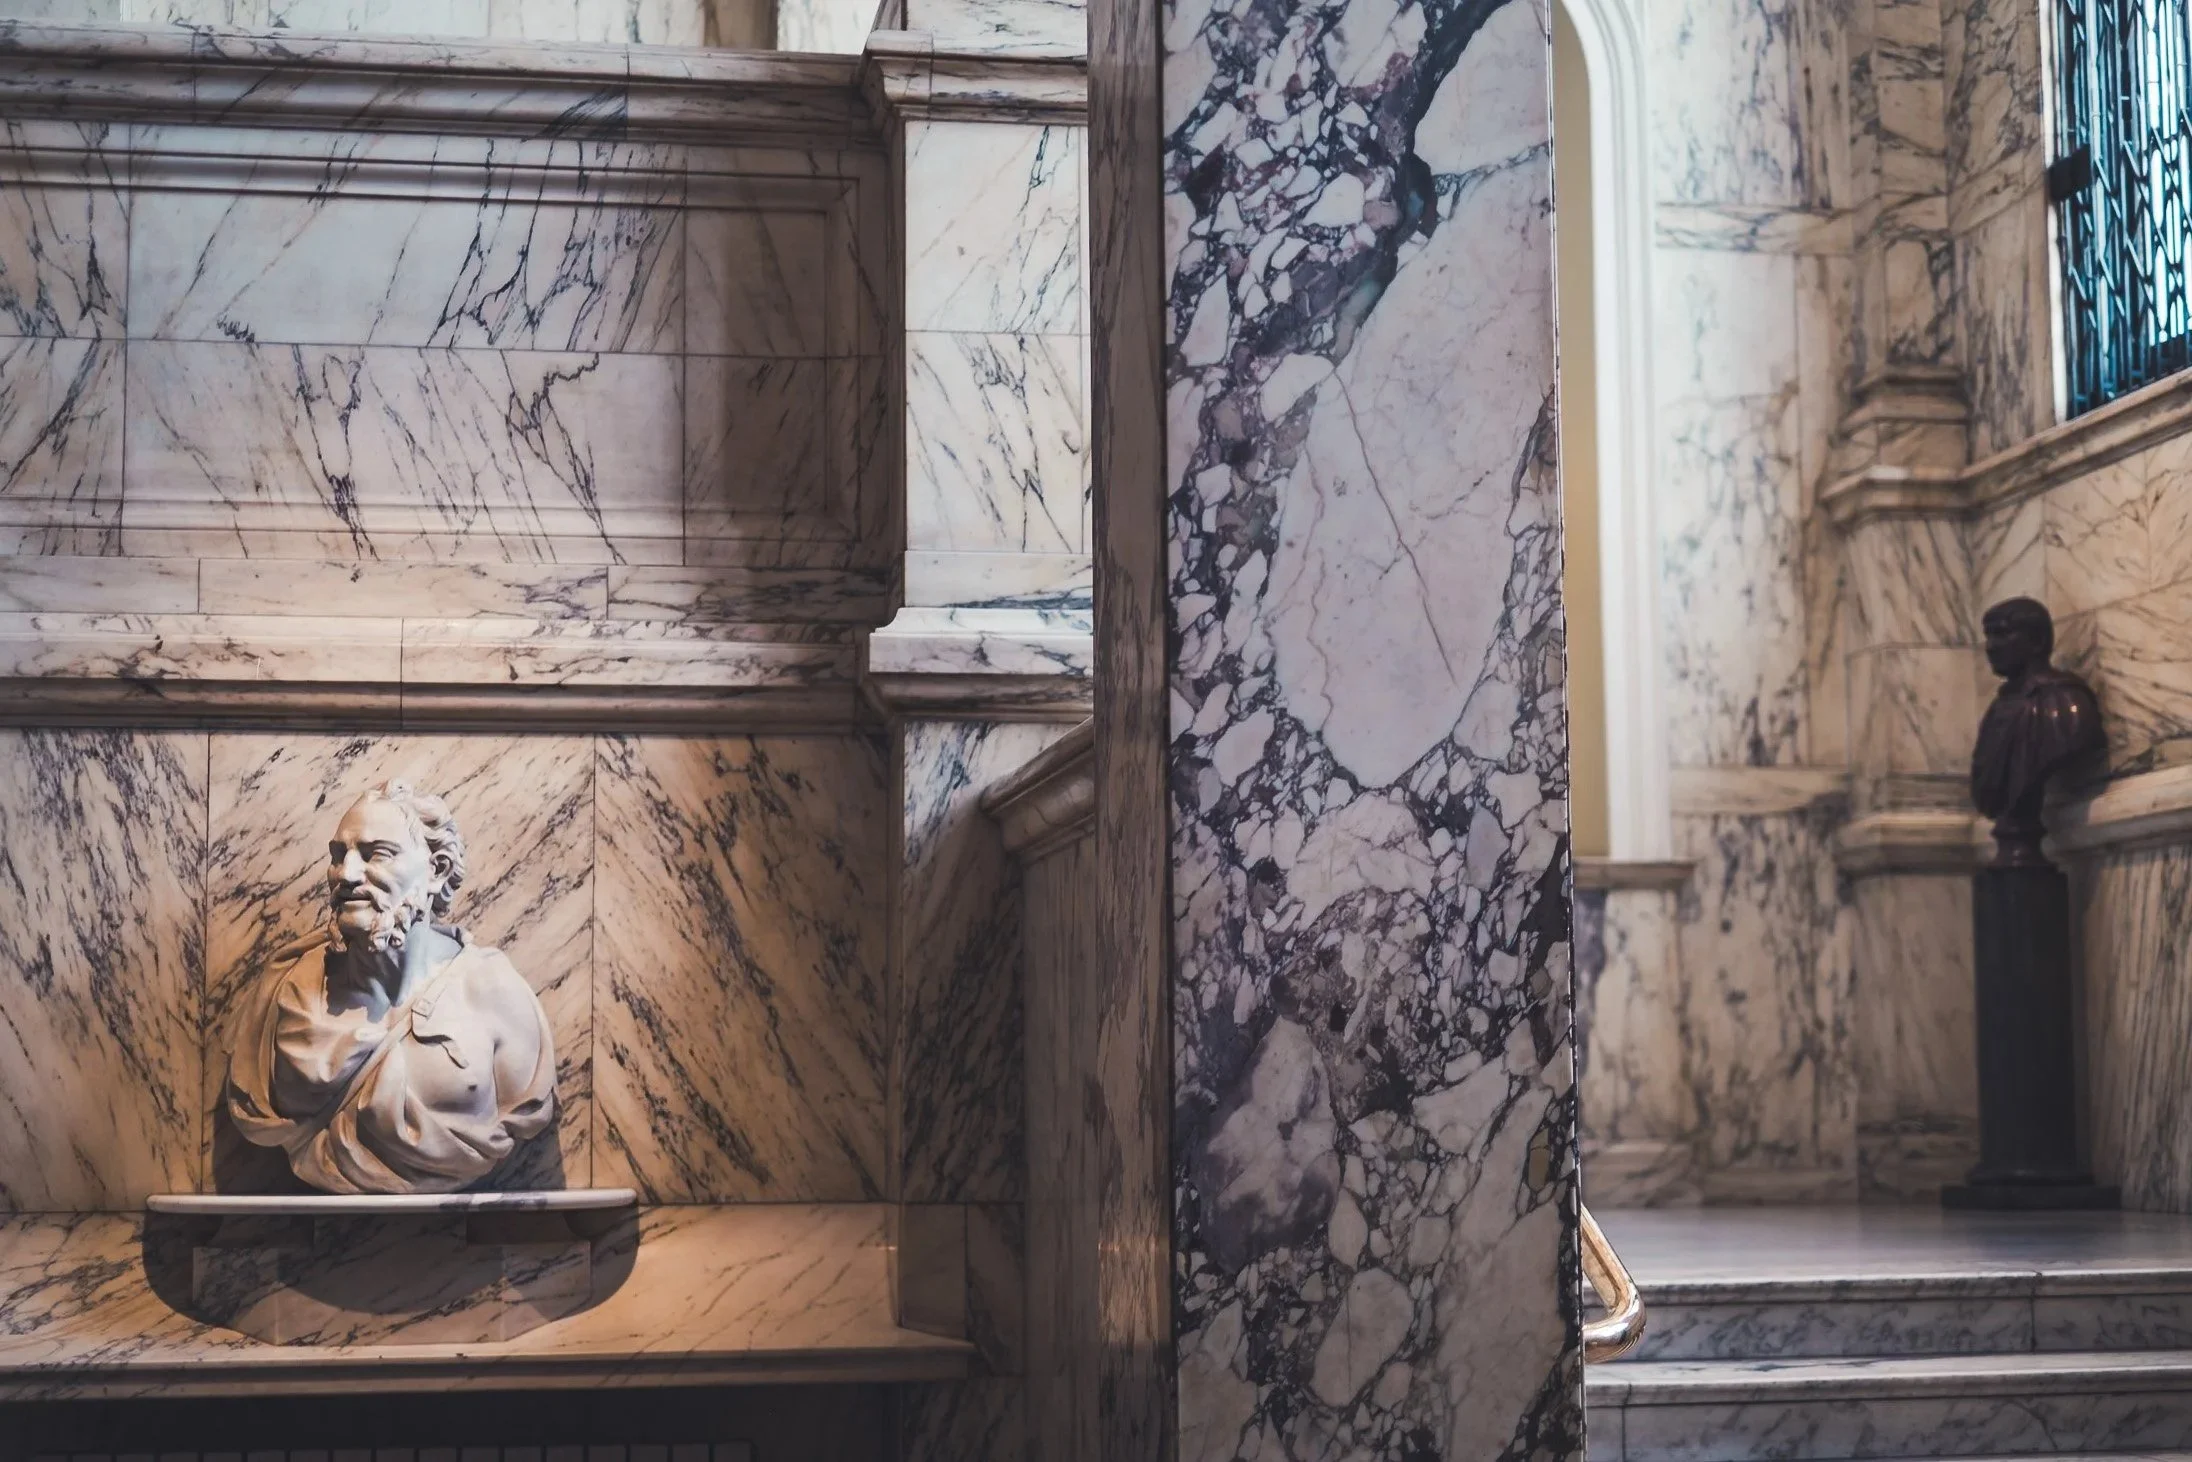
V & A MUSEUM
The Victoria and Albert Museum in the United Kingdom is the world's largest museum of applied and decorative arts, design, and historical craft traditions—with a permanent collection of over 4.5 million objects housed across 6 sites.
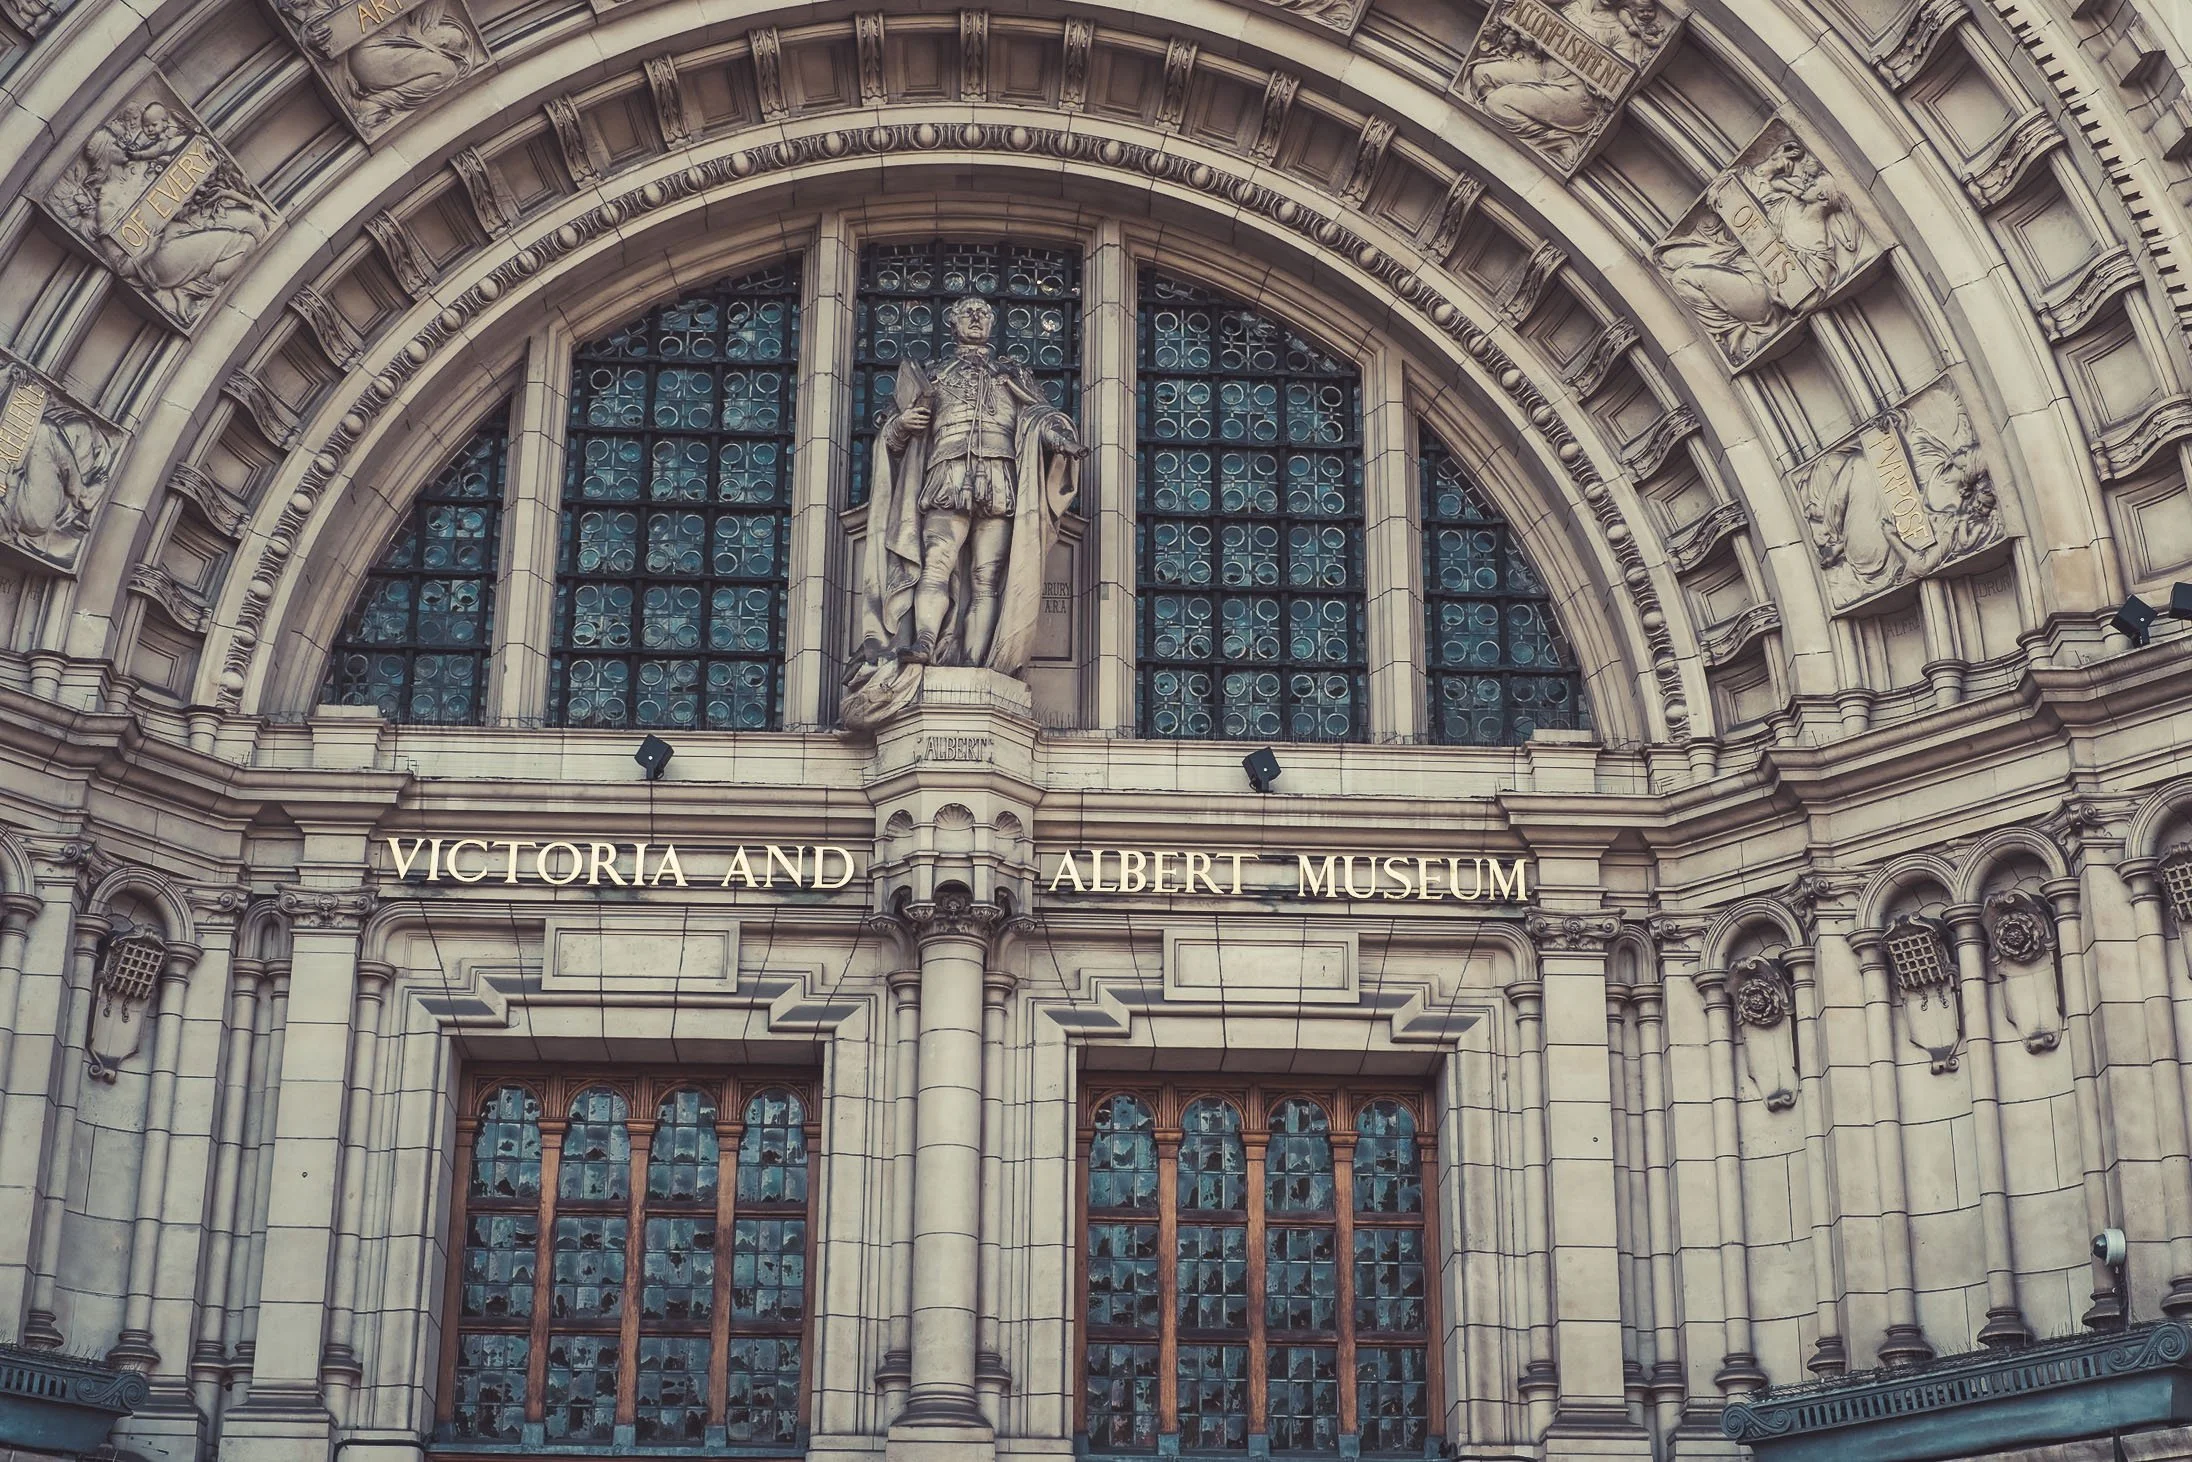
V & A Museum
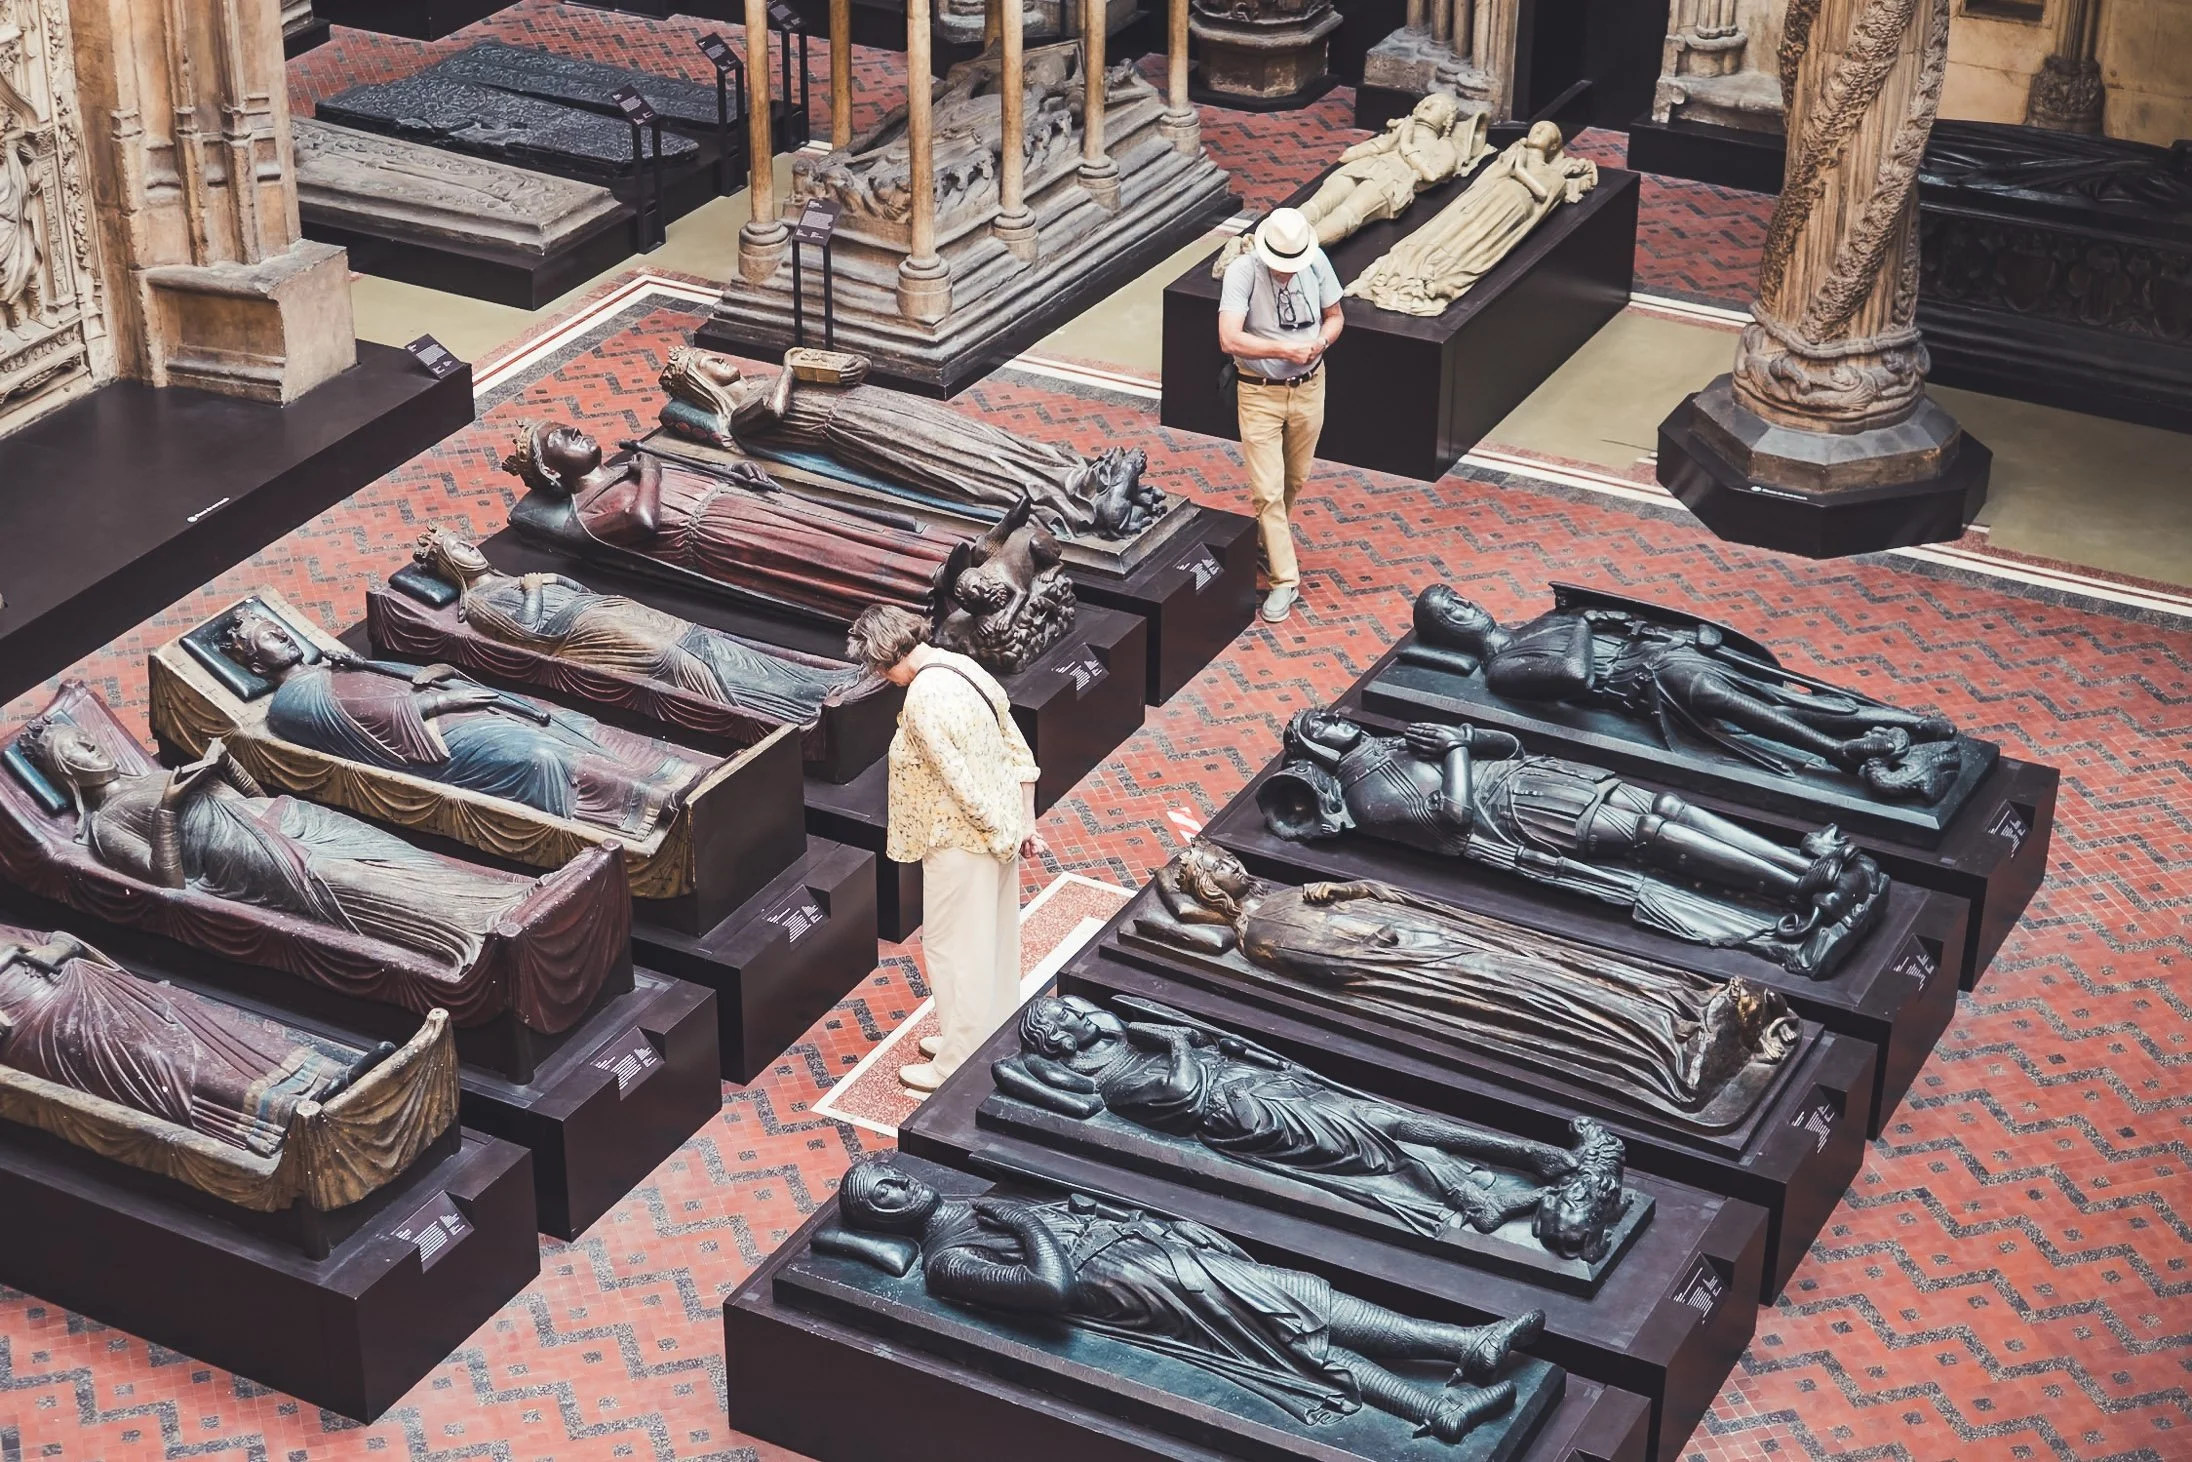
V & A Museum
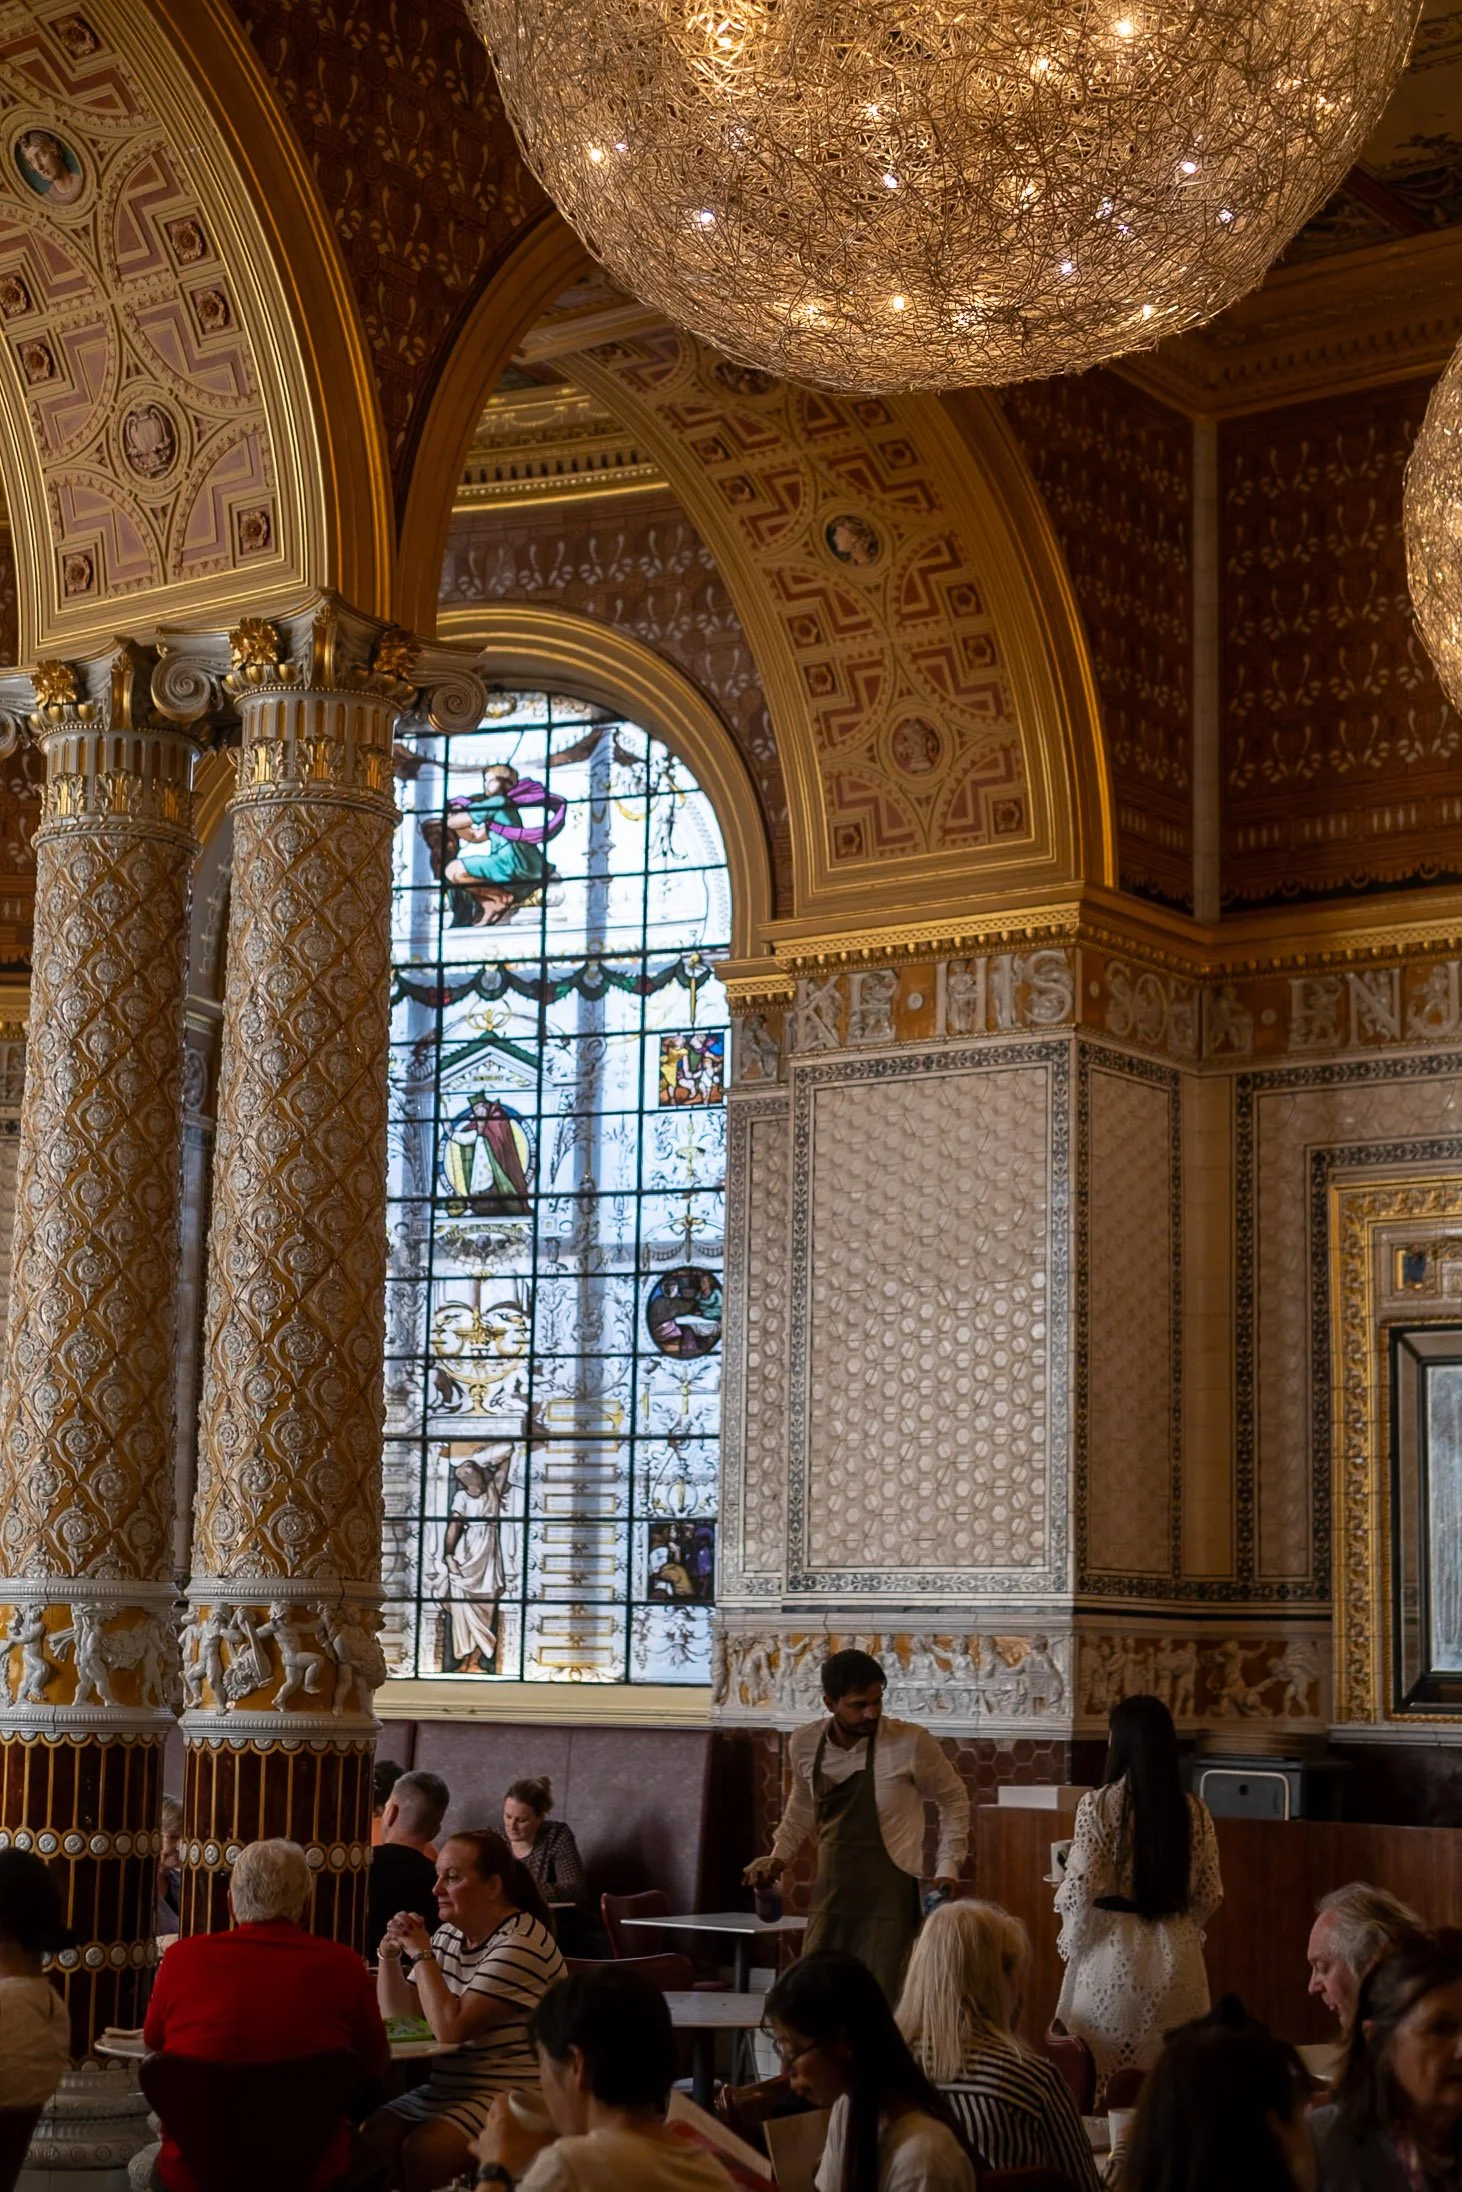
V & A Museum Cafe
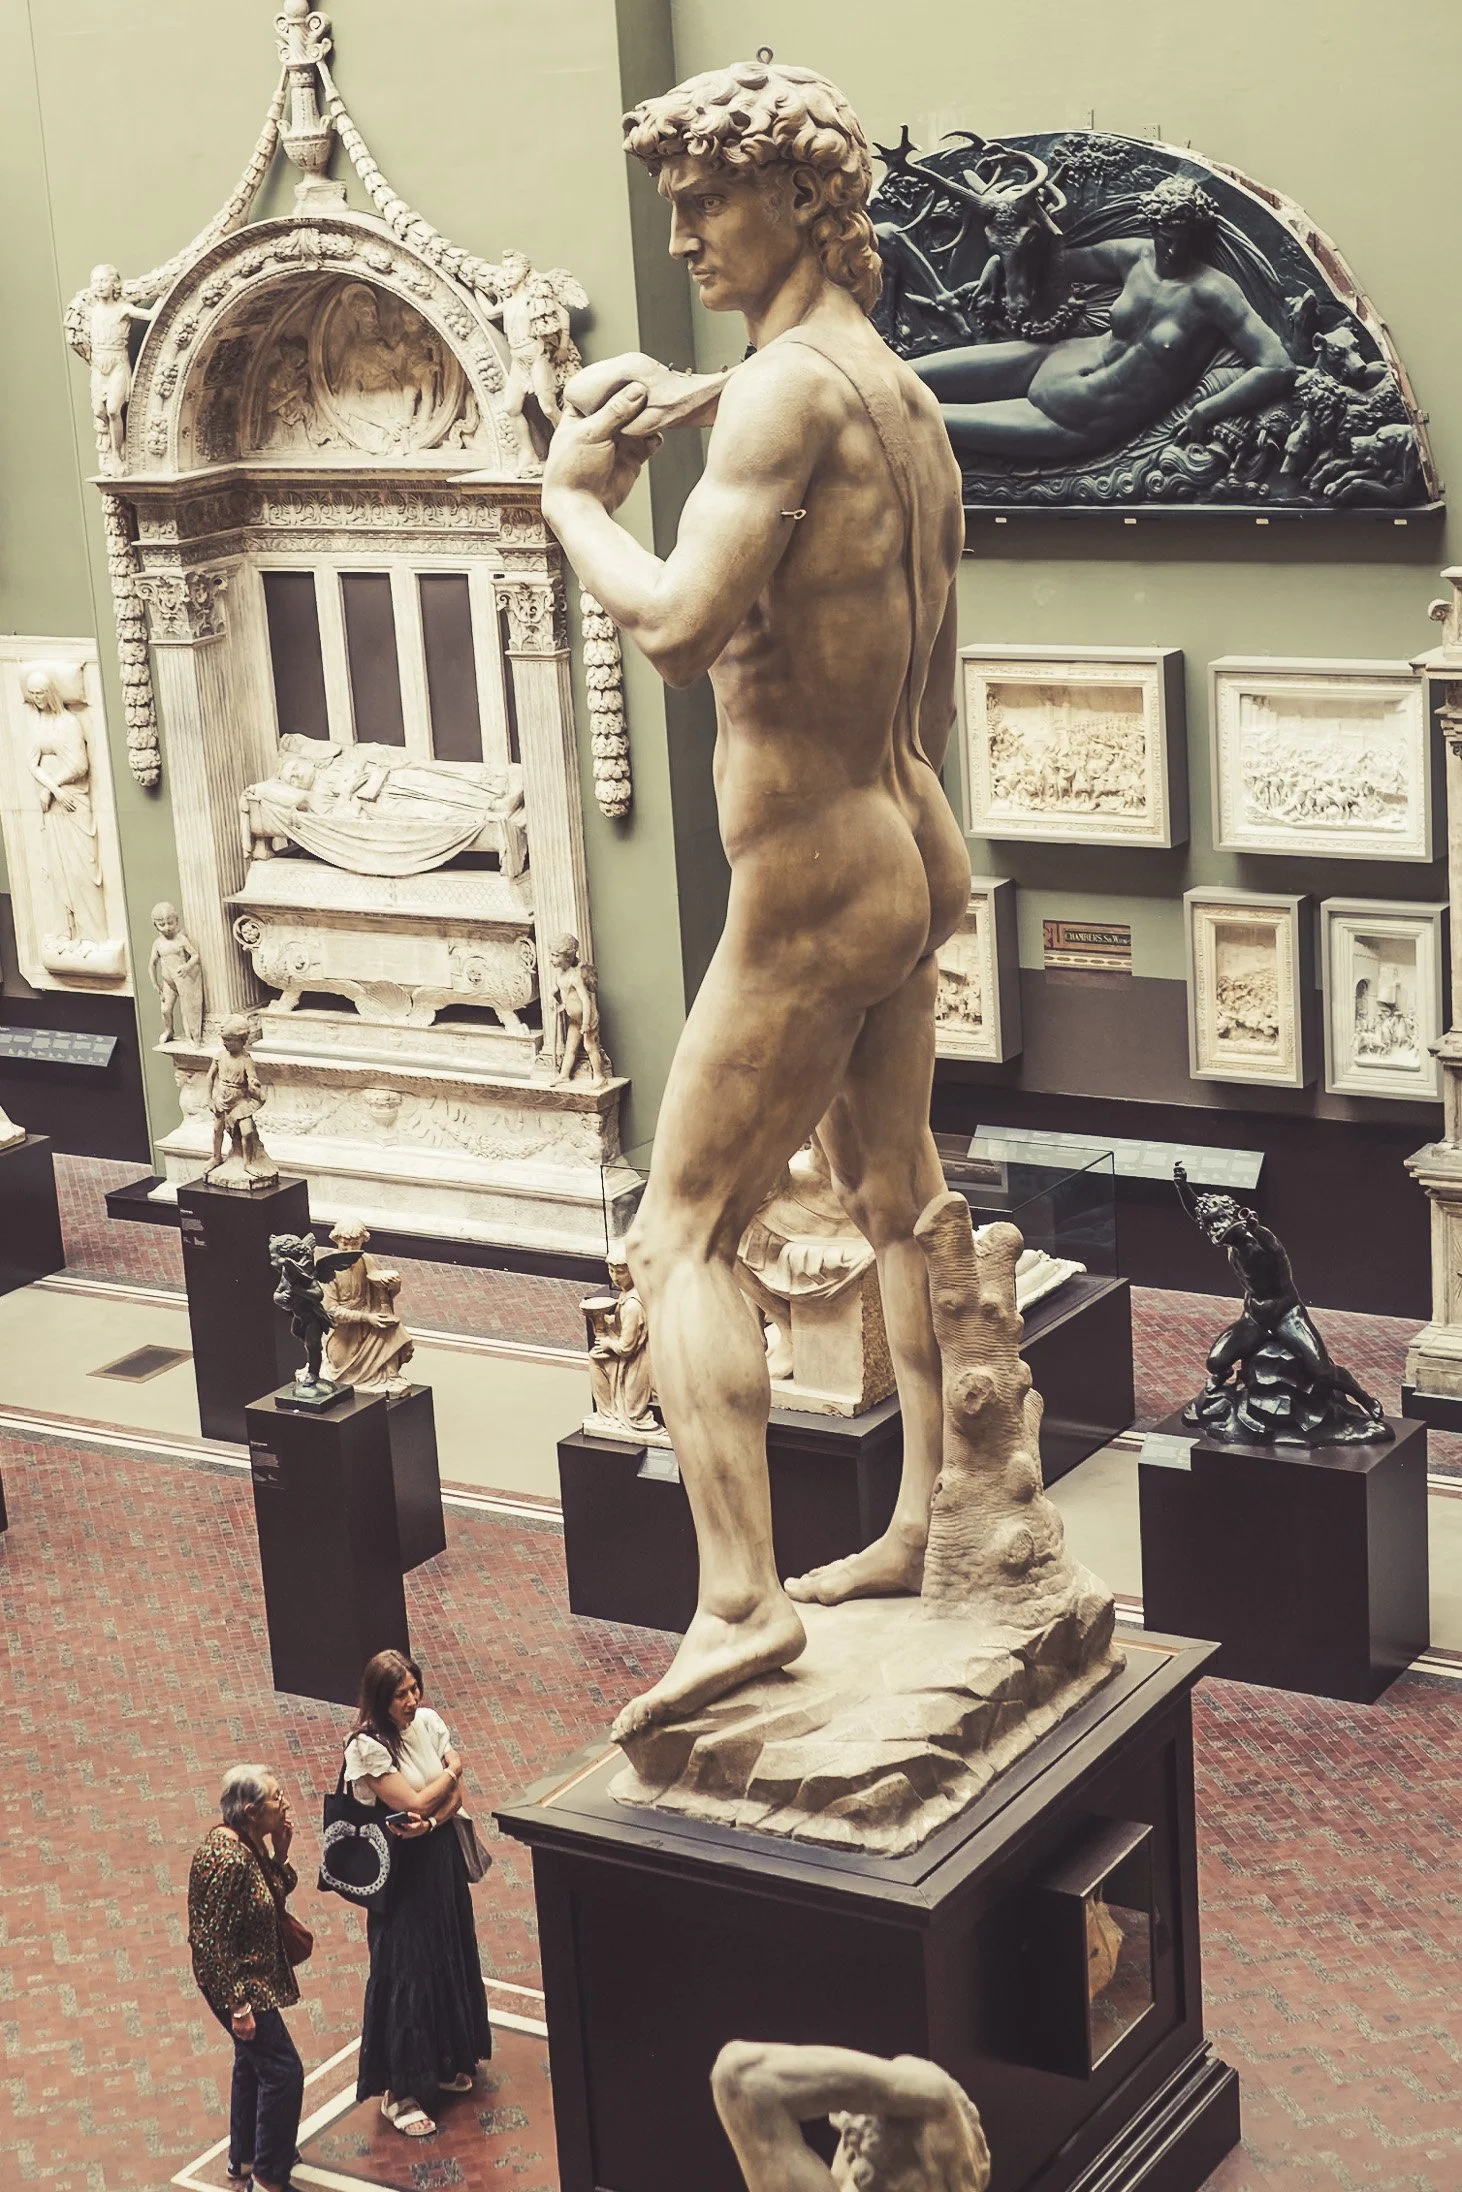
V & A Museum
Natural History Museum
The museum is home to life and earth science specimens comprising some 80 million items within five main collections: botany, entomology, mineralogy, palaeontology and zoology. The museum is a centre of research specialising in taxonomy, identification and conservation.
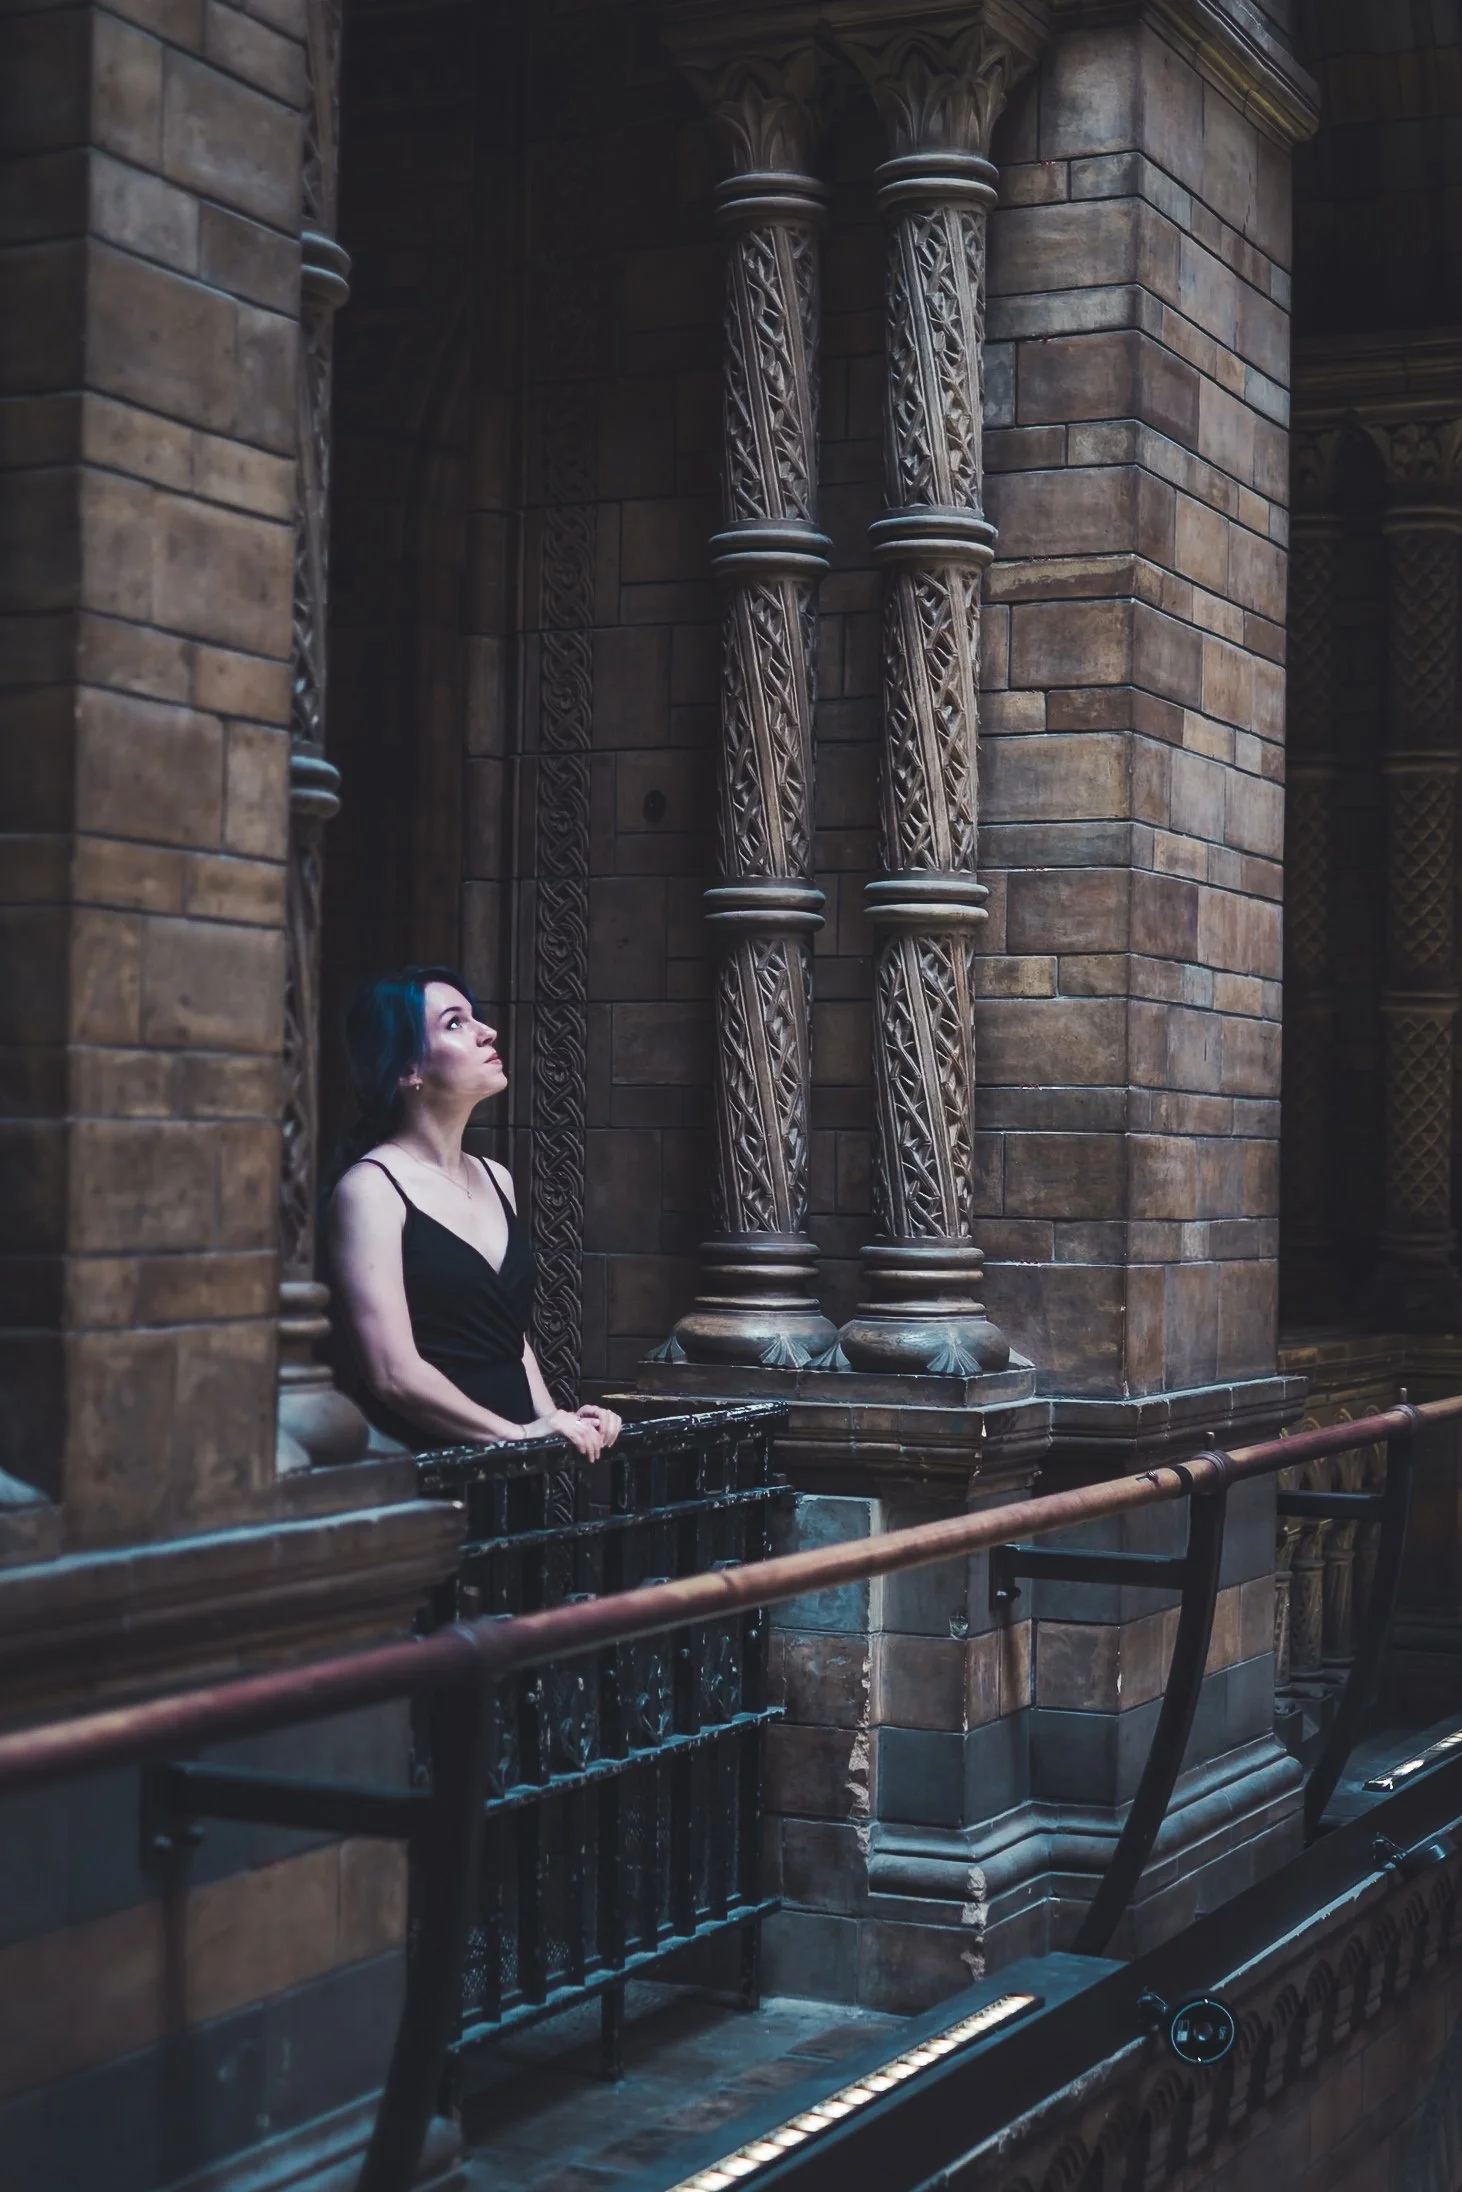
Natural History Museum
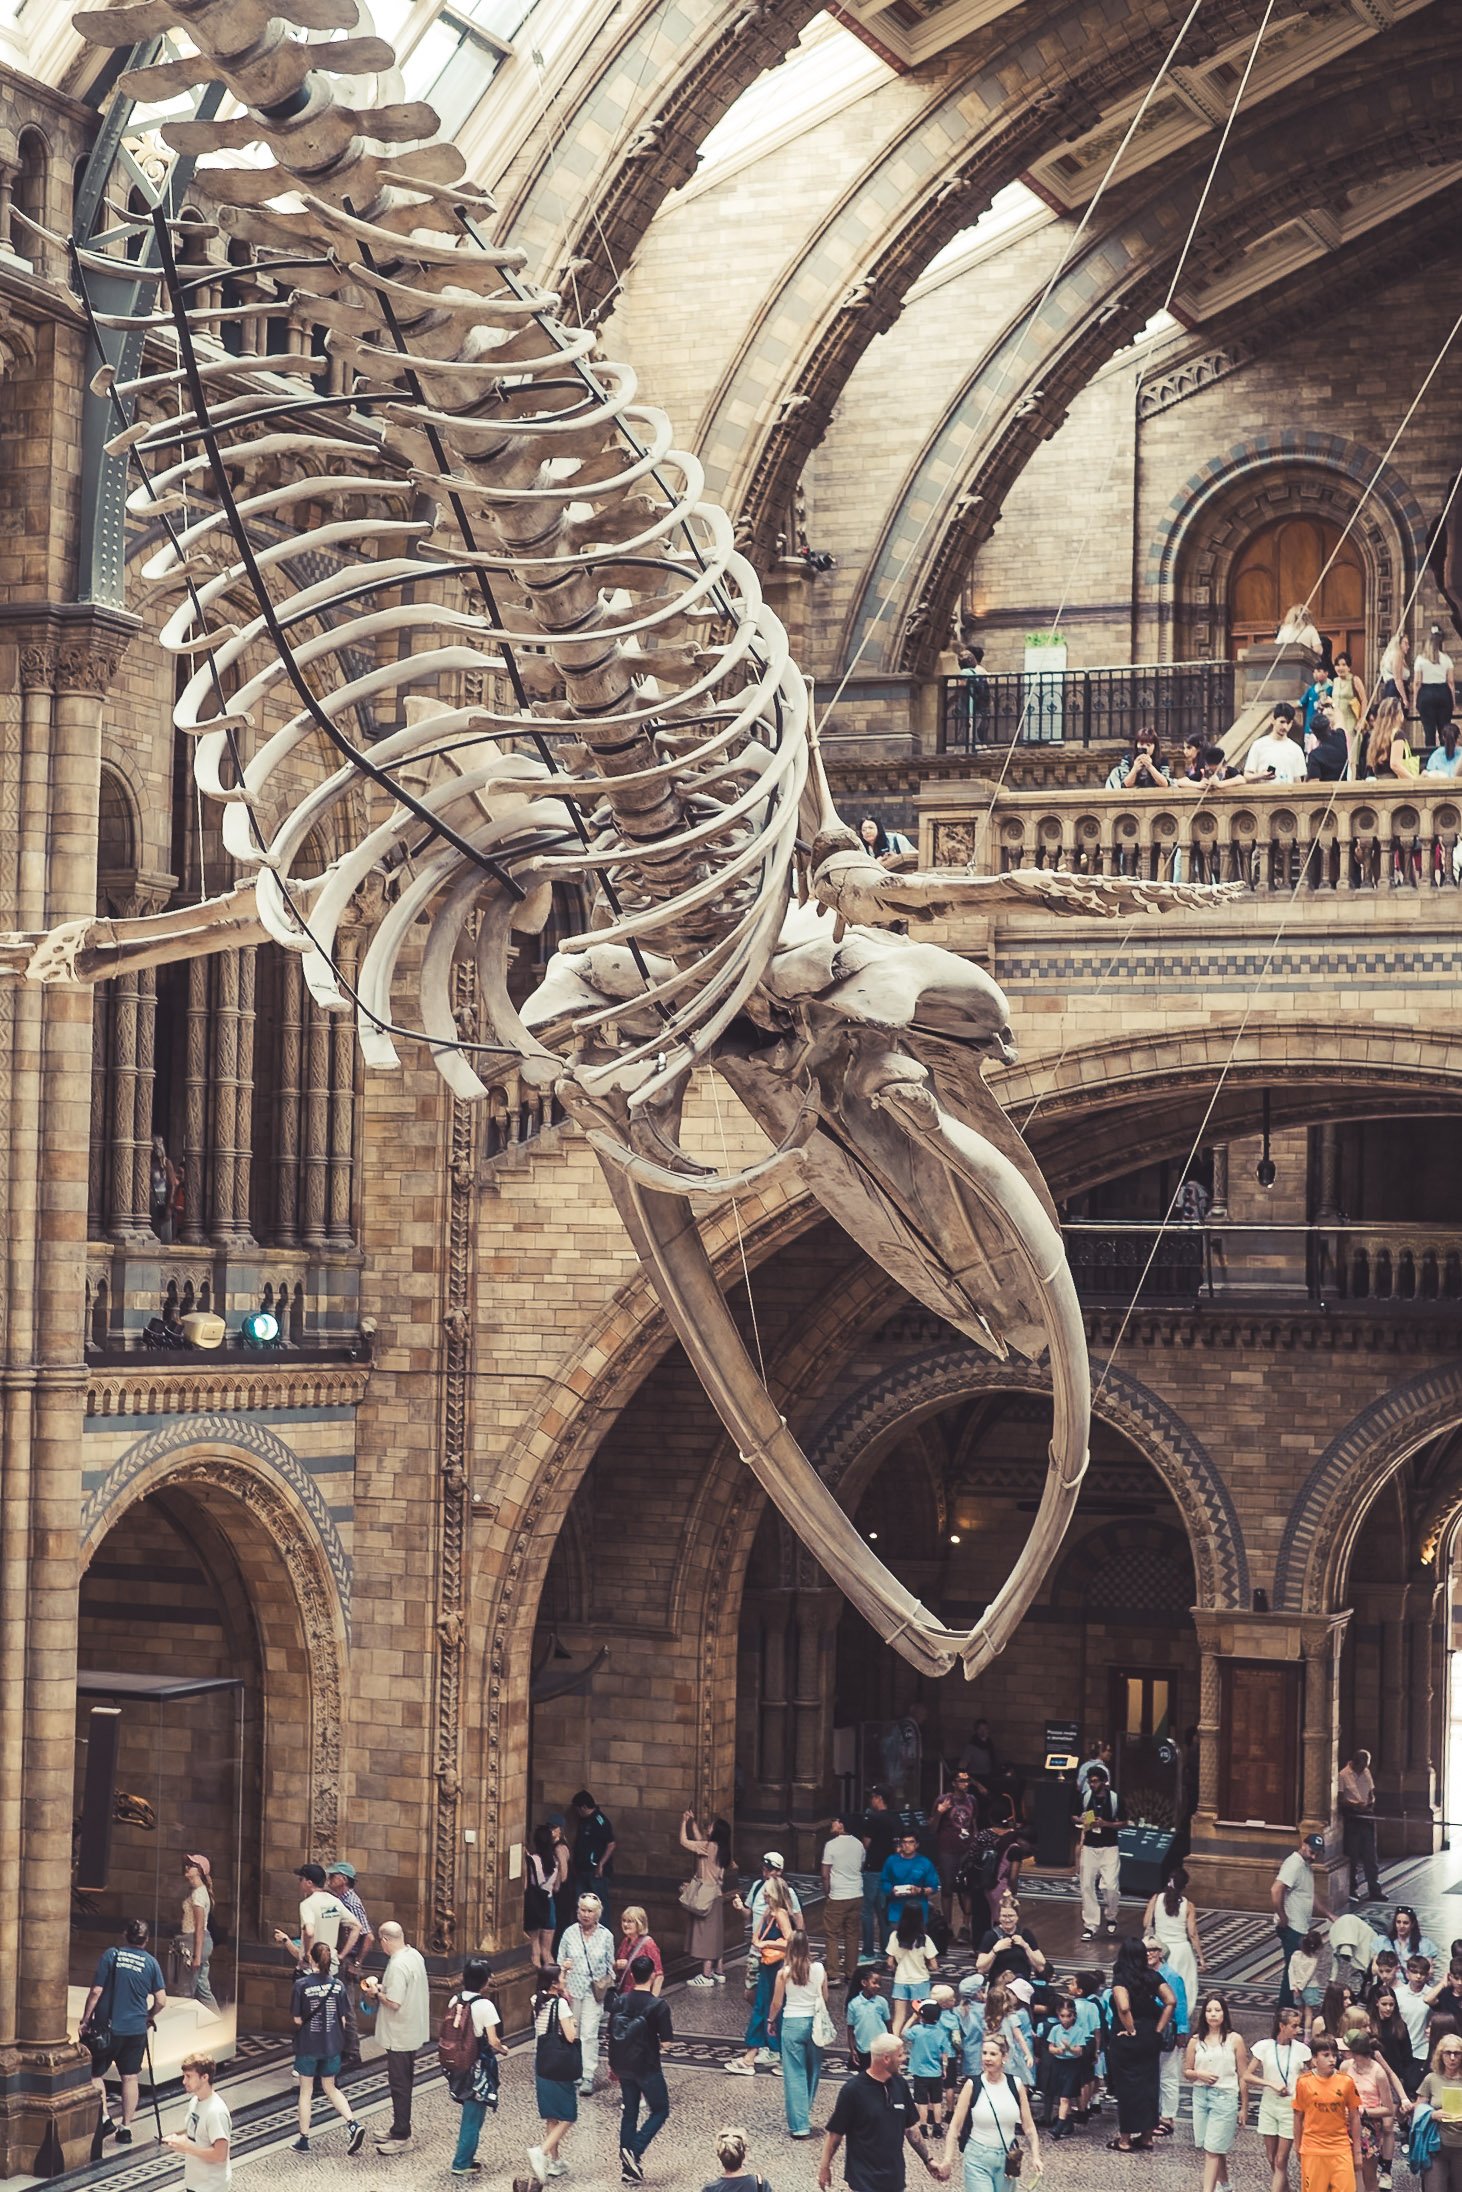
Natural History Museum
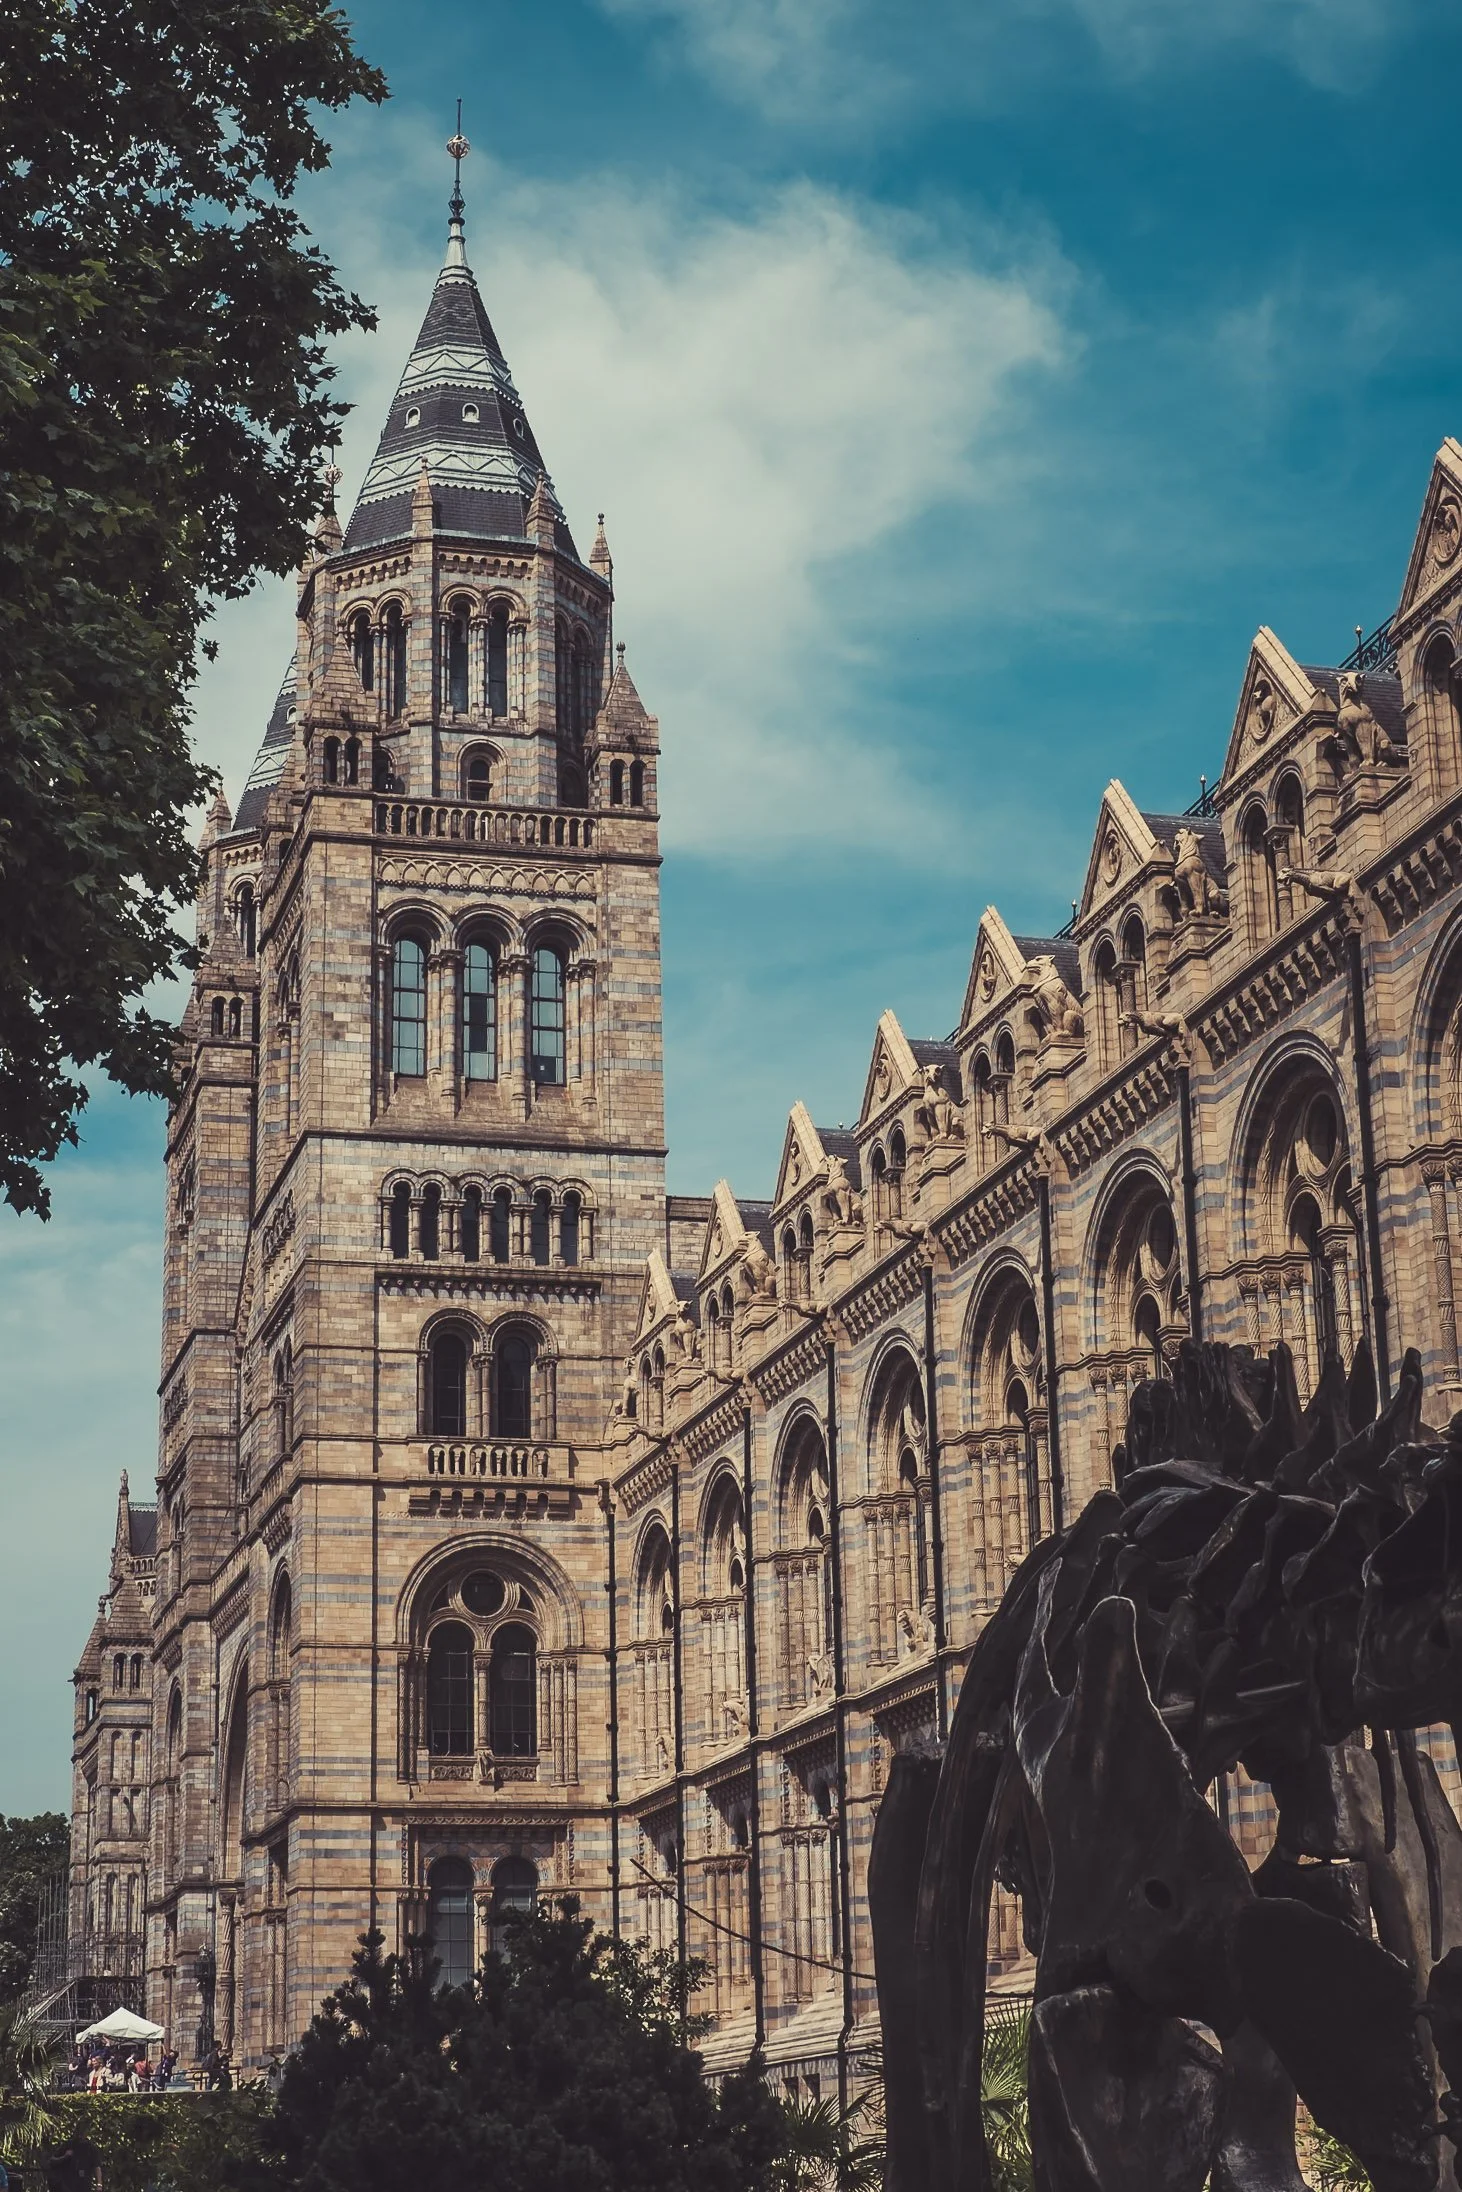
Natural History Museum
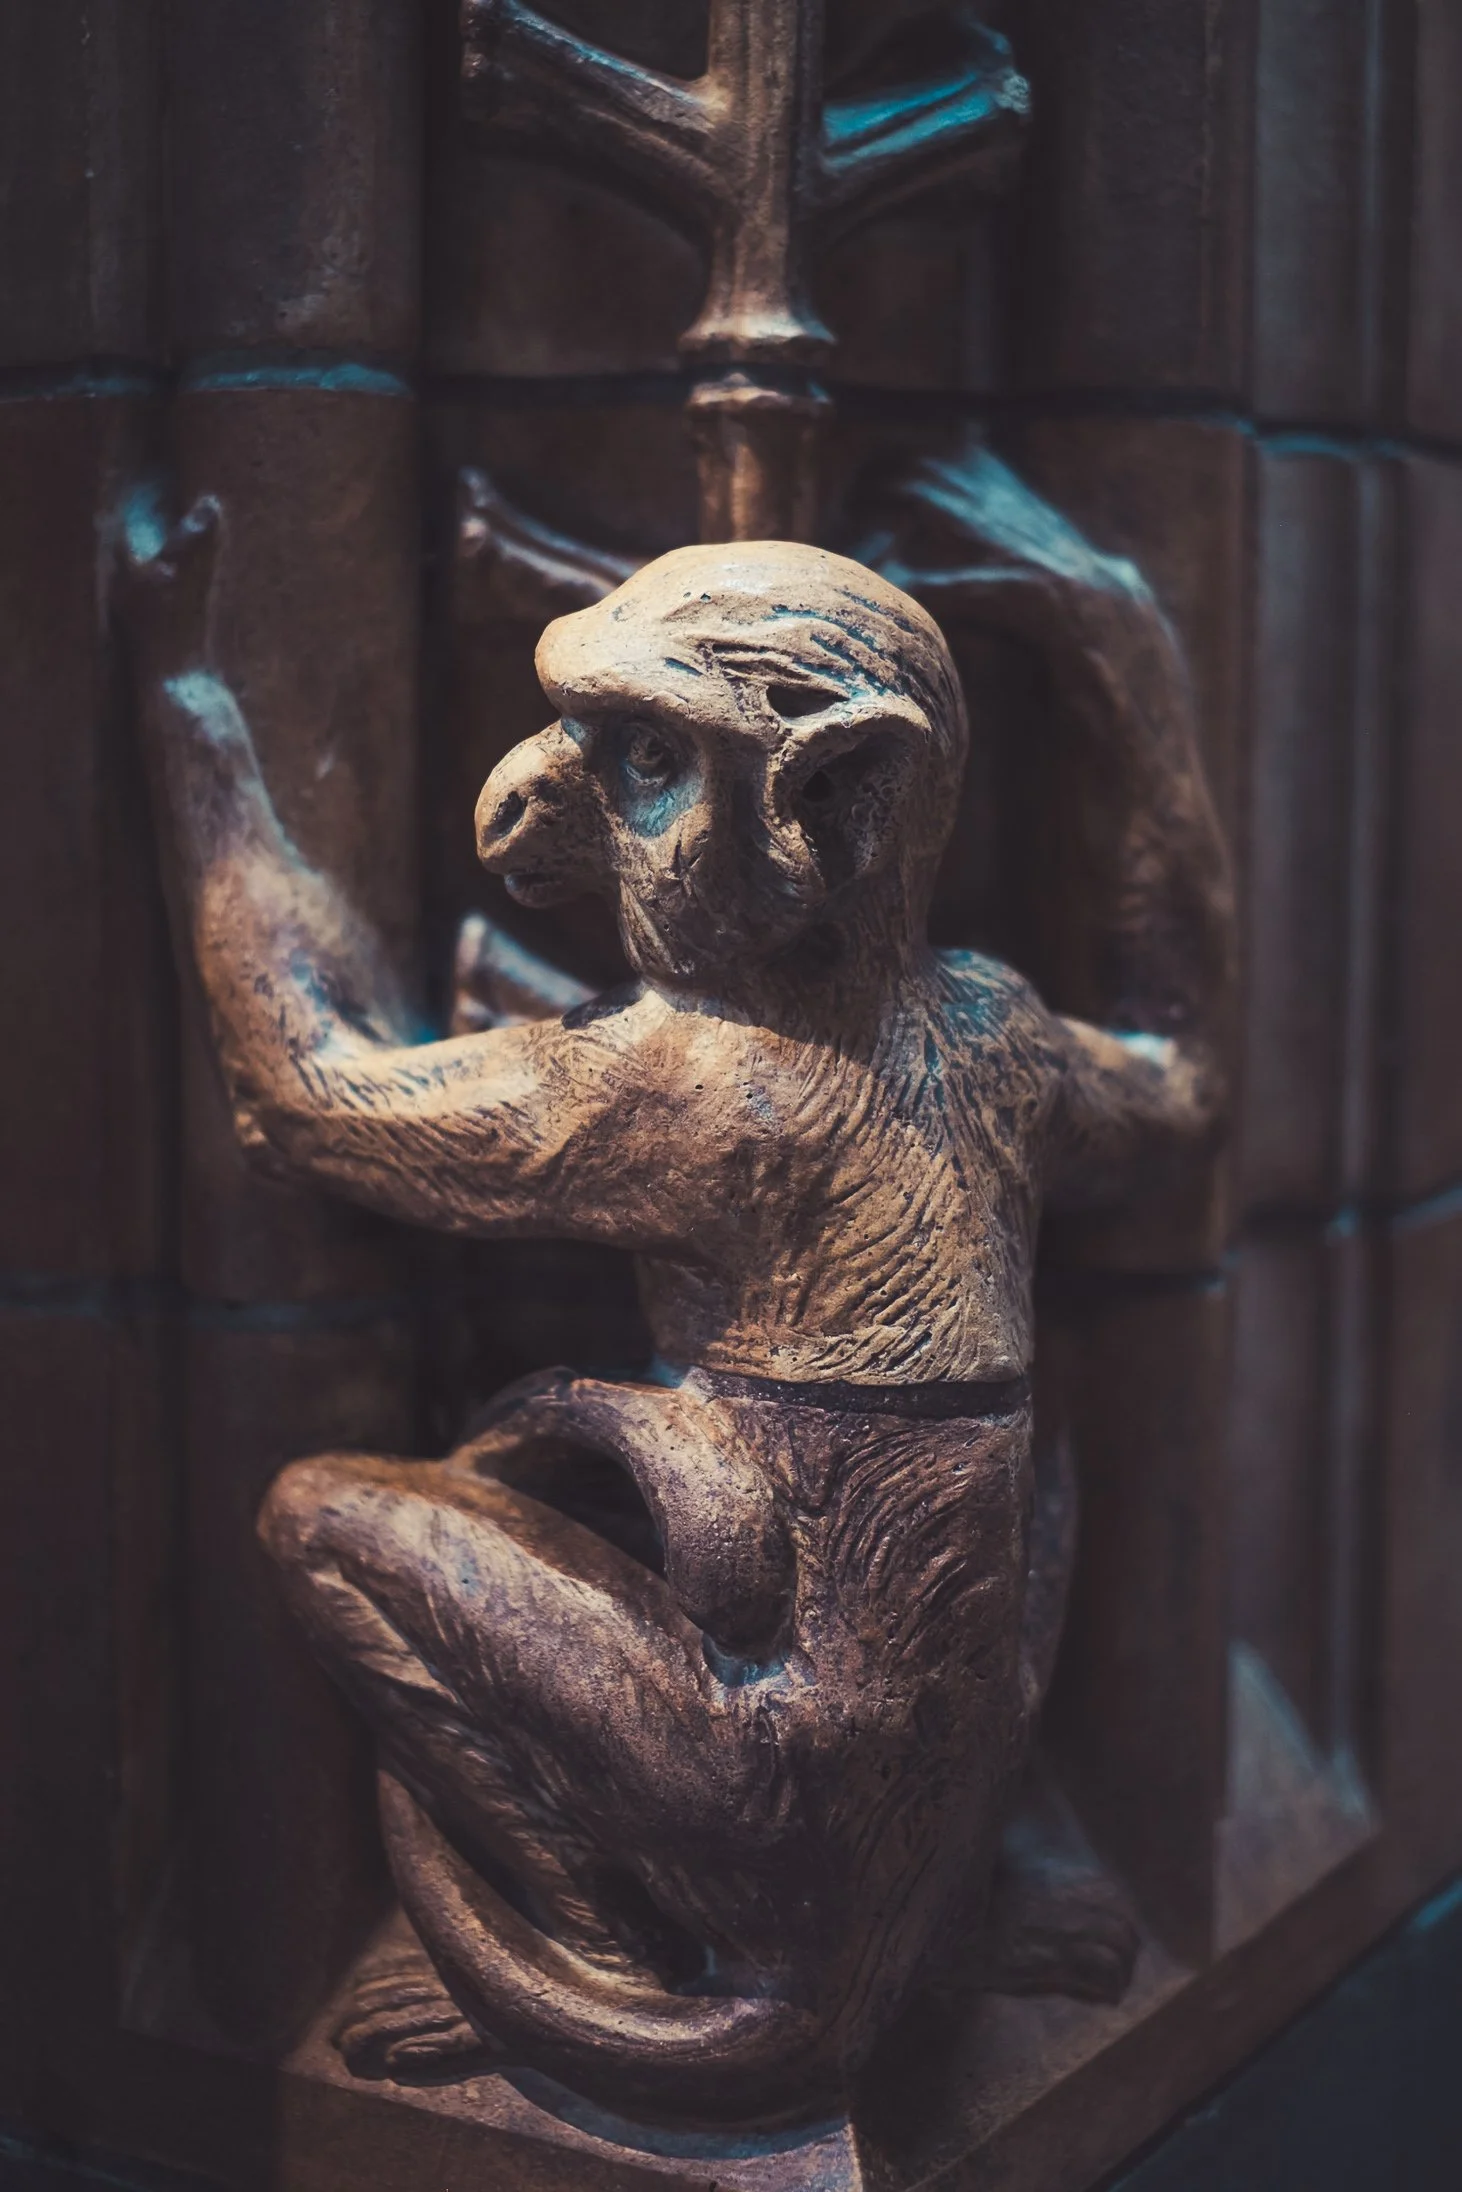
The British Museum
The British Museum is a public museum dedicated to human history, art and culture located in the Bloomsbury area of London. Its permanent collection of eight million works is the largest in the world. It documents the story of human culture from its beginnings to the present.
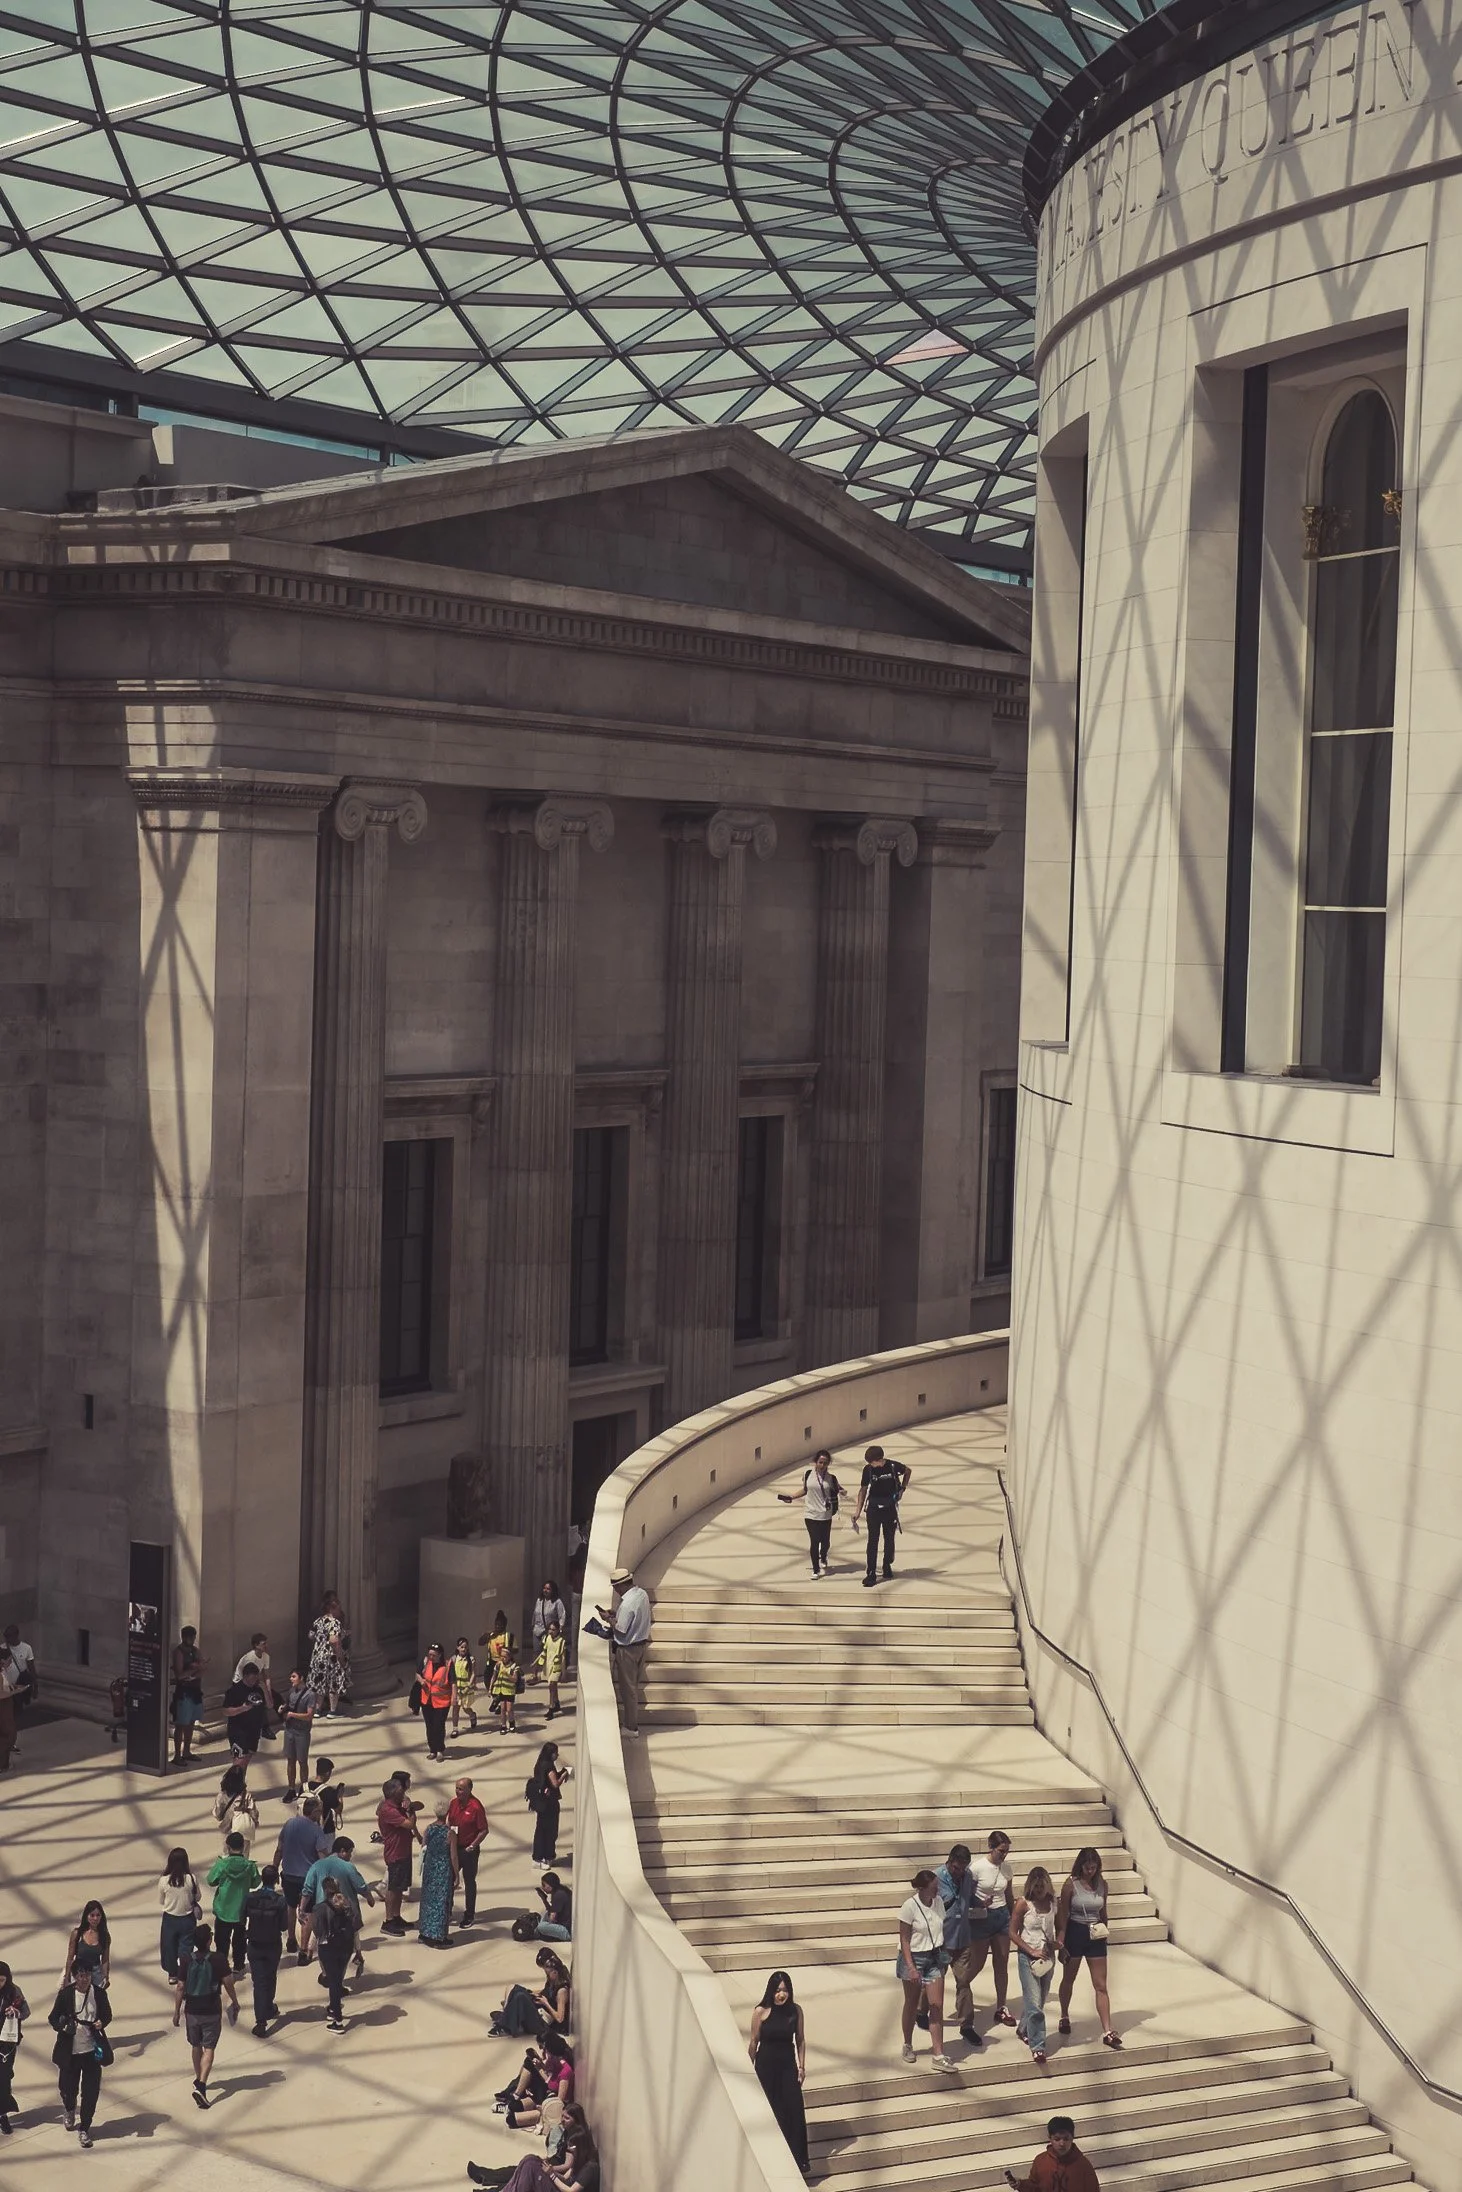
The British Museum
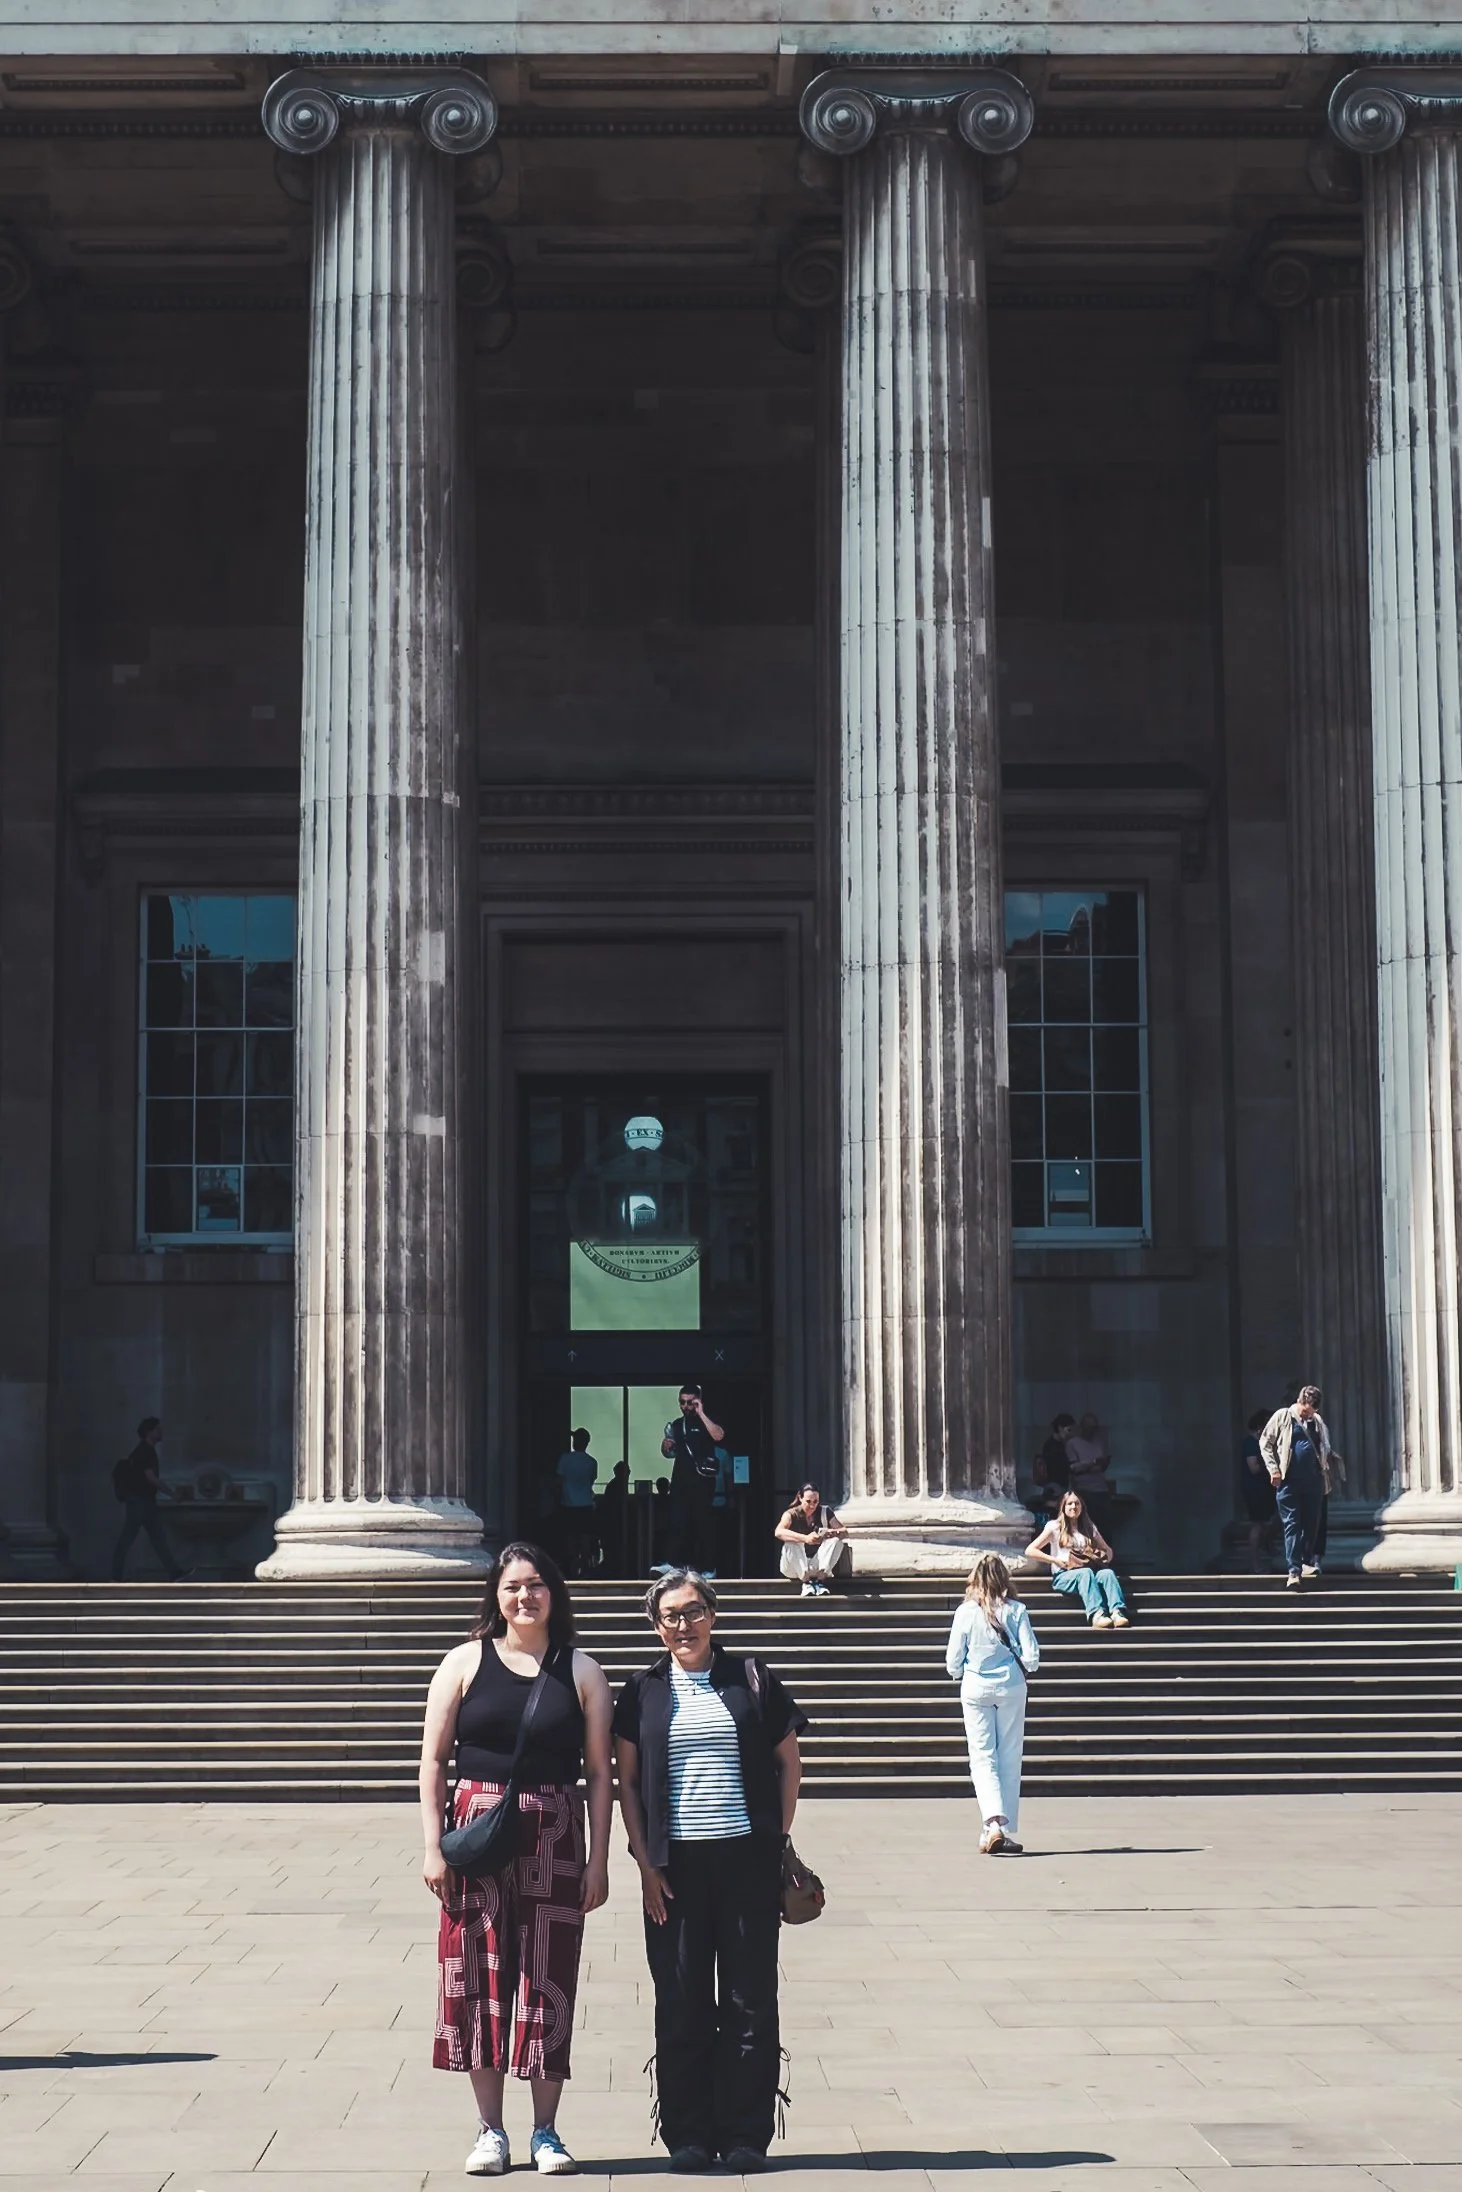
The British Museum
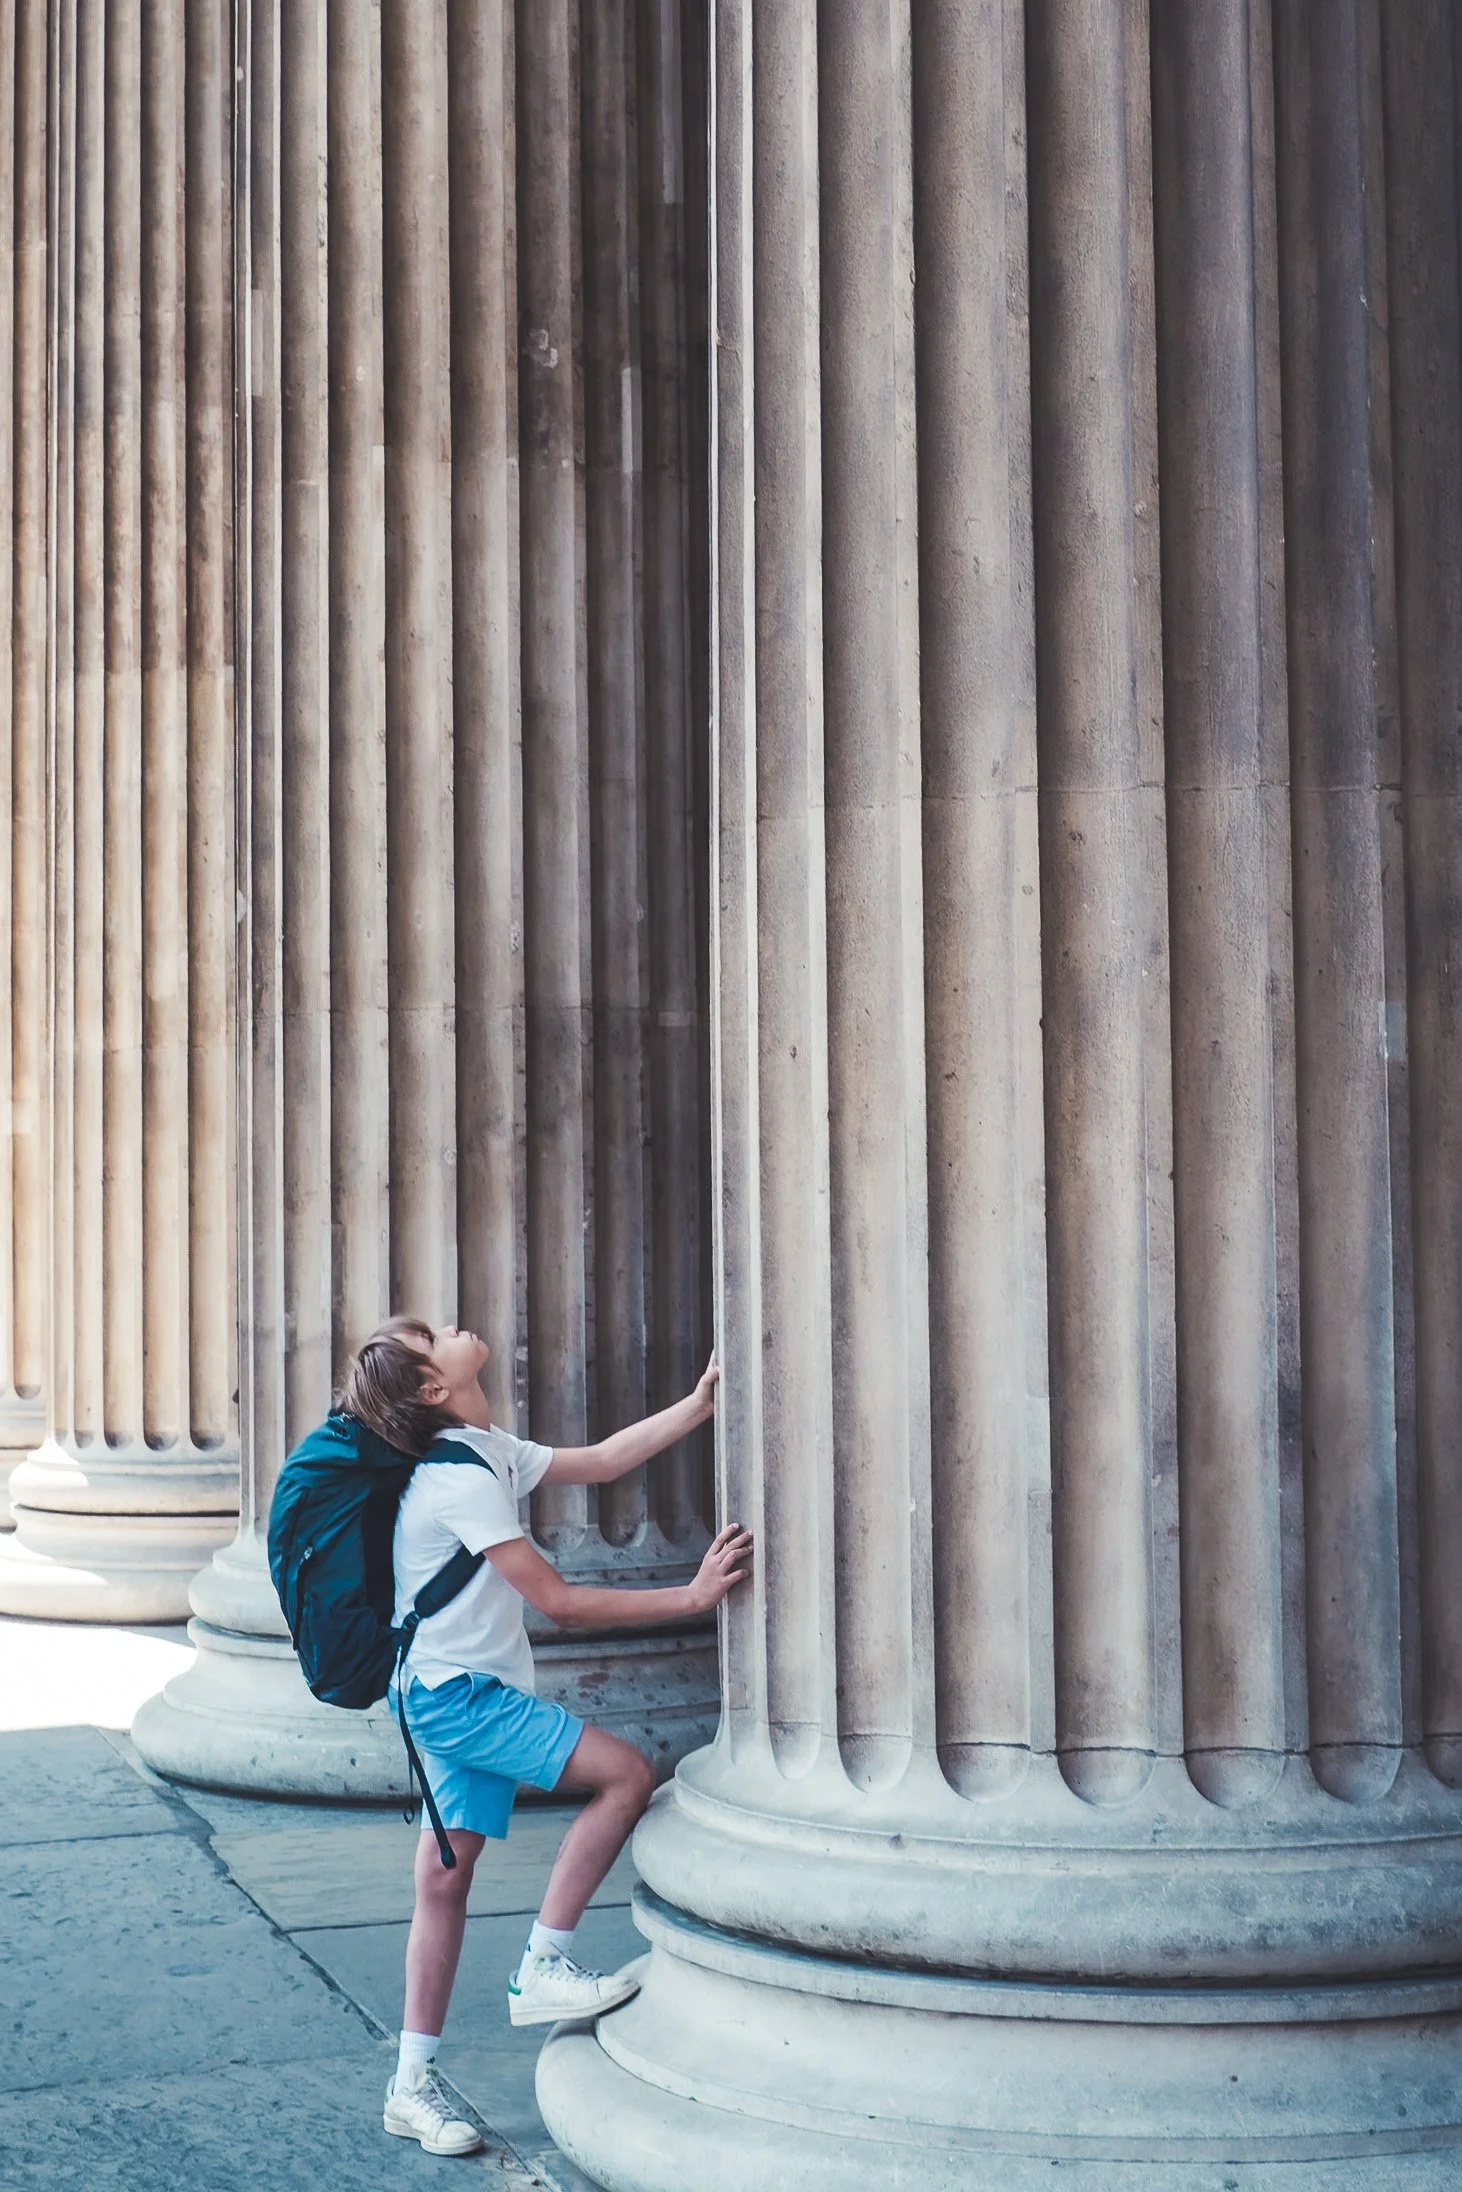
The British Museum
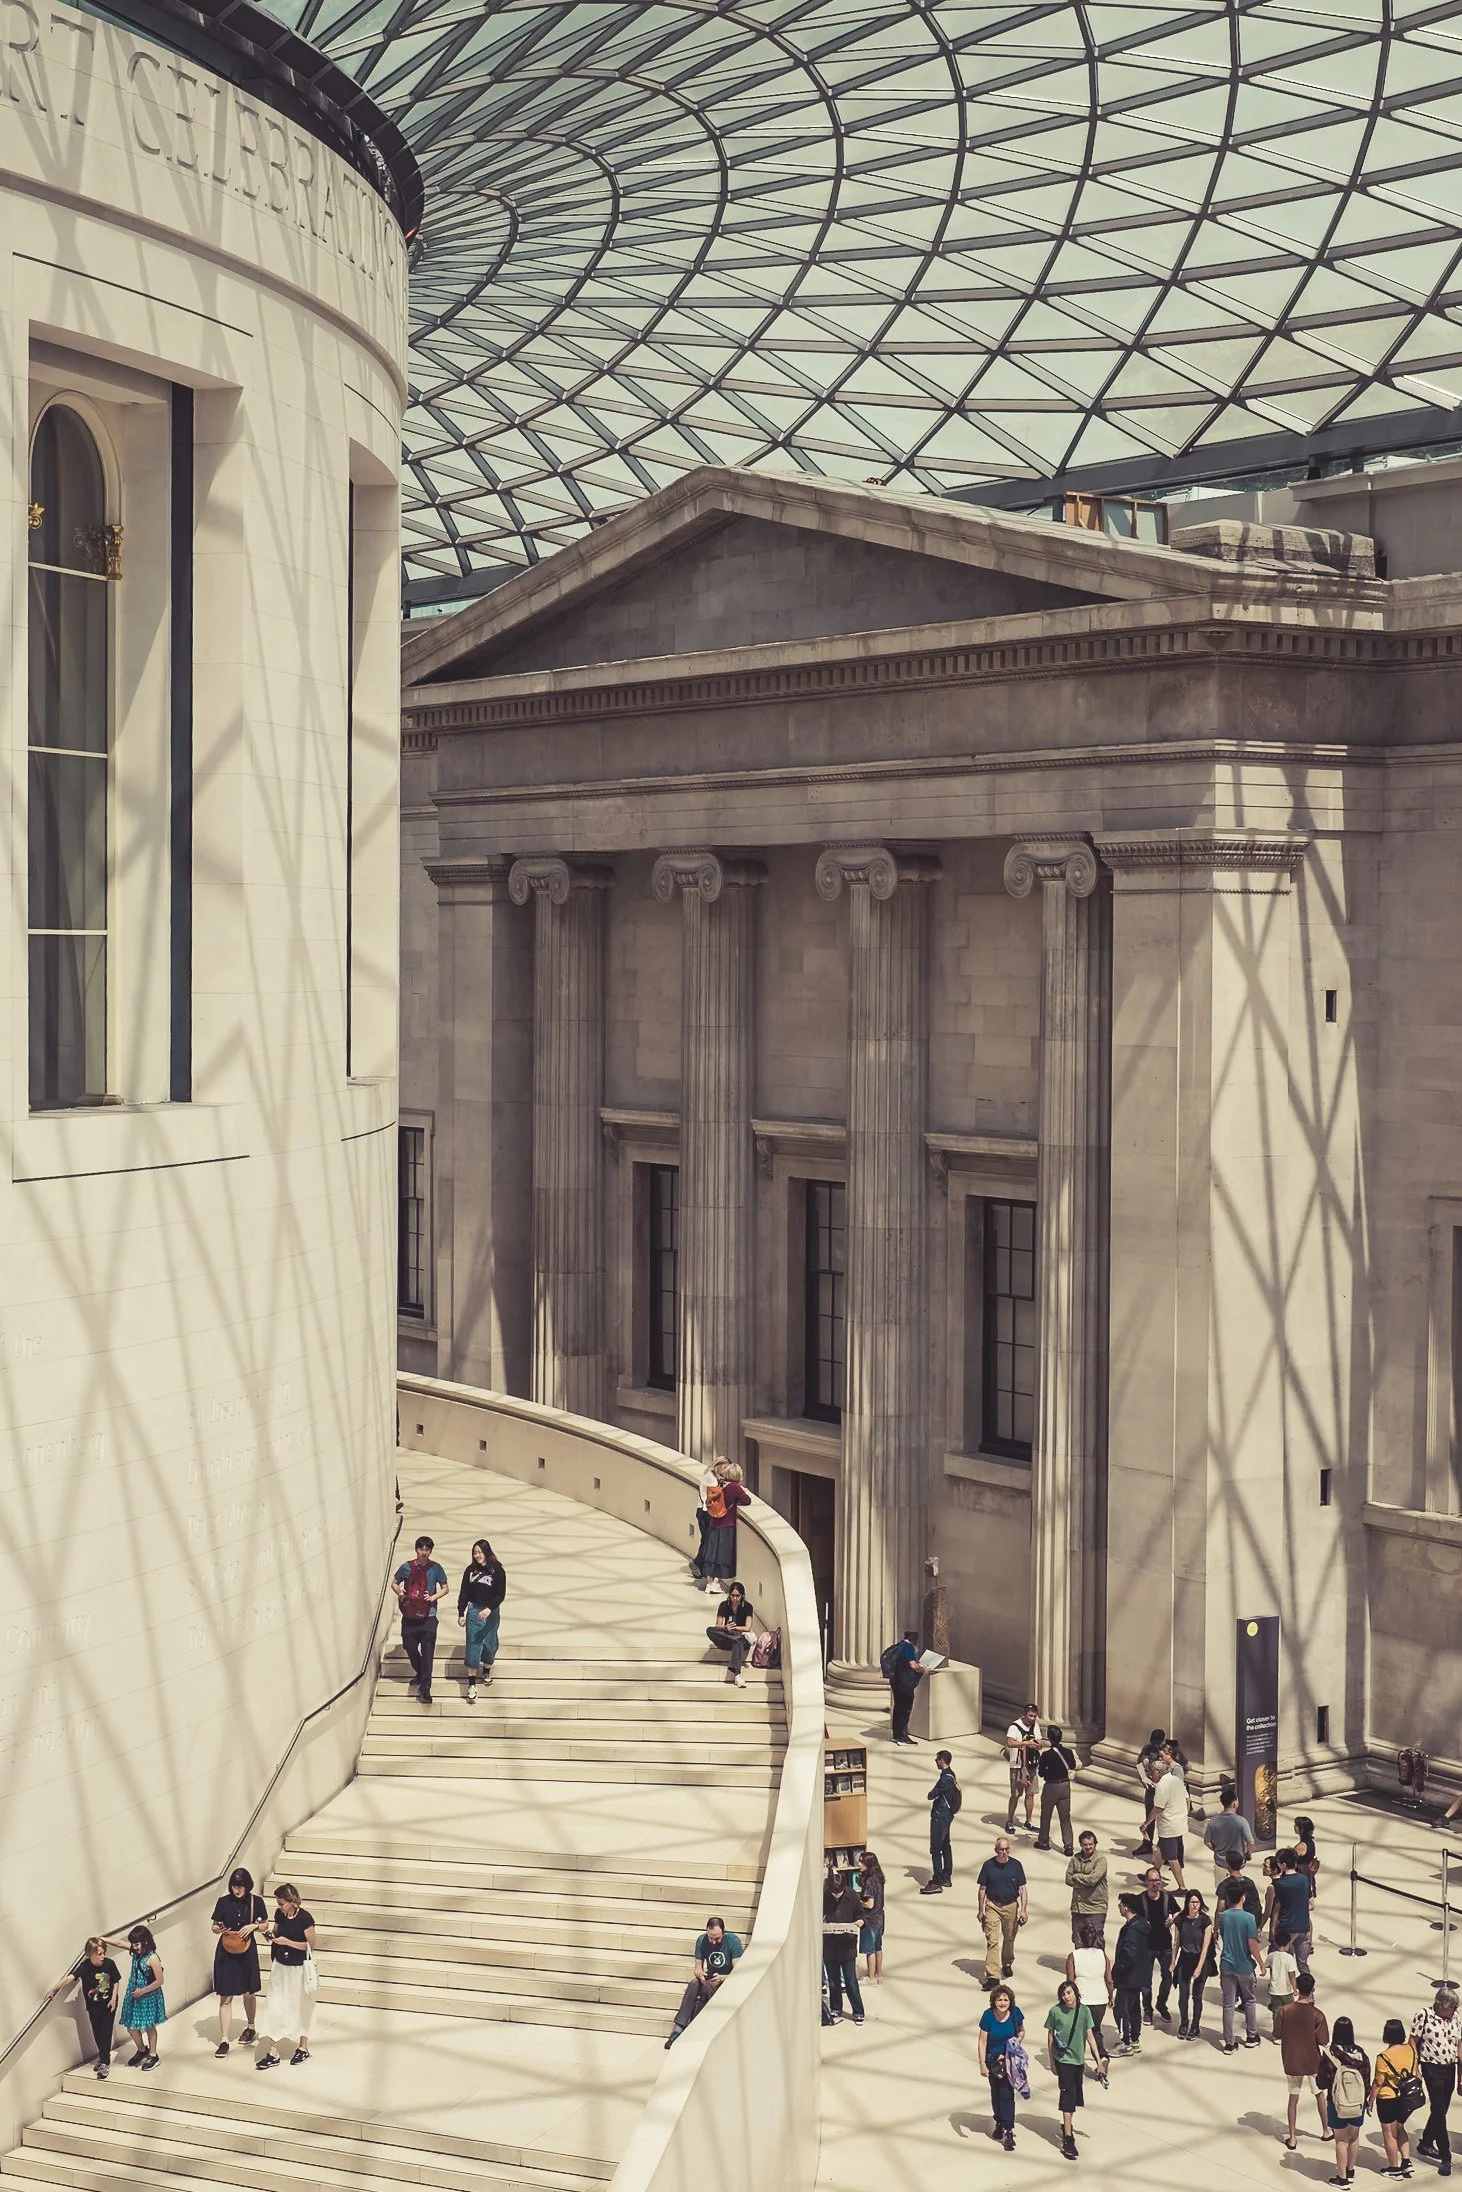
The British Museum
The Regent’s Canal
The Camden canals typically refer to the picturesque sections of Regent's Canal in North London, famous for Camden Market and the bustling locks. If you are visiting London, this iconic waterway offers walking, boating, and dining right by the water's edge.
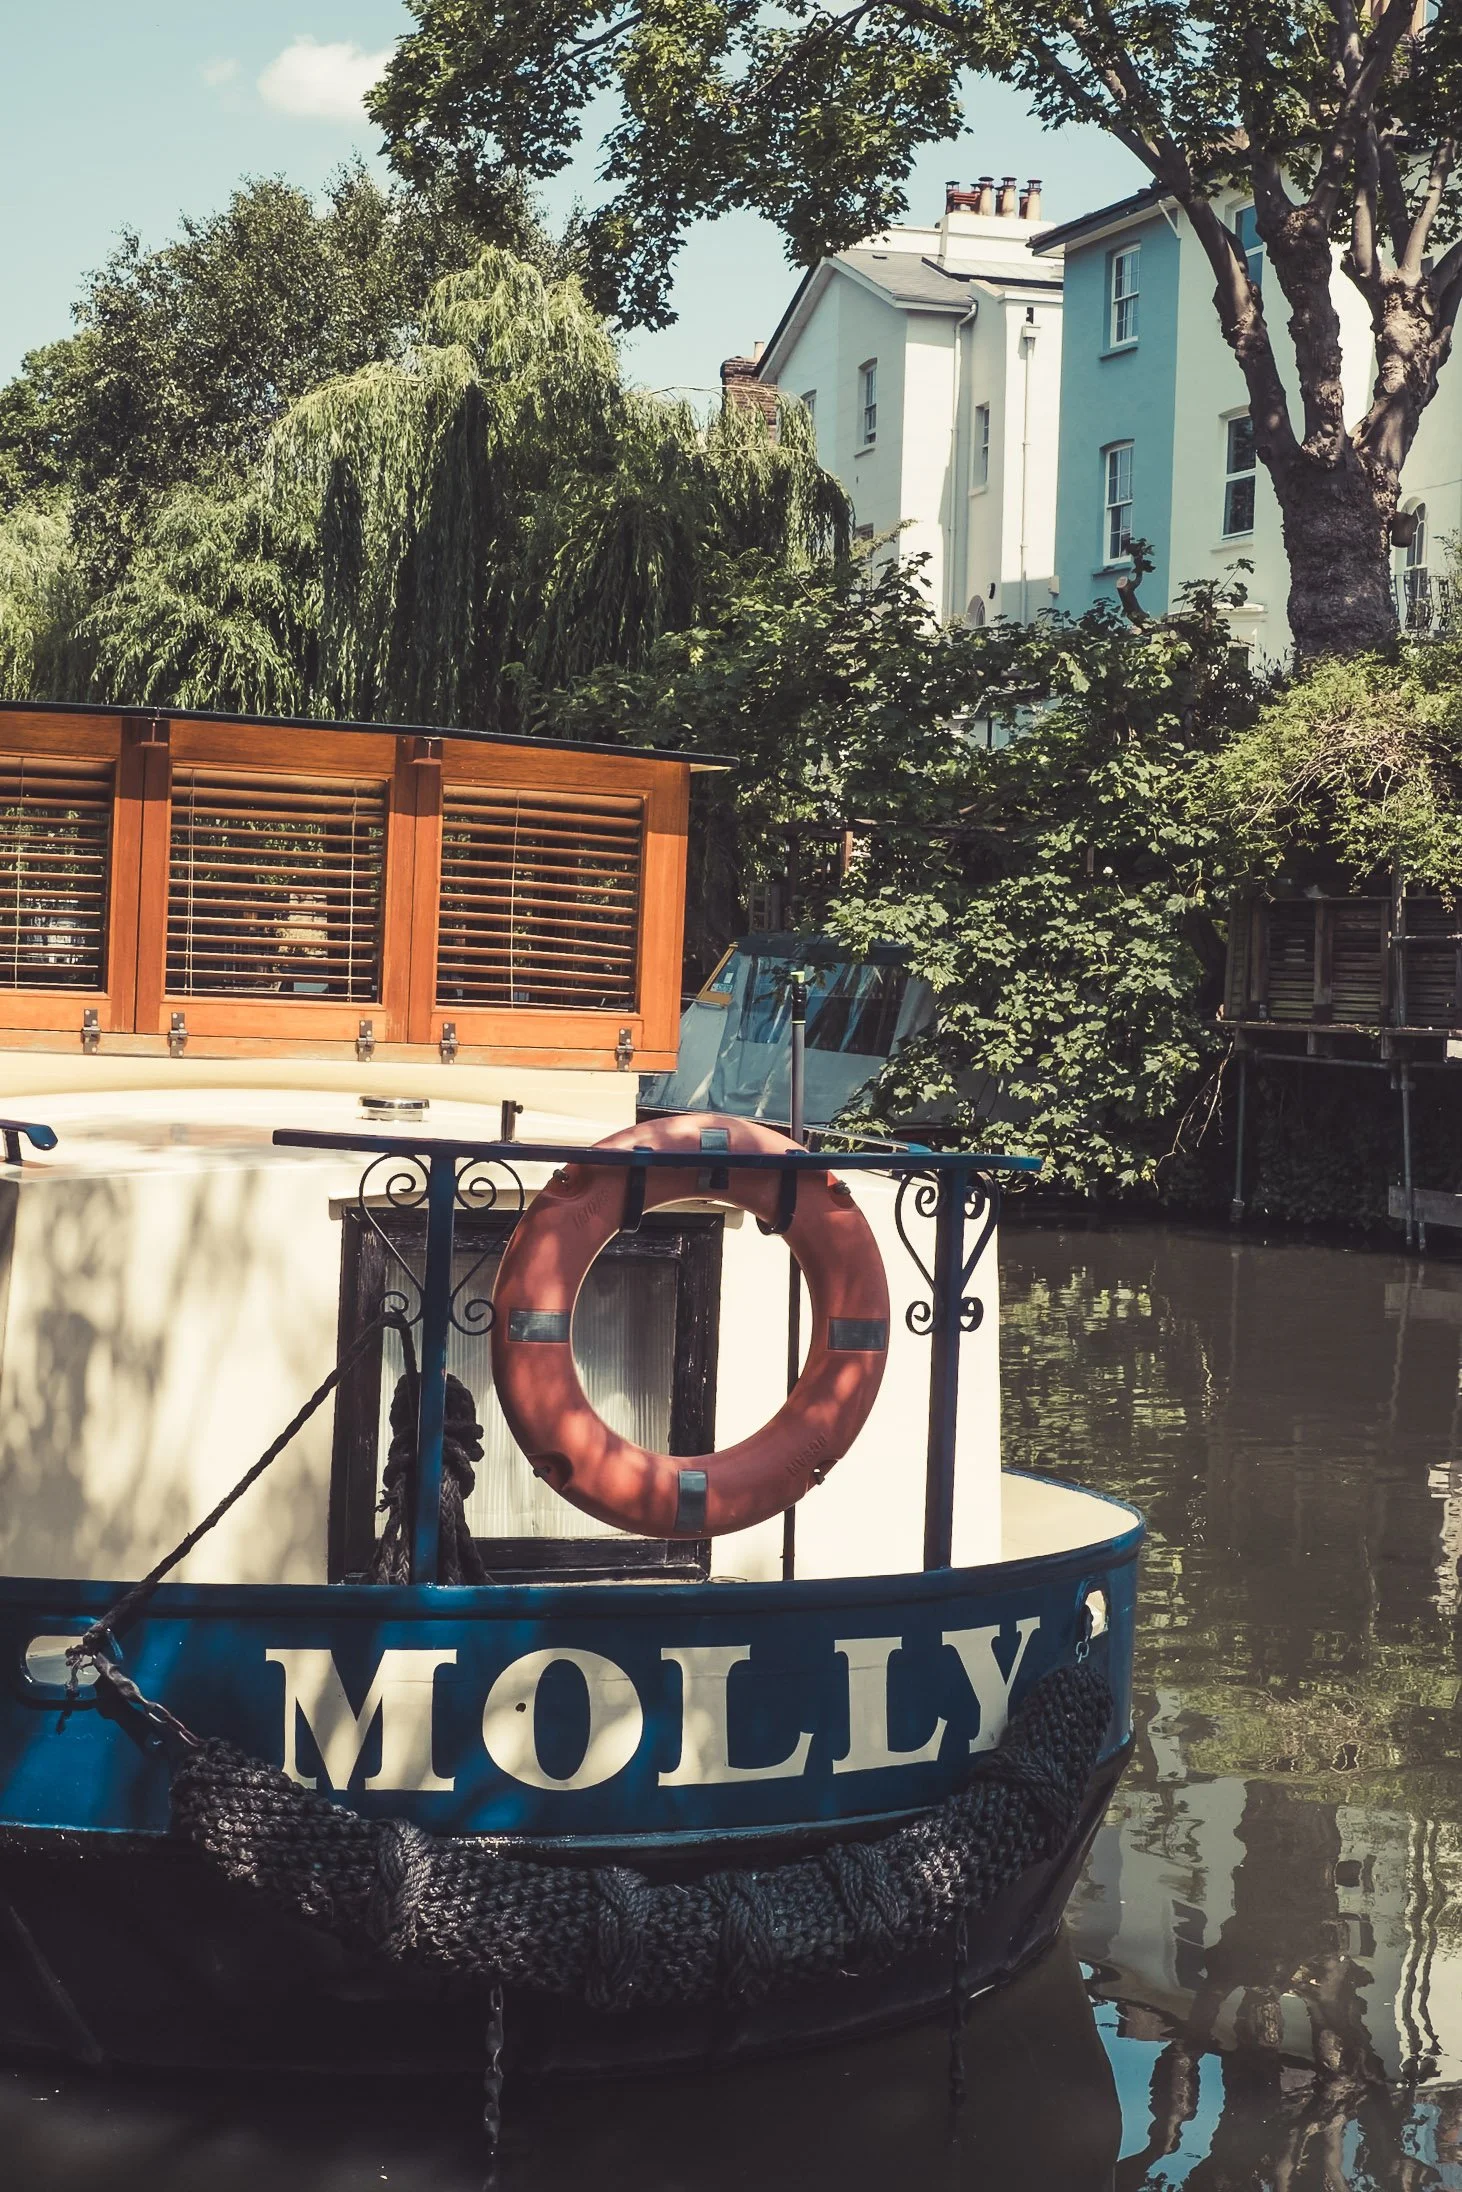
Regents Canal
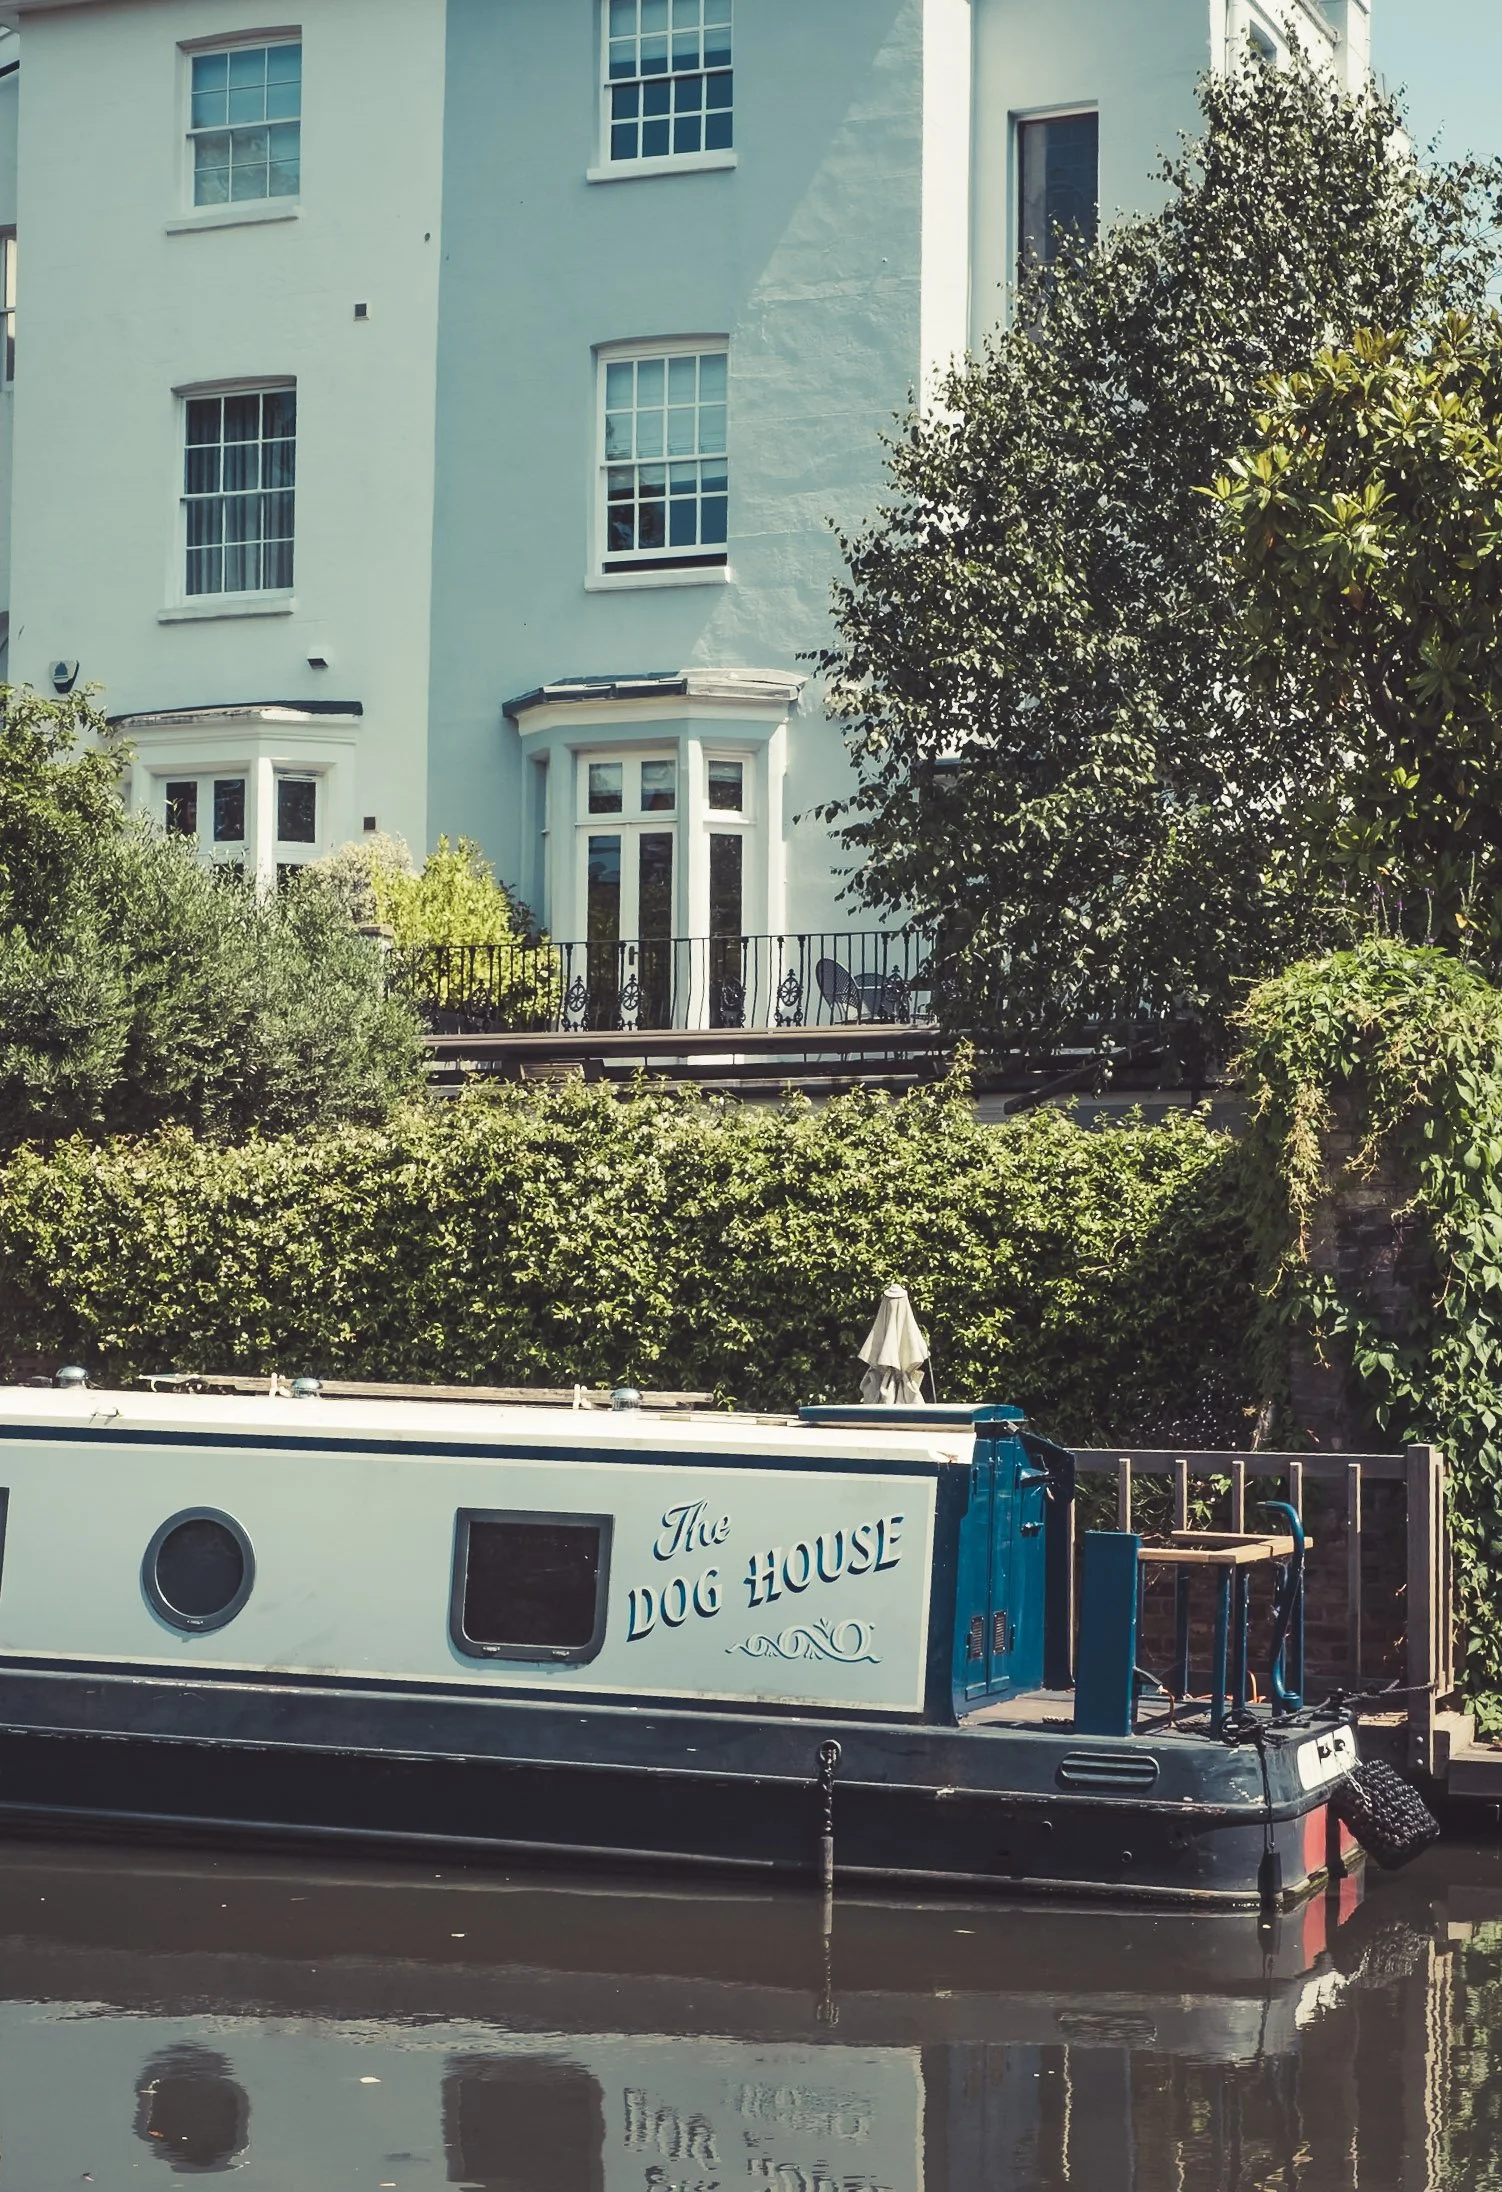
Regents Canal
St. Pancras Station
Is a major central London railway terminus on Euston Road. It serves as the UK hub for Eurostar international trains to mainland Europe, domestic high-speed lines, and the Tube, while also housing diverse shops, restaurants, and the iconic Searcys Champagne Bar
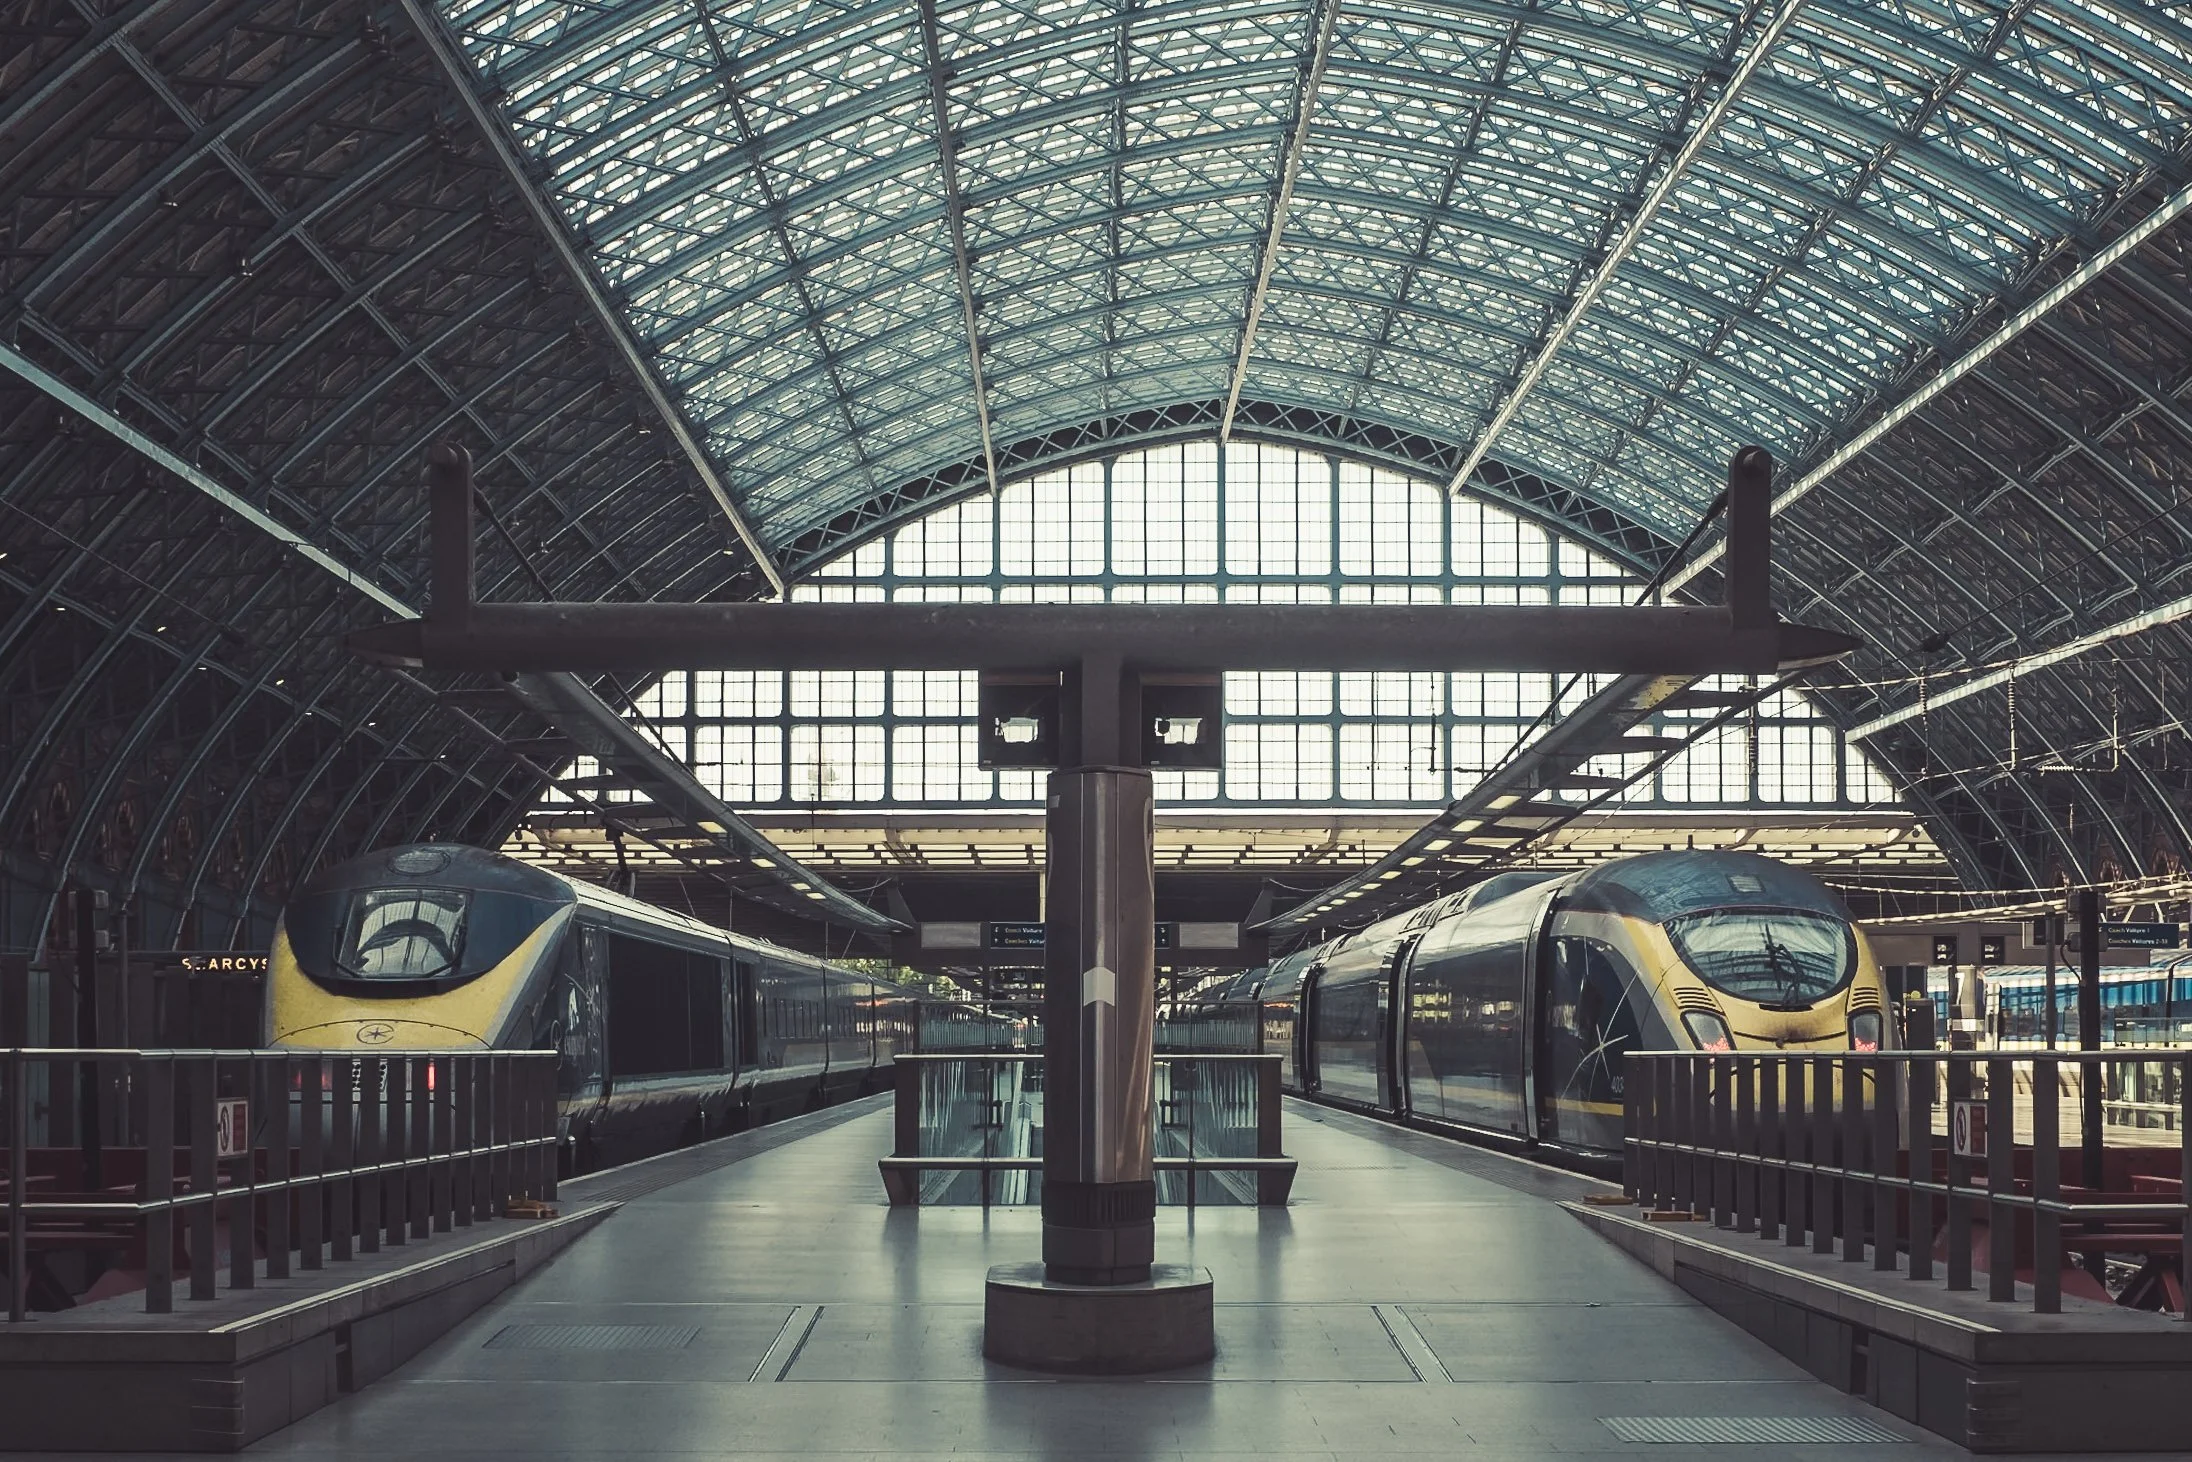
St. Pancras Station
In Conclusion: Queens Walk - River Thames
The Queen's Walk in London is a scenic, pedestrian-only promenade stretching roughly 2 to 4 miles along the south bank of the River Thames, running from Lambeth Bridge (near Westminster) to Tower Bridge.
It offers iconic views of the city's skyline, passing major landmarks like the London Eye, Tate Modern, and Shakespeare's Globe. The route is easily walkable, taking about 1 to 2 hours depending on your pace and the number of stops you make.
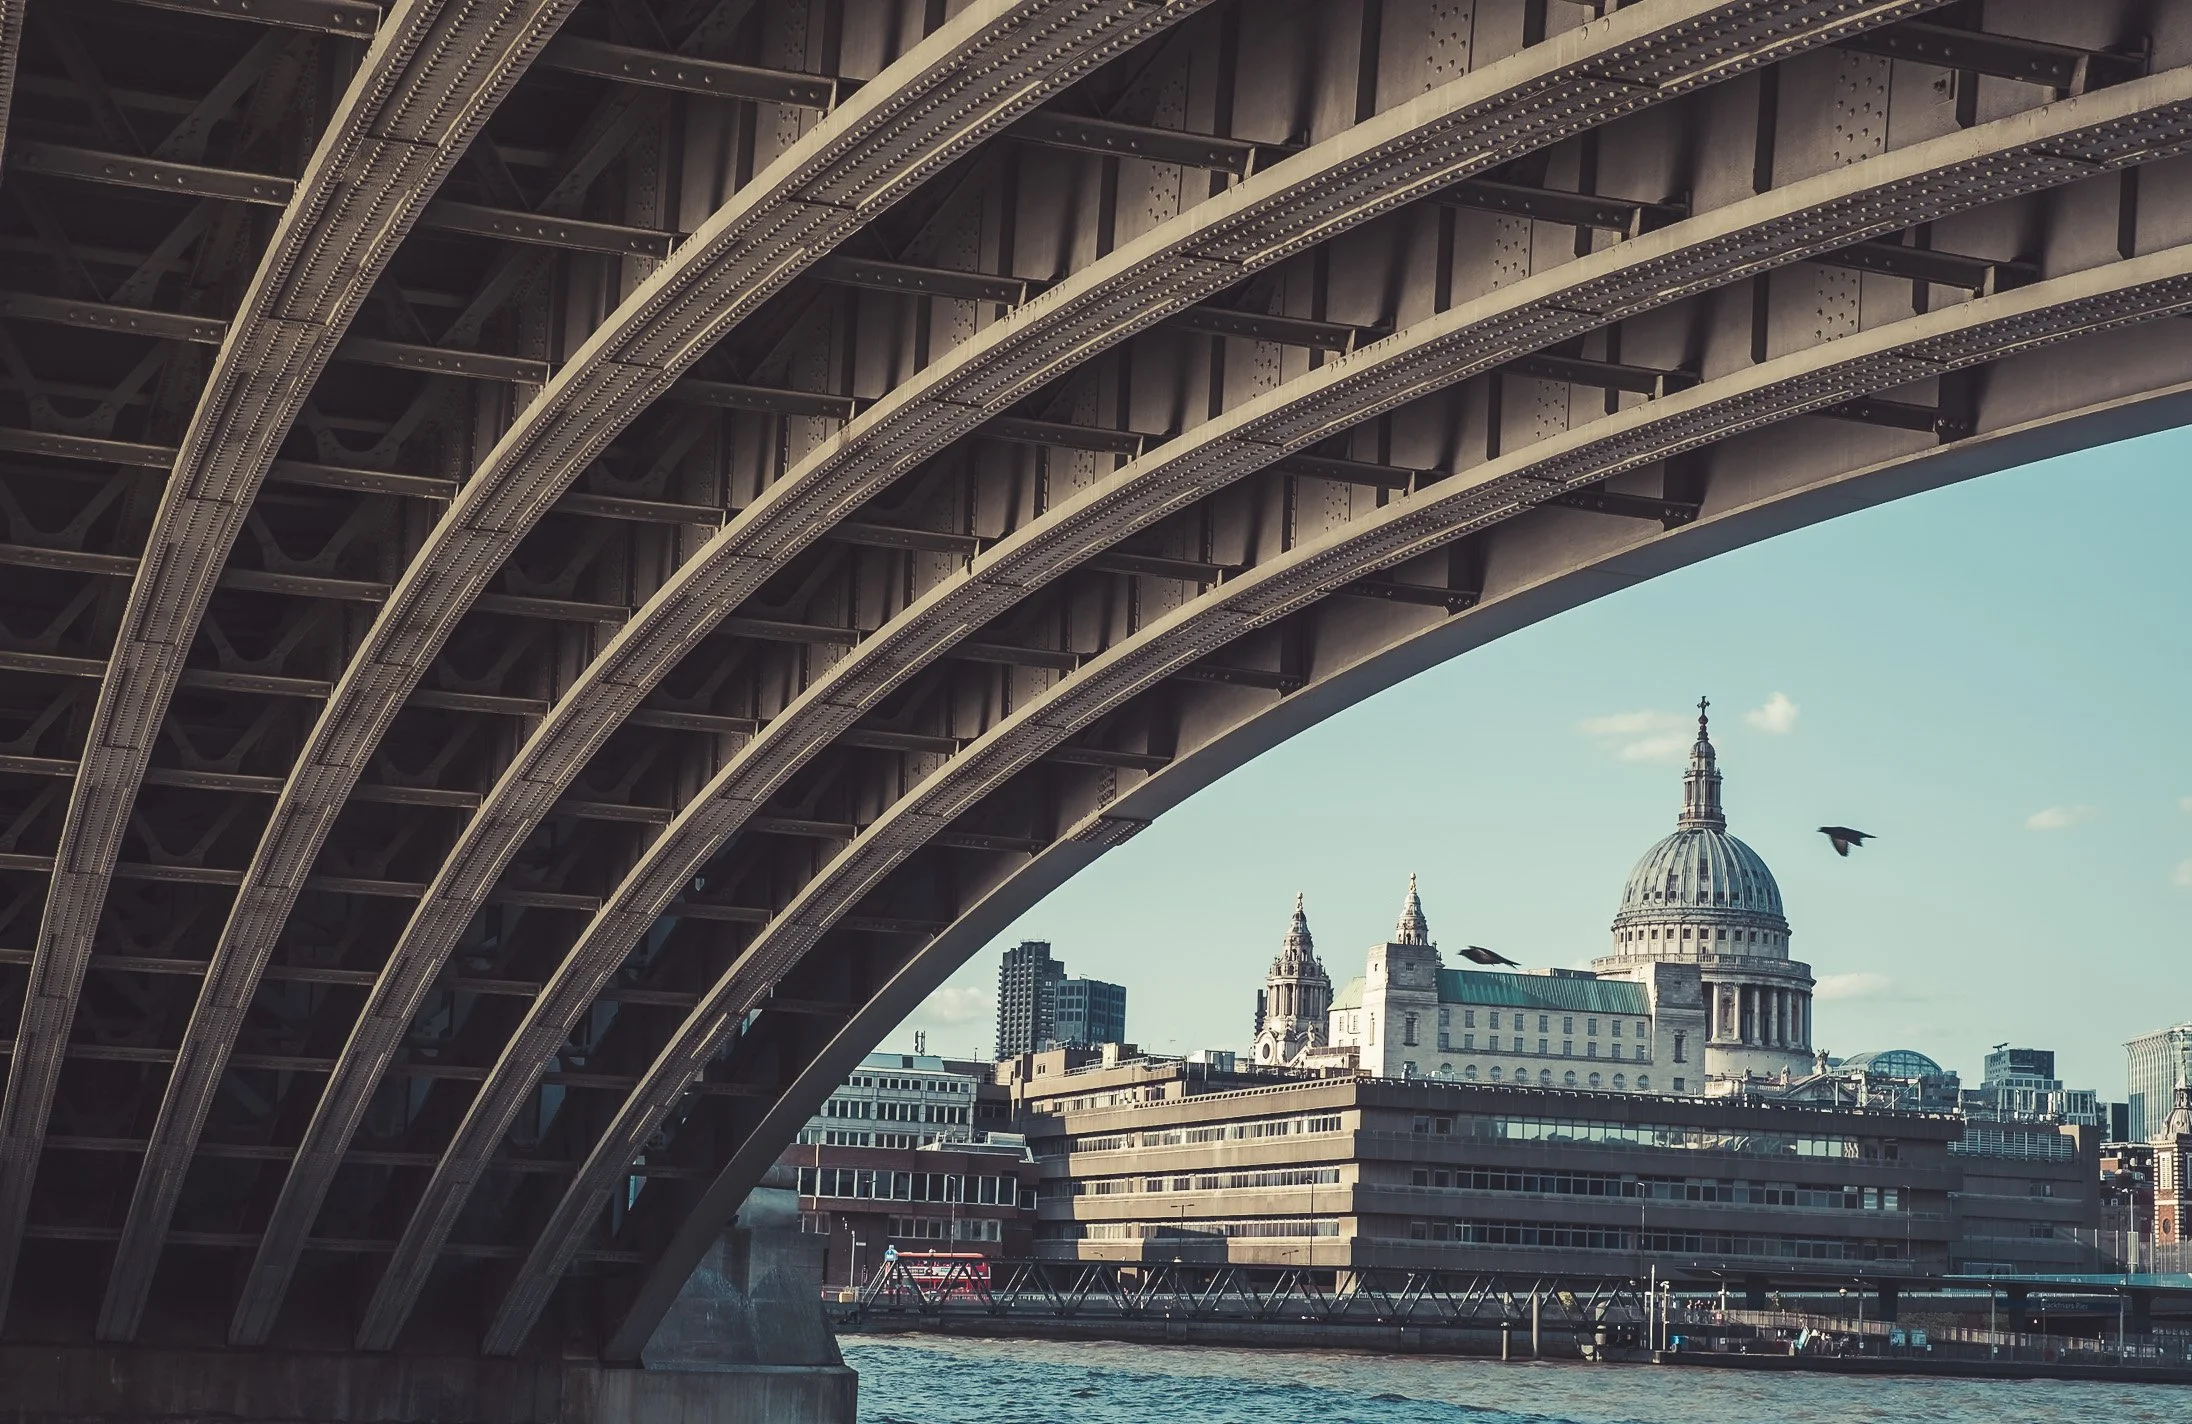
Under Blackfriars Bridge along the Queens Walk
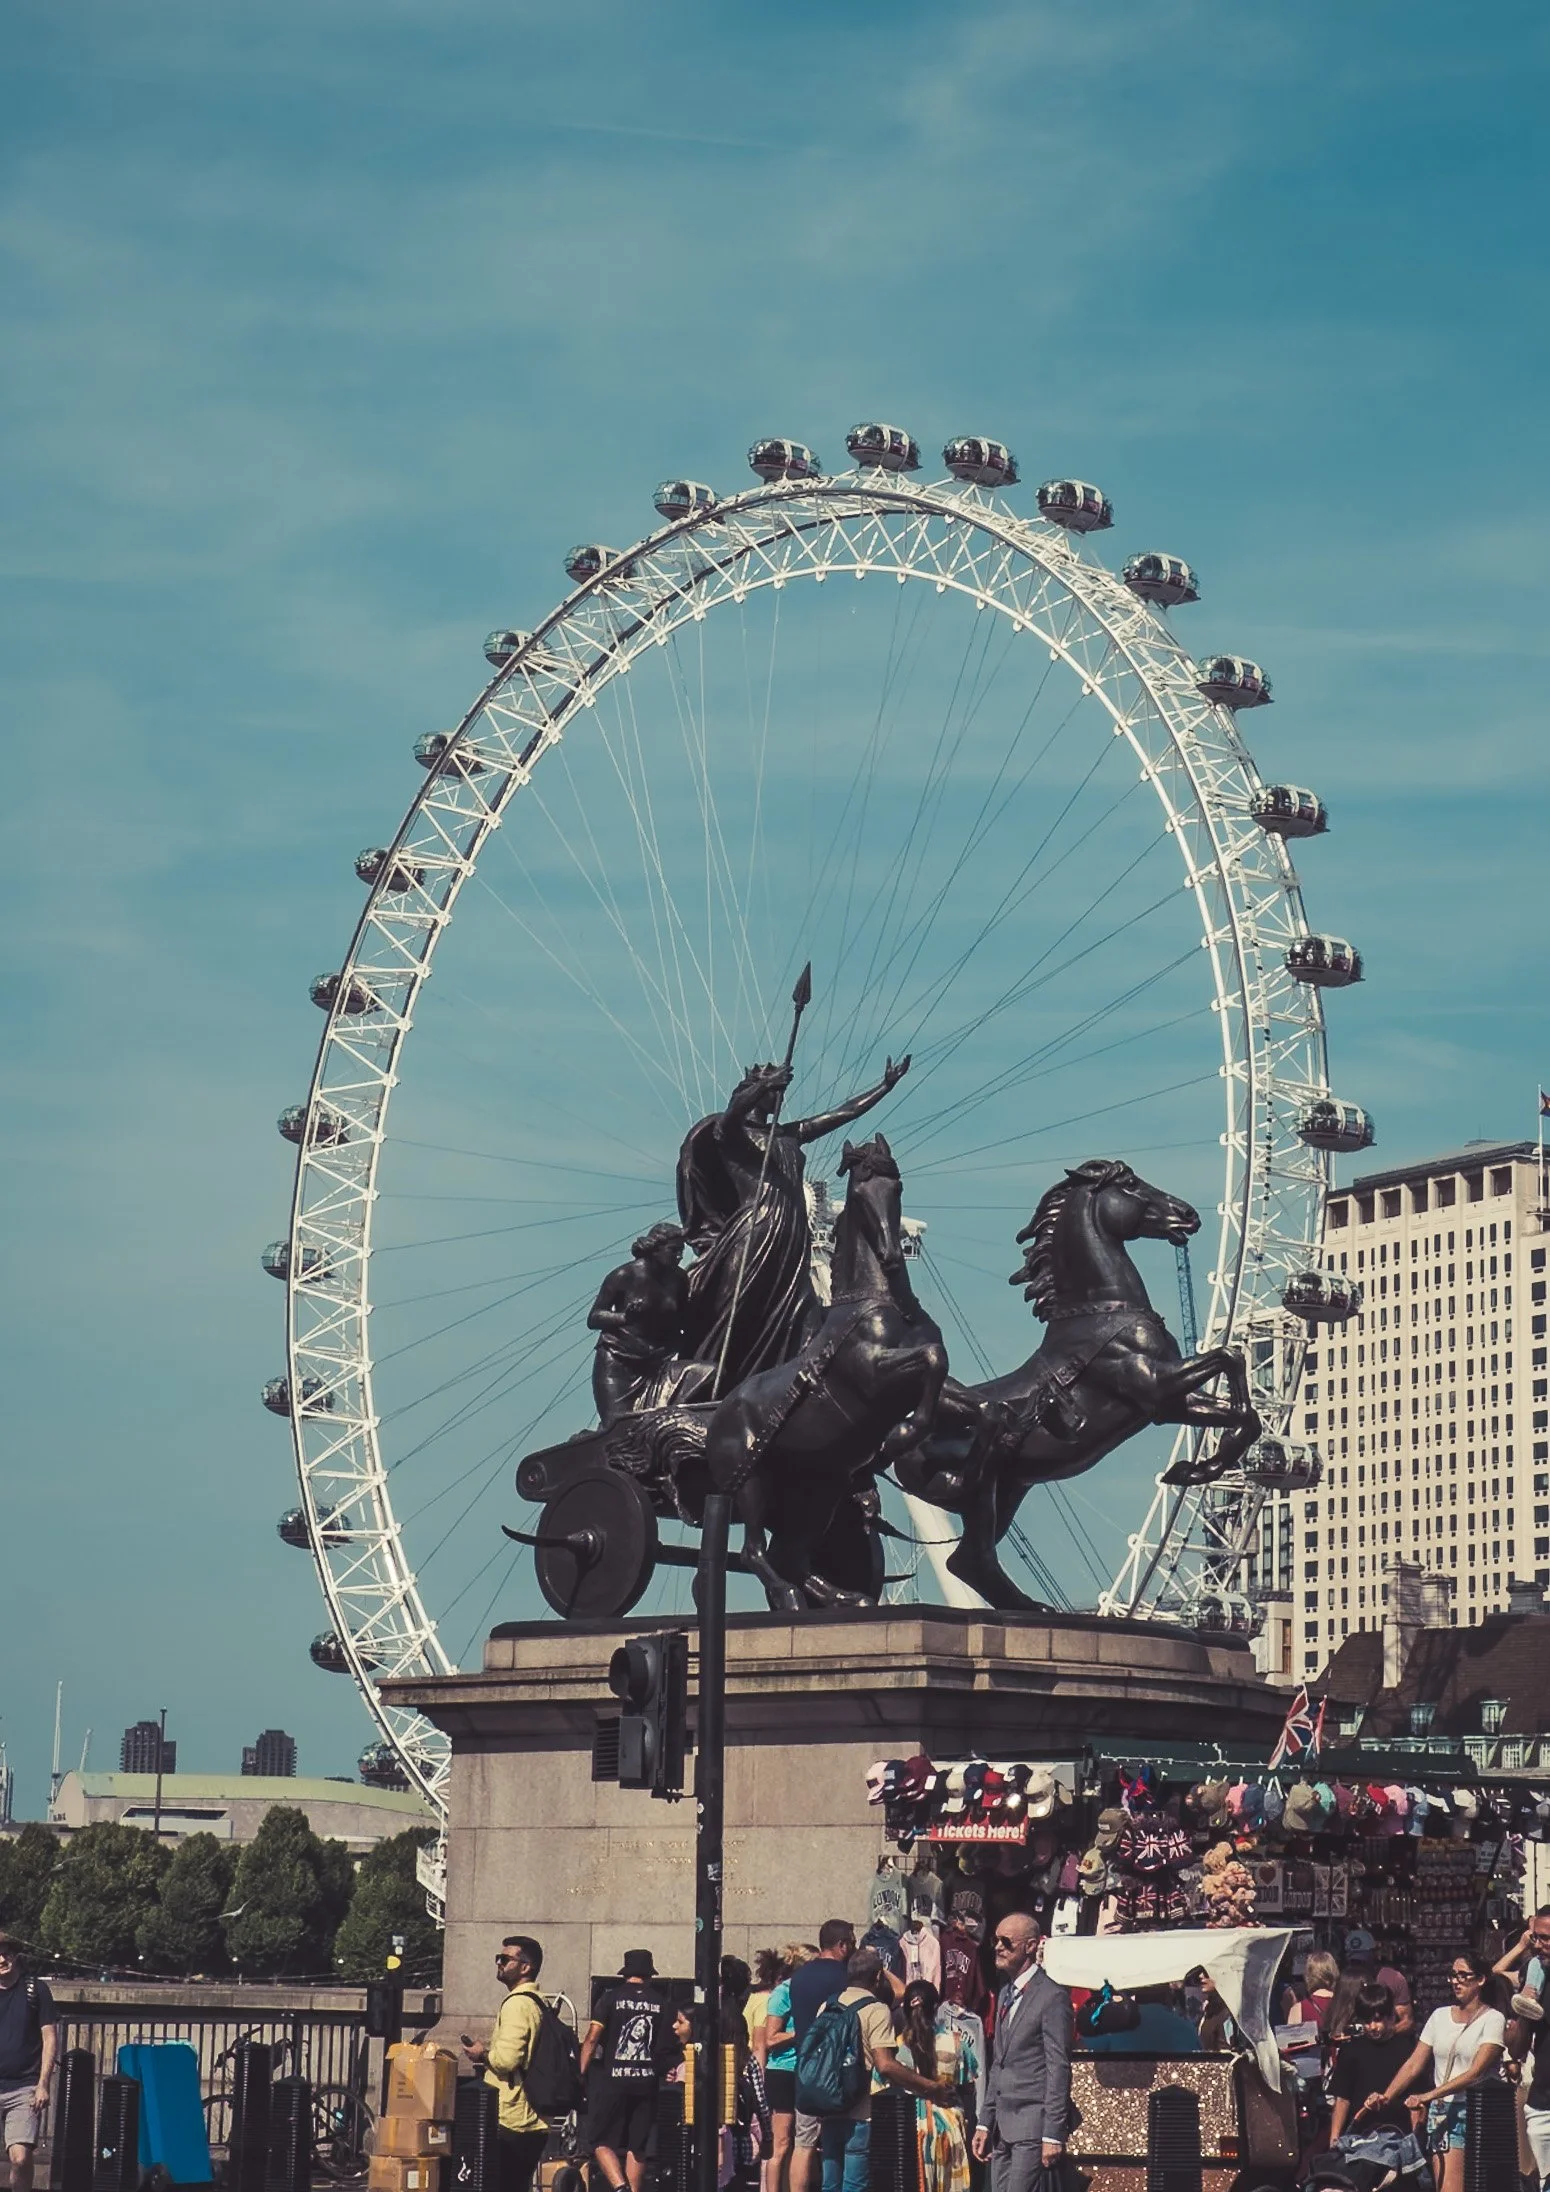
London Eye along the Queens Walk
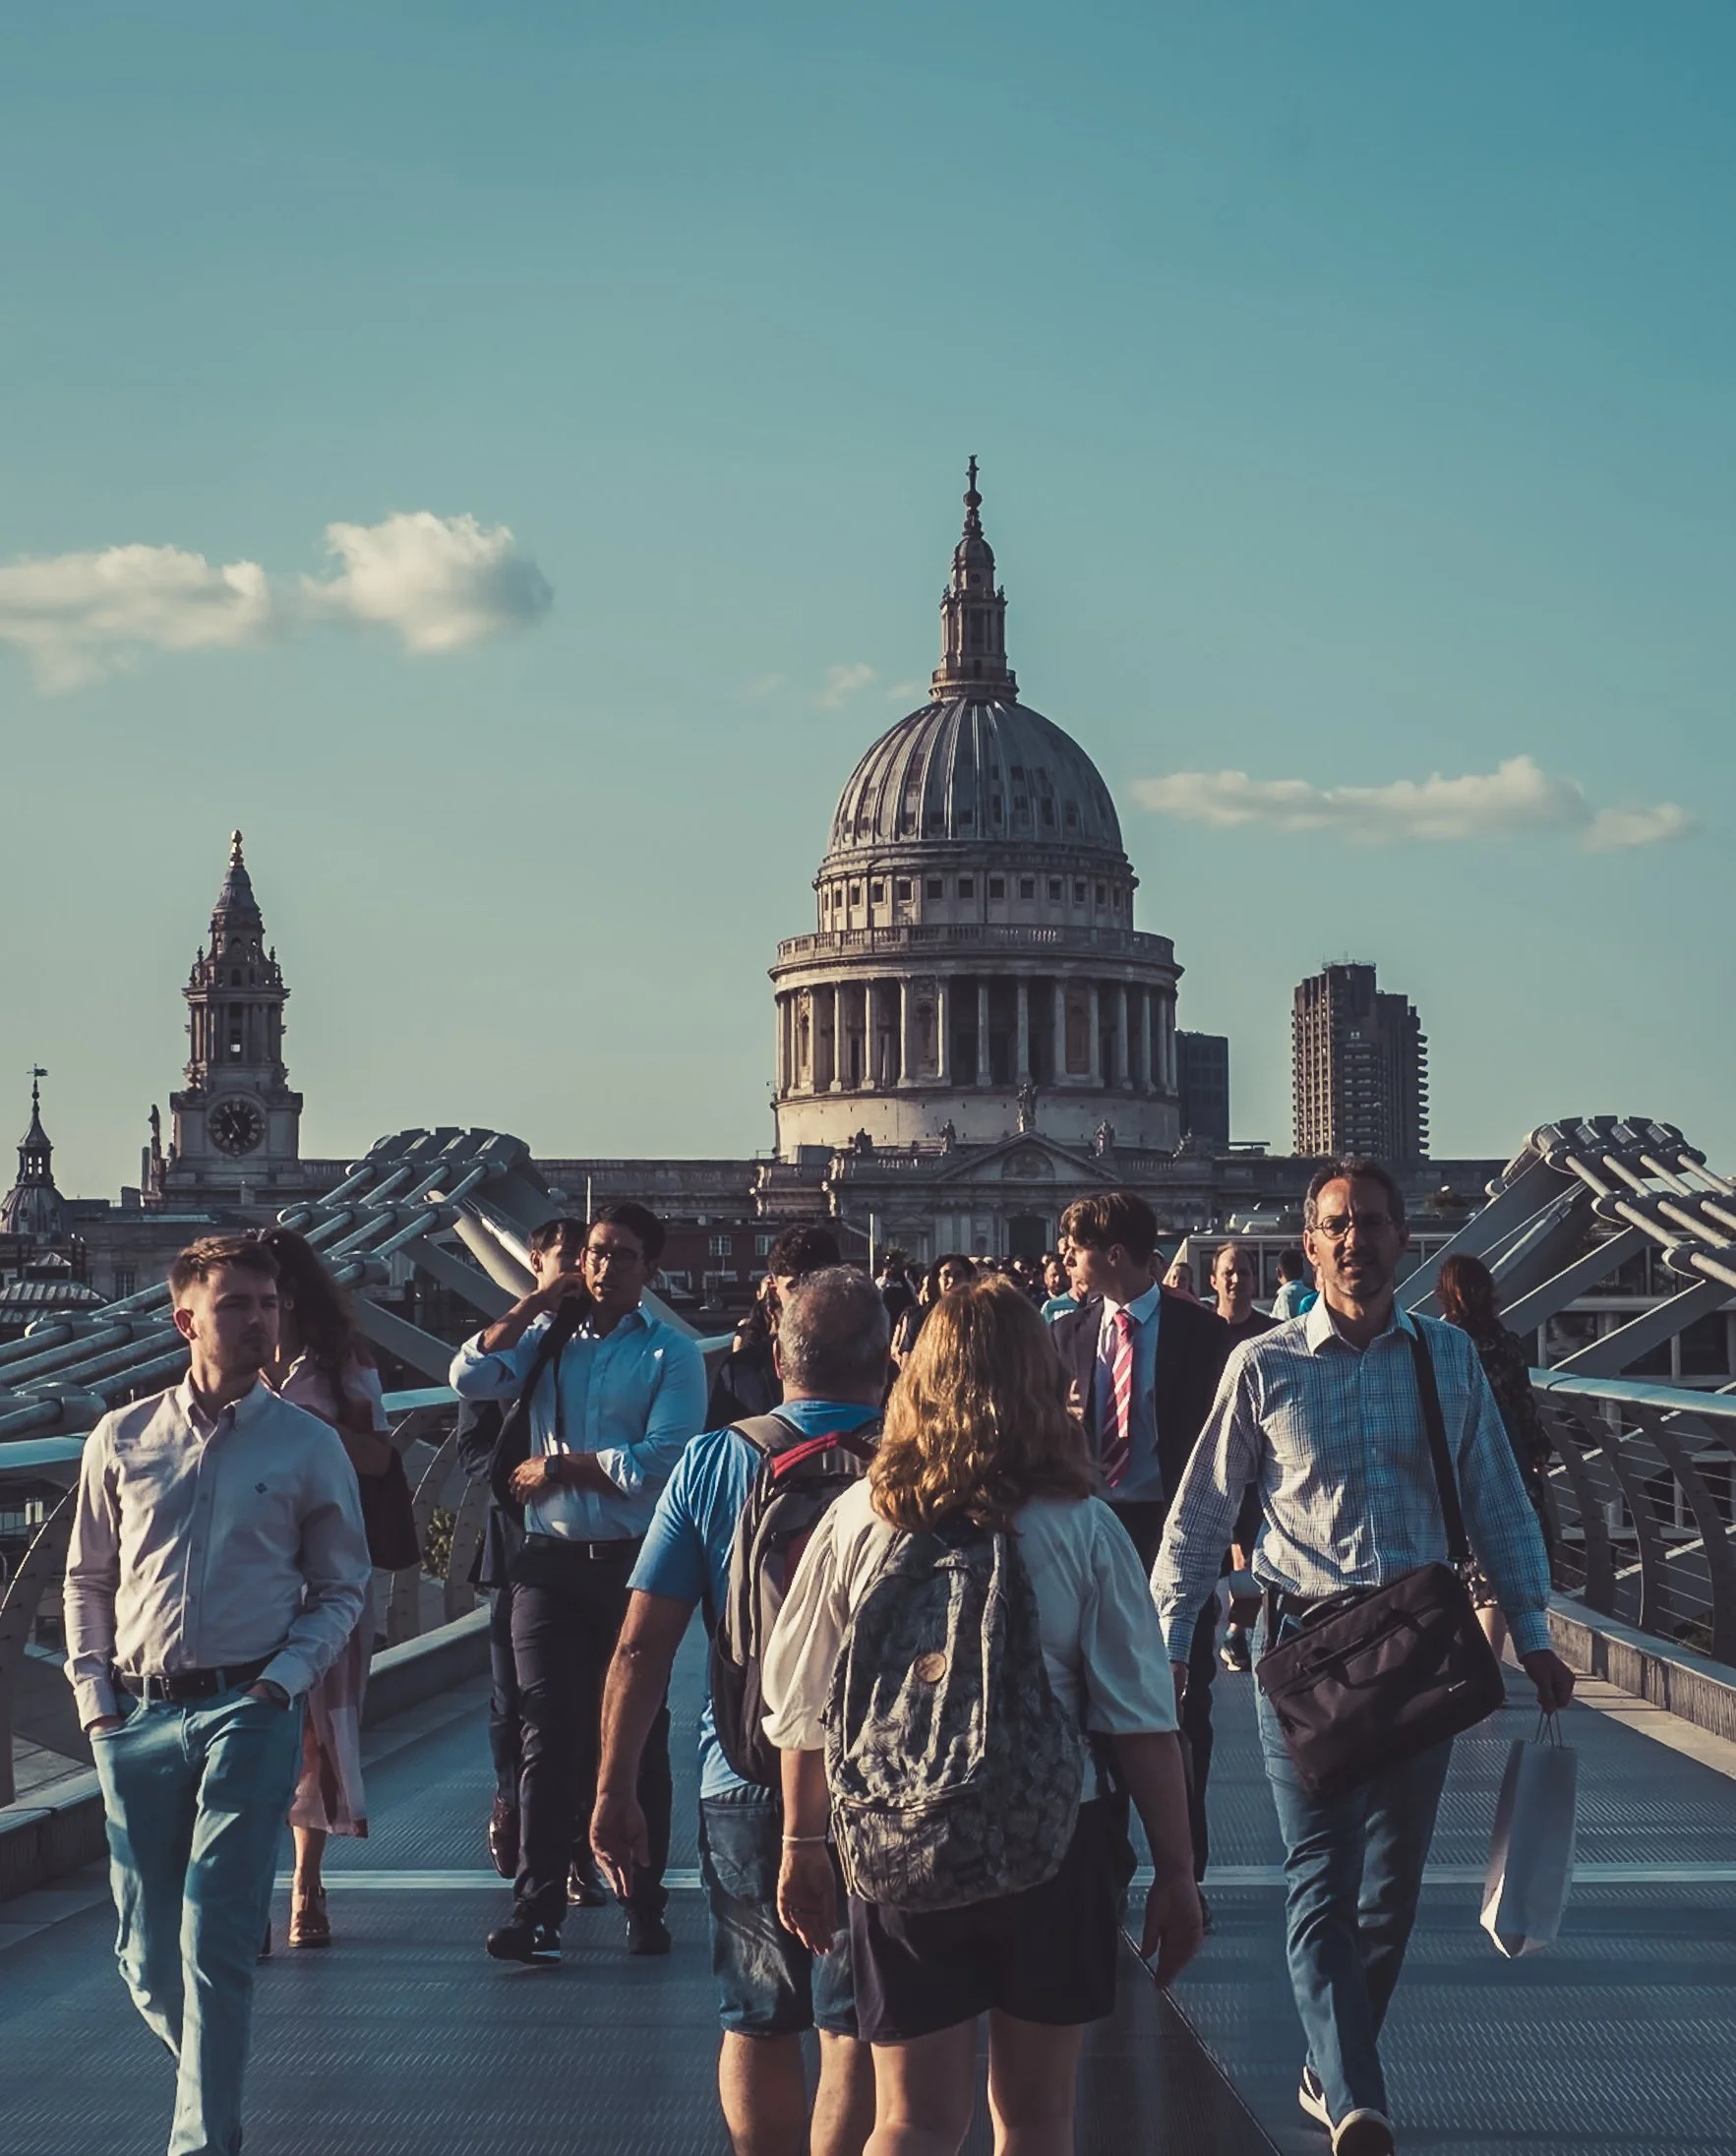
Millennium Bridge along the Queens Walk
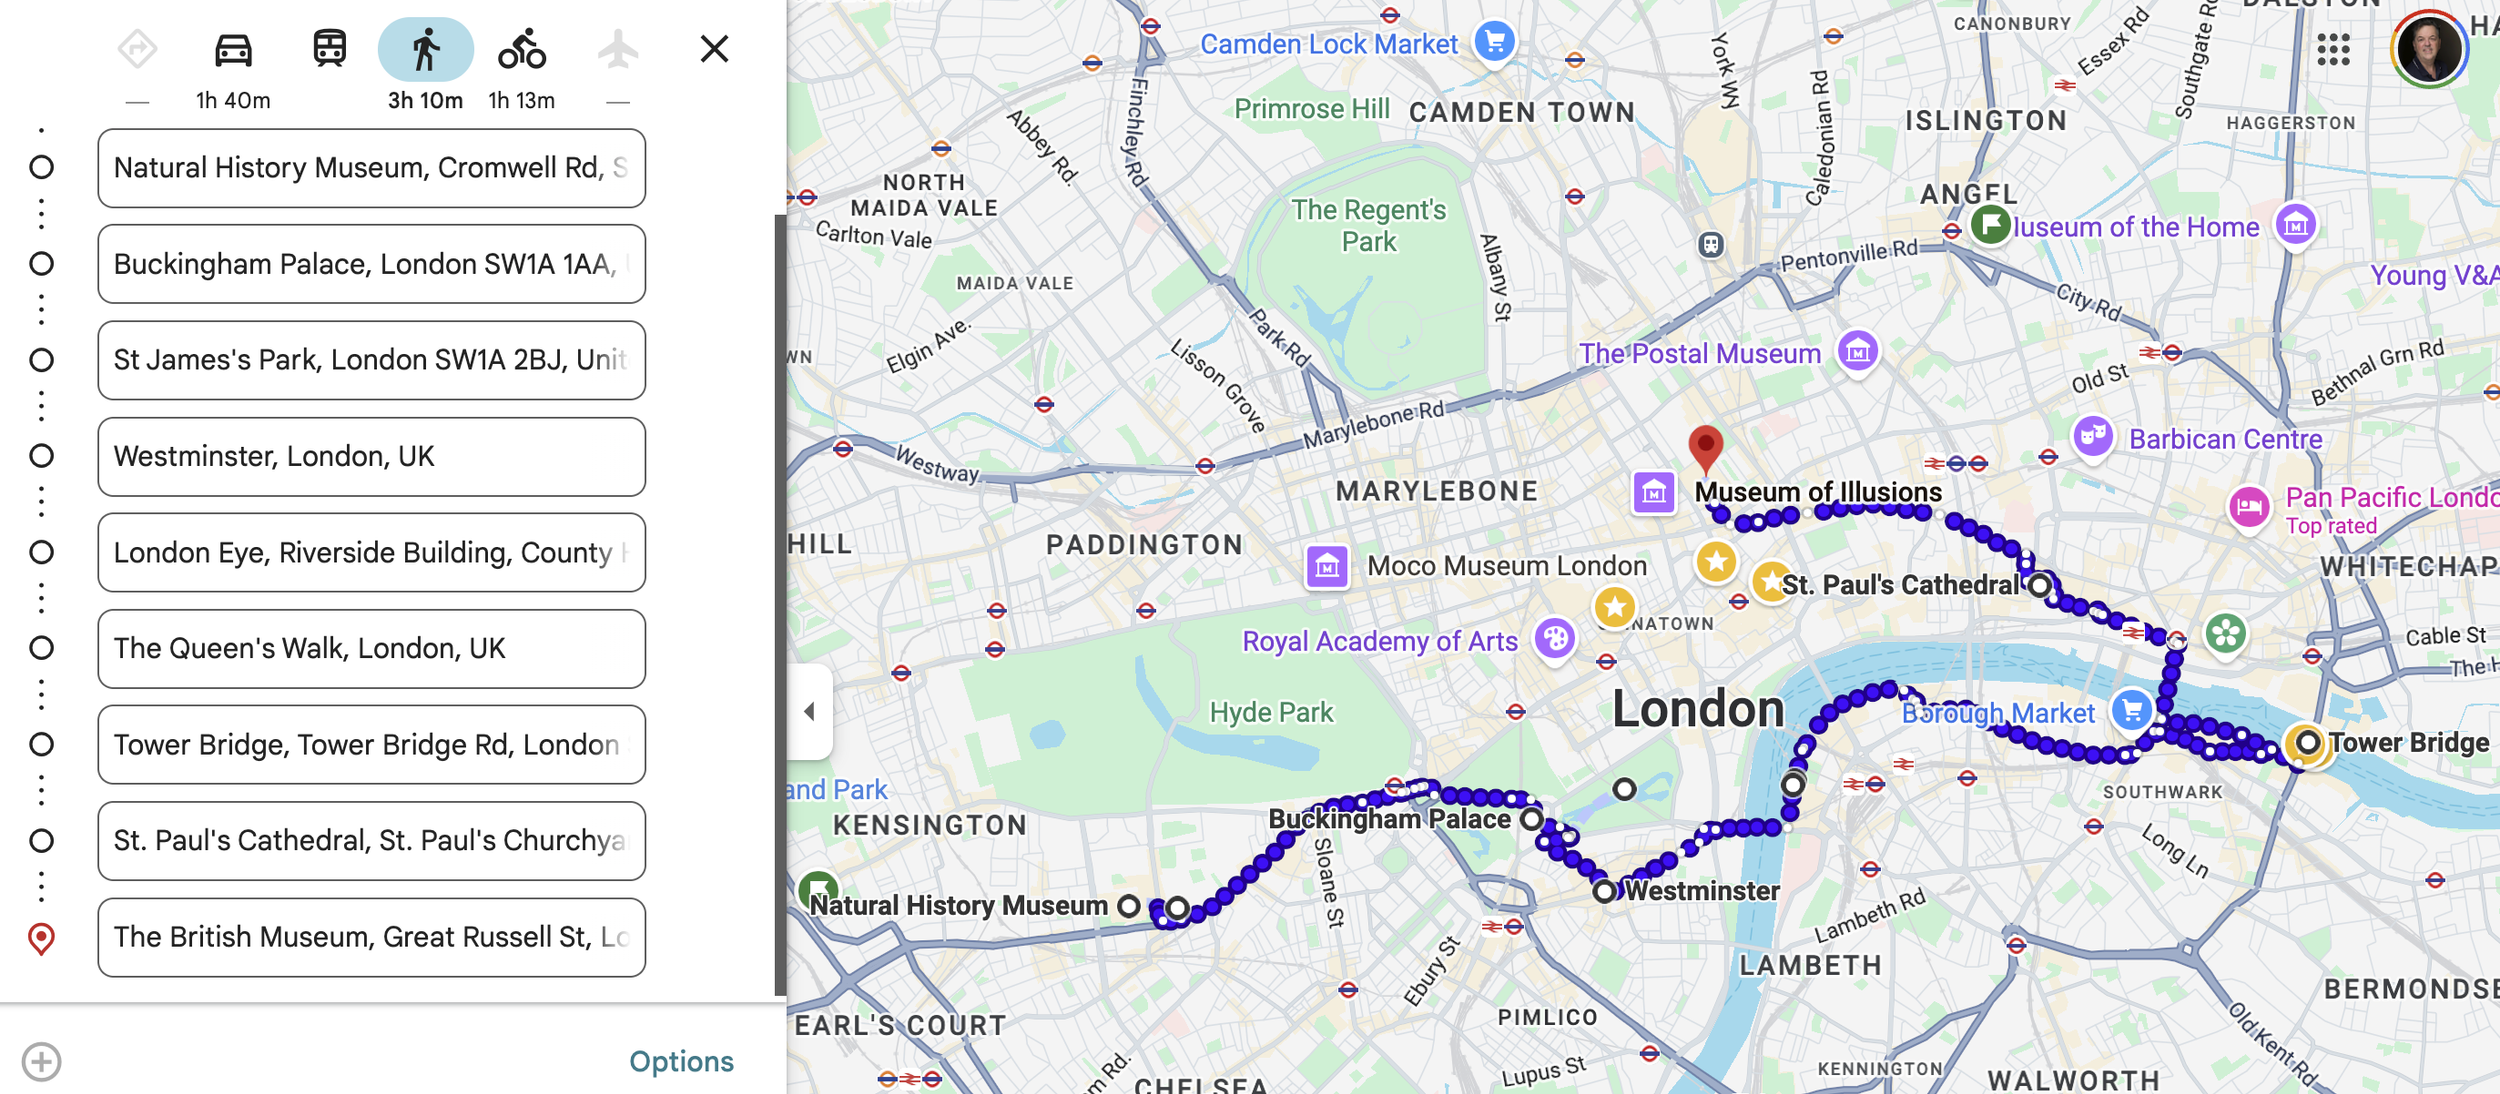
3h 10m Walking Route
How to Play With Fire (Safely)
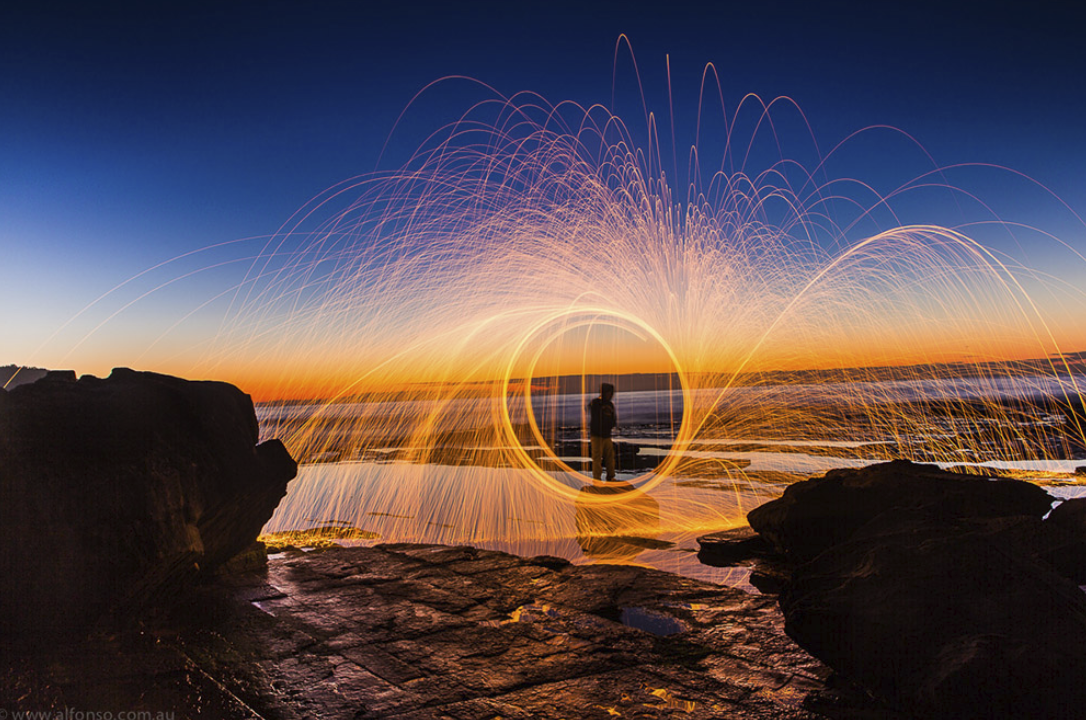
Often wondered how these rings of fire are done? They look spectacular but are they safe to make? Below are some tips on how to avoid accidental fires. Combined with a beautiful landscape at dusk or dawn you can capture similar images. All you need to do is look for the perfect location.
What You Need
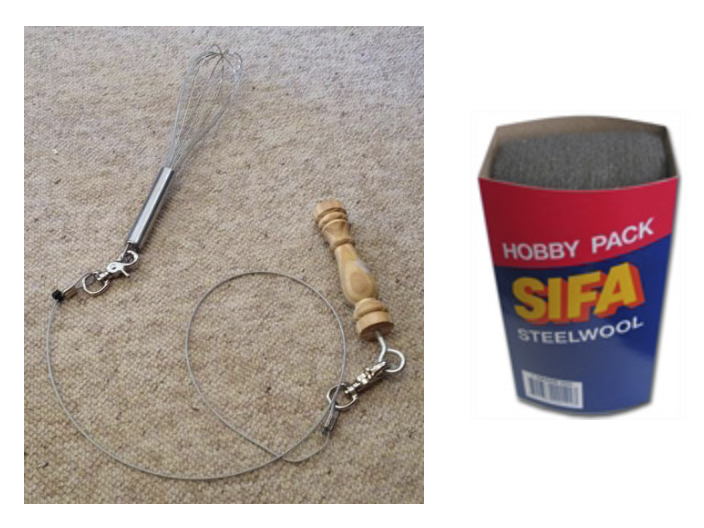
You won’t require a lot of expensive gear to photograph this spectacular light show. Everything you require is pretty much in or around your home. You will need a metal whisk, steel wool (zero grade), a dog leash or similar (preferably about one meter long) and a 9-volt battery or gas lighter.
Camera Gear
Grab your DSLR camera and preferably a fast wide angle lens (somewhere between 16 and 24mm works well). To keep your shots steady, use a sturdy tripod and a remote shutter release. Since you might be photographing at night or dawn you'll need a torch. A head lamp is ideal as it keeps your hands free to operate the camera.
Location, Location, Location
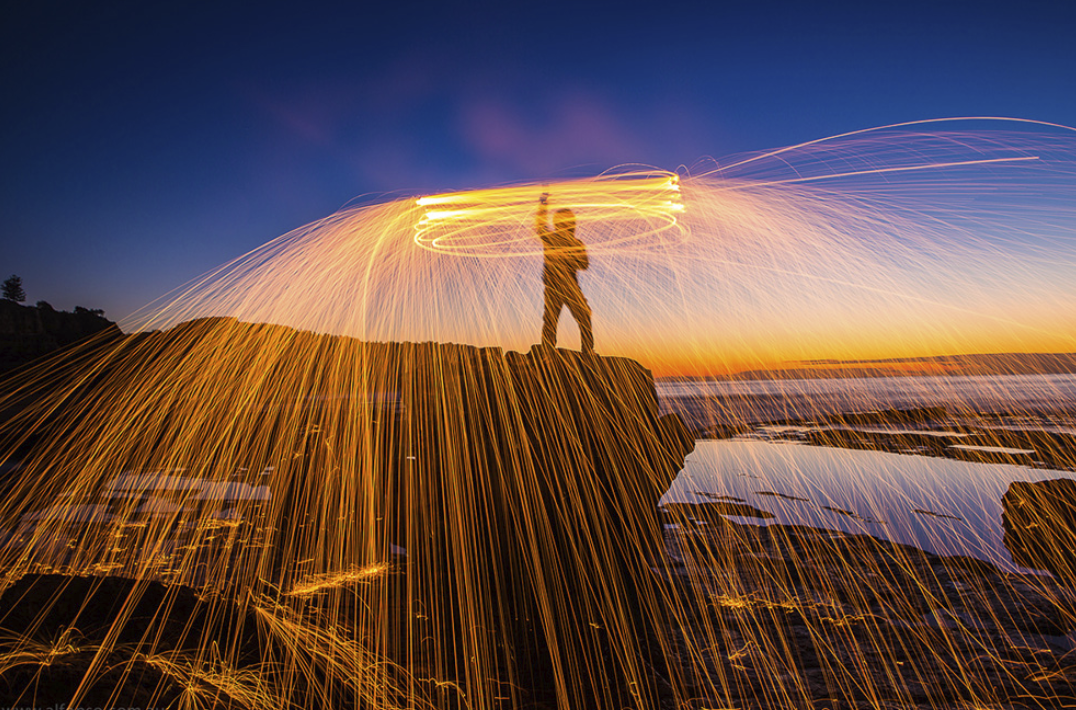
A beach is a good location for this kind of shoot as it's normally quite easy to find a place on the sand or rocks that's well away from anything flammable.
Safety
Before you do anything, talk to your local council and fire brigade and let them know what you are doing, when and where. They may be able to offer guidance on the best time and place to shoot and additional safety precautions. Safety is paramount. Wear protective clothing and find a location that's well away from other people, animals and potential fire hazards (eg. shrubs, trees, grass, leaves, etc...). Do not shoot in windy conditions and do not shoot if there are local fire warnings in place.
Camera Settings
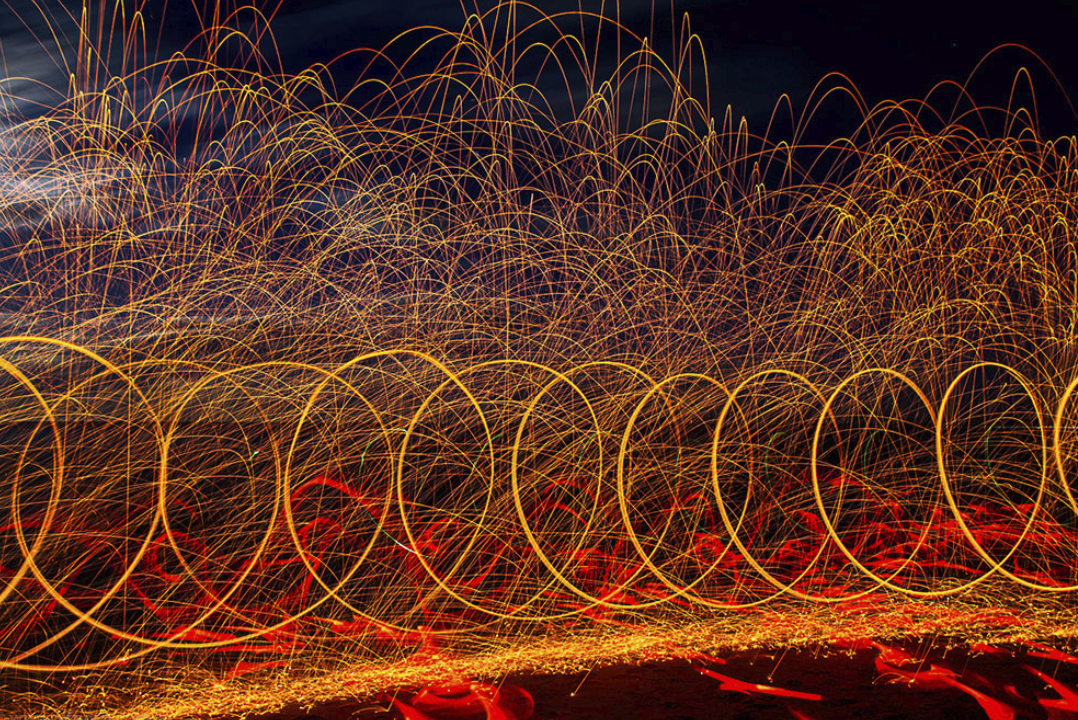
Set your camera to manual mode and take a few shots to establish how bright any ambient light in the sky might be. Typically I set my camera to an ISO of 100 or 200, with an aperture of f/8 to f/11, and a shutter speed between 20 and 30 seconds. In the menu settings on your camera there should be an option to turn noise reduction (NR) off. If NR is on it chews up lots of battery and takes double the time to review your photos. You're much better off shooting in raw mode and applying noise reduction in post-production. Shooting raw will also help you capture more detail and give you more flexibility to adjust variables such as white balance, exposure and contrast later on.
Start Shooting
Place the steel wool inside the metal whisk and gently spread it out. (By pulling the steel wool apart you maximize airflow and ensure a longer lasting effect.) Attach the whisk securely onto the long dog leash and hand it over to your trusty assistant. Remember, the person spinning the whisk must be wearing protective clothing. Dark colors are ideal as they will conceal the person spinning the whisk. Make sure that your subject is standing in a clear space and when you're ready have them light the steel wool, with the lighter or the 9-volt battery (rub the battery's contact points on the steel wool). Experiment with different spinning the whisk speeds, patterns and camera settings to get the effect you're looking for. In no time you will be capturing amazing light shows of your own.
Do you have any other suggestions? Do you have any similar photos you wish to share? Do you have any stories to tell about your experience doing a ring of fire?
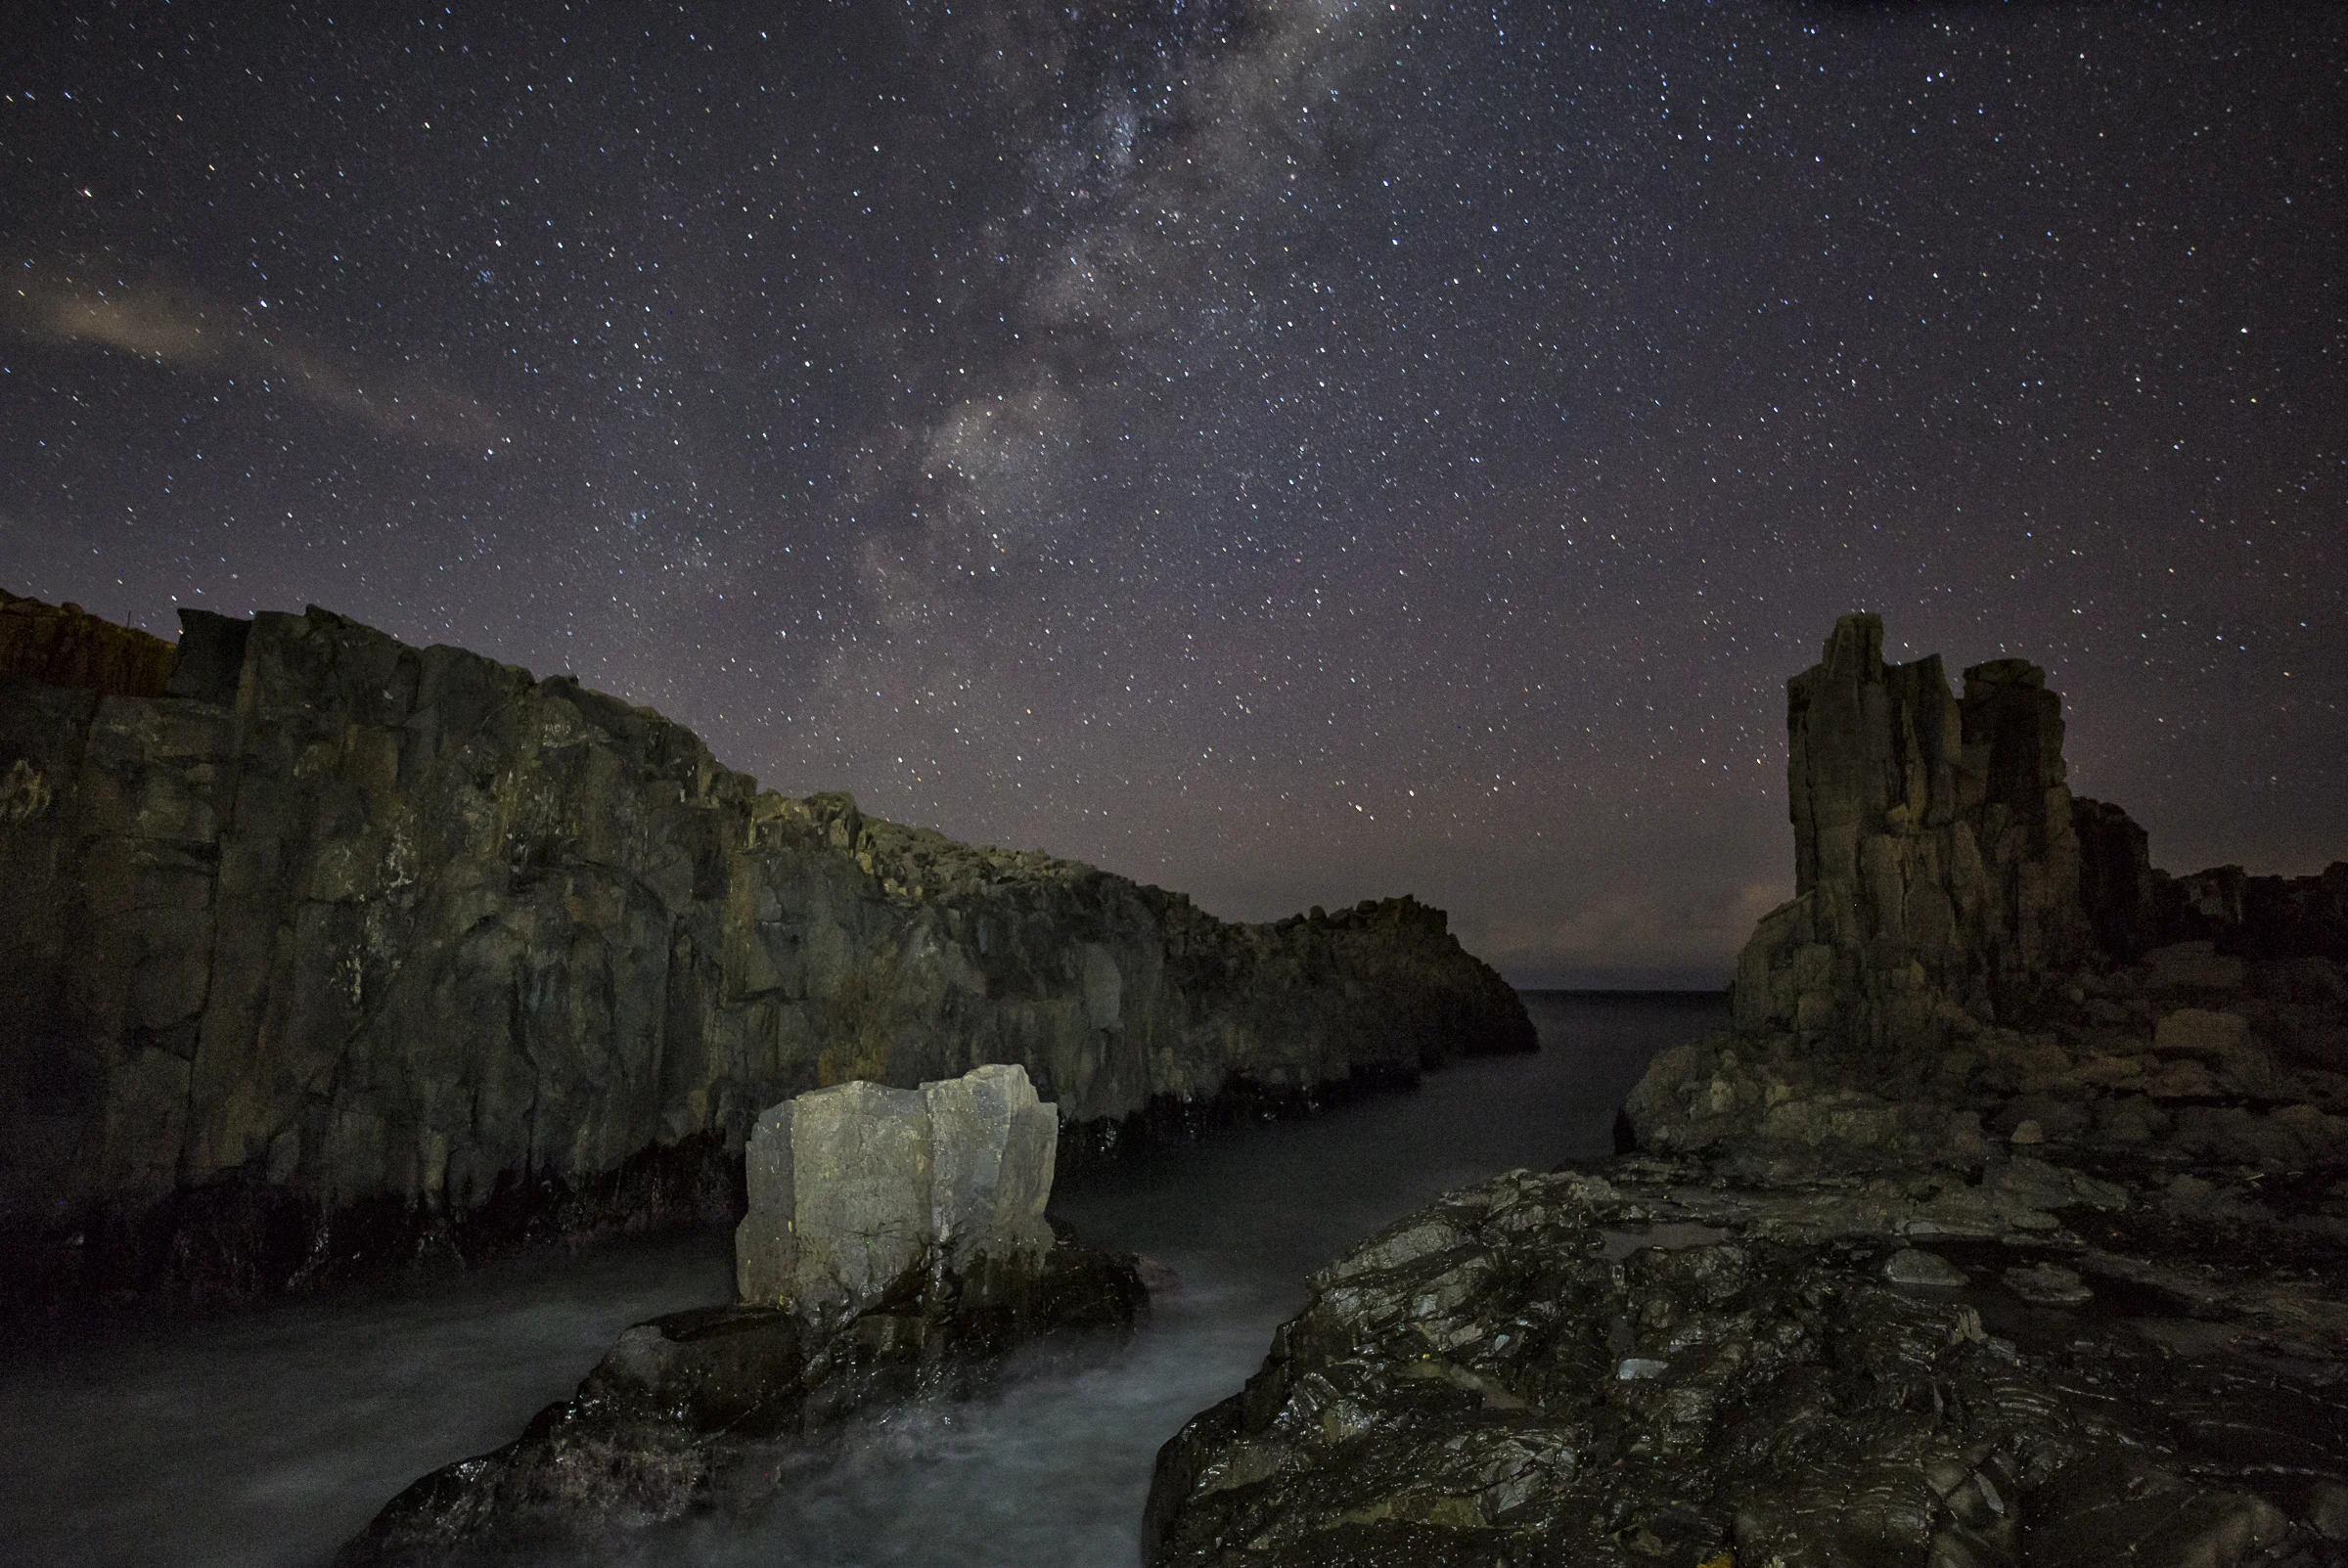
How To Shoot Bombo Quarry & Cathedral Rocks
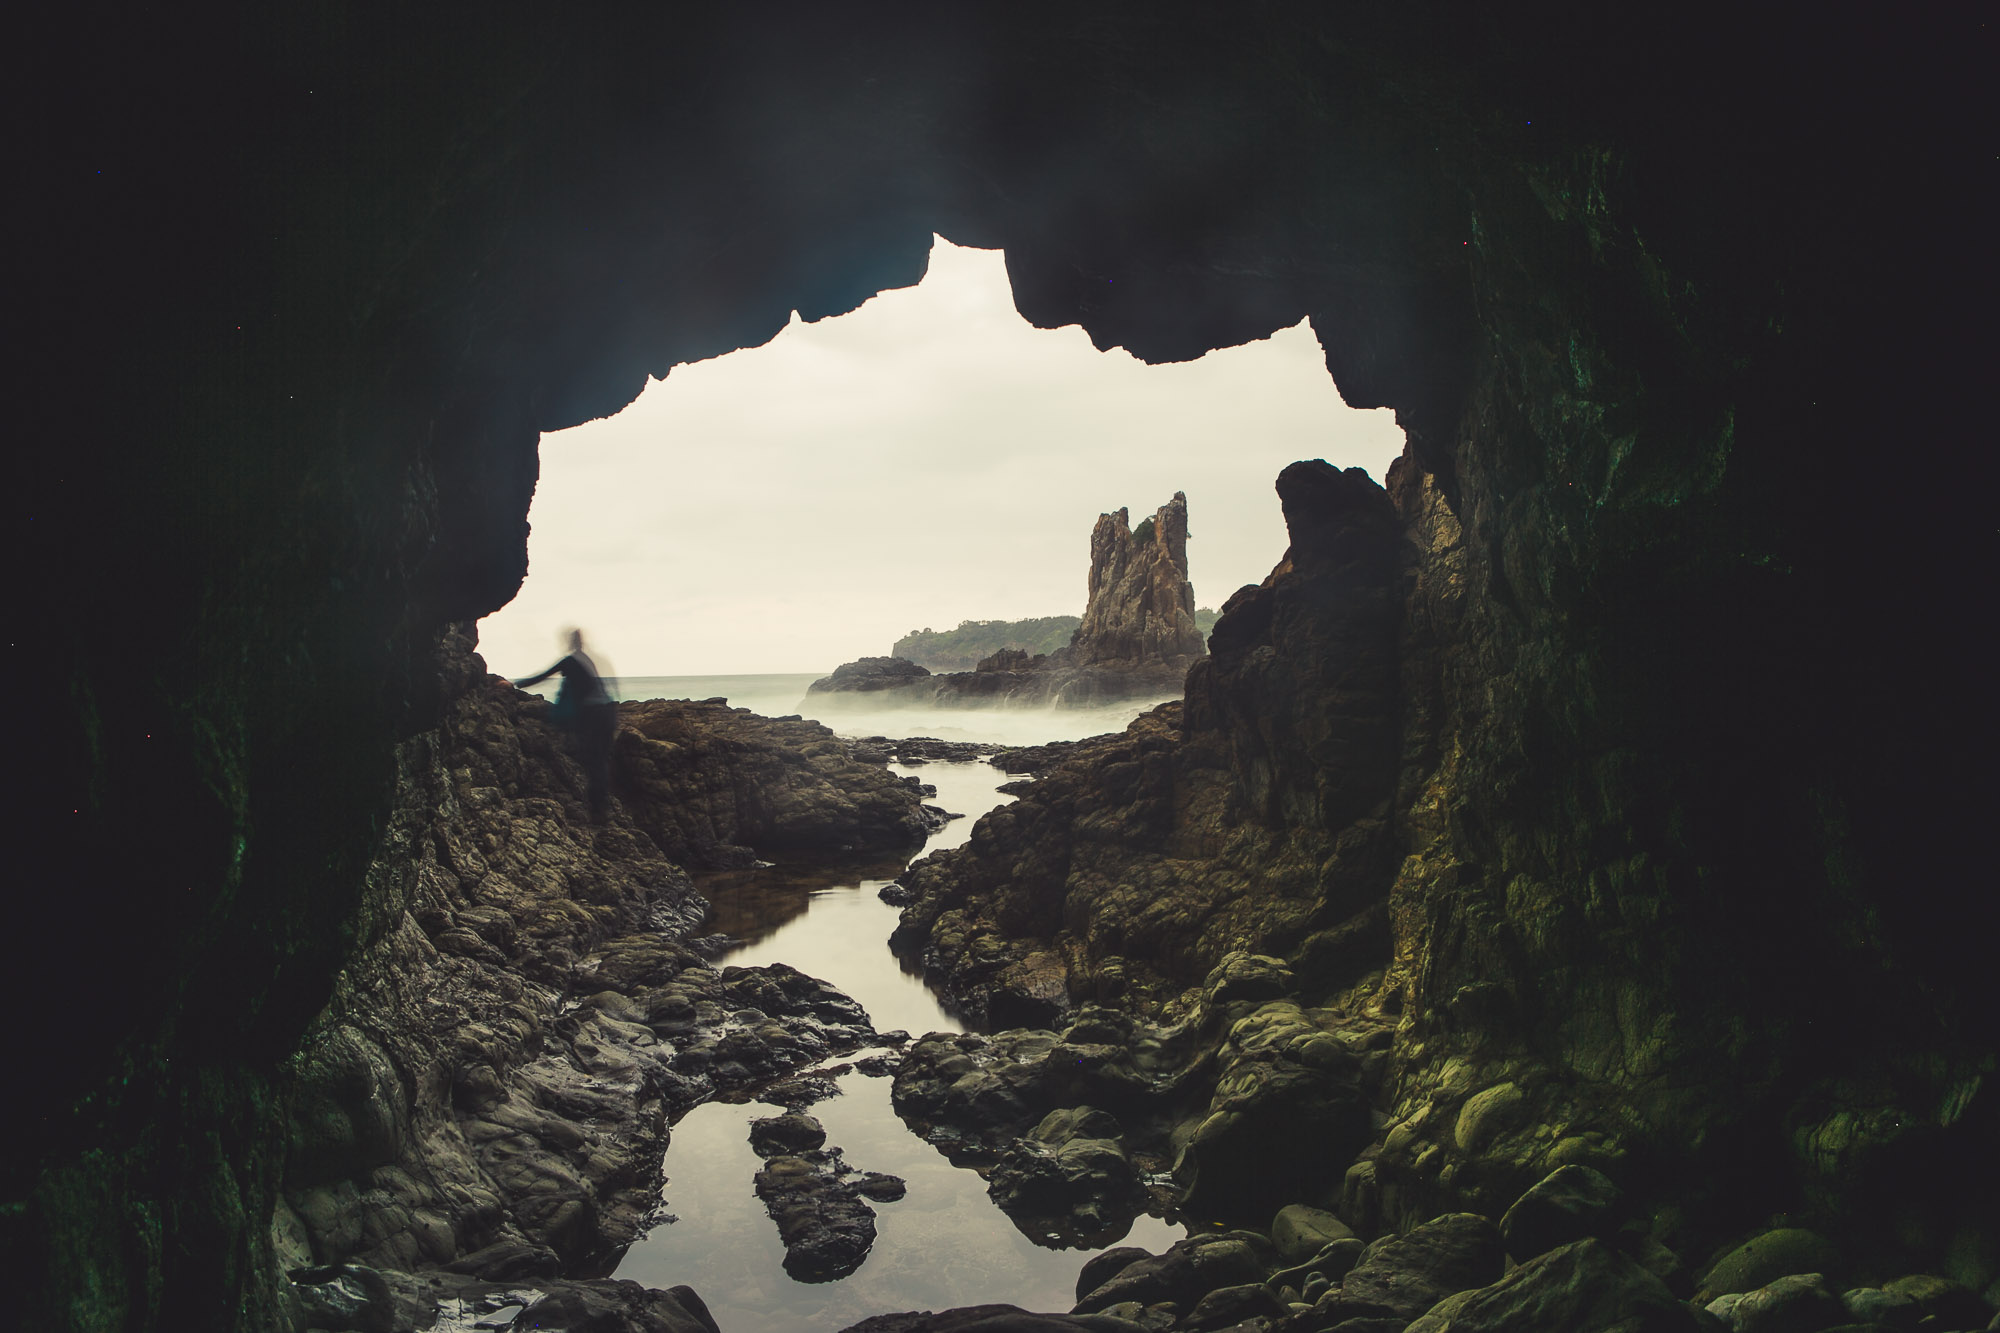
Bombo is a two-hour drive south of Sydney. The best way to access Bombo Quarry is from Darian Avenue. From your car it's a 15-minute walk to various part of the quarry with numerous vantage points depending on the time of day and the tide.
How To Shoot Bombo Quarry & Cathedral Rocks
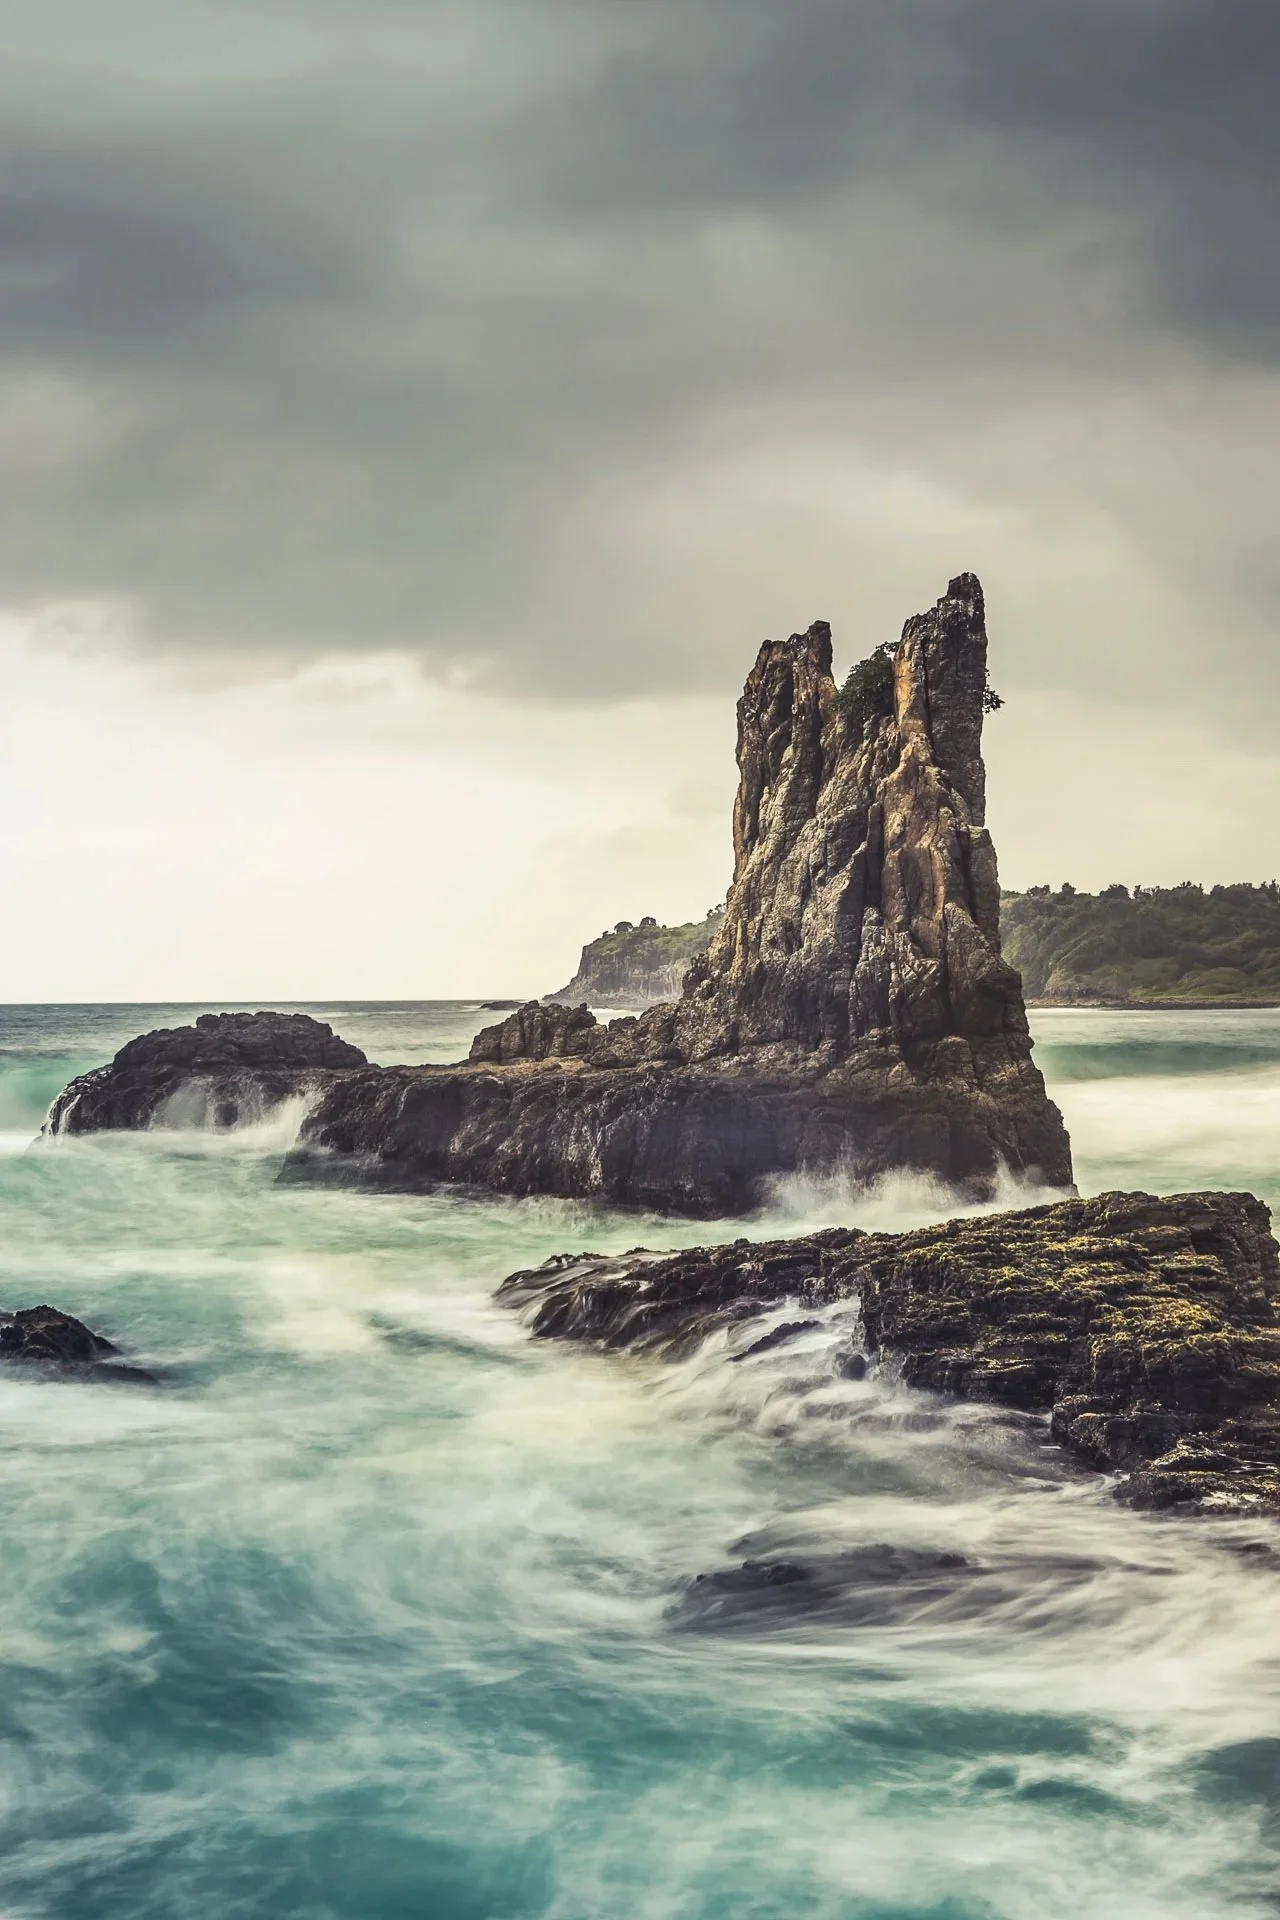
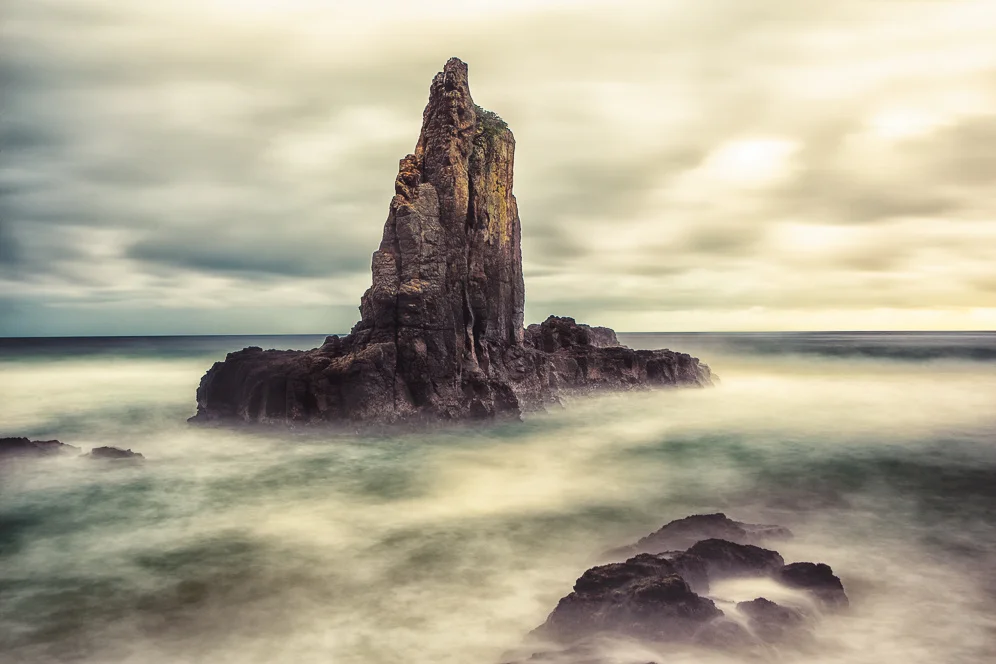
Two hours south of Sydney on the NSW South coast are two of the most striking seascape locations in the country. Alfonso Calero shares six handy tips for anyone hoping to capture remarkable images of Bombo Quarry and Cathedral Rocks.

01 GETTING THERE
Bombo is a two-hour drive south of Sydney. The best way to access Bombo Quarry is from Darian Avenue. From your car it's a 15-minute walk to various part of the quarry with numerous vantage points depending on the time of day and the tide.
If you want to shoot Cathedral Rocks park at Jones Beach car park and walk about 15 minutes along the beach heading south. A moderate level of fitness and flexibility is required to tackle these two locations.
02 TIMING
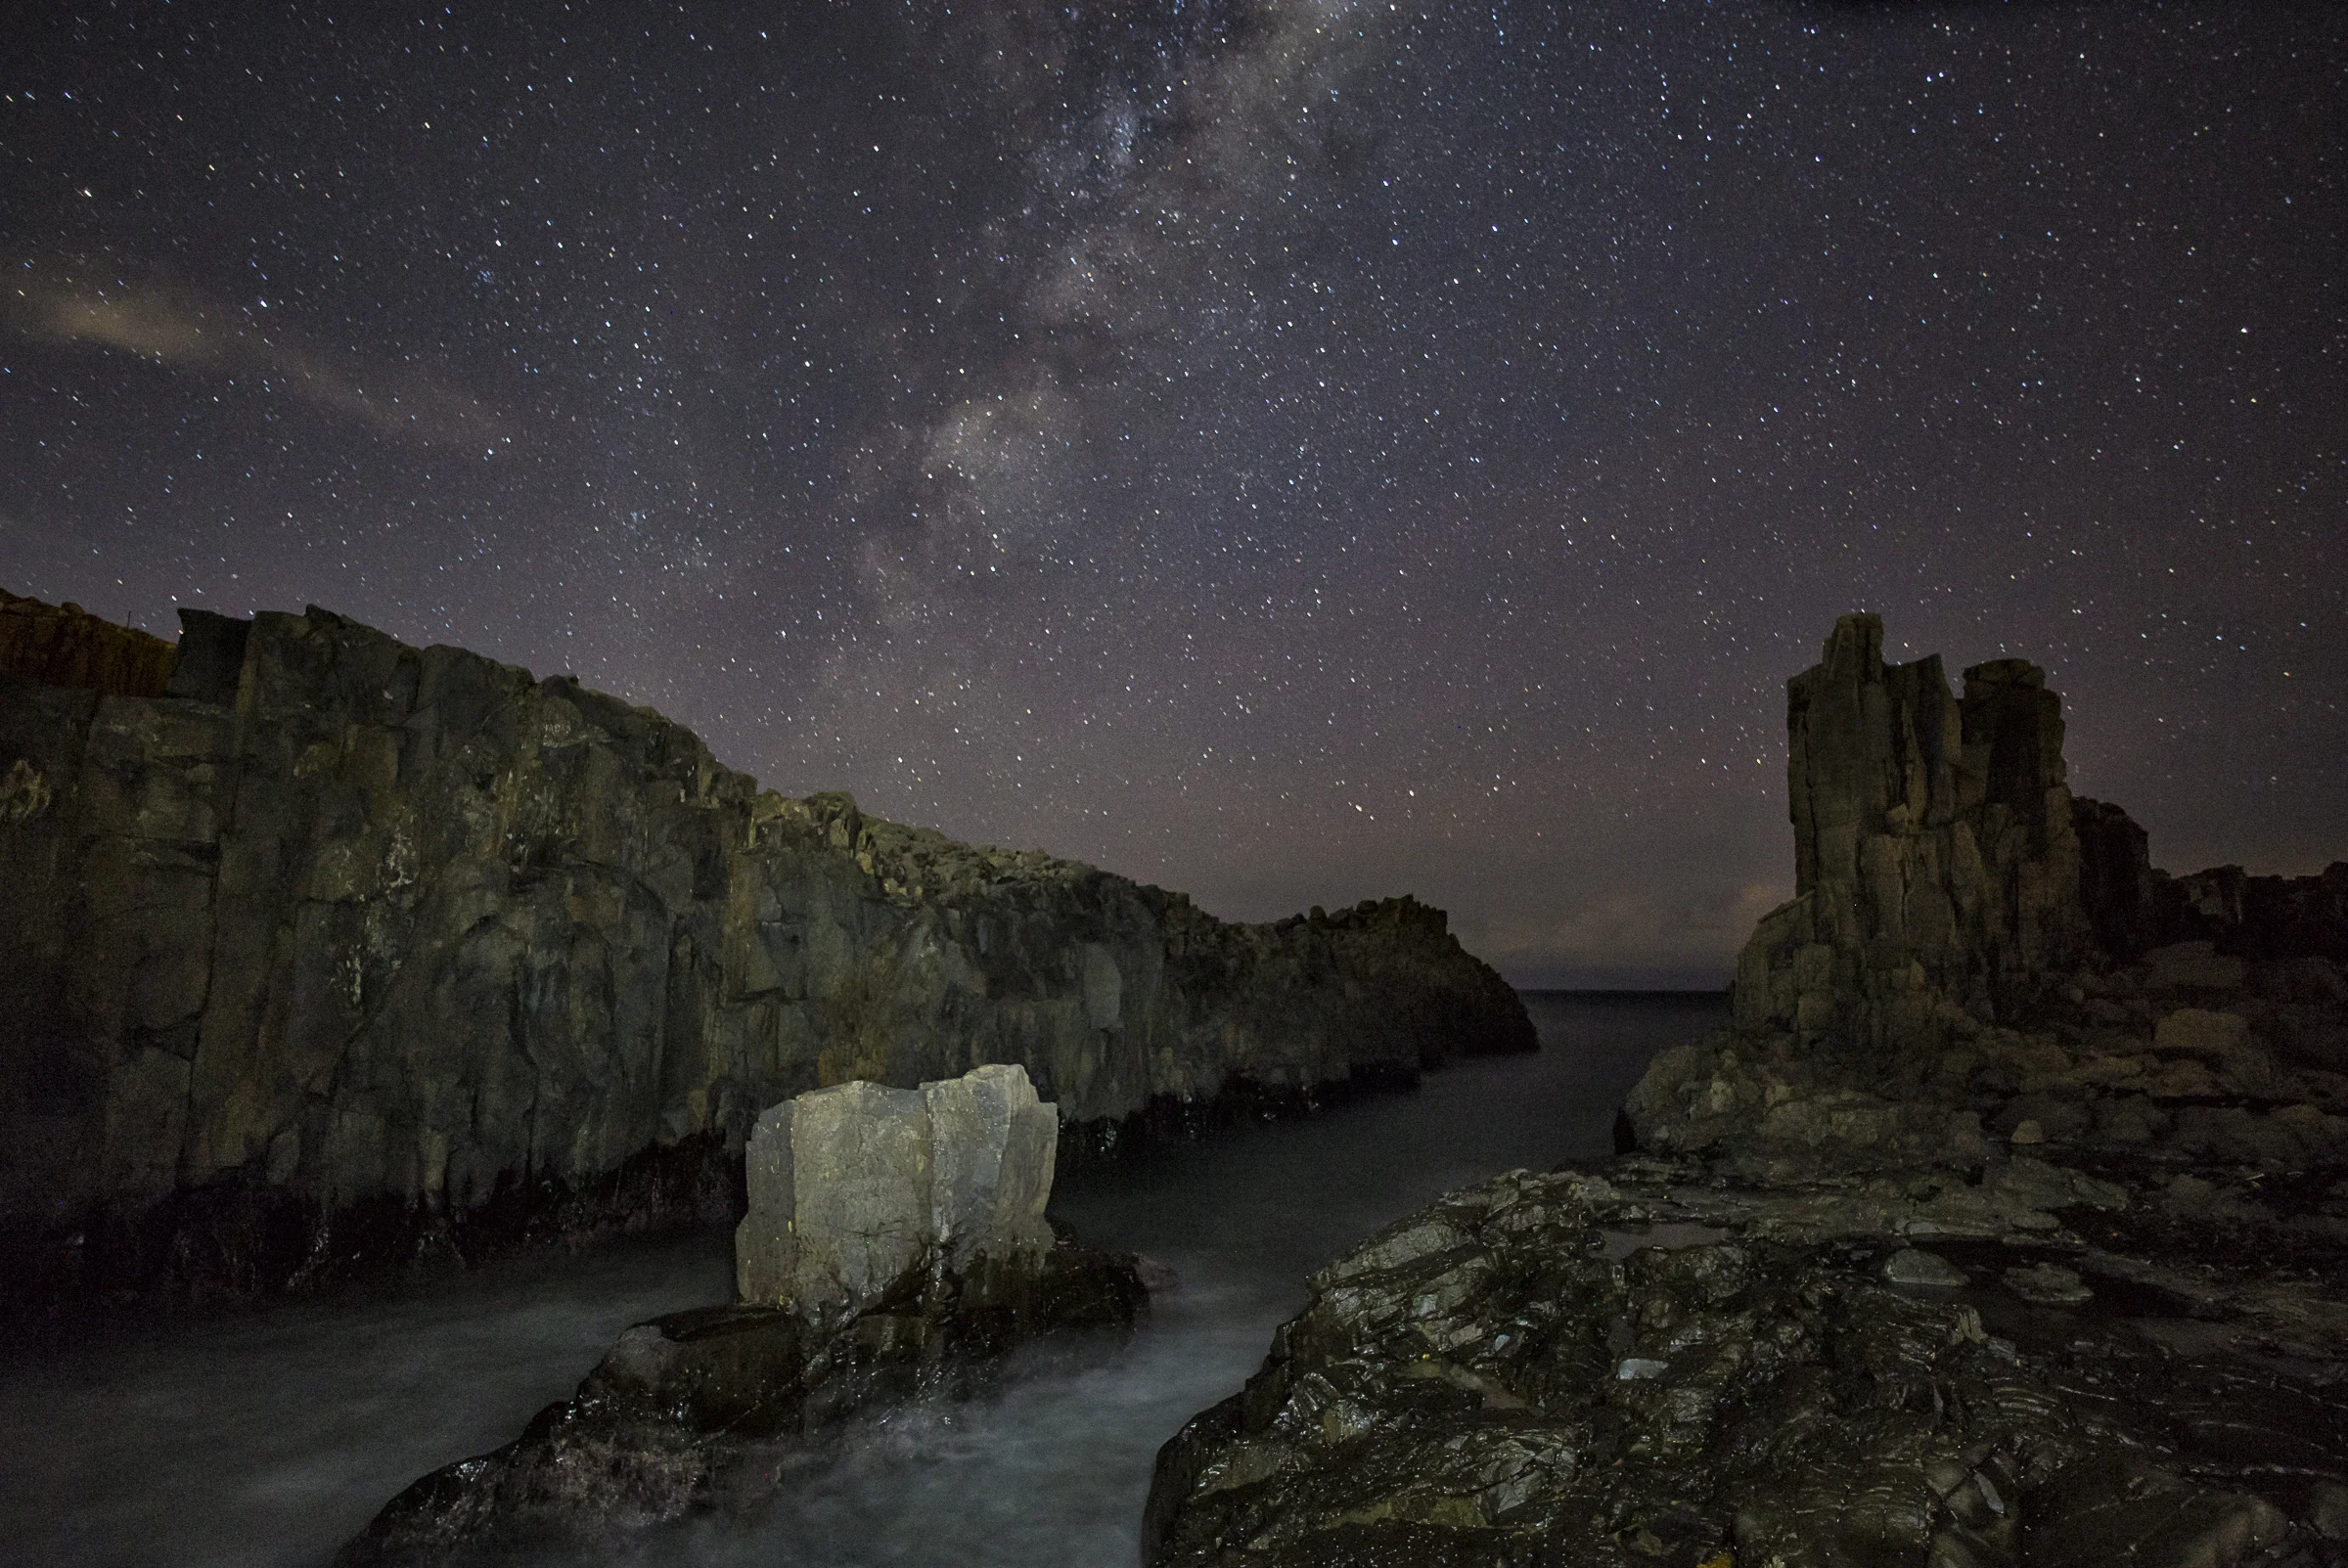
Getting up at dawn isn't easy, but it's worth the bleary eyes. Use an app to check the sunrise time and try to get set up 30 or 40 minutes beforehand. Check the tides too and be extra careful when it comes to setting up your tripod and camera.
Don't put yourself, or your gear, in harm's way. Once the sun is up it will be too difficult to shoot, even with a proper hard grad filter. If you are thinking of shooting at night, Bombo Quarry rather than Cathedral Rocks is safer and easier.
03 USEFUL GEAR
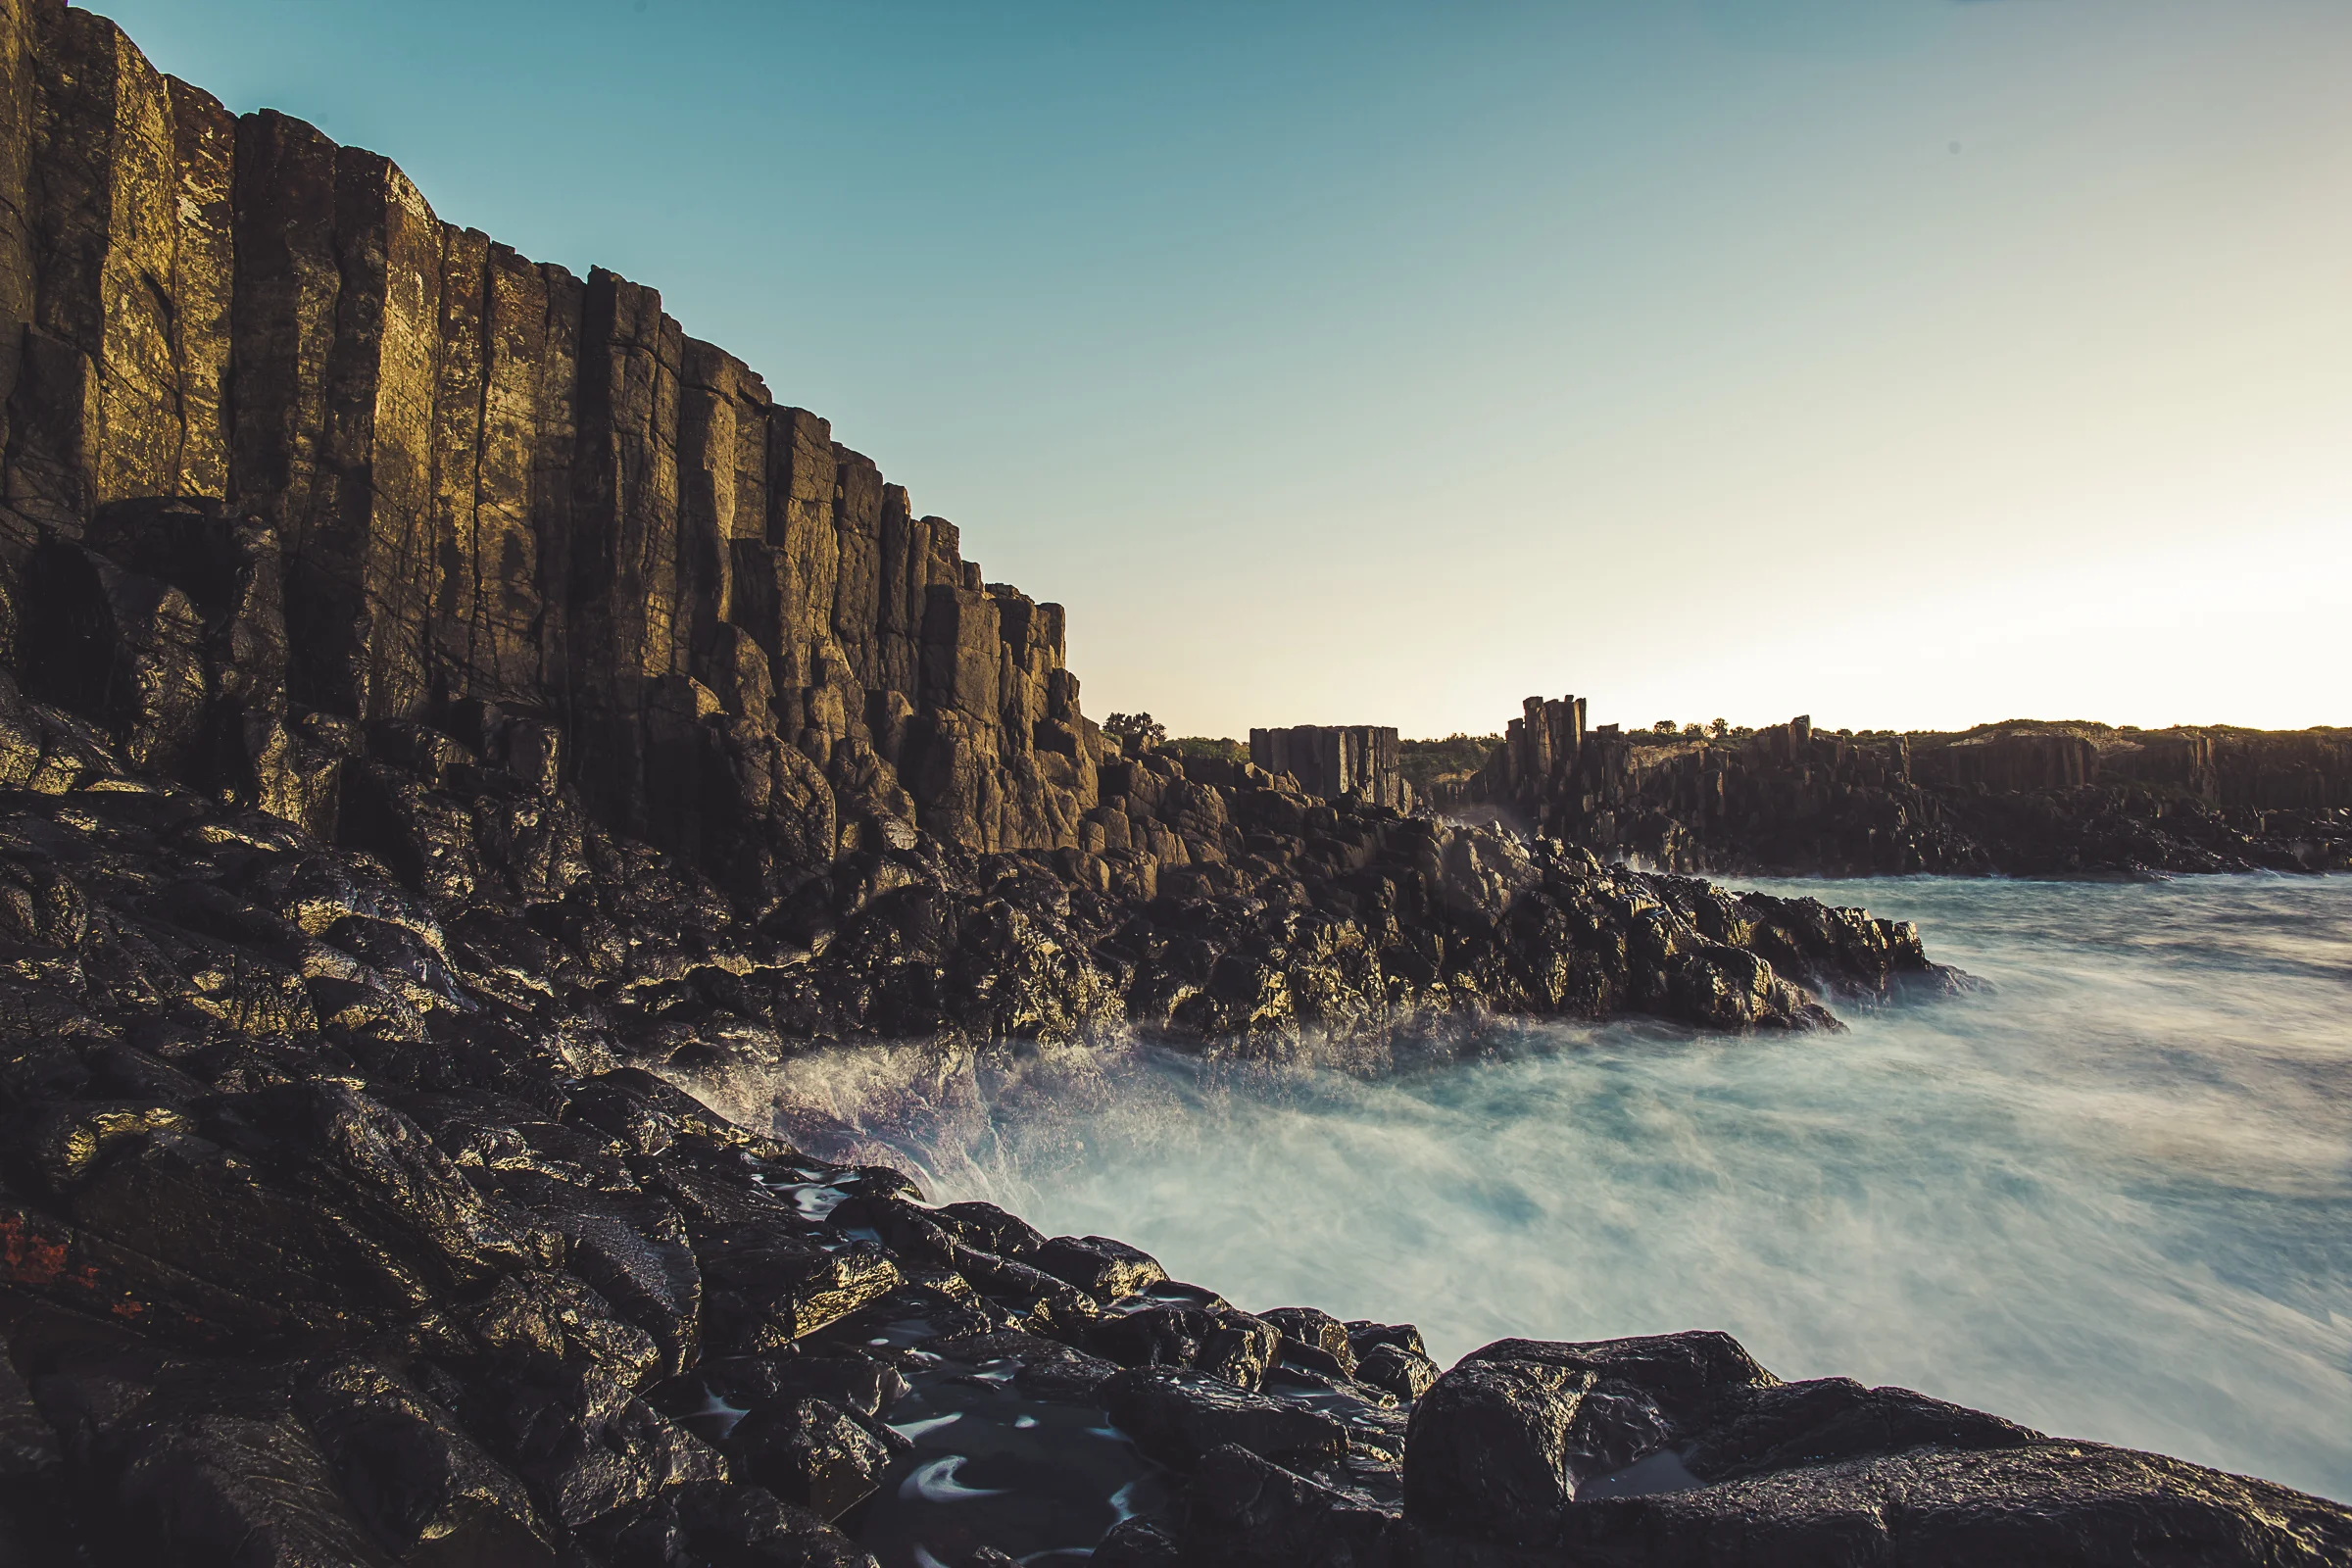
A wide-angle lens somewhere between 16 and 24mm (equivalent) is ideal for seascapes. You'll need a sturdy tripod to keep your camera from moving in the sometimes gusty winds and a plastic cover to keep any rain or water spray out.
A cable or remote release is handy to stop you bumping the camera when you push the camera, but using the self-timer is a cheap alternative. There are all sorts of filters that can help you get better pictures but the best is the neutral density (ND) filter which helps you cut the light and use a slower shutter speed.
Graduated ND filters which are darker at the top and clear on the bottom are great for managing high-contrast sunrise photos.
04 CAMERA SETTINGS
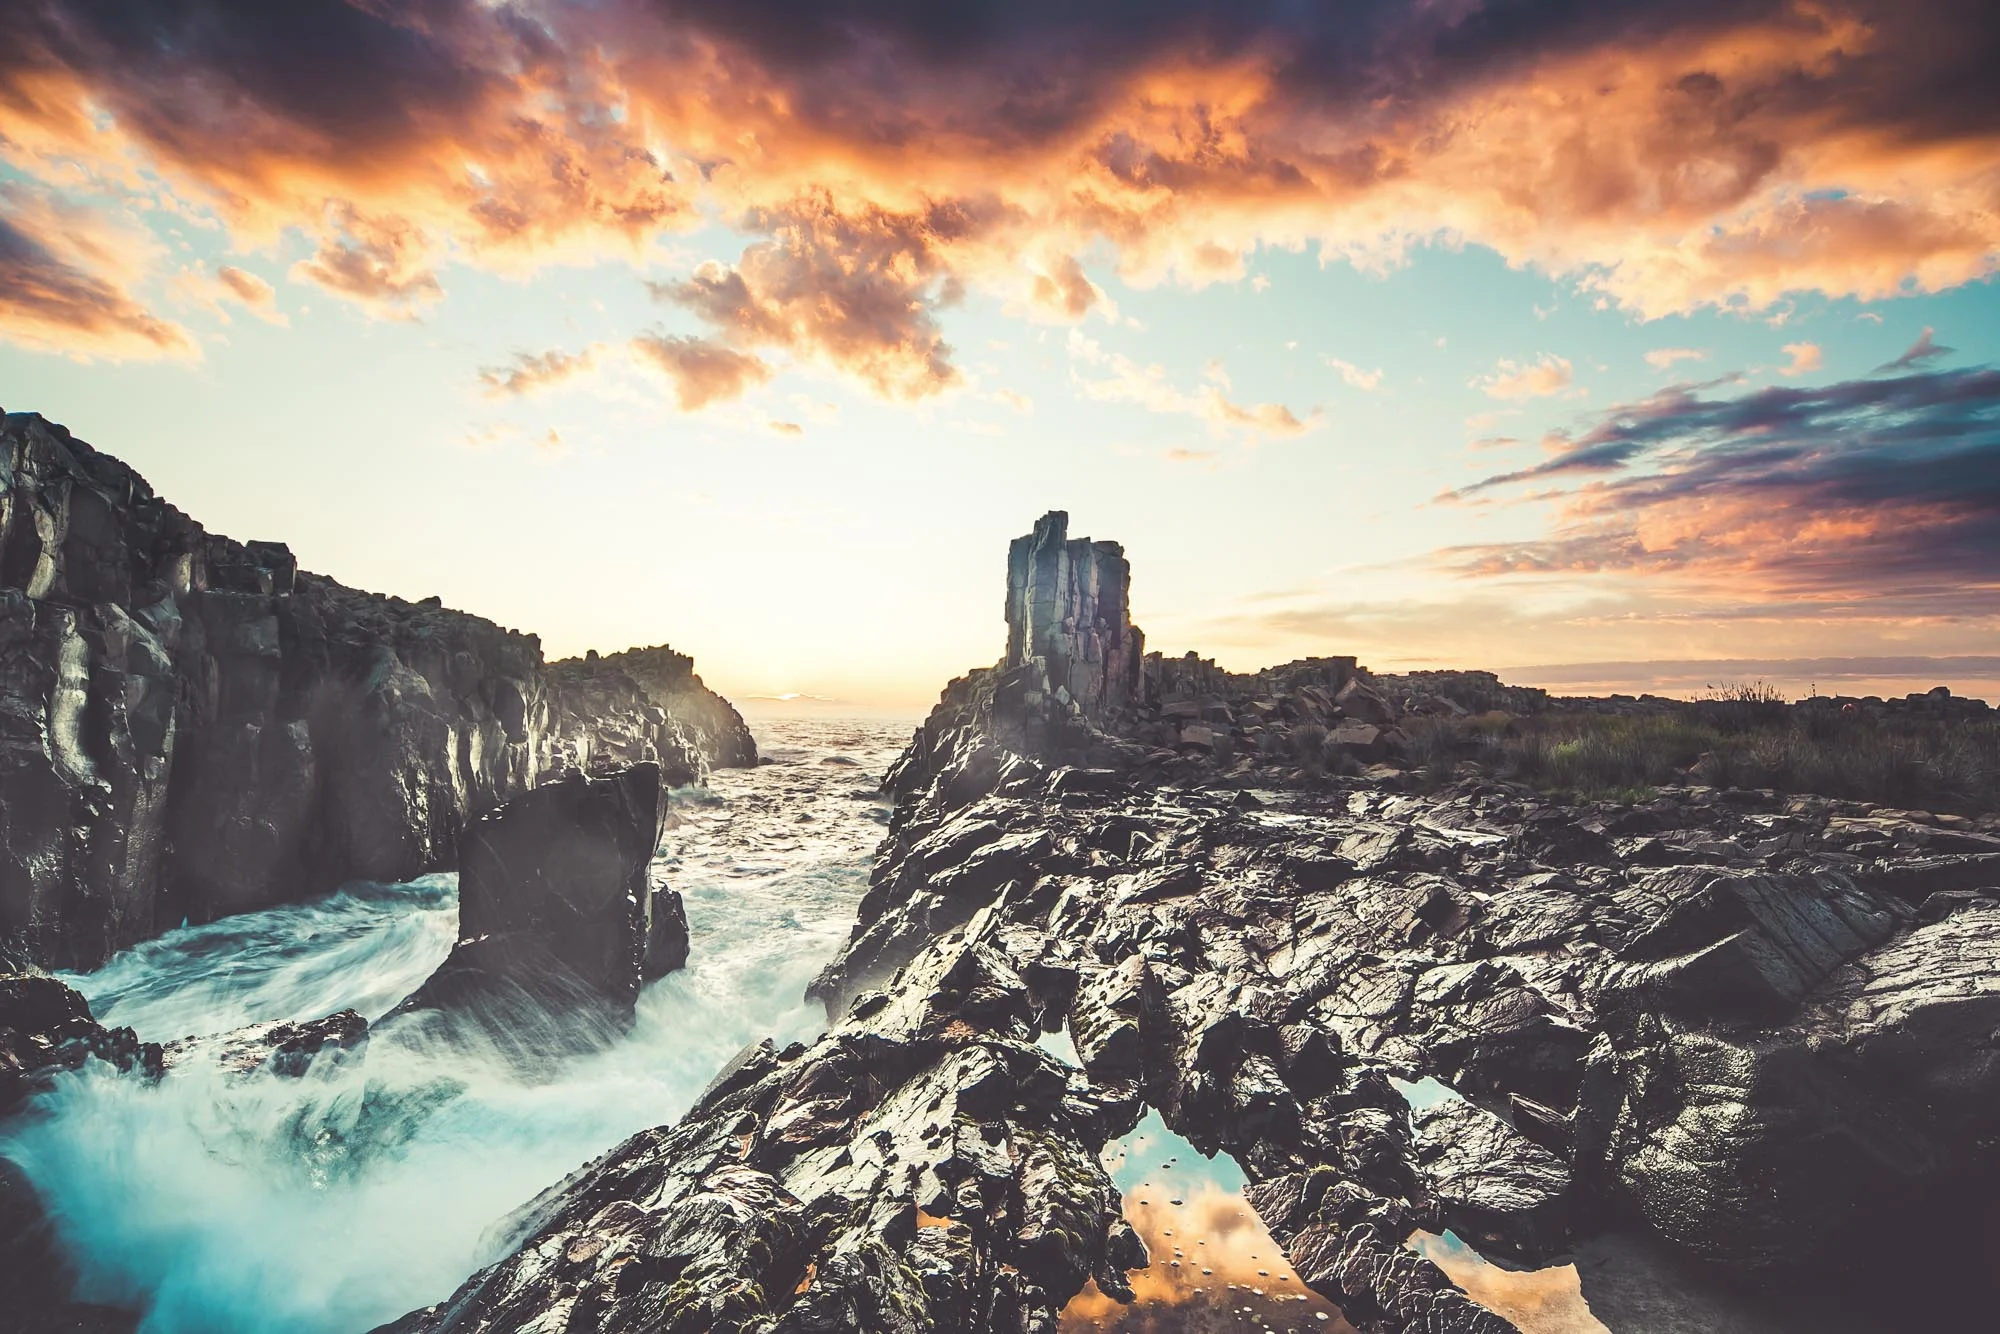
To get the best quality out of your camera select the lowest sensitivity setting, usually 50 or 100 ISO. For optimal sharpness and depth of field, I use an aperture f/11. Every lens has an optimal f-stop, at which it is sharpest, usually between f/8 and f/16, so experiment to see what works best.
Shooting RAW delivers better quality and more editing options than JPEG.In regard to shutter speed, most of the images in this story were photographed between 1/15s and 30s, depending on what I was trying to achieve.
It can be challenging at this location to get plenty of detail in the dark basalt rocks without blowing out the highlights in the sky.
05 COMPOSITION
See if you can choose one element that will be the dominant part of your shot. Look around the frame for distractions and look for ways to eliminate them.
Remember, photography is the art of subtraction. Leading lines can be an effective tool to lead viewers' eyes to the main subject.
Be aware that brighter areas will attract the most attention so make sure they aren't distracting from the overall composition. Make sure the horizon line is level.
06 EDITING
I use three different types of software for editing – Lightroom, Photoshop and Nik Software – and I use them in that order. I do most of my editing in Lightroom, advanced re-touching in photoshop and, finally, I use Nik software to add just a little more Pop.
Aside from the basic edits of white balance, tint, contrast, highlight and shadow, my favourite tools to use are the graduated filter and the adjustment brush.
MY TRAVEL PHOTOGRAPHY KIT
Camera: Fujifilm XT3 | Lenses: 35mm (F1.4) & 14mm (F2.8) | Tripod: Sirui T024SX | Macbook Pro 13 inch | Total Weight: 5 Kg.
Join me on a Micro Adventure
5 Tips: How To Photograph Fireworks
Disclaimer: Shooting drunk might lead to out of focus photos and is hazardous to your health & safety. Here are 5 tips to get the best Firework Shots!
How To Shoot Fireworks in 5 Steps
01 Access:
Planning ahead to make sure you can gain access on the exact spot you would like to photograph from is critical.
You don't want to arrive in an area only to find out it is already filled with other people shoulder to shoulder or some security tells you it is fenced off for a private function.
Do your homework to avoid disappointment. Travel light so if you need to move to another location on short notice you pack up your gear and go.
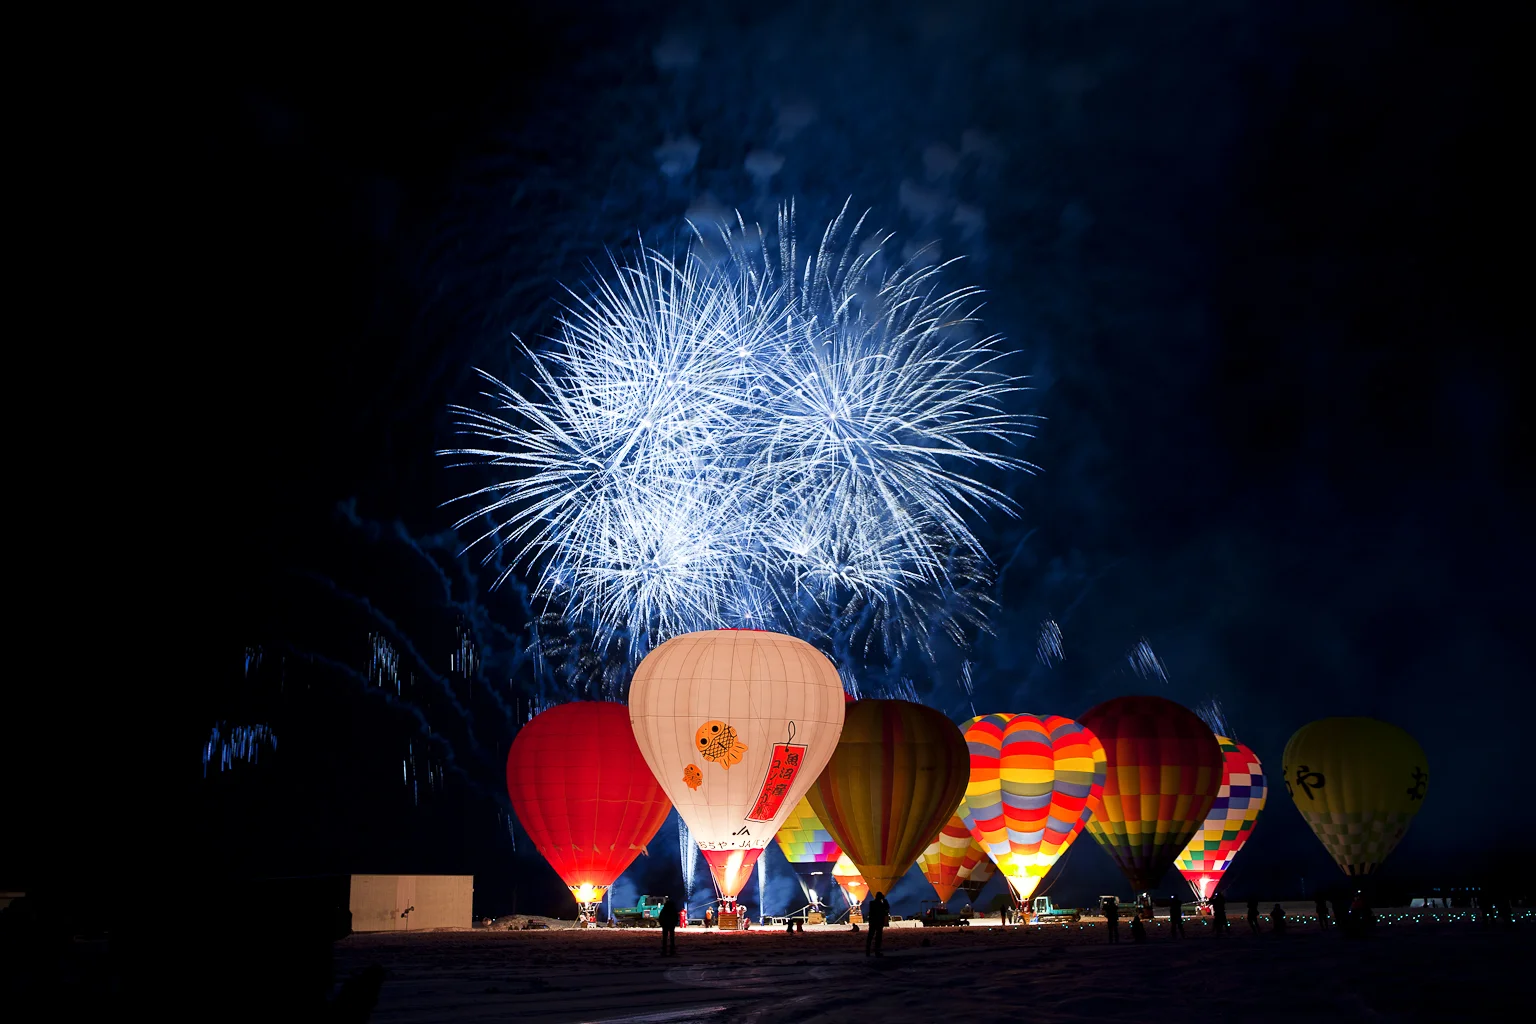
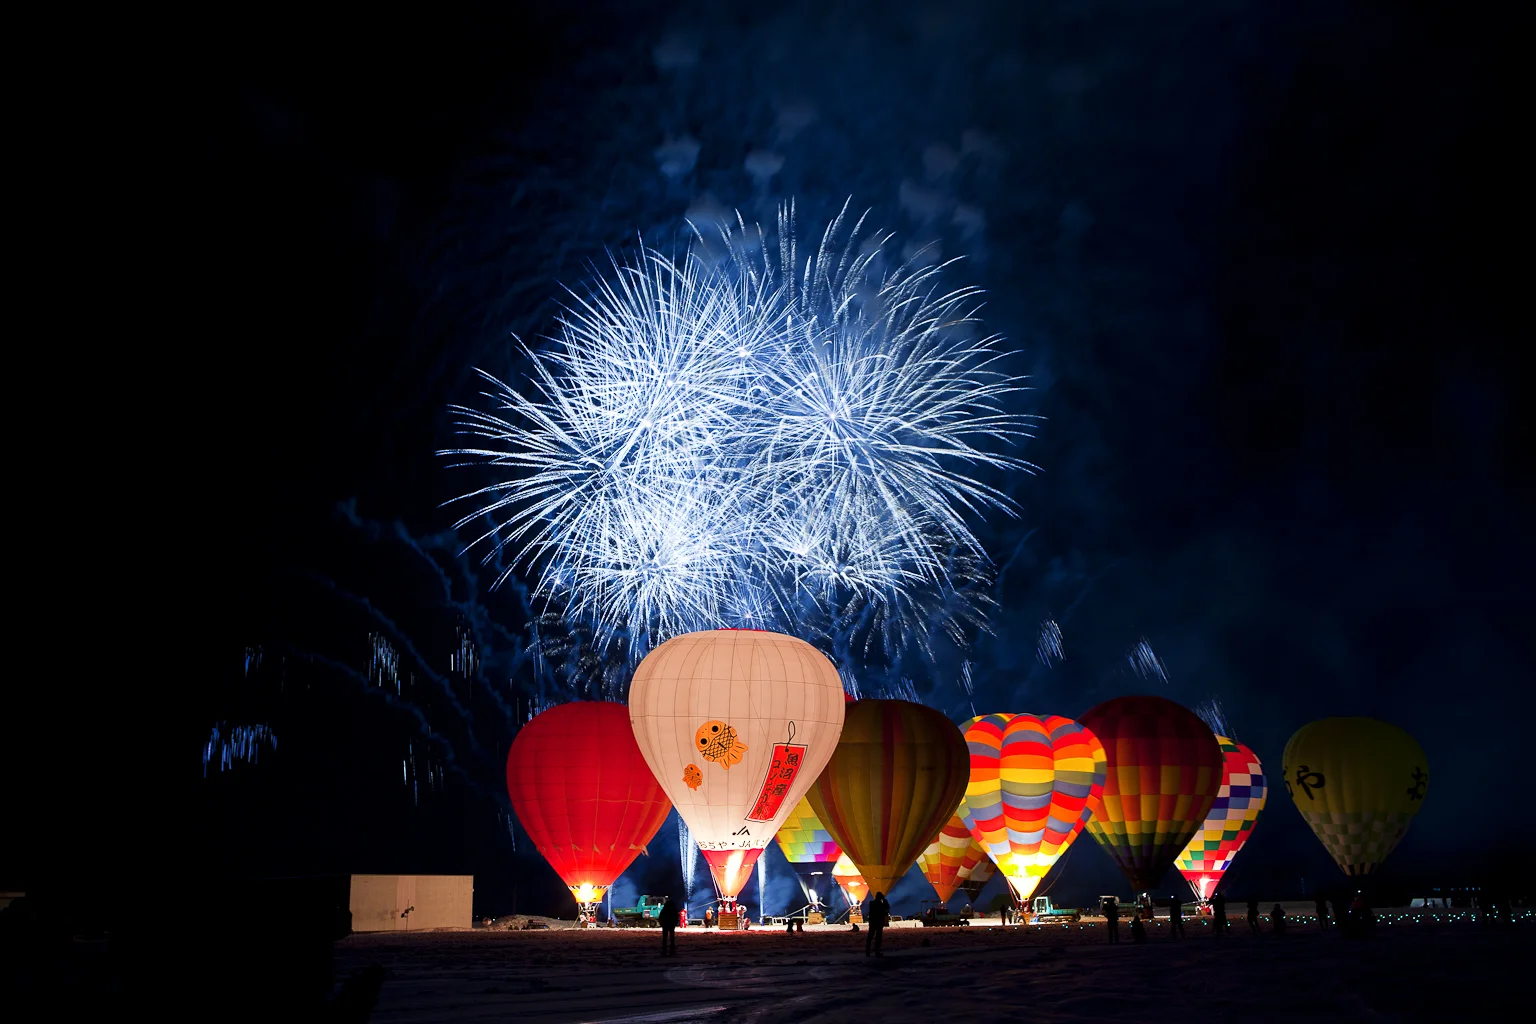
Ojiya, Niigata, Japan Hot Air Balloon Festival in late Feb.
02 Equipment:
A DSLR Or Mirror-Less Camera with a 24-70 or 70 -200 mm lens range has always worked well for me in most situations. Shooting wide when I am too close to the fireworks above me or wish to show a photo with a wider sense of the surrounding space around the fireworks.
If you only have your smartphone camera then I would suggest downloading an app called Pro Camera (iphone only) or controlling your pro mode (Android only) for the settings mentioned in this article. Tripod is still essential for your smartphone users.
Have a tripod that is not too light to blow in the wind but not too heavy to break my back are essential when going on foot. Having a tripod that can at least go to eye level also avoids you getting a sore back on shorter tripods.
Also another advantage of a tall tripod is to be able to shoot at eye level and sometimes needed when fences are too high your view is blocked. A cable release or remote are also critical when waiting for those split second moments to capture a burst of fireworks.
Sure you can use your self timer but sometimes your two or ten second timer is just a tad too late to capture that magic burst of fire.
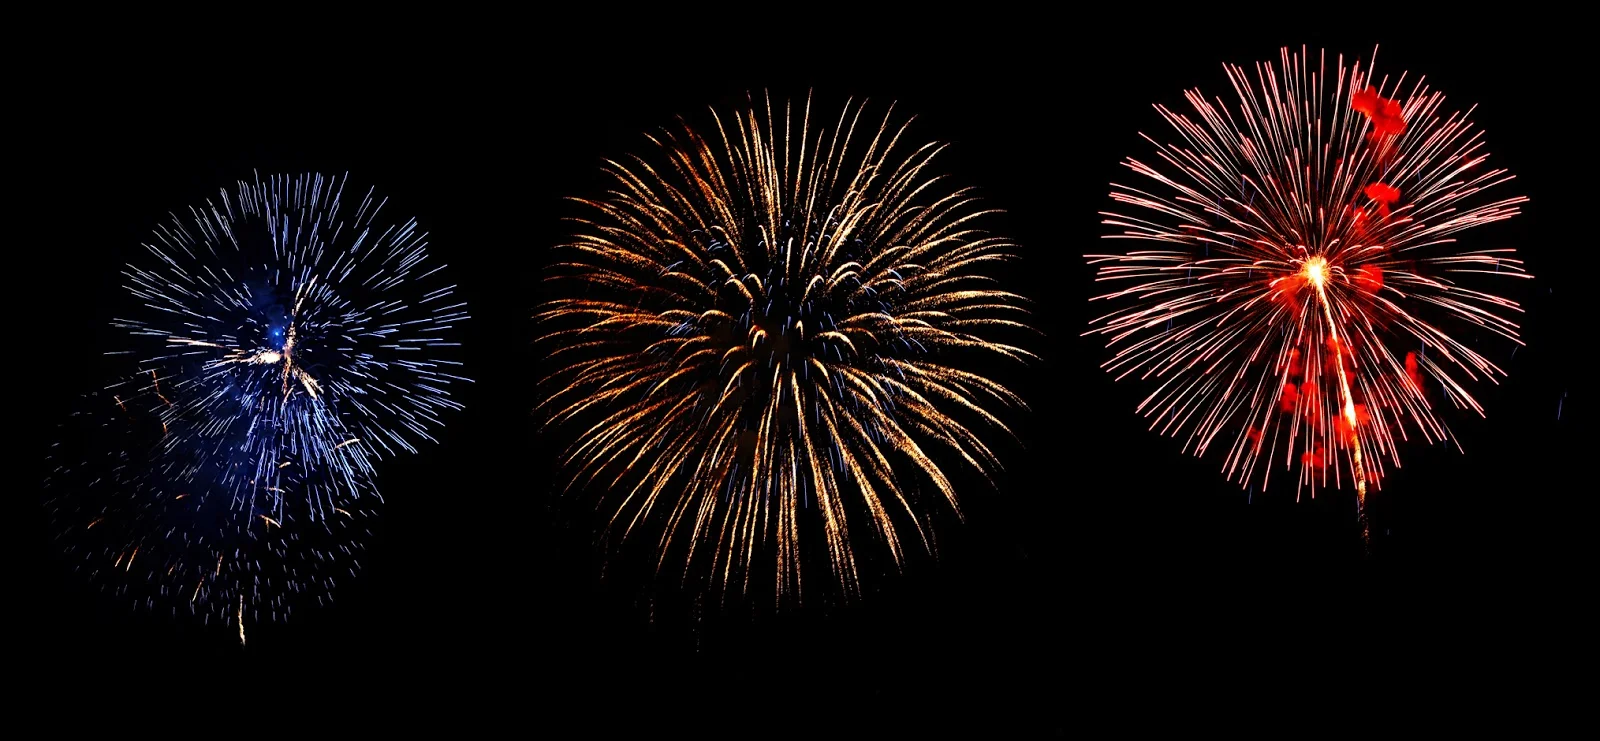
Photoshop Composite of 3 images.
03 Composition:
It is important to always try and use the dark of the night sky as your black canvas background to bring out more contrast in your fireworks.
That is why knowing your exact location and choice of lenses will assist in capturing a clean shot without any unwanted lights behind your fireworks. Placement of your fireworks in the frame will also add a better sense of balance.
The space below, above or beside is better left black or dark to add a starker more dramatic feel to the burst of colour. Weather can also play a vital role in the quality of your image. Too much wind can blow away the smoke for a clearer sky but not enough wind can leave some of your photos looking too smokey.
The Hot Air Balloon photos taken in winter in Japan were taken at around 1-2 seconds with the hope that the balloons would not move too much while the shutter was open. I was also hoping that some of the hot air balloons would fire up at the same moment the fireworks would burst.
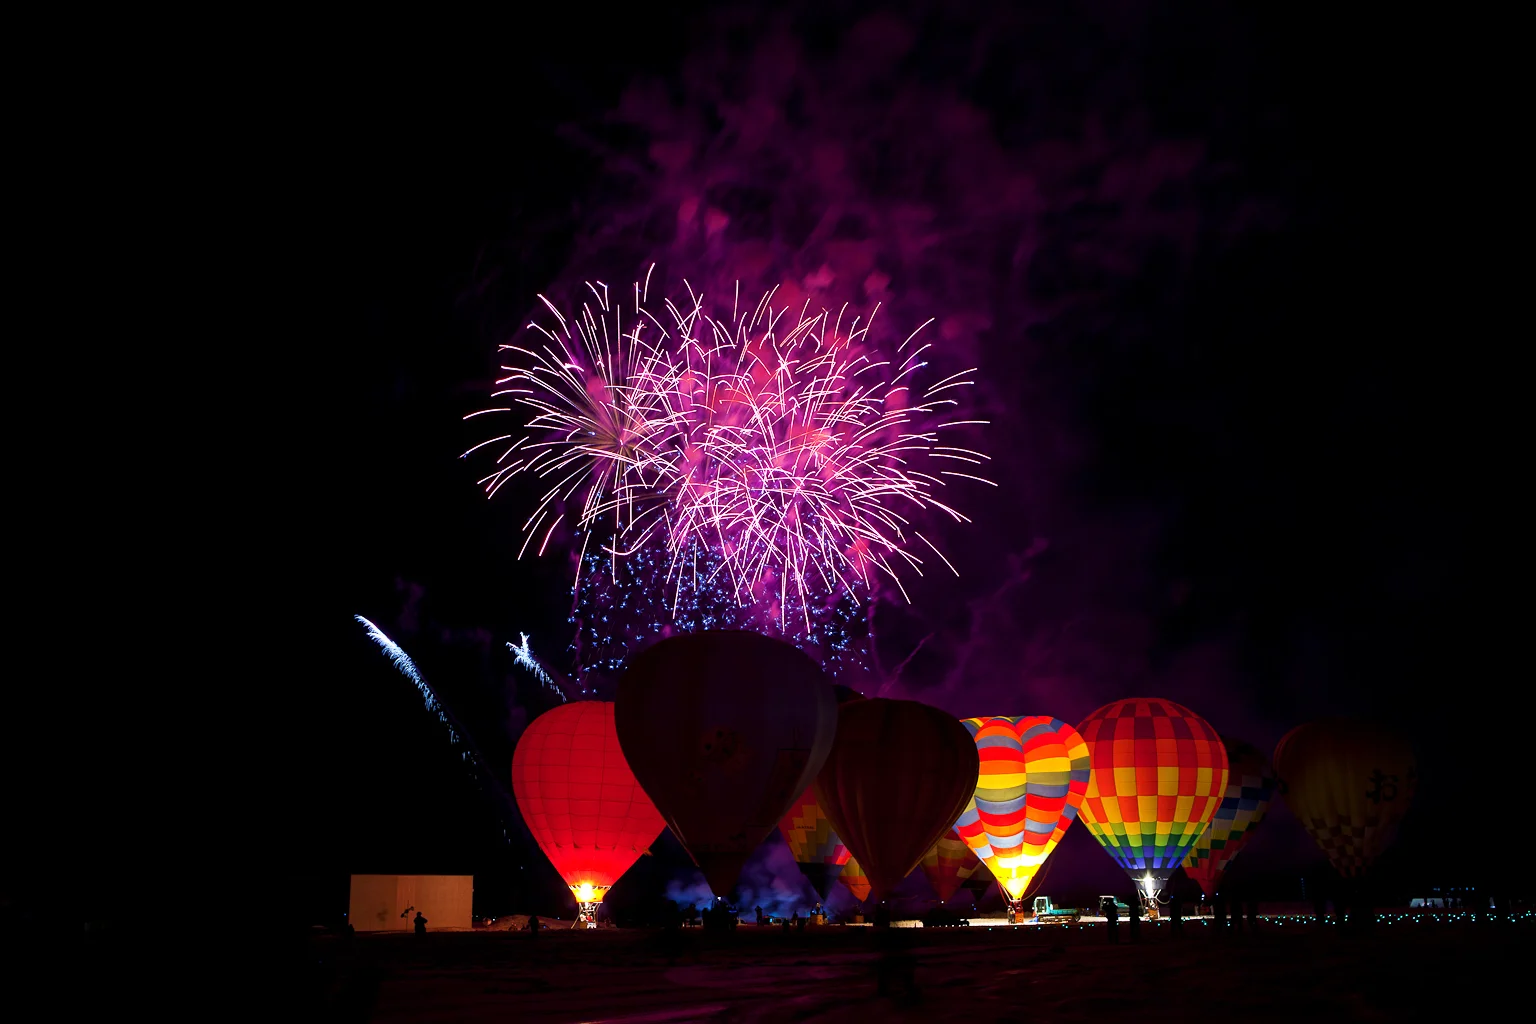
Japan in Feb
04 ISO:
Like most night photography shooting in low ISO's like 100-200 will minimise your grain or noise. Sure, you can shoot at very high ISO's of 1600 and higher but you might end up with an amazing photo you would like to print large but will end up with some grain even after you have applied some noise reduction filters.
Your noise reduction filter is also usually left on your camera.
After you have done a photograph it will take as long to process your images as it does to shoot. This may slow you down if you have one firework after another simultaneously firing off every few seconds.
Best idea is to turn off your noise reduction filter if you don't wish to wait too long between shots.
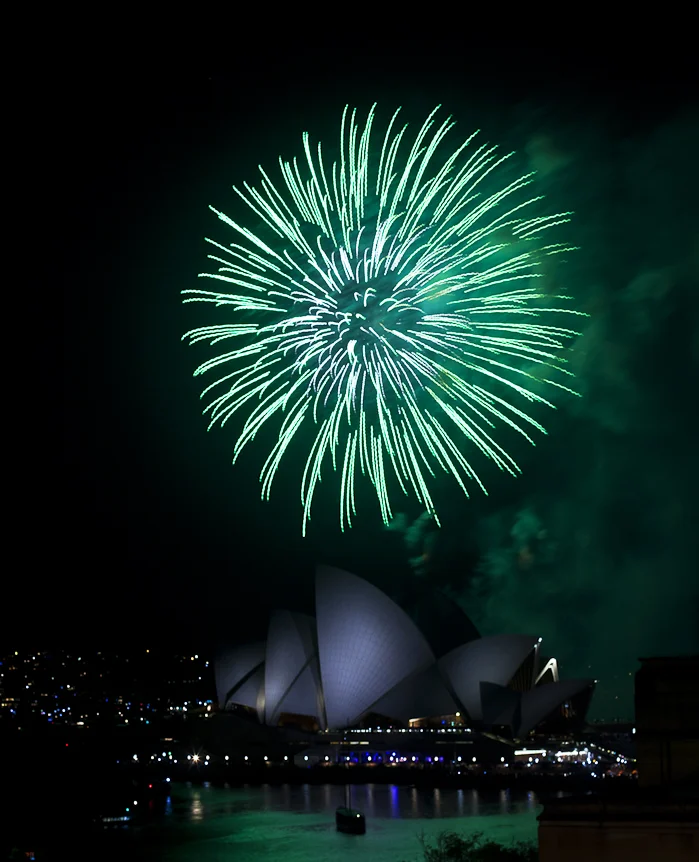
SYDNEY NYE
05 Aperture & Shutter Speed:
Test your lens to check it's optimum sharpness with an extreme depth of field. Most lenses shoot best at F8.0-11.
Do some research (www.kenrockwell.com) about your make and model of lens to find out what the geek freaks say.
Shutter speeds for fireworks can vary but I often shoot at around 1-2 seconds to avoid details blowing out in the highlight areas of the photo.
A little bit of trial and error with only adjustments in shutter speed should get you out of trouble.
Trigger off the shutter just as you see it flying up before it burst. Shoot in RAW and have your histogram (jpeg) on to check for details in tonal range.
Pre determine focus manually if you are having trouble focusing on moving dark subjects prior to burst. Shooting in Bulb (Remote) mode will also allow you to open and close the shutter as you sit fit.
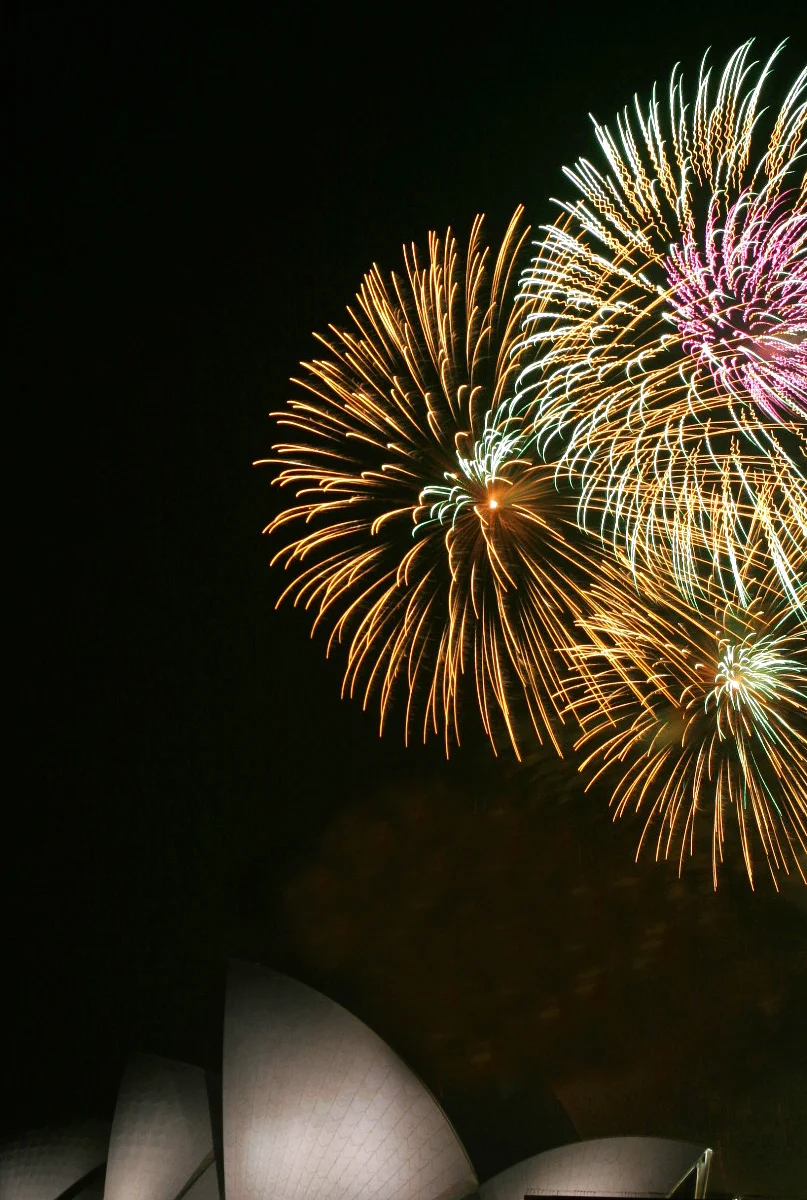
Smartphone Users: Use a tripod and switch to night mode (Iphone) or night sight (Google Pixel)
Make sure you don’t have any camera shake on the ground or when tapping the shutter. To minimise camera shake tap on a two second self timer if needed. In Snapseed reduce noise or grain by using a tool called details and then reduce structure for less texture.
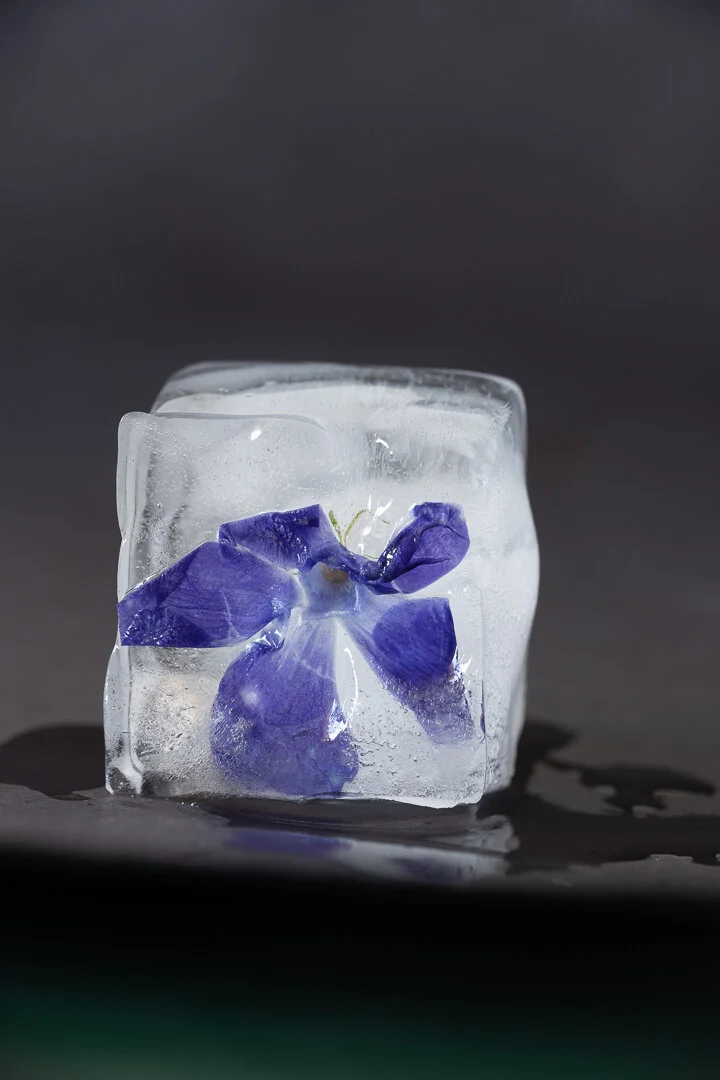
Ice Flowers (Smartphone Photography)
Learn how to photograph ice flowers
How to Make Ice Flowers
"ICE FLOWERS" When we were in lockdown I was keeping safe and sane. Try this at home, its fun and easy. All photographed hand held with any mobile and edited in Snapseed. Alternatively you can try this with a proper camera and tripod but may need to do focus stacking.
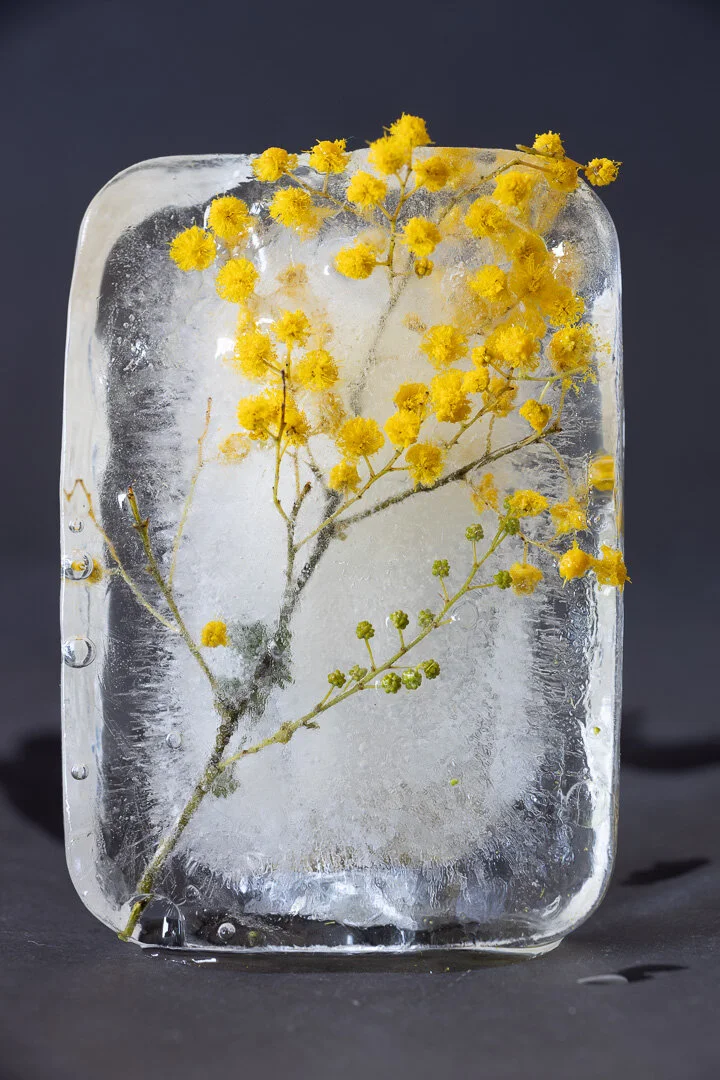
A3 black sheet for background and natural window light. Switch angle of view straight (square) on side (cube) or choose required texture, form or shape emphasis.
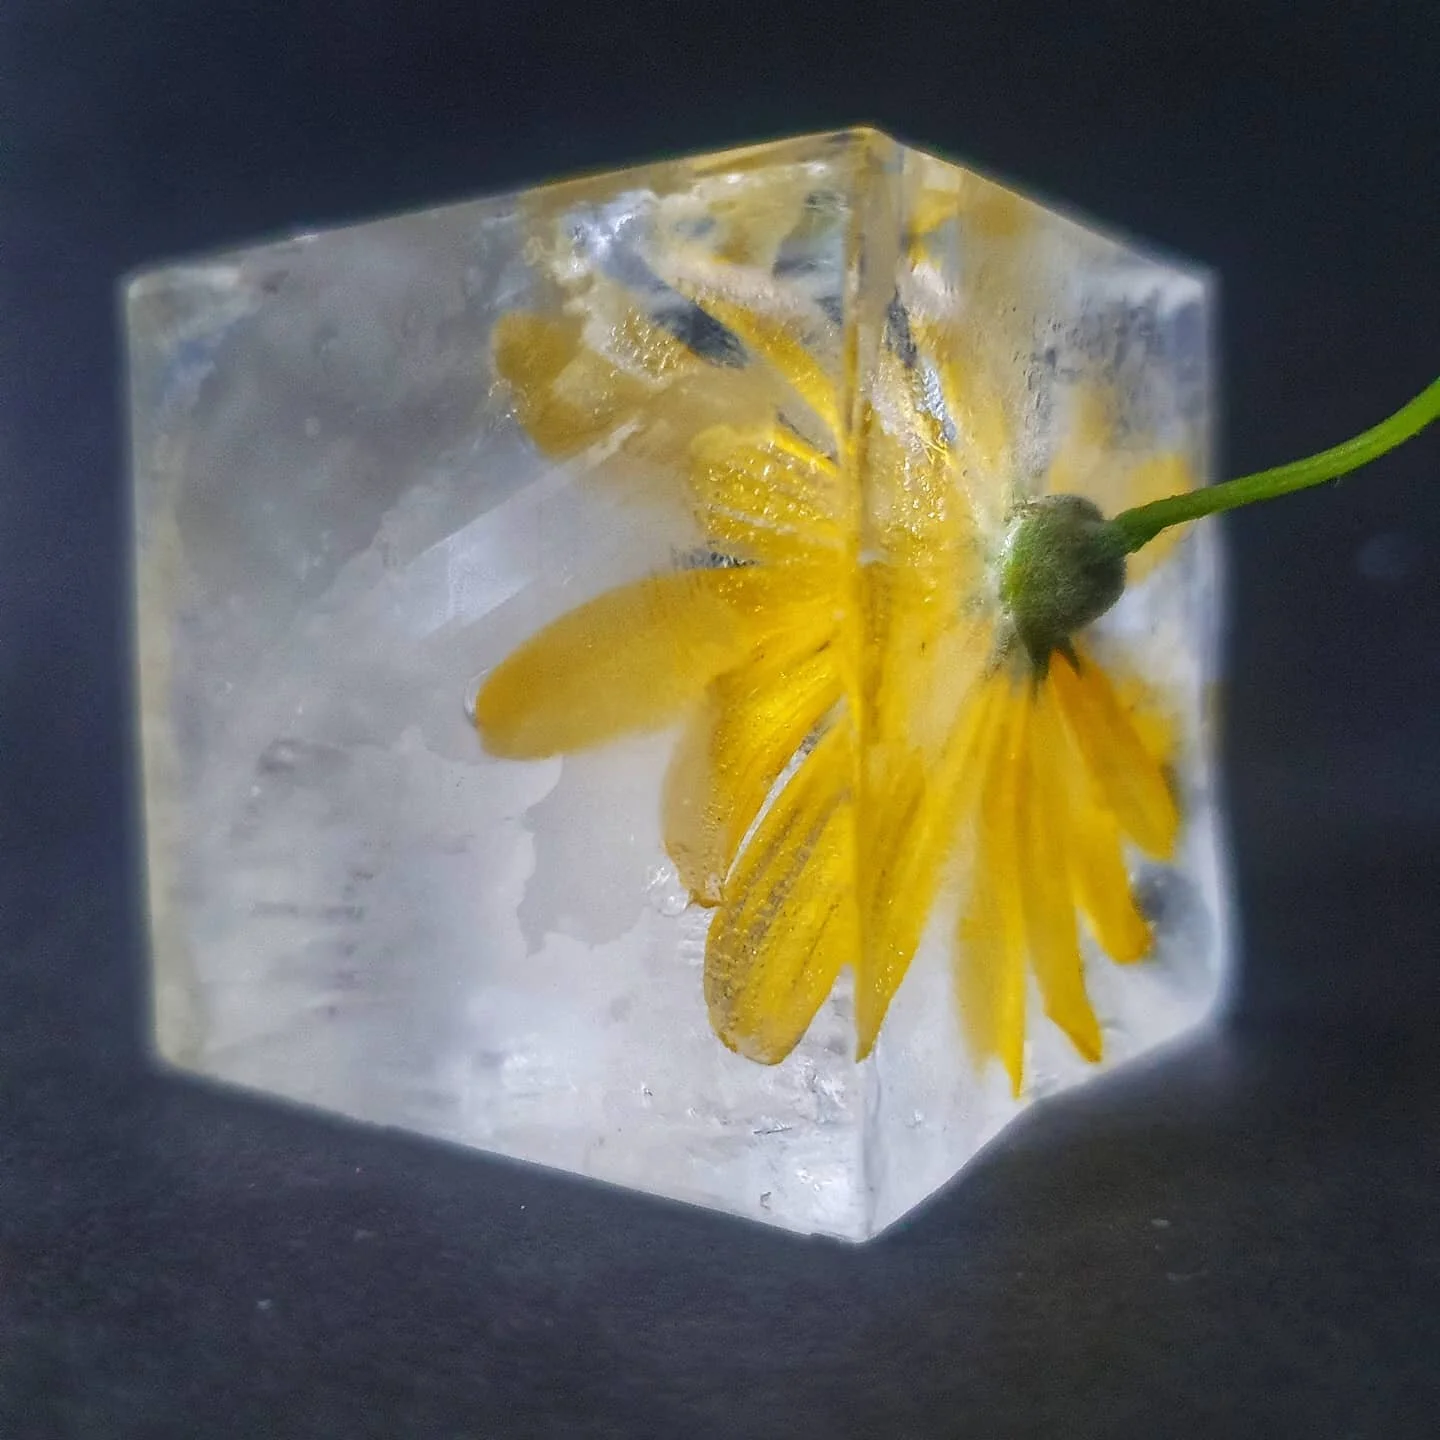
Experiment with different sizes and shapes of natural objects to freeze. Try different shaped containers and vary the depth of water.
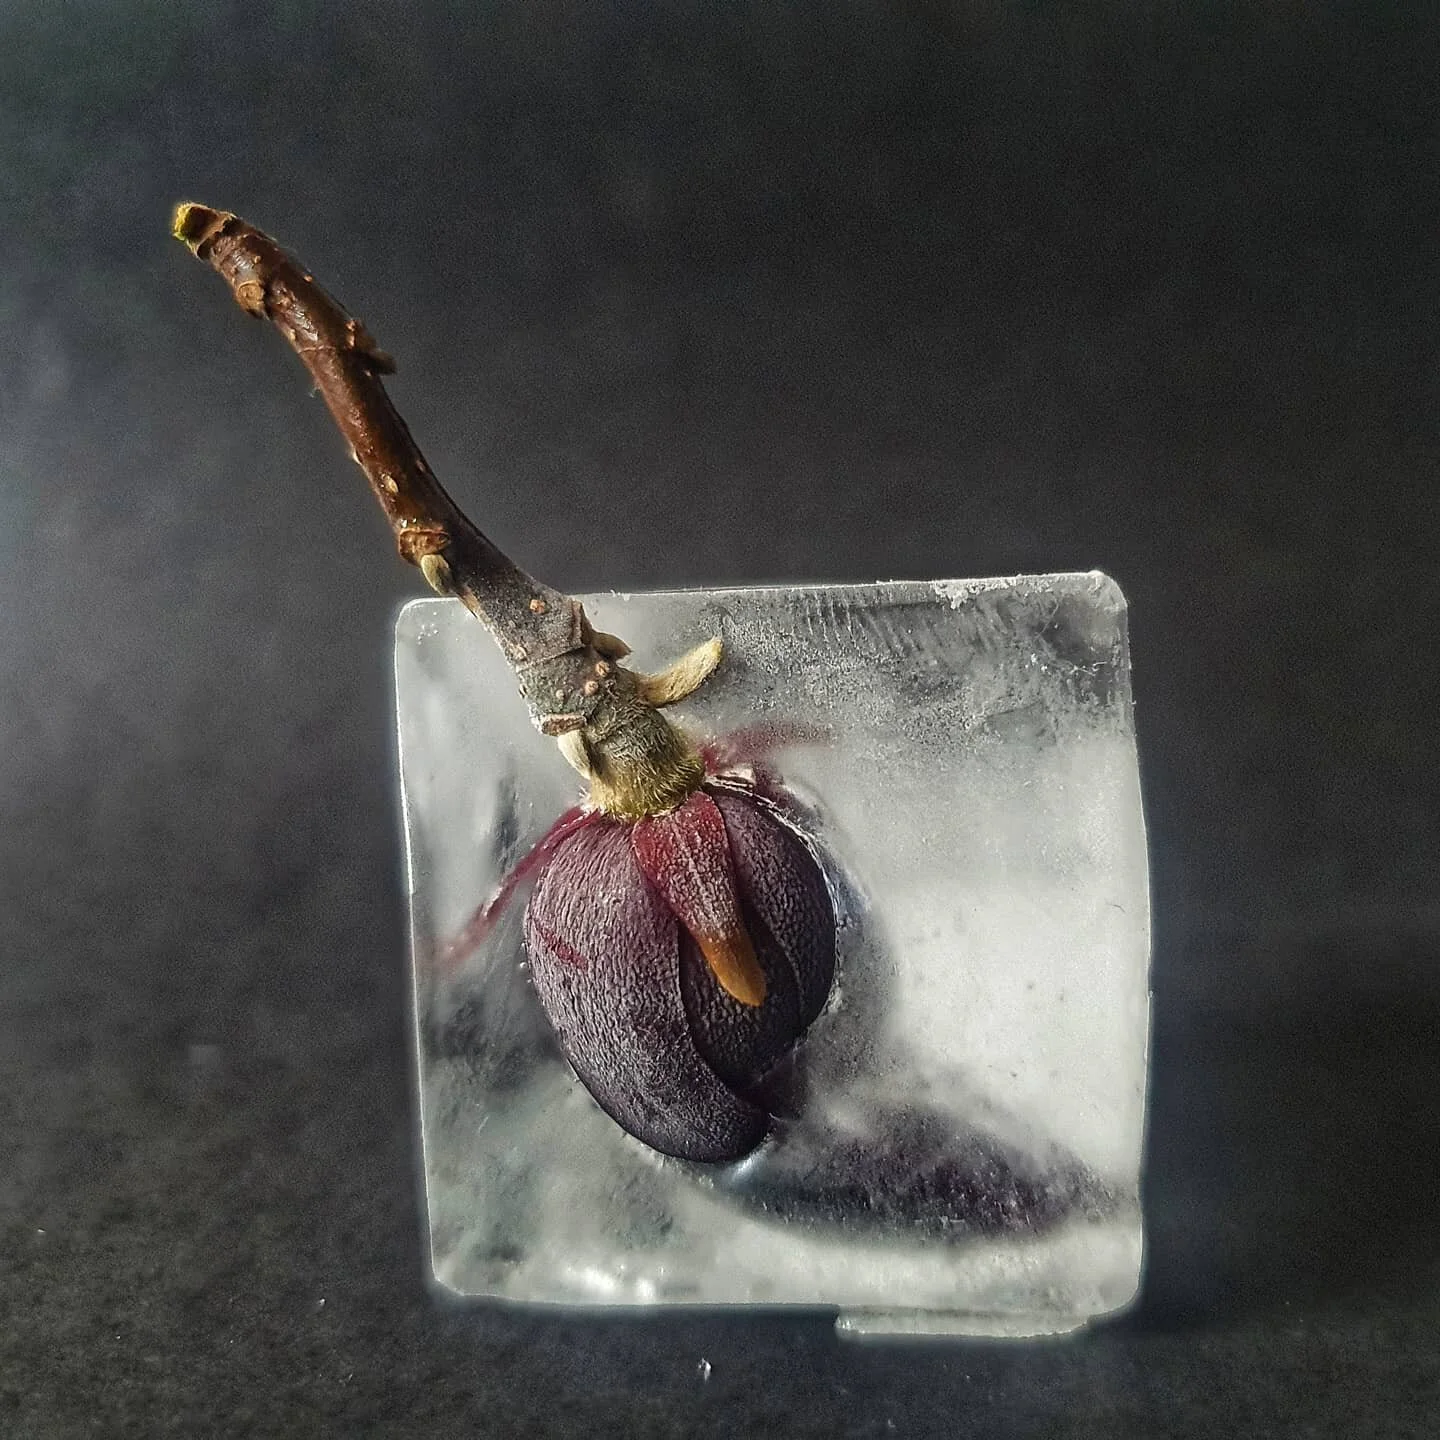
Magnolia Bud
Try and use filtered and unfiltered water to see if there is a difference in the purity of the water. Also make sure to pour in the water in 3 stages to layer the weight of the water and to be able to position the object in an visually pleasing way. Start with a 1/4 (2 hours freeze) amount of water followed by another 1/4 (2 hour freeze) and then the remainder to fill up. You can also experiment by pouring all of the water in one go.
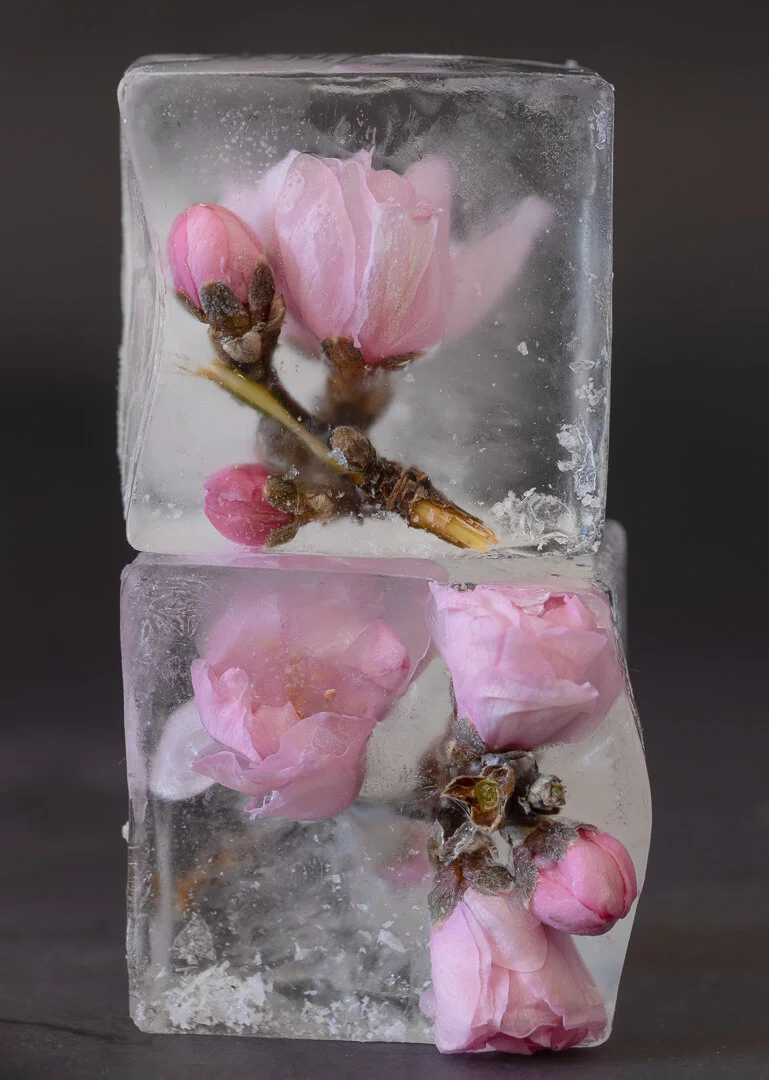
Paris (PX3) Photo Silver Prize Winner - “Icesolation”
Pre Freeze Prep:
References: https://www.pinterest.com.au/phototours/ice-flowers/
If you wish to get less bubbles in your ice block, I would suggest you boil filtered water 1-2 times and wait for it to cool before you fill your trays.
I have a small ice cooler I used to experiment with the “Directional Freezing” method (top/Down) and here are the results. I need to pour in stages to position my flower pieces for next time, but viola I am pleased with the clear ice outcome for future projects. Just need to find space in the freezer. Here is a link to photographer who has taken this idea to the next level, https://au.lumas.com/artist/bruce_boyd/
Advanced Method: Only possible if you have a cooler and large freezer.
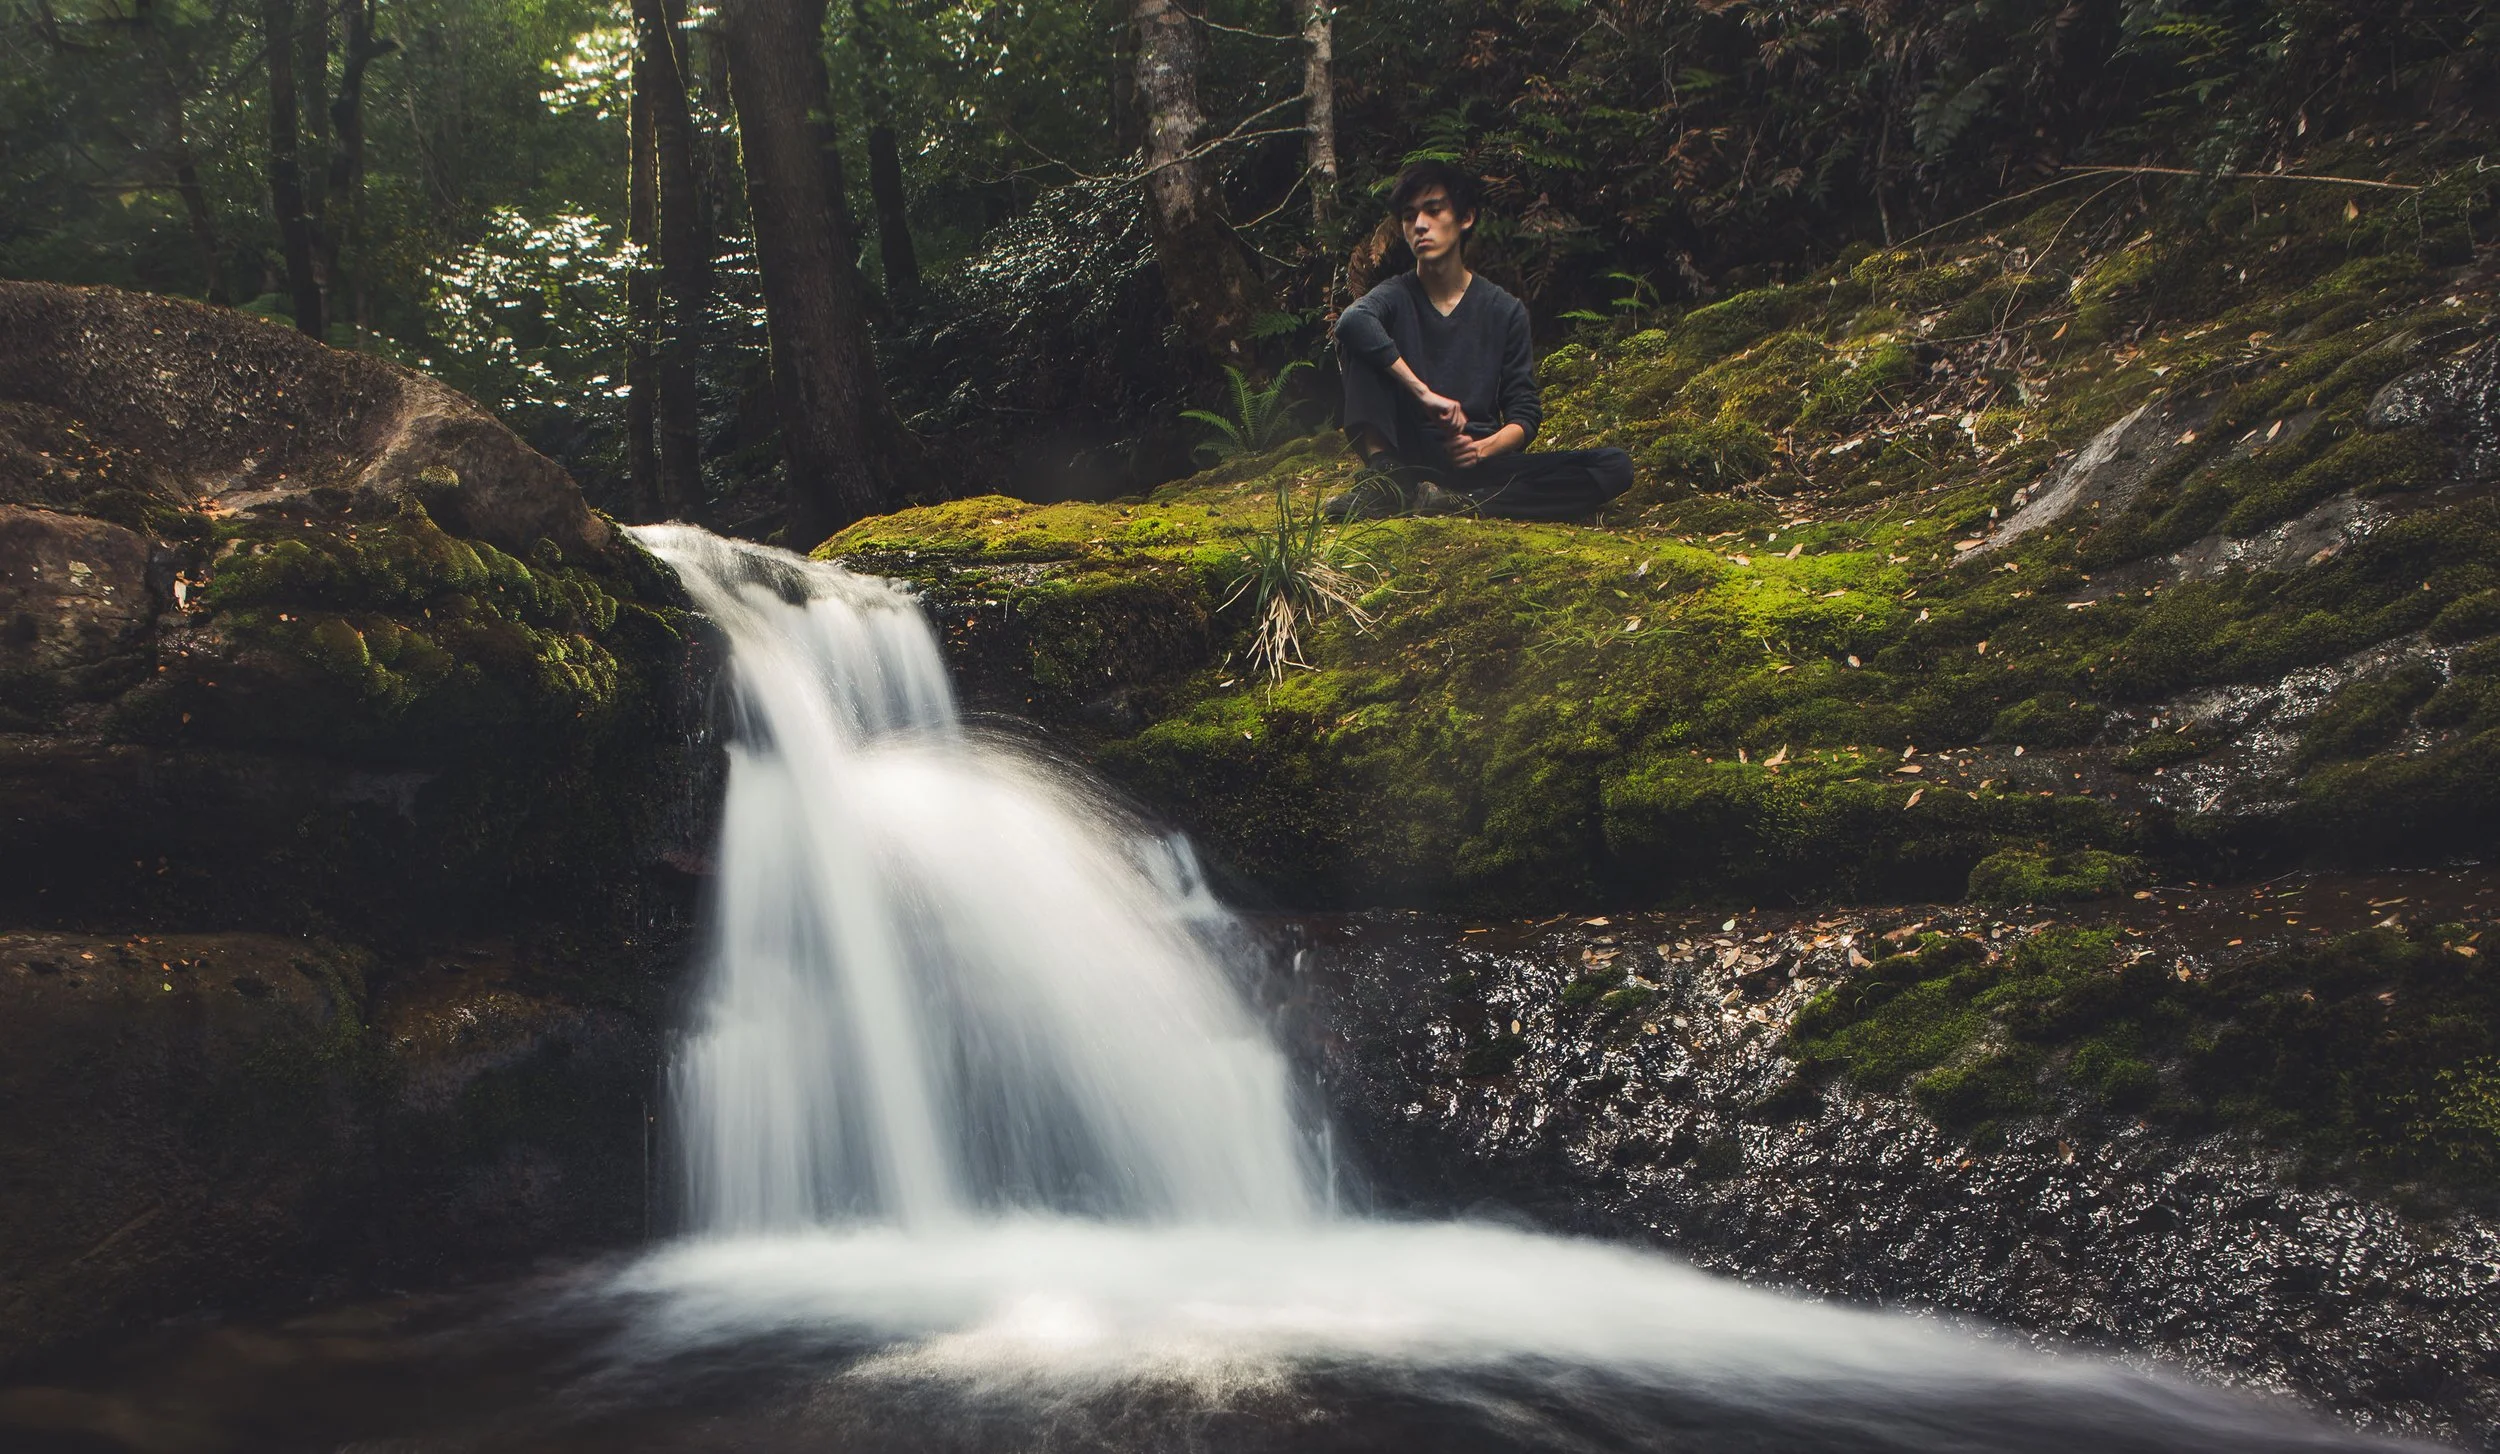
6 Steps To Slow Photography
I am not an early bird but living in Sydney, Australia on the east coast leaves me no choice but to get up early once in a while for a dawn to sunrise shoot.
6 Steps to Slow photography
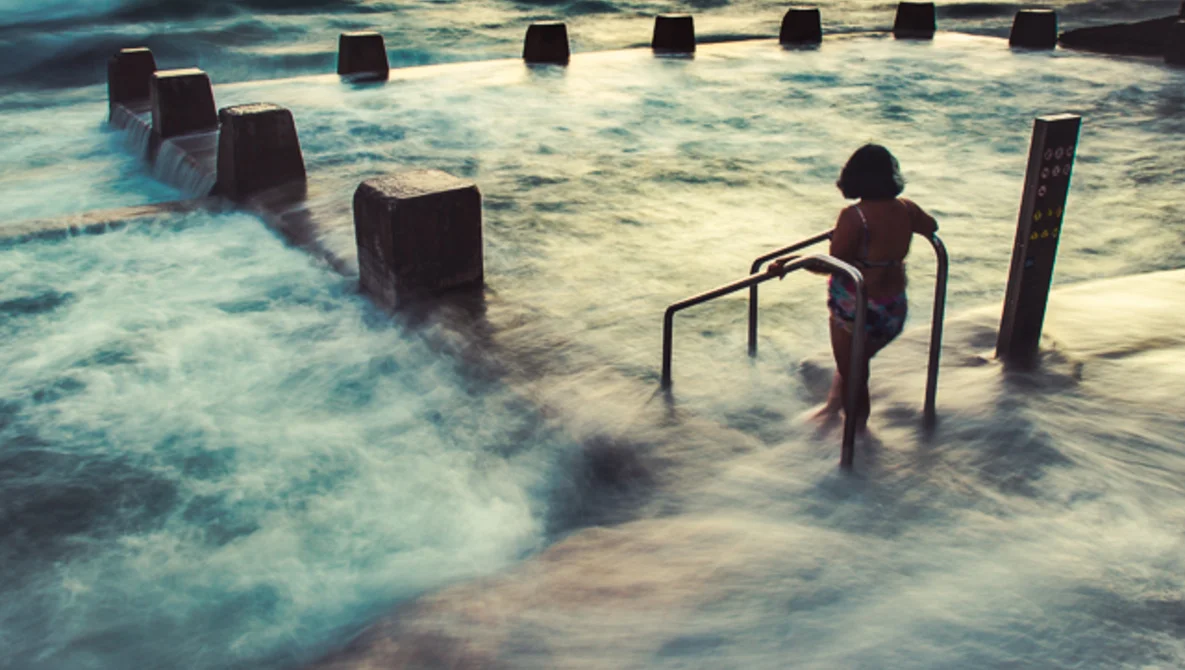
I am not an early bird but living in Sydney, Australia on the east coast leaves me no choice but to get up early once in a while for a dawn to sunrise shoot. The coffee and breakfast at a beach cafe make it worth getting up at the sparrow's fart (Australian slang for very early). I've been shooting seascapes for over 10 years and I have always found it to be one of the most rewarding and challenging of photographic subjects. No two seascapes are the same and once you add variable weather and sea conditions to the mix there are endless opportunities for photographers willing to get their feet wet, so to speak! I am still learning everyday how to stay dry and not get washed away.

Tasmania Photo Tours
01 USE A TRIPOD
It sounds obvious, but most beginners don’t bother with tripods; they should. Apart from giving you the freedom to choose a slower shutter speed, a tripod forces you to slow down and think about the image-making process. Where should you position the horizon? Should that rock be in the frame or would it be better left out? Should you use a slow shutter speed to blur the water, or would it look better sharp? Look for a sturdy tripod that can collapse down to provide a low shooting angle. Shooting low can create great drama in your images. I like to use Carbon Fibre tripod Make sure to check your load capacity as it is worth spending the extra dollars to have a great tripod that will last for years. Always make sure to wash down your tripod after each shoot with fresh water.
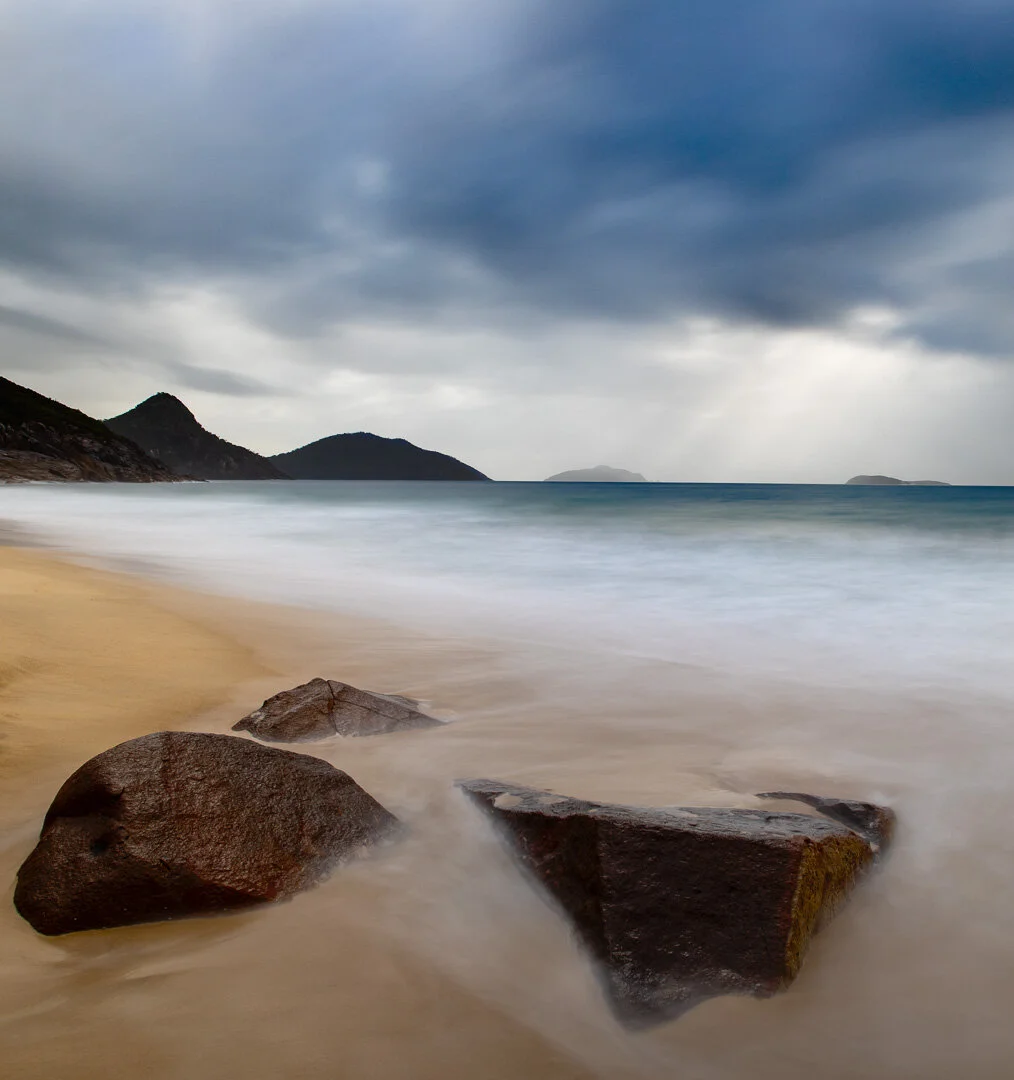
02 LOW ISO
Choose your camera’s lowest ISO setting (normally 50, 100 or 200 ISO). This will not only minimize the appearance of noise in your image, but also allow you to use a slower shutter speed, which can be useful if you are trying to achieve the ‘blurry water’ effect you see in many seascapes. My Canon R allows me to go down to ISO 50.
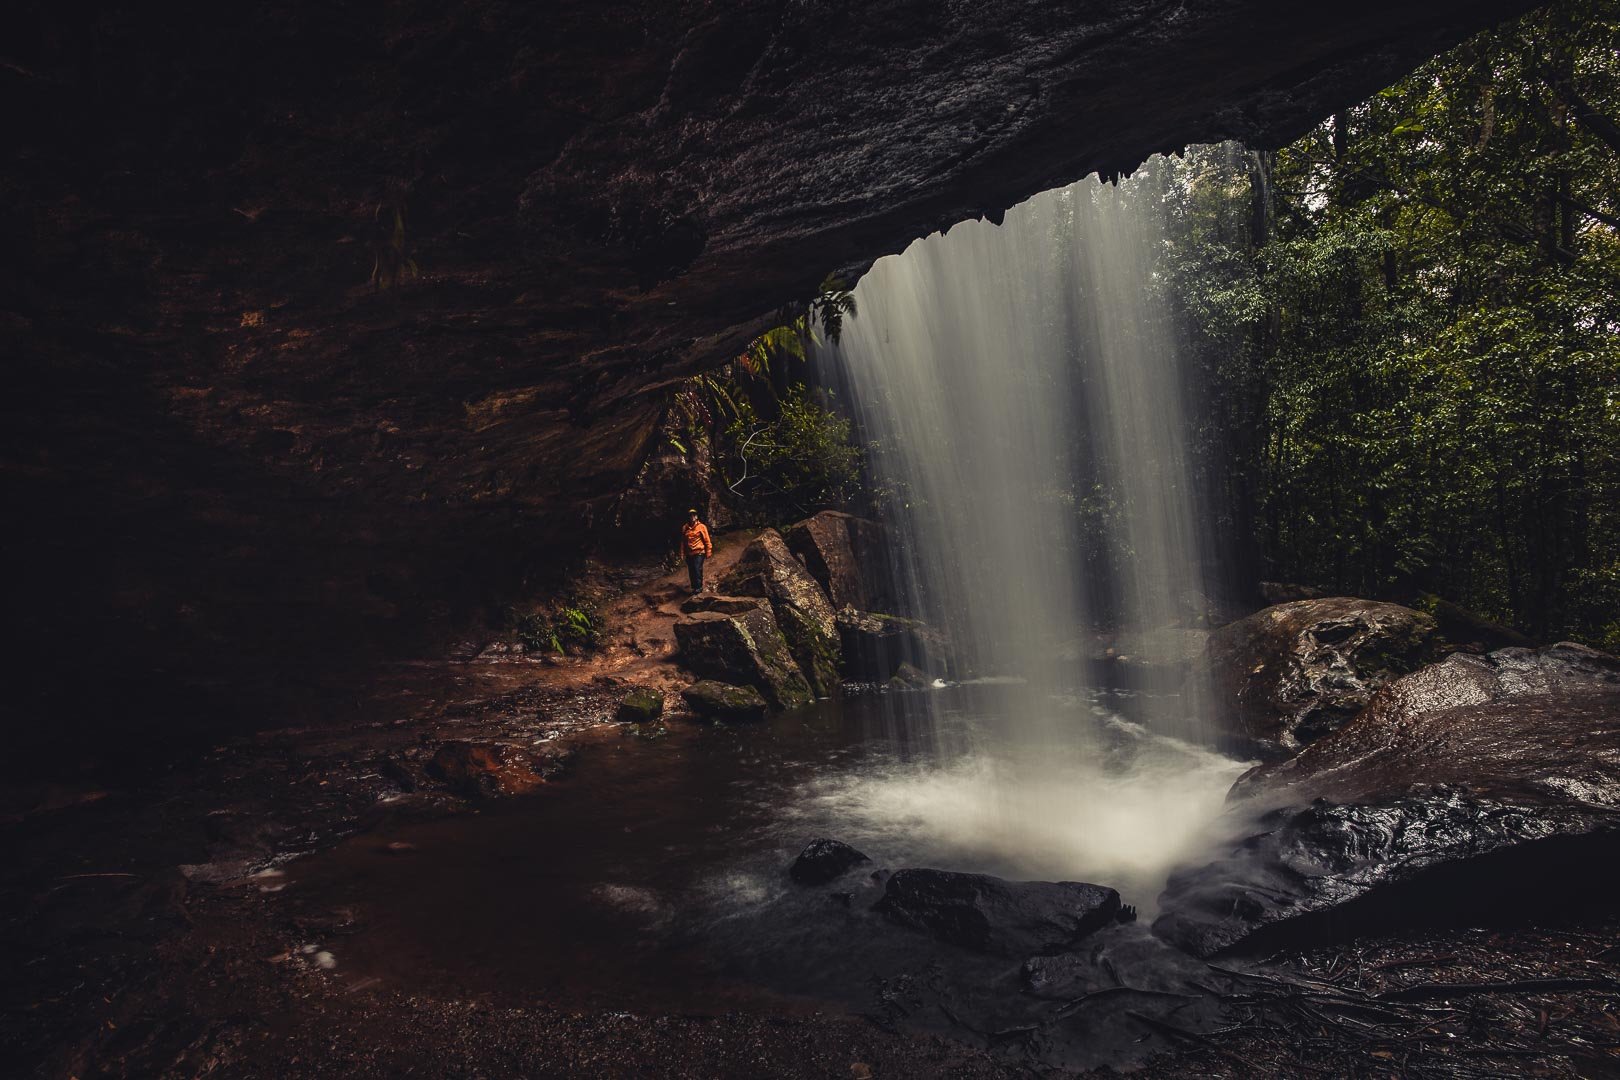
Blue Mts Mircro Adventure
03 SLOW SHUTTER SPEED
If you want to create the 'milky water' effect you'll need to use a slow shutter speed – slower than half a second. With your camera on a tripod, switch your camera to Shutter Priority (S or TV) and choose a shutter speed between 1/2 and 10 seconds. If it is too bright you will get a warning message indicating that the image will be over-exposed at this shutter speed. At this point you have two options. First, wait until it gets darker. Second, and this is my preferred option, place a Neutral Density filter, which looks like a grey piece of glass, in front of the lens to artificially darken the scene. You can buy ND filters of varying densities, from light to dark grey. I use a +10 stop ND NISI filter for most of my seascapes and find it works very well. If there is abundant water movement then you might also be able to get some nice effects at 1/8th or 1/15th of second without the ten stop filter.
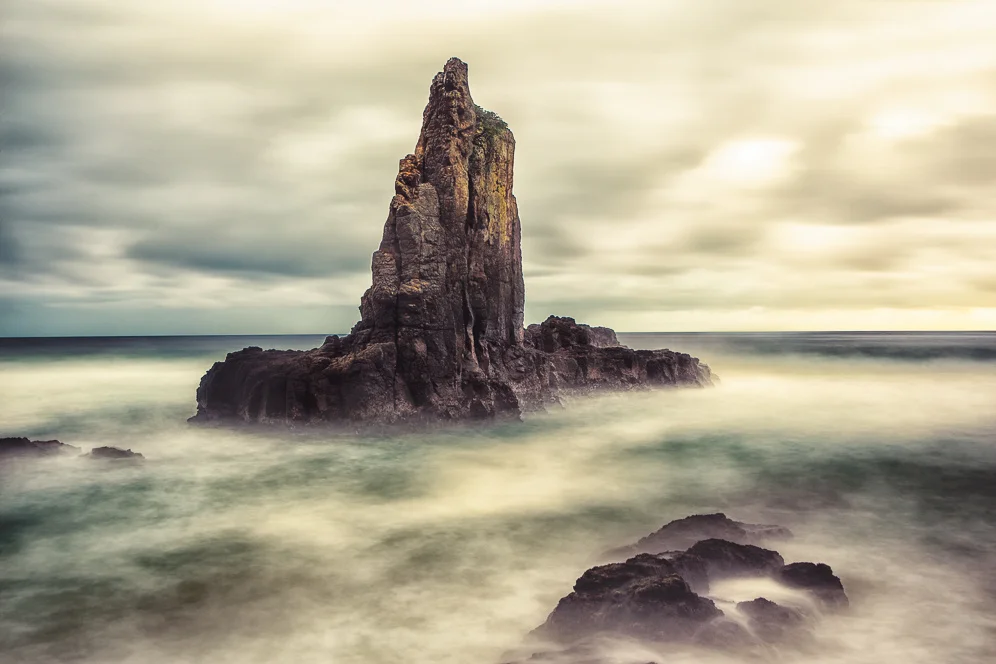
Kiama Micro Adventure
04 APERTURE
Even though you’re shooting in Shutter Priority you still need to be conscious of the camera’s aperture setting. Look for an aperture somewhere around f/11. While you'll get more depth of field as the aperture gets smaller (higher f-numbers) keep in mind that most lenses are sharpest at a setting of around f/11. Best to do some research in regard to the sweet spot of your lens as every lens has the perfect f-stop to produce optimally sharp images. I prefer to shoot in full manual mode and control ISO 50, F11 for aperture and then change my shutter speed accordingly depending on the effects I am trying to get. If needed, then I will add on my filter.
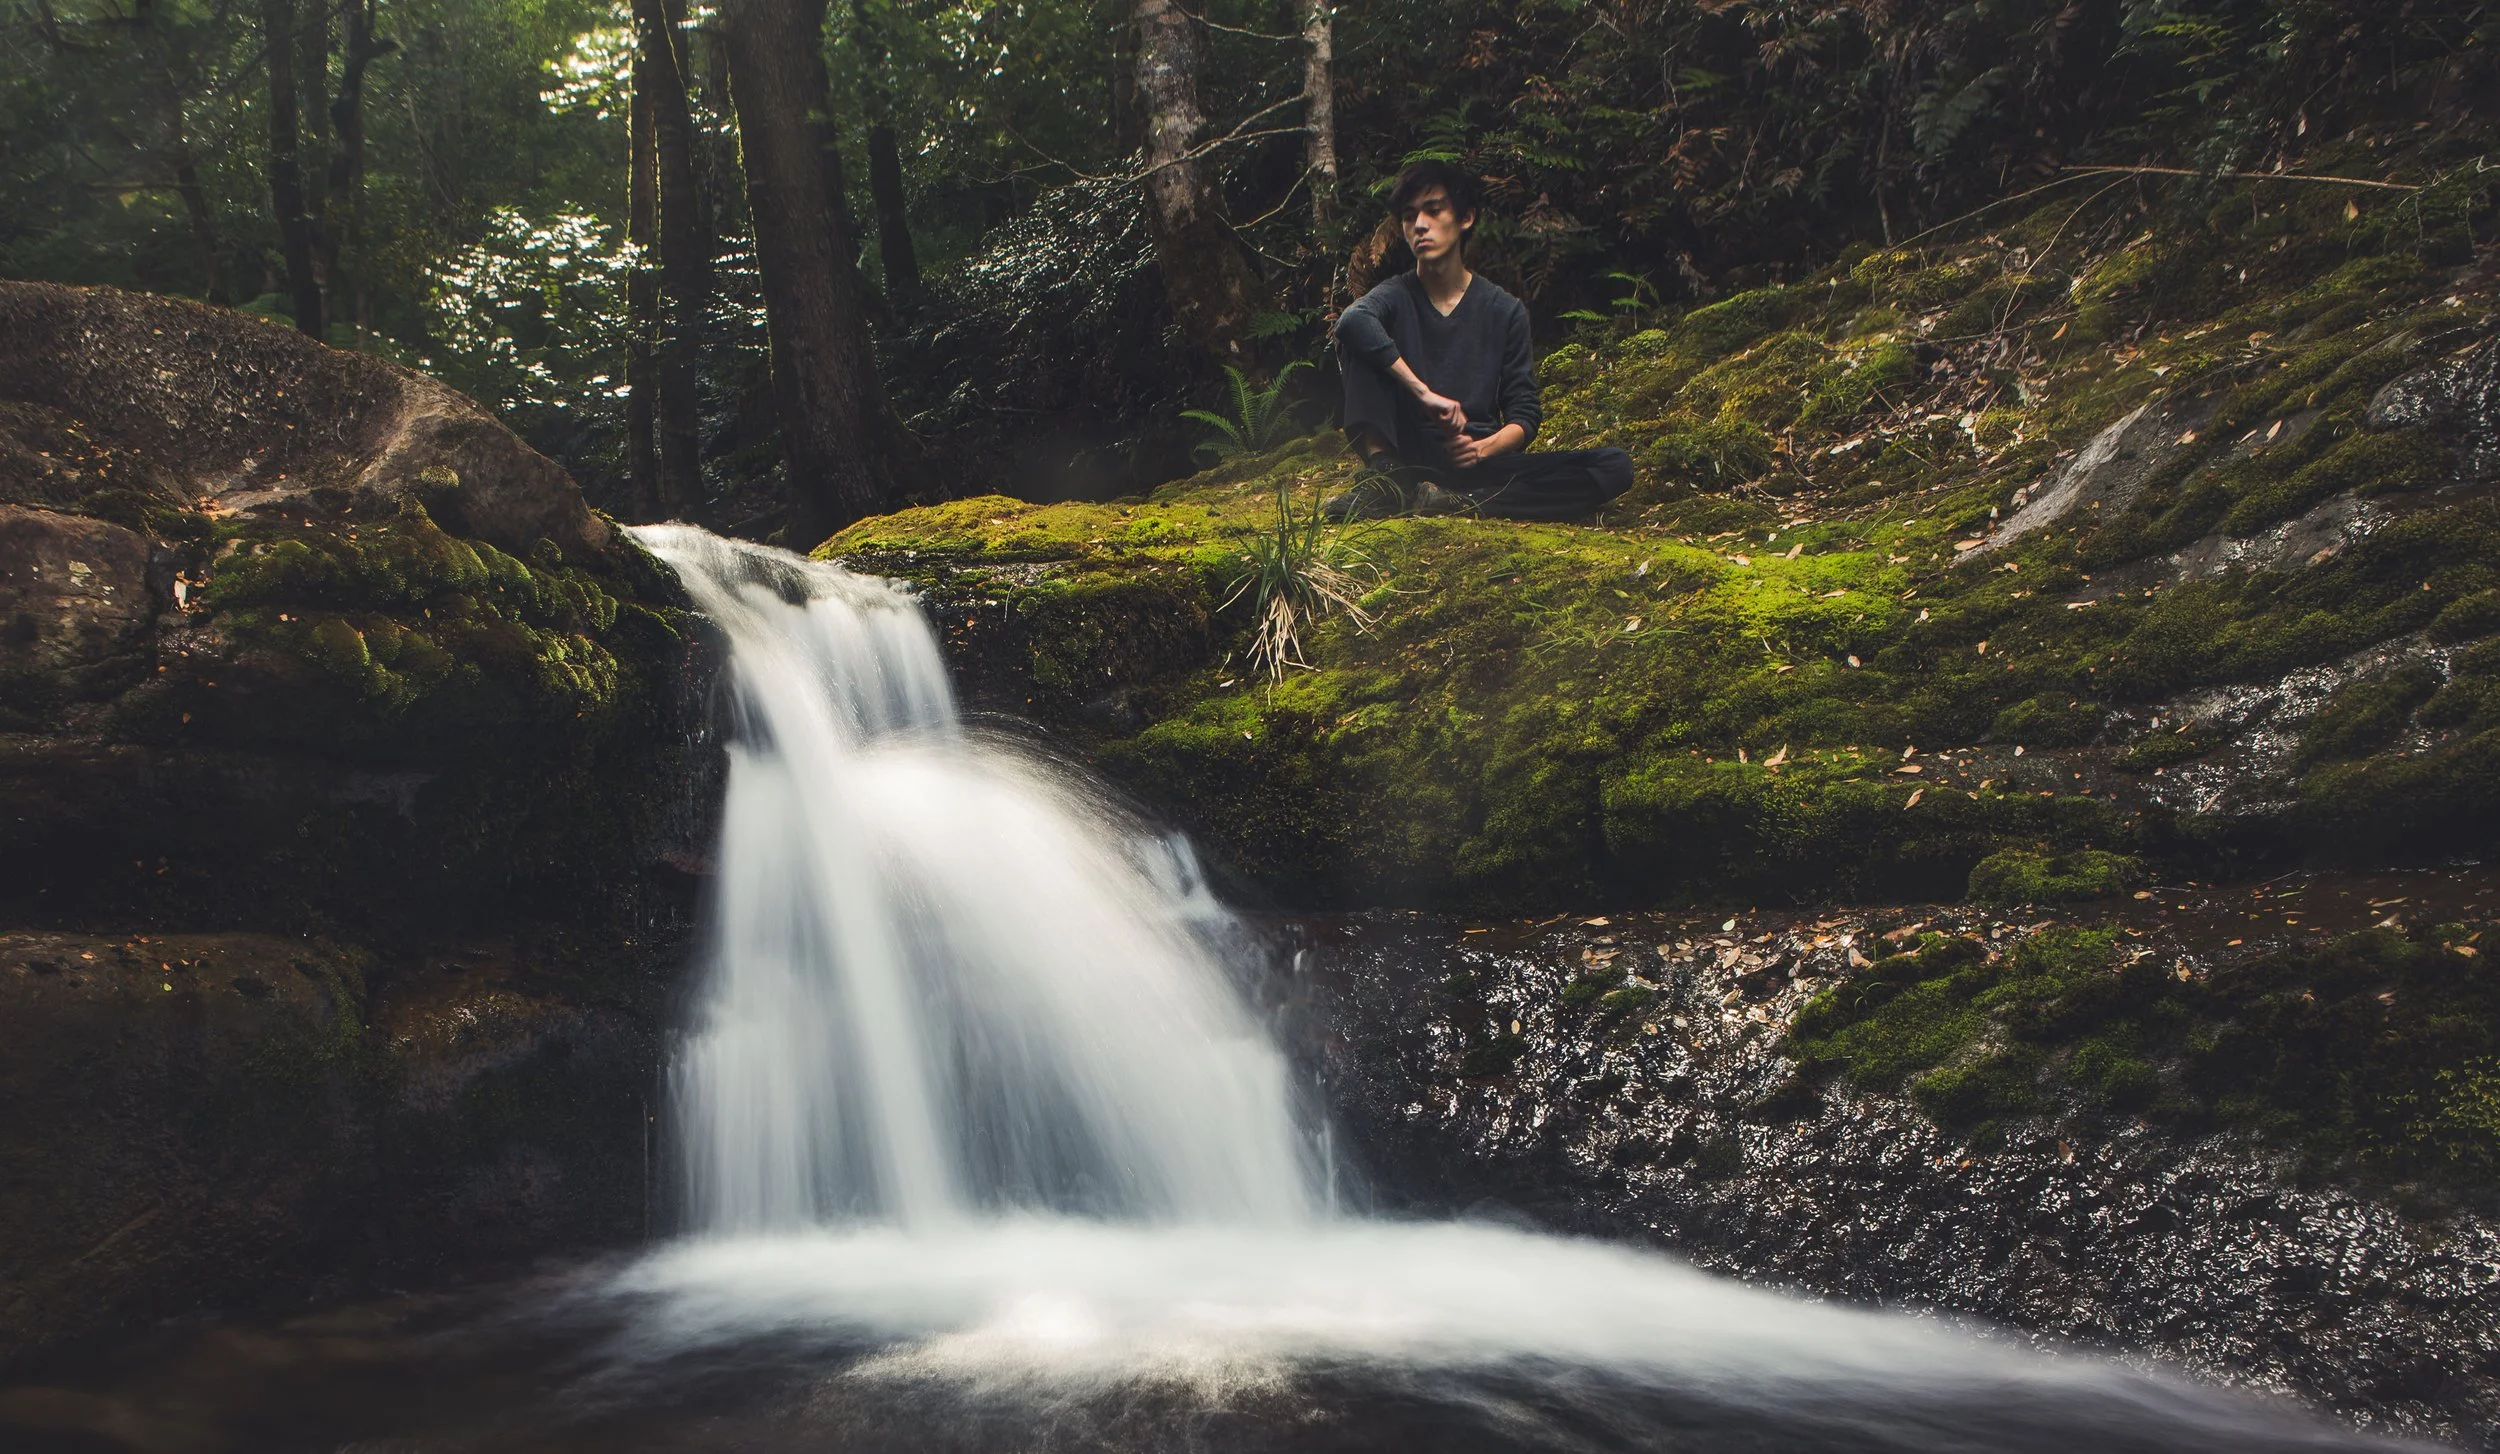
Tasmania Photo Tour
05 REMOTE
If you’re using long exposures a remote shutter release will help you keep camera shake to a minimum. Failing that, you can use your camera’s self timer to fire the shutter ‘hands free’. The best and cheapest option is to download an app for your smartphone to control from as a remote, but for that your camera will need Bluetooth capabilities. Also some screens allow touch screen to focus and photograph.
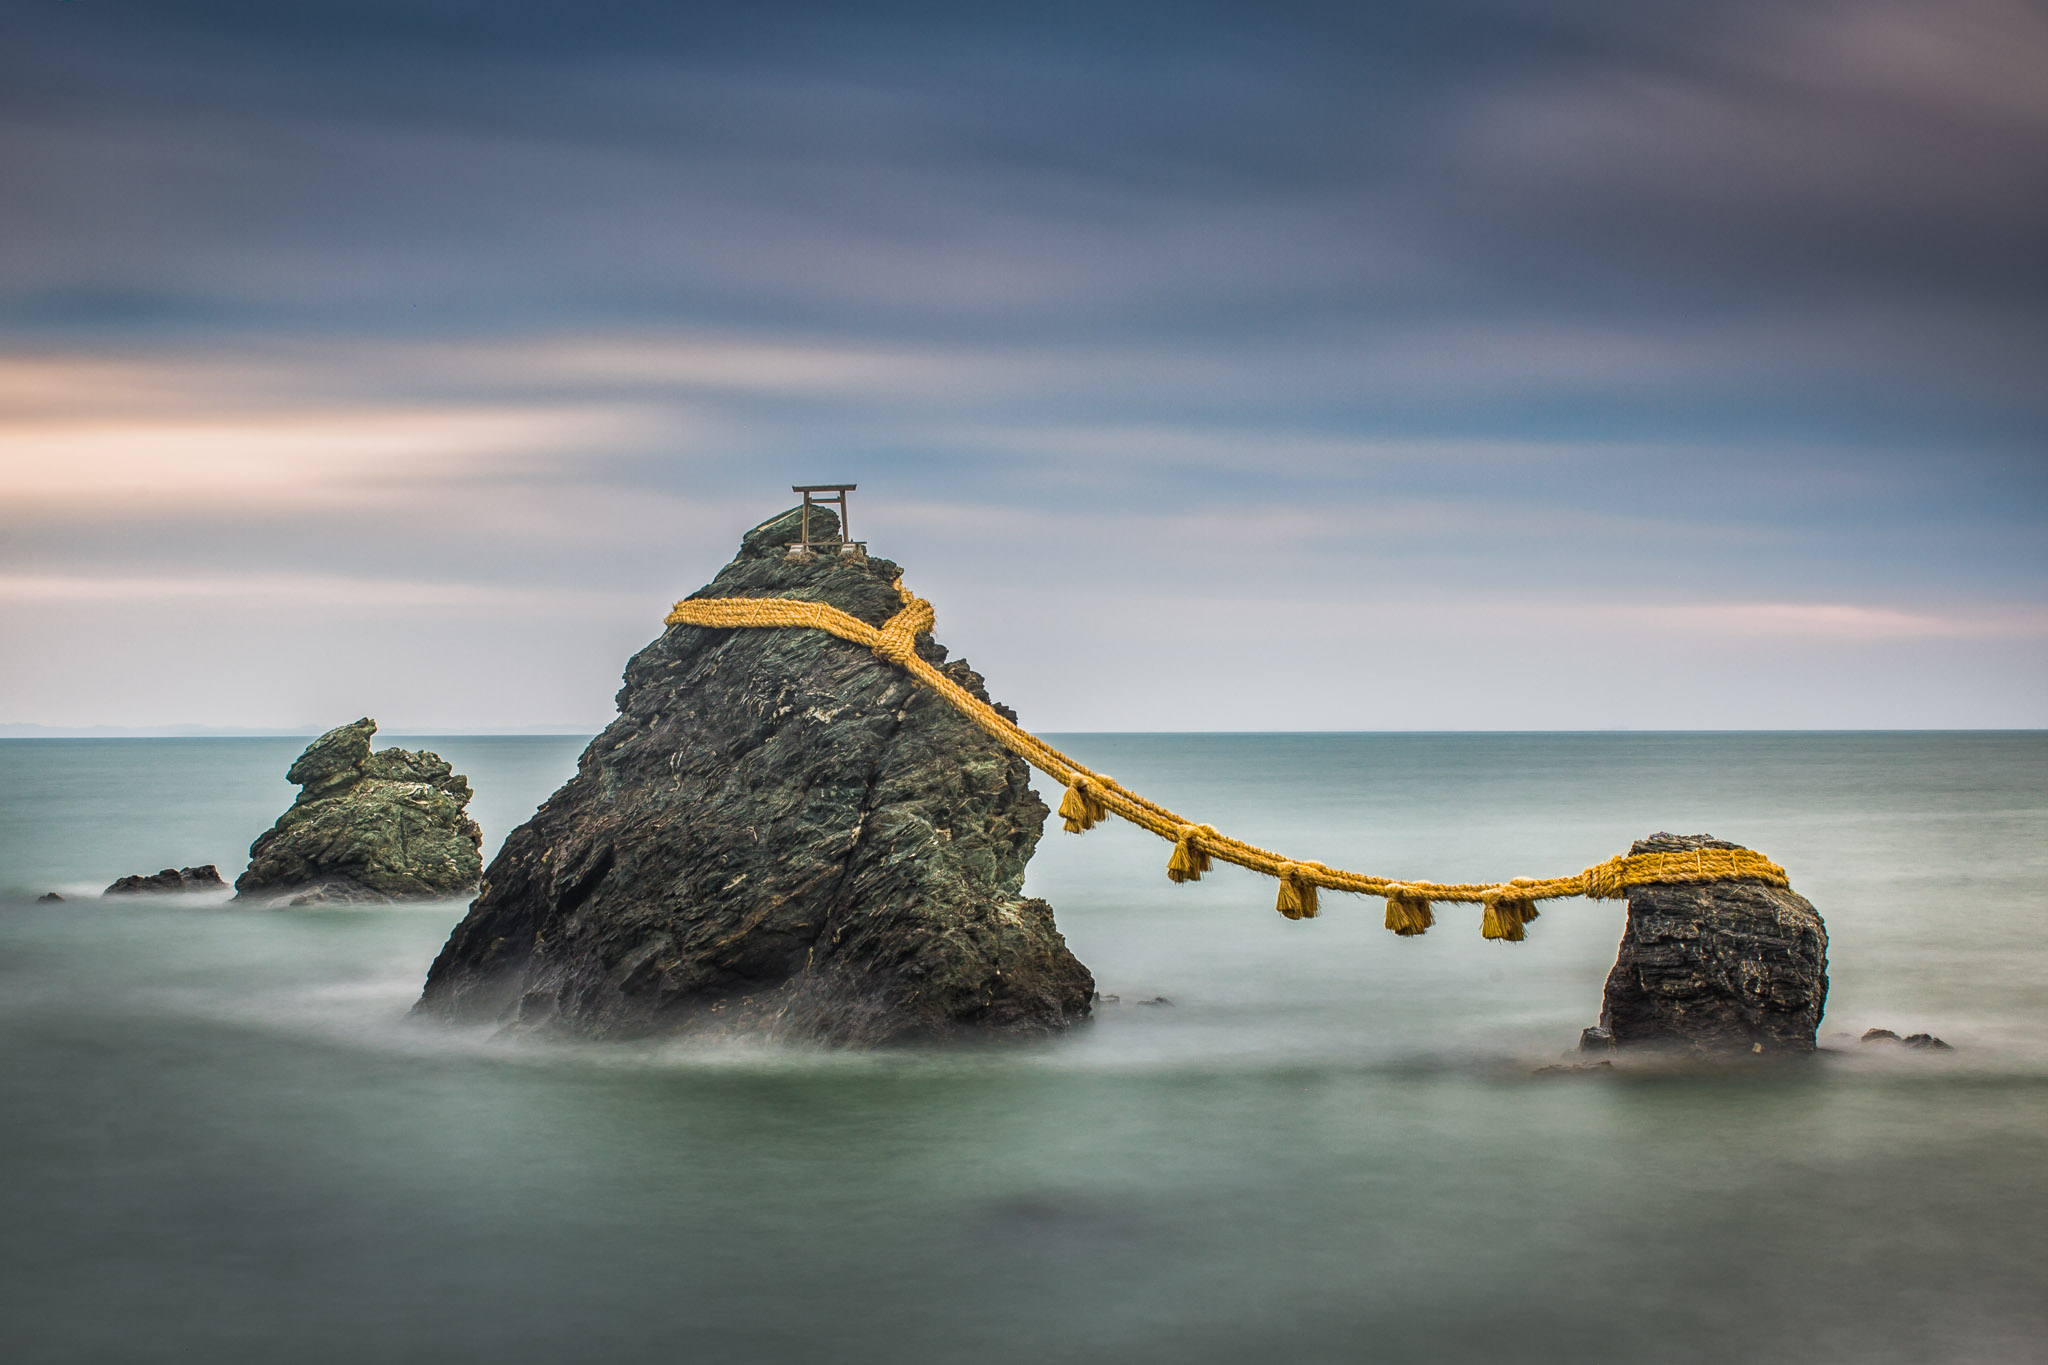
Japan Photo Tours
06 SAFETY
I have been soaked with waves and sudden swells many times. I have even fallen a few times on slippery moss covered sandstone rocks. Be careful when photographing near the coast. Conditions can change quickly and it's easy to get caught out if you're not careful. Don't become so preoccupied with taking photos that you forget what's happening around you.
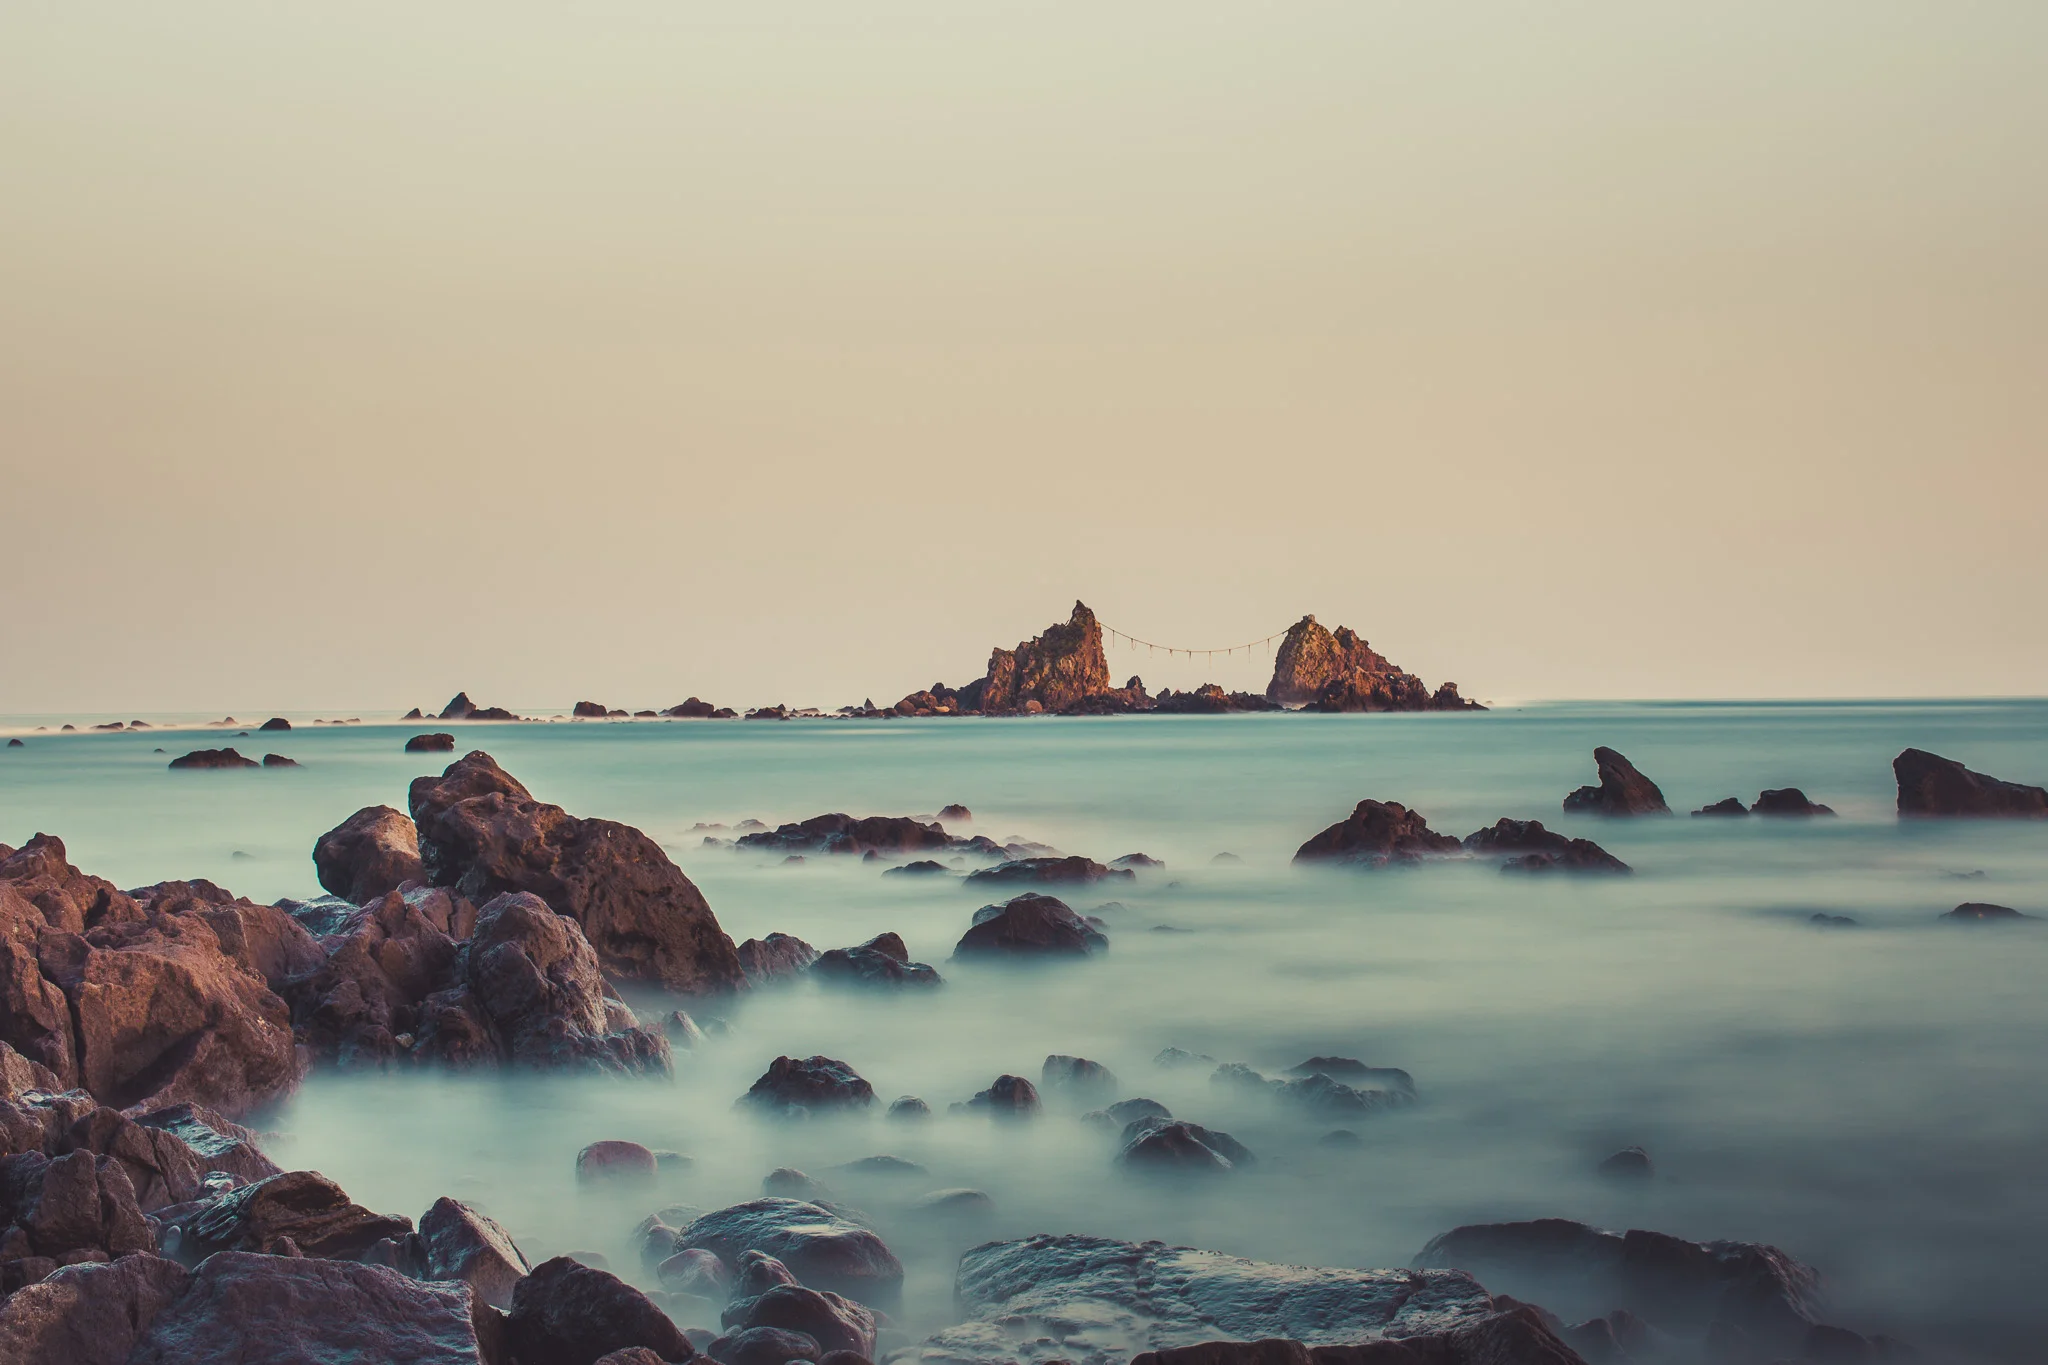
Japan Photo Tours
Err on the side of safety – there are worse things in life than missing the shot! I often check my location's low tide the day before. It's best to decide where and how you will be shooting as it may still be dark when you arrive. It is best to stand back for a few minutes and observe the tides. The Great Australian surf has taken many rock fishermen by surprise. I use rock fishing boots with spikes now to give me ultimate grip on these slippery surfaces. A head lamp in the darkness also allows me to be hands free with my backpack.
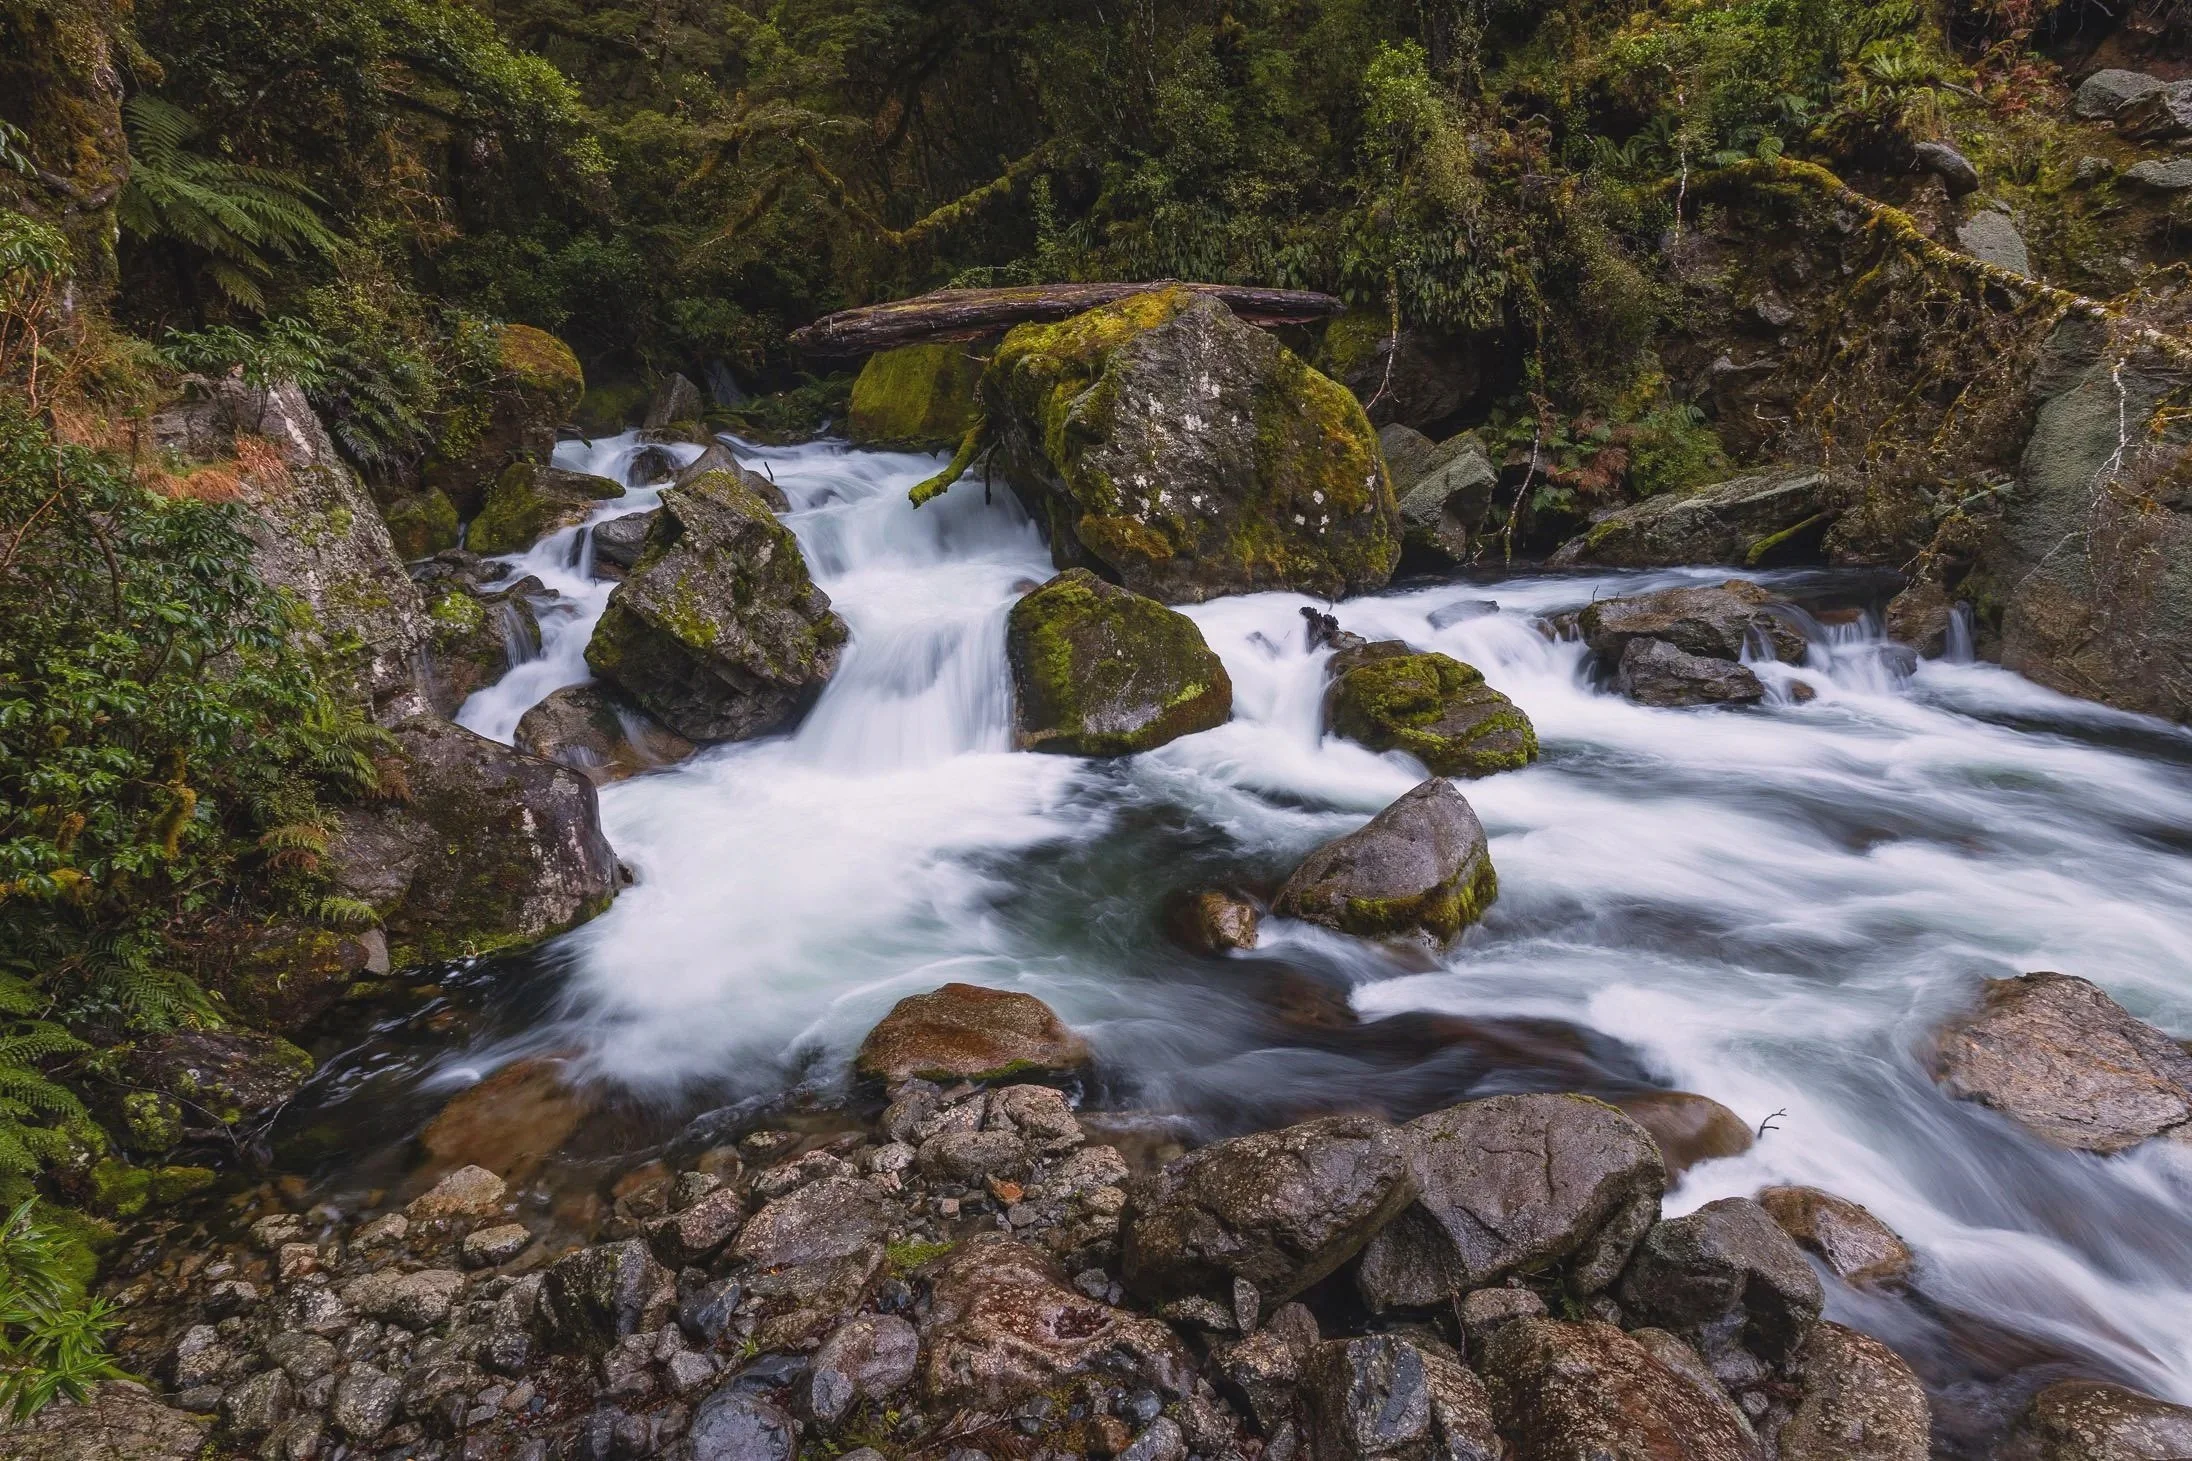
Milford Sound, NZ
Smartphone Users: Iphone & Google Pixel have the slow shutter filter options. For iphone users, turn on your live mode and simply click on top left drop down menu when viewing and choose long exposure . For Google Pixel users its simply choosing the long exposure option.
What's your favorite seascape tip? Share it in the comments section below.
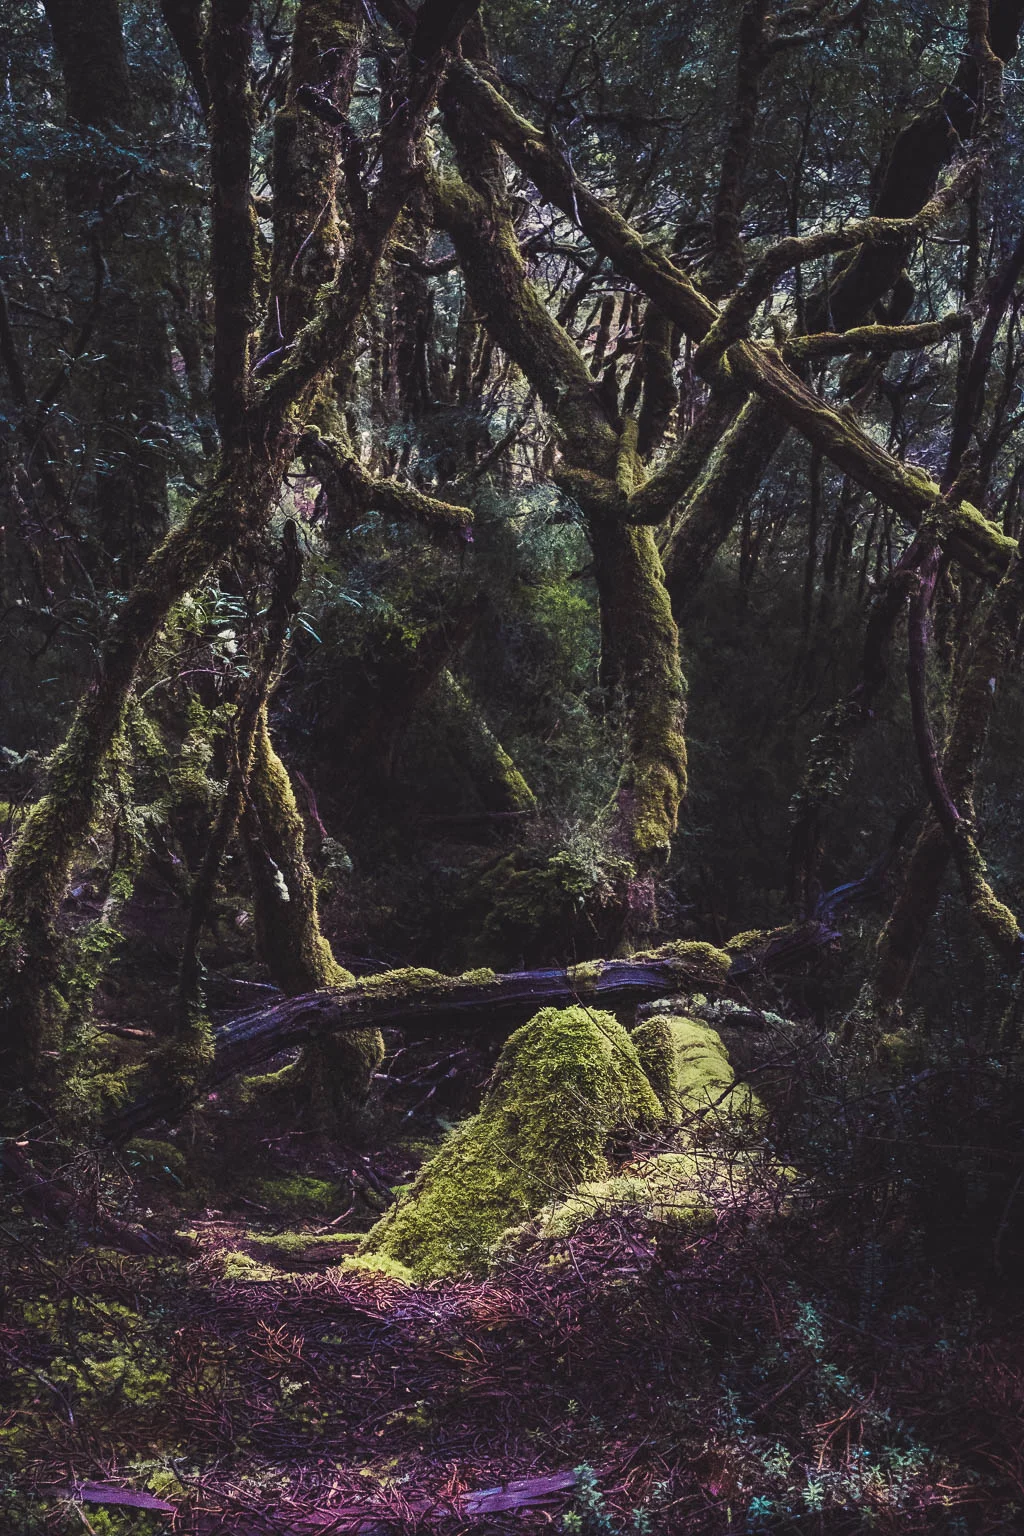
A Photographer's Guide To Exploring Tasmania's Wilderness
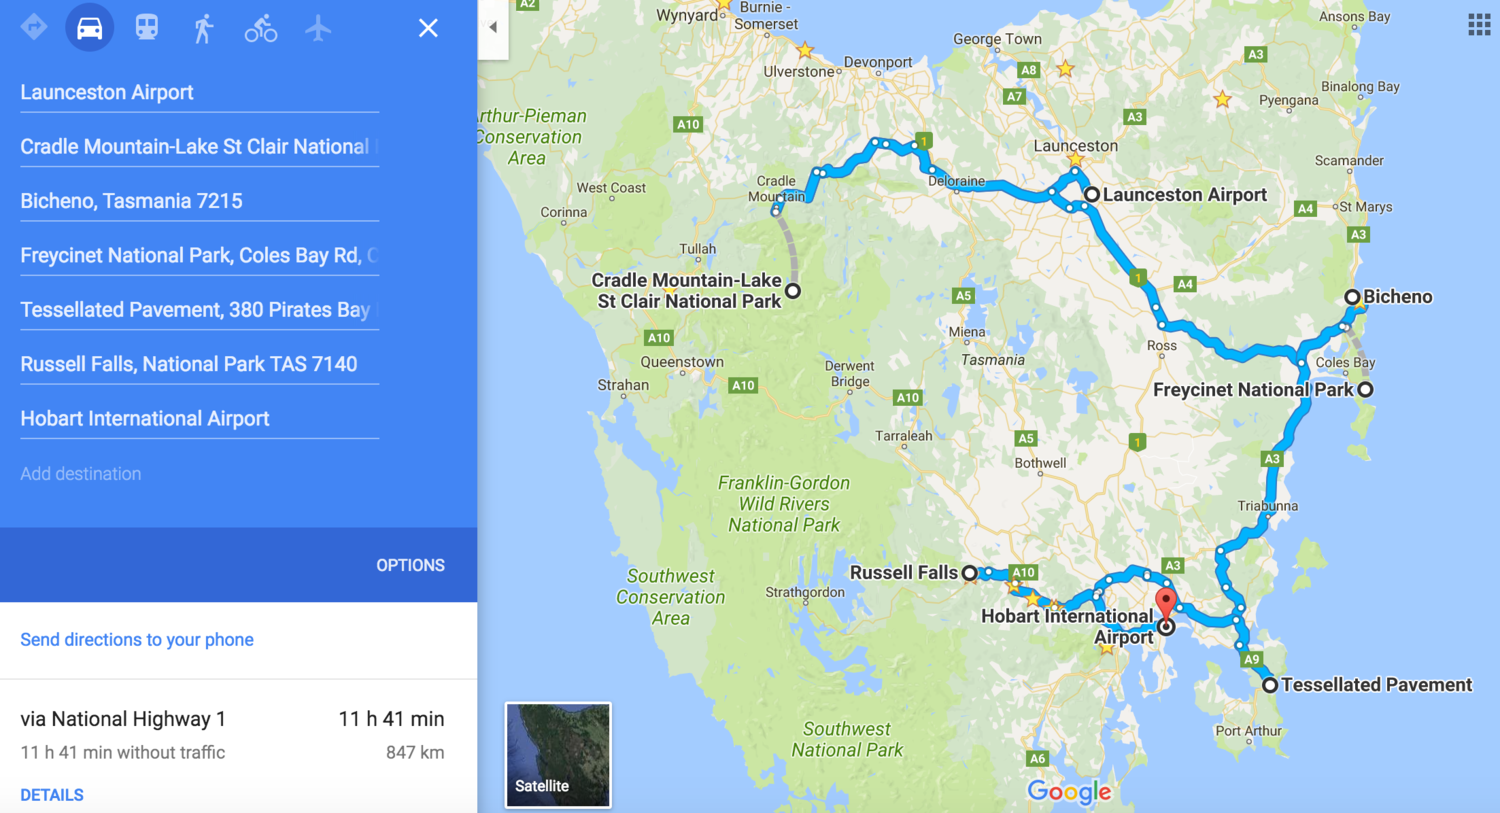
For the last 10 years I have been regularly visiting this remote and pristine island state. Tasmania is about a 1.5 hour flight from Sydney to the city of Launceston. The diverse choice of landscapes and close proximity by car make this a unique and accessible environment still largely untouched.
A Photographer's Guide To Exploring Tasmania's Wilderness
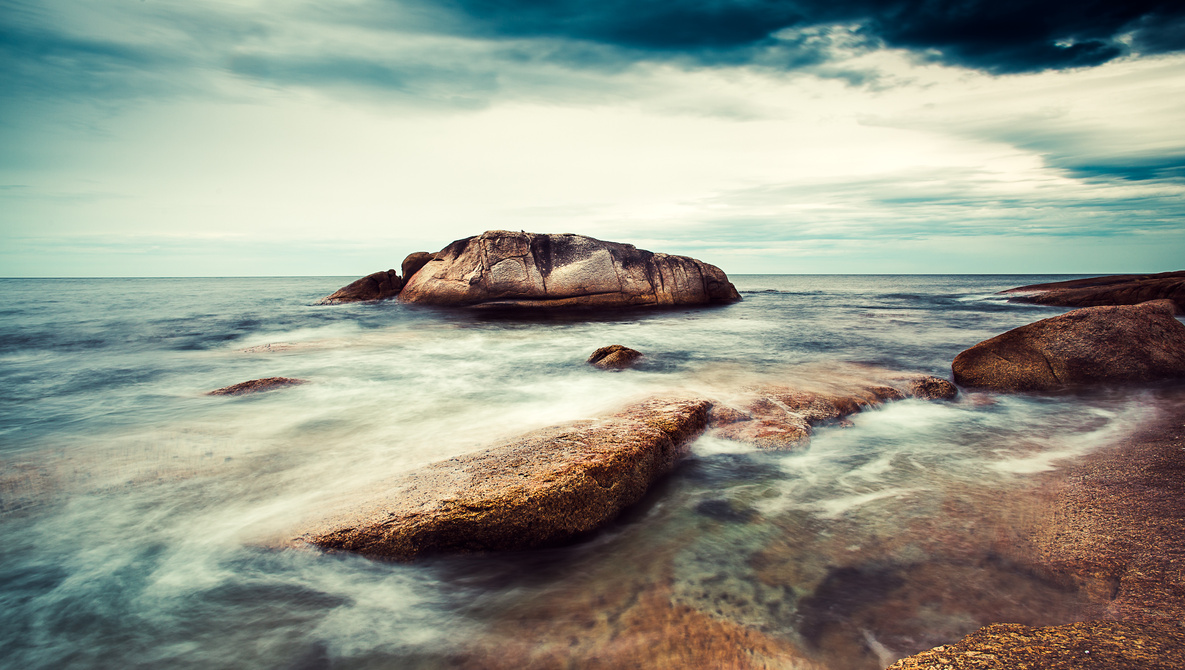
Bicheno Boulders
For the last 10 years I have been regularly visiting this remote and pristine island state. Tasmania is about a 1.5 hour flight from Sydney to the city of Launceston. The diverse choice of landscapes and close proximity by car make this a unique and accessible environment still largely untouched.
Around 40 percent of Tasmania is protected National Parks and Reserves. If you are looking to get off the grid and discover a magical wilderness, this place is filled with adventure and convict history.
Here are some of my favourite spots to photograph in spring or autumn. I have also added a few other locations as side trips that are also worth a look.
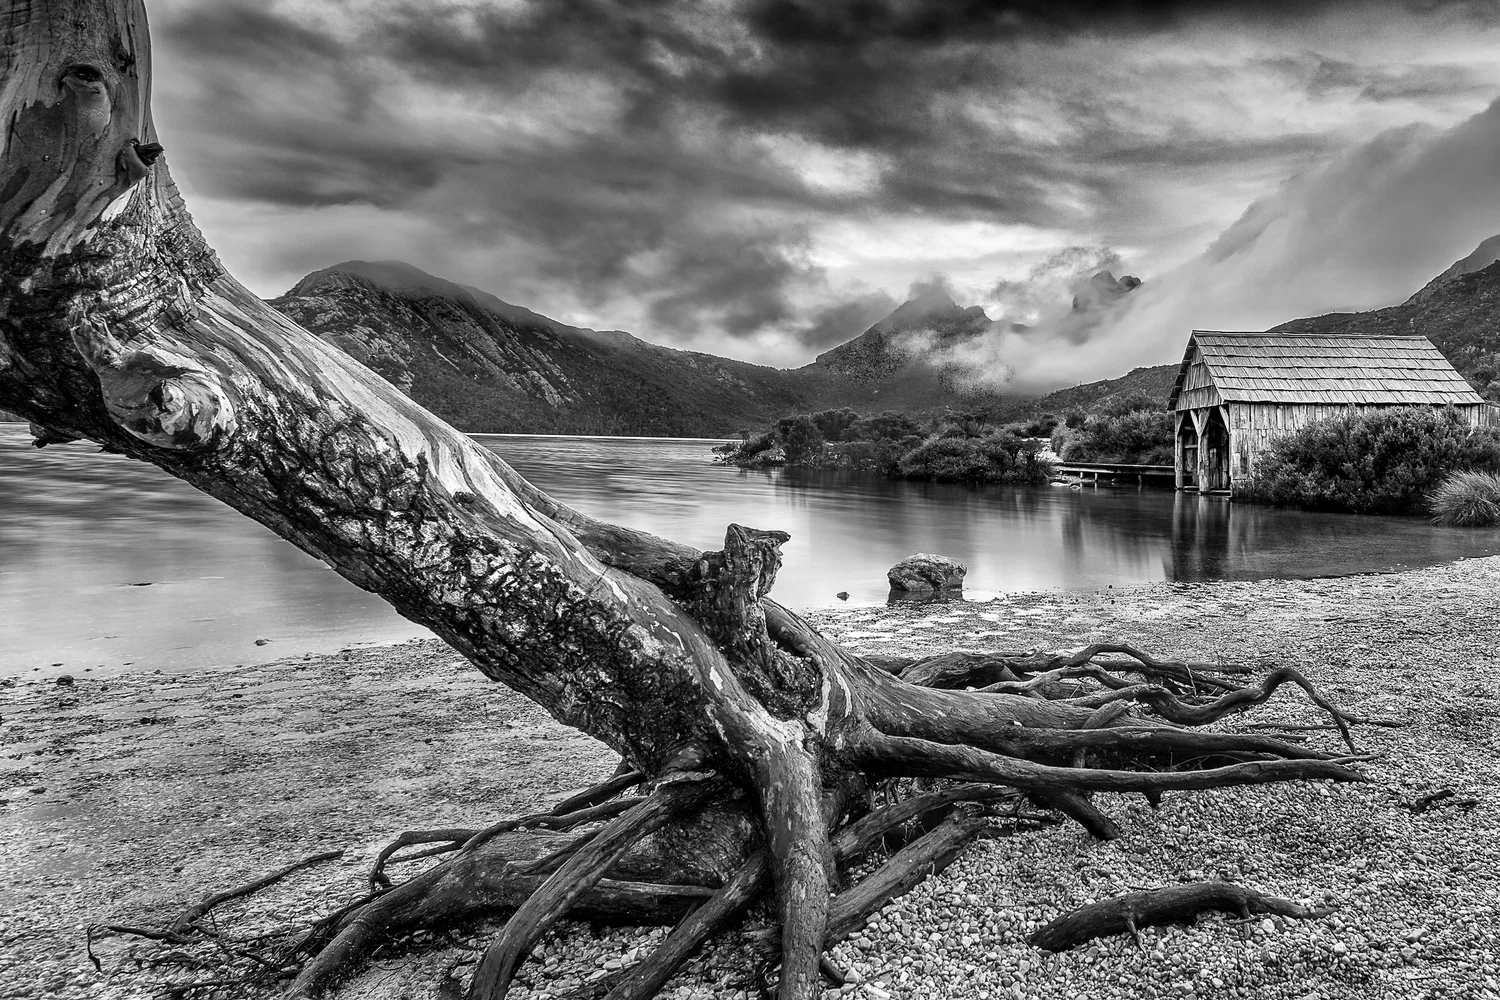
1. Cradle Mountain National Park
A two-hour drive from Launceston Airport will take you to Dove Lake and a spectacular view of Cradle Mountain. Like most mountains, it can be difficult to predict the weather. Tasmania National Parks have various walks that can take two hours or six days, depending on your level of fitness.
You can expect to see a few wombats, wallabies, and Tasmanian devils (in captivity). Unfortunately, there is a lot of road kill so best not to drive through these parks in the dark. The local wildlife tend to freeze and stop in the middle of the road when blinded by car lights.
The weather can turn on you at any moment so best to come well prepared with warm clothing and weatherproof gear.
The area is covered in a variety of alpine and sub-alpine vegetation. Alpine coral fern and button grass dominate the alpine wet sedge lands near the mountain summit.
Tasmanian snow gums can be found at slightly lower elevations alongside pencil pine and waratah. Within the valleys surrounding the mountain, species such as myrtle beech and pandani (unique to Tasmania) form thick temperate forest with dense, mossy undergrowth. The geology of the mountain is Jurassic dolerite.
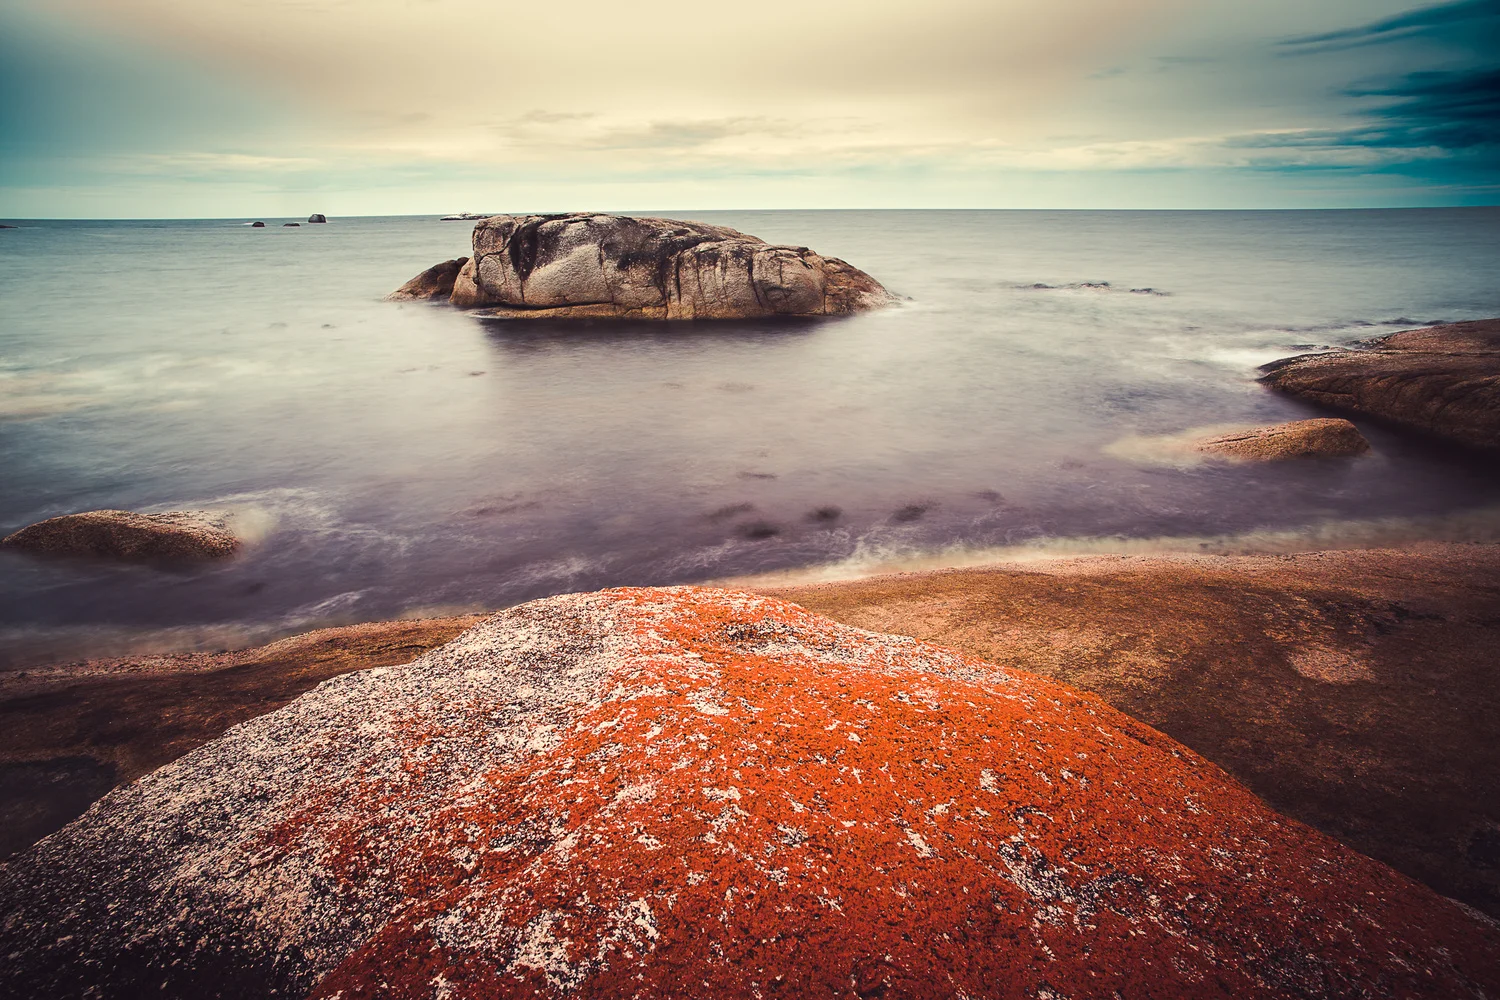
2. Bicheno
Bicheno is located 176 kilometres (109 miles) southeast of Launceston. It used to be a whaling town in the early 1800s. Today it is a charming seaside resort town and the local fishing industry's catch includes substantial quantities of abalone, crayfish, scallops, and trevally.
In the photo below you can see the famous Rocking Rock (80 ton piece of granite). There are a number of interesting access points onto the rocks which have a distinctive red colour as a result of deposits of red lichen; All perfect for a slow shutter and a 10-stop filter if you choose to shoot in the middle of the day. There is also a blowhole nearby that shoots out water up to 10 feet high.
Many of these rocks resemble sea creatures such as whales and sea lions. At night along the coastal beaches you might spot some fairy penguins coming in after sunset.
3. Sleepy Bay, Freycinet National Park
Just a 30 minute drive from Bicheno is Coles Bay. Famous features of the park include its red and pink granite formations and a series of jagged granite peaks in a line called "The Hazards."
If you are lucky you might spot some Bennet's wallabies, brushtail possums, eastern quoll, echidnas, and wombats. Out in the ocean you might spot some humpback whales and bottlenose dolphins.
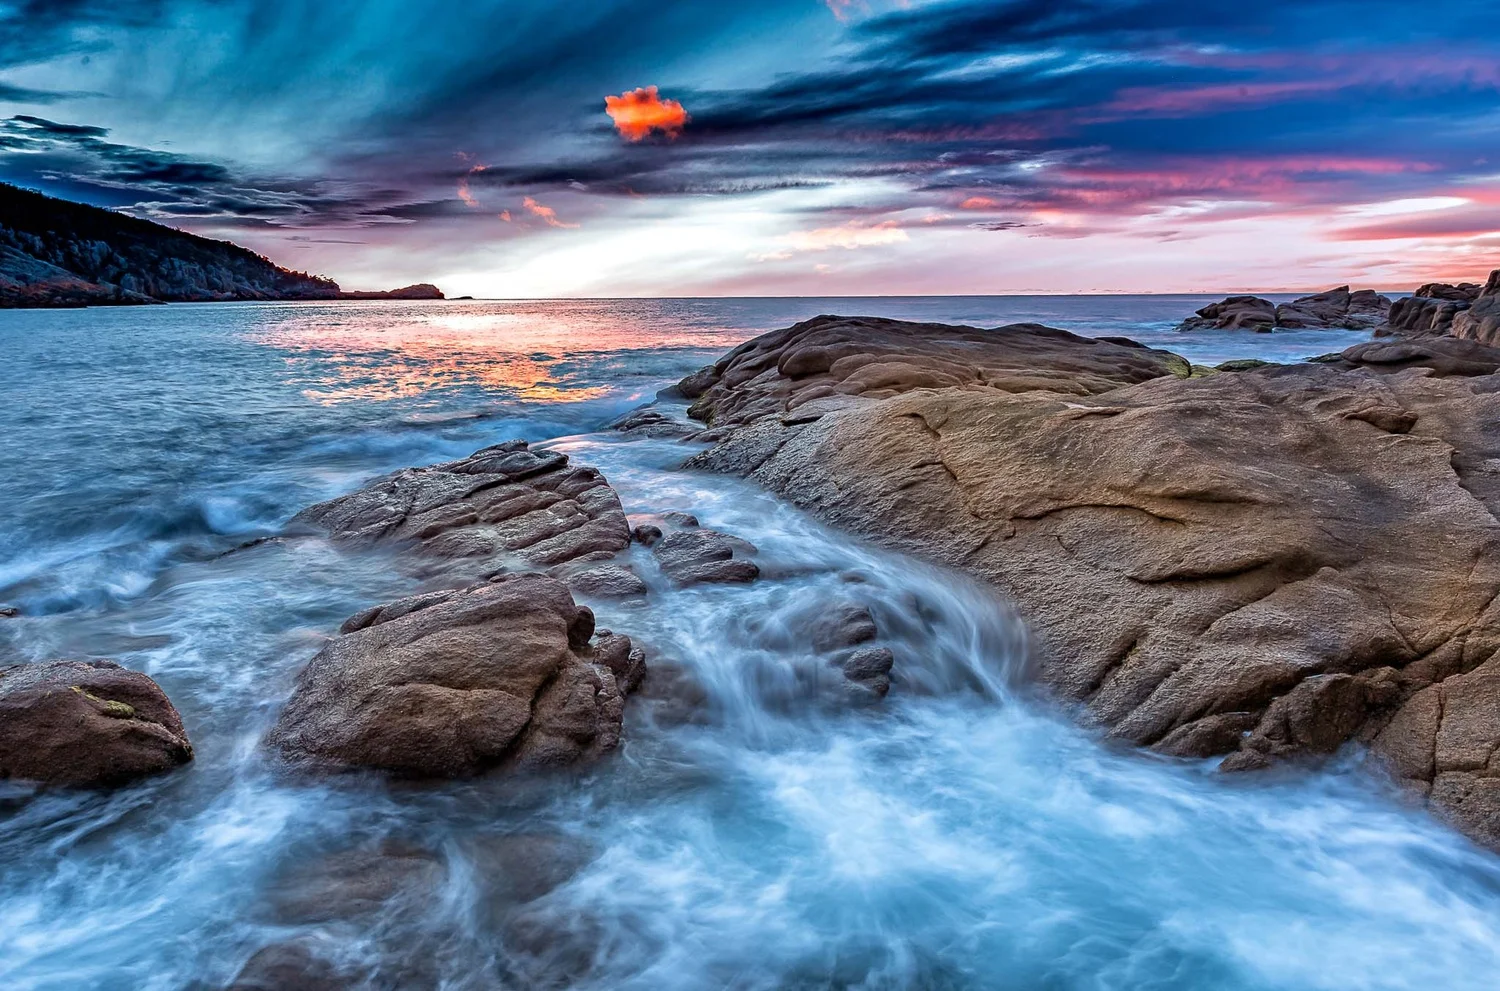
Up in the sky or perched on trees are white-bellied eagle, black-browed albatross, brown falcon, and fairy wren to name a few. Banksia and Eucalyptus Gum trees dominate the area.
There are various walks but the most common would have to be Wineglass Bay which has been voted in as one of the top 10 beaches in Australia.
4. Tessellated Pavement
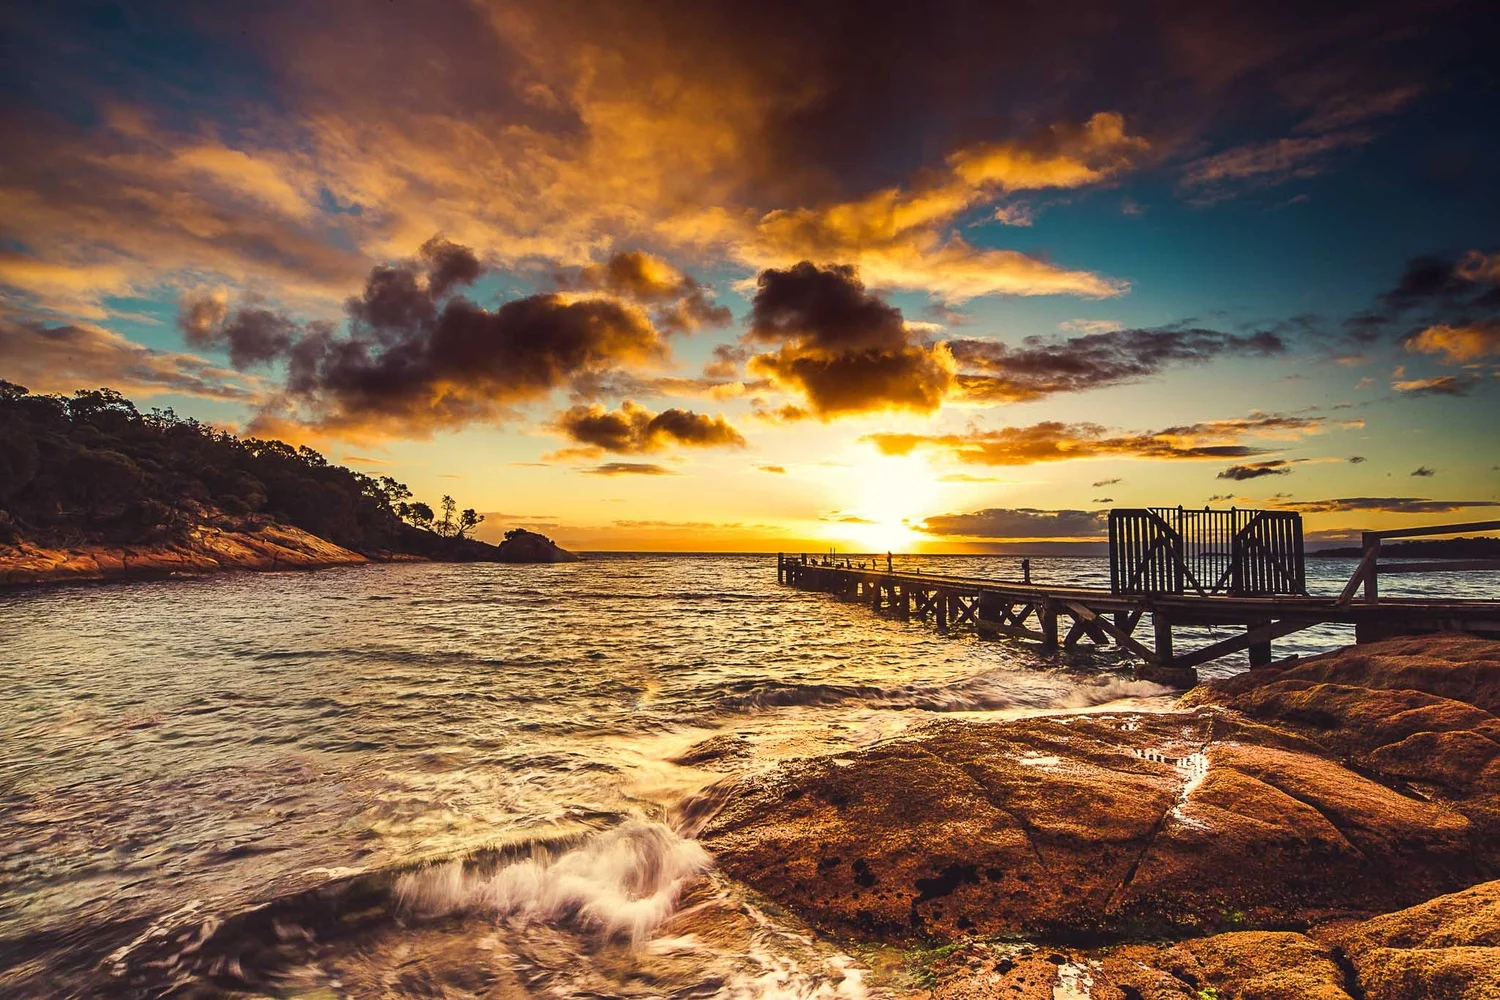
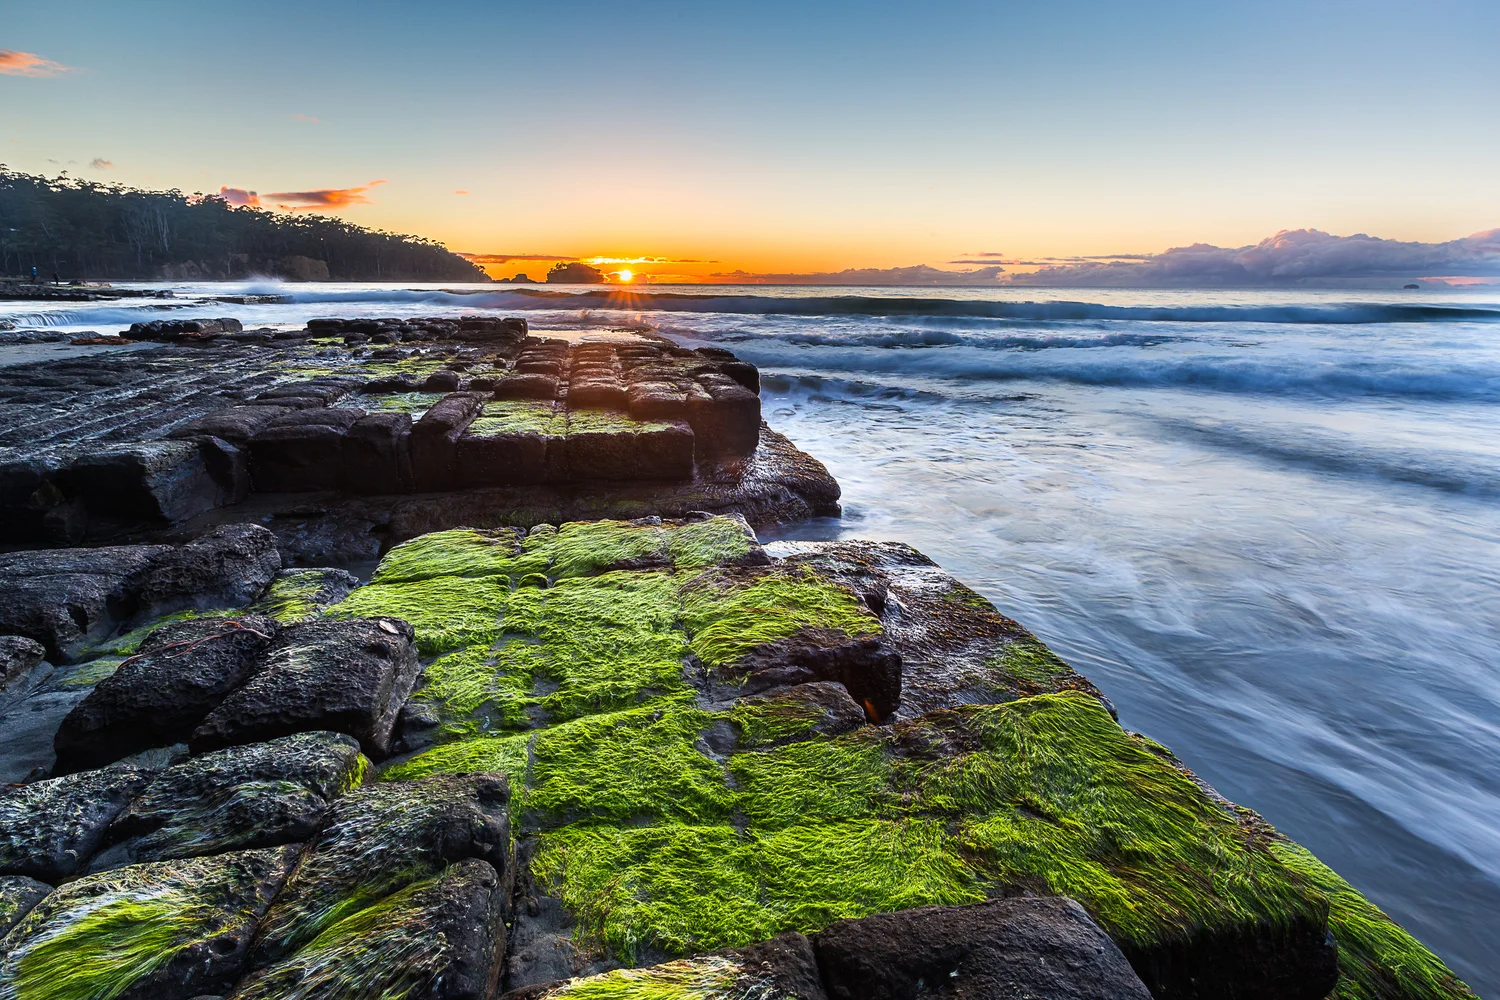
The Tessellated Pavement State Reserve is on the Tasman Peninsula near Eaglehawk Neck. The region is popular with a short drive from here to Port Arthur Convict Settlement. Also known for a massacre in 1996 of 35 who were killed by a mad gunman.
It is the deadliest mass shooting in Australia's history. Since then, our gun laws restrict the private ownership of high-capacity semi automatic rifles and shotguns as well as introducing uniform firearms licensing. The area has a melancholic feel. The best time of year to photograph the chess board like pavement is in May when moss on the rocks is more abundant.
5. Russell & Horseshoe Falls
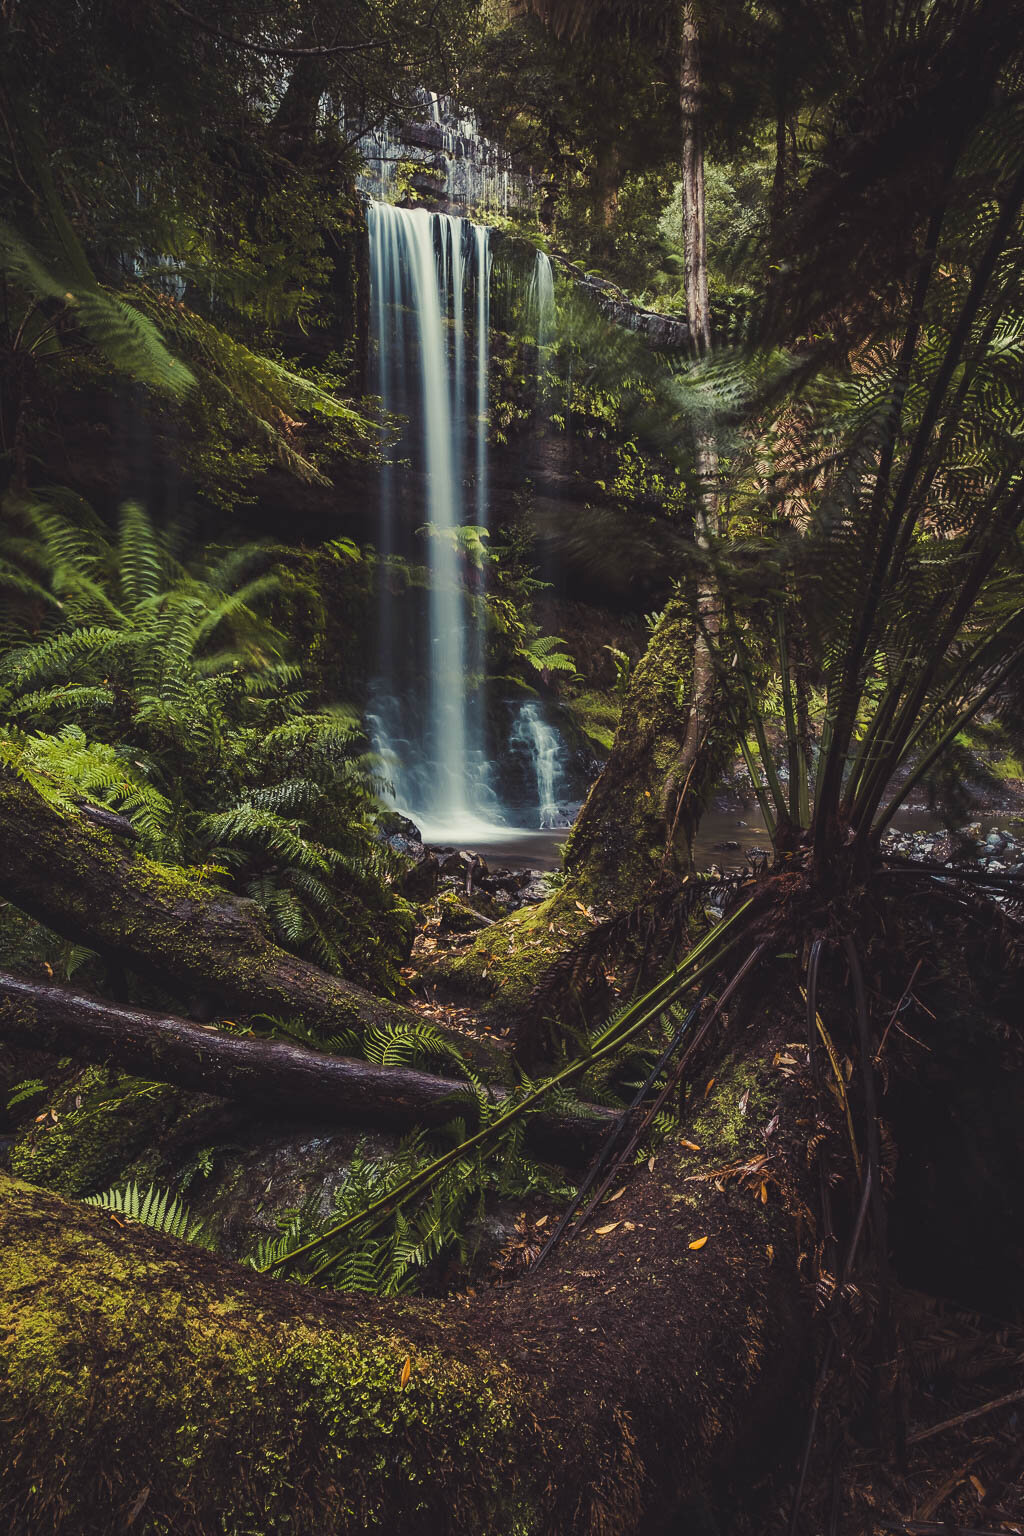
Only an hour and a half drive out of Hobart is Mt. Field National Park where you will find Russell And Horseshoe Falls.
Nestled in a moss forest are towering swamp gums, the tallest flowering plant on earth, and species typical of wet forests and cool temperate rainforests, such as dogwood, musk, and myrtle. Towards the falls, the track is framed by stunning tall tree ferns. The falls themselves are impossibly picturesque.
Other Points of Interest
Liffey is an area where many farms have abandoned houses and sheds. Rumoured to have paranormal activity, this wool shed stands on its last legs. Liffey is also known for its cascading waterfalls.
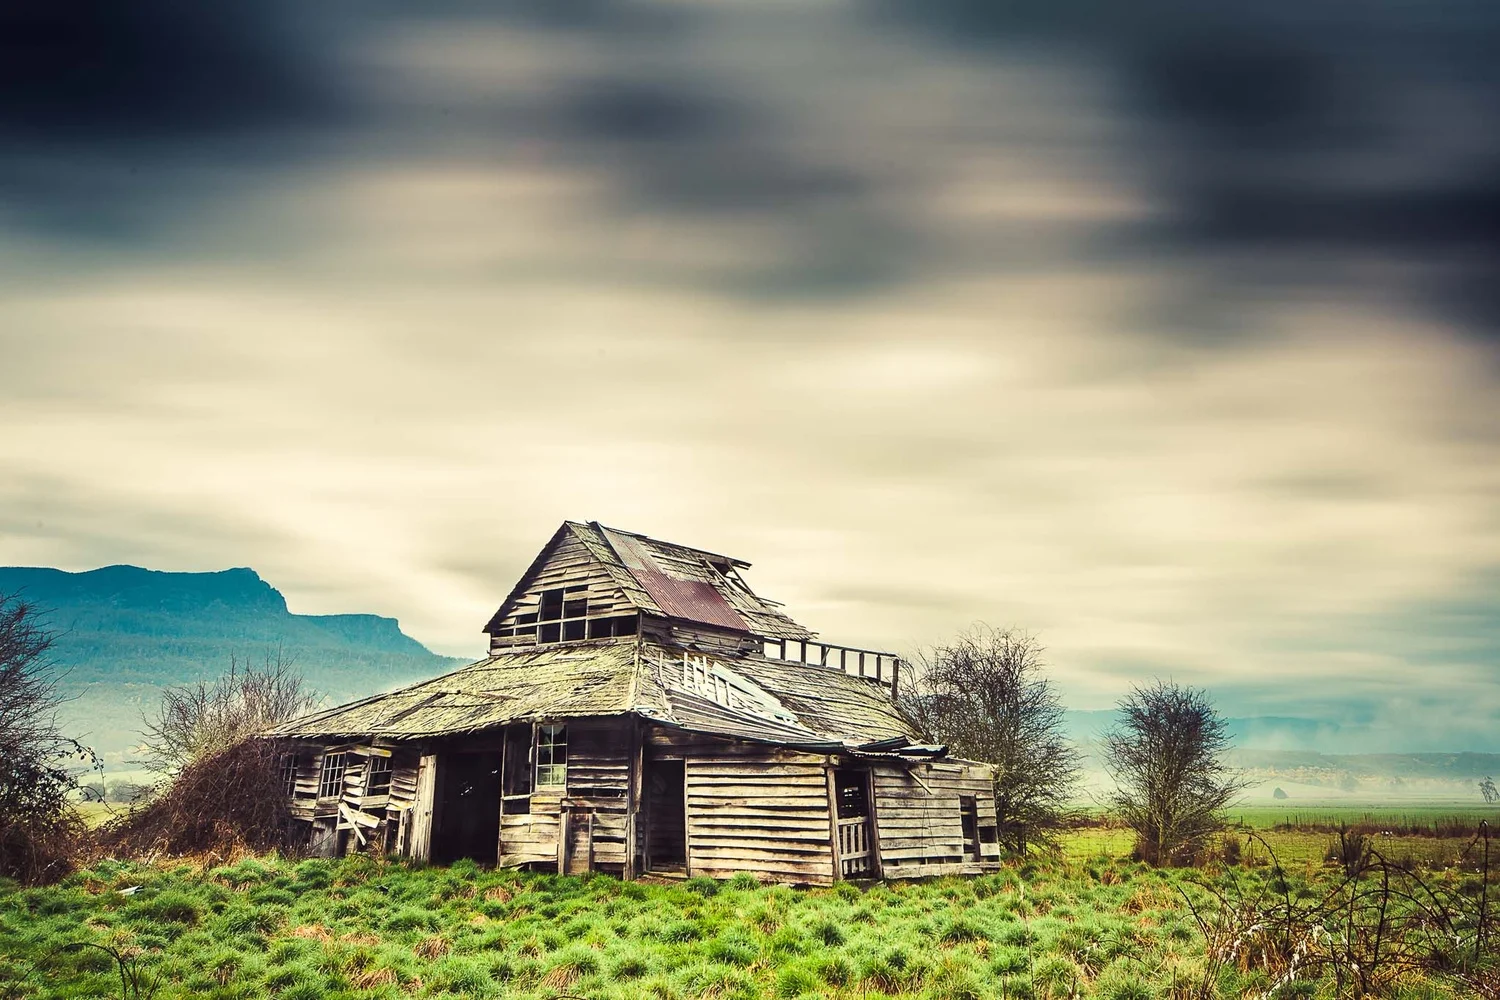
Liffey
New Norfolk on the Derwent River Poplars in May is when autumn and all its colours come to life in the Derwent Valley only an hours drive from Hobart.
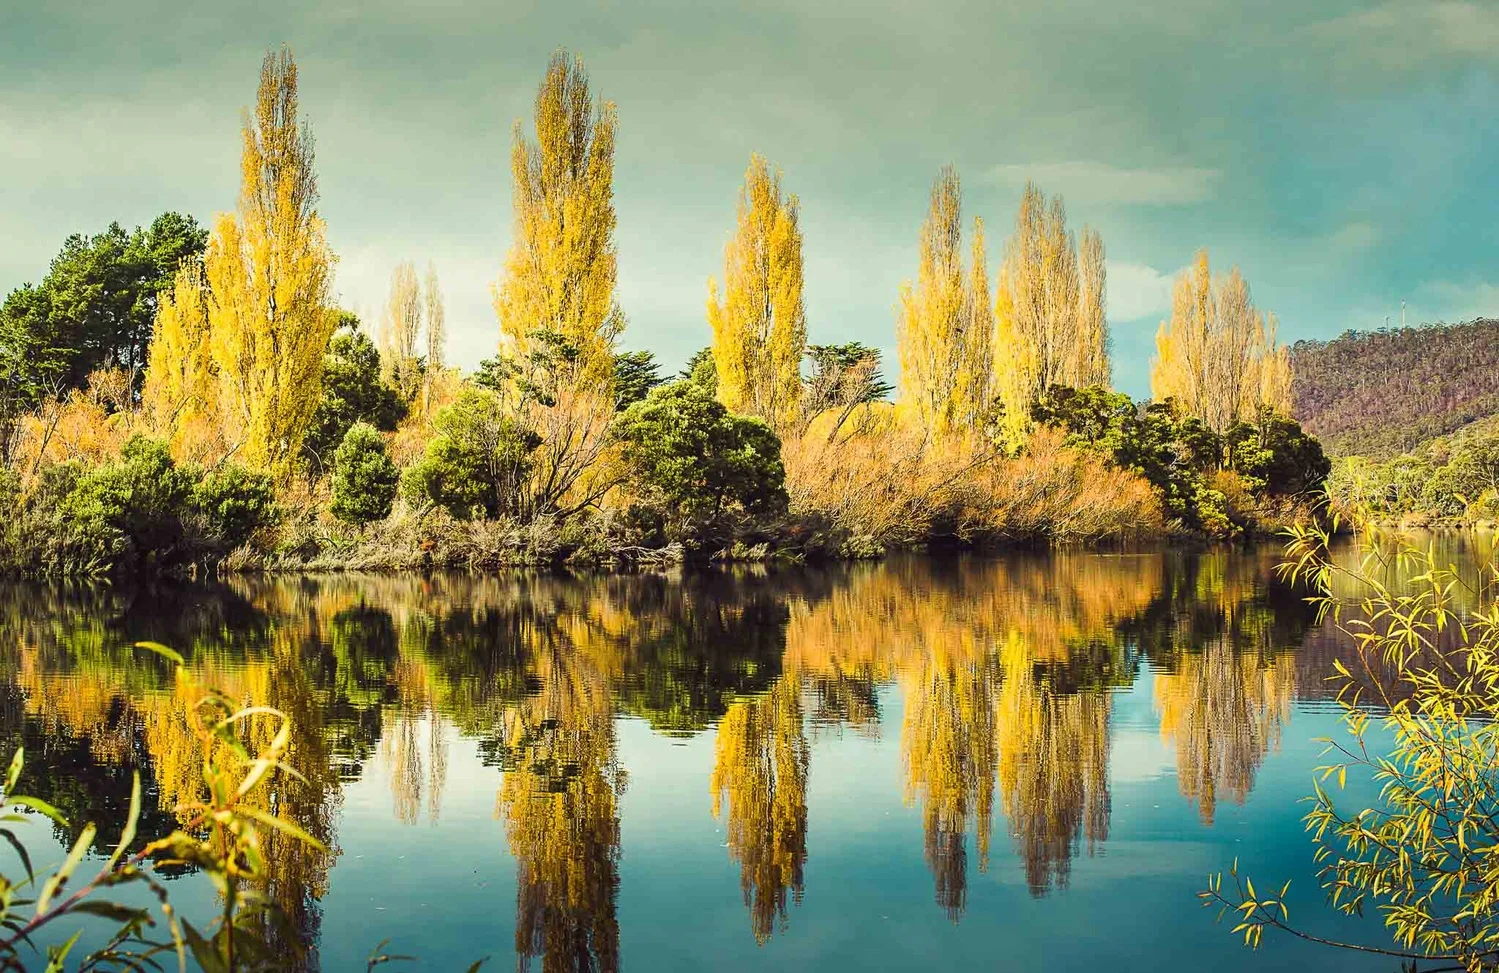
New Norfolk - Derwent River
Arthurs Lake
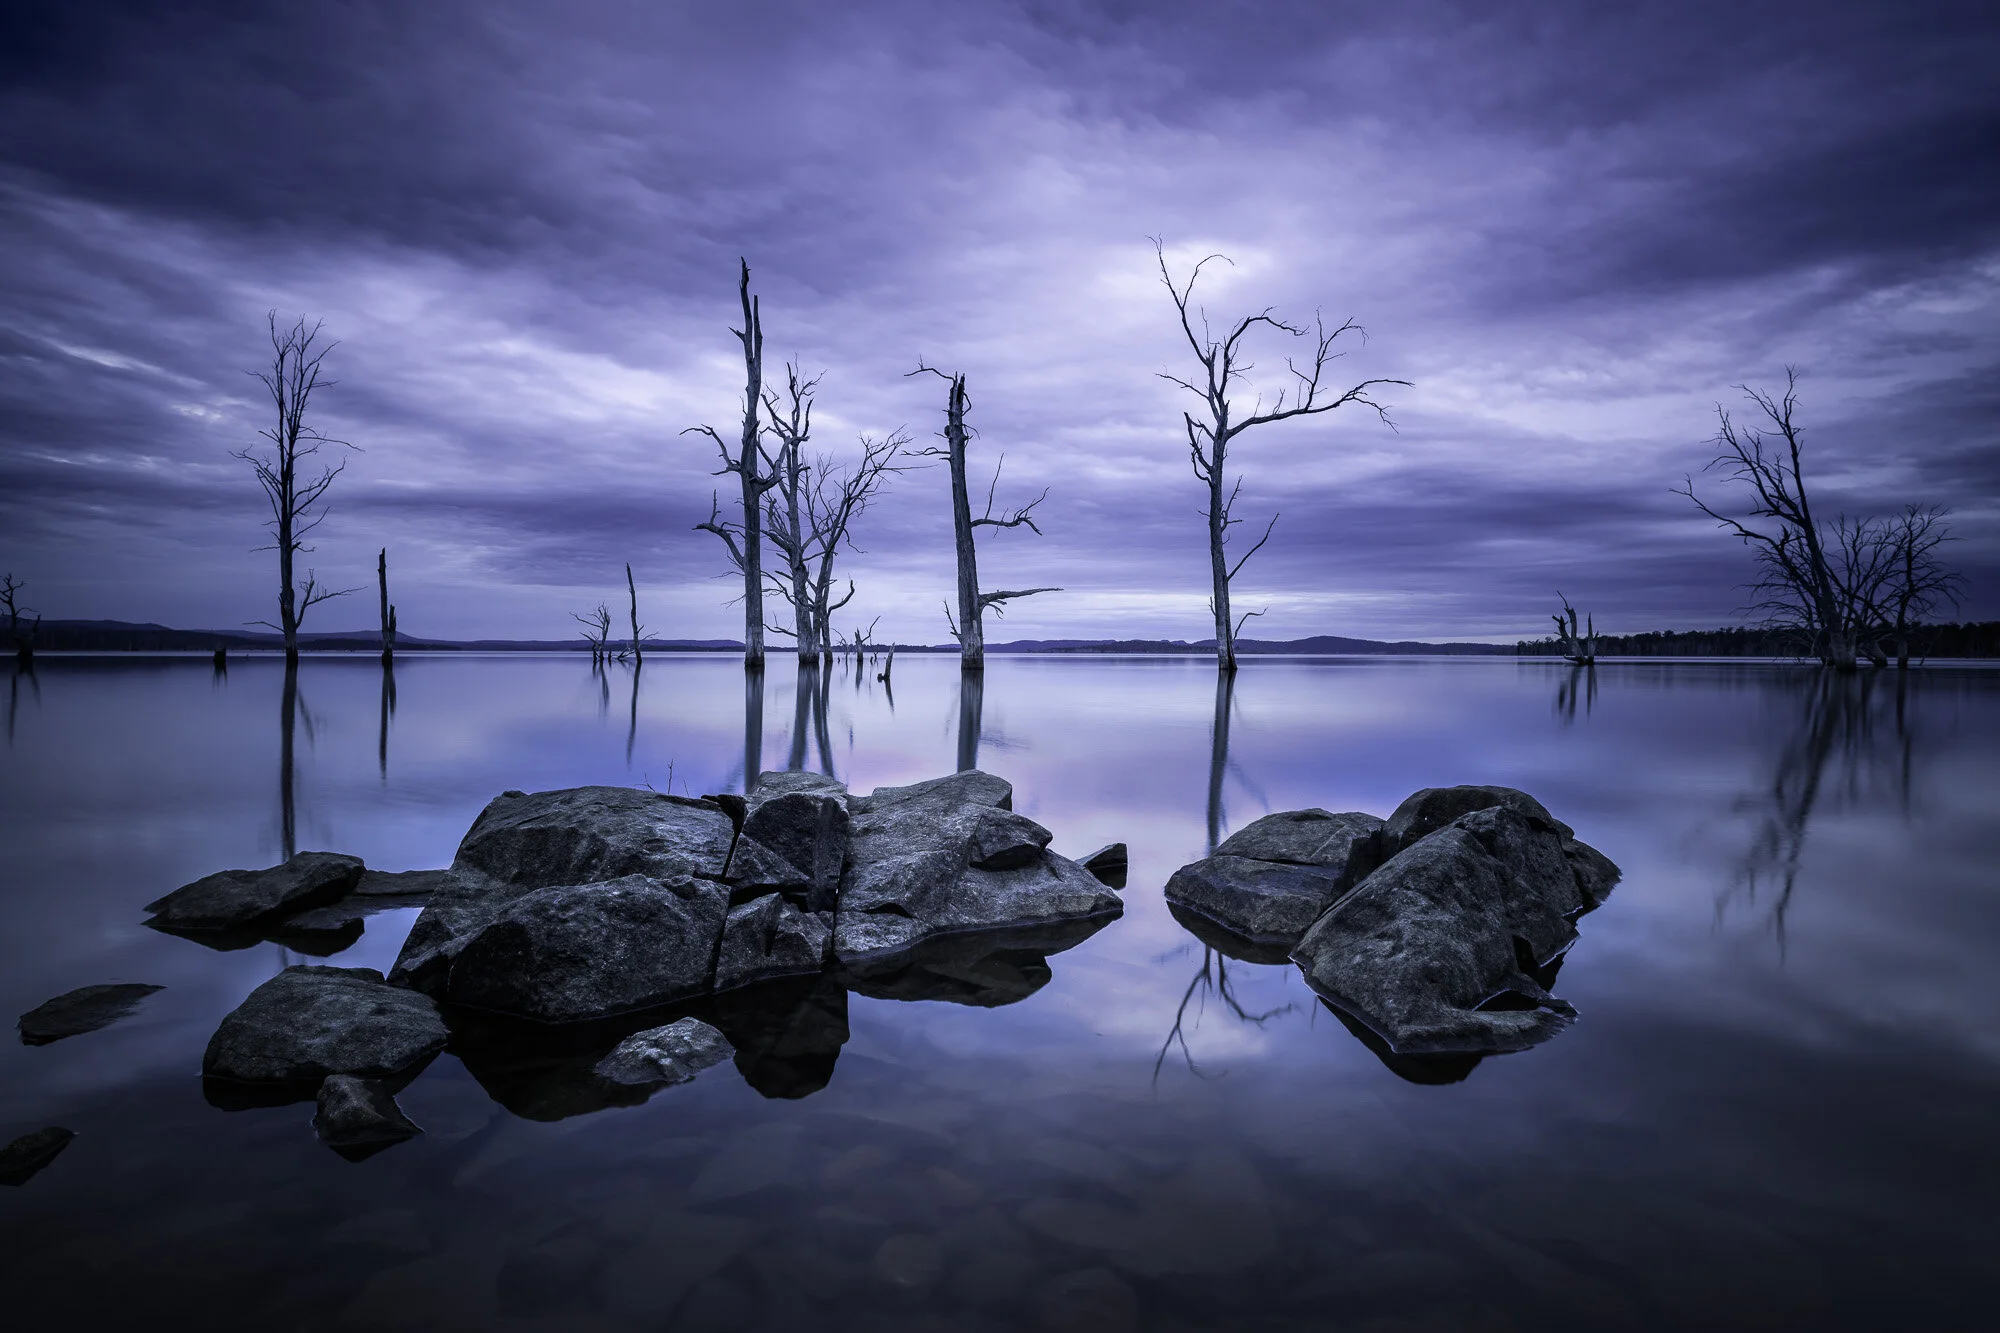
Finally, My last favourite location to add on this list is Arthur’s Lake. Also known as the drowned forest. Hundreds of eucalyptus trees stand tall in the lake providing shelter for trout. Arthurs Lake is a man-made reservoir located in the Central Highlands region of Tasmania, Australia.
The lake was created in the 1920s by the Hydro-Electric Commission of Tasmania damming the Upper Lake River, Blue Lake and Sand Lake as well as the Morass Marsh. The principal purpose of the lake is to support the generation of hydroelectricity.
Of course there are numerous other great locations in Tasmania yet to explore. Do you have any other suggestions of where and when to go?

Arthur’s Lake
The Tarkine
The Tarkine (takayna) in Tasmania is Australia’s largest temperate rainforest and the second largest in the world. Covering 450,000 hectares, this wilderness area is known for its high biodiversity, ancient forests, and rich Aboriginal heritage. The region, which features wild rivers, button grass plains, and stunning coastlines, is a major destination for nature-based tourism and a hotspot for environmental conservation efforts.
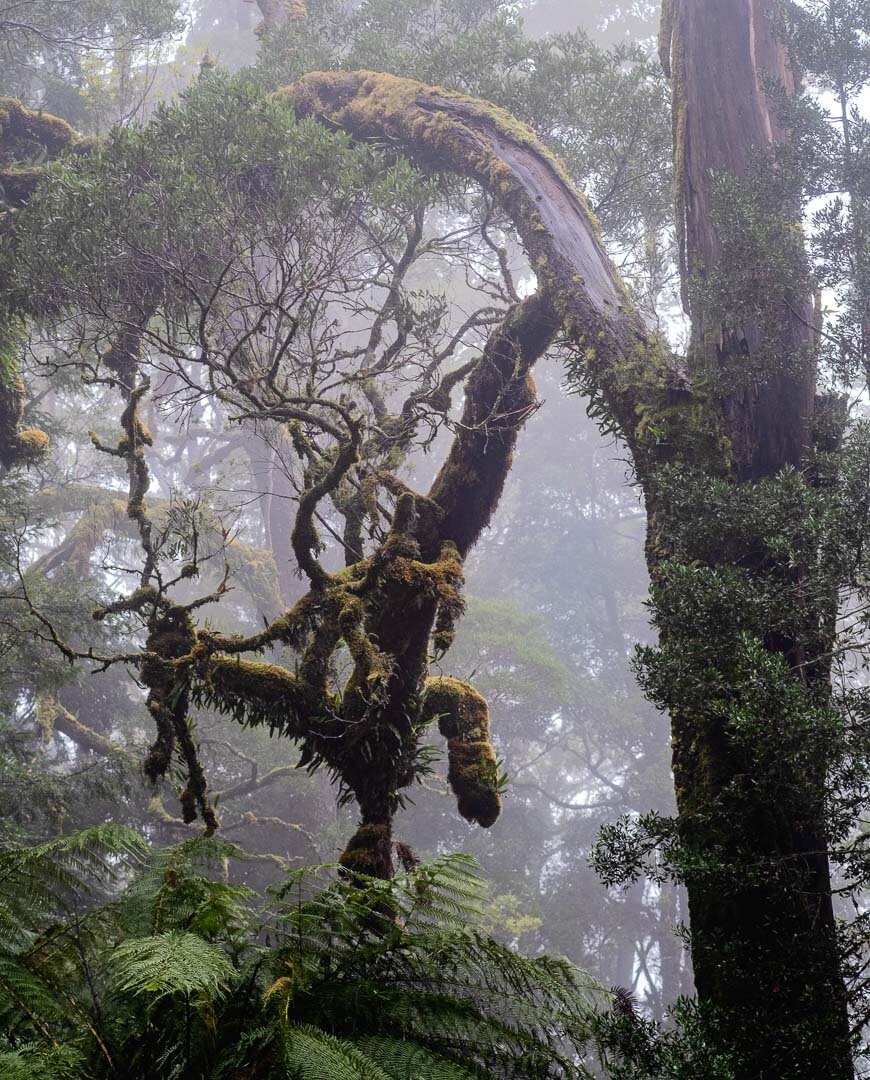
The Tarkine

Key Highlights of the Tarkine Region:
Corinna: A historic former gold-mining town that now serves as an eco-resort on the Pieman River.
Edge of the World: Located near Arthur River, it features one of the longest uninterrupted stretches of ocean.
Tarkine Drive: A 60km drive with over 20 stops highlighting forest and coastal scenery.
Wildlife: Home to the Tasmanian Devil, spotted-tailed quolls, and endangered birds like the Orange-bellied Parrot.
Activities: Walking trails (e.g., Philosopher Falls), kayaking, and river cruises. [1, 2, 3]
MY TRAVEL PHOTOGRAPHY KIT
Camera: Fujifilm XT3 | Lenses: 35mm (F1.4) & 14mm (F2.8) | Tripod: Sirui T024SX | Macbook Pro 13 inch | Total Weight: 5 Kg.
Join me on My Tasmanian Photo Tour
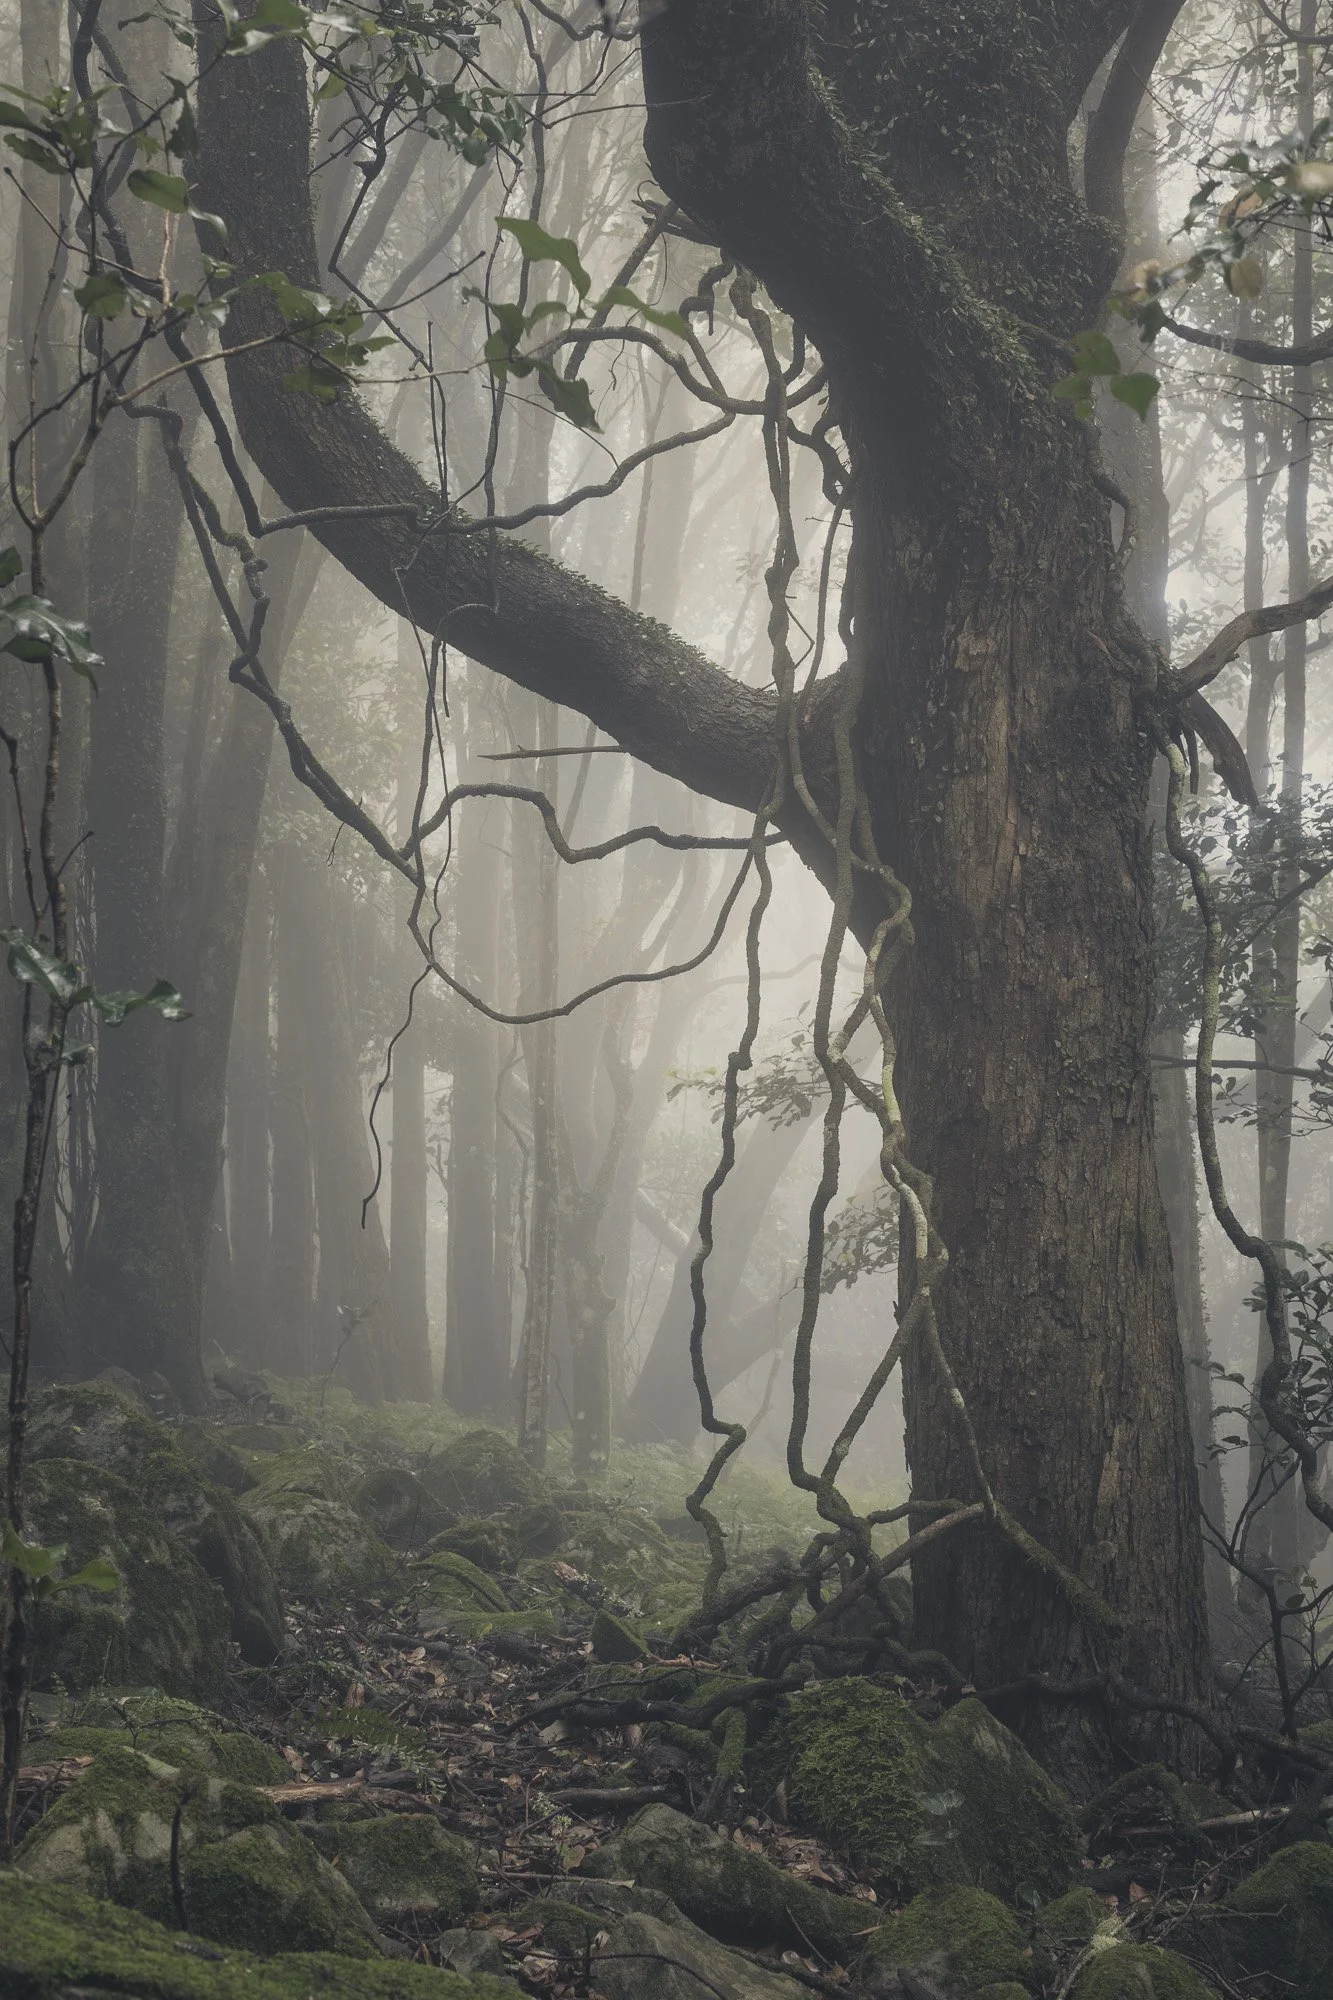
5 Steps To Forest Photography
5 Steps To Forest Photography

Foggy Forest Blue Mts
Finding order in the chaos of a forest has always been a struggle but finally I have honed in on some simple steps to get me closer to finding the best shot. Without sounding too prescriptive, the method to my madness needs to be fluid and open to change. Sometimes adding constraints within a loose parameter, you can create something visually satisfying.
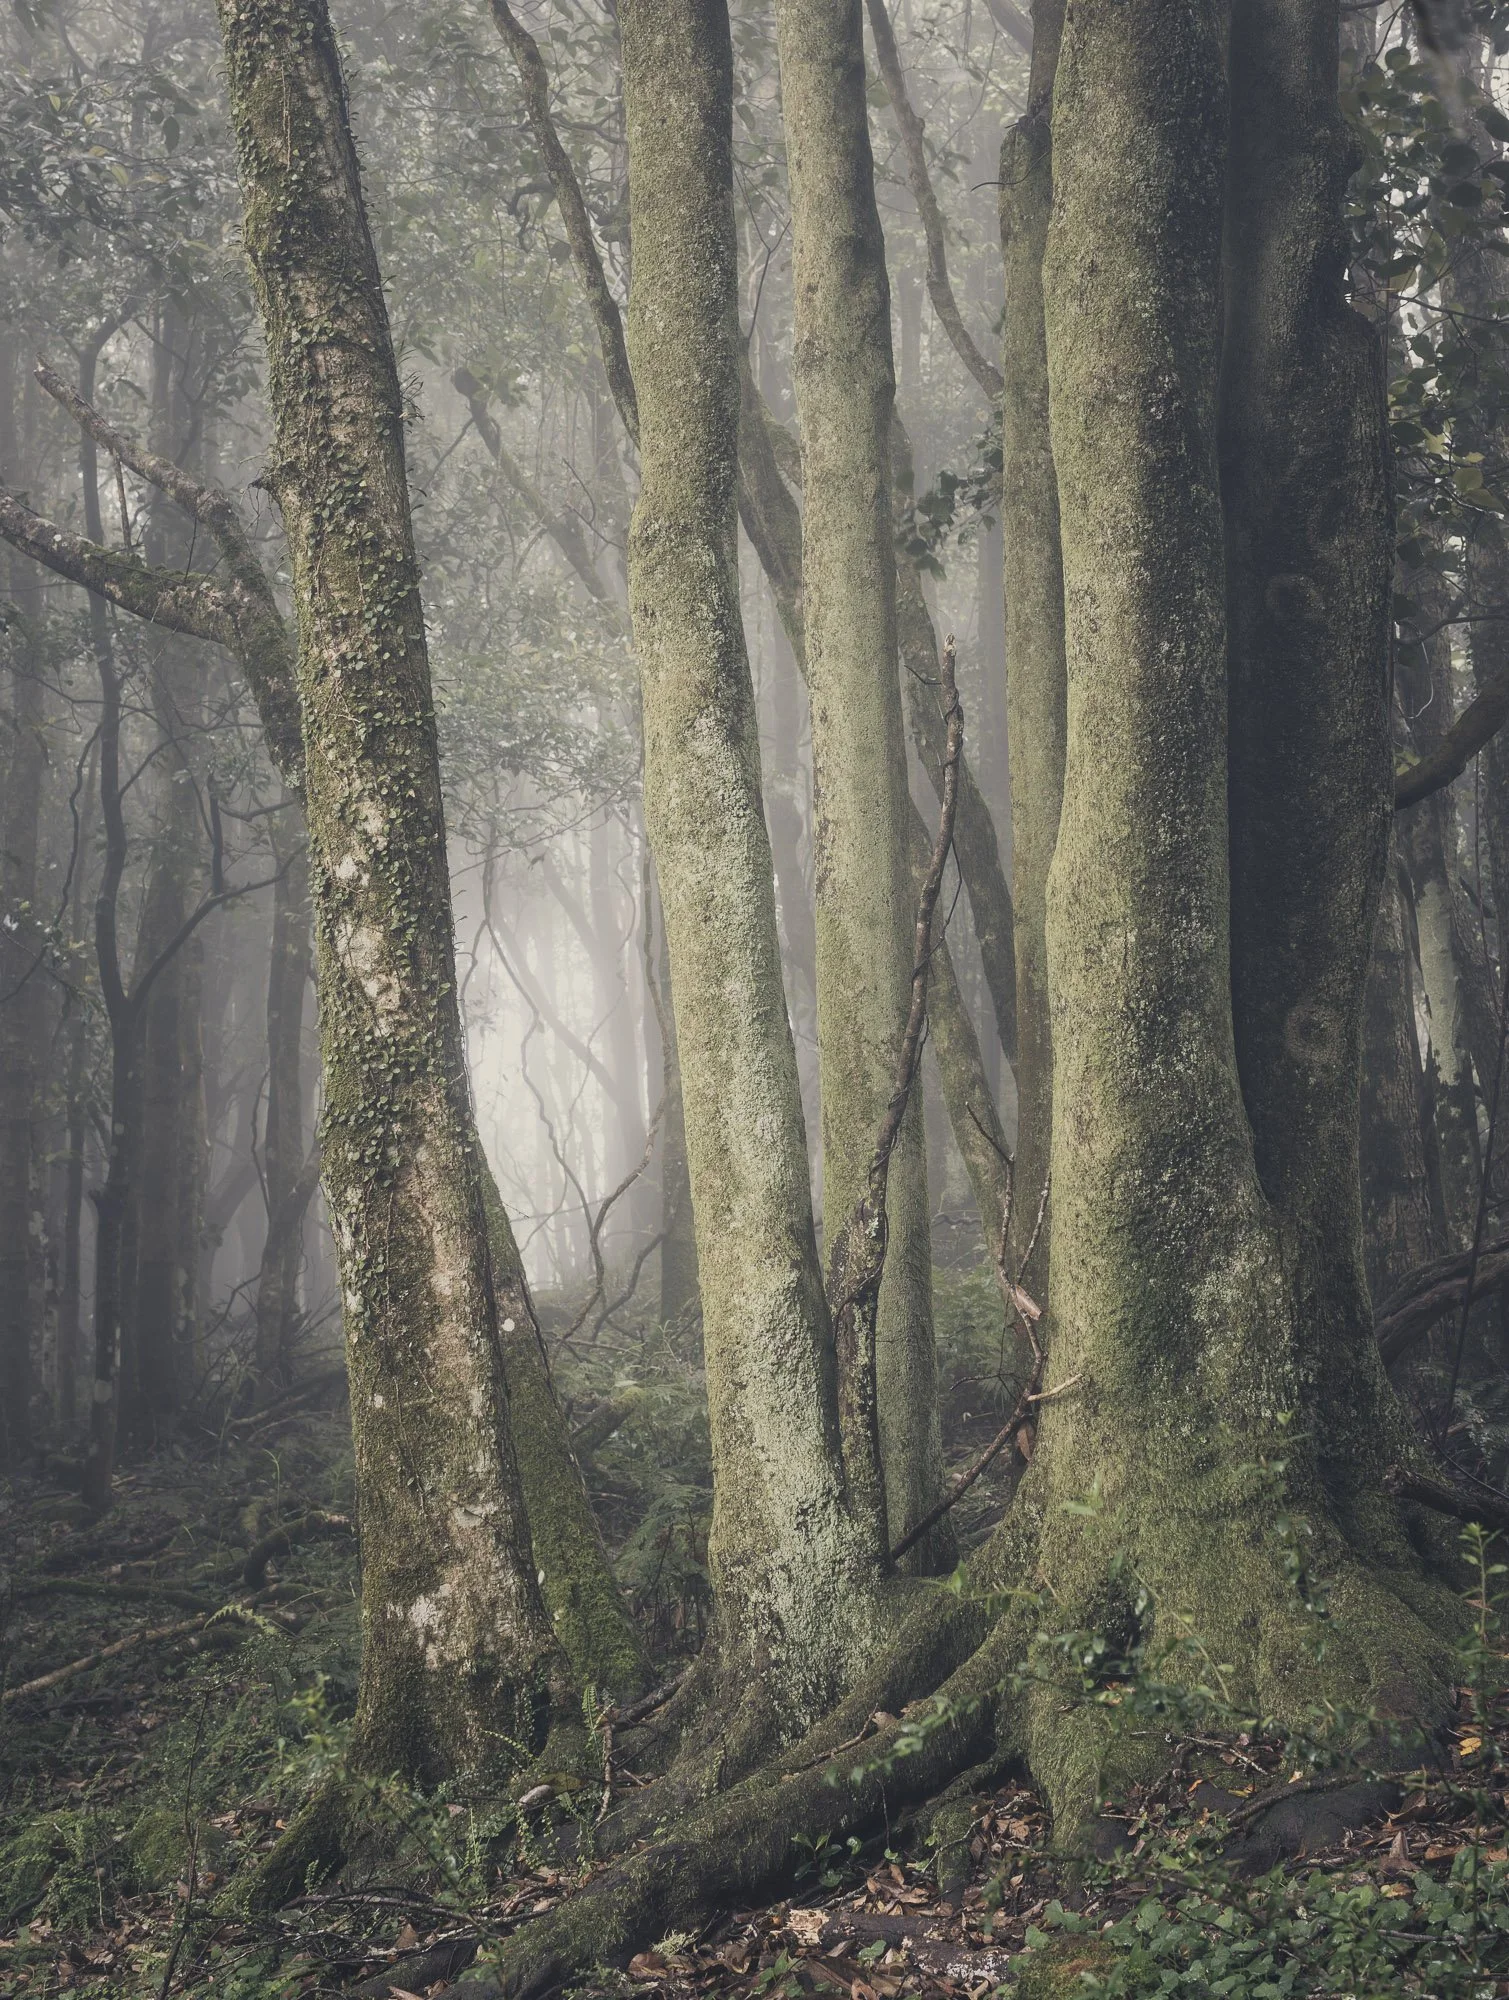
Forest Bathing 1
Lighting Conditions
Overcast days, fog and rain are my best friends in the forest. Walking to the edge of a forest where the light is coming from will help target a cluster of trees or a single beauty. An image will be more impactful if you avoid including the sky especially when blown out highlights appear. The viewers eyes are usually attracted to bright or white areas. When they appear on the edge of the frame and detract us from the dominant areas then our focal point can be lost in the sauce.
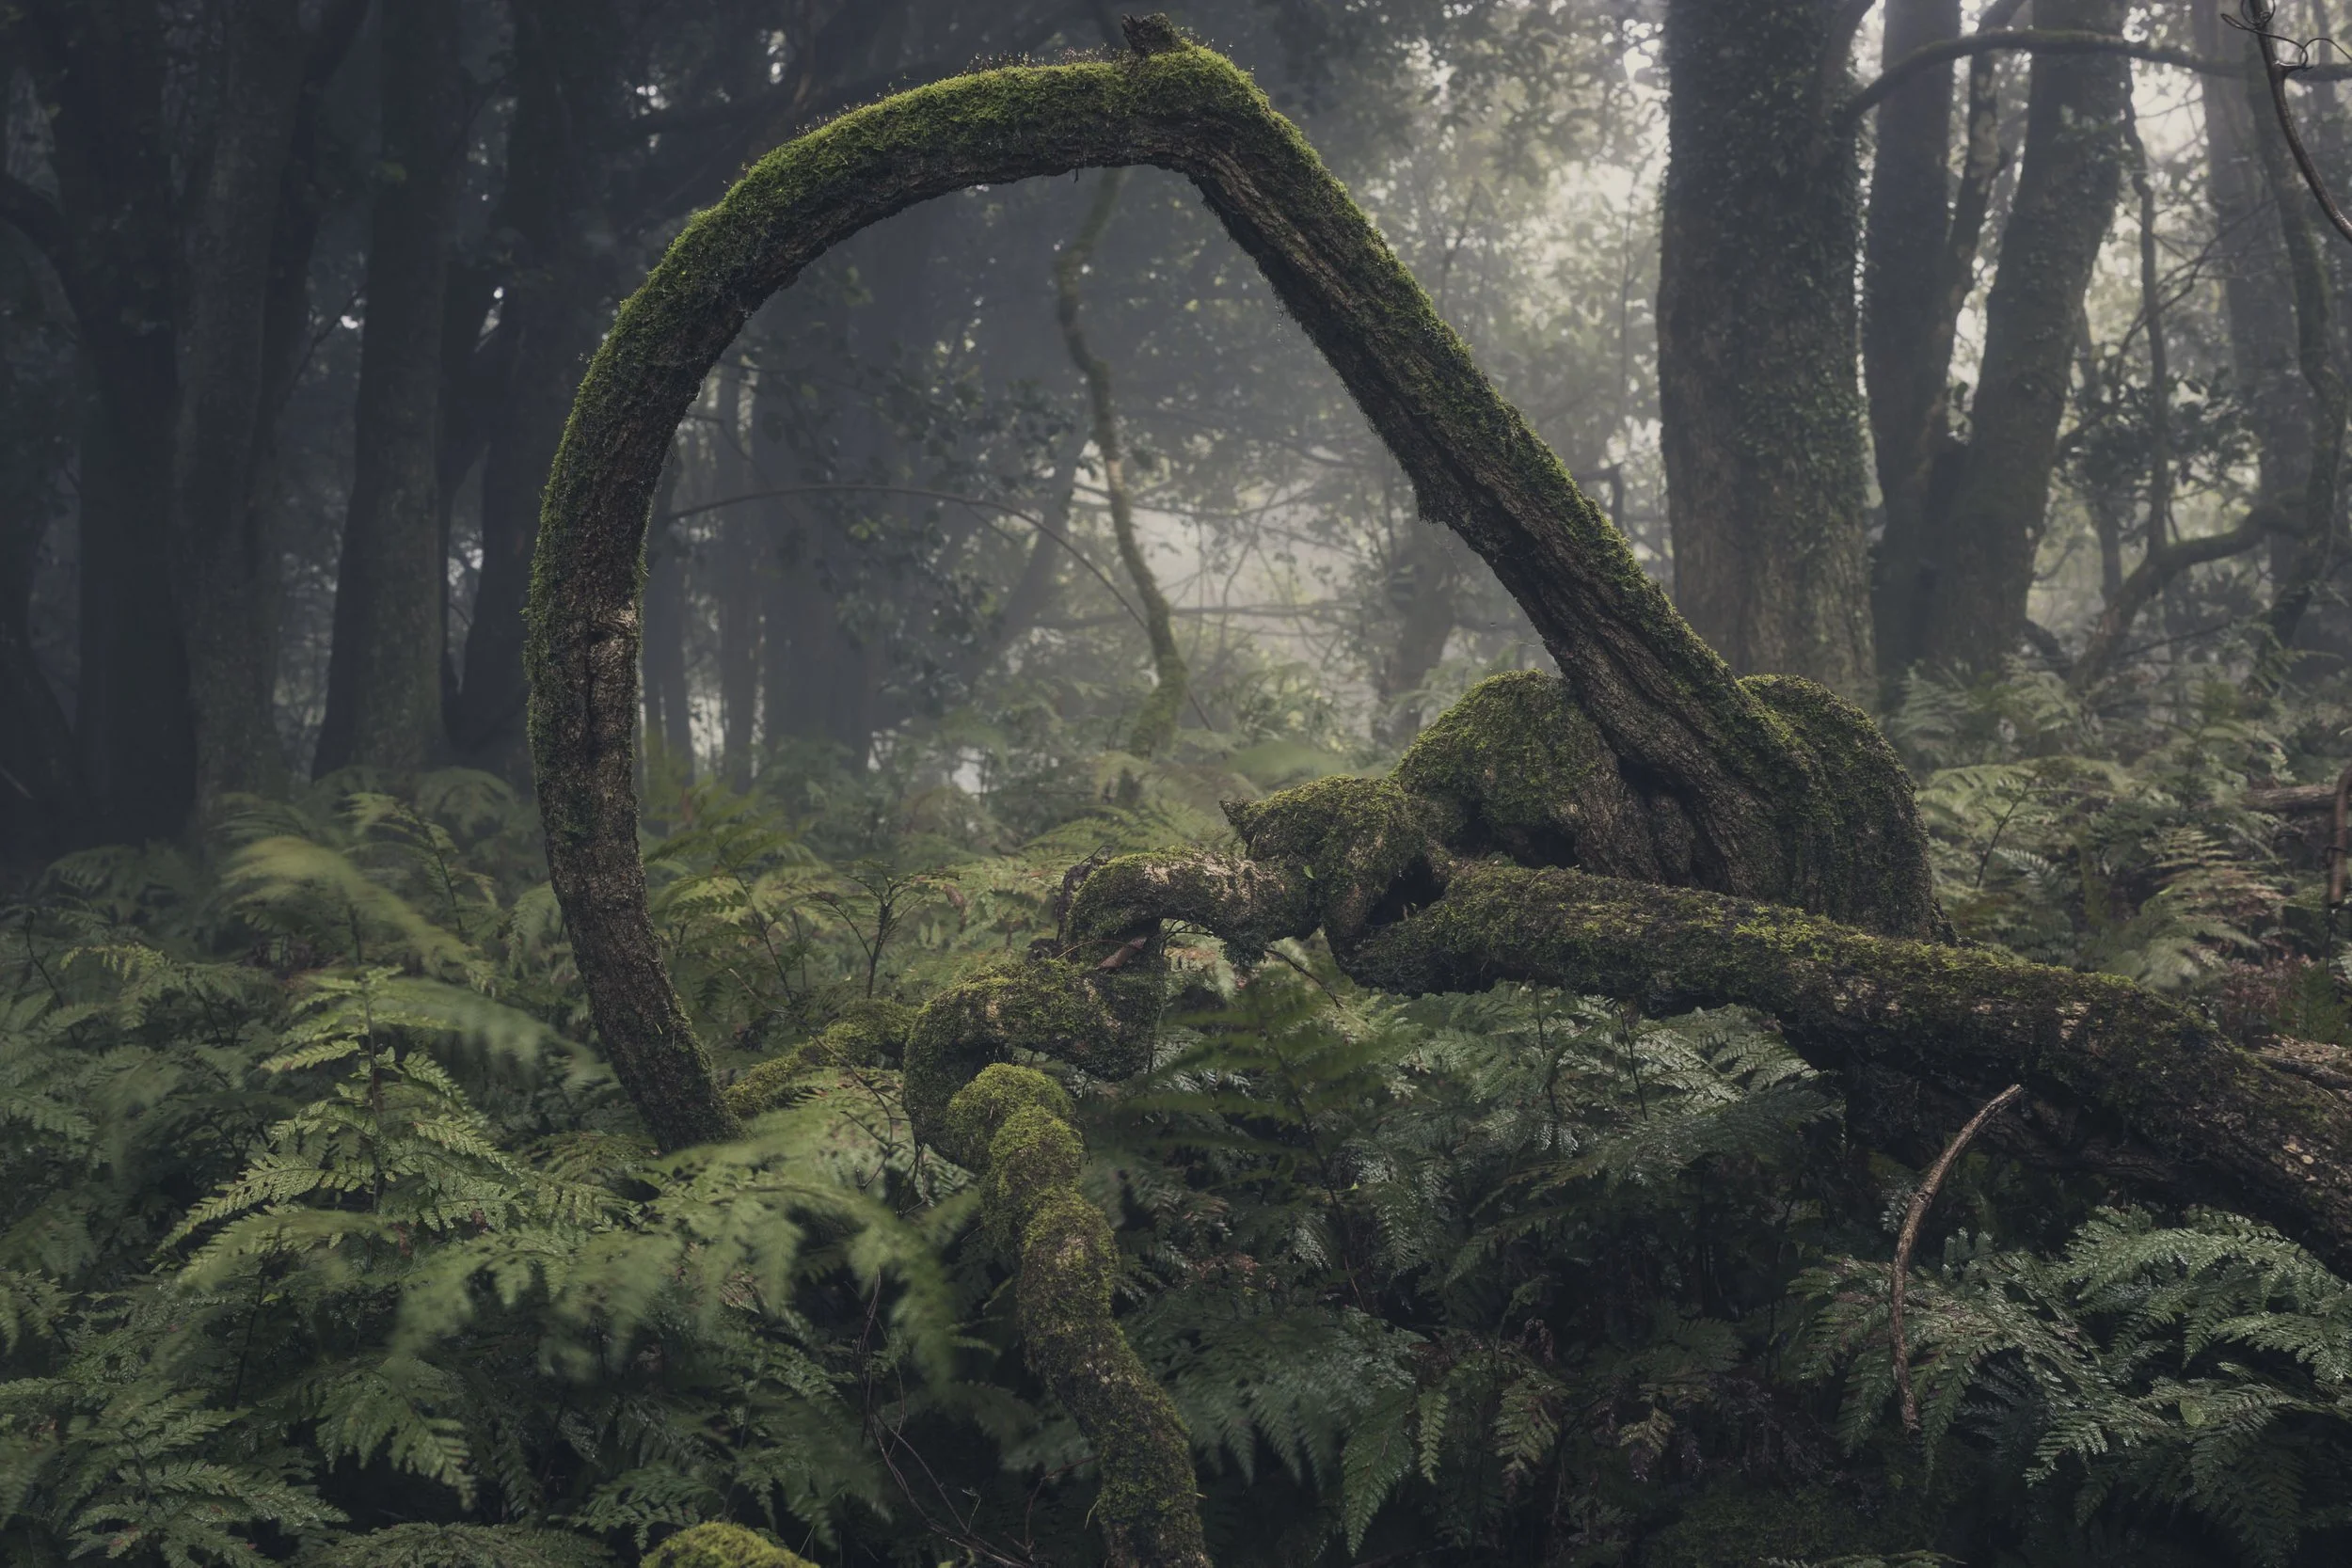
Forest Bathing 2
2. Composition
Repetition: Lines straight or curved are always a stand out in forest photography. Juxtaposition of those lines as a focal point are a key element to adding depth throughout the image. Always look behind the main subject and check if there are any conflicting lines.
Texture: the rough tactile nature of the forest shines brightly in its tree trunks most often. The smooth leaves and fog can also add a welcoming contrast to the weight of the image.
Contrast: The transitions in the light and dark and warm and cool temperatures can add mystery and drama to the image.
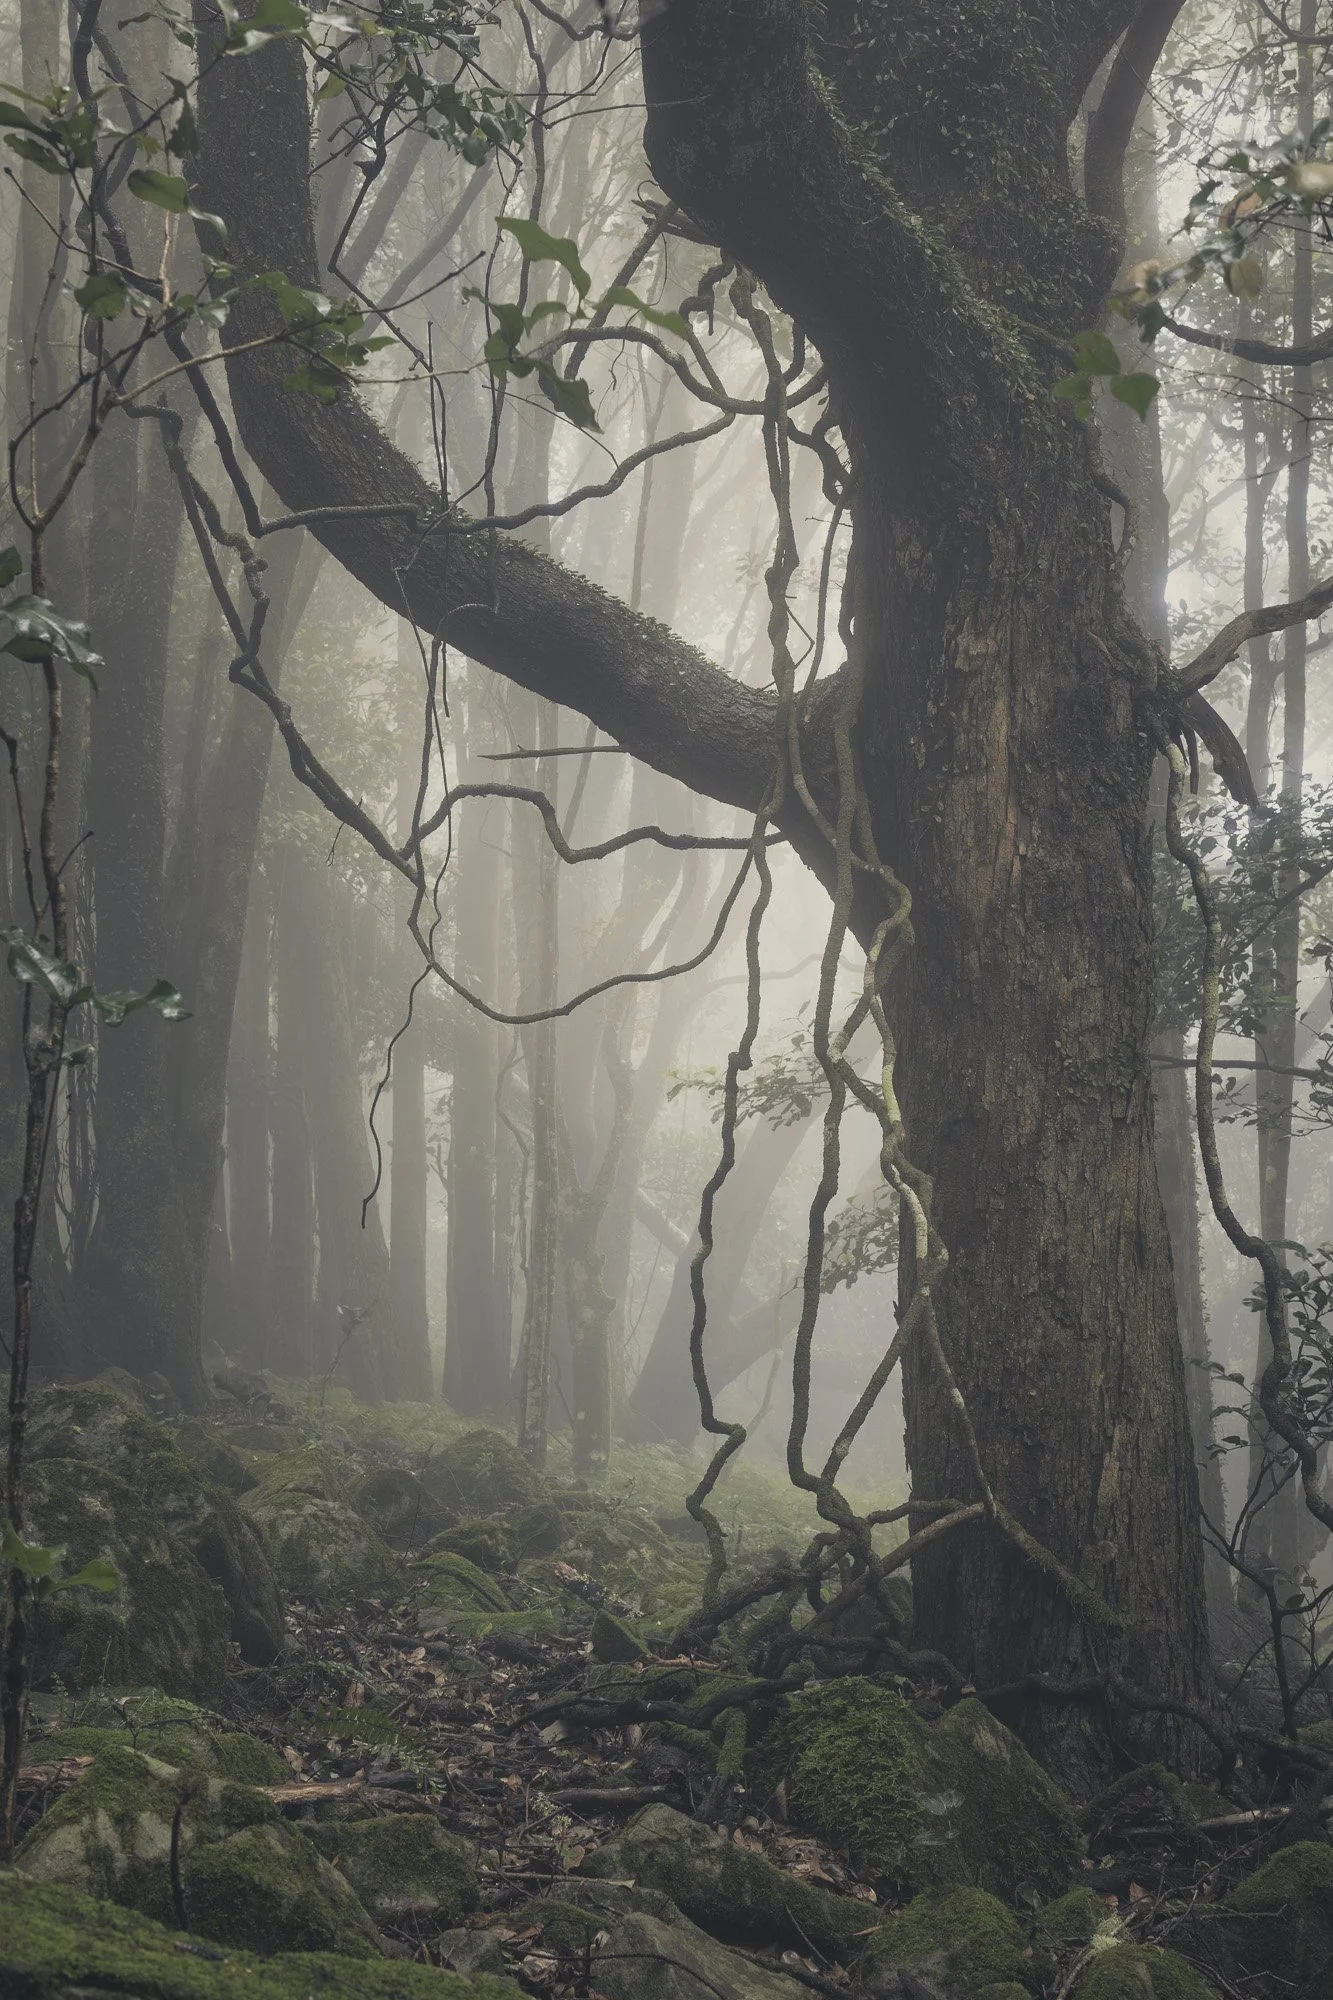
Forest Bathing 3
3. Gear
Tripod: Sturdy, Tall and Lightweight
Lens: 35-50 MM (F1.2)
Wet Weather: Golf Umbrella, Small Towel, Raincoat, Mr. Bushman (Leech Bite) or Salt, Spiked Water Proof Boots.
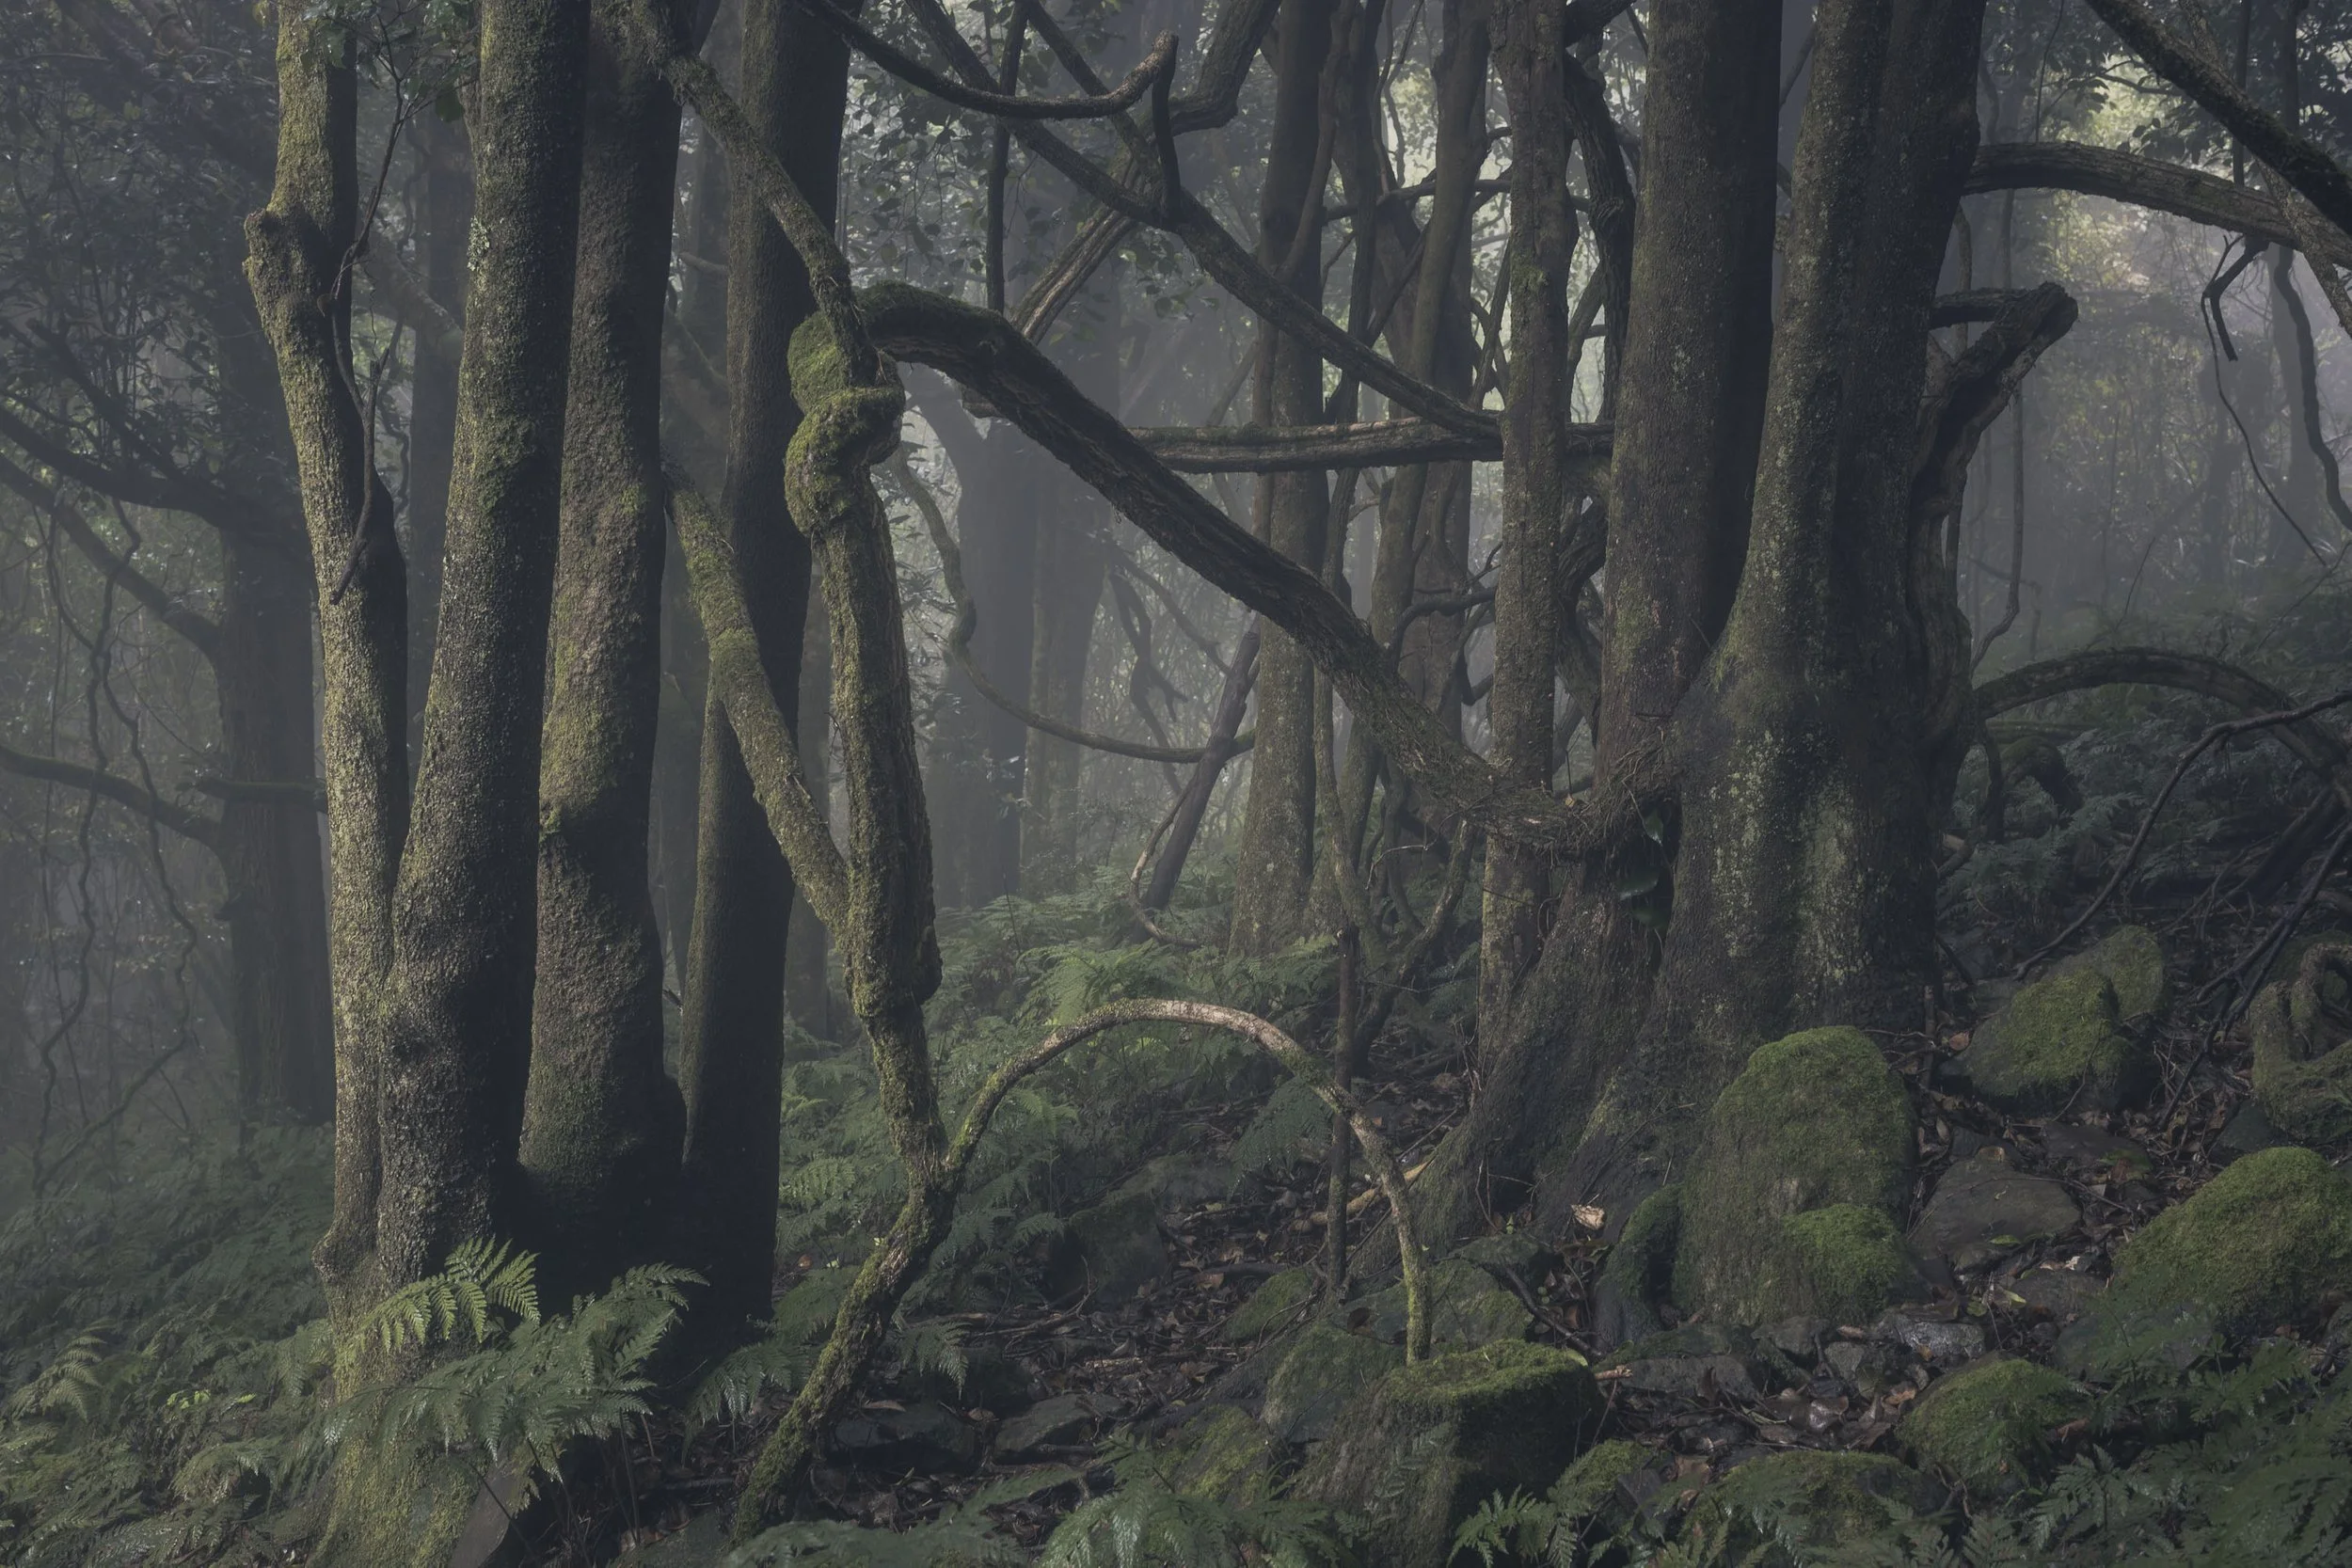
Forest Bathing 4
4. Camera Settings
ISO: 50 / Aperture: F11 / Shutter Speed: 3.2 seconds / Self TImer: 2 Secs / Auto White Balance
File Type: RAW / Focus Points: 3 areas ( Foreground, Mid-ground and Background)
Auto Exposure Bracketing: +/- 1 stop
Enable Touch Screen Focus & Shutter (Live View)
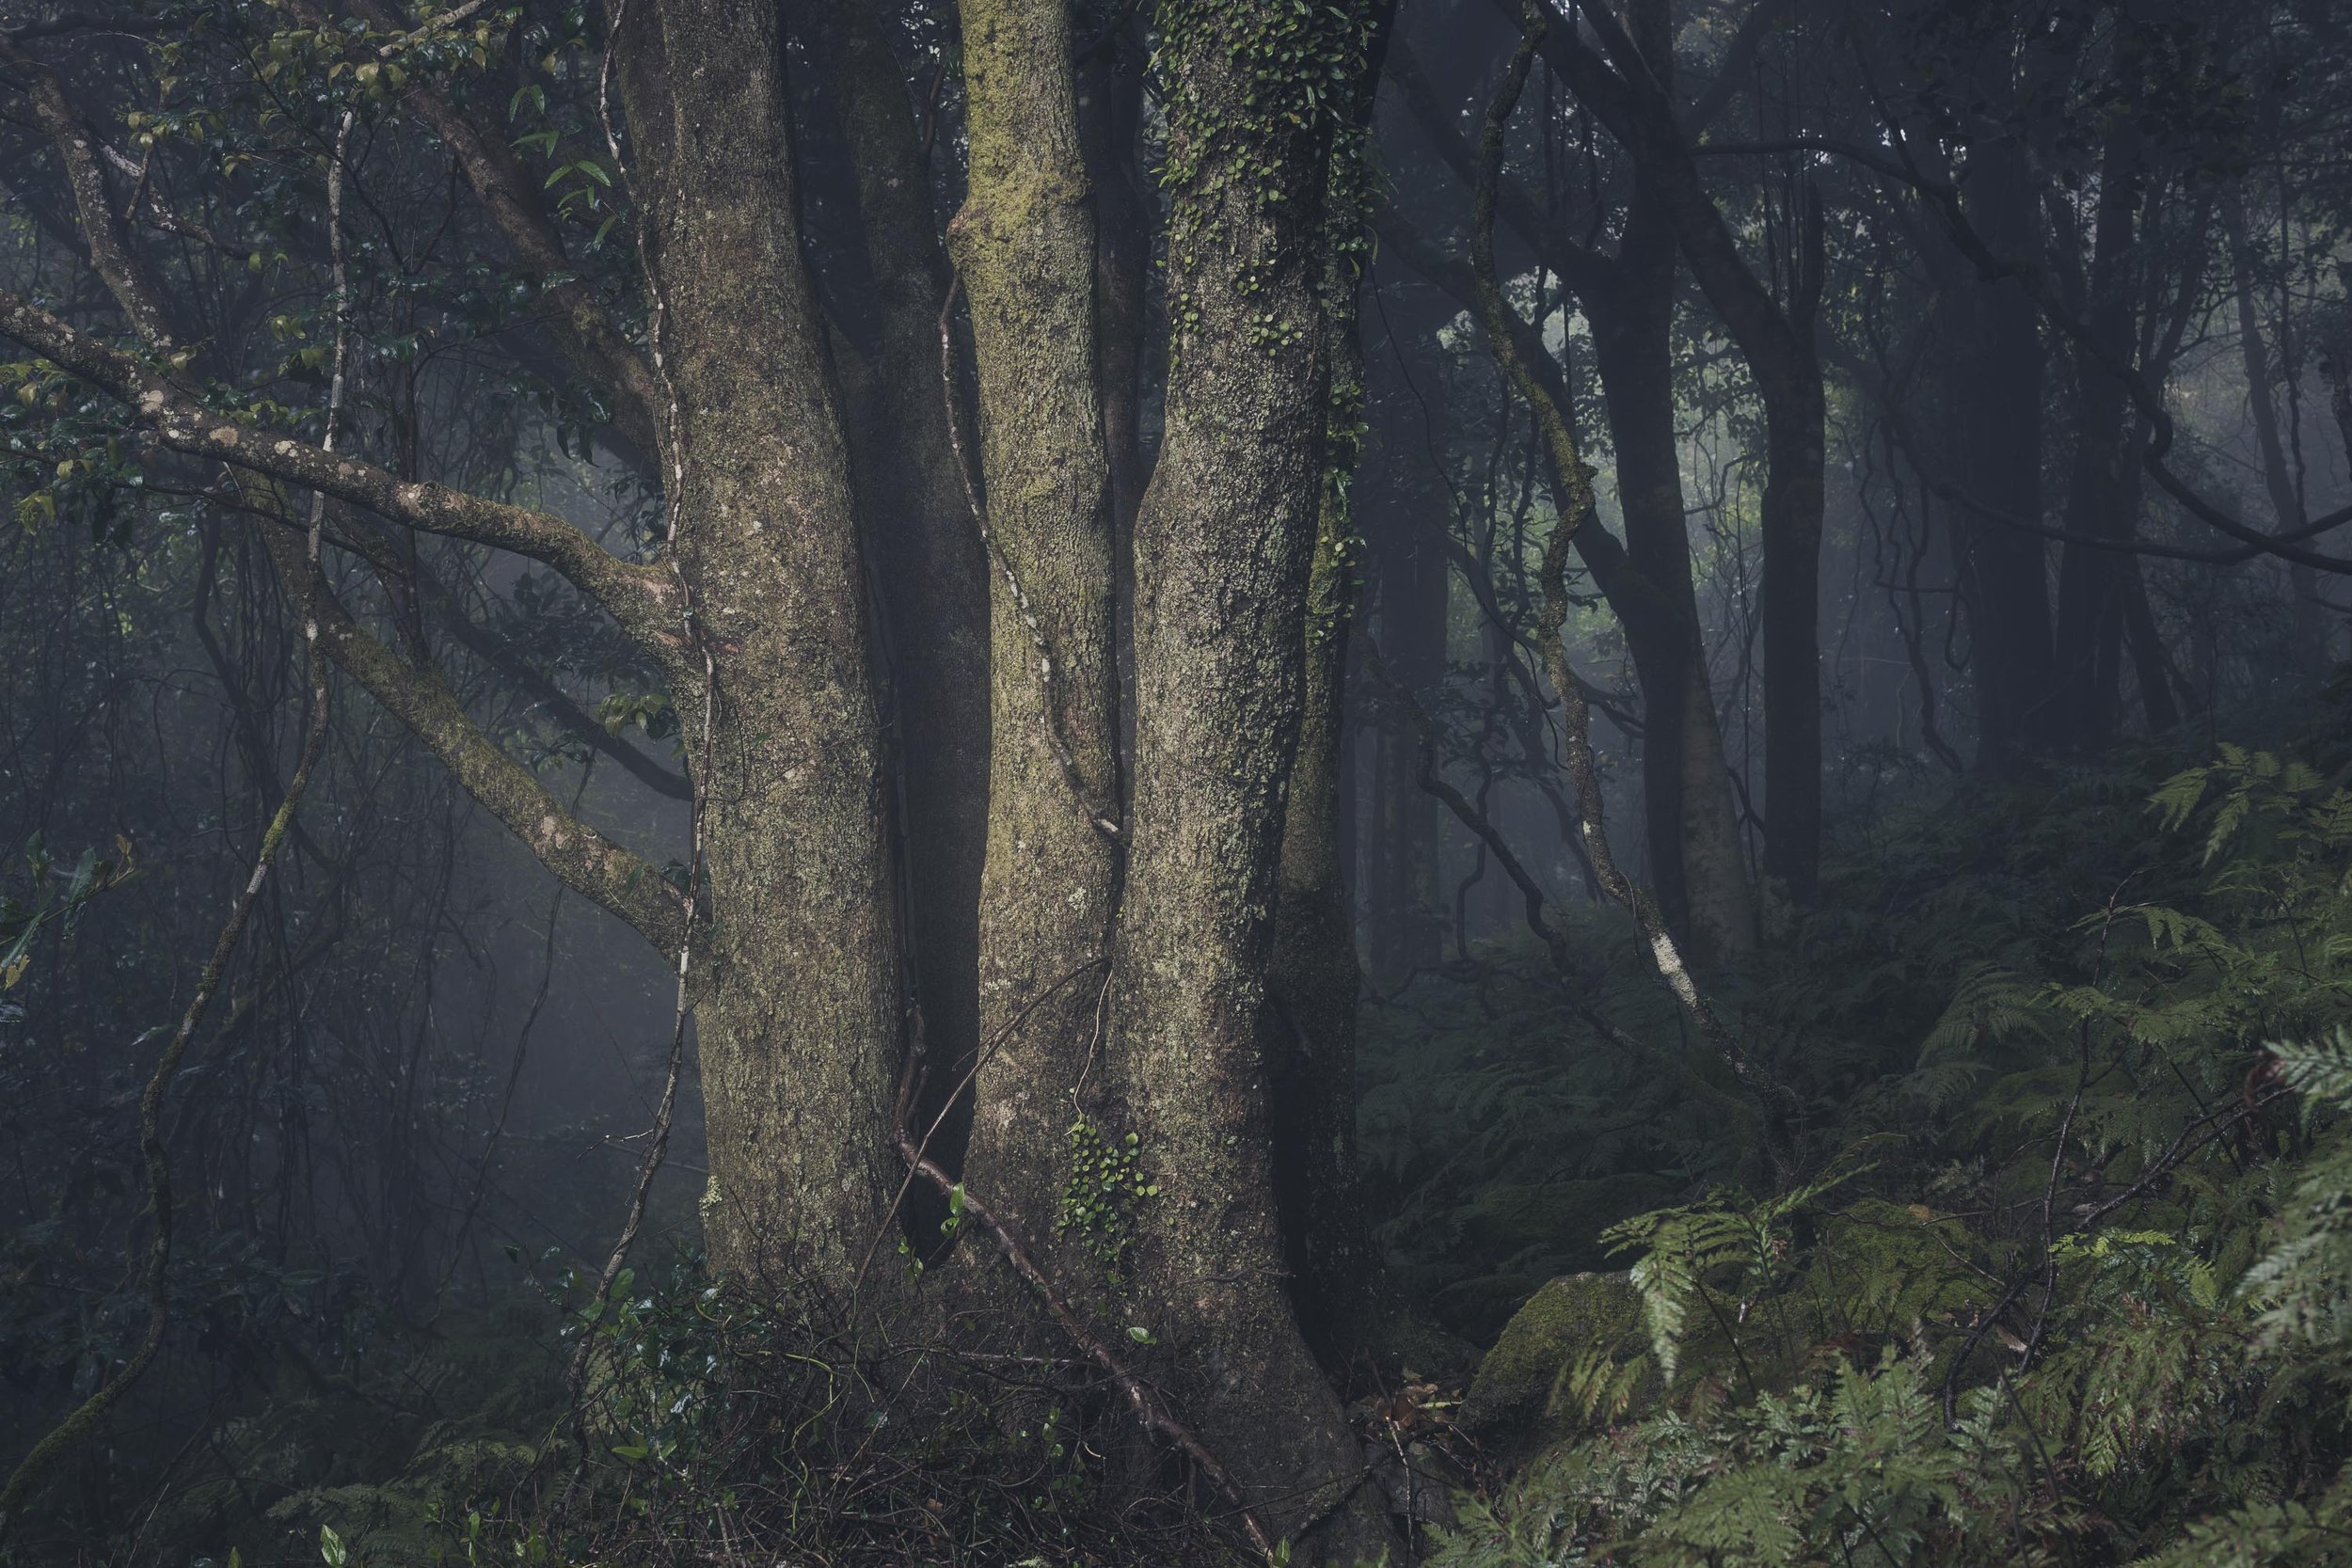
Forest Bathing 5
5. Editing
Software: Photoshop & Lightroom
H.D.R. Blend of best bracketed exposures in Lightroom
Focus Stack: Greater Depth of Field focus in Photoshop
Masking: Adobe Lightroom Brush Tool
Colour Grading: Split Toning
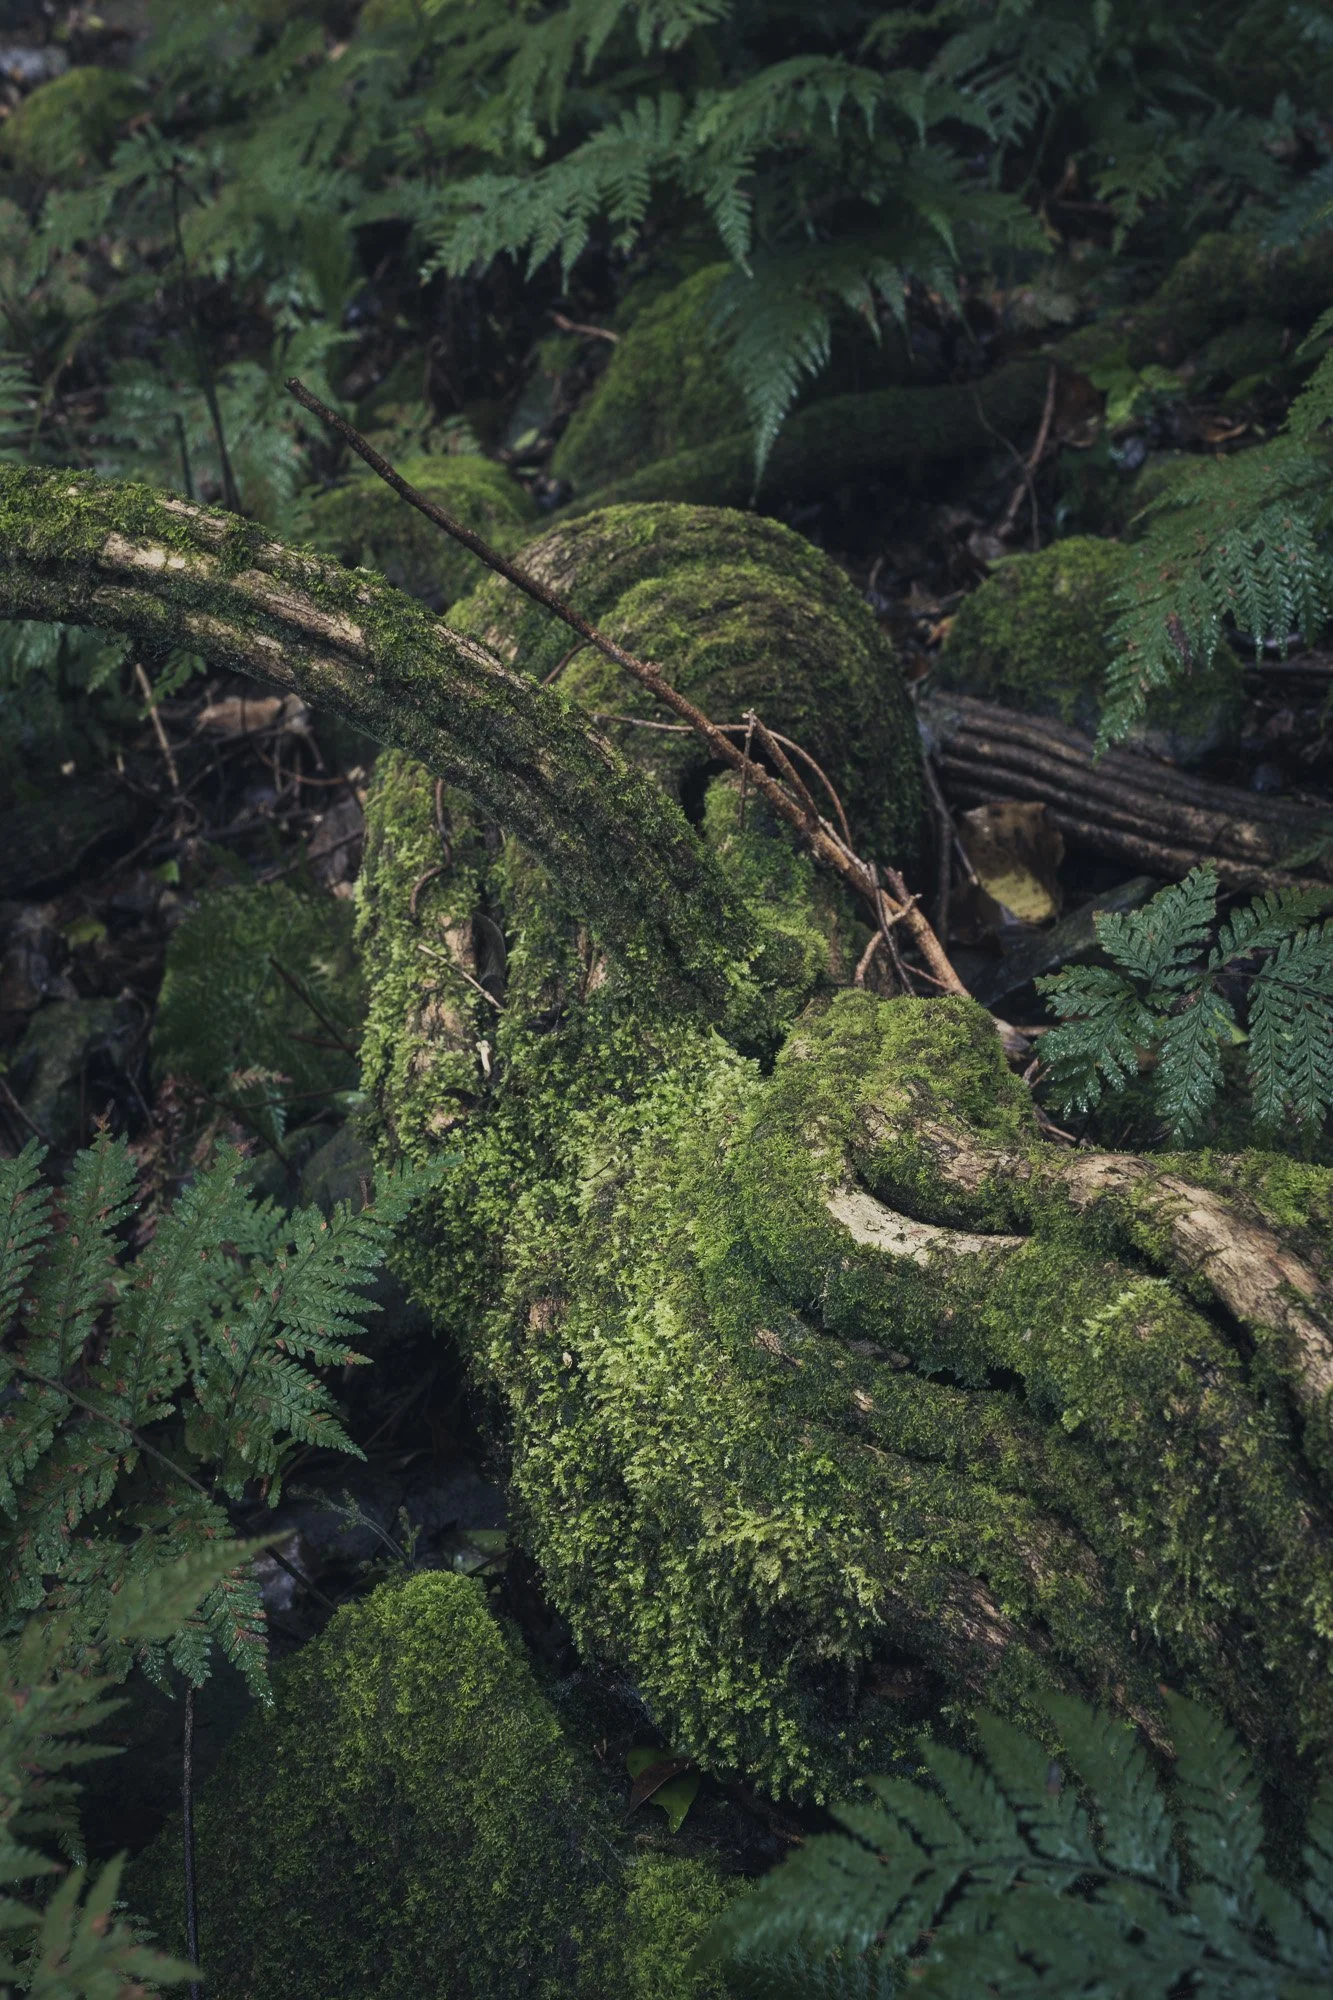
Forest Bathing 6
In this series of images I call “Forest Bathing” also known in Japanese as “Shinrin Yoku” I have found some peace and tranquility when spending time in the forest. Despite the occasional leech bite, the rewards far out weigh the scars.
All images for sale here: https://www.alfonso.com.au/art-shop
Wish to join me in 2026/2027 in Japan (Nov) NZ (Sept) NSW (July/Aug)
More info here: https://www.alfonso.com.au/photo-tours

Alfonso’s Photo Tours

Why are Japan's autumn colours different to other countries?
Japan is often cited as having some of the most vivid and diverse autumn colors (known as koyo) in the world. While North America is famous for its vast forests of red and gold, and Europe is known for its rolling yellow landscapes, Japan’s foliage is unique due to a combination of botany, climate, and geography.
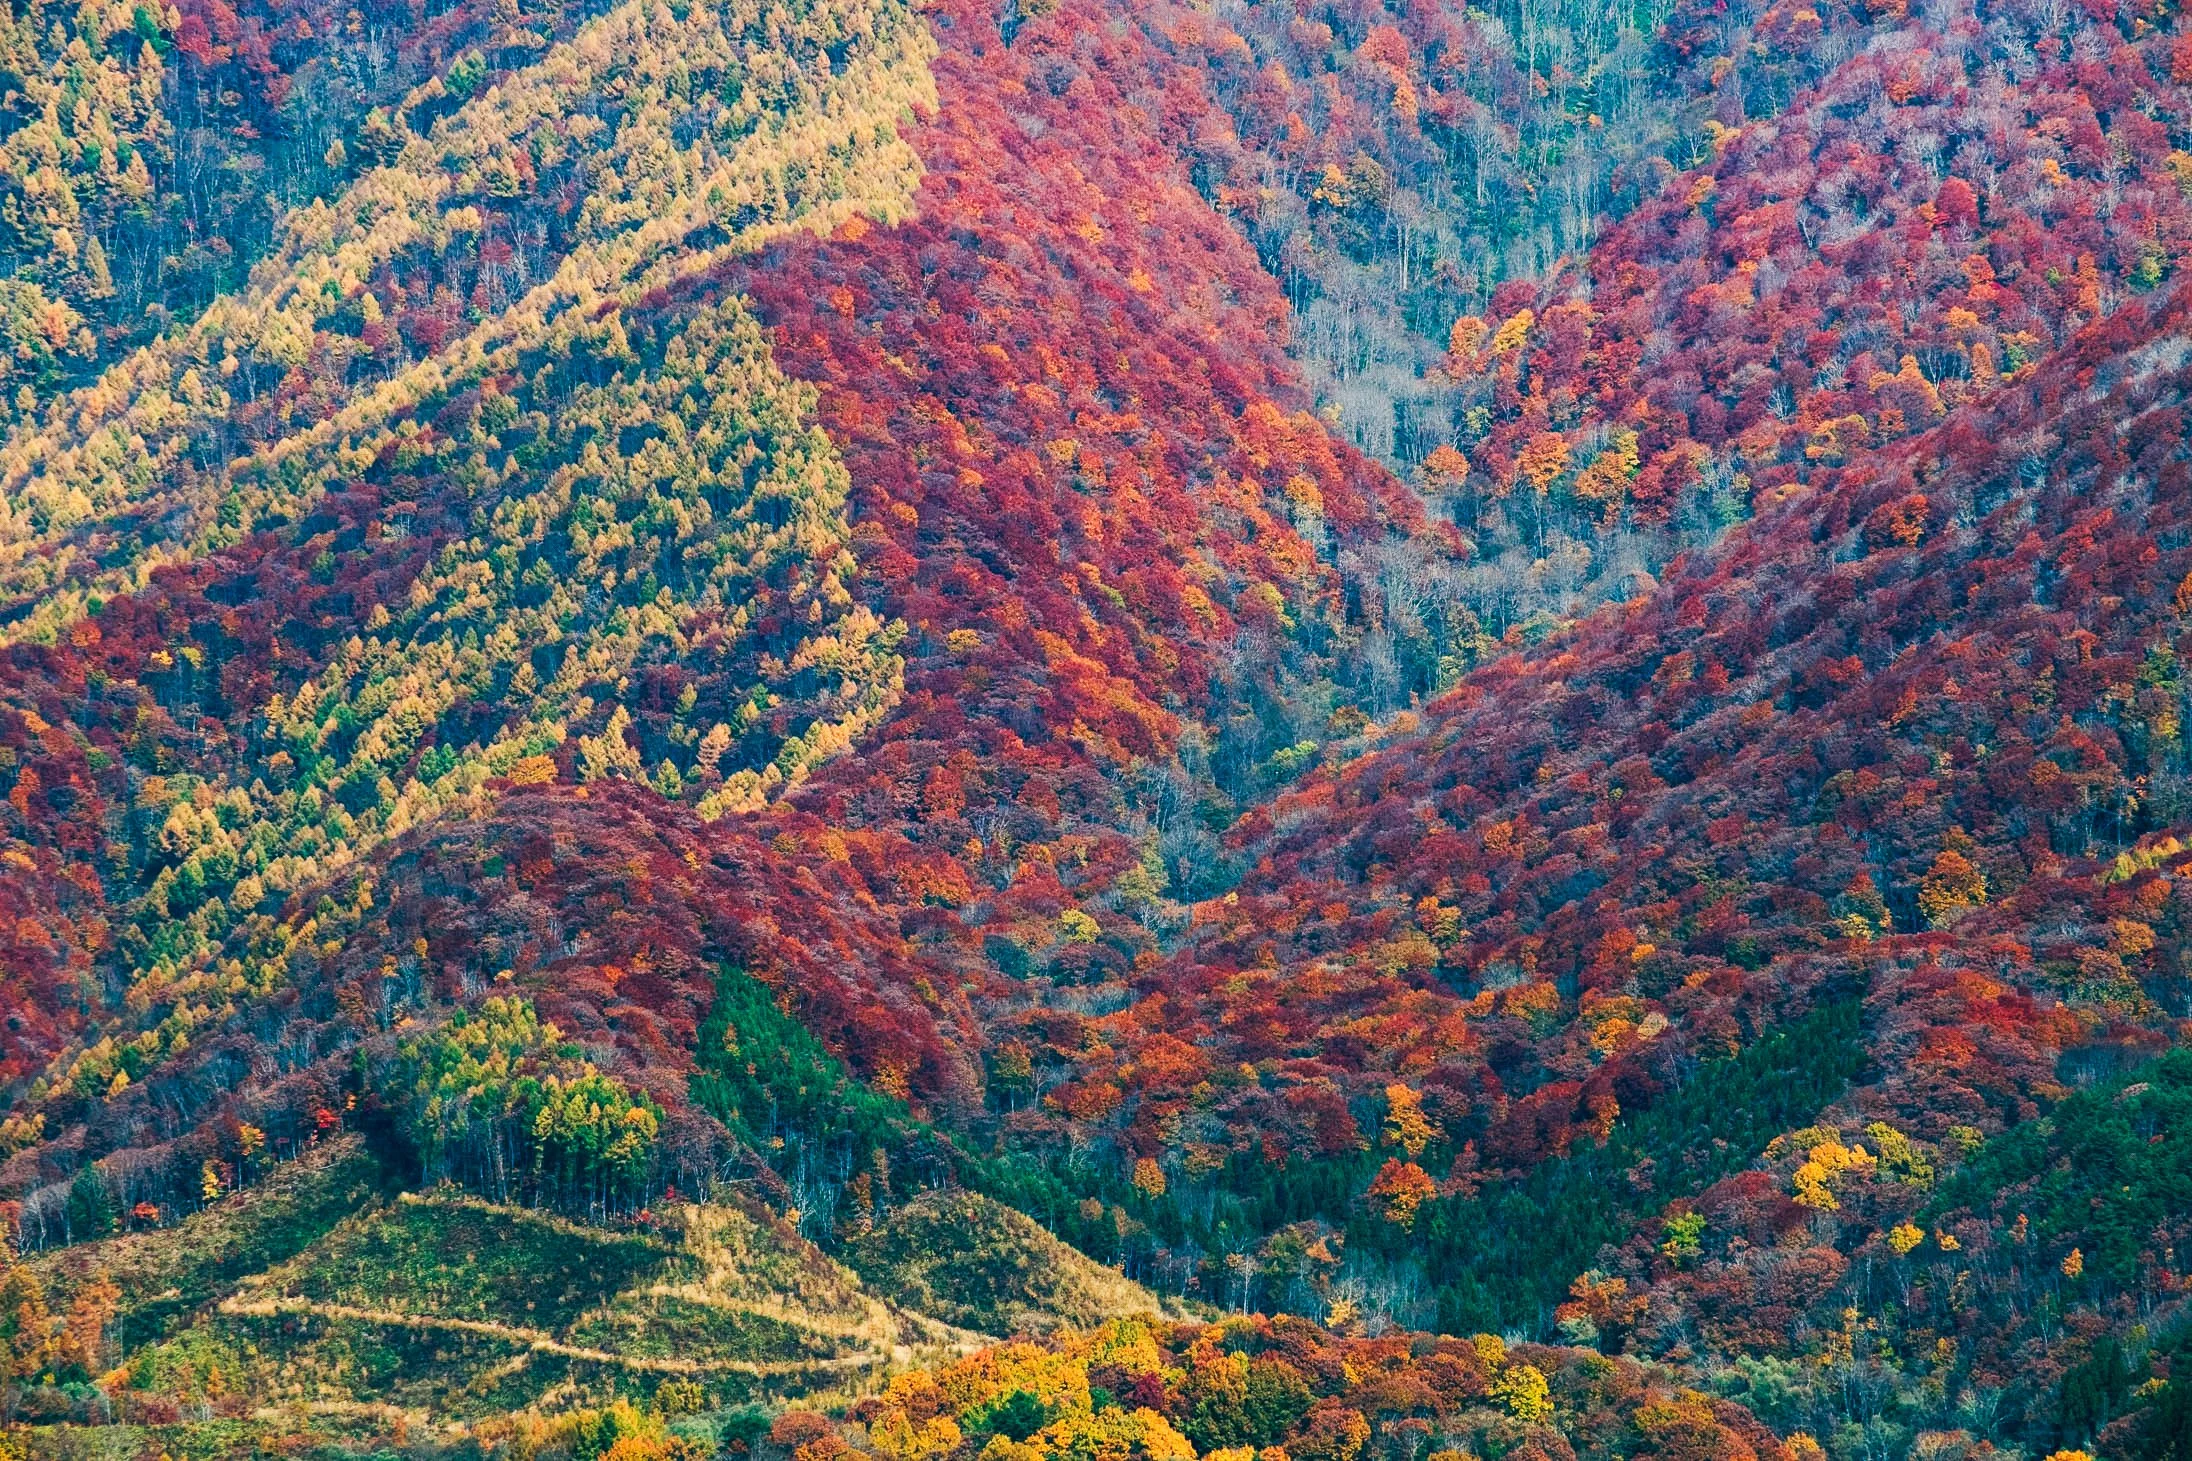
Tohoku Region, Japana
1. Massive Species Diversity
Japan has an incredible variety of deciduous trees compared to other regions like Europe.
**The "Momiji" (Japanese Maple): Japan is home to over 25 species of maple trees. The Japanese Maple (Acer palmatum) is genetically predisposed to turn a deep, brilliant crimson that is often more intense than the reds found in other parts of the world. Mixed Forests: About 70% of Japan is mountainous and forested. These forests are a mix of broad-leaved deciduous trees (reds and yellows) and evergreens, which provides a high-contrast backdrop that makes the colors "pop" more than a monochrome forest.

Kawaguchiko, Mt. Fuji
2. The "Perfect" Autumn Climate
The vibrancy of a leaf's color is determined by the synthesis of anthocyanins (red pigments). Japan’s climate is perfectly tuned for this. Sharp Temperature Spikes: For the best reds, you need warm, sunny days followed by crisp, cold nights (around 5°C to 7°C). Japan’s mountainous geography creates these dramatic daily temperature swings.
High Humidity and Rainfall: Japan’s rainy summers ensure trees are healthy and hydrated. If a region is too dry, leaves often turn brown and fall off early; in Japan, they stay on the branch longer, allowing the colors to fully saturate.
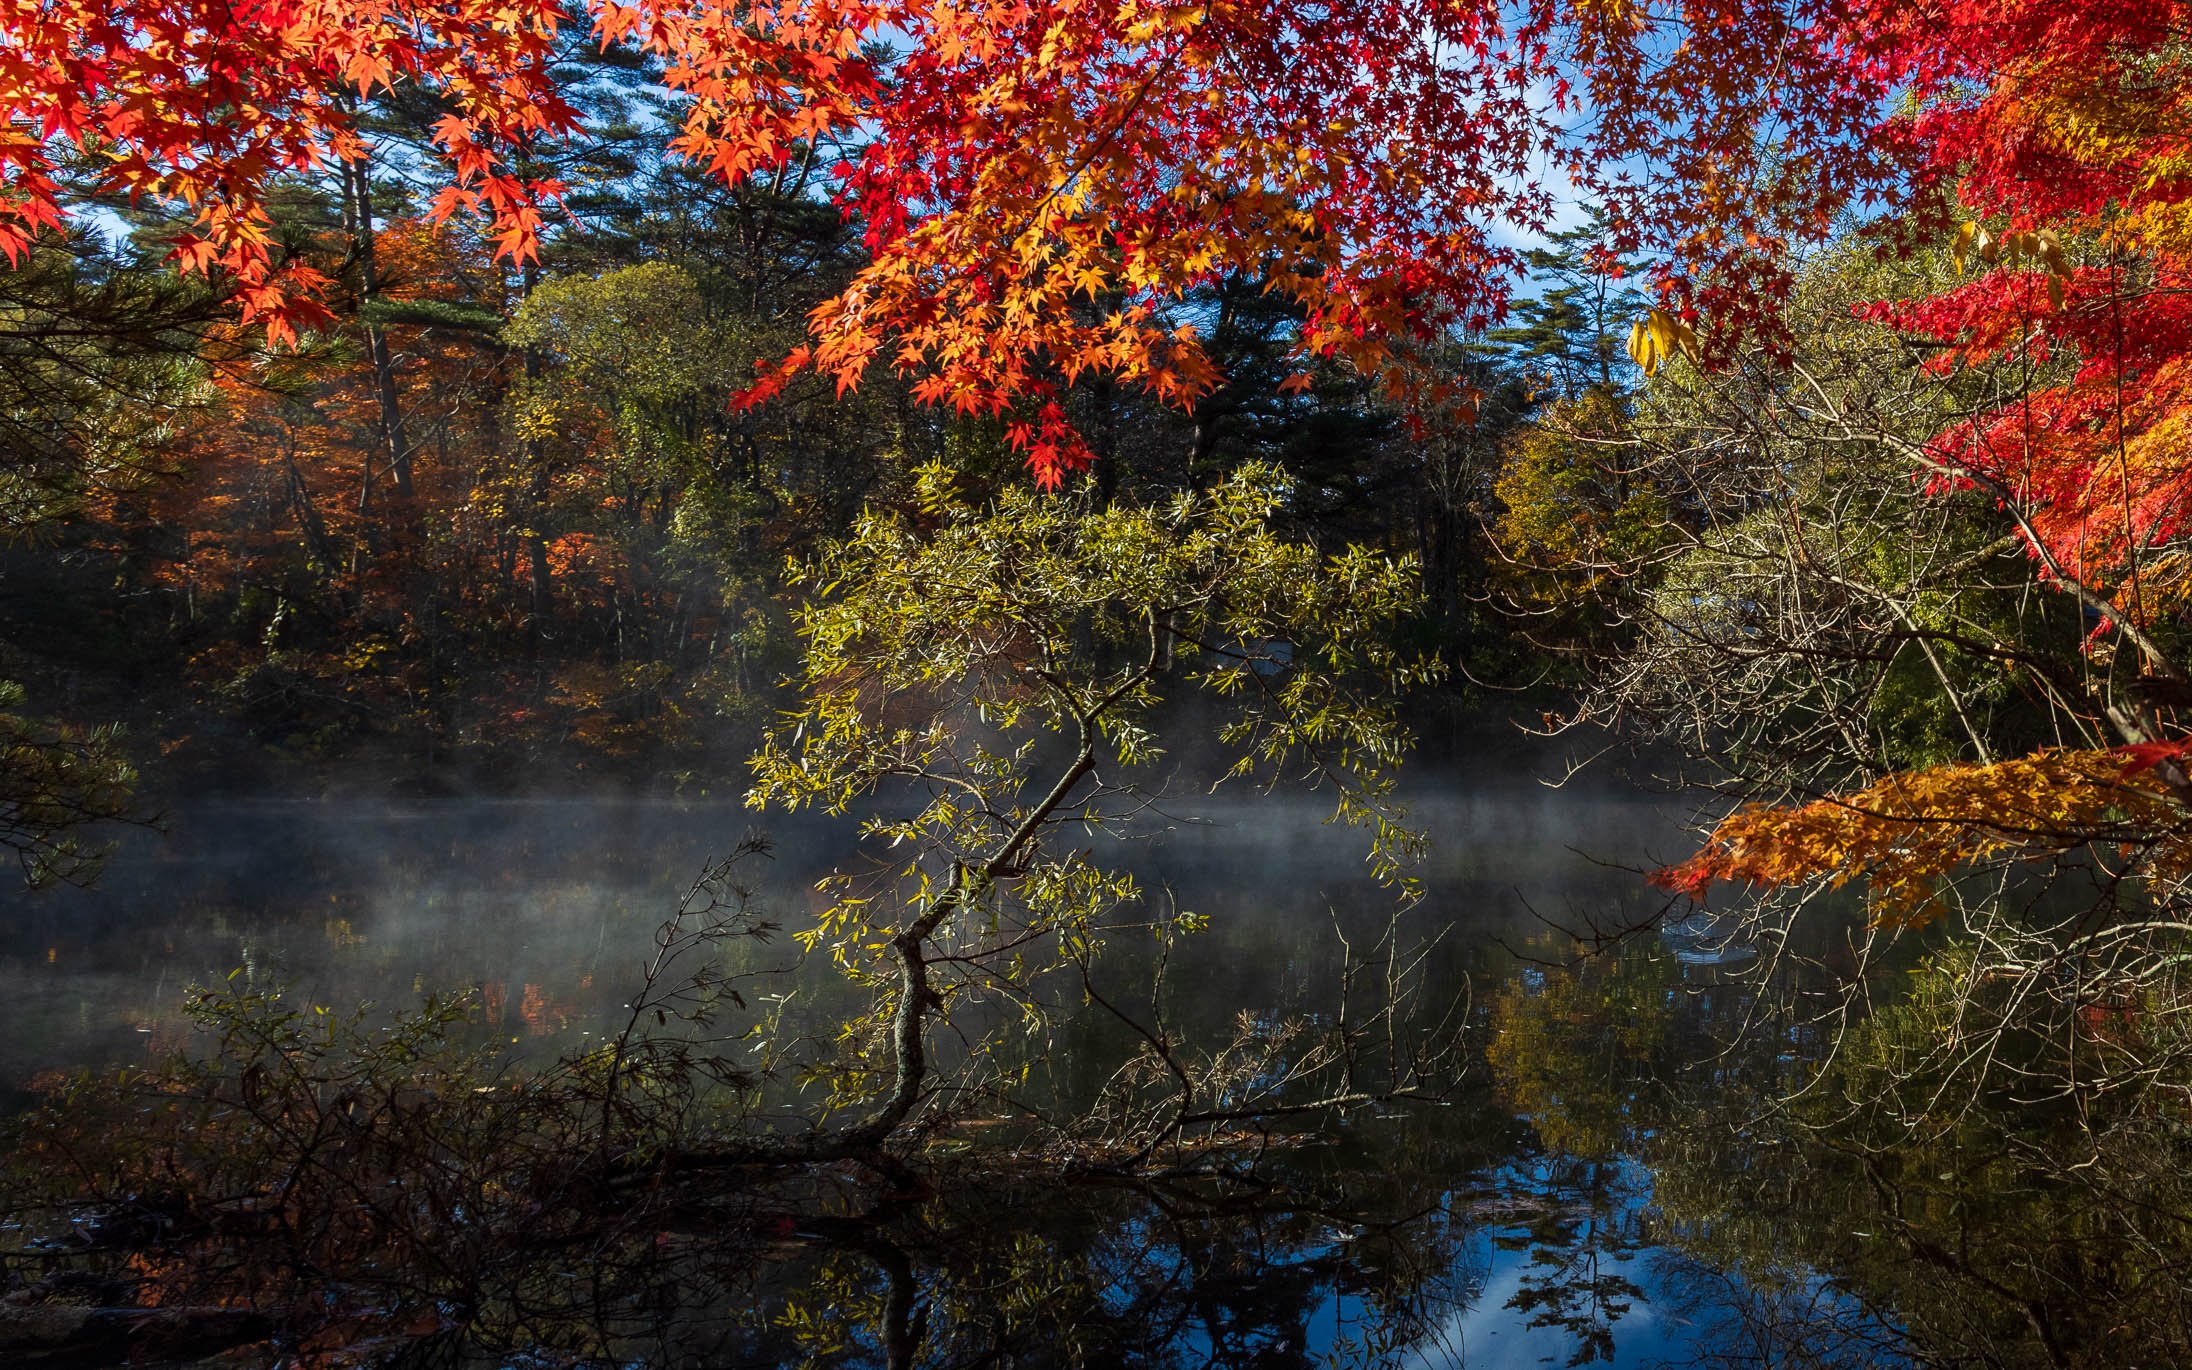
Goshiki-Numa Ponds, Fukushima
3. Geographical "Stretching"
Japan is a long, narrow archipelago stretching from North to South. This creates a "front" of autumn colors that moves slowly down the country over about 90 days. Because of the varying altitudes and latitudes, you can find peak foliage somewhere in Japan from late September (in Hokkaido) all the way until early December (in Tokyo/Kyoto).

Goshiki-Numa, Fukushima
4. Cultural Preservation and Curation
In Japan, autumn color is not just a biological event; it is a curated experience.
Temple Landscapes: For centuries, monks and gardeners have strategically planted trees around temples and shrines to frame specific views. The juxtaposition of a neon-red maple against a dark wooden temple or a mossy green garden creates a visual intensity that you don't typically find in wild, unmanaged forests.
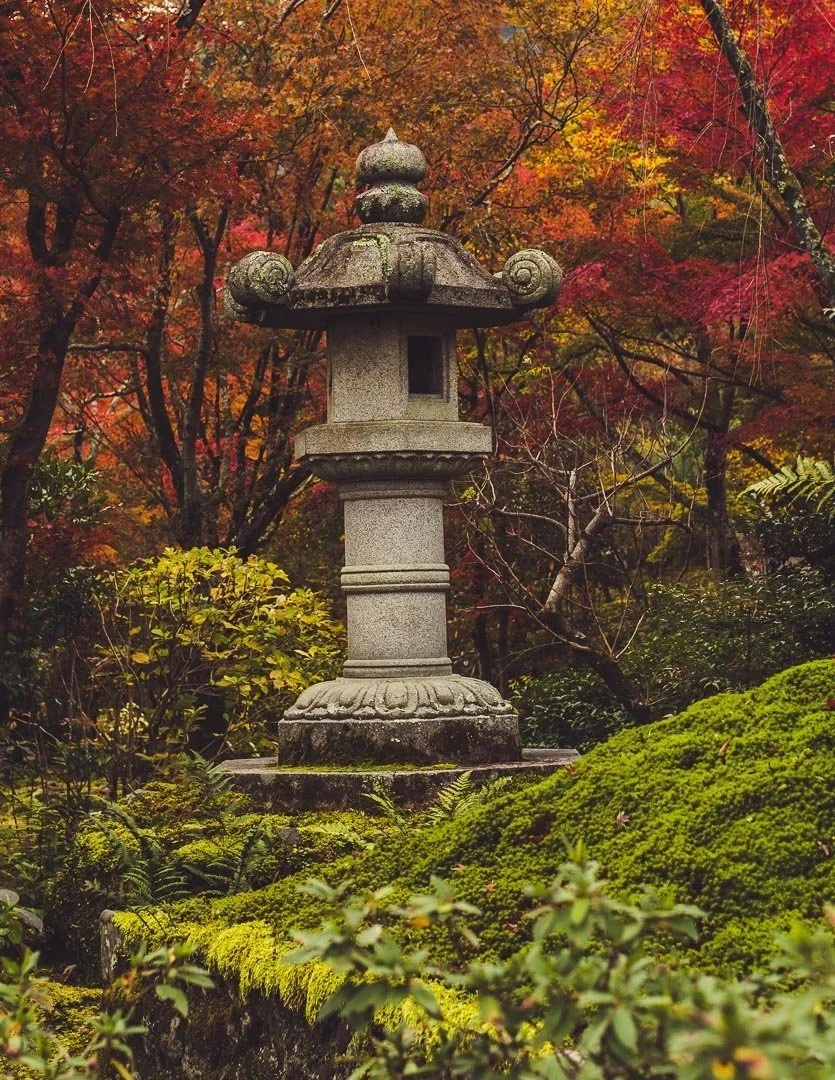
Arashiyama, Kyoto
How To Take Control Of Texture
Two categories of texture are Rough and smooth. Within these categories there are a plethora of other textures to describe what may or may not be reality. There in lies the artistry of controlling texture.
Highlighting different textures in your photos can be a good way to improve your photography, writes Alfonso Calero. Tactile texture is the tactile quality of a surface. You can keep the real texture or change the perception of real texture.
While photography is a two-dimensional art form, texture can be used to create the illusion of depth and tactility. Highlighting texture is an effective way to tap the third dimension, and set your pictures apart from the 2D norm. In a recent project I set out with the express objective of archive digging for landscape photos with interesting textures.
It's an exercise I can recommend to anyone interested in improving their photography as it gets you thinking not only about the surface you're photographing, but also the way lighting, colour contrast and angles all change the way the camera sees and records textures. In this article I've included some examples from my texture project along with some tips to help you accentuate texture in your own images.
YOUR CHALLENGE: HOW MANY OF THESE TEXTURES CAN YOU FIND IN YOUR PHOTOS?
Two broad categories for texture — Rough and Smooth
Rough - Course, Bumpy, Dry, Flat, Scaly, Glossy, Sandy, Hairy, Hard, Prickly, Sharp, Sticky
Smooth - Fine, Slick, Wet, Wrinkled, Silky, Matte, Slimy, Bald, Soft, Velvety, Dull, Slippery
01 LOOKING FOR TEXTURE
You may be surprised at how many textures there are around you when you start looking for them. Peeling paint, grainy timber, rusty metal, weathered rocks are a few surfaces that are rich hunting grounds for texture seekers. Surfaces that are rough, smooth, hard, soft, wet or dry can all add a tactile dimension to your images.
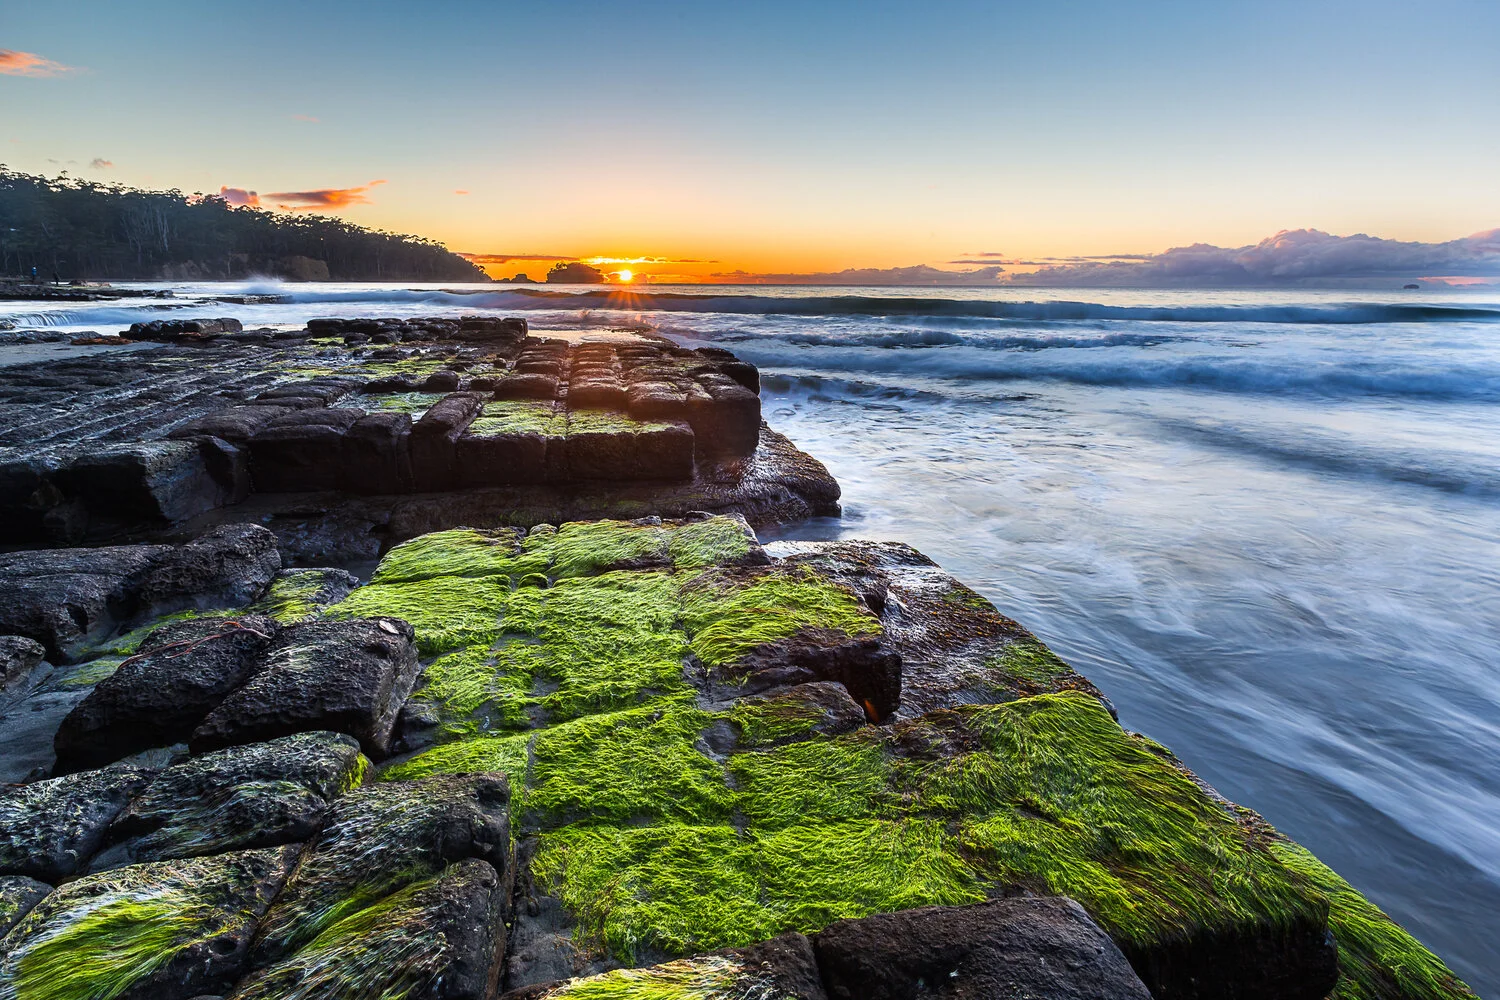
Fluffy & Velvety Moss
02 LIGHTING FOR TEXTURE
The angle and intensity of the light has a huge affect on texture. Look at the angle of the light and how it bounces off the surface. Move around the subject and the light source and watch how the texture appears to change. Side and back lighting enhances texture. Hard light creates stronger shadows and a stronger sense of texture, but might also produce too much contrast, leading to blown highlights or blocked shadows. Soft, diffuse light is easier to control and may make it easier to reveal every bit of detail in a decaying piece of wood. When it comes to texture, the devil is in the detail. Playing with transitions of lighting from dark to light or warm to cool can also enhance the emotional impact.
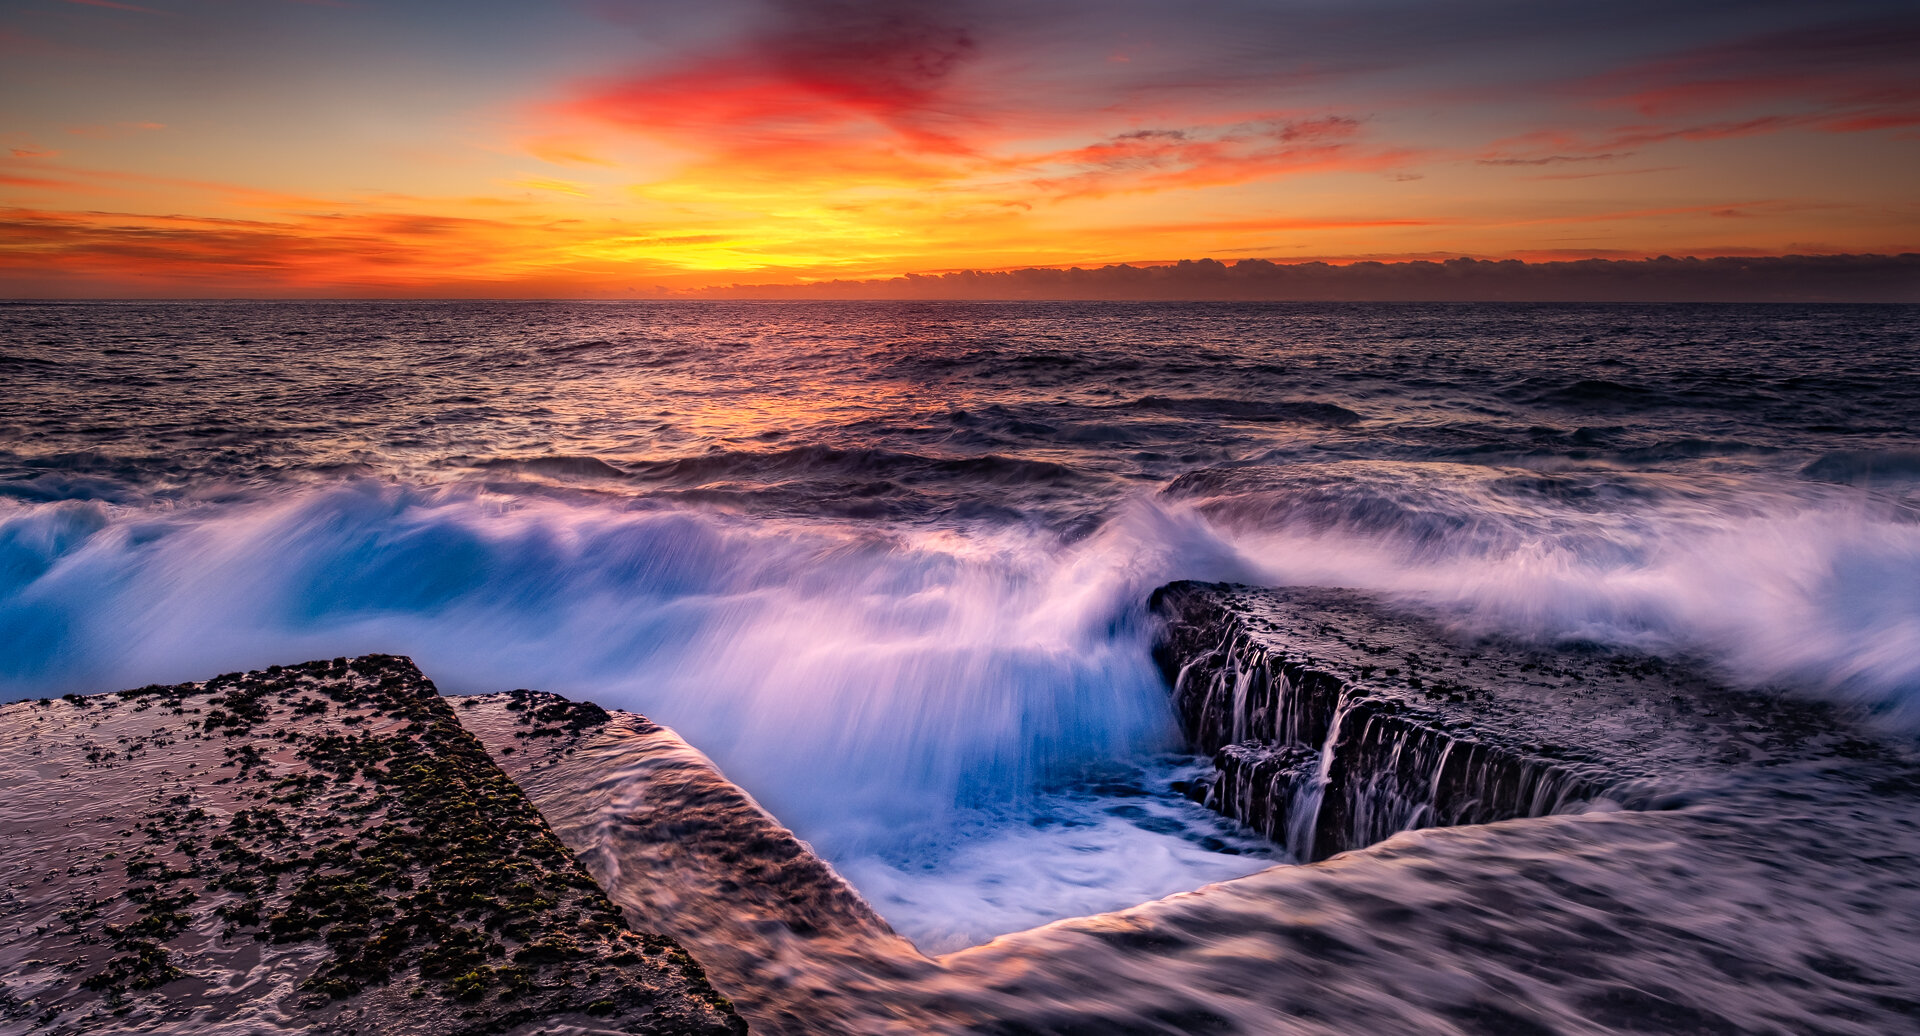
Wet & Silky Water
03 CLOSE UP
If you are photographing a surface that is less than a metre away, a steady tripod will let you use a slower shutter speed, lower ISO and narrower aperture. All that adds up to more detail in your photos. Use a cable release or a remote control to reduce the chance of camera shake even further. Wide angle lenses (14-24mm) will allow you to easily get greater depth of field than longer lenses. (50-100mm +) Generally speaking if you are focusing less than 3 feet you may need to focus stacking. Here is how to focus stack in a previous article.
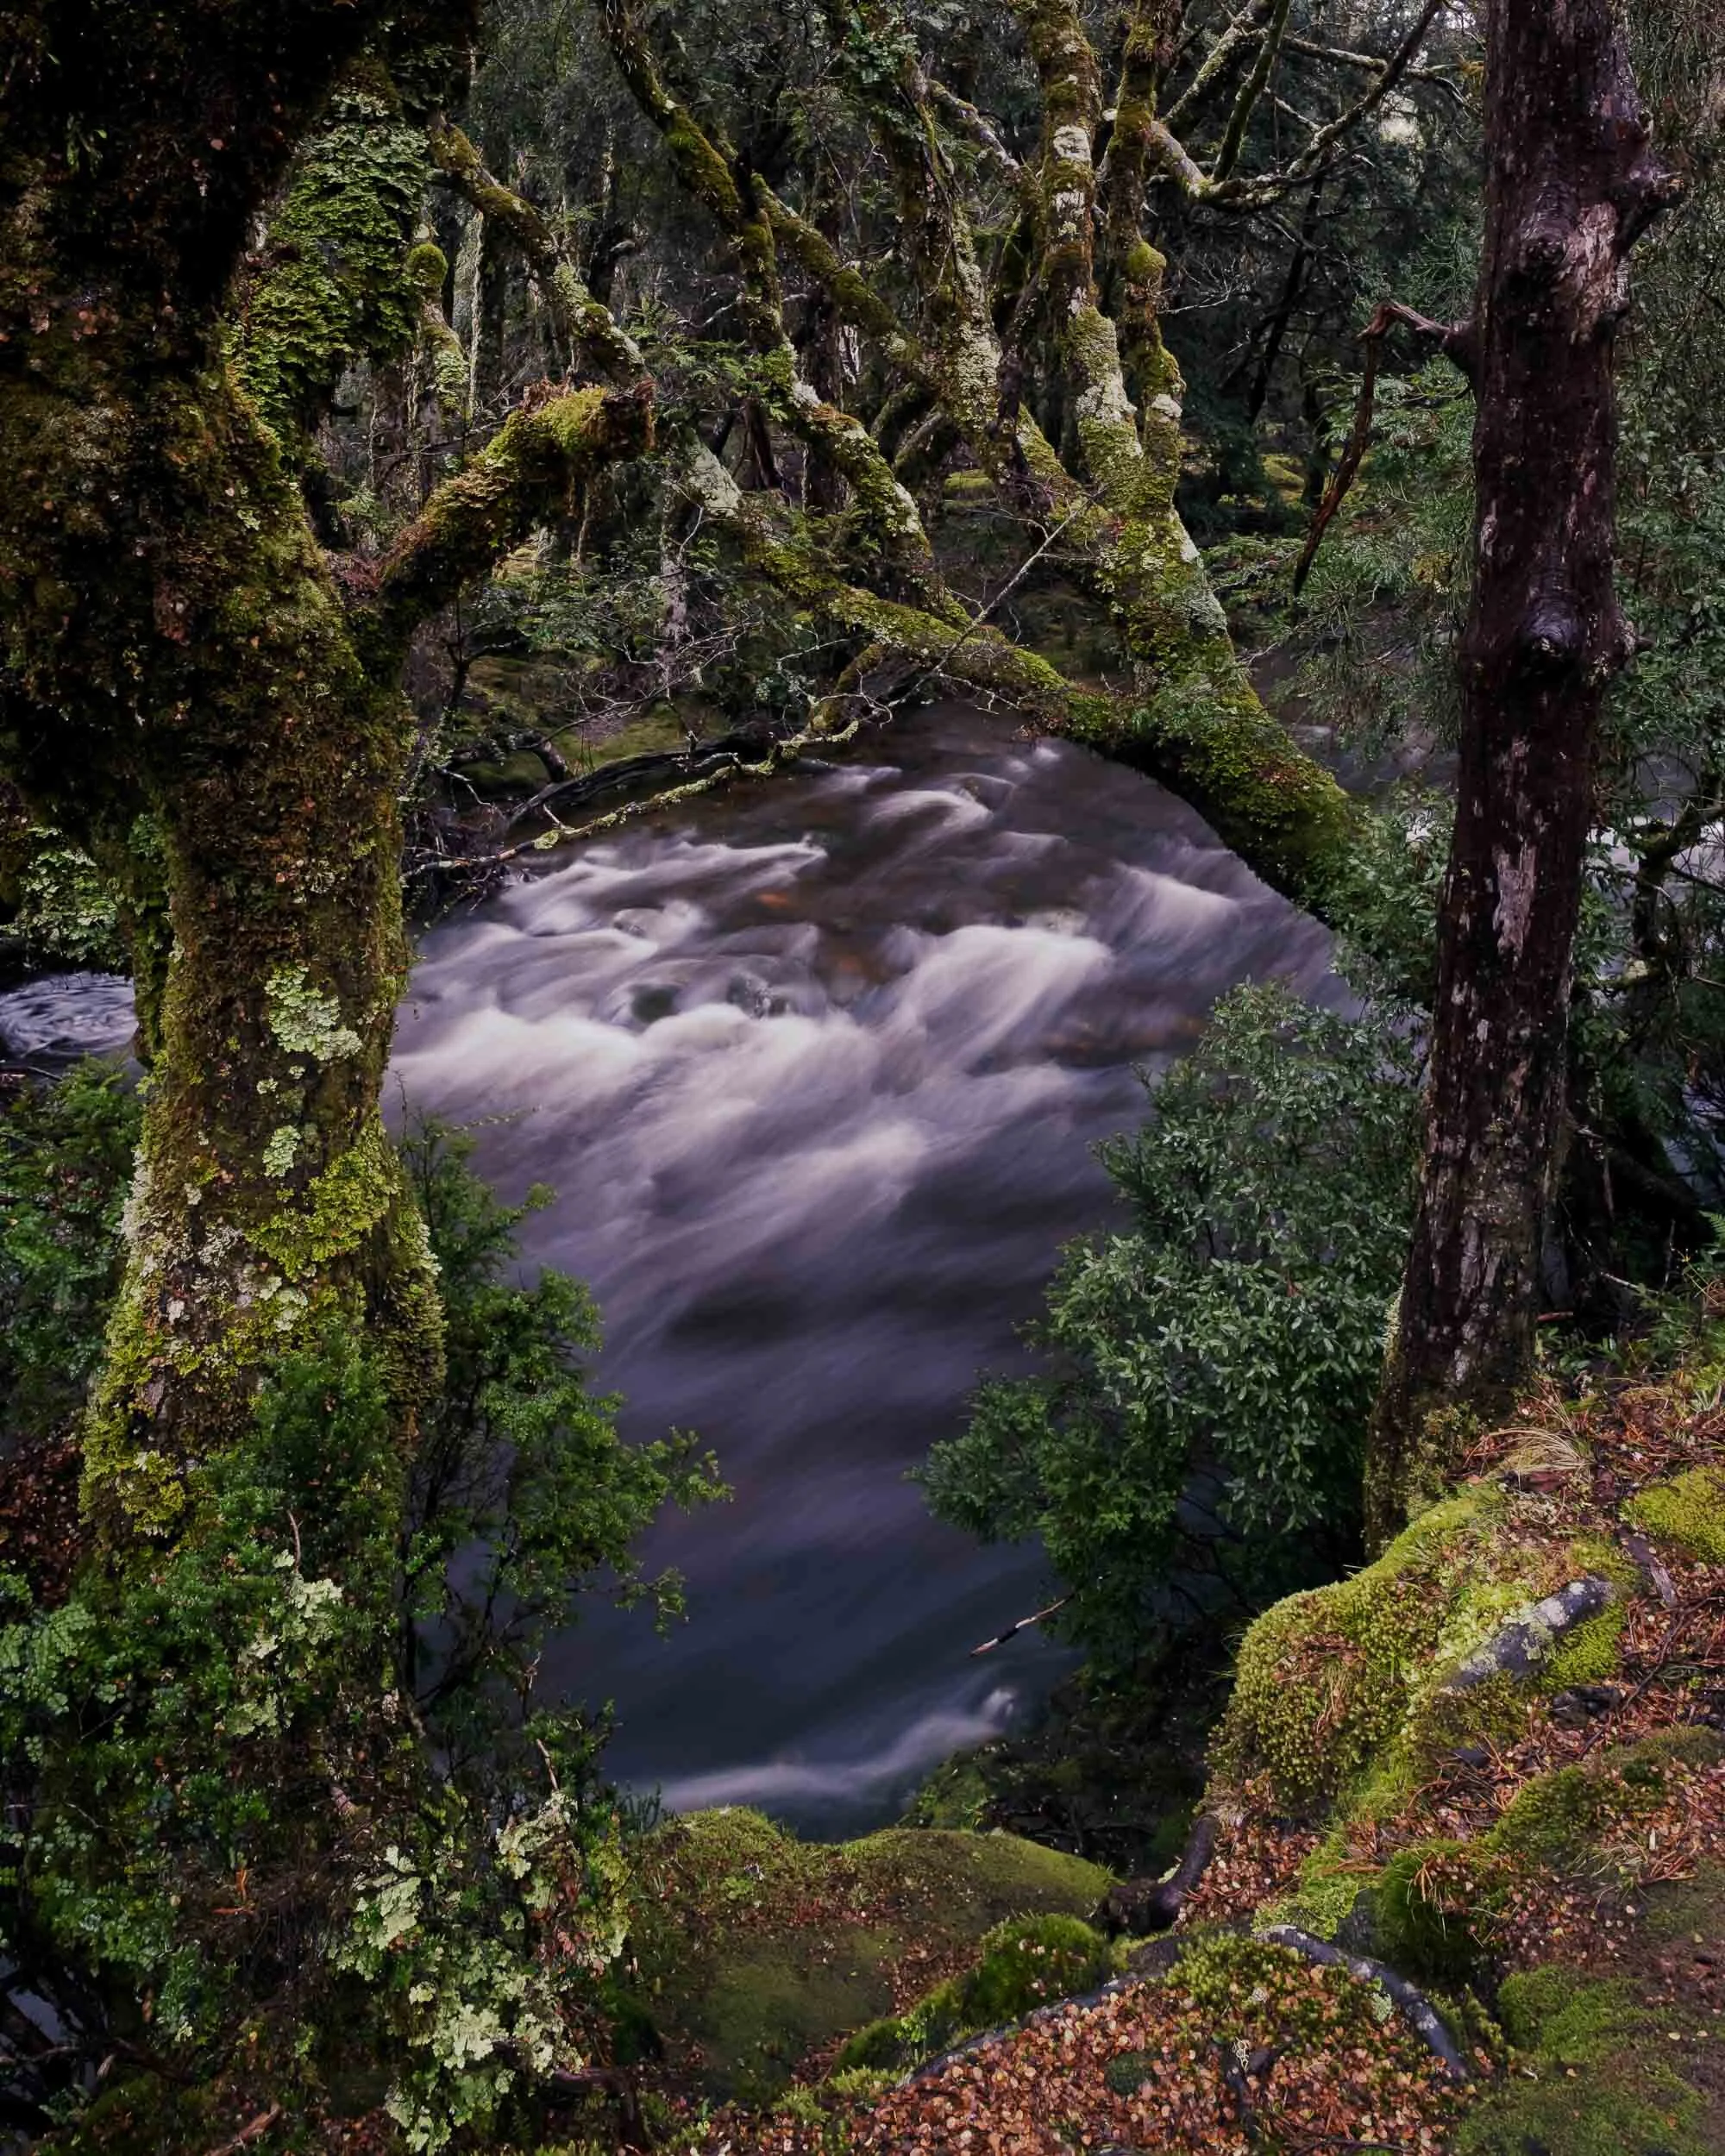
Bumpy Rocks & Hairy Moss
04 BEST SETTINGS
It goes without saying that if your priority is detail – and it should be if you are shooting texture – you need to shoot RAW rather than JPEG. Shooting in RAW will help you capture a wider tonal range and makes it easier to adjust the colour temperature in post. A little sharpening will also boost detail and depth. When shooting for texture, use a low ISO (to reduce noise) and an aperture of f/8, f11 or f/16 where possible. While you will get more depth of field at, say f/22, most lenses produce their peak sharpness at f/8 or f/11. Experiment with different settings to see what works best for your camera/lens combination.
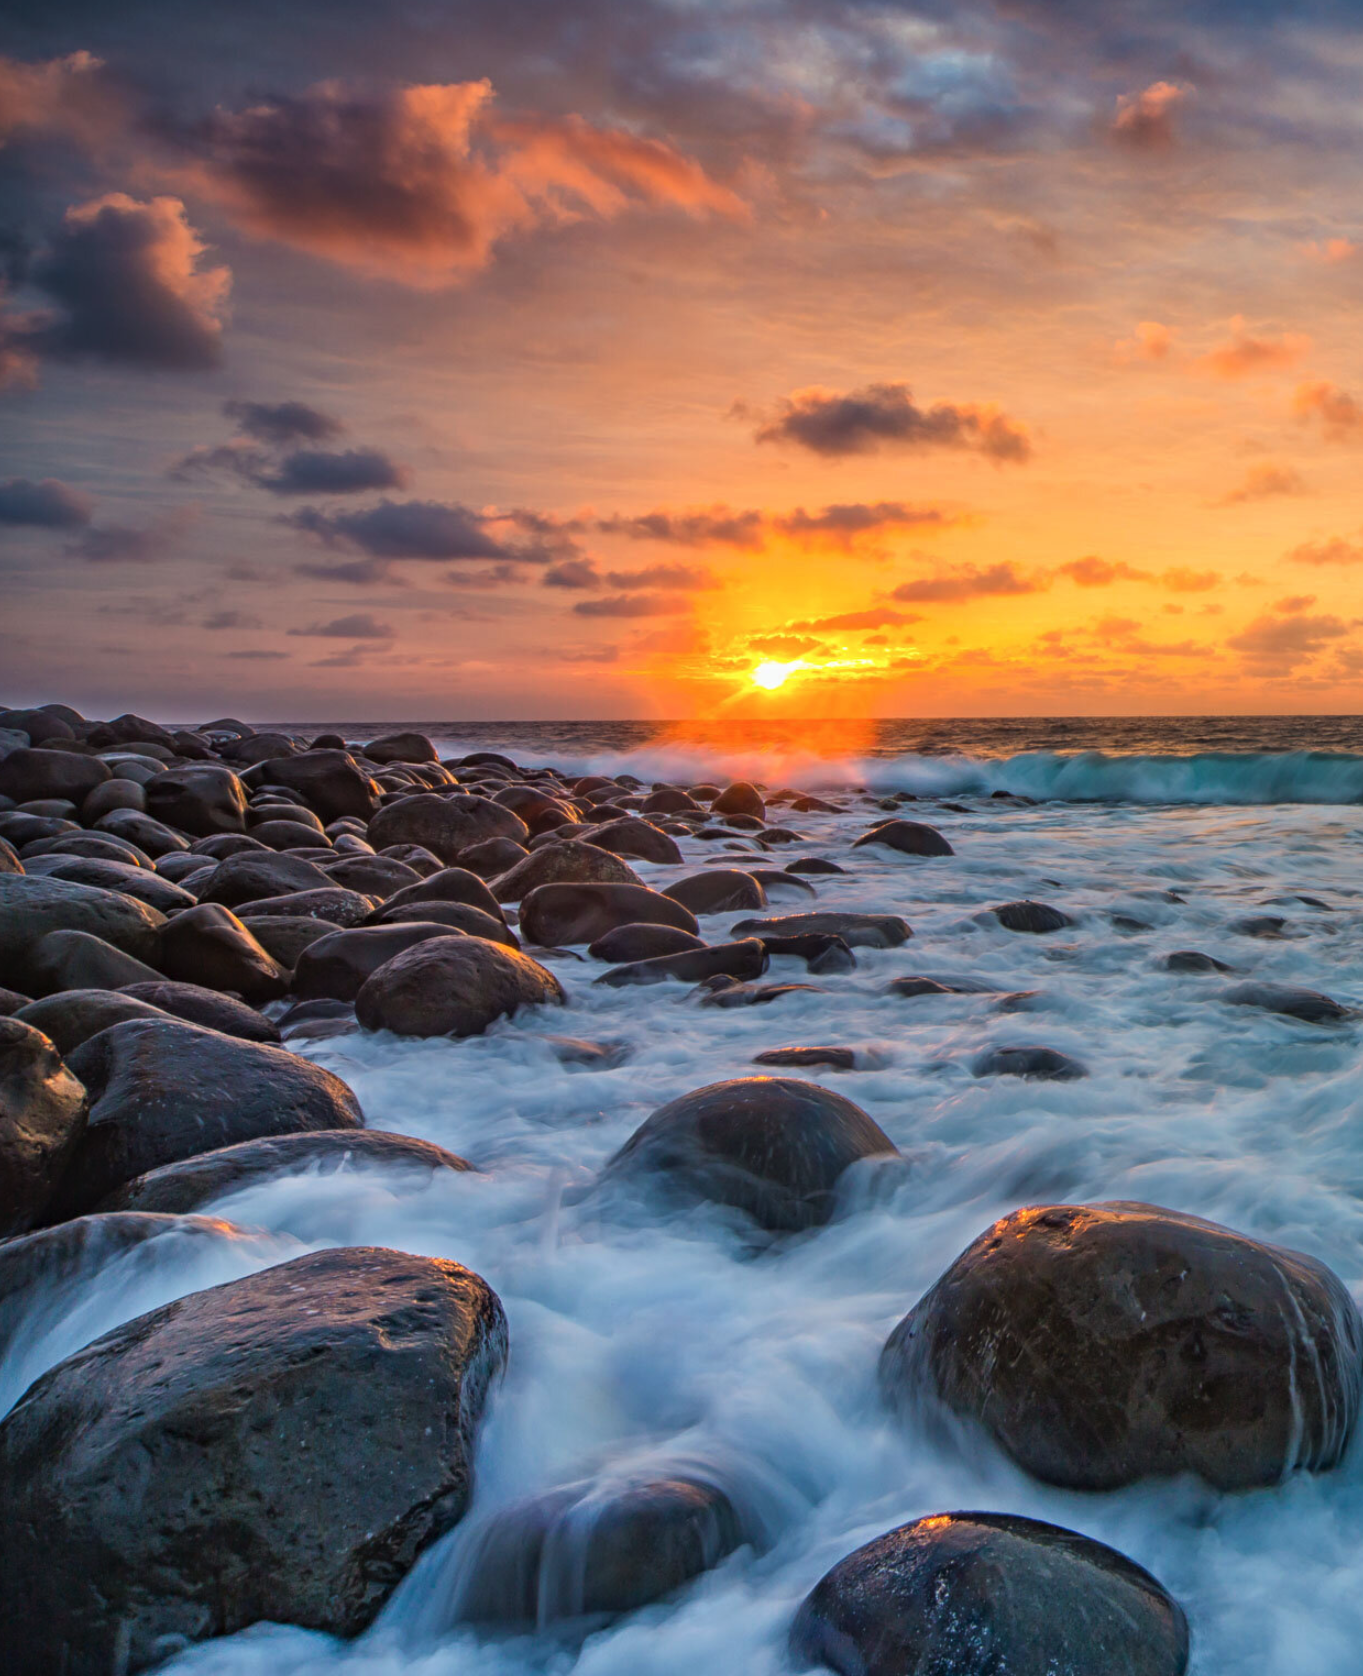
Slick Water and Hard Boulders
05 GENRES FOR TEXTURE
While texture is a natural consideration in macro and close-up photography, there are other genres where texture can also play an important role. You can apply this to close up photos. Other genres that typically have texture are food, nature, macro, abstract & Aerial landscape are some that springs to mind. Even conventional landscapes can benefit from a good understanding of texture, as different textural elements are complemented and juxtaposed to lead the eye and create movement and drama.
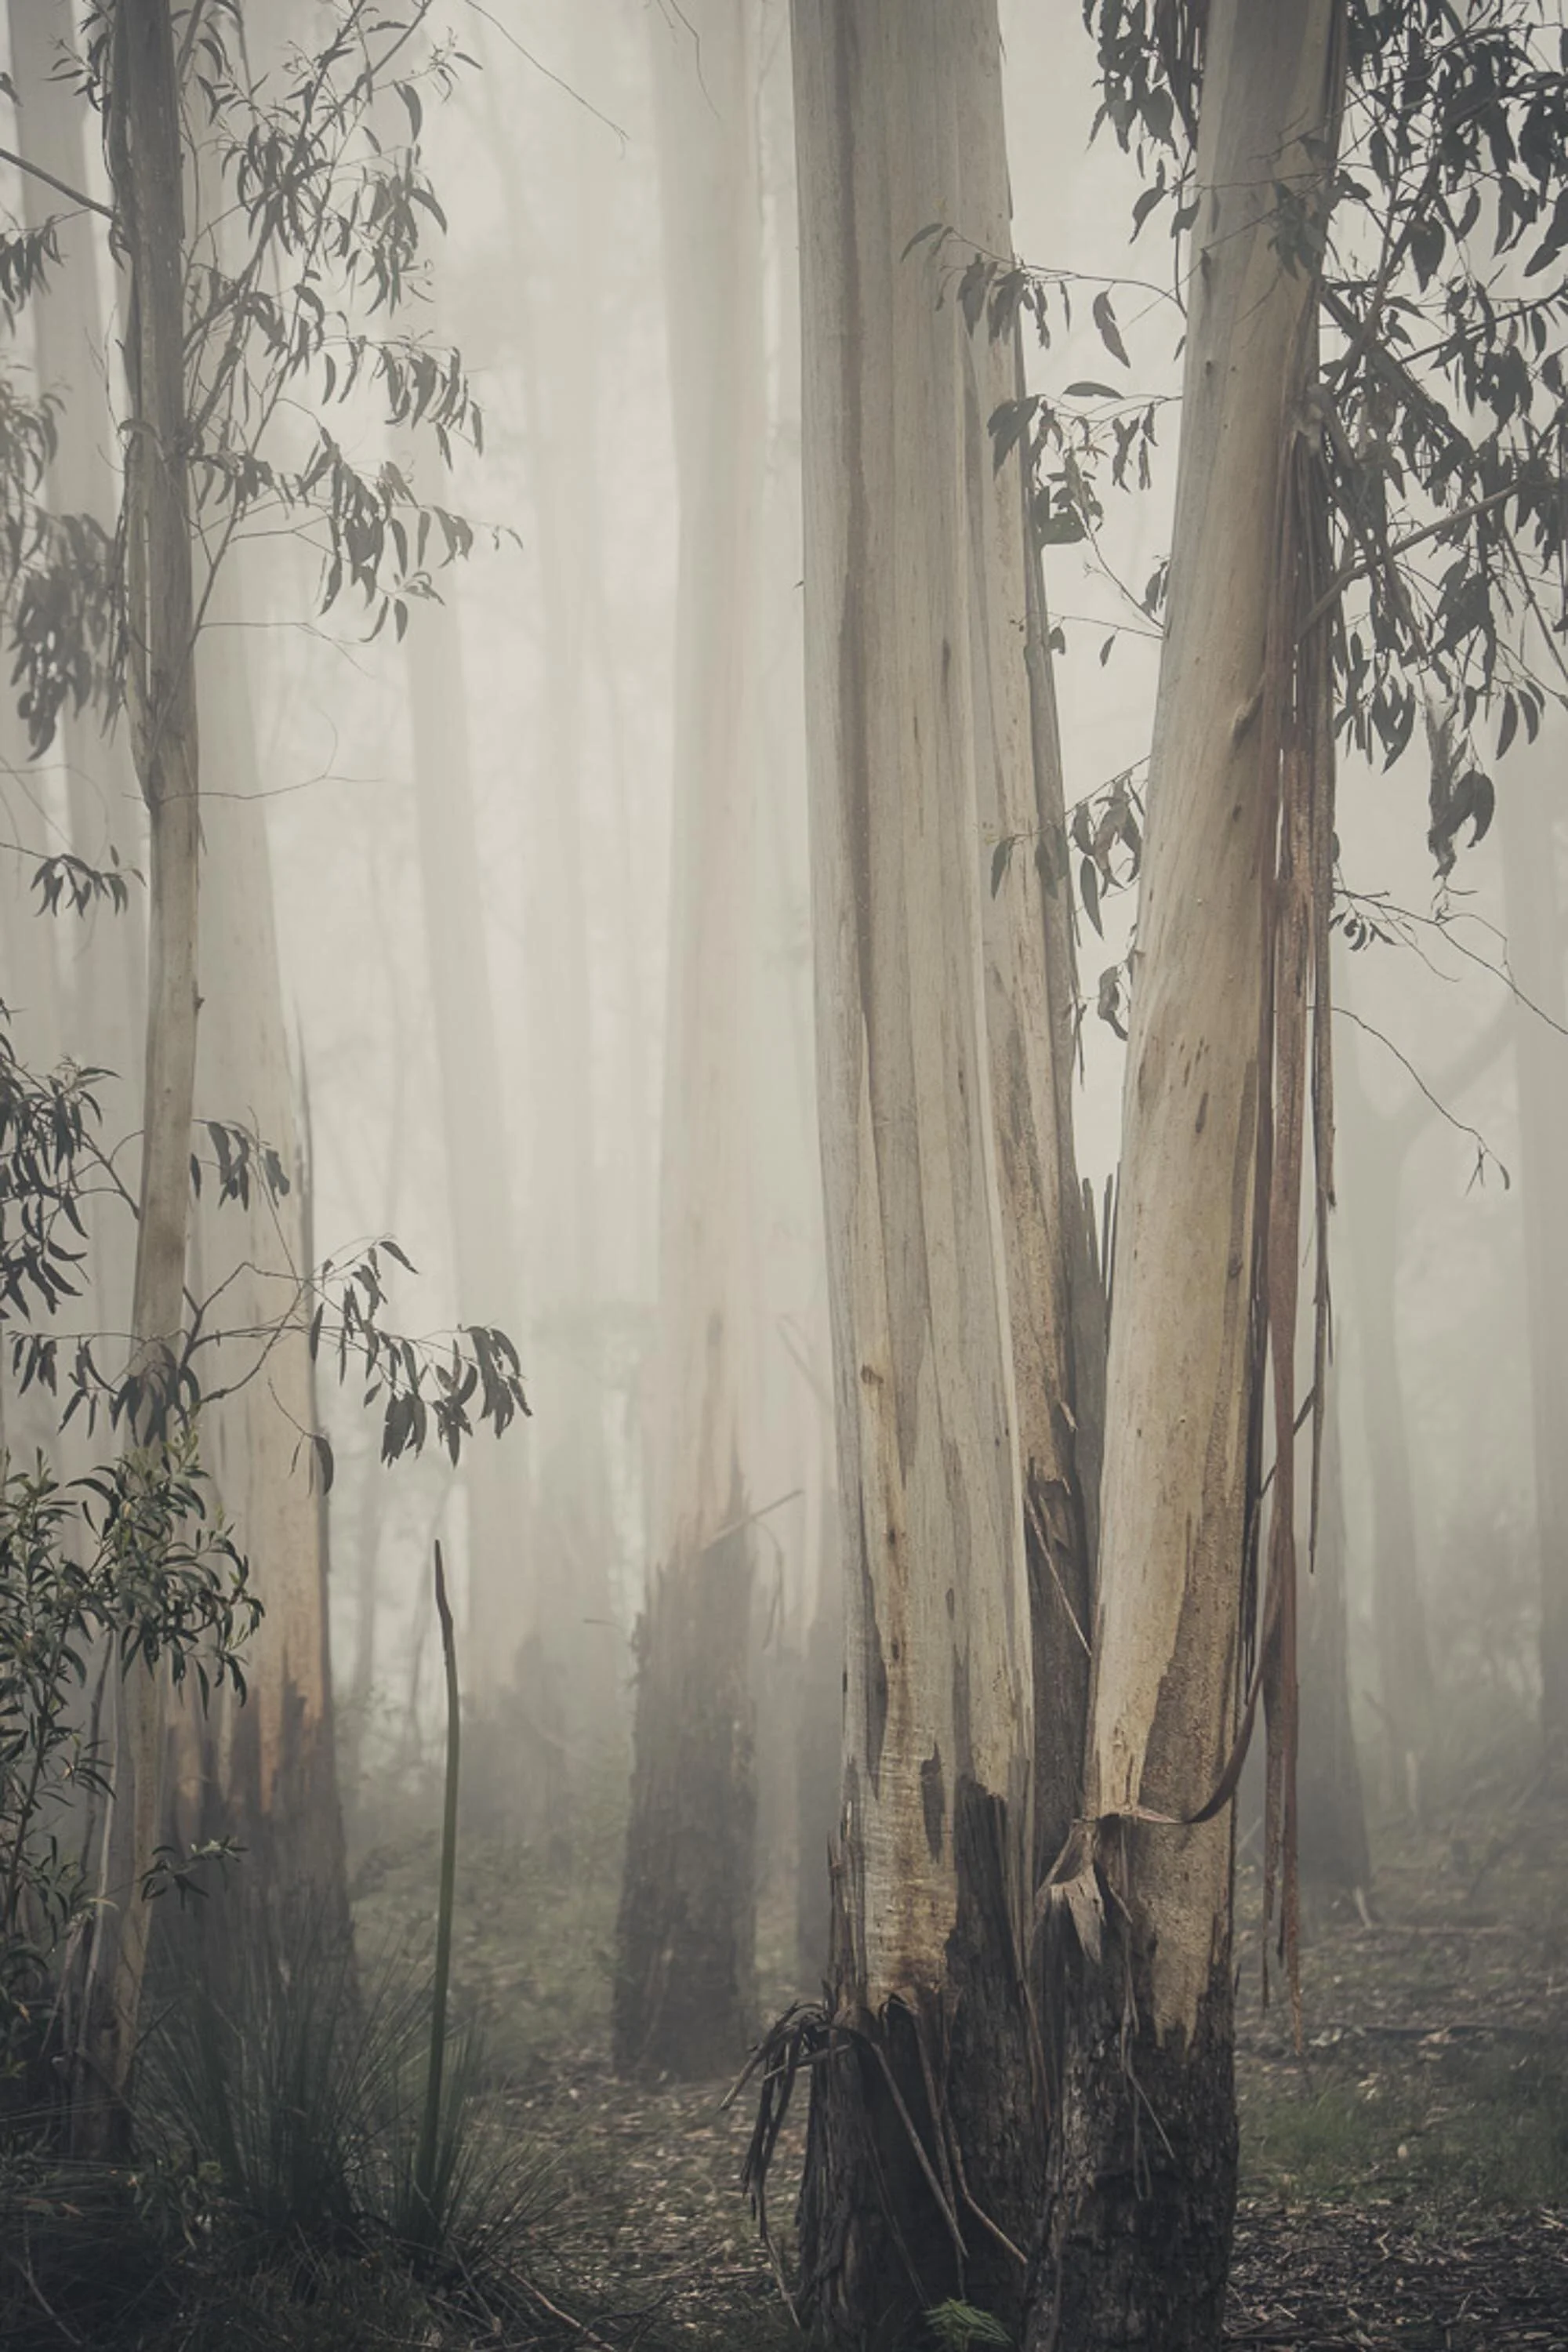
Wrinkled Bark & Soft Fog
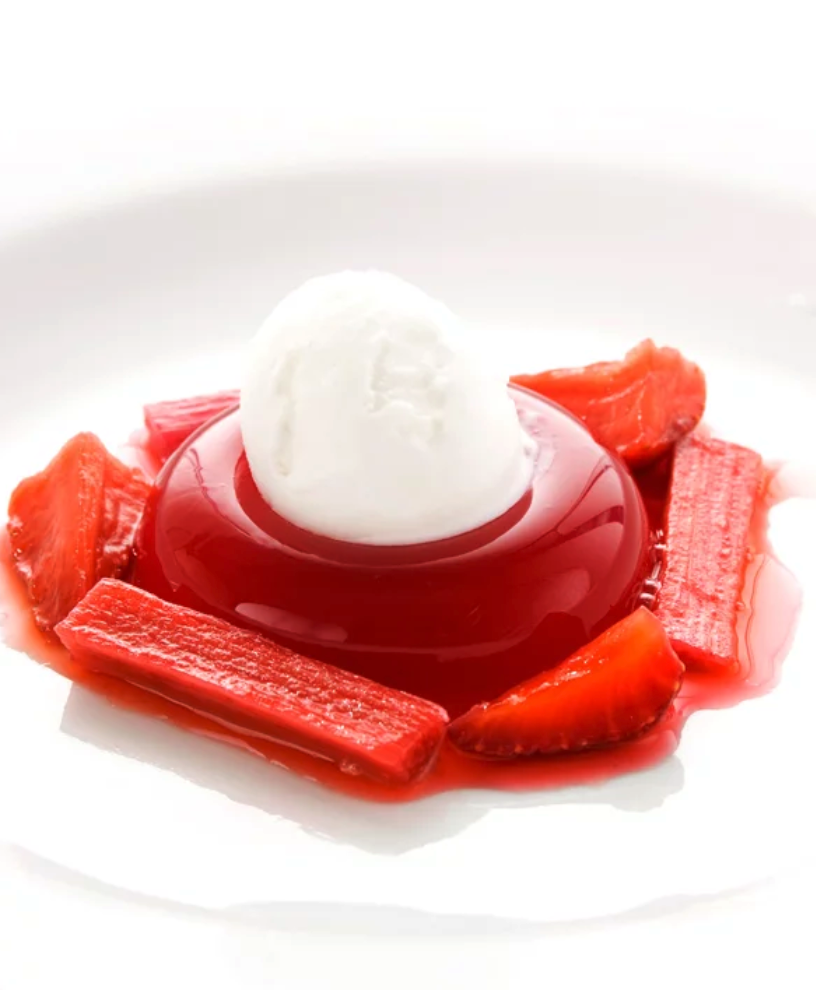
How To Shoot Delicious Food Photos (Smartphone Photography)
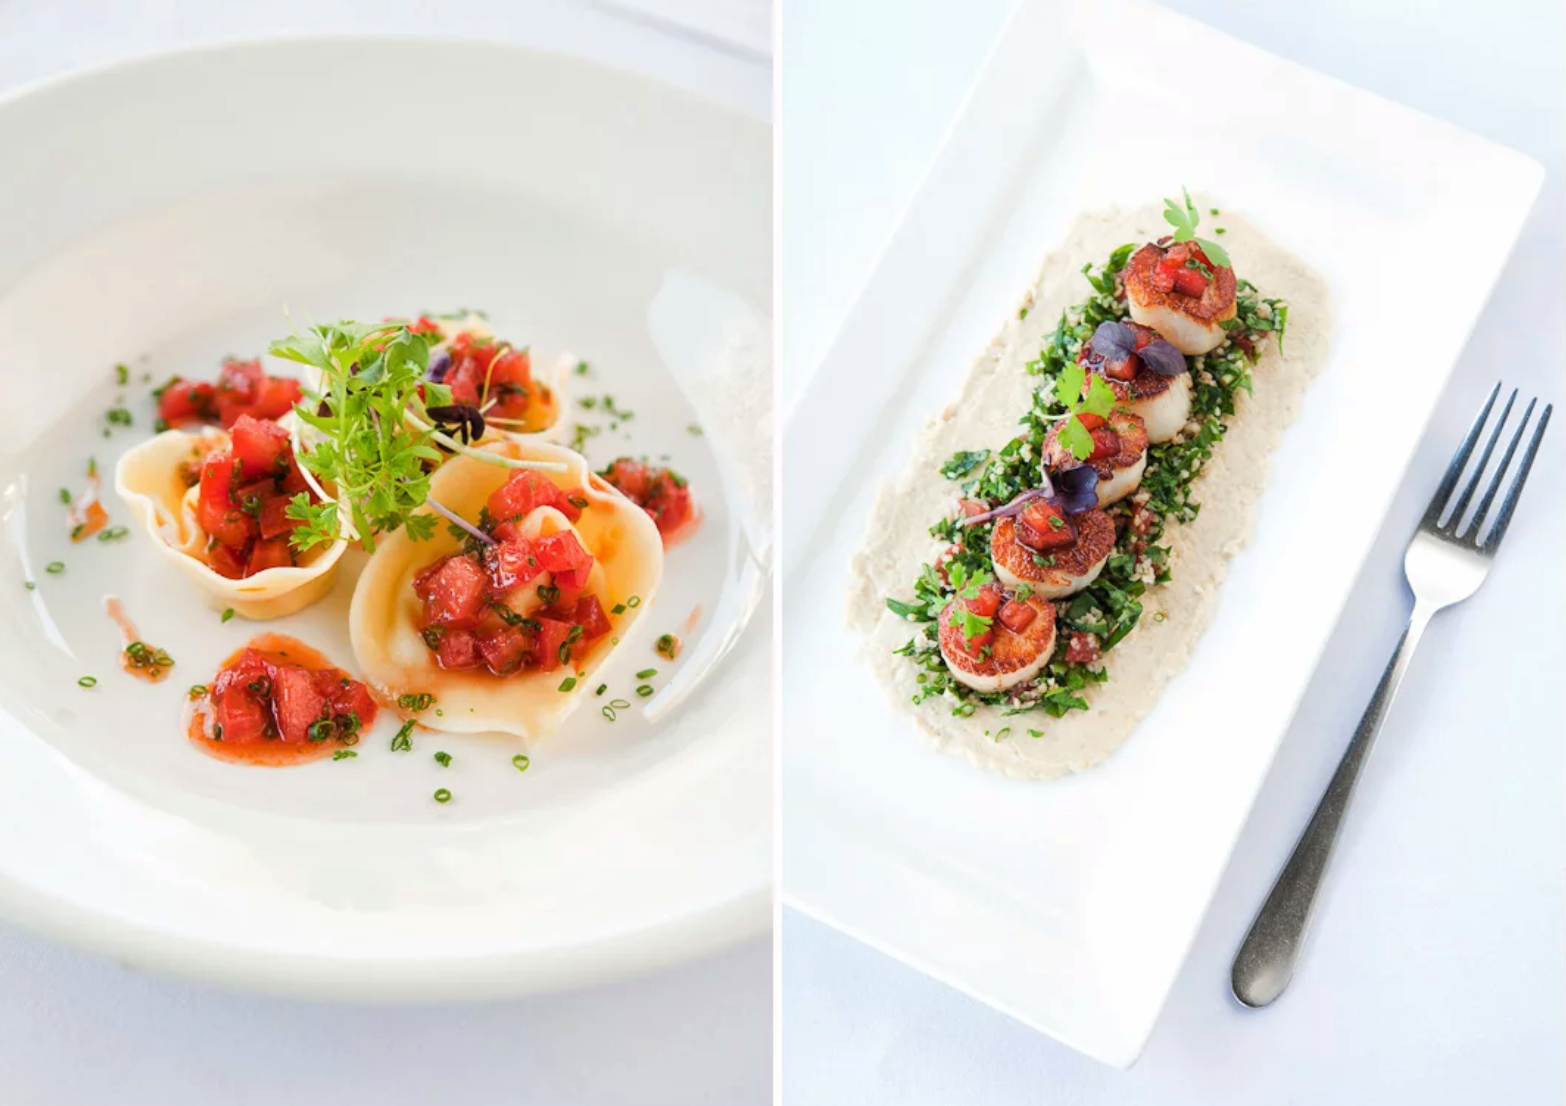
Whether you're photographing a restaurant dish or a delicious home-cooked meal, there are some simple tricks of the trade you can use to produce professional looking images, says Alfonso Calero.
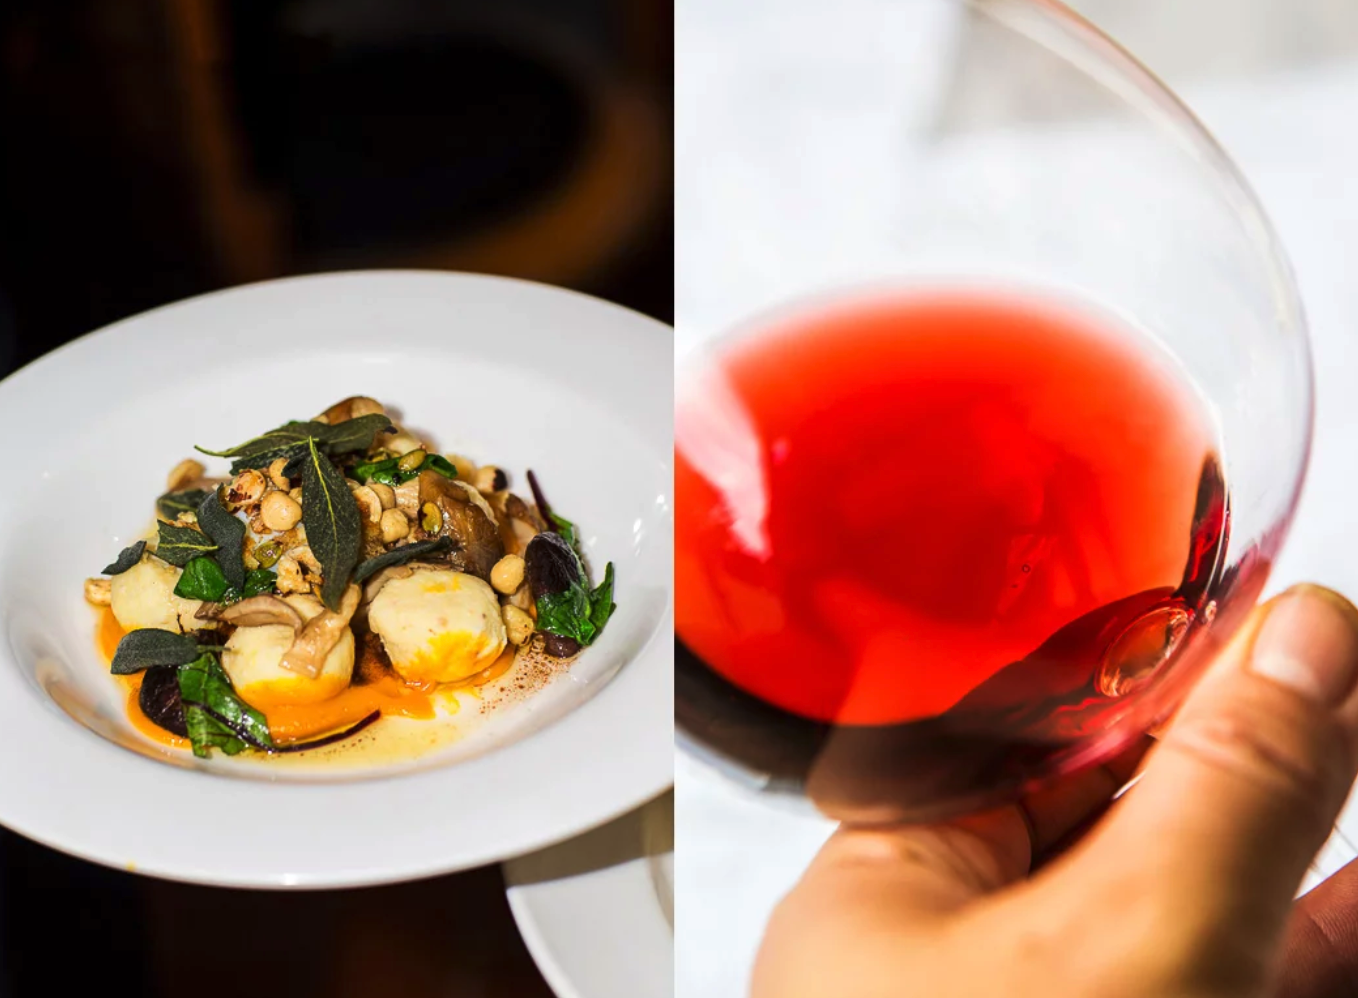
01 LIGHTING
While professional food photography is often done in studios with elaborate lighting set-ups, you can get some amazing results using diffuse natural daylight. Avoid direct sunlight and use a reflector to bounce light into the shadow areas of your dish. Pay close attention to detail especially in the shadow areas and be careful not to blow out your highlights – especially in the food itself. A simple piece of white paper can make for an inconspicuous reflector in a restaurant environment. If you have to shoot at night, try to avoid using on-camera flash if at all possible. A pocket-sized tripod can be used to keep the mobile camera stable.
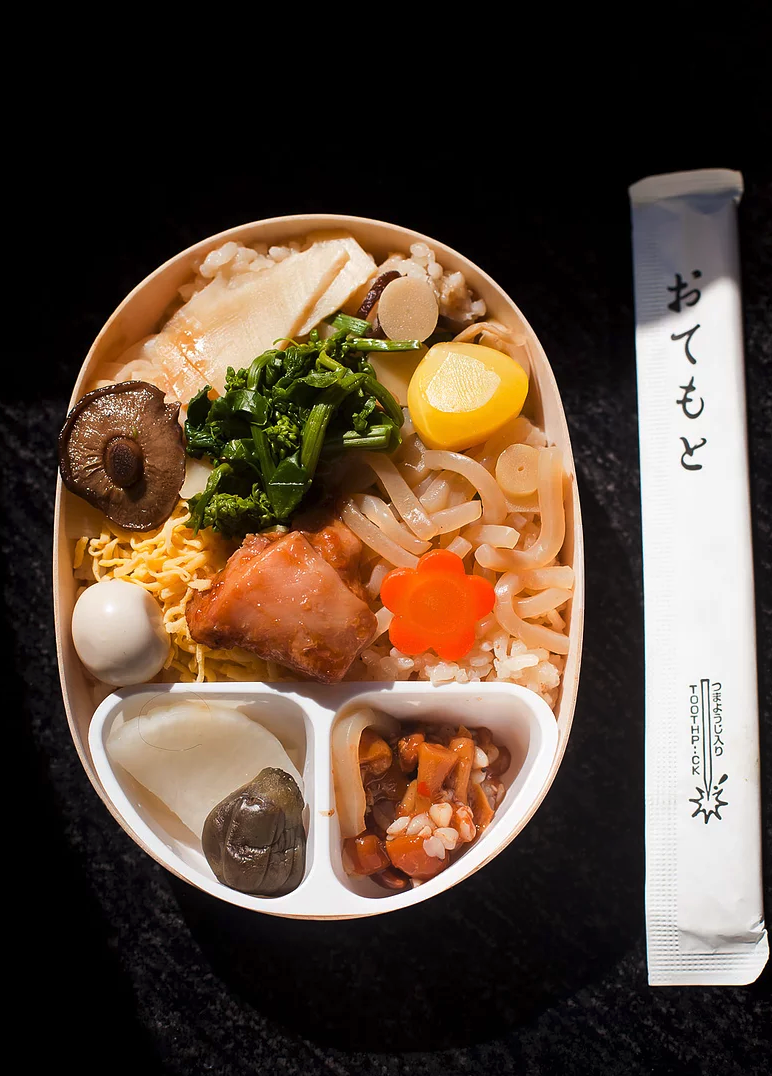
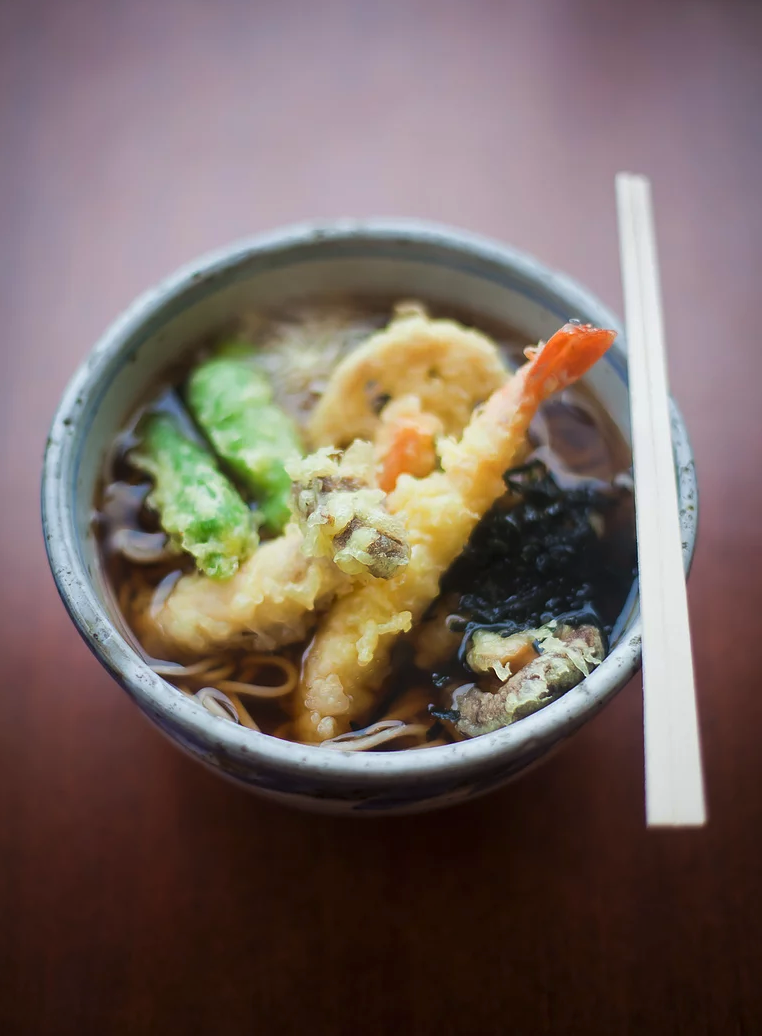
02 WHICH LENS?
Most new mobile phone cameras have 2-3 lenses that are marked as 0.5 / 1x / 2x magnification. I would suggest you avoid the 0.5 unless you are after a slightly distorted and wide angle view. 1 or 2x magnification mimics closely a typically used 50mm lens. Avoid pinching and zooming past your longest lens as it will be a digital not optical zoom. Your image quality will be lessened greatly.
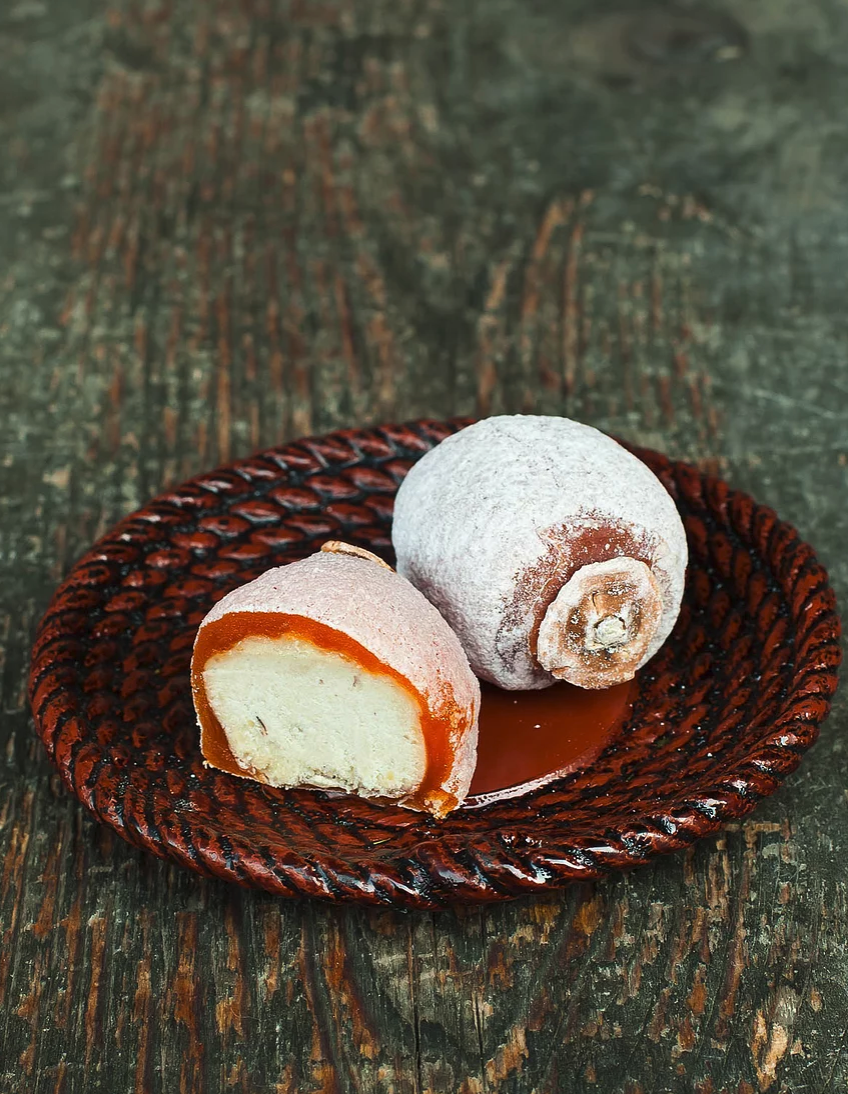
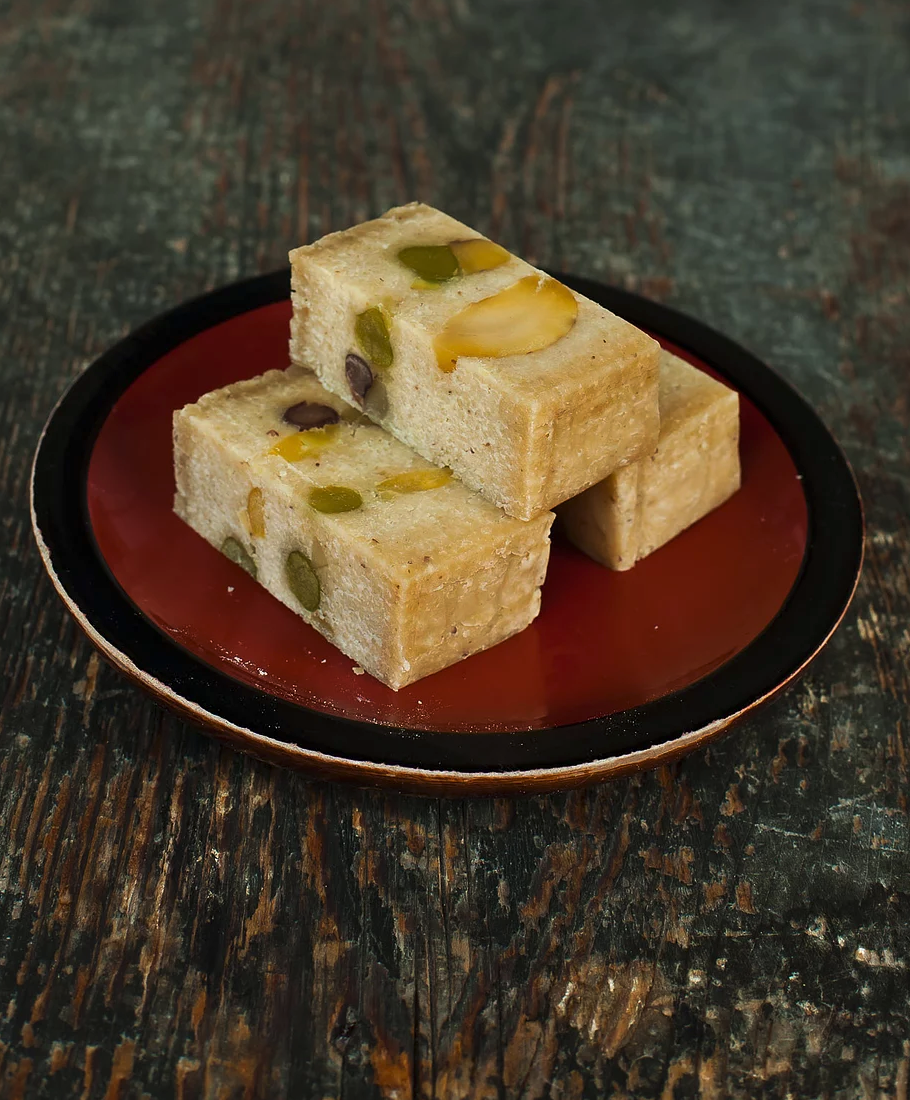
03 COMPOSITION
The expression 'keep it simple' is worth keeping in mind when it comes to composition. Try to avoid putting anything in the frame that distracts from the main subject. Move the camera angle up and down to find the perspective that makes the food look the most delicious. A top-down view can look great but a 45-degree angle tends to add a more dynamic feel.
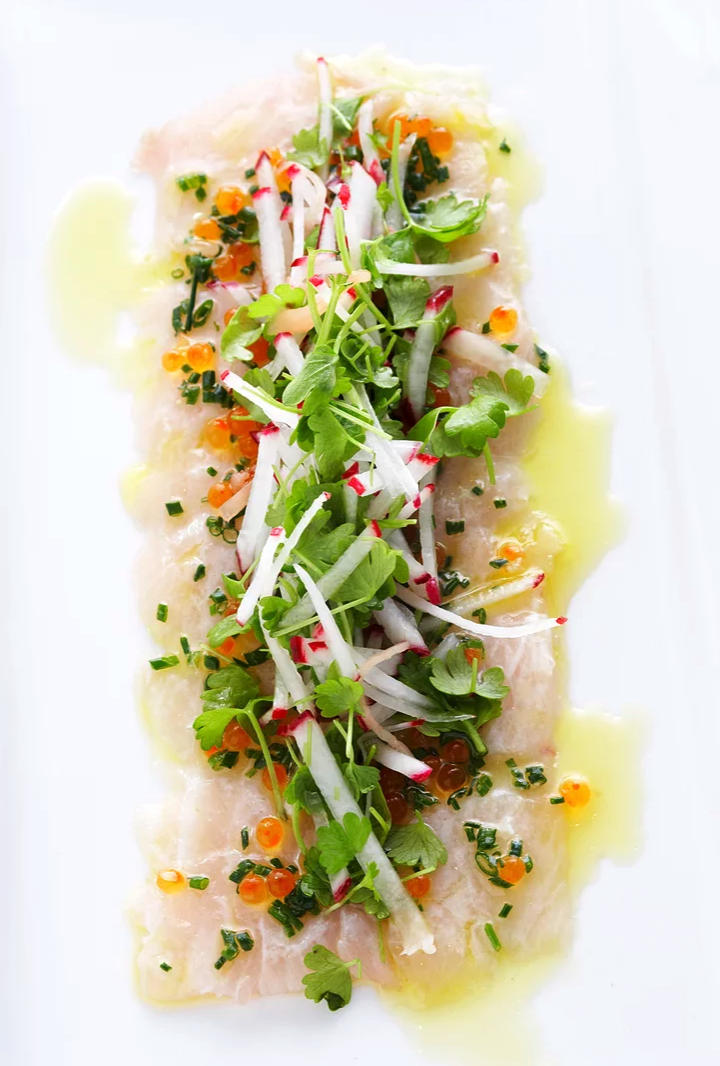
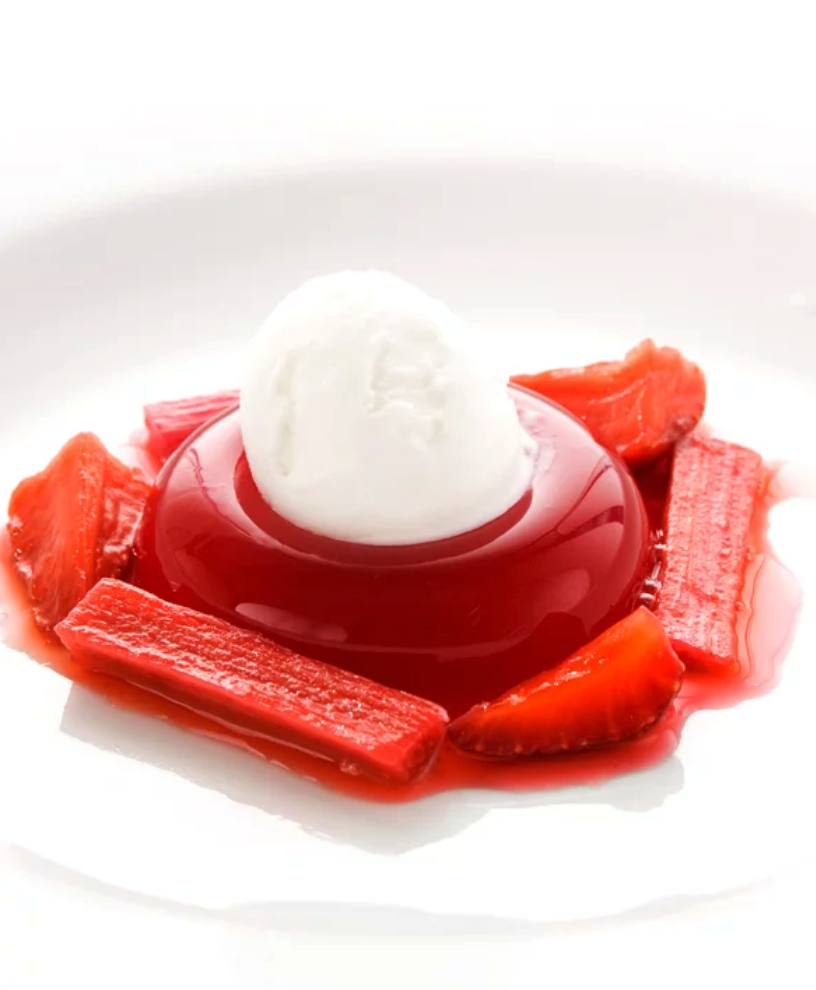
04 DEPTH OF FIELD
Using a wide aperture to produce a narrow depth of field can be a useful way to minimise background clutter and put the emphasis on the food. Be careful though to make sure that there is plenty of detail in the areas that matter. The portrait filter on your mobile camera throws on a shallow depth of field filter. I would suggest you use snapseed’s (editing tool) to have much more control of lens blur. Sometimes it will be good to blur the background to atrract the viewers eyes more to the main subject.
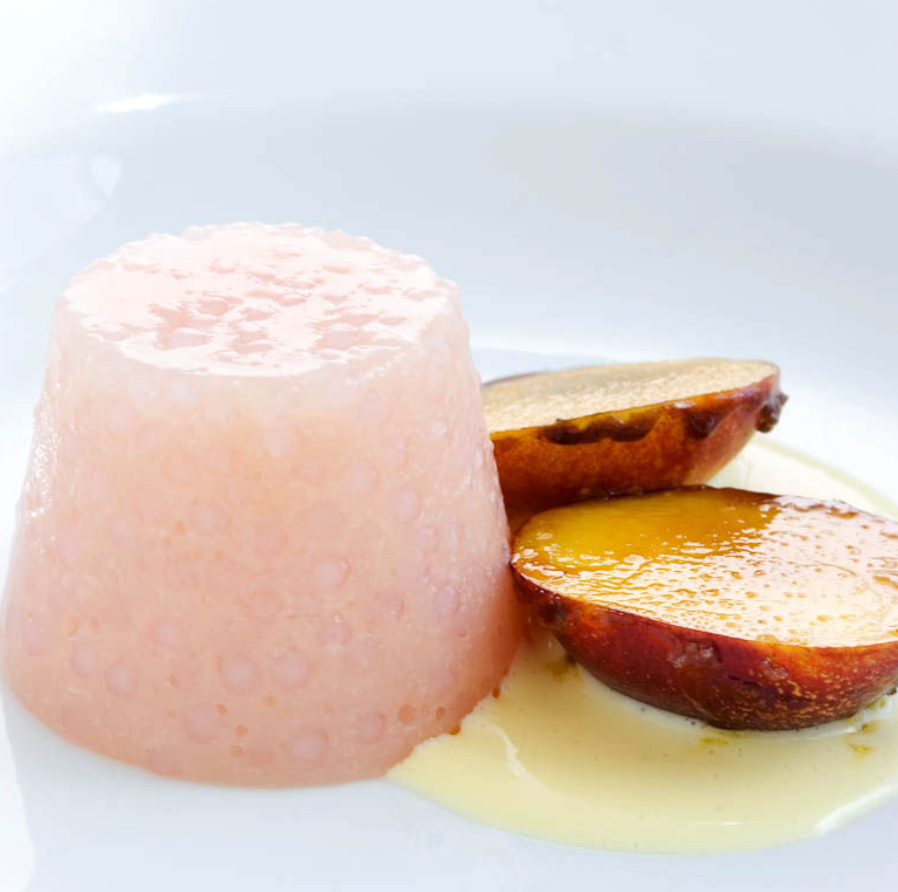

05 BACKGROUNDS
Clean white plates on clean white backgrounds have been popular in food photography for a while. It's a style I like, as you can see from the images that accompany this story, but it's not the only option. If you are going to include a background with some more detail try to include elements that expand on the story of the food. Developing your own signature style over time or curating backgrounds and props to suit the food more appropriately will help enhance the food experience. I would keep it simple have 3 foregrounds, 3 different types of plates and 3 backgrounds that way you chop and change to match the feel and colours and textures. of the food.

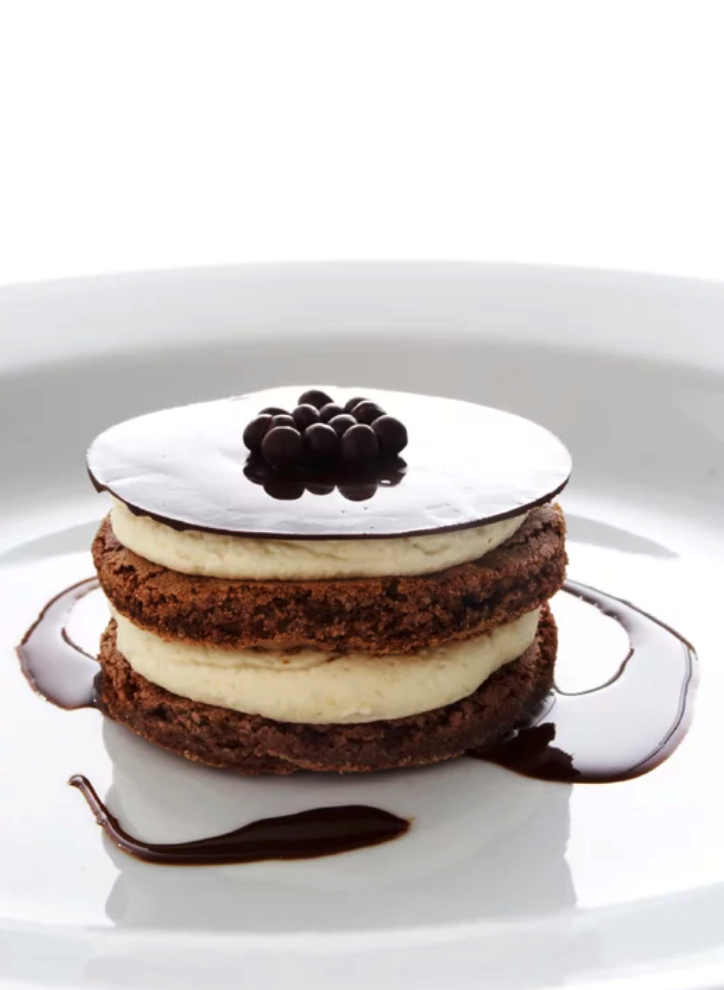
06 FOOD STYLING
This is a complete subject in its own right and the people who are good at it have been doing it for years. If you are arranging the food yourself make sure everything on the plate looks fresh and delicious. A chef mate once told me that placing all the food elements on a plate should not take more than five movements. The less you move the elements around, the more naturally they will fall into place. Try to include a mix of shapes, sizes, colours and textures on the plate.
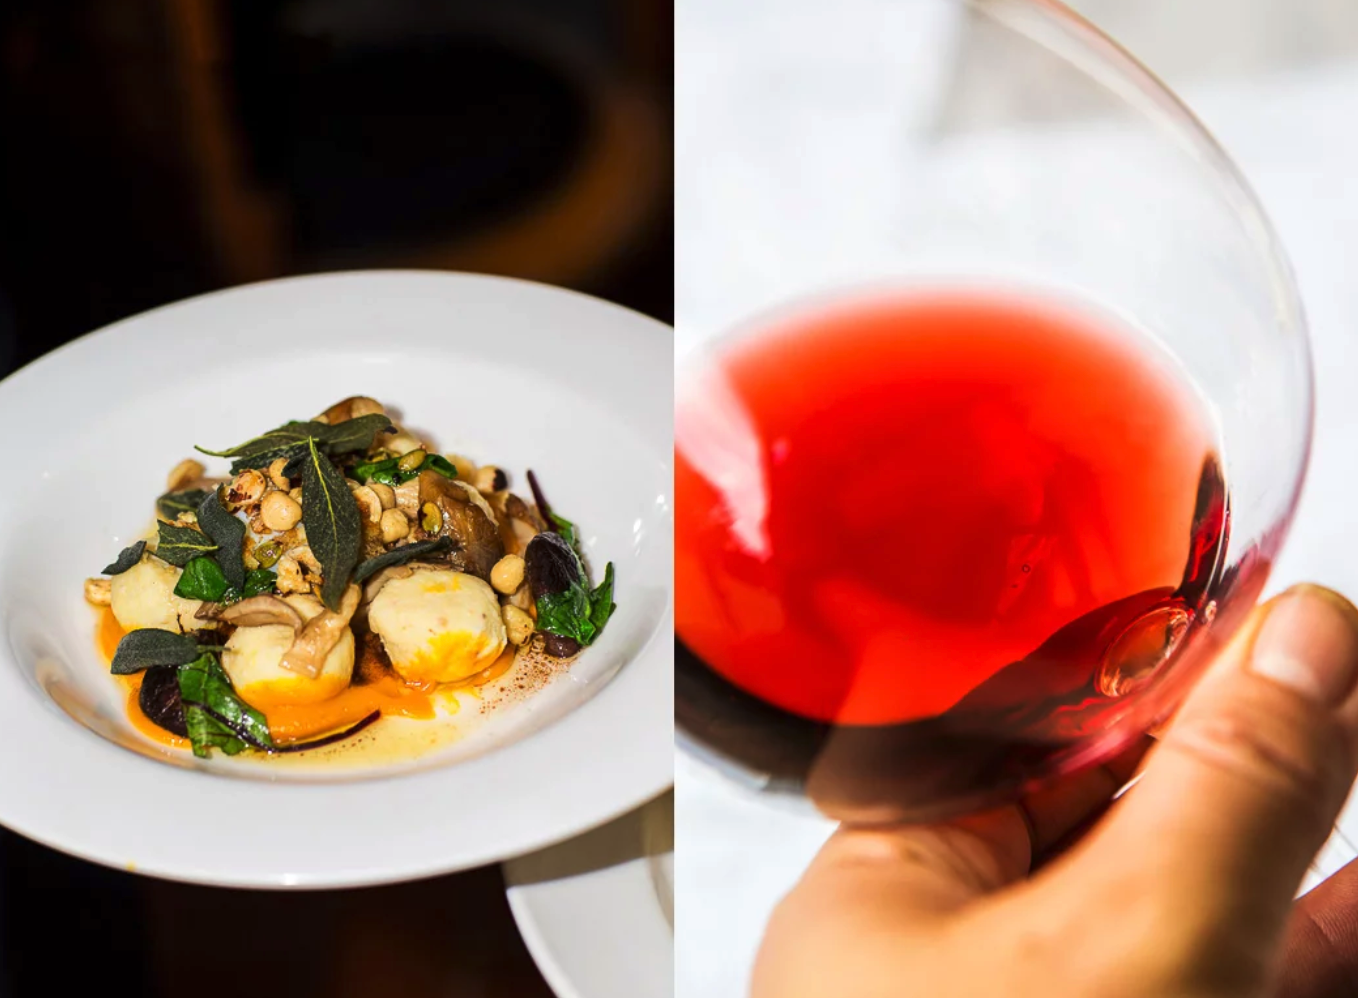
07 EDITING
Once you have photographed your best images we will then open them up in a free app called snapseed. The most common tools to be used will be Tune Image, White Balance, Brush, Tonal Contrast and Lens Blur. The best approach to editing is to take a more local not global approach. Much like great food, marinating your images will also give you perspective over time.
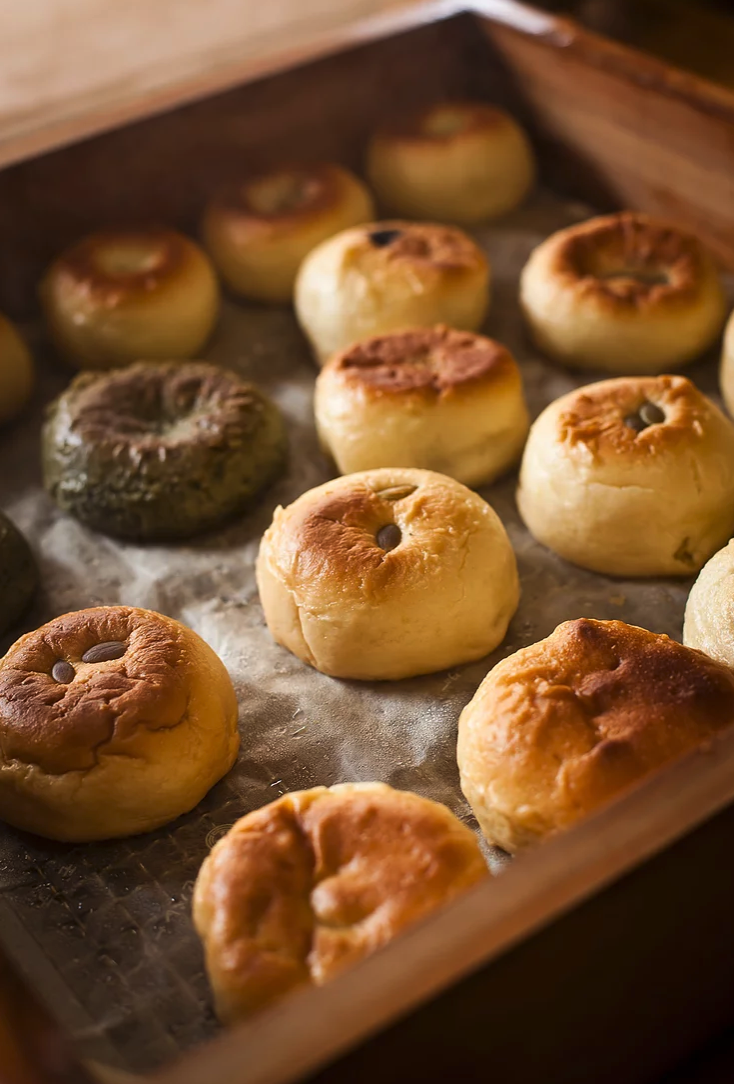
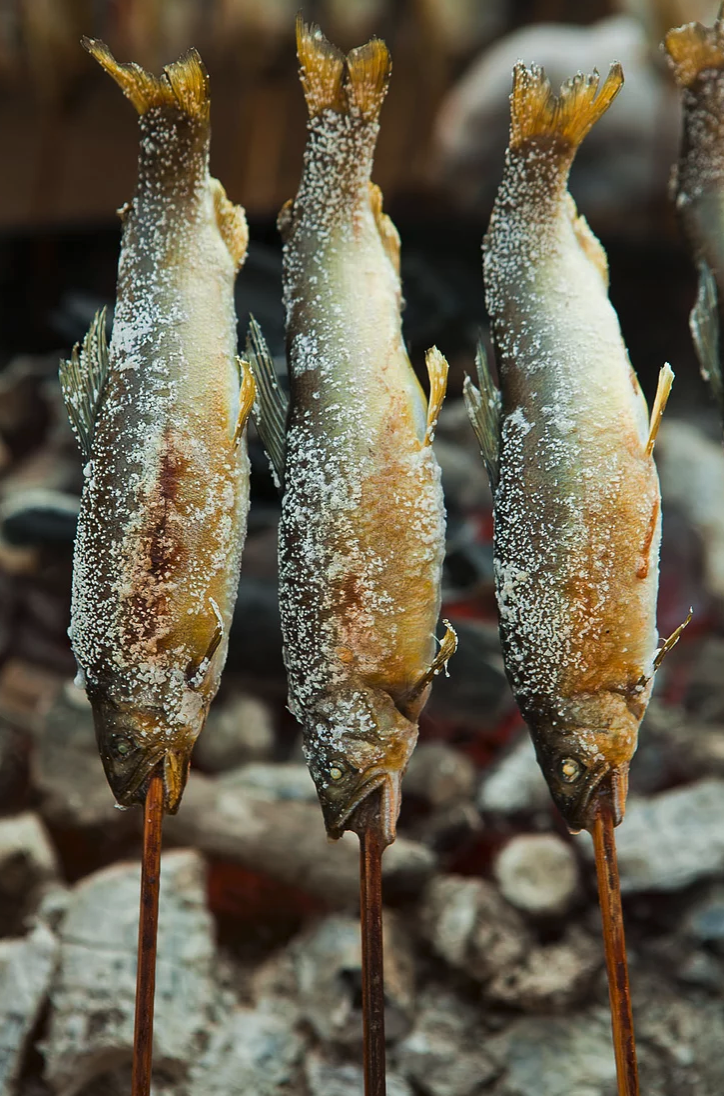
Other Great Reference ideas to improve on food photography:
https://www.pinterest.com.au/phototours/food-art/
https://mylucie.com/2019/11/29/behind-the-scenes-with-useyournoodles/
Mastering Visual Communication in Photography
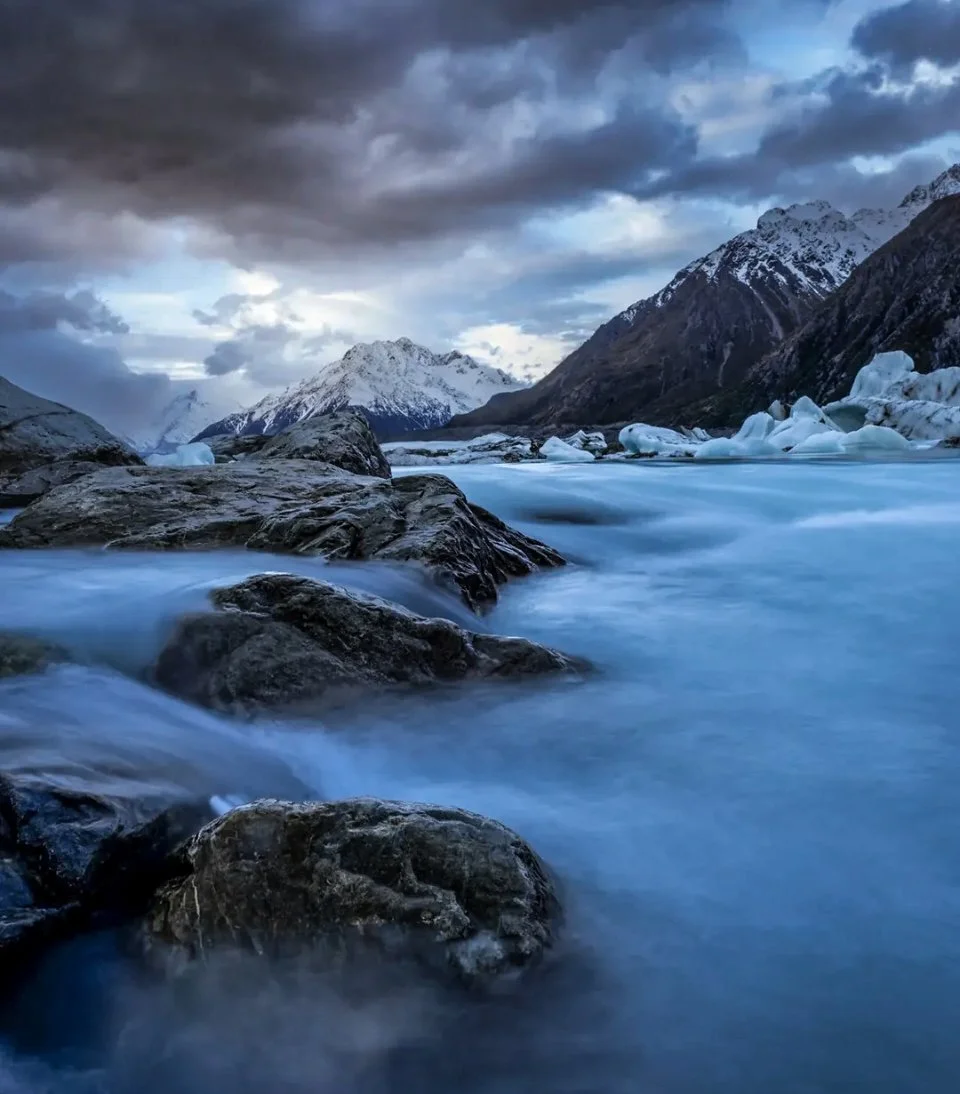
Tasman Glacier View, Mt. Cook Aoraki National Park, NZ
Image design is the "language" of photography. Think of the elements as your vocabulary (the building blocks) and the principles as your grammar (how you organise them). Even with the best gear, mastering these is what turns a standard photo into art.
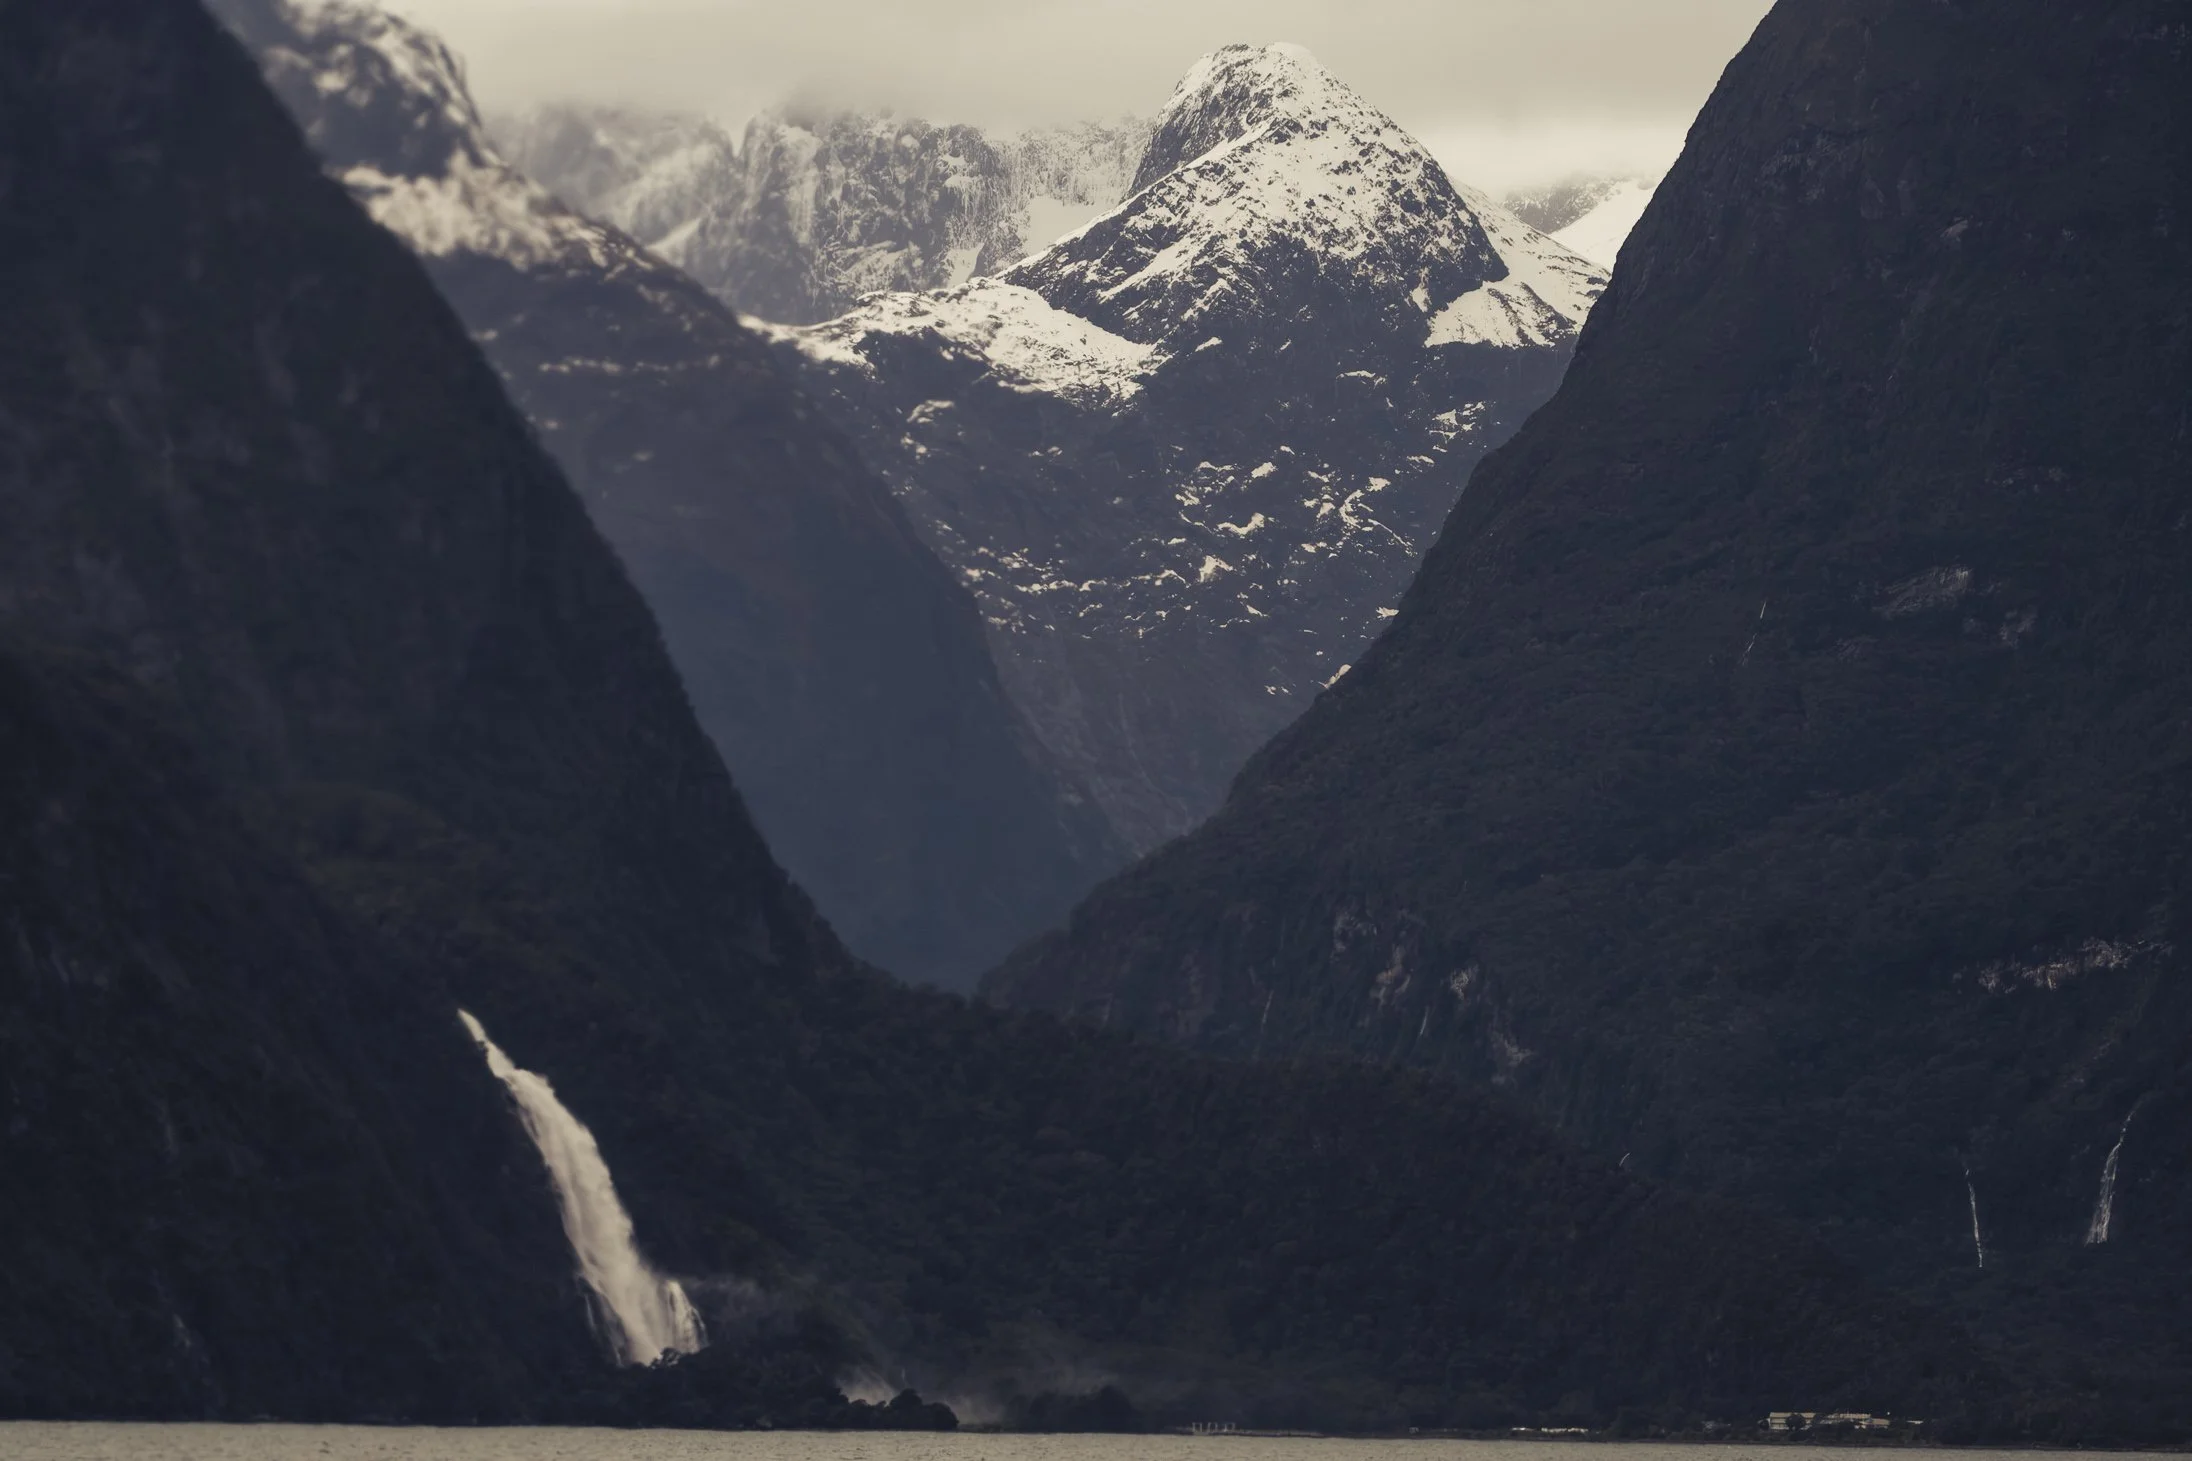
Milford Souind, New Zealand
The Elements (The Components)
These are the physical objects and qualities you arrange within your frame:
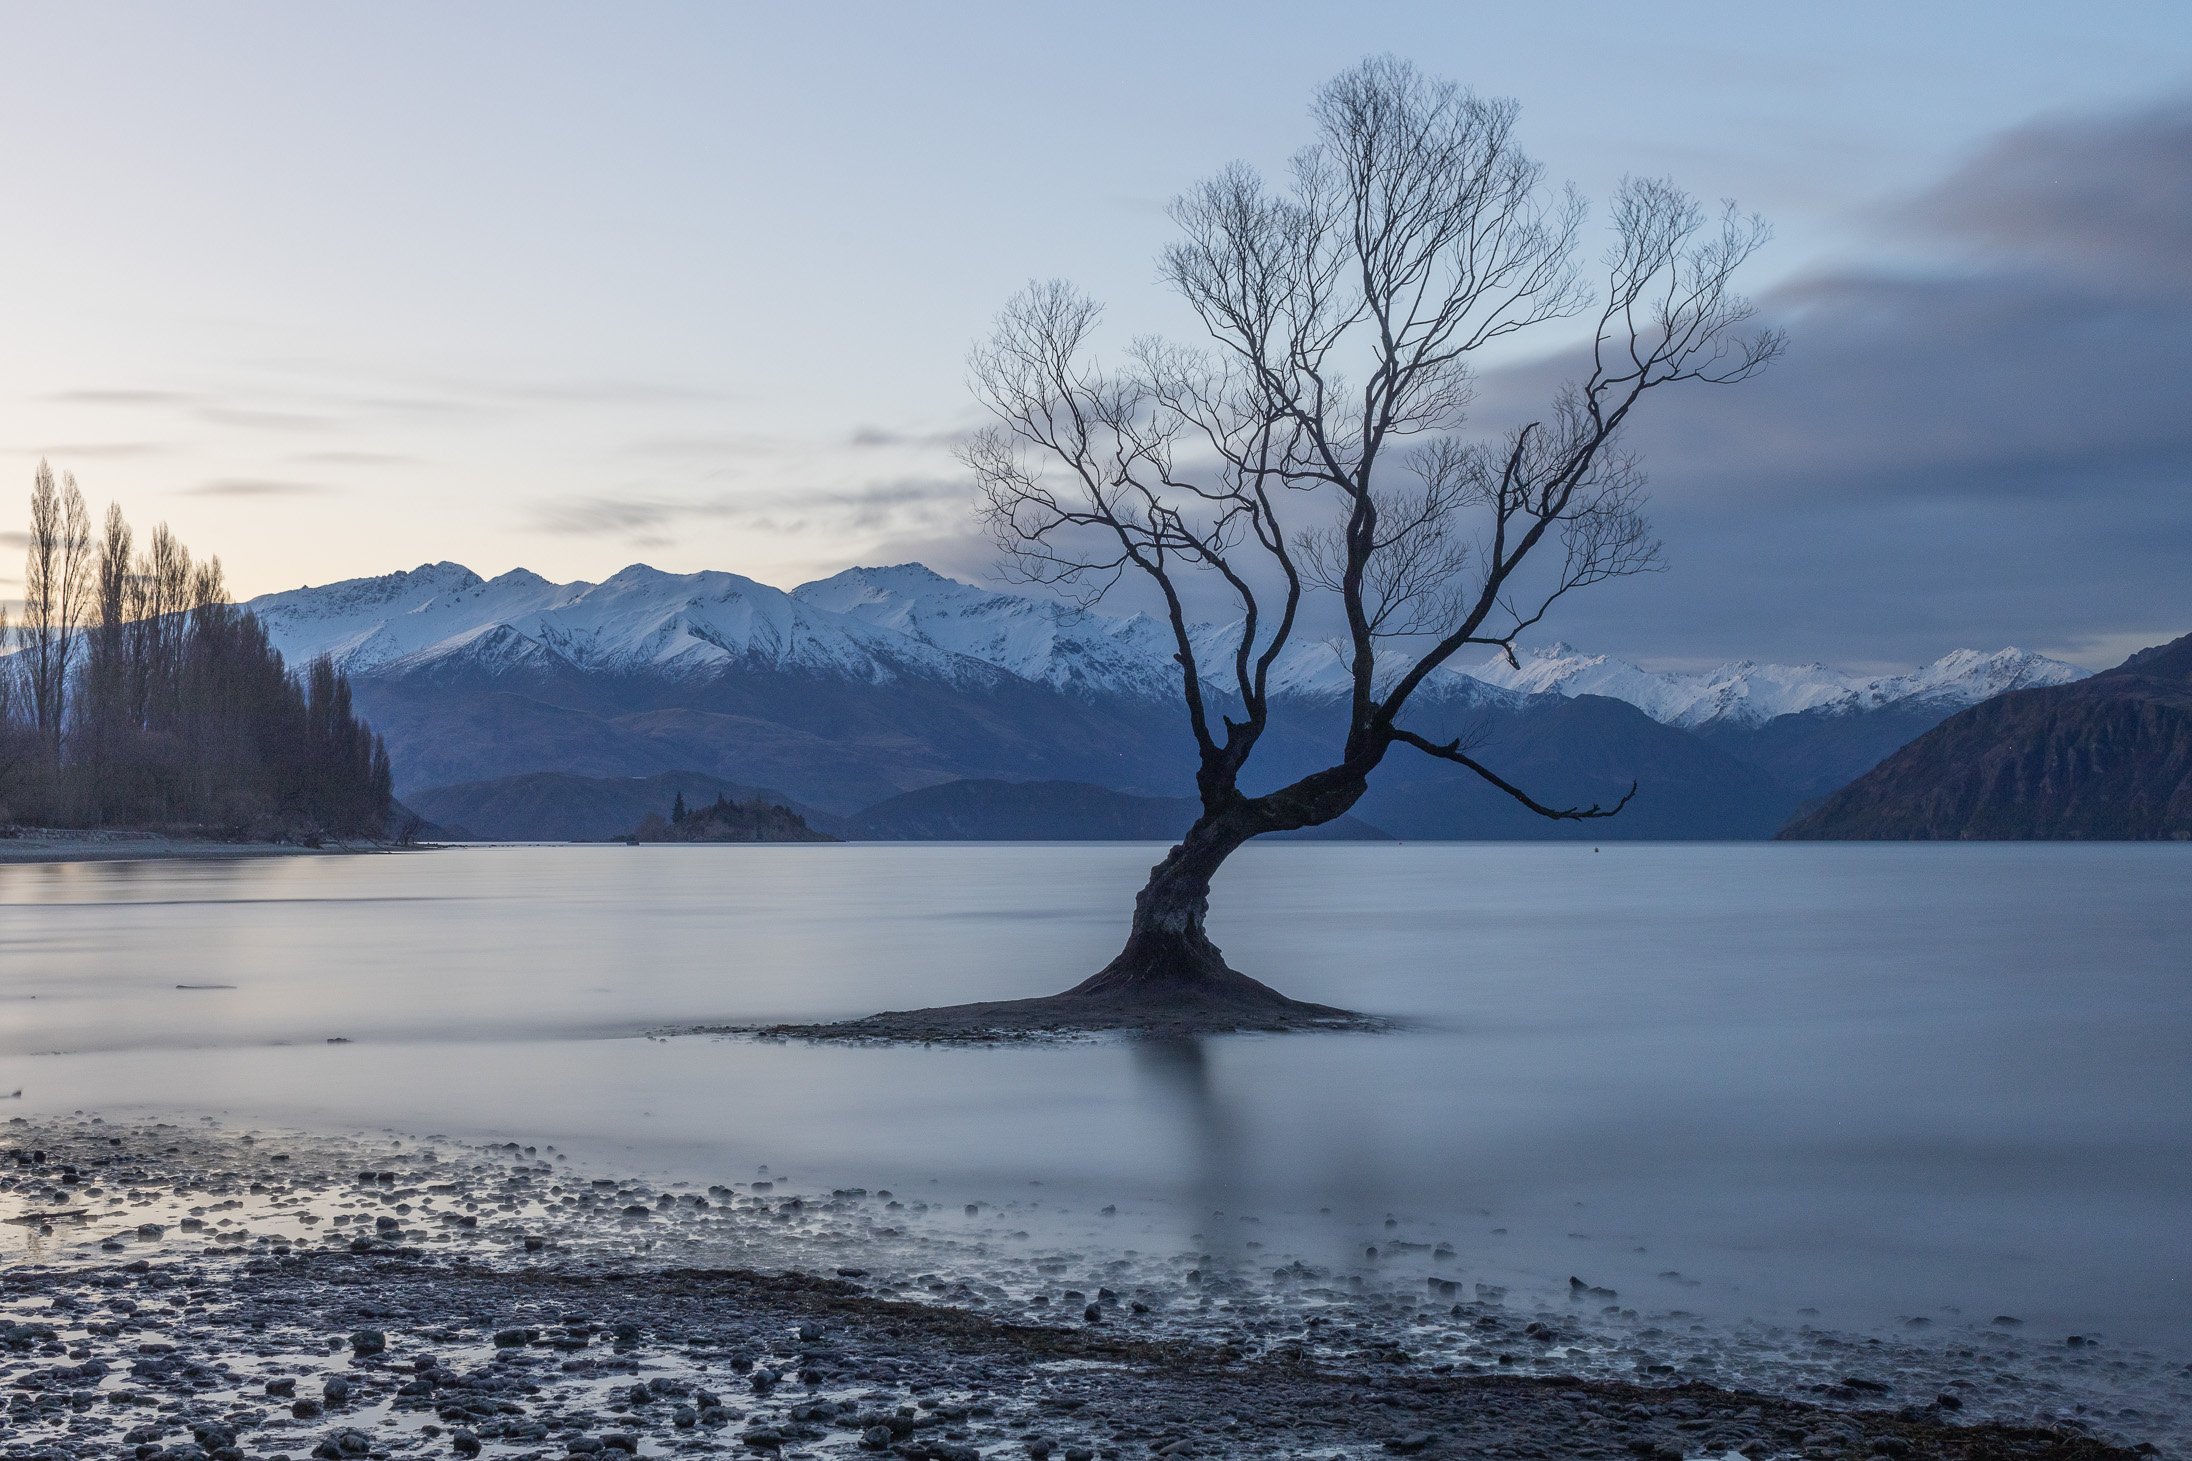
Wanaka Tree, New Zealand
Line: Marks that connect two points. They define shapes, create moods (called "character lines"), and lead the viewer’s eye.
Horizontal: Calm and restful.
Vertical: Strong; suggests height and stability.
Diagonal: Dynamic; suggests movement or tension.
Curvy/Jagged: Can express emotions like grace or anger.
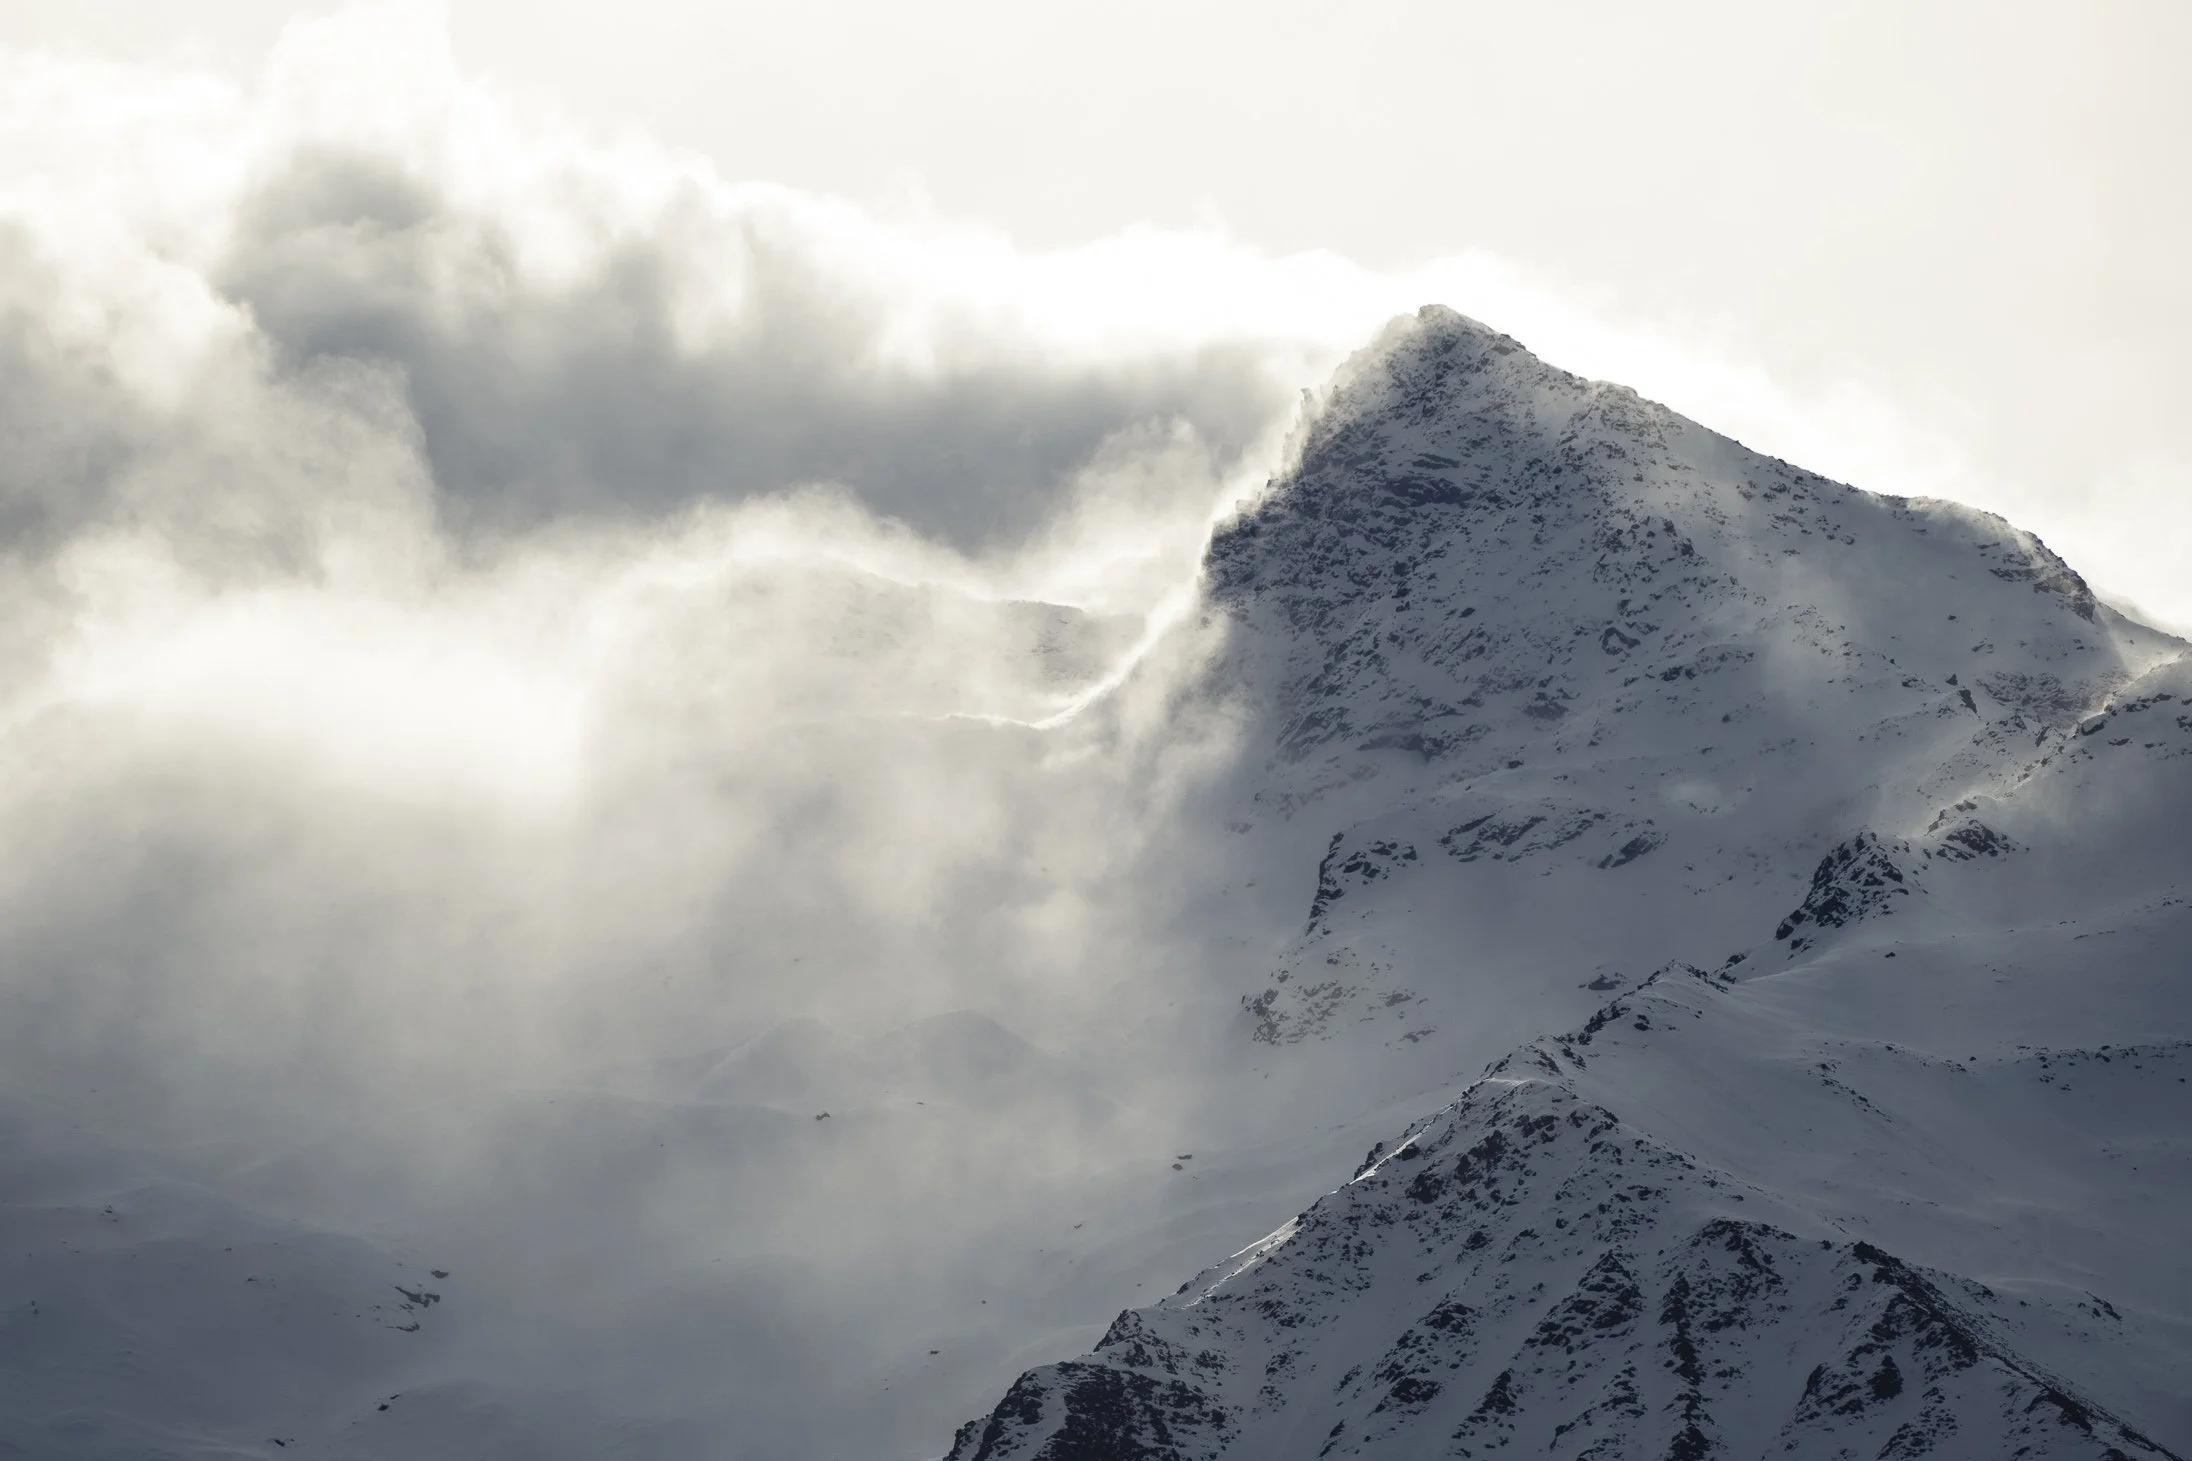
Mt Cook Aoraki National Park, New Zealand
Shape: 2D areas created by lines or colour blocks.
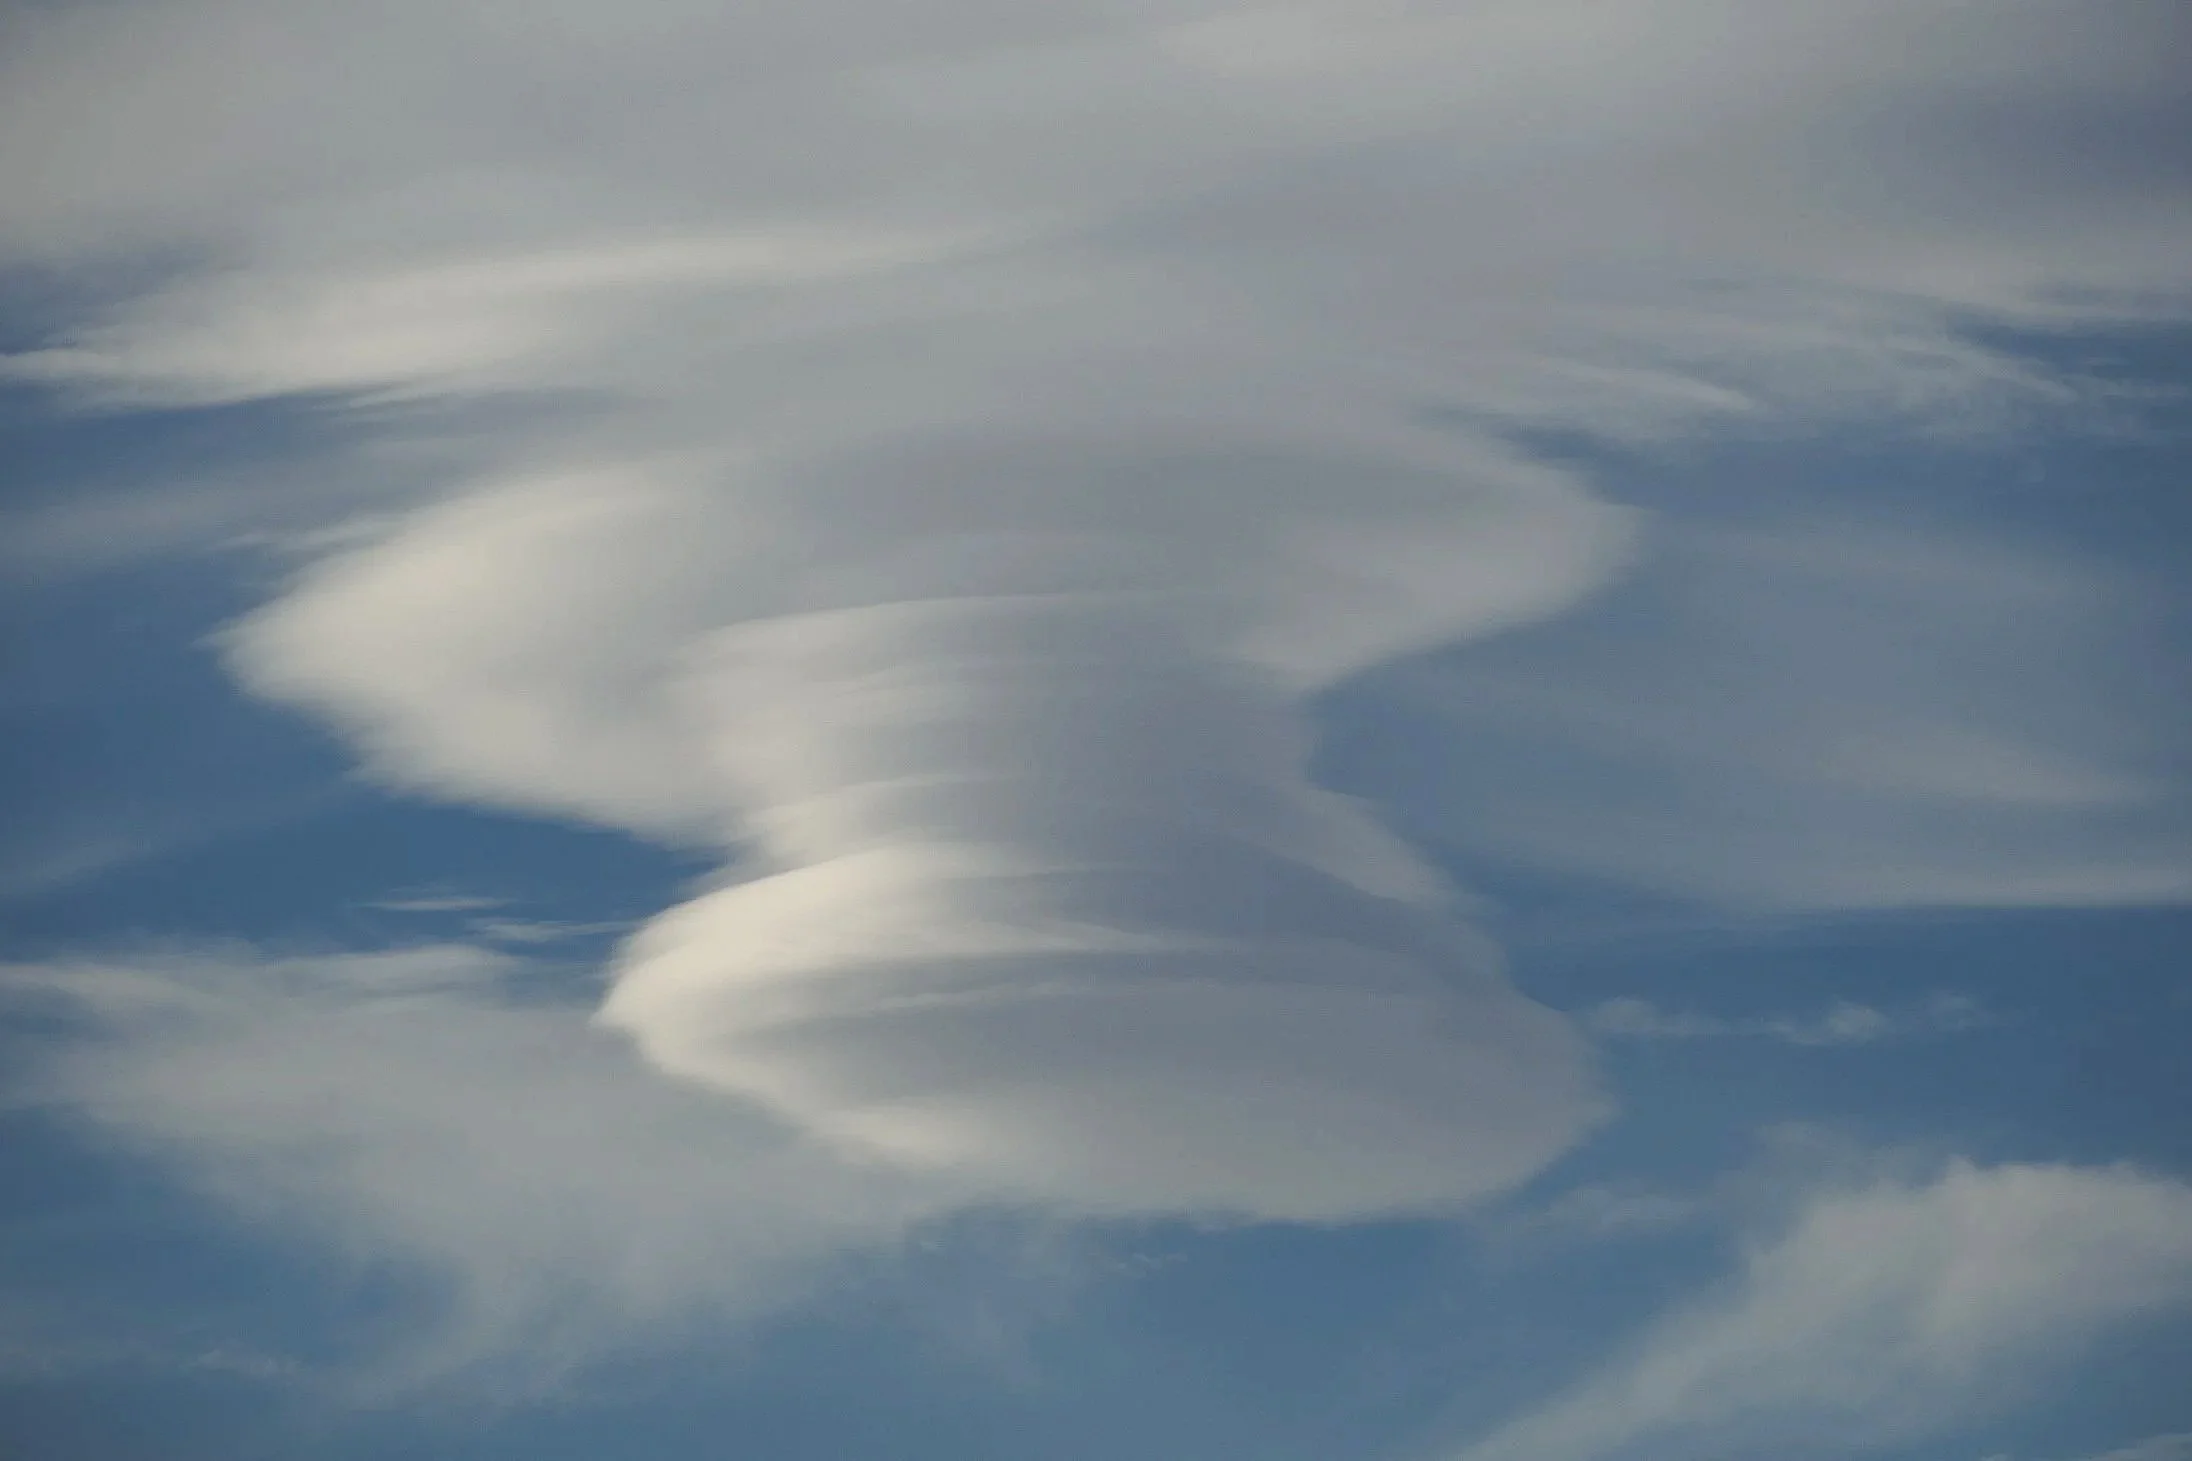
Lenticular Cloud, Mt Cook Aoraki National Park, New Zealand
Form: 3D depth (real or implied).
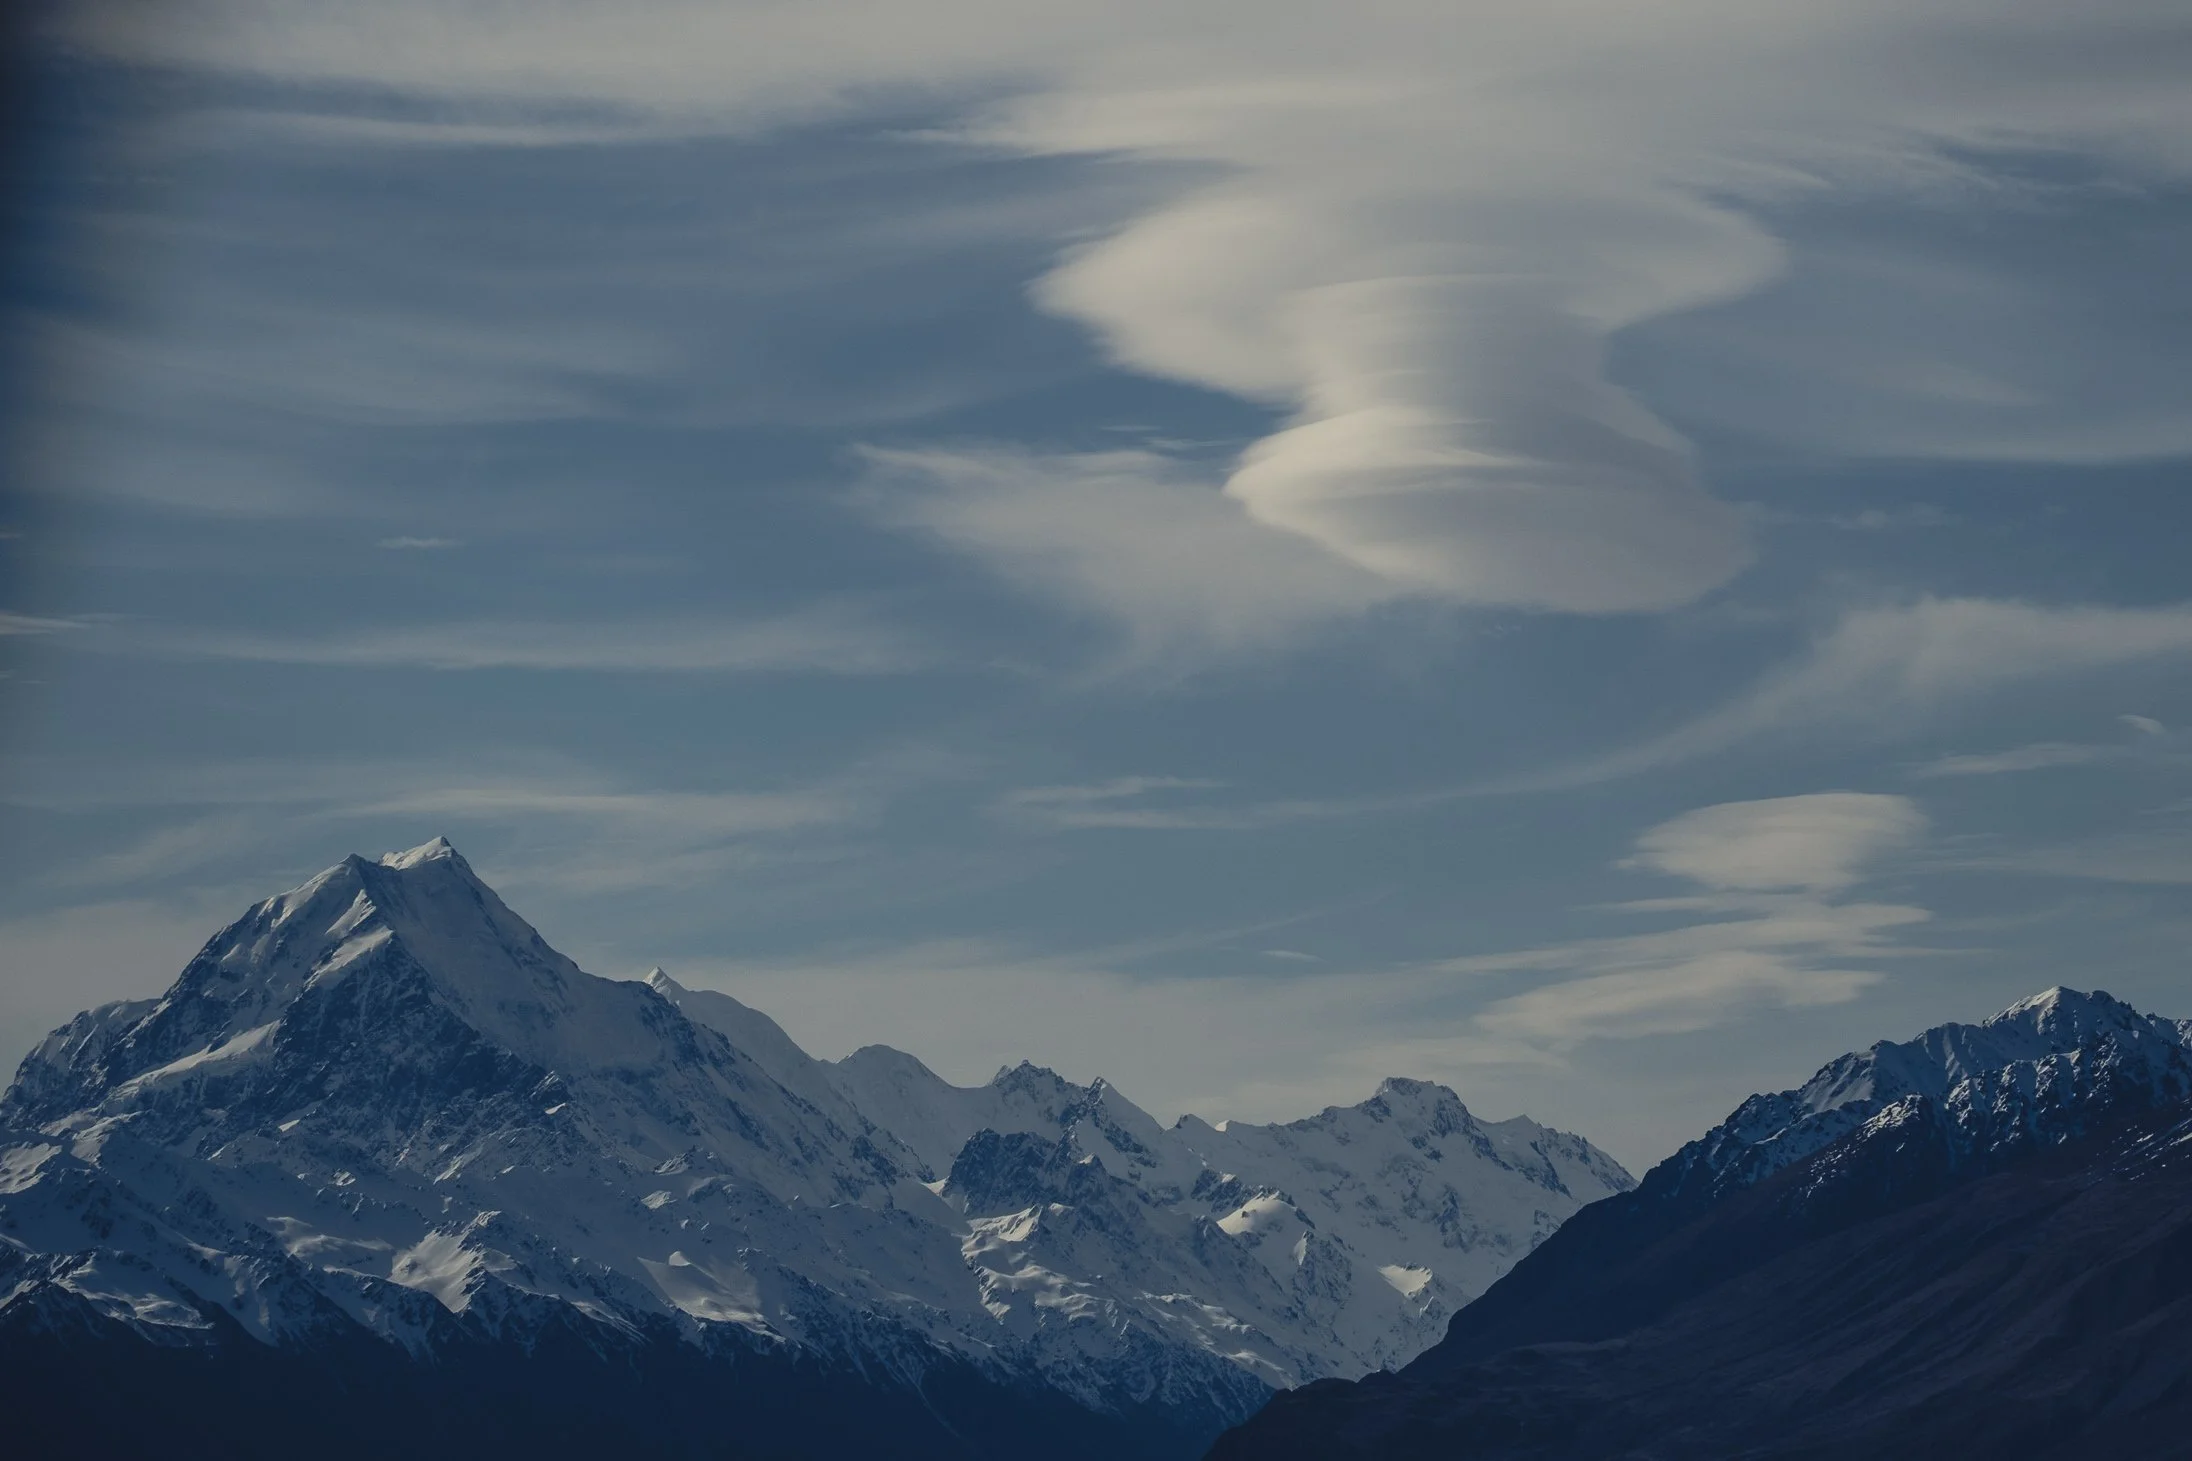
Mt. Cook N.P.
Space: The area around or between subjects.
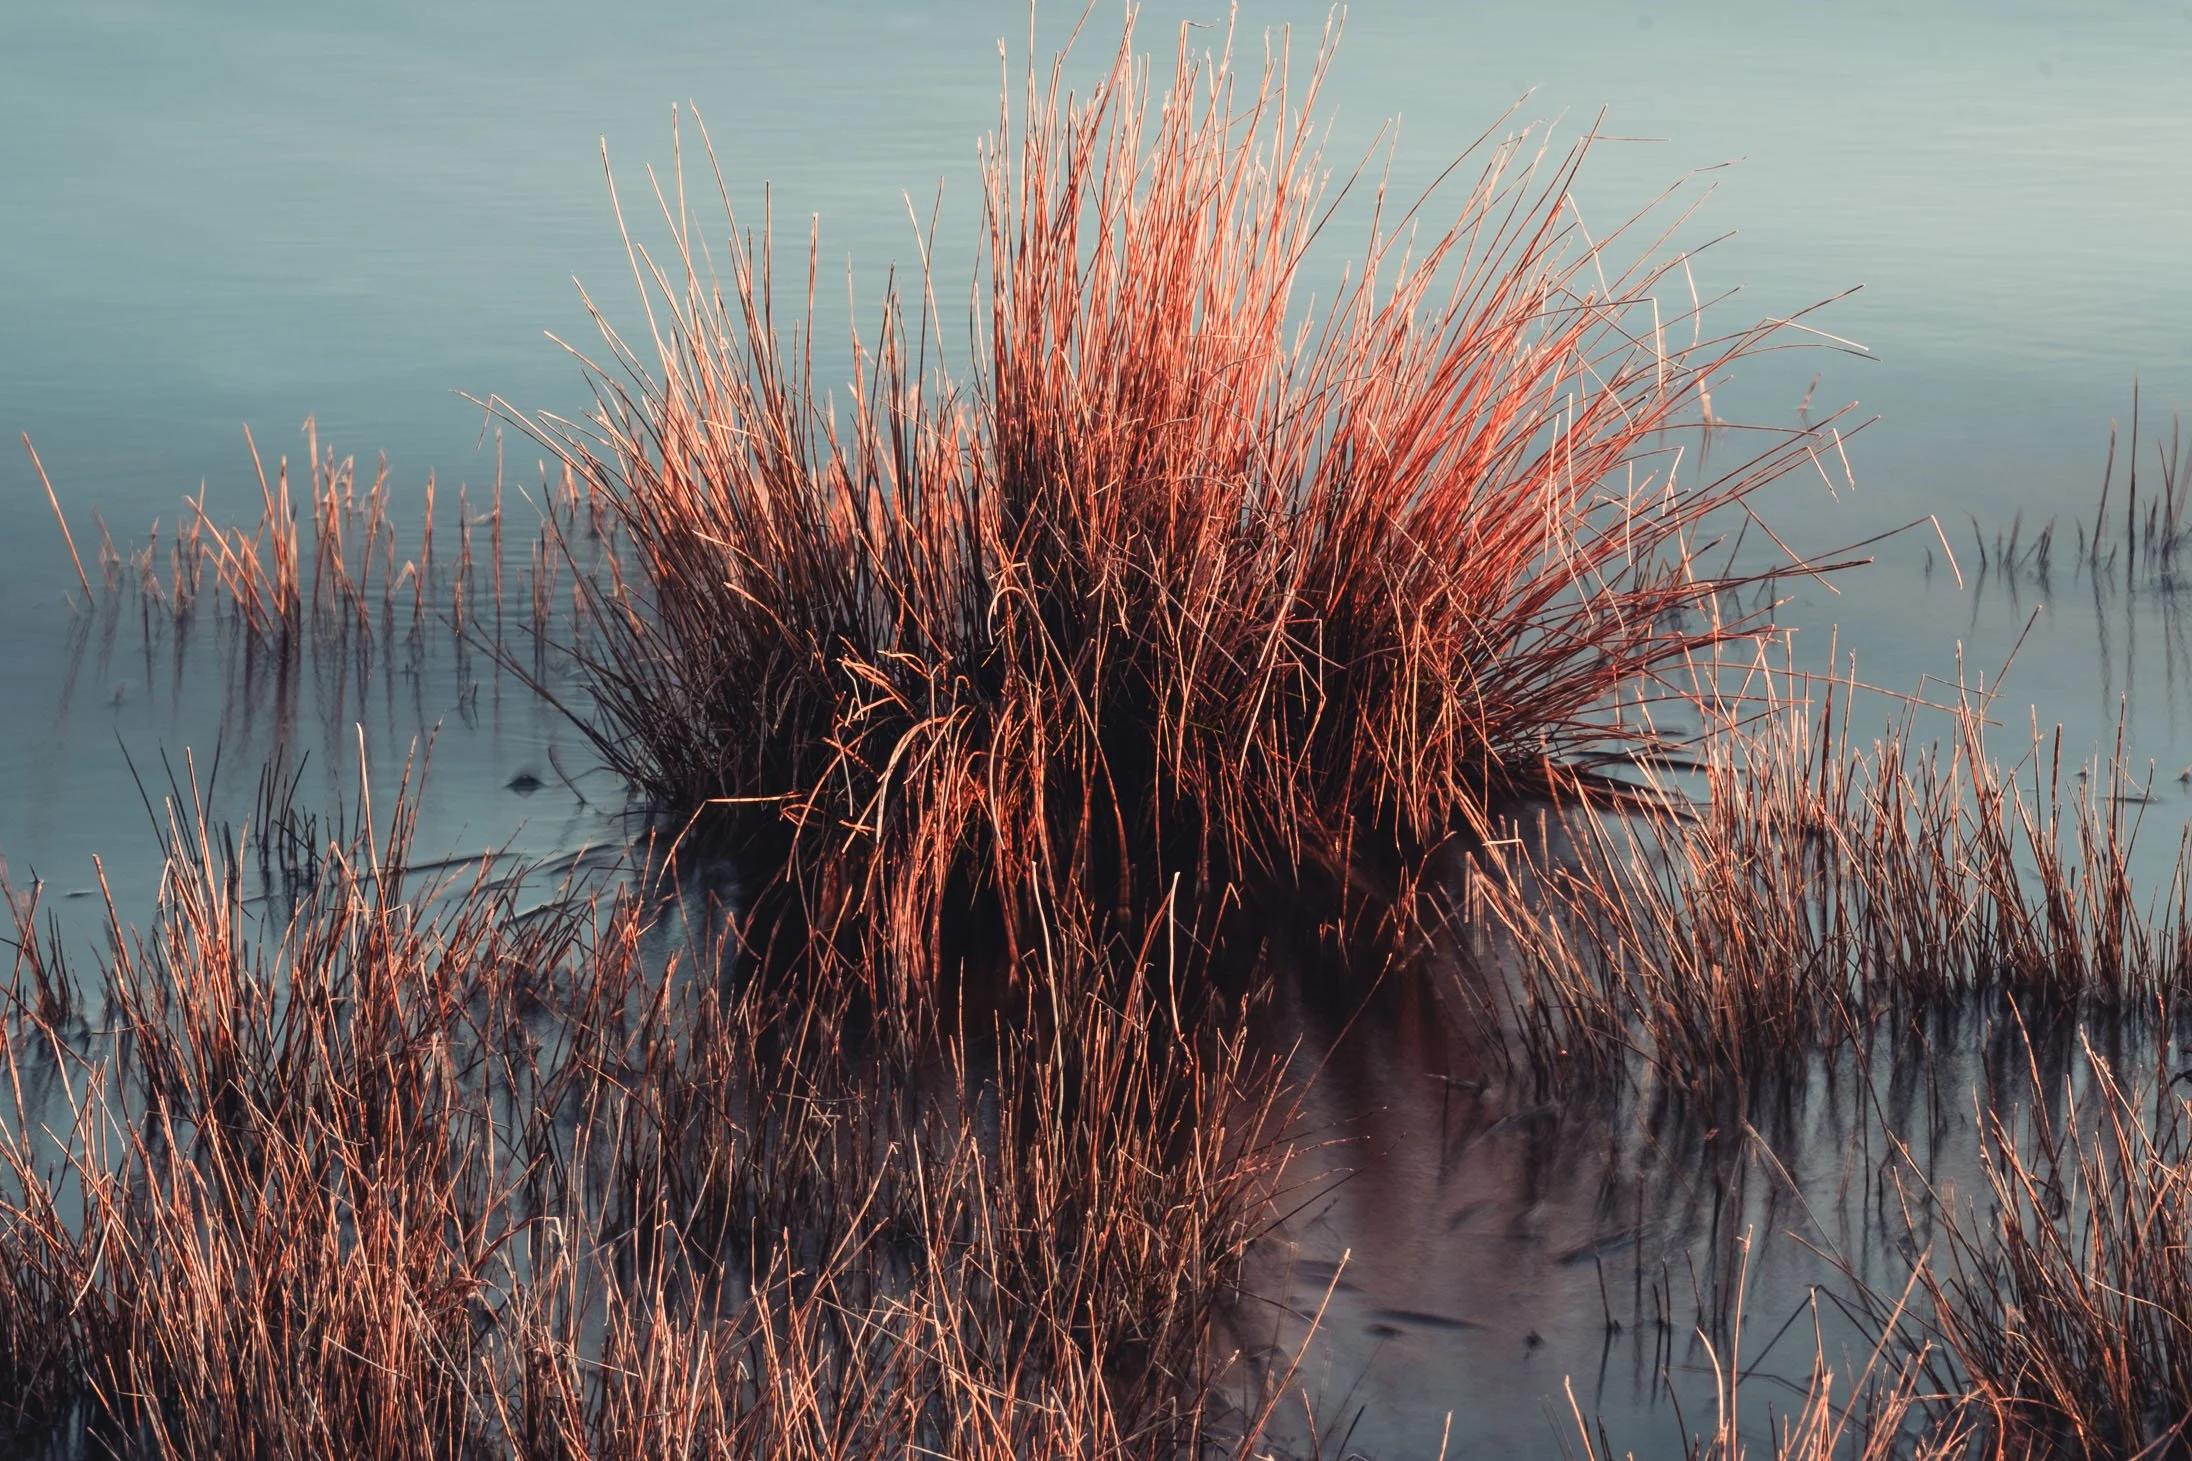
Grasses Mt Cook Aoraki National Park, New Zealand
Texture: The surface quality (rough, smooth, etc.).
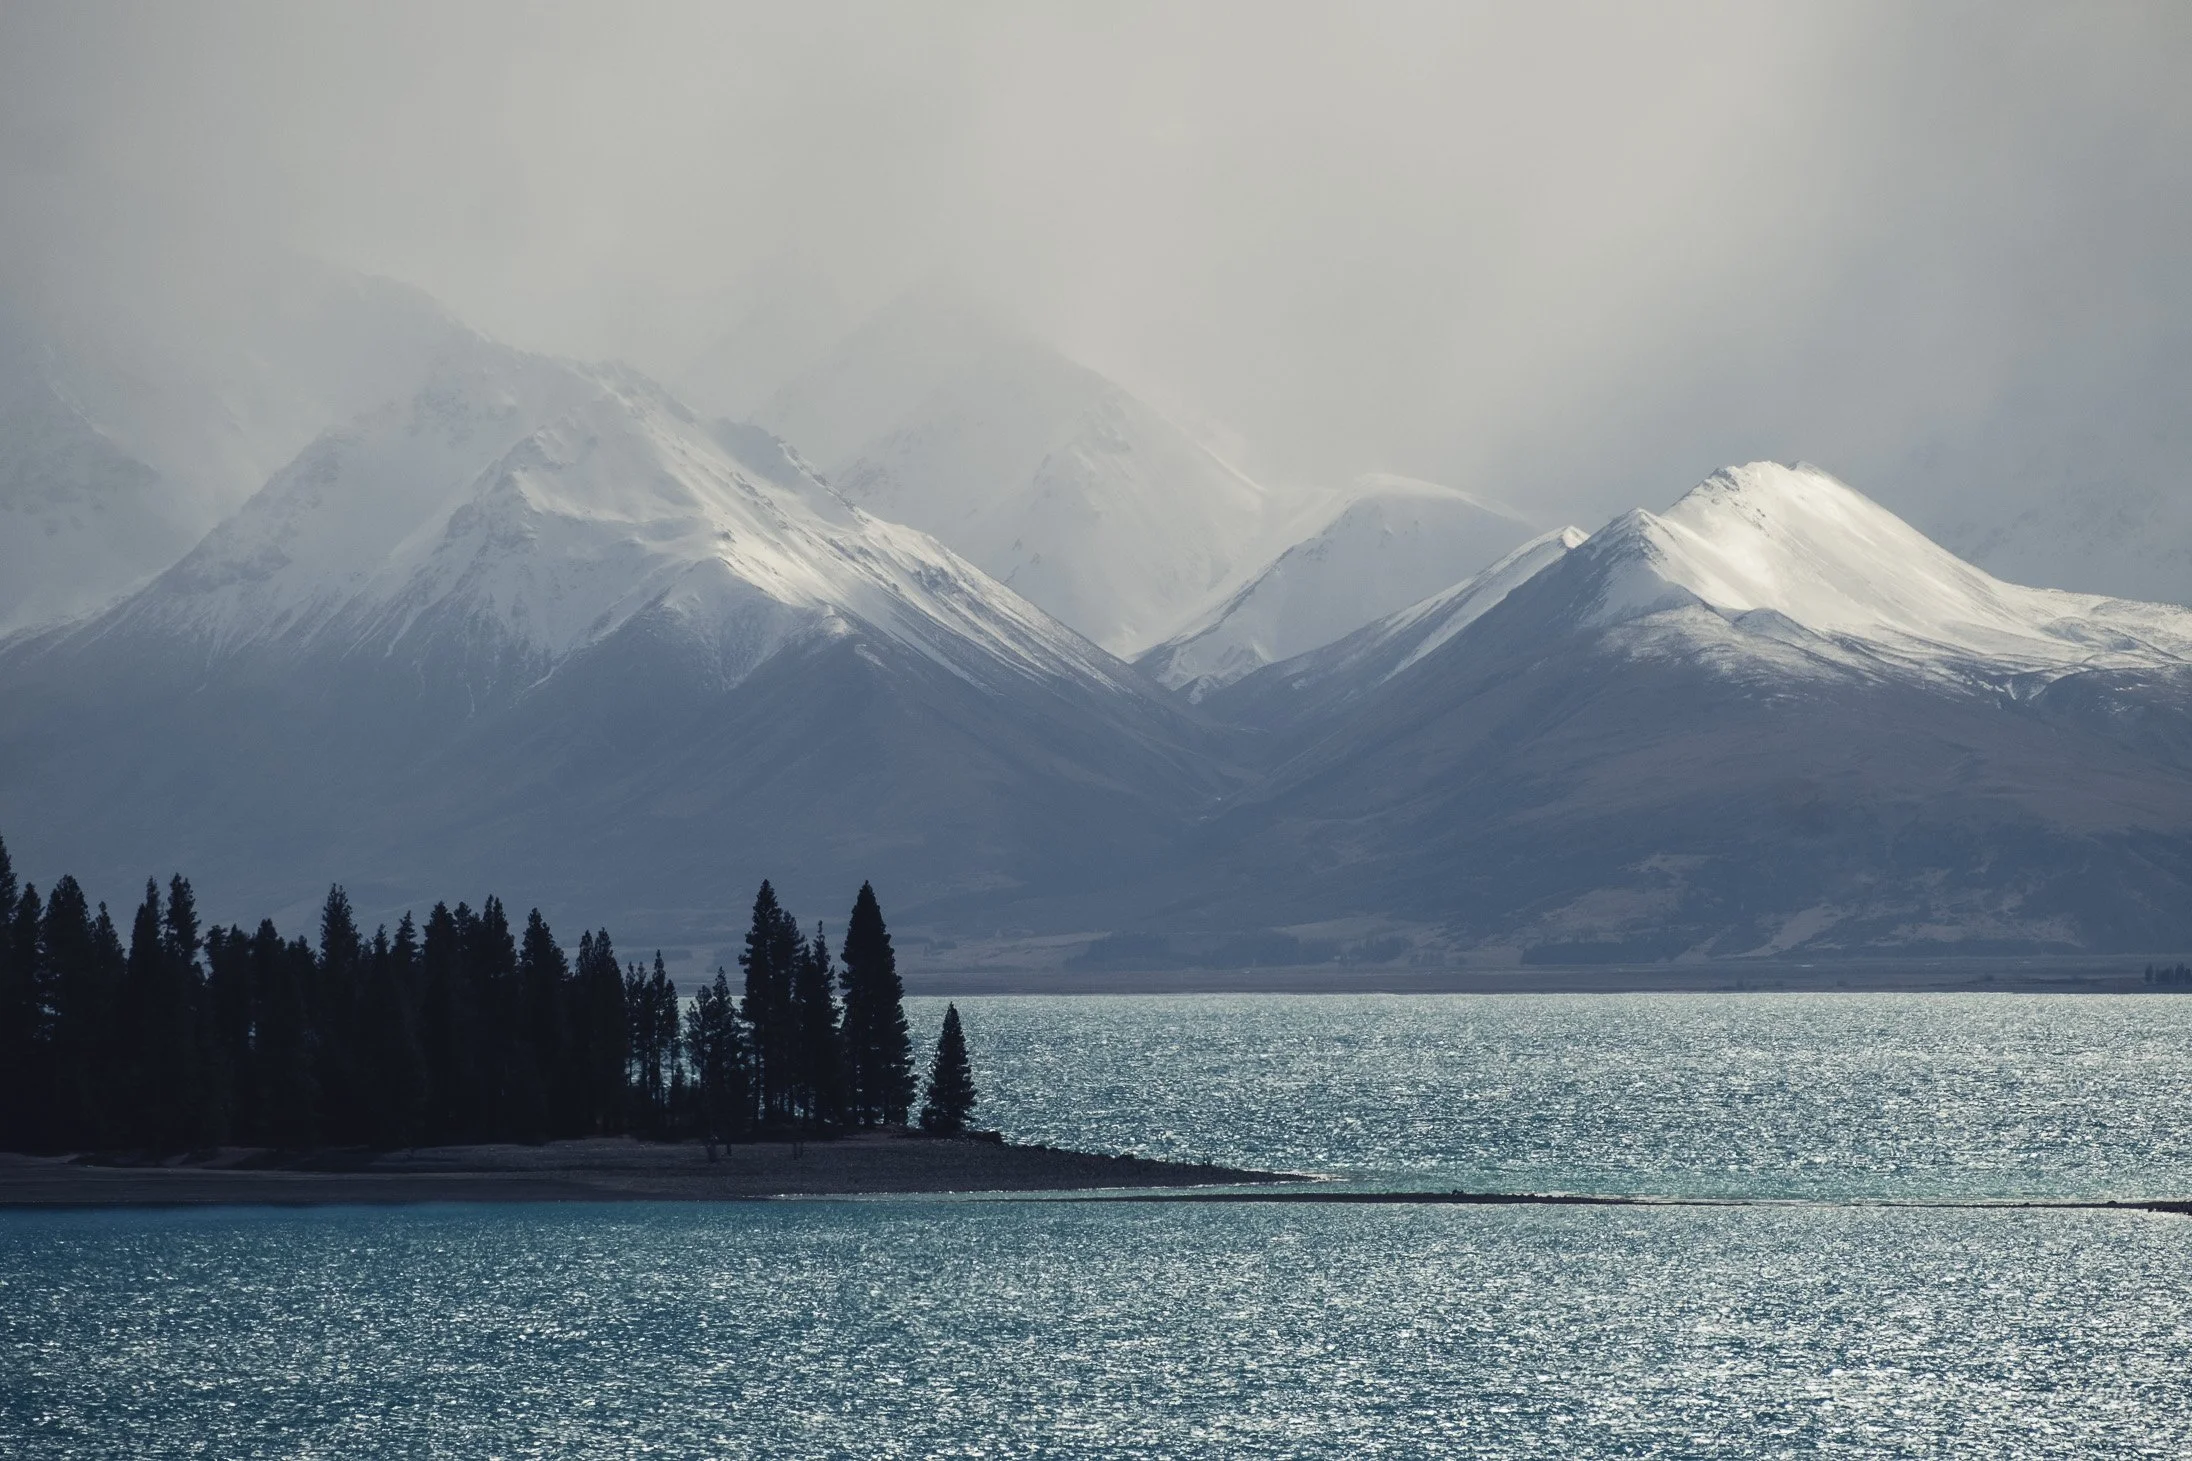
Lake Tekapo, New Zealad
Tone: The range of light and dark (contrast)
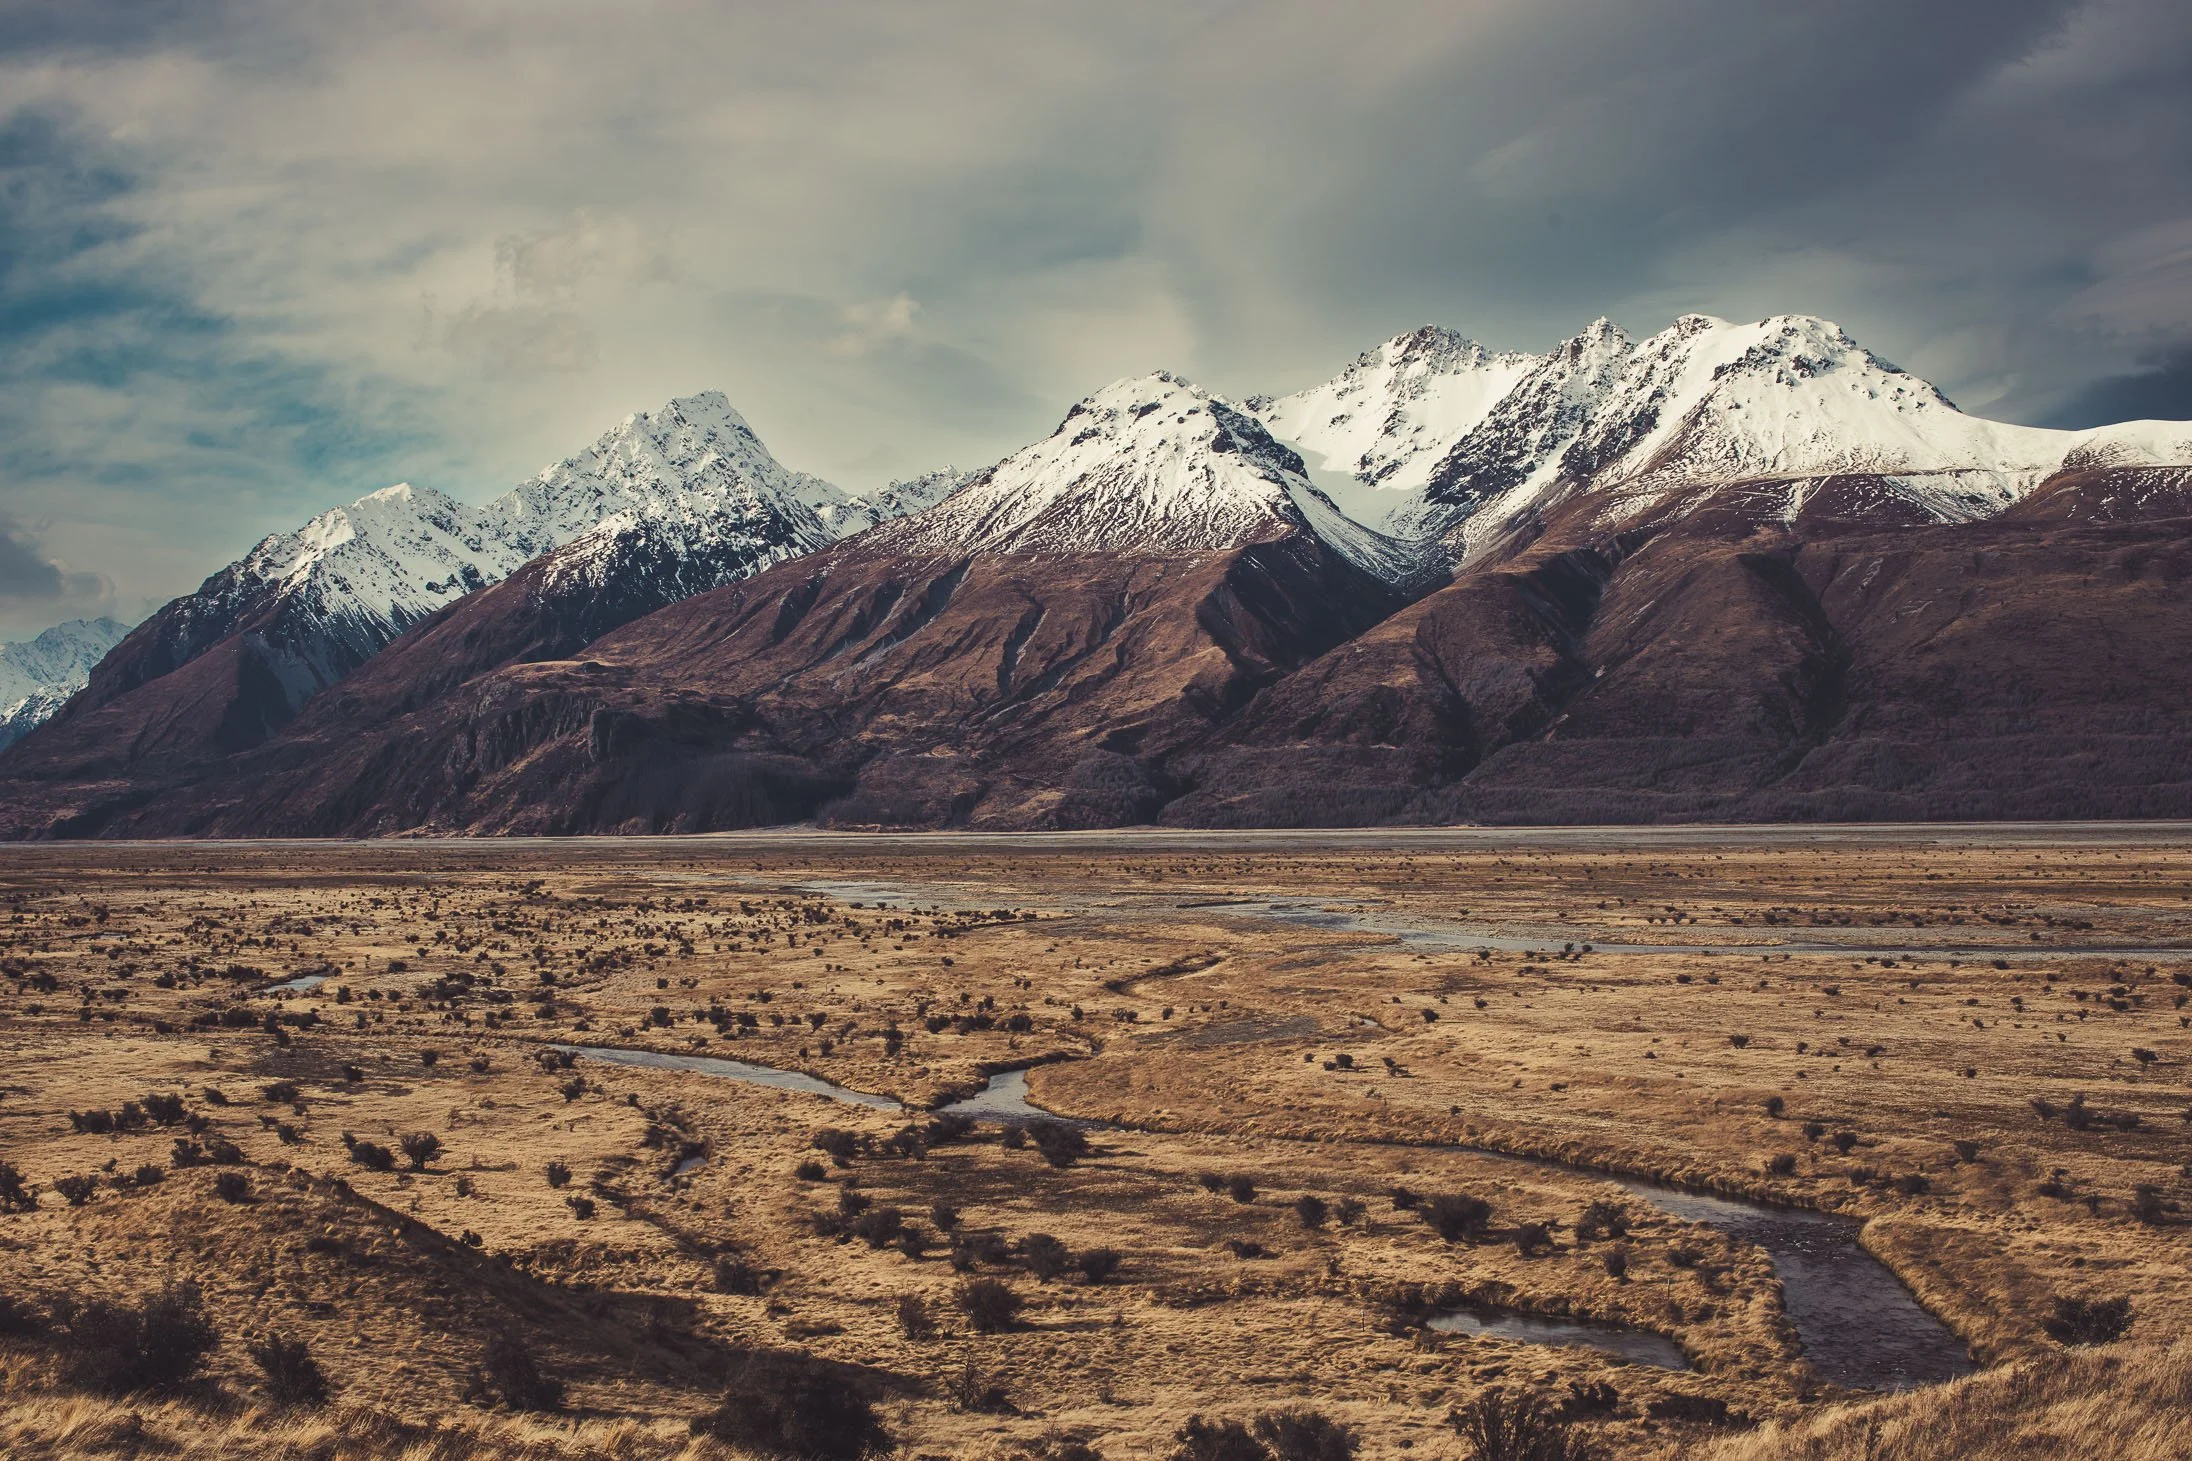
Mt Cook Aoraki National Park, New Zealand
The Principles (The Structure)
These are the rules used to organise the elements. How you apply them determines the message and emotional impact of your work
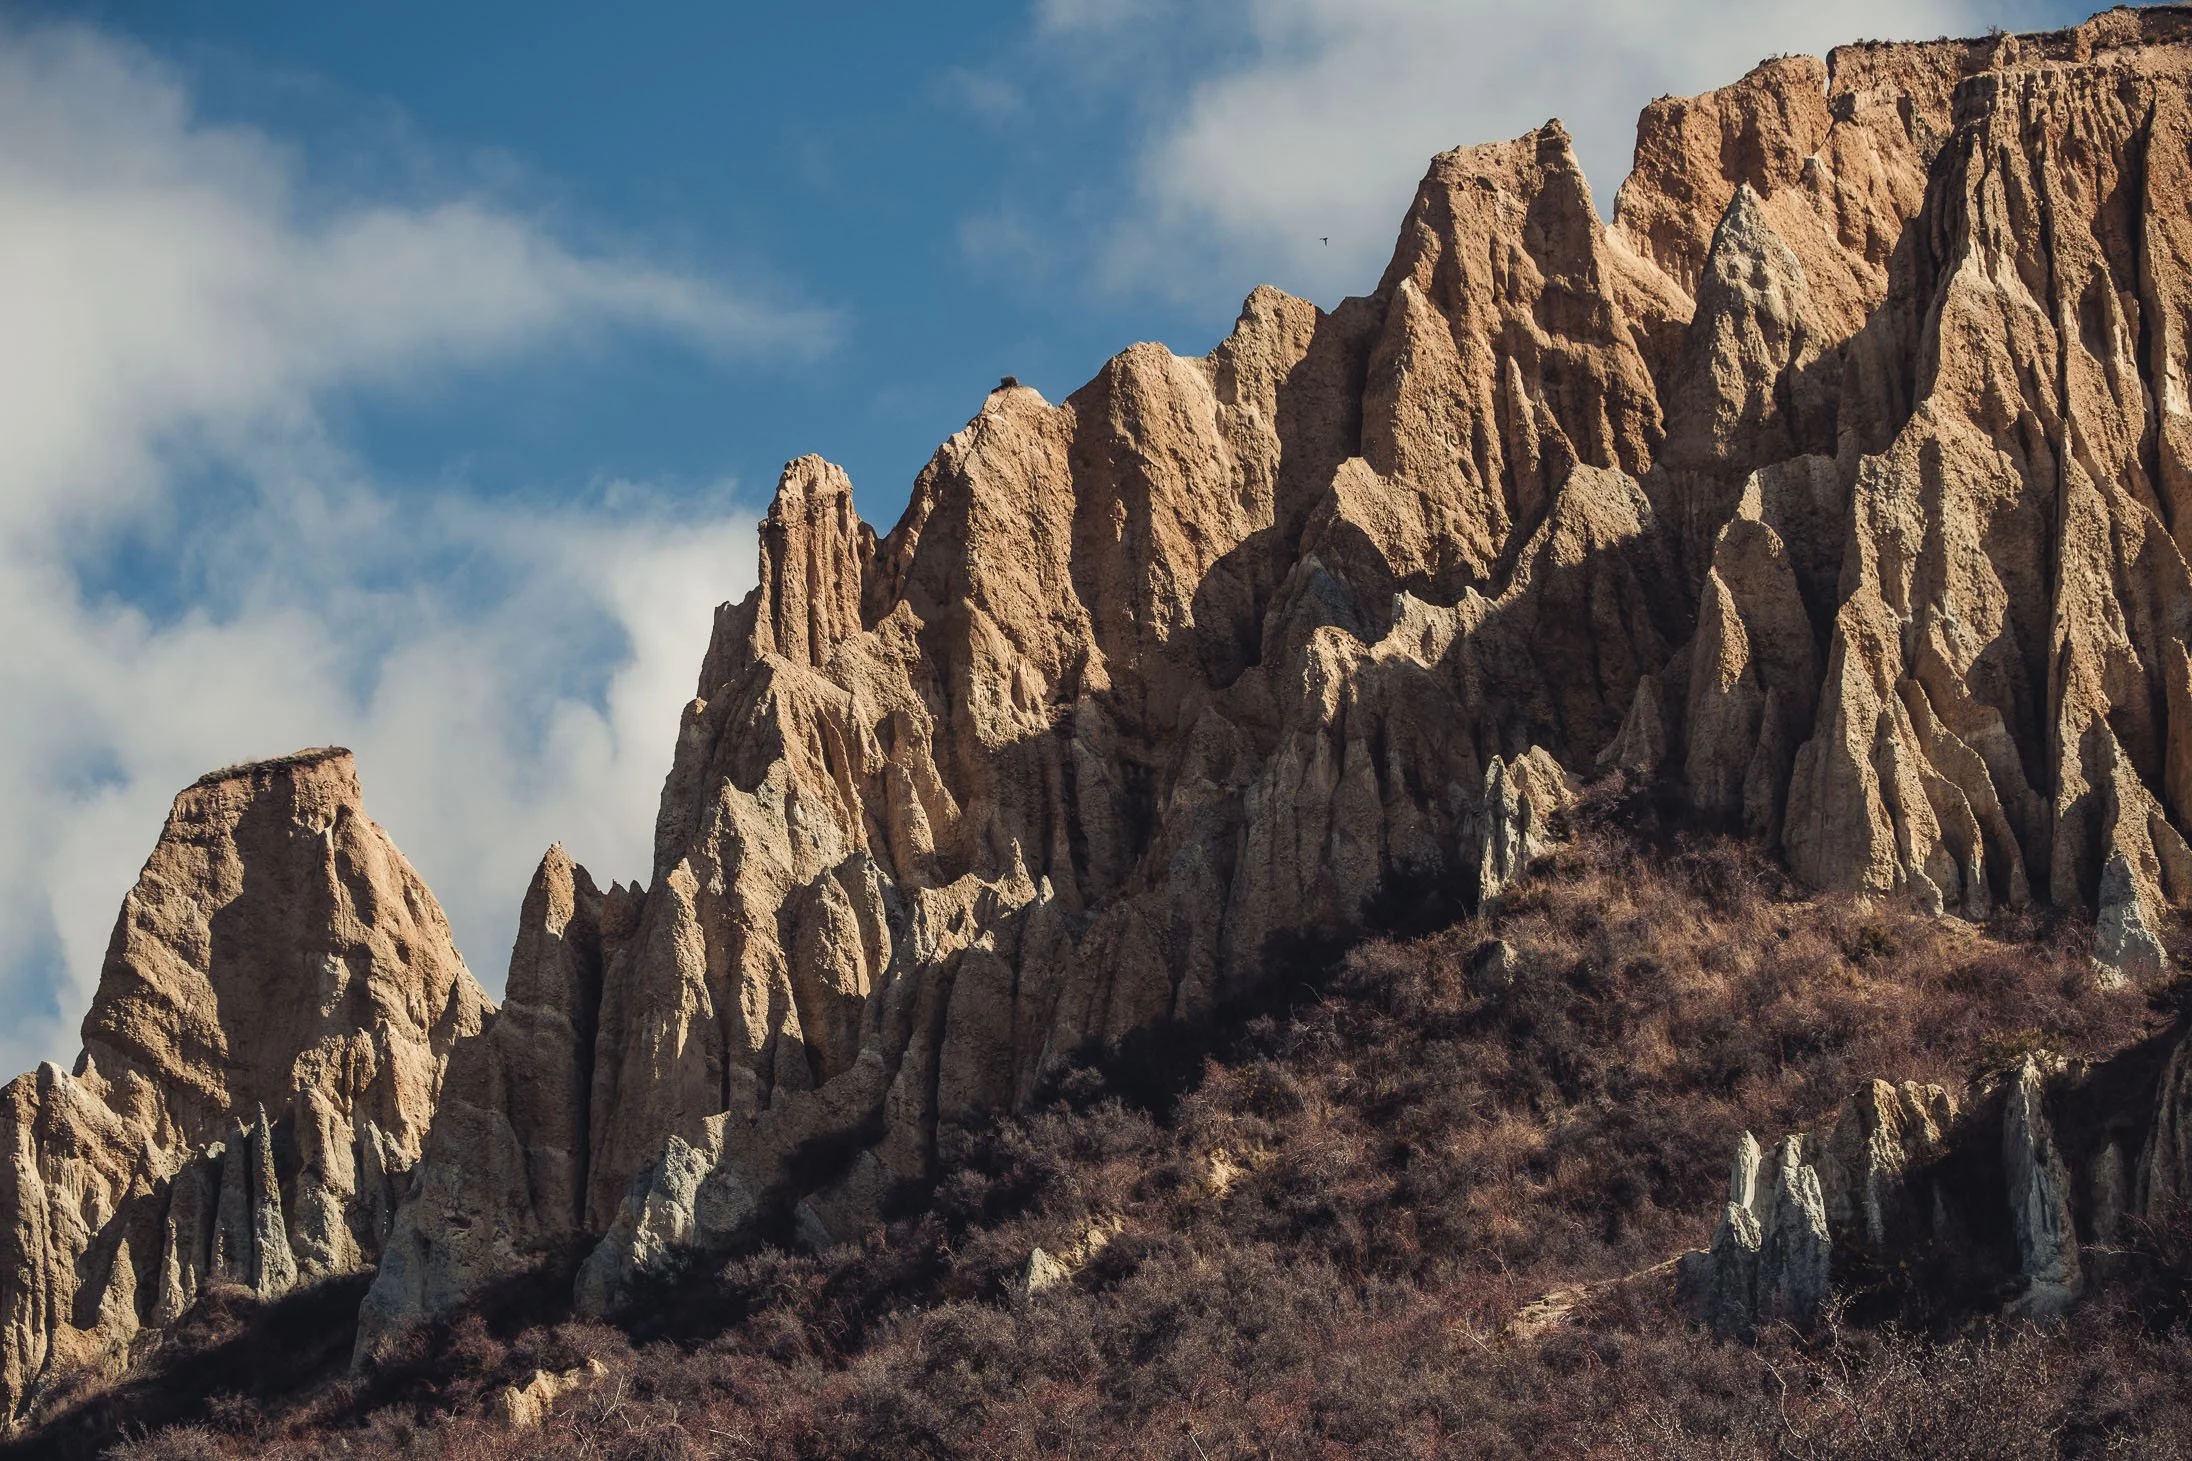
Clay Cliffs, New Zealand
Balance
Balance is the distribution of "visual weight" (lines, shapes, and forms) to create equilibrium.
Symmetrical: Identical forms on both sides of a central axis.
Asymmetrical: Different objects arranged so their varying visual weights still feel balanced.
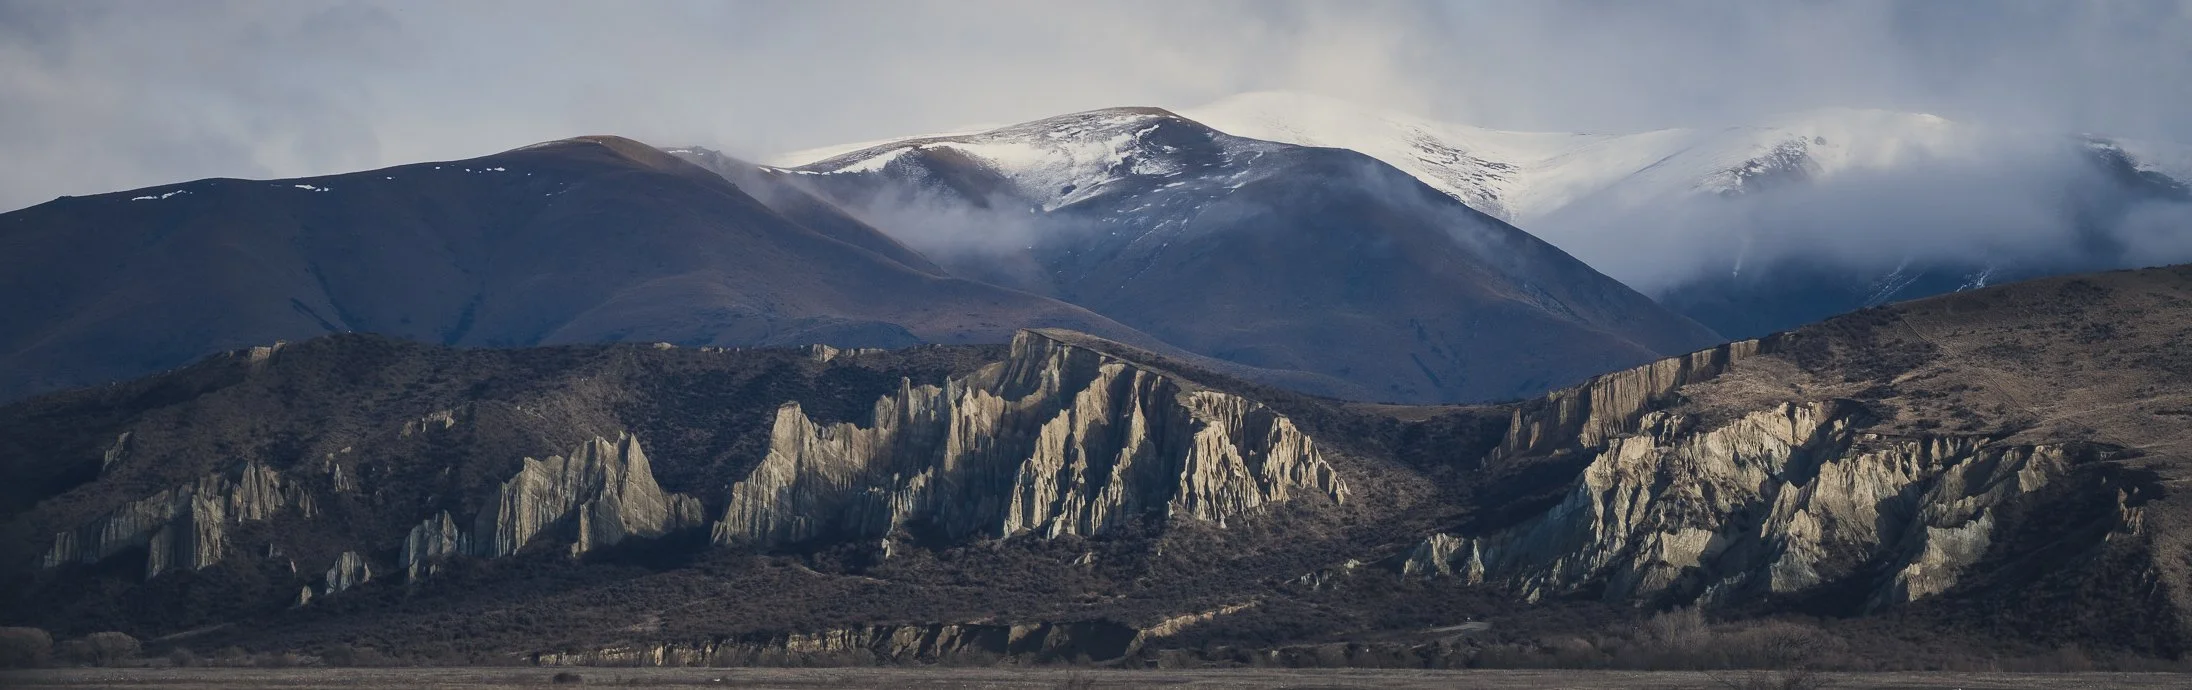
Repetition & Rhythm
These create a visual "beat" for the eyes to follow.
Repetition: Using the same elements (shapes, colours, lines) multiple times.
Rhythm: Organizing those repeated elements into a specific pattern or order.
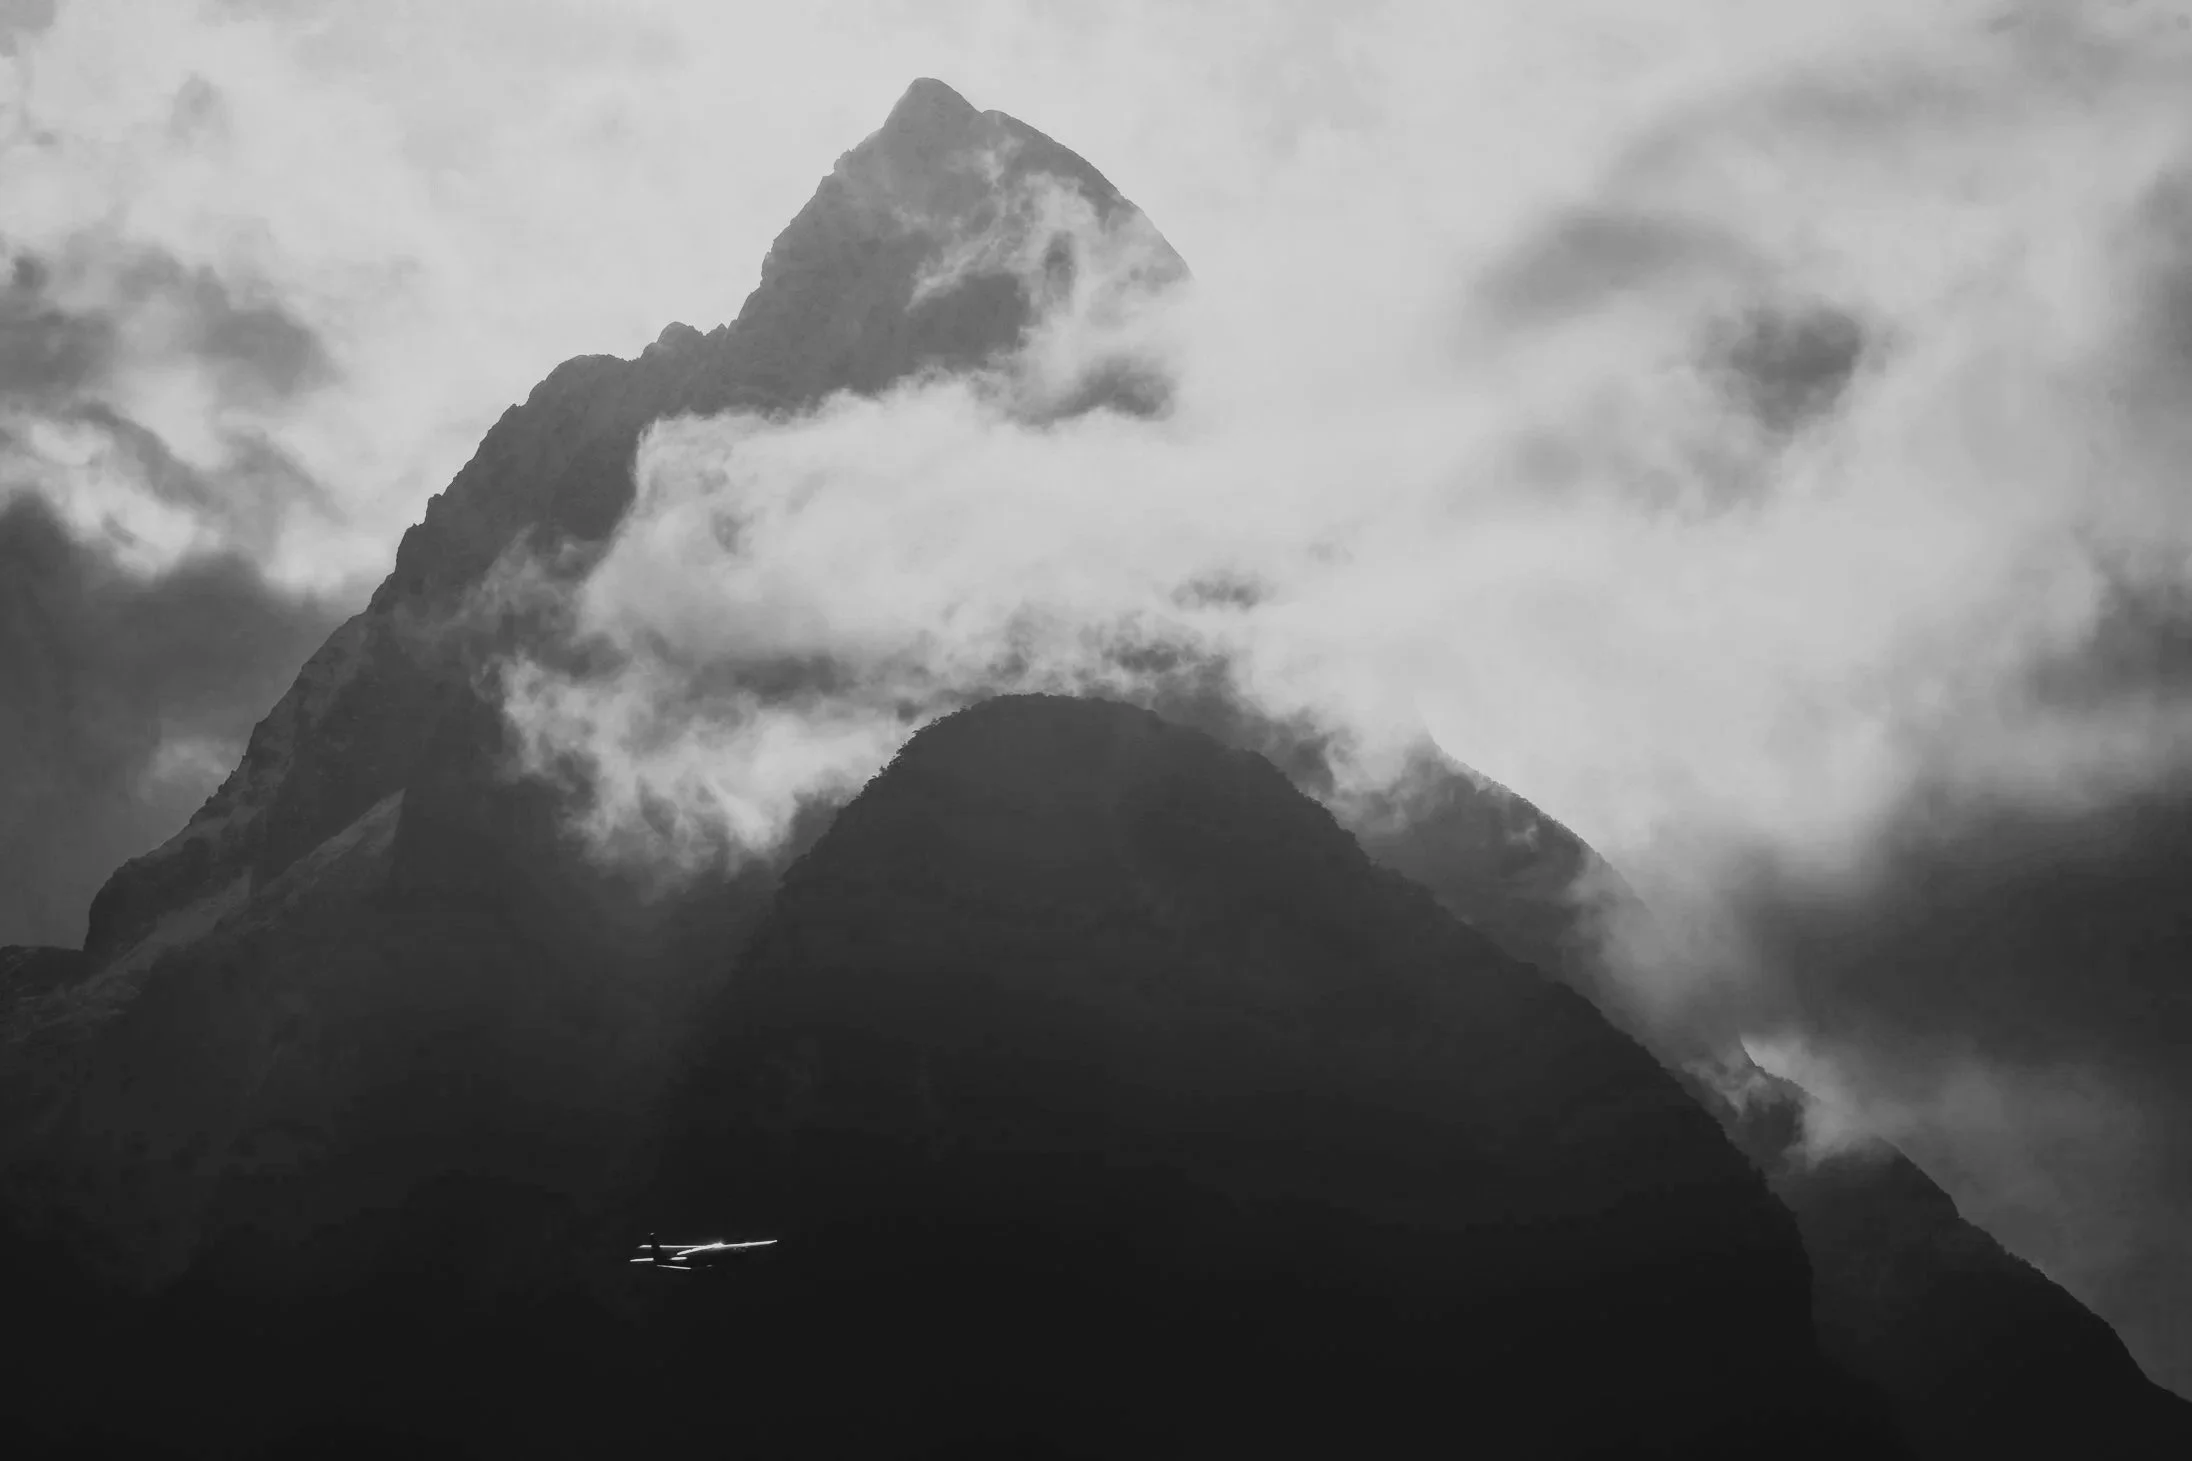
Milford Sound, New Zealand
Dominance (Focal Point)
This makes one part of the image more important than the rest using size, colour, or position.
Focus: It creates a center of interest where the eye naturally returns.
The Rule of Three: Limit yourself to three (or fewer) dominant points to avoid confusing the viewer.
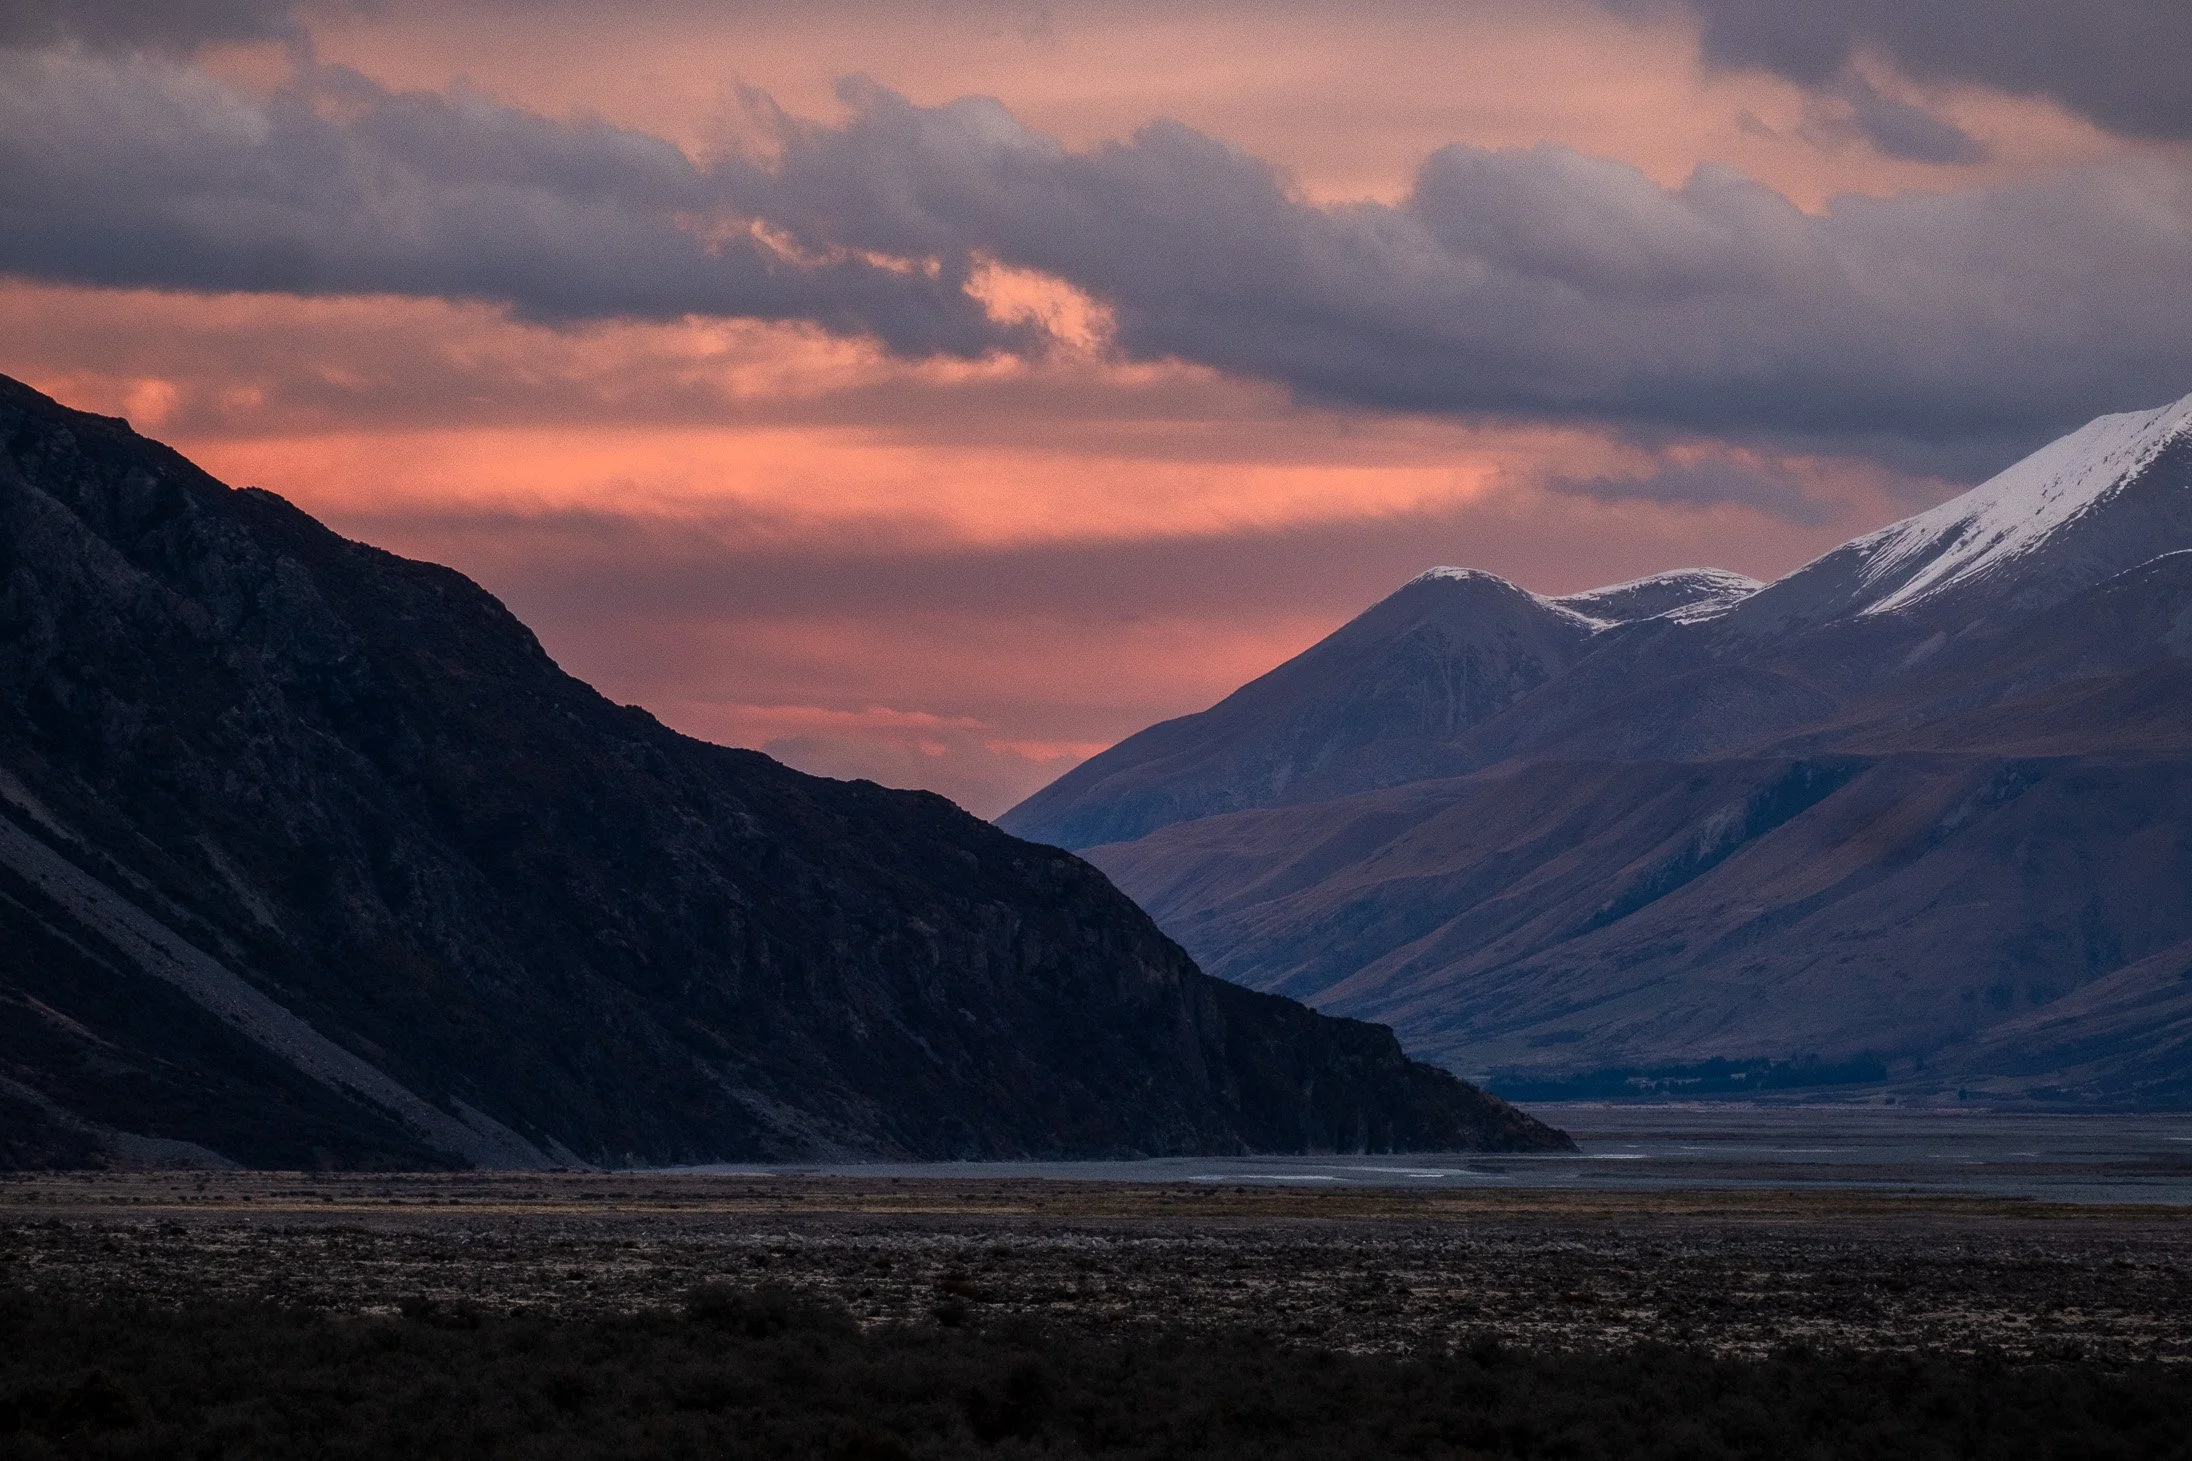
Contrast
Contrast is the "Yin & Yang" of design—using opposites to create interest.
Examples: Light vs. dark, large vs. small, or rough vs. smooth.
Proportion: The scale relationship between different elements helps establish this variety.
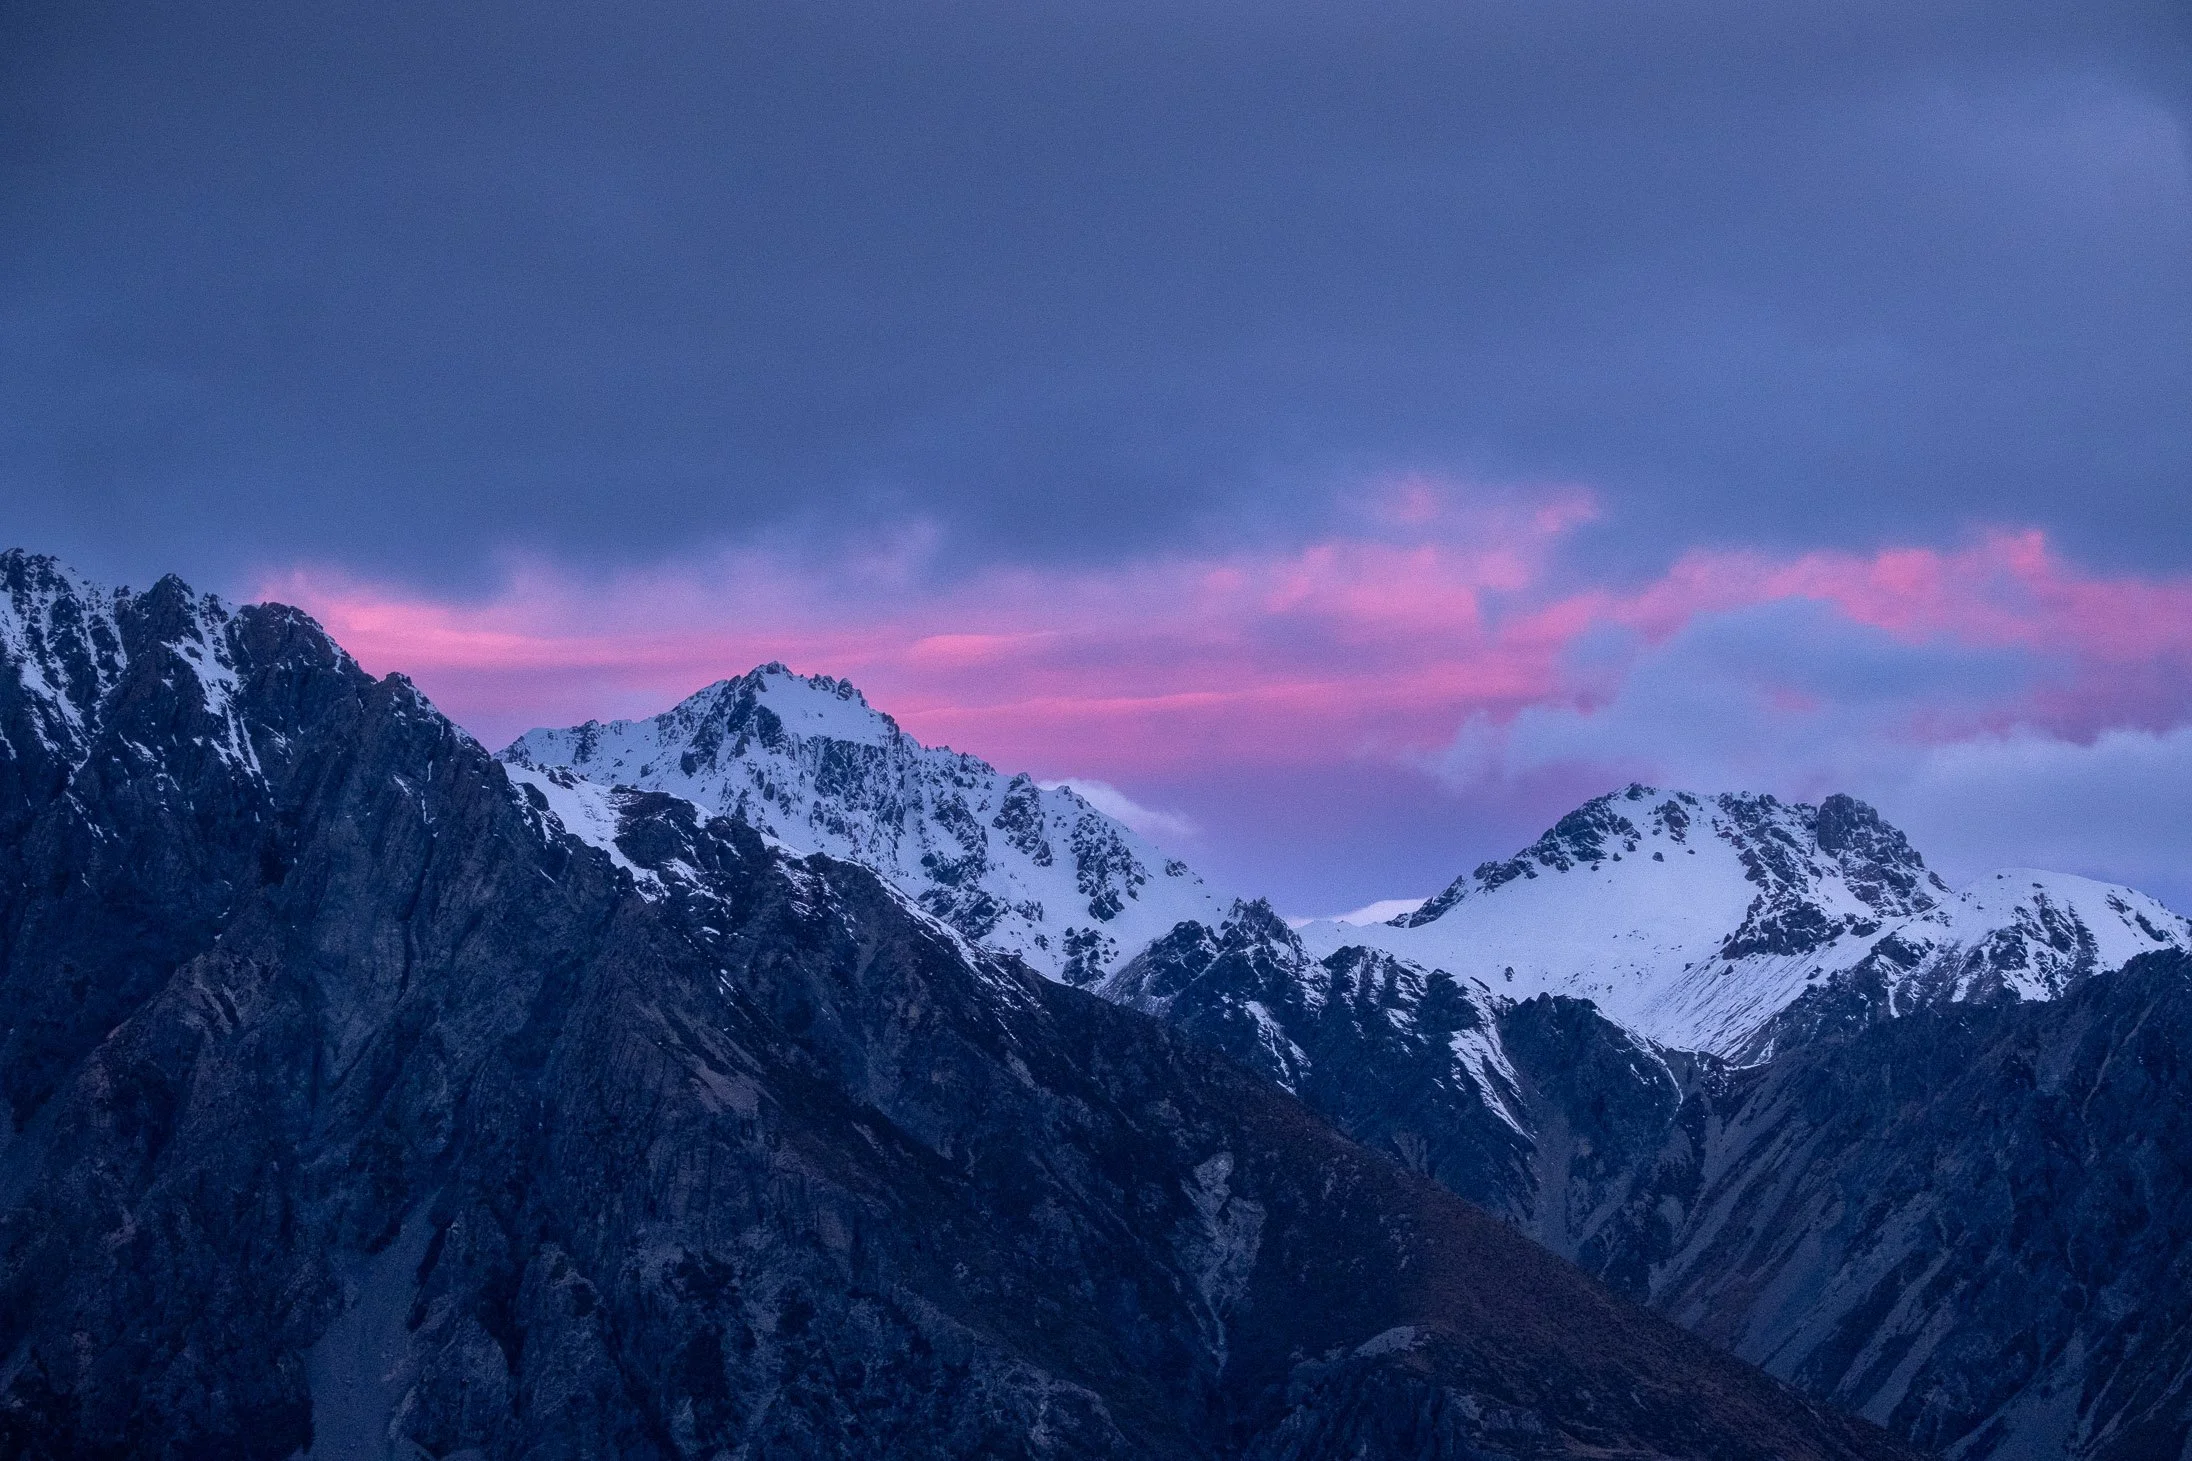
Mt Cook Aoraki National Park, New Zealand
Unity (Harmony)
Unity is the "glue" that pulls all elements together into a single, cohesive message or theme.
Consistency: Each part must relate to the whole.
Result: When nothing distracts from the overall purpose of the image, you have achieved harmony.
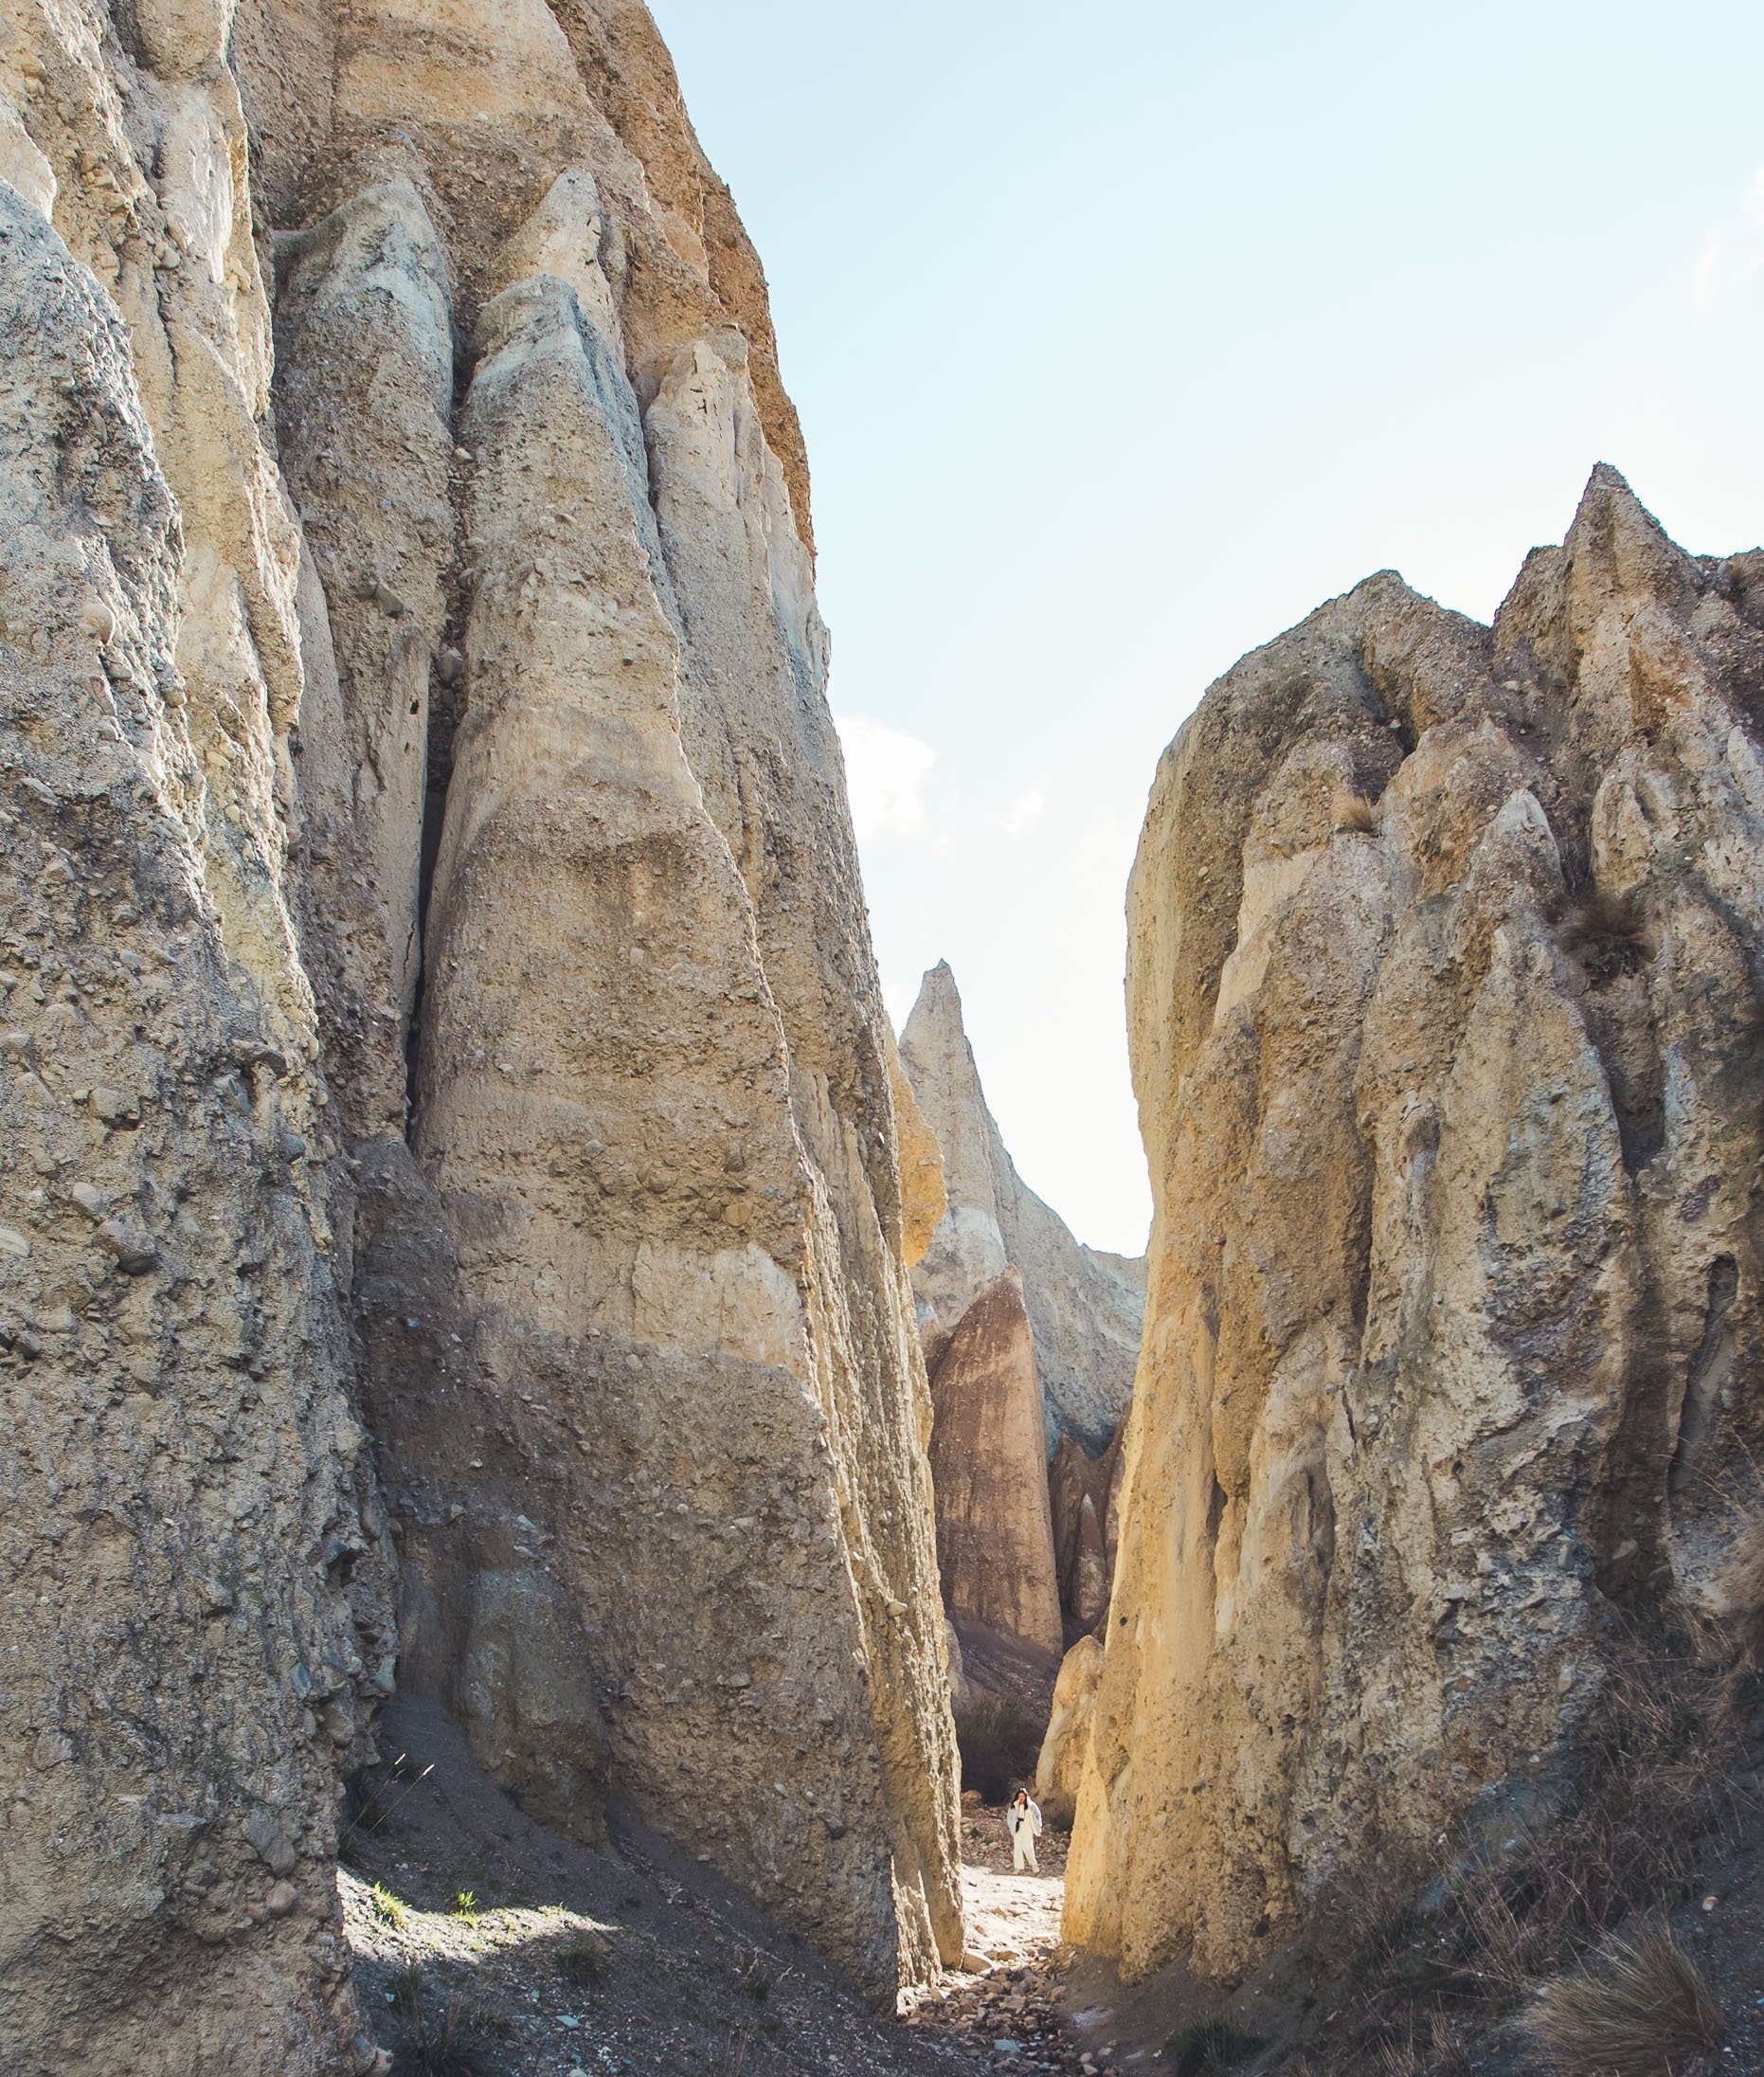
Clay Cliffs, NZ
Milford Sound
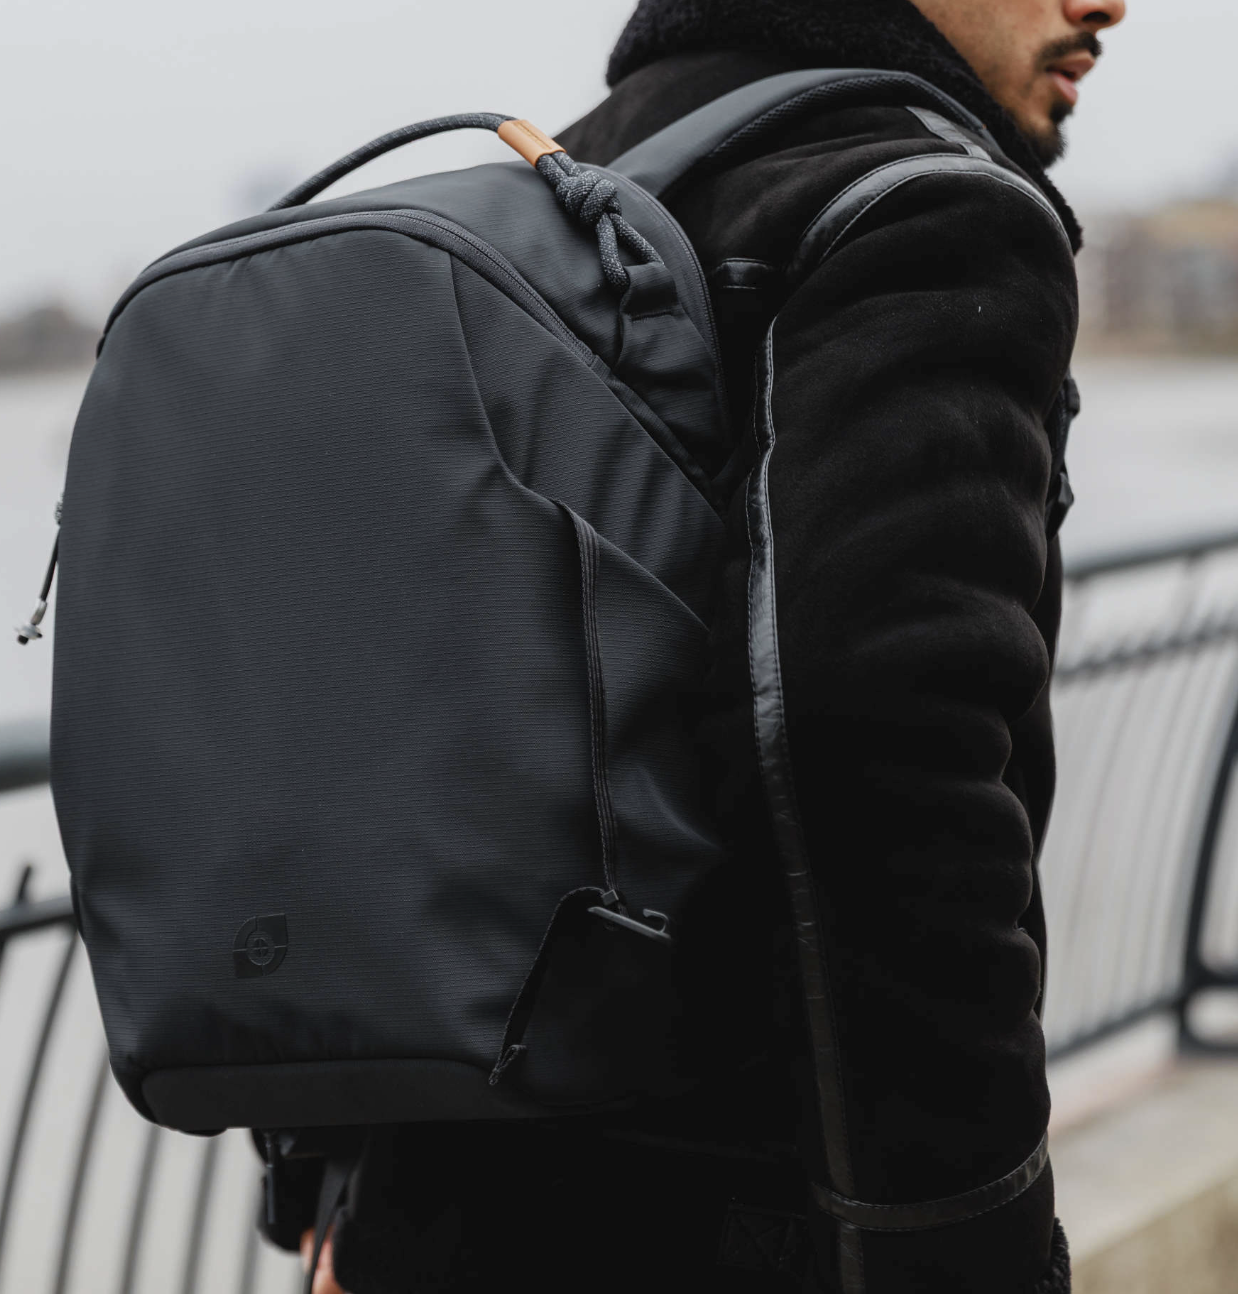
My Favourite Travel Caamera Bag
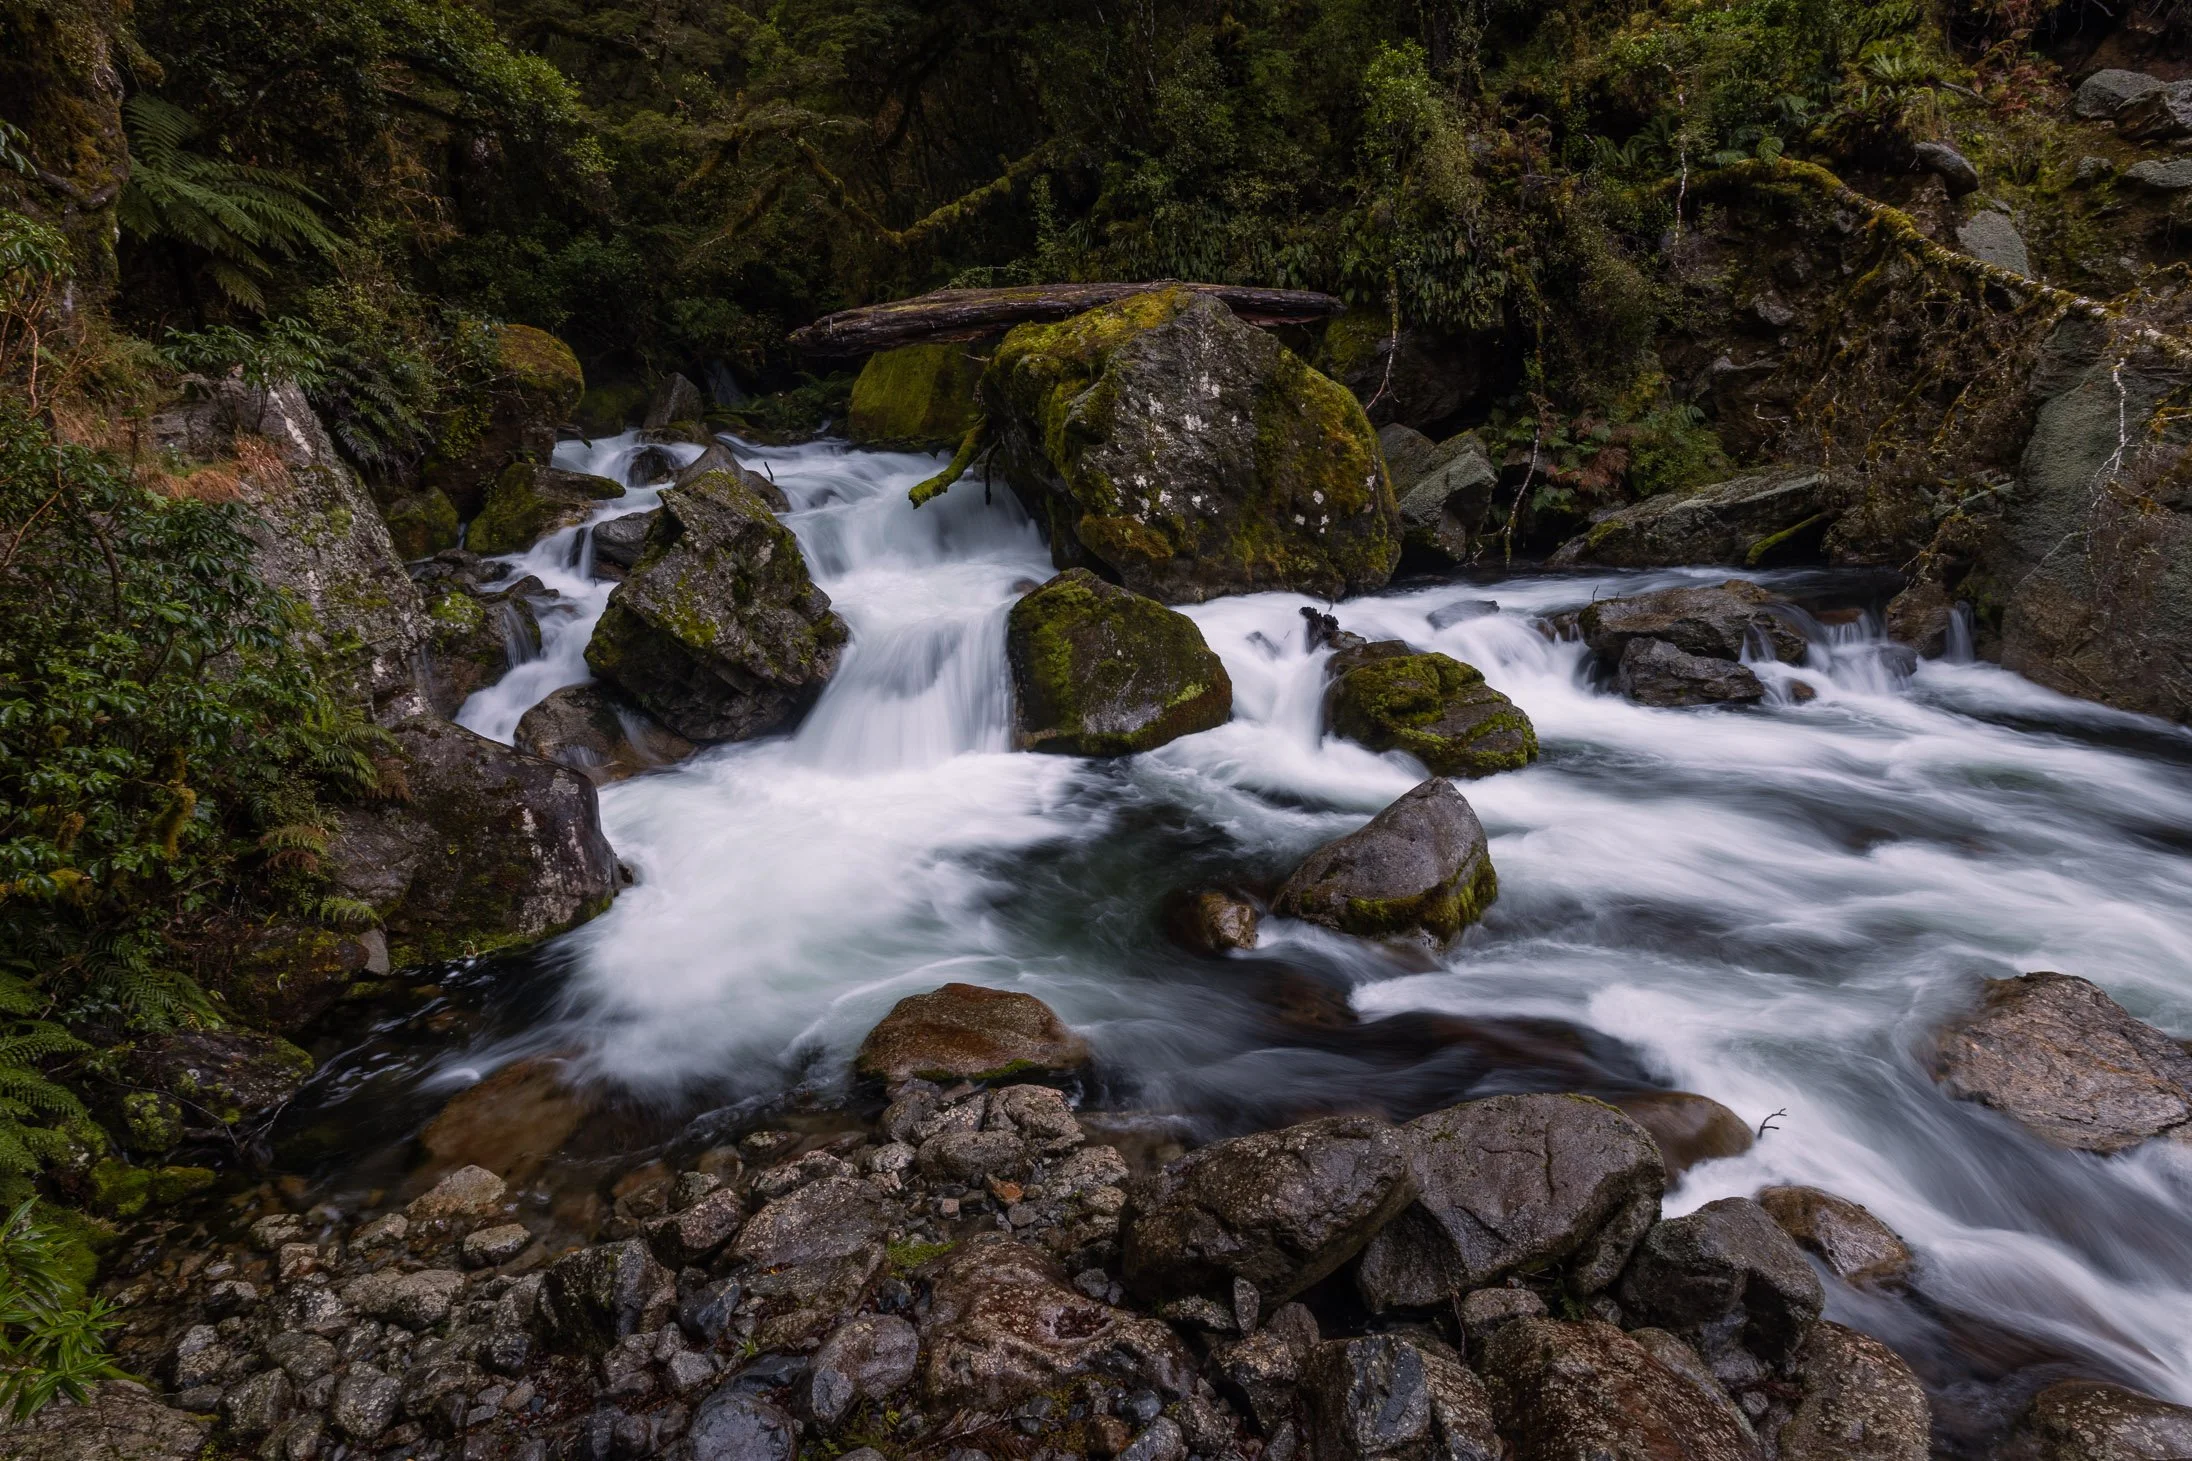
Marian Falls, Fjordland, New Zealand
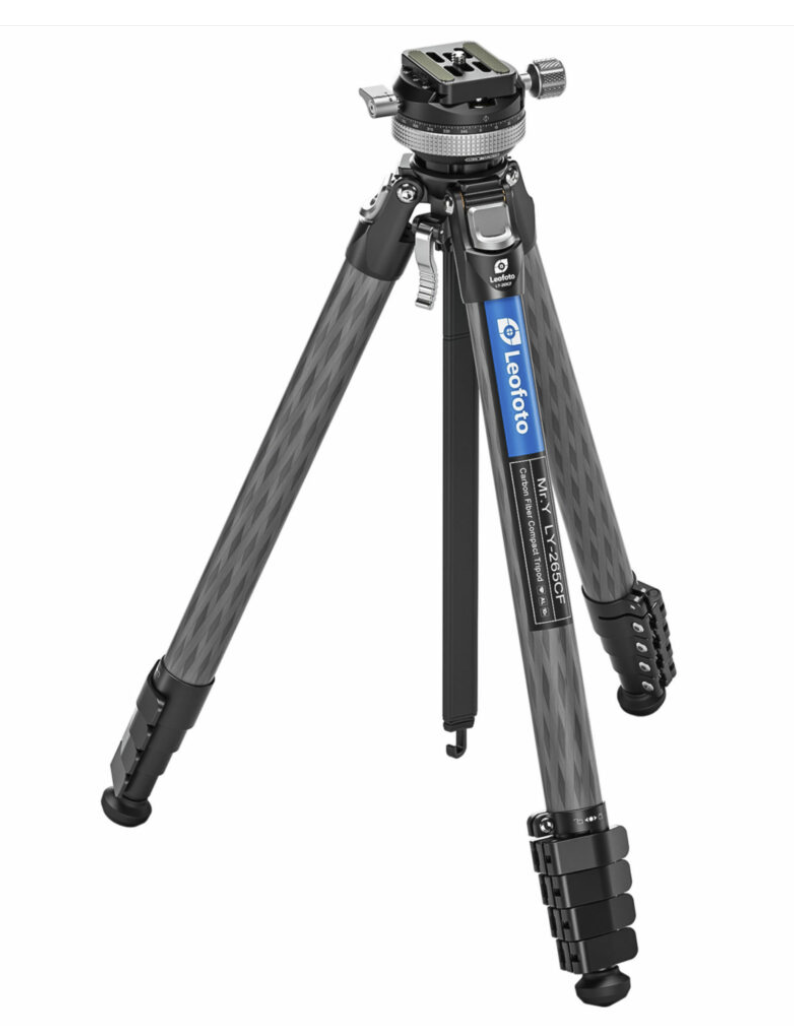
My Favourite Travel Tripod
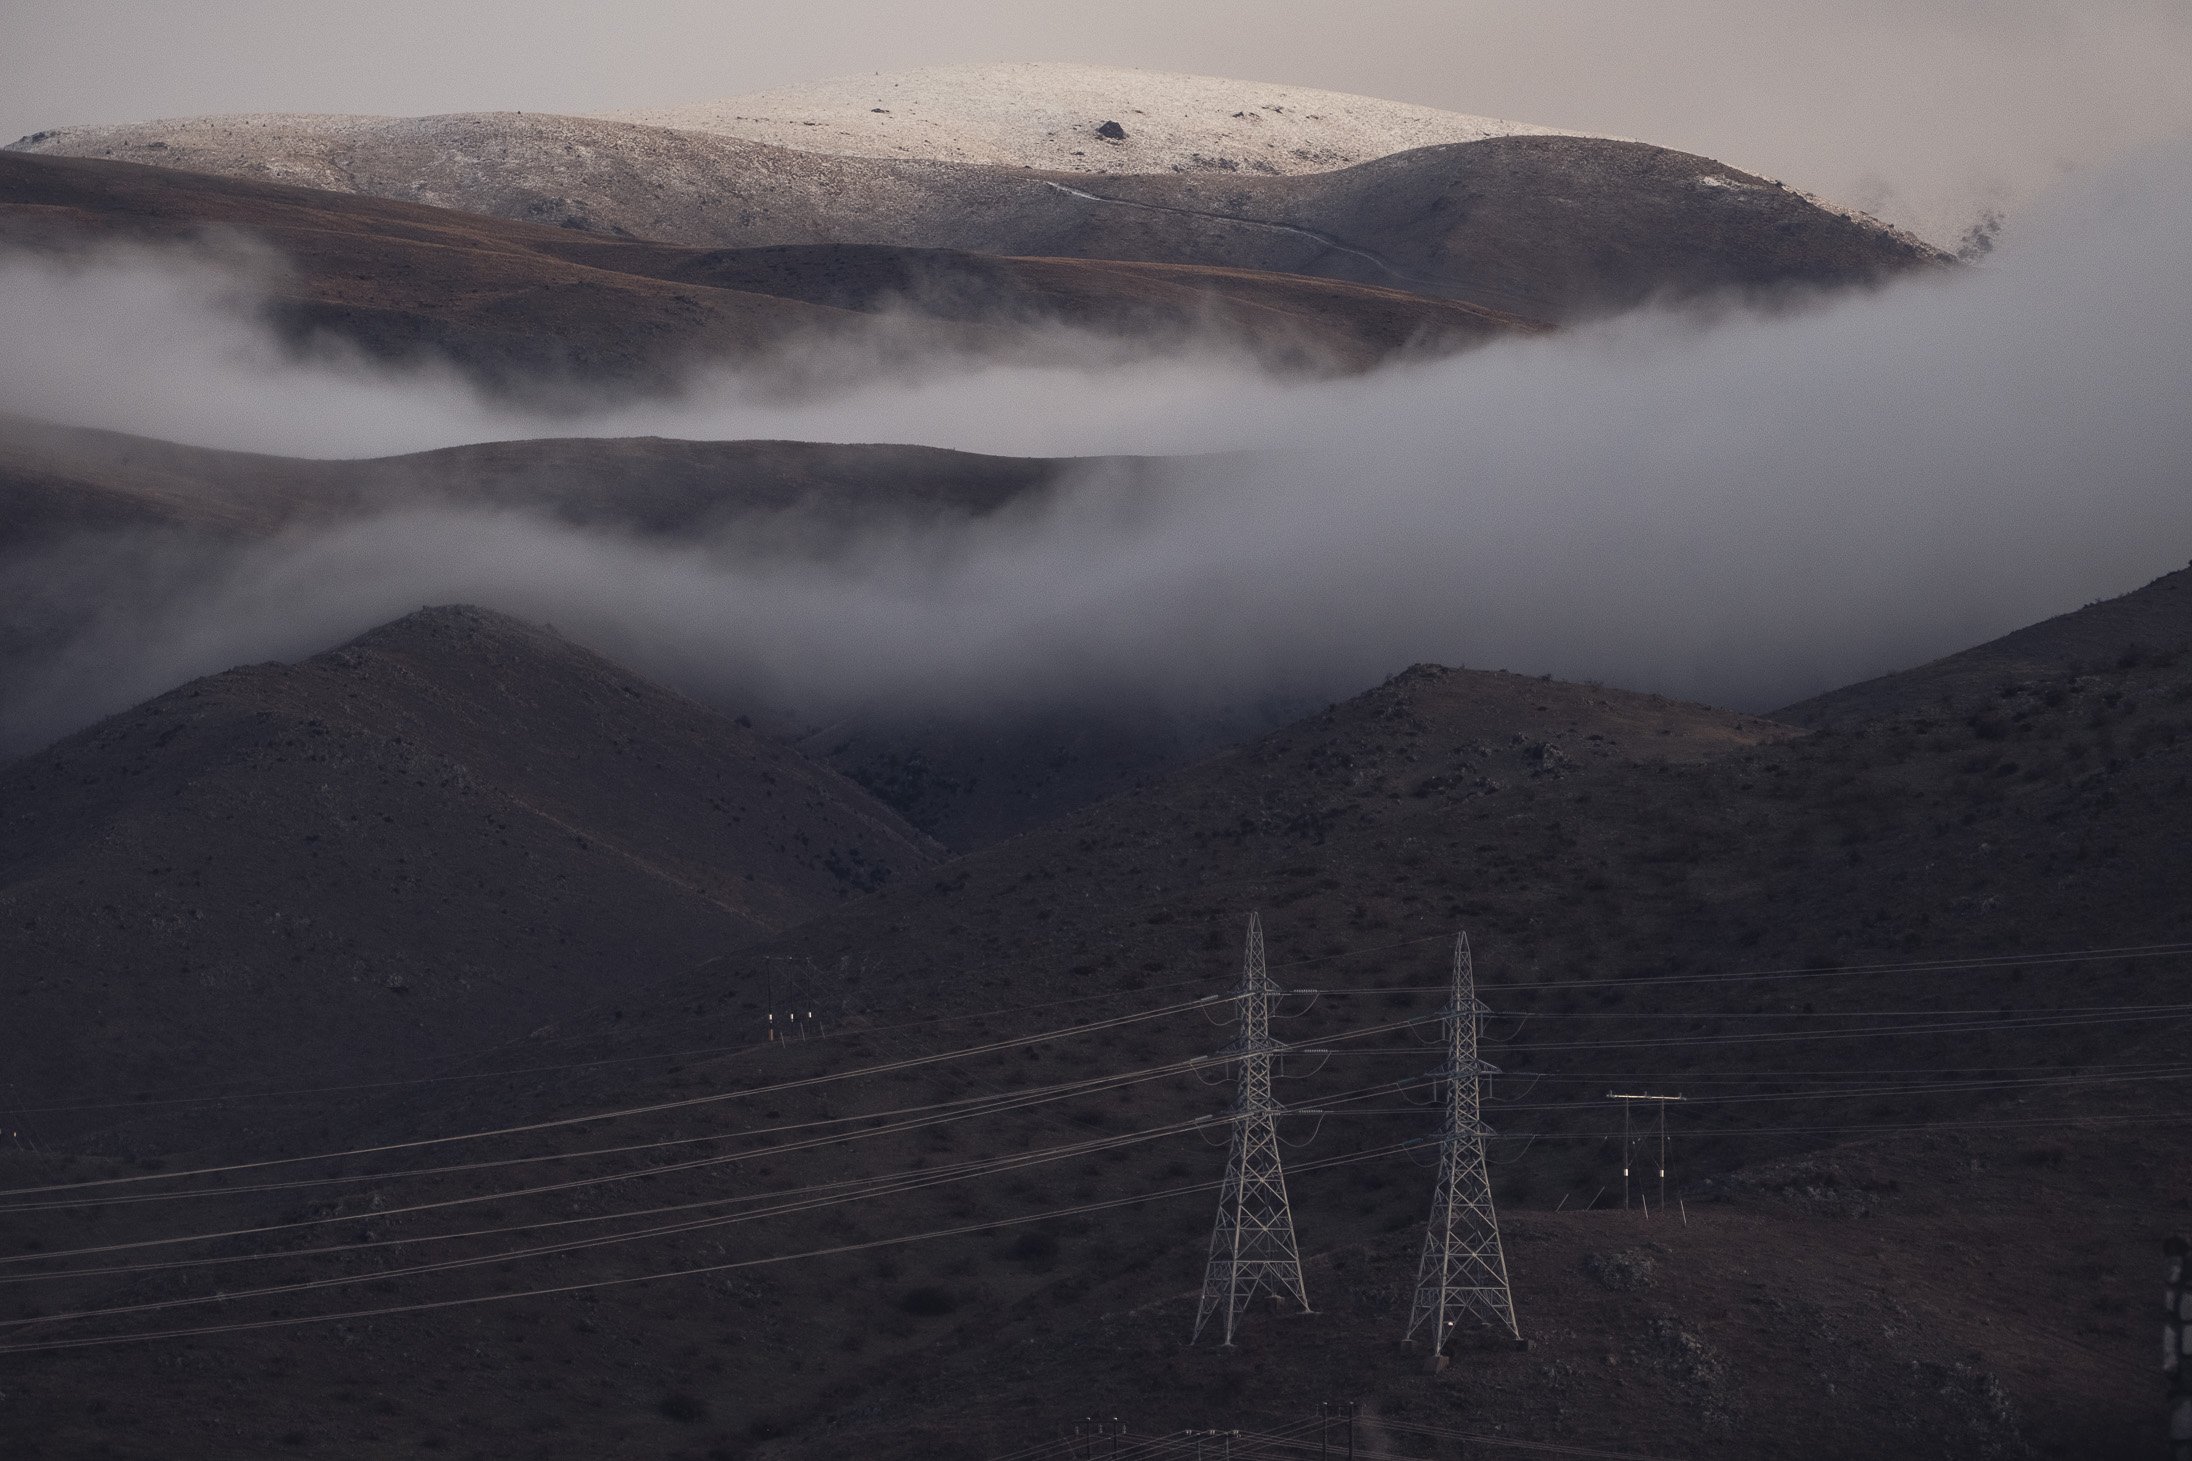
Twizel, New Zealand