Photo Tours
&
Tips on Travel Photography
The Secret Rhythm of Great Photos
Discover the 5 parallels between music and photography.
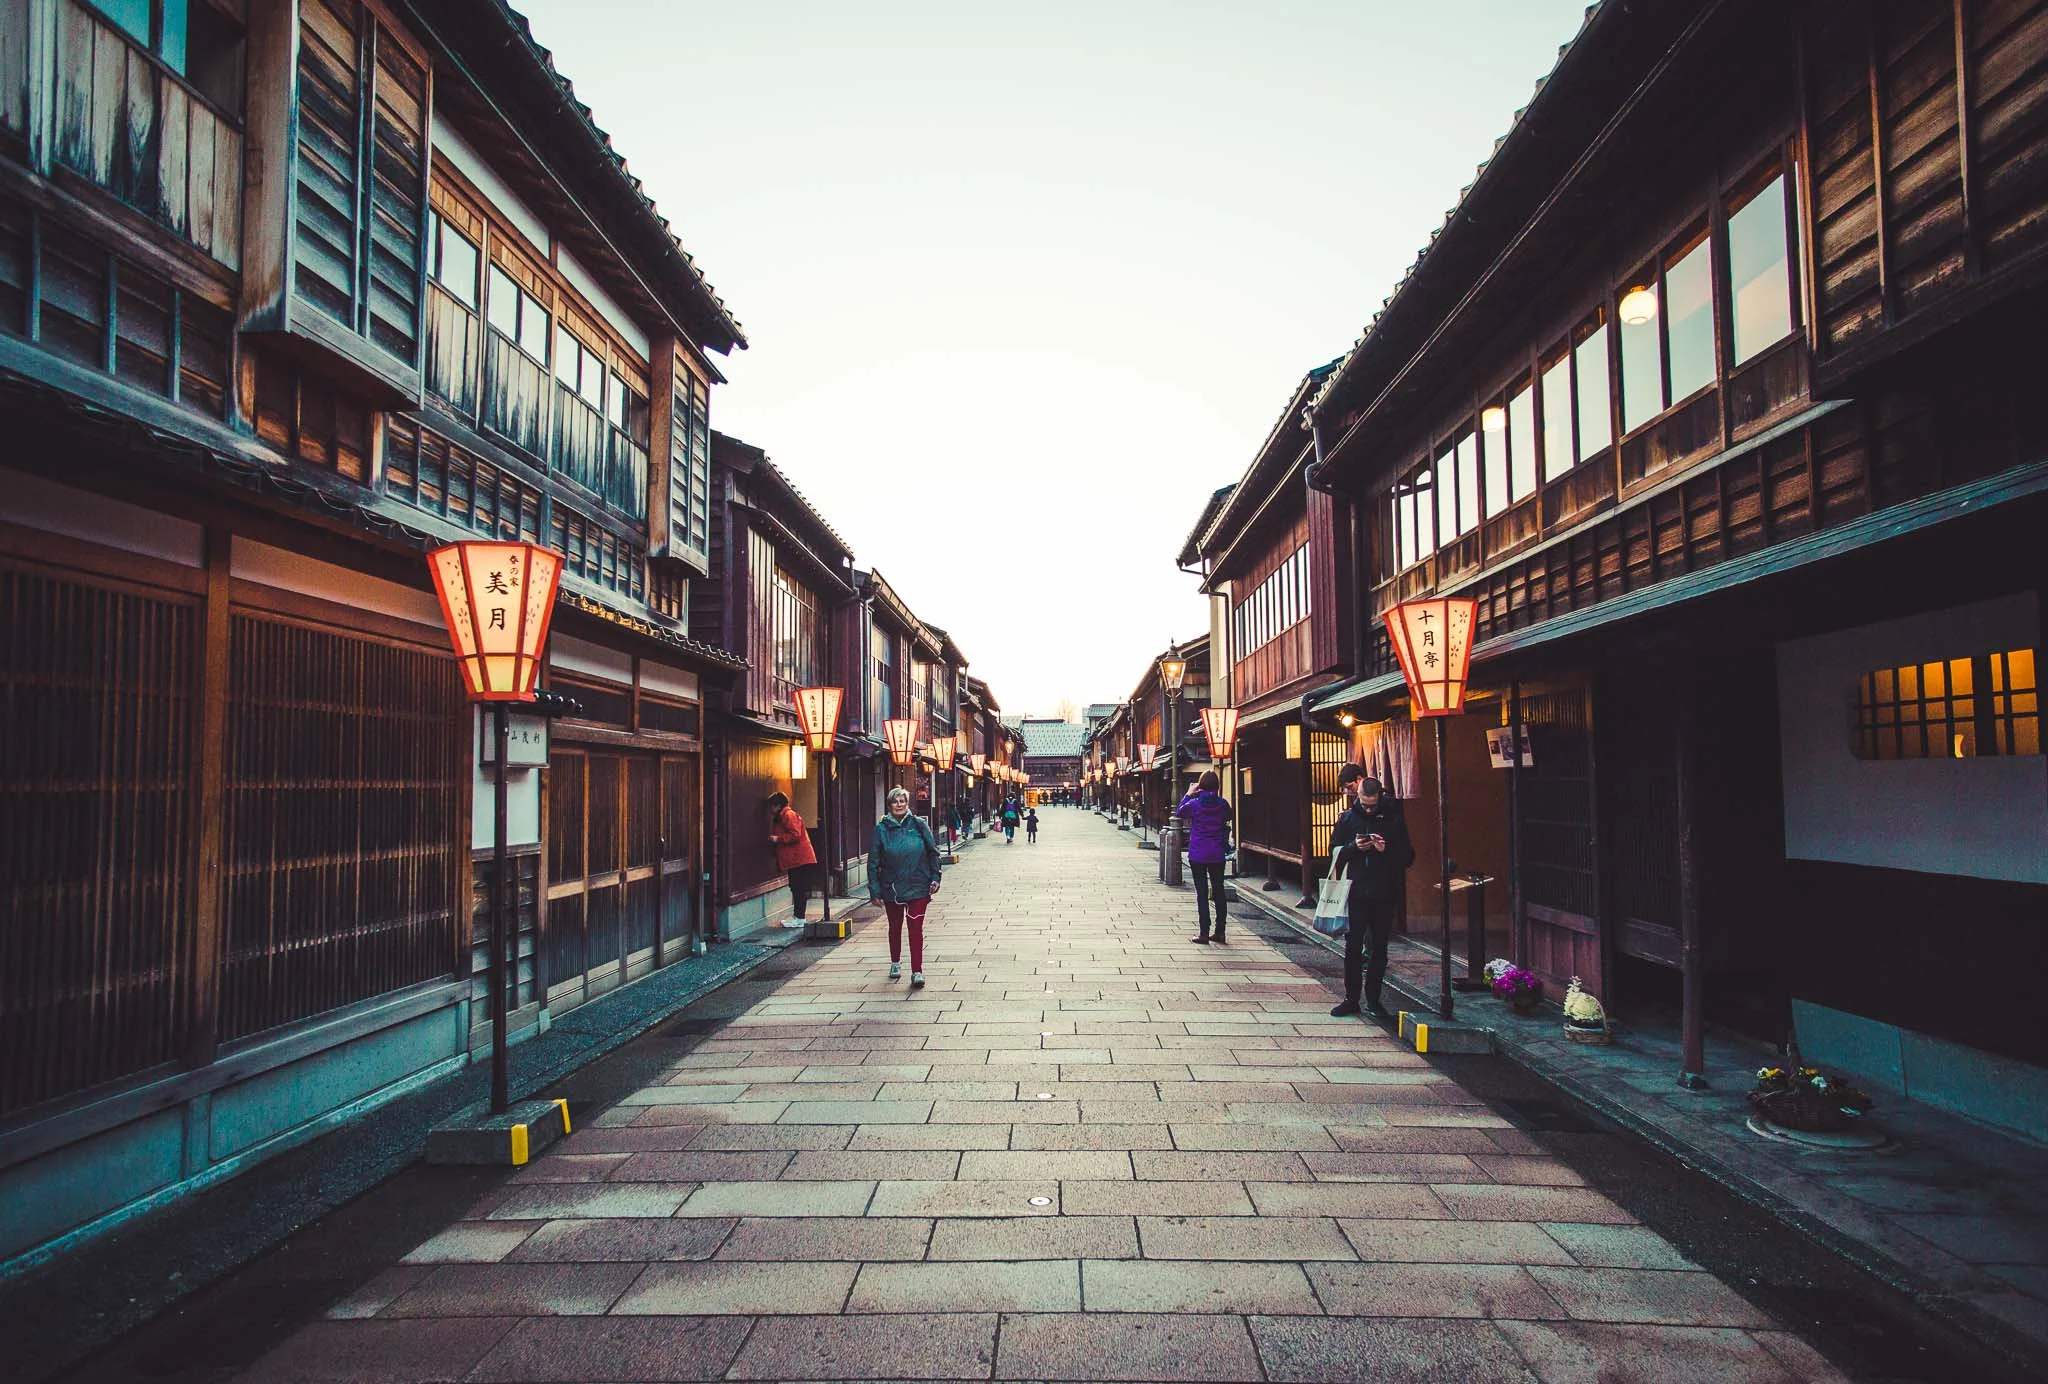
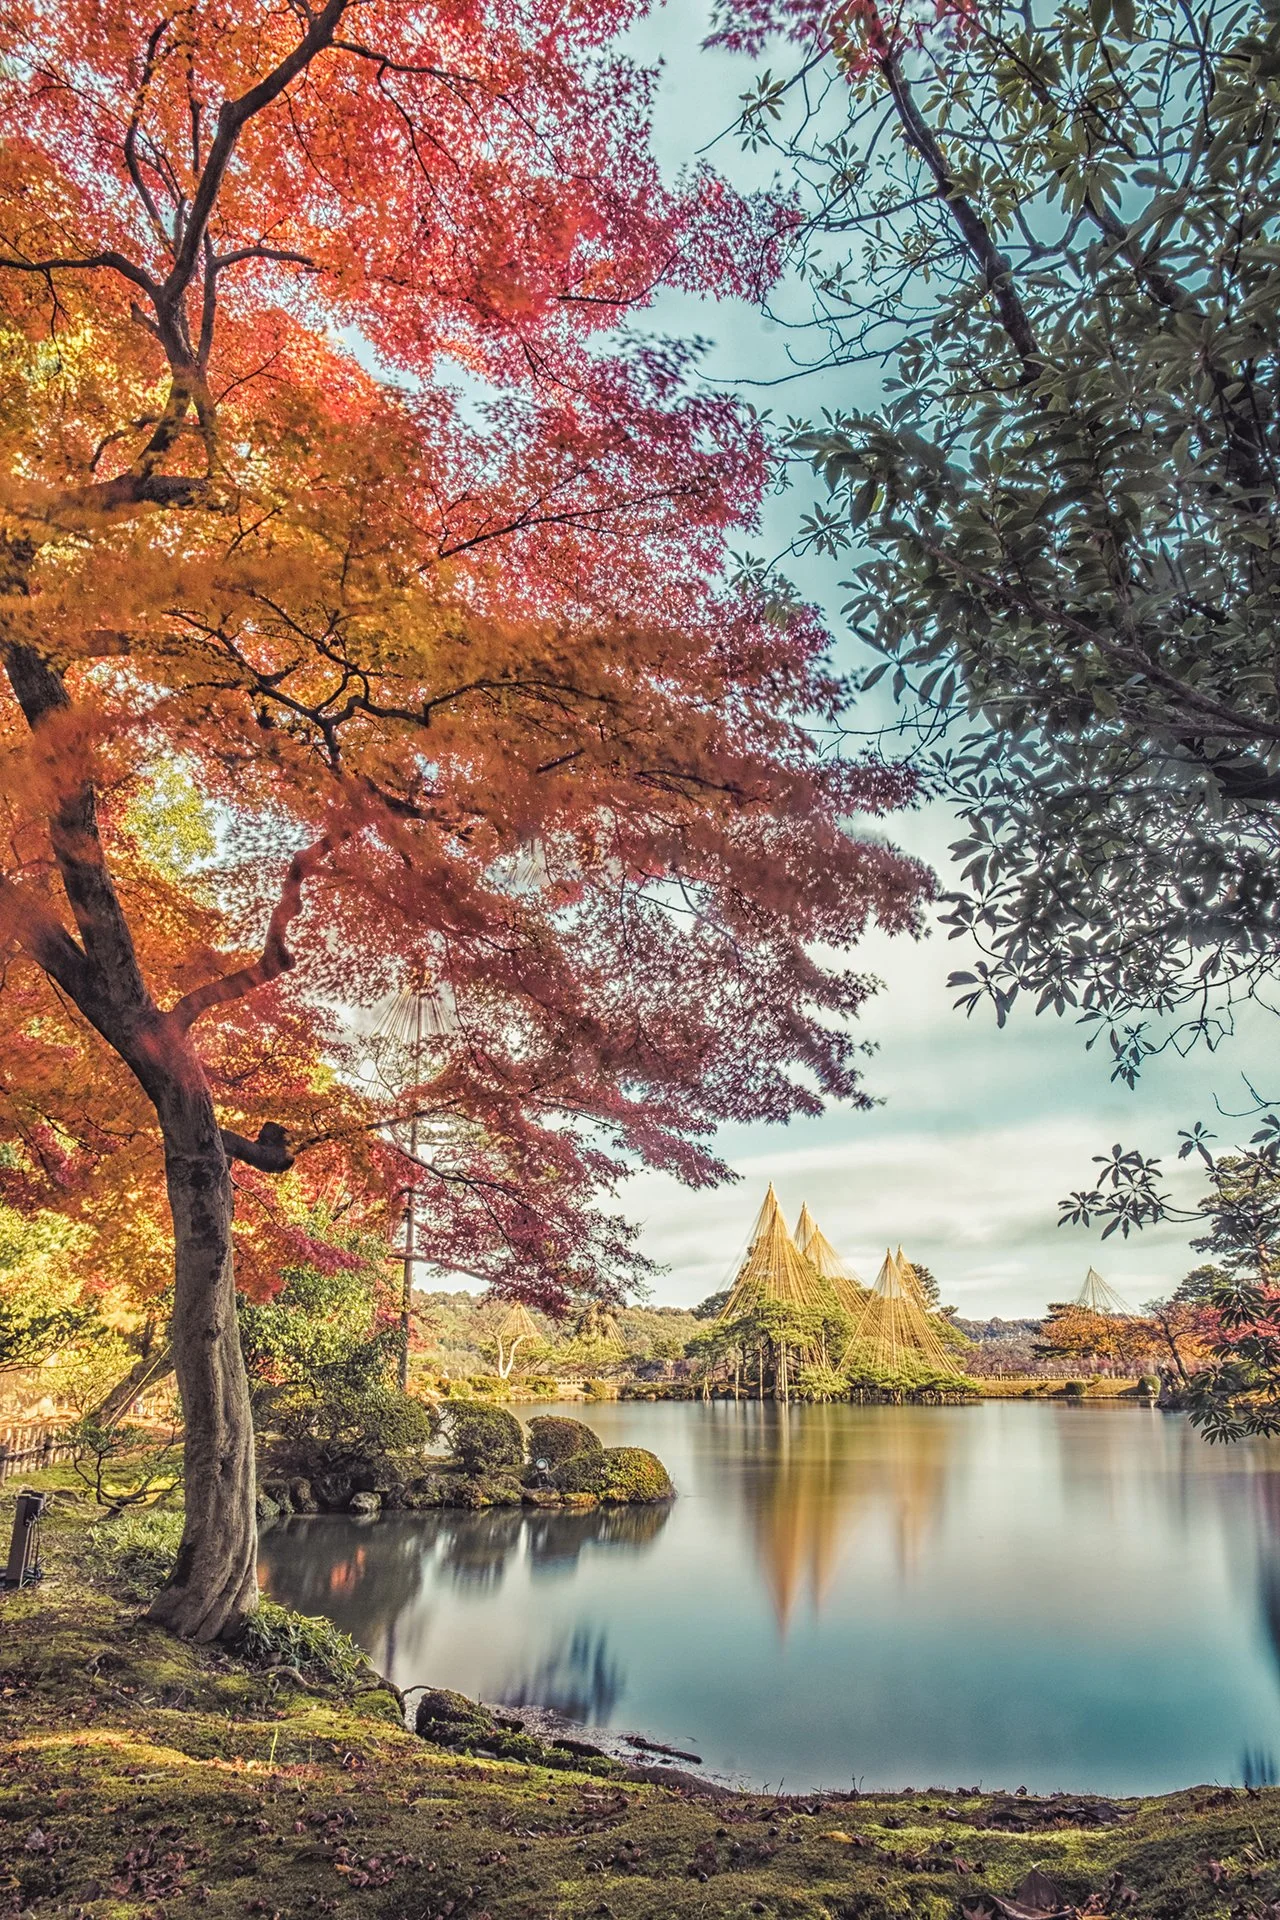
Tea District, Kanazawa
1. Rhythm: Visual Patterns and Musical Beats
The repetition of shapes and lines mirrors Rhythm and Pattern in audio.
When you repeat an element in a photo, you are essentially creating a visual "beat.
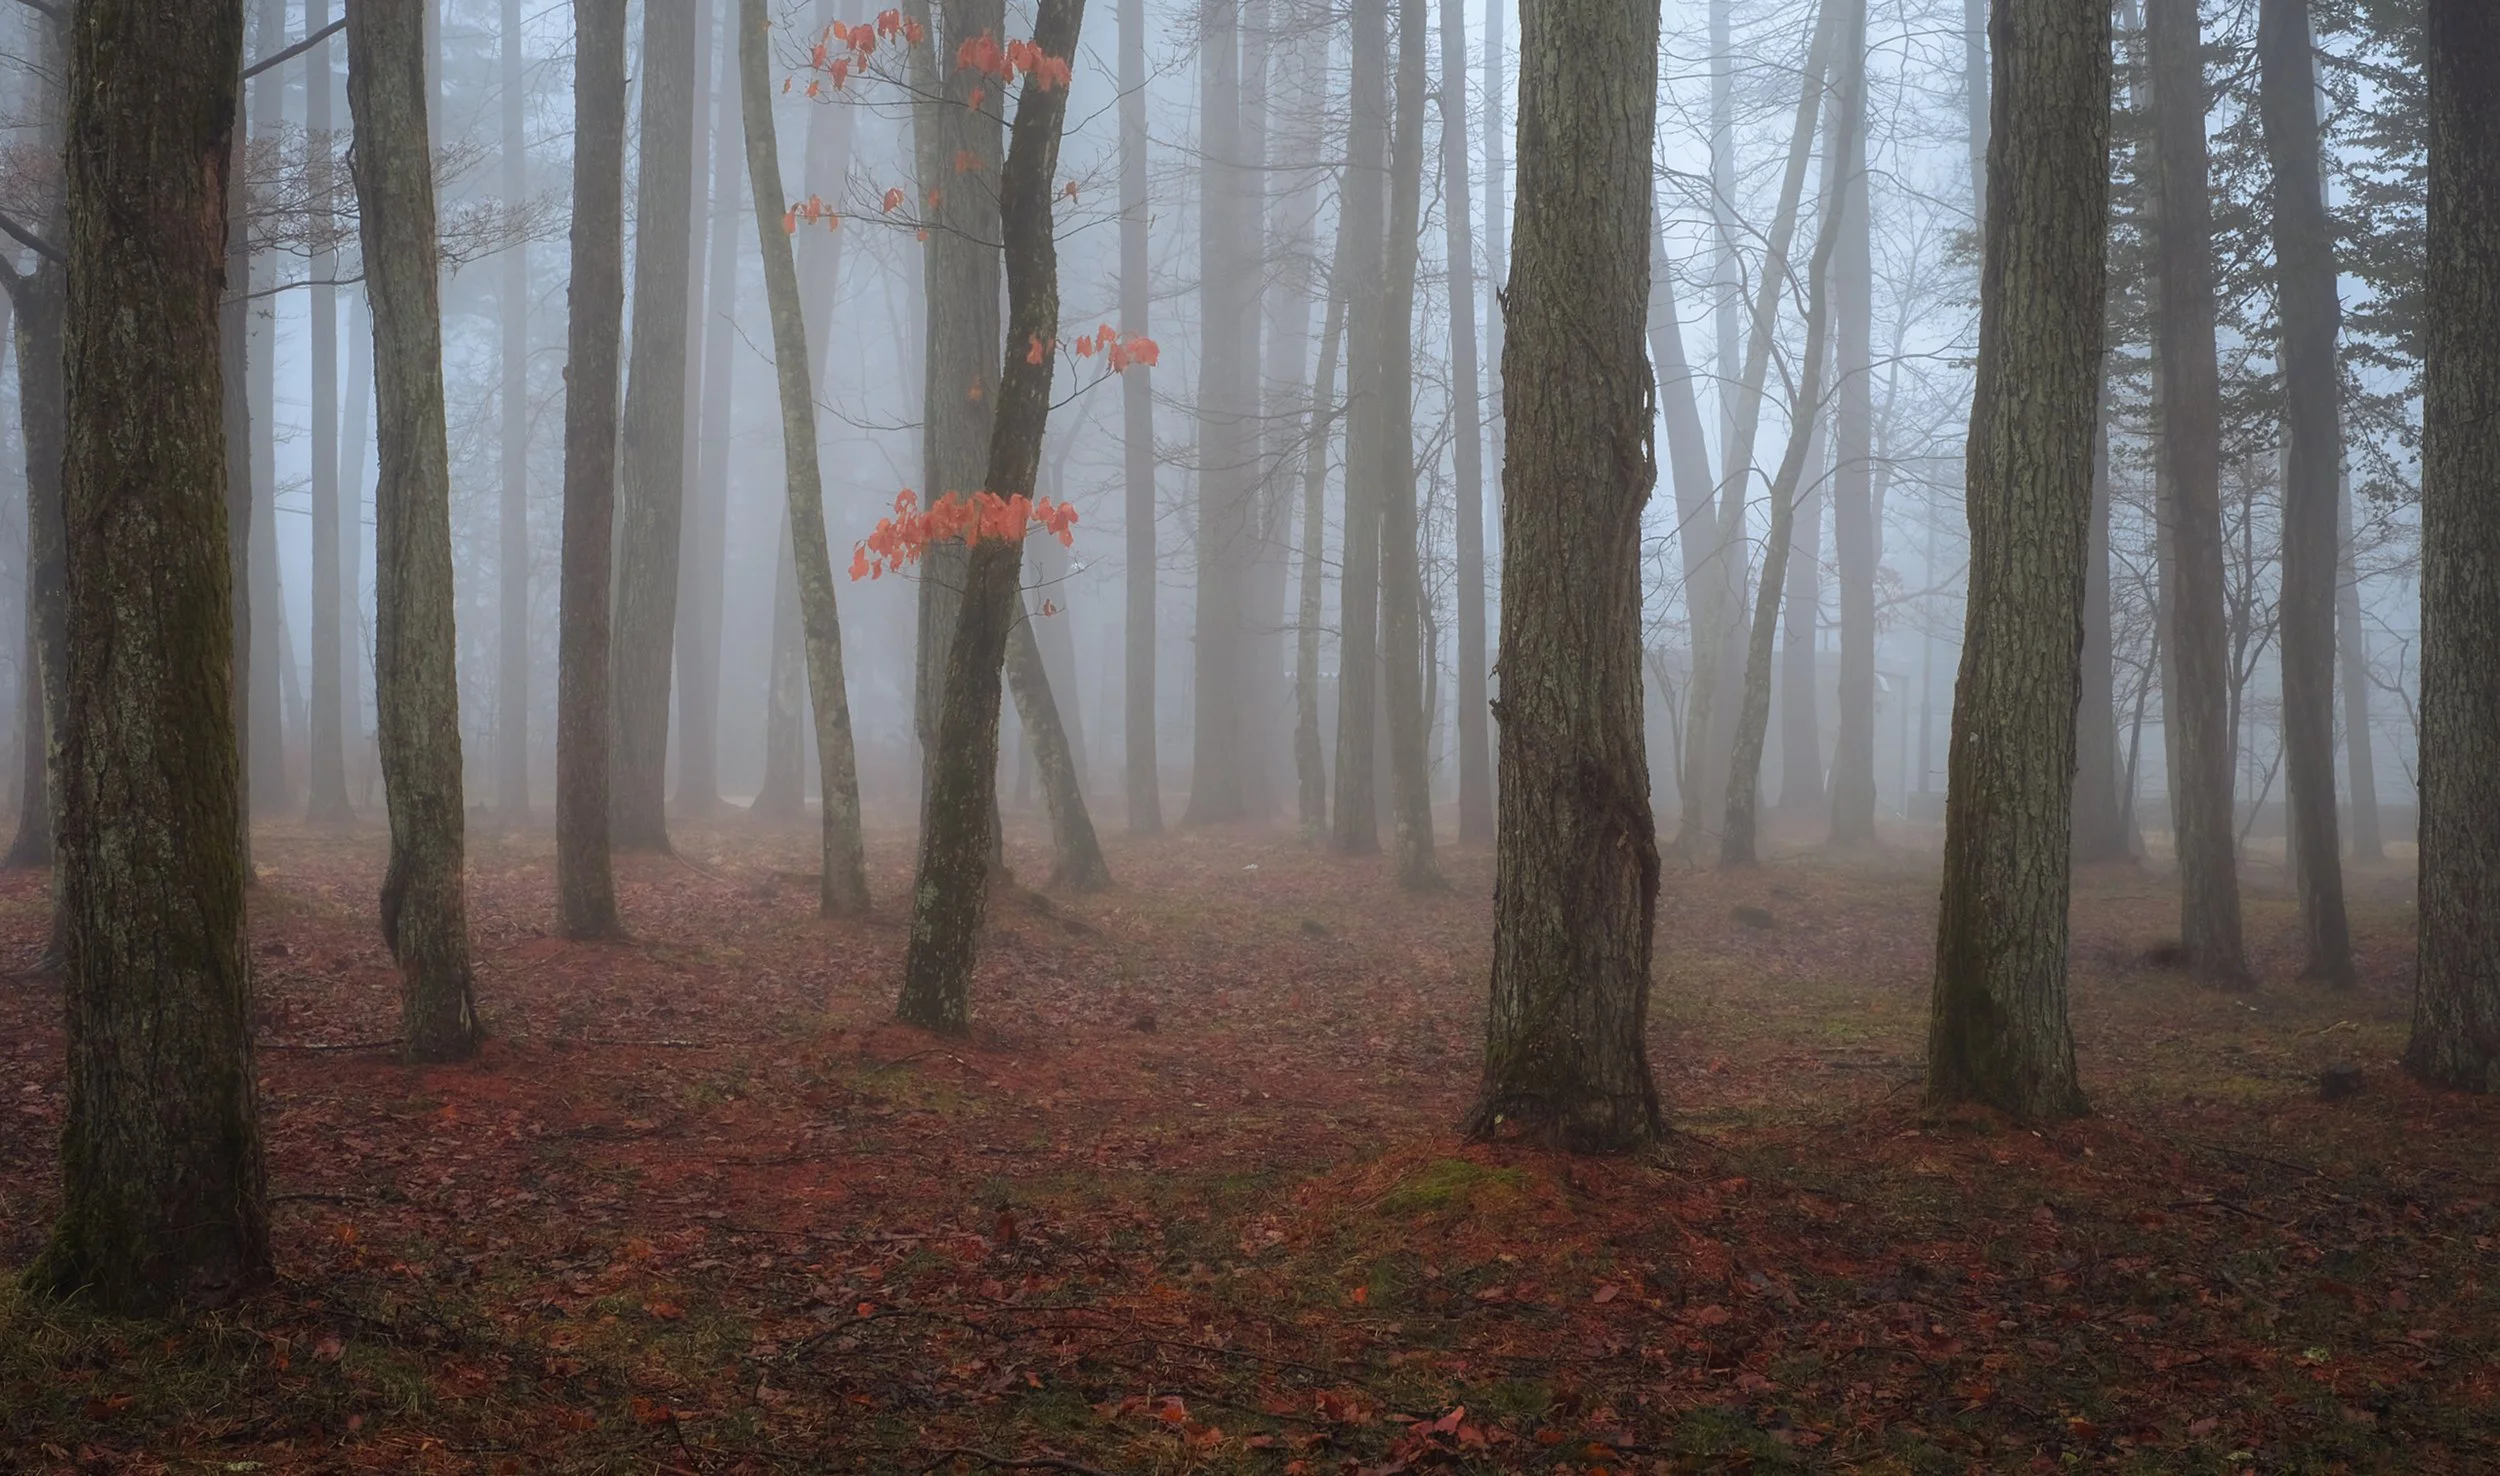
Mt Fuji Forest Fog
2. Harmony: Color Balance and Chord Progressions
Musical harmony creates a unified sound. In photography, we achieve this through complimentary colors that blend well together.
3. Contrast & Tone: Light/Dark and Loud/Soft
Contrast is the engine of drama. In music, this is "dynamics". In photography, it is "chiaroscuro"—the stark transition between deep shadows and bright highlights like a dark or bright note on a piano.

Arashiyama, Kyoto
4. Repetition and Variation: Motifs and Themes
This involves taking a single element and repeating it with slight changes to keep the viewer or listener engaged.
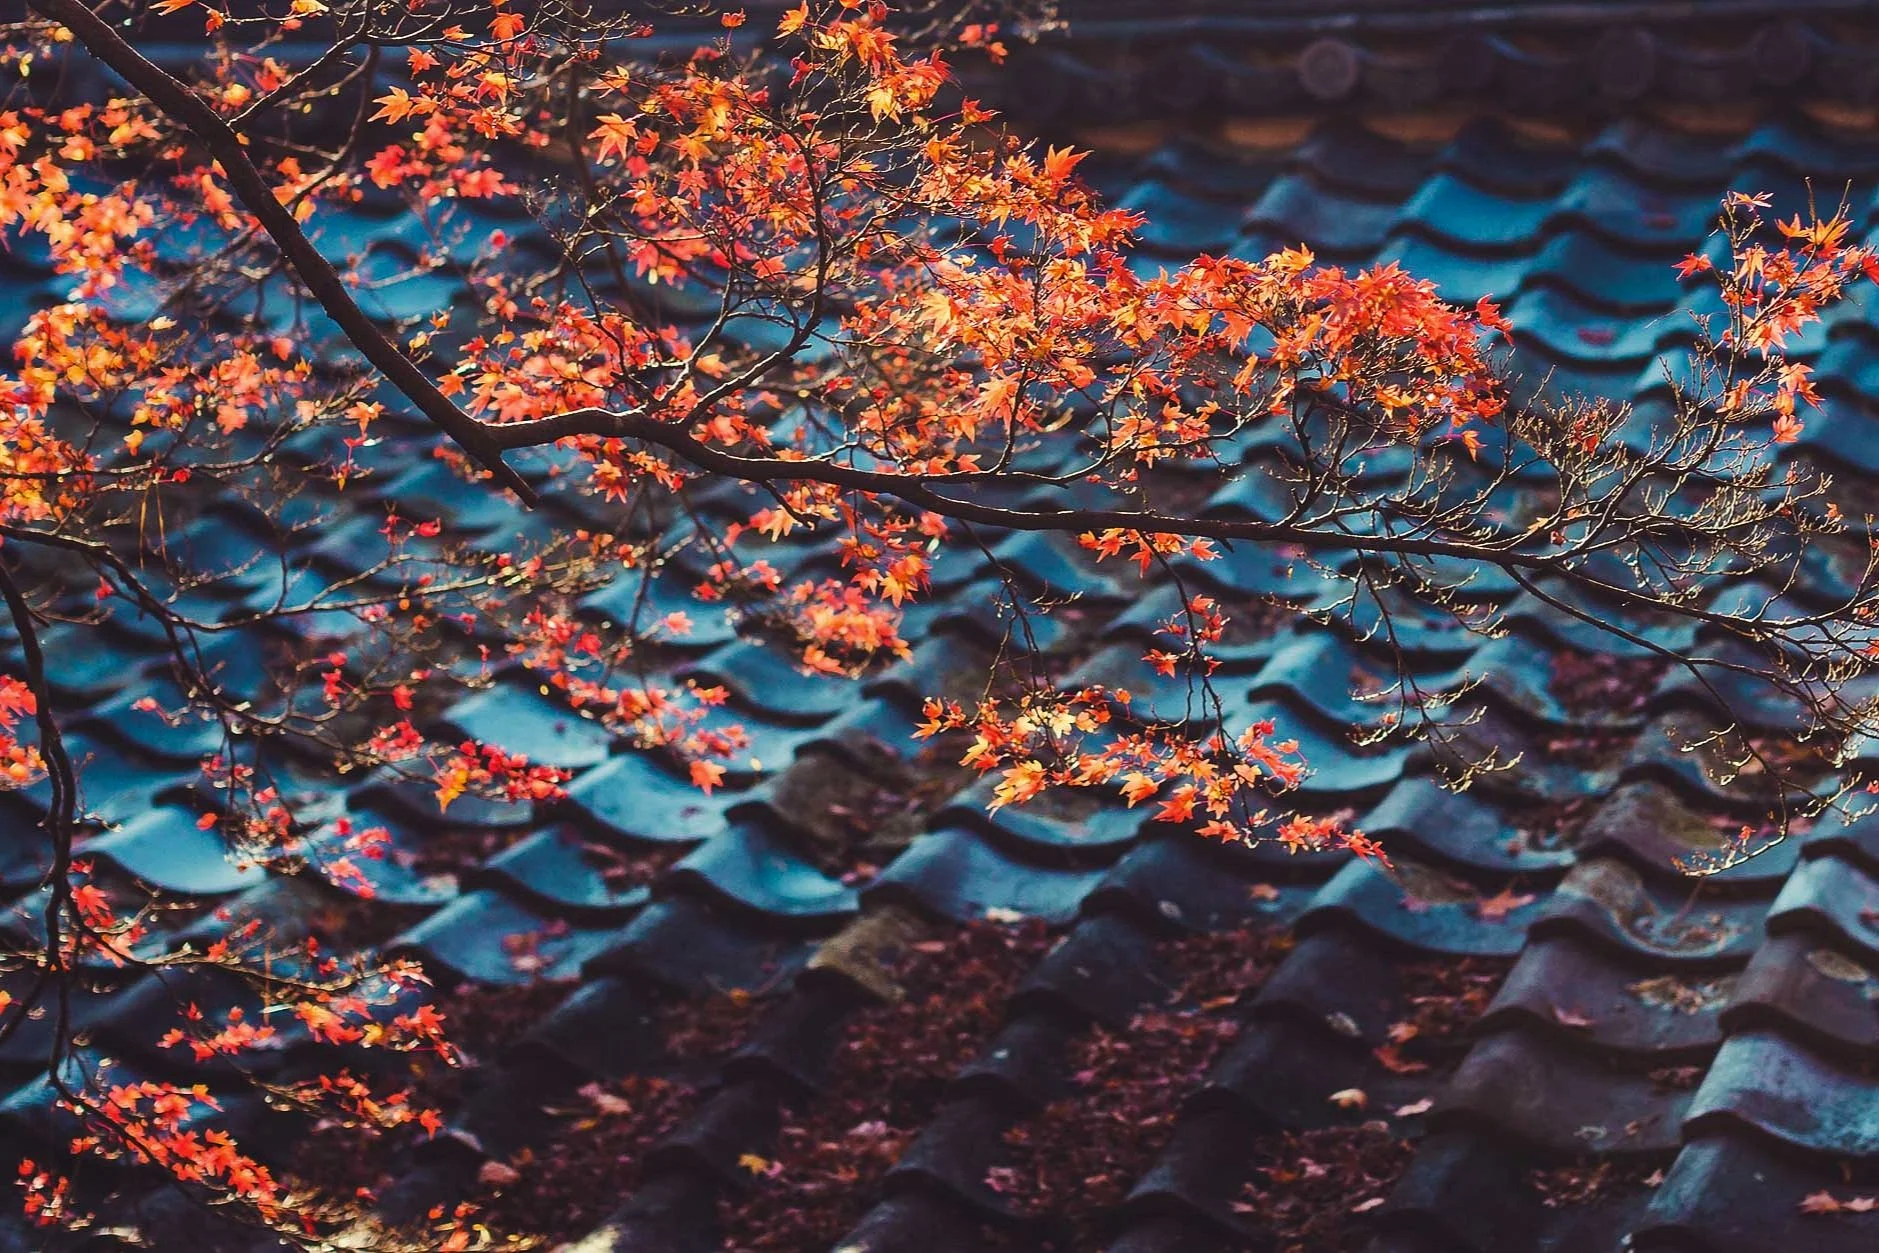
Arashiyama, Kyoto
5.Texture in a singer’s voice could be a rough growl or smooth as silk. Texture in photography is the tactile nature of the subject or object. Just like the wet morning drops on a leaf or the rough and rusty metal on an old tin roof.
Treasure Hunt Color in Photography
Why not treasure hunt particular clusters of color ? The psychology of color in photography is all about how different hues trigger specific emotional responses and guide a viewer's eye through an image. Photographers use colour not just for realism, but as a tool to tell a story or set a specific mood. Below is a list of the positive effects that colours can have with certain emotions. I have also added some inspirational quotes for each colour.
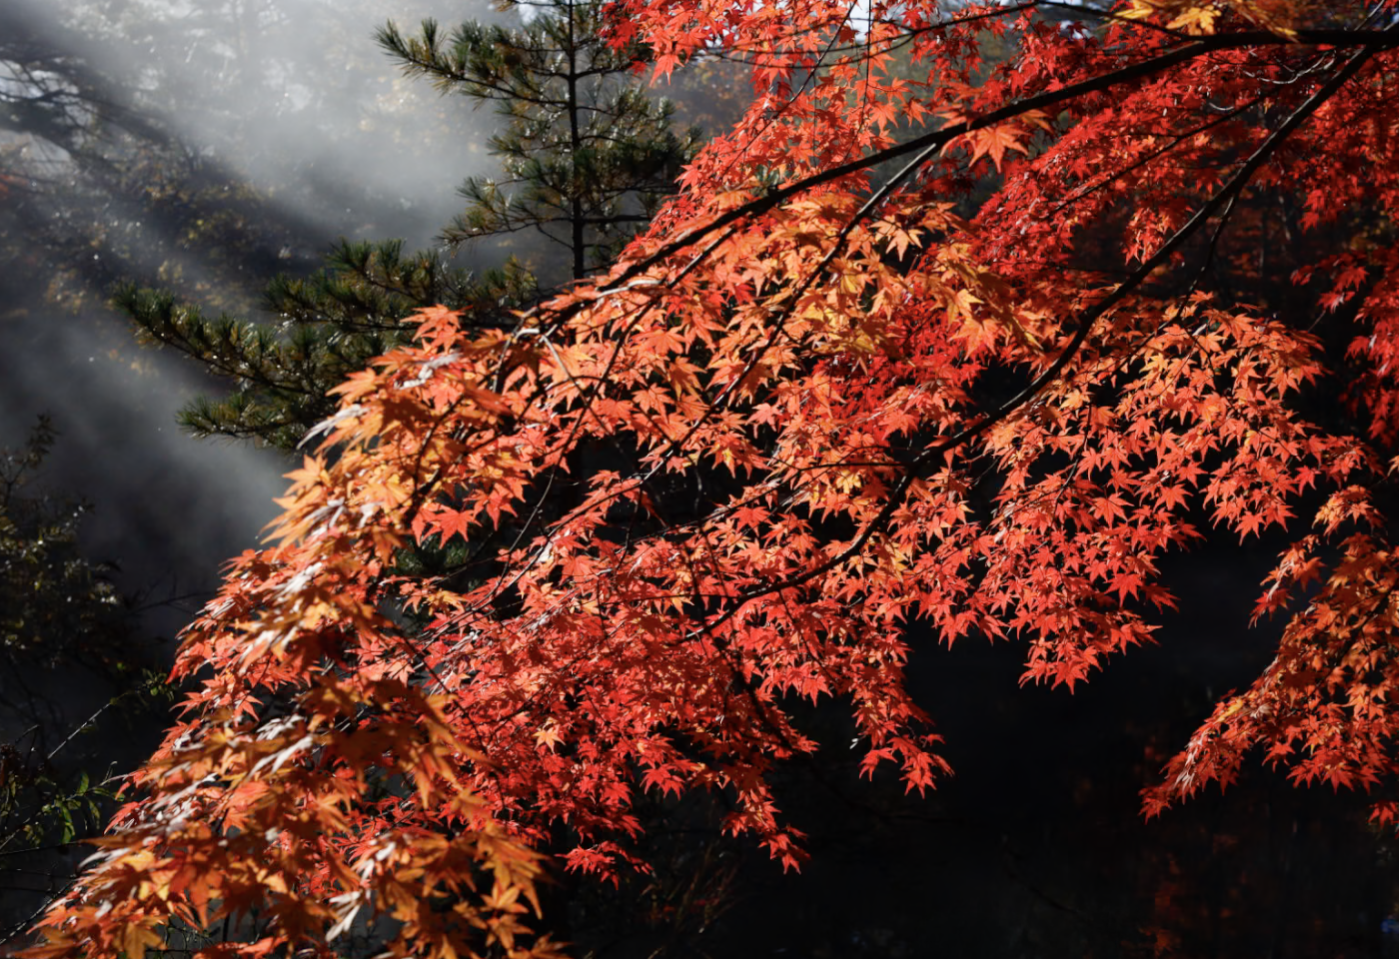
"The Decisive Moment"
— Henri Cartier-Bresson
RED
• Energy • Warmth • Strength • Impulse • Dynamism.
• Activity. • Courage. • Excitement. • Love • Passion
• Dominance • Happiness
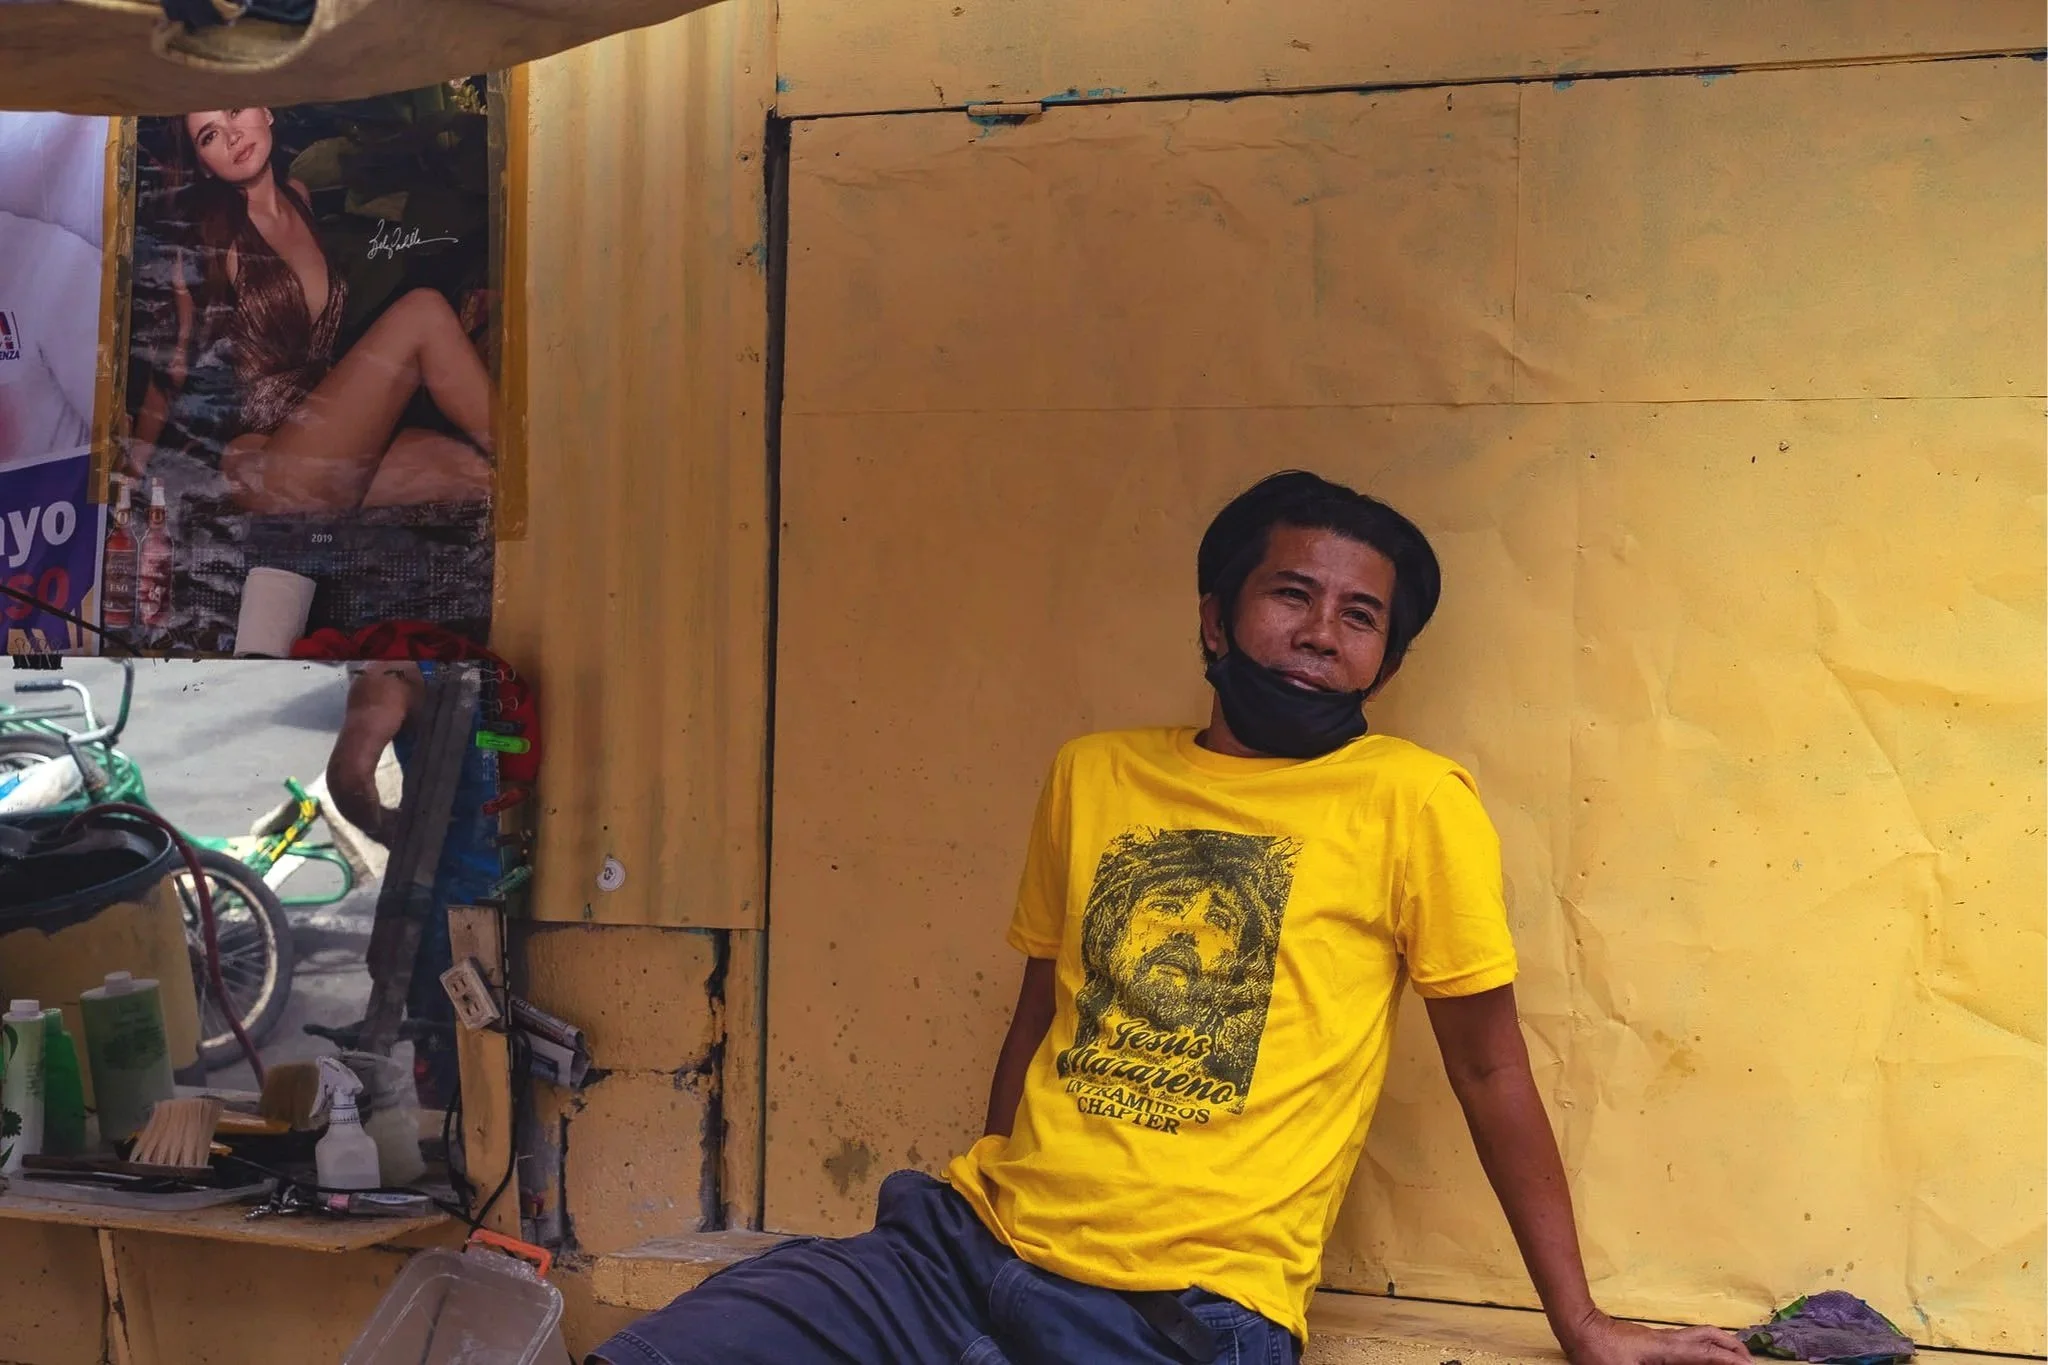
"When you laugh & cry with their laughter & tears, you will know you are on the right
track"
— Arthur Fellig
Yellow
• Cheer. • Hope. • Vitality. • Expansion. • Optimism.
• Philosophy. • Luminosity. • Enlightenment. • Communication
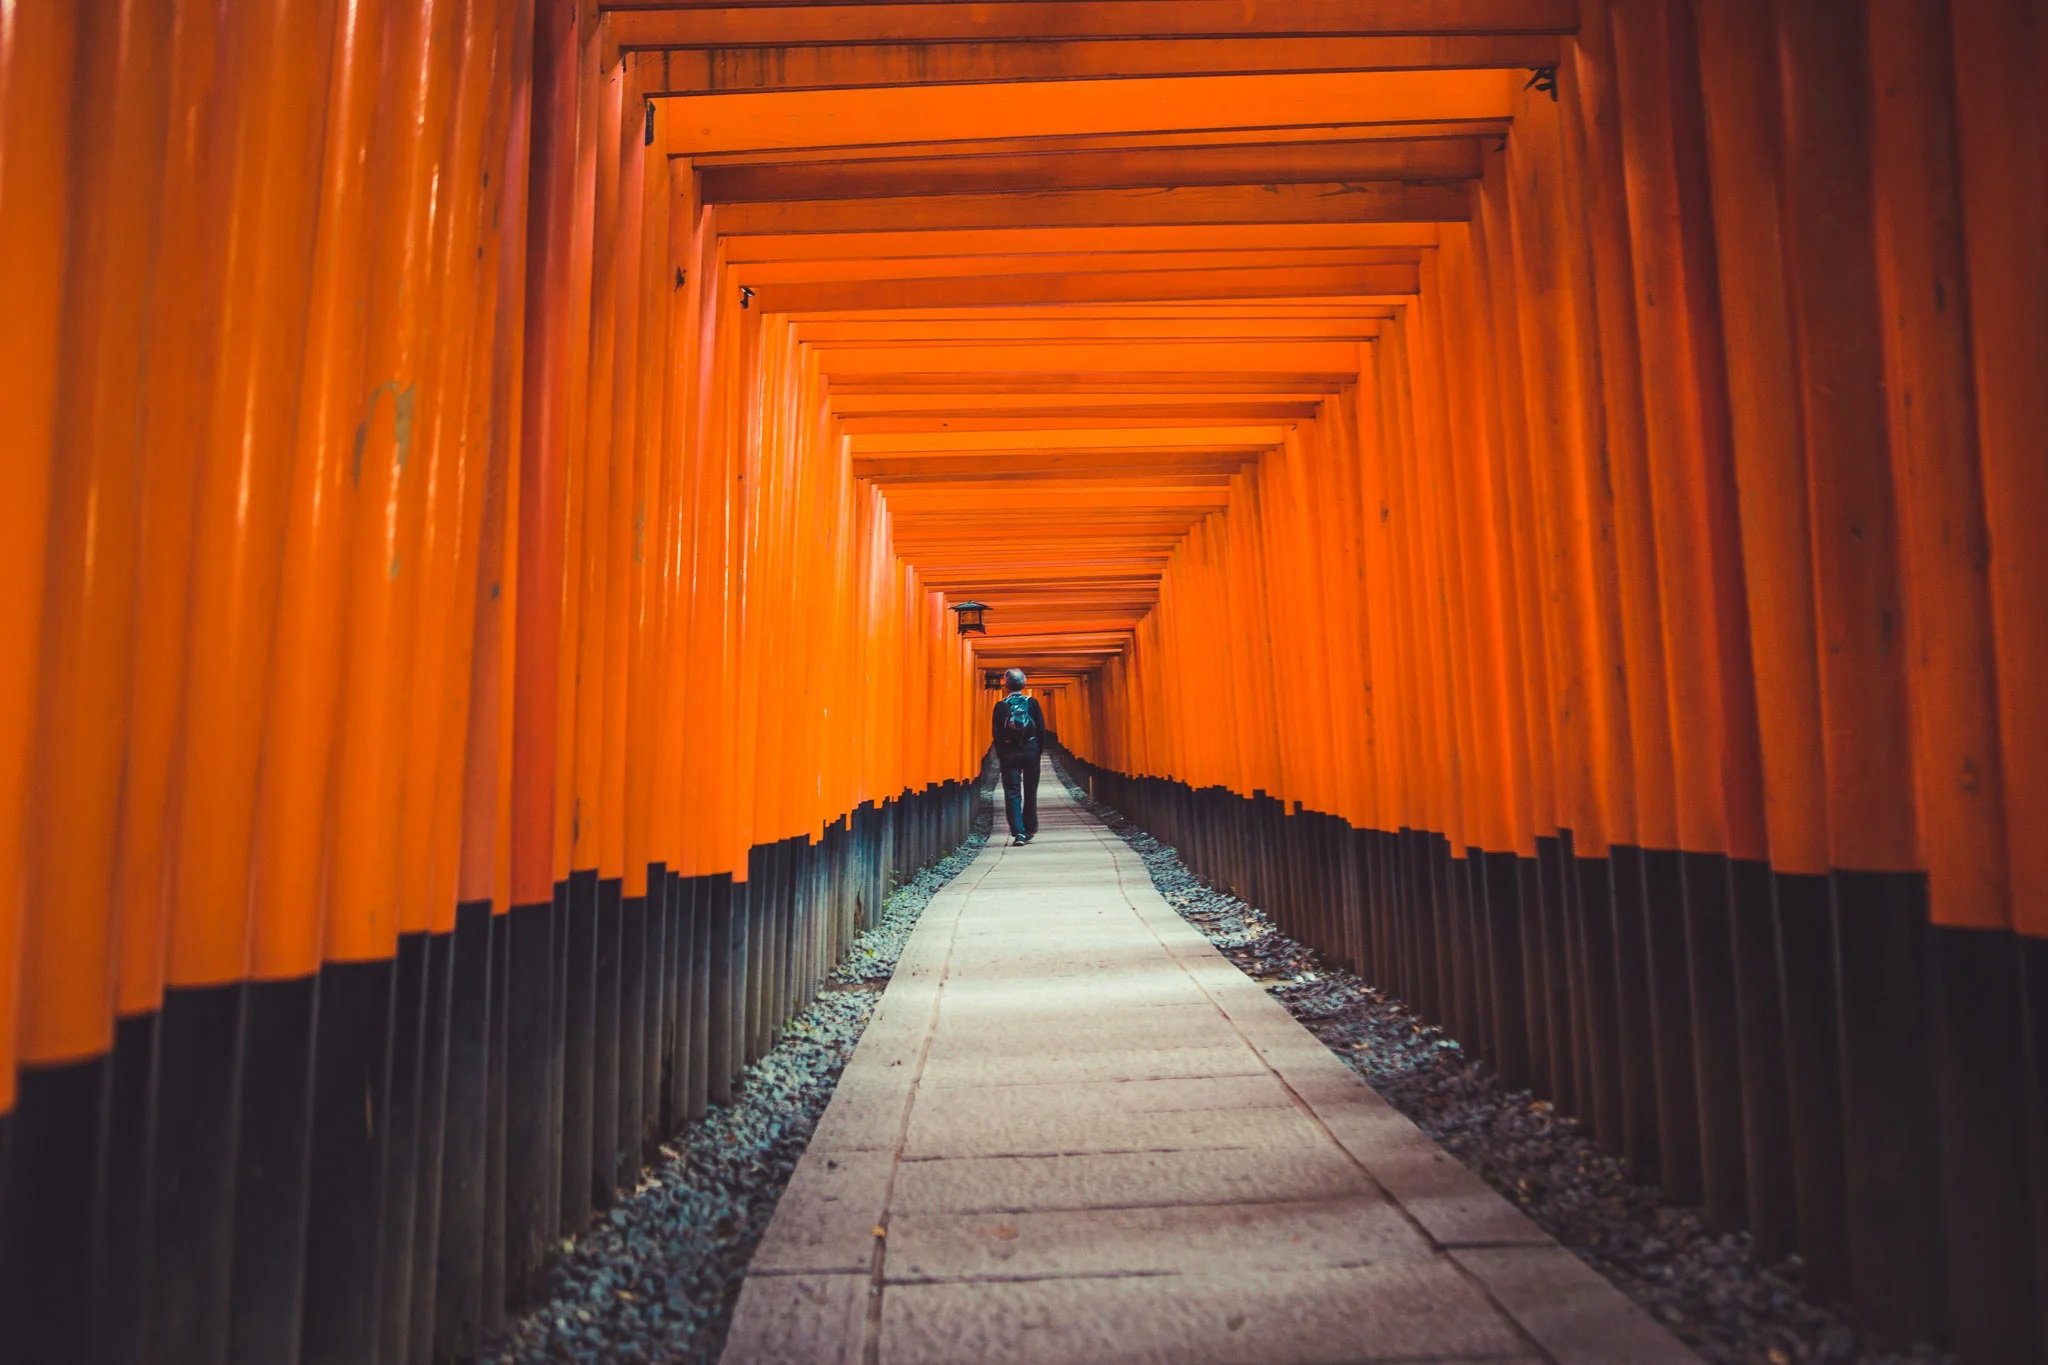
"One should really use the camera as though you'd be stricken blind"
— Dorothea Lange
ORANGE
• Energy. • Cheer • Activity
• Excitement. • Warmth. •Friendliness

"It's weird that photographers spend years or even a whole lifetime trying to capture
moments that added together don't even amount to a couple of hours"
— James Keivom
BROWN
• Nature. • Durability. • Reliability
• Realism. • Warmth. • Comfort. • Cozy

"The camera can photograph thought"
— Dirk Bogarde
BLACK
• Power. • Sophistication. • Sexuality
• The Unknown • The End of a Cycle
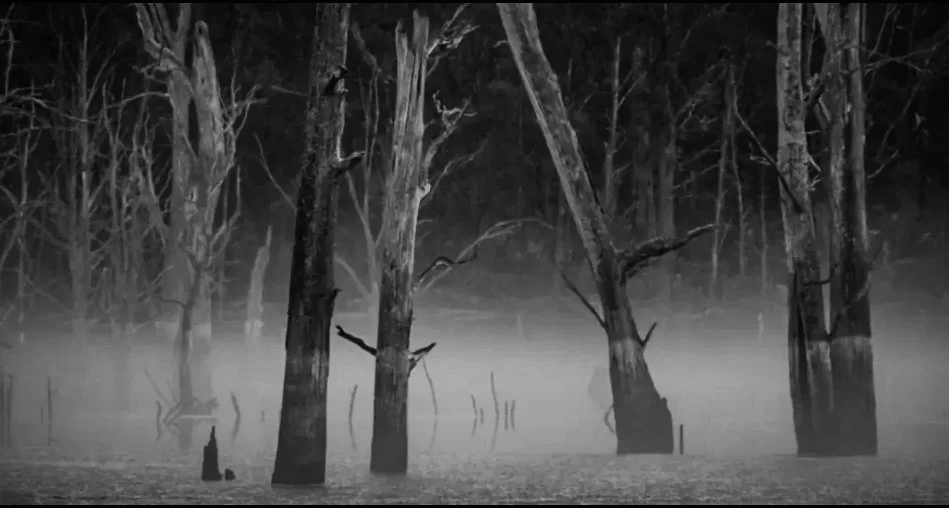
"Photography is an art of observation, I've found it has little to do with the things you see
and everything to do with the way you see them"
— Elliott Erwitt
GREY
• Neutrality. • Intelligence. • Futurism • Modesty • Technology • Secure
• Liberalism. • Tranquility • Cold. • Retirement. • Indifference
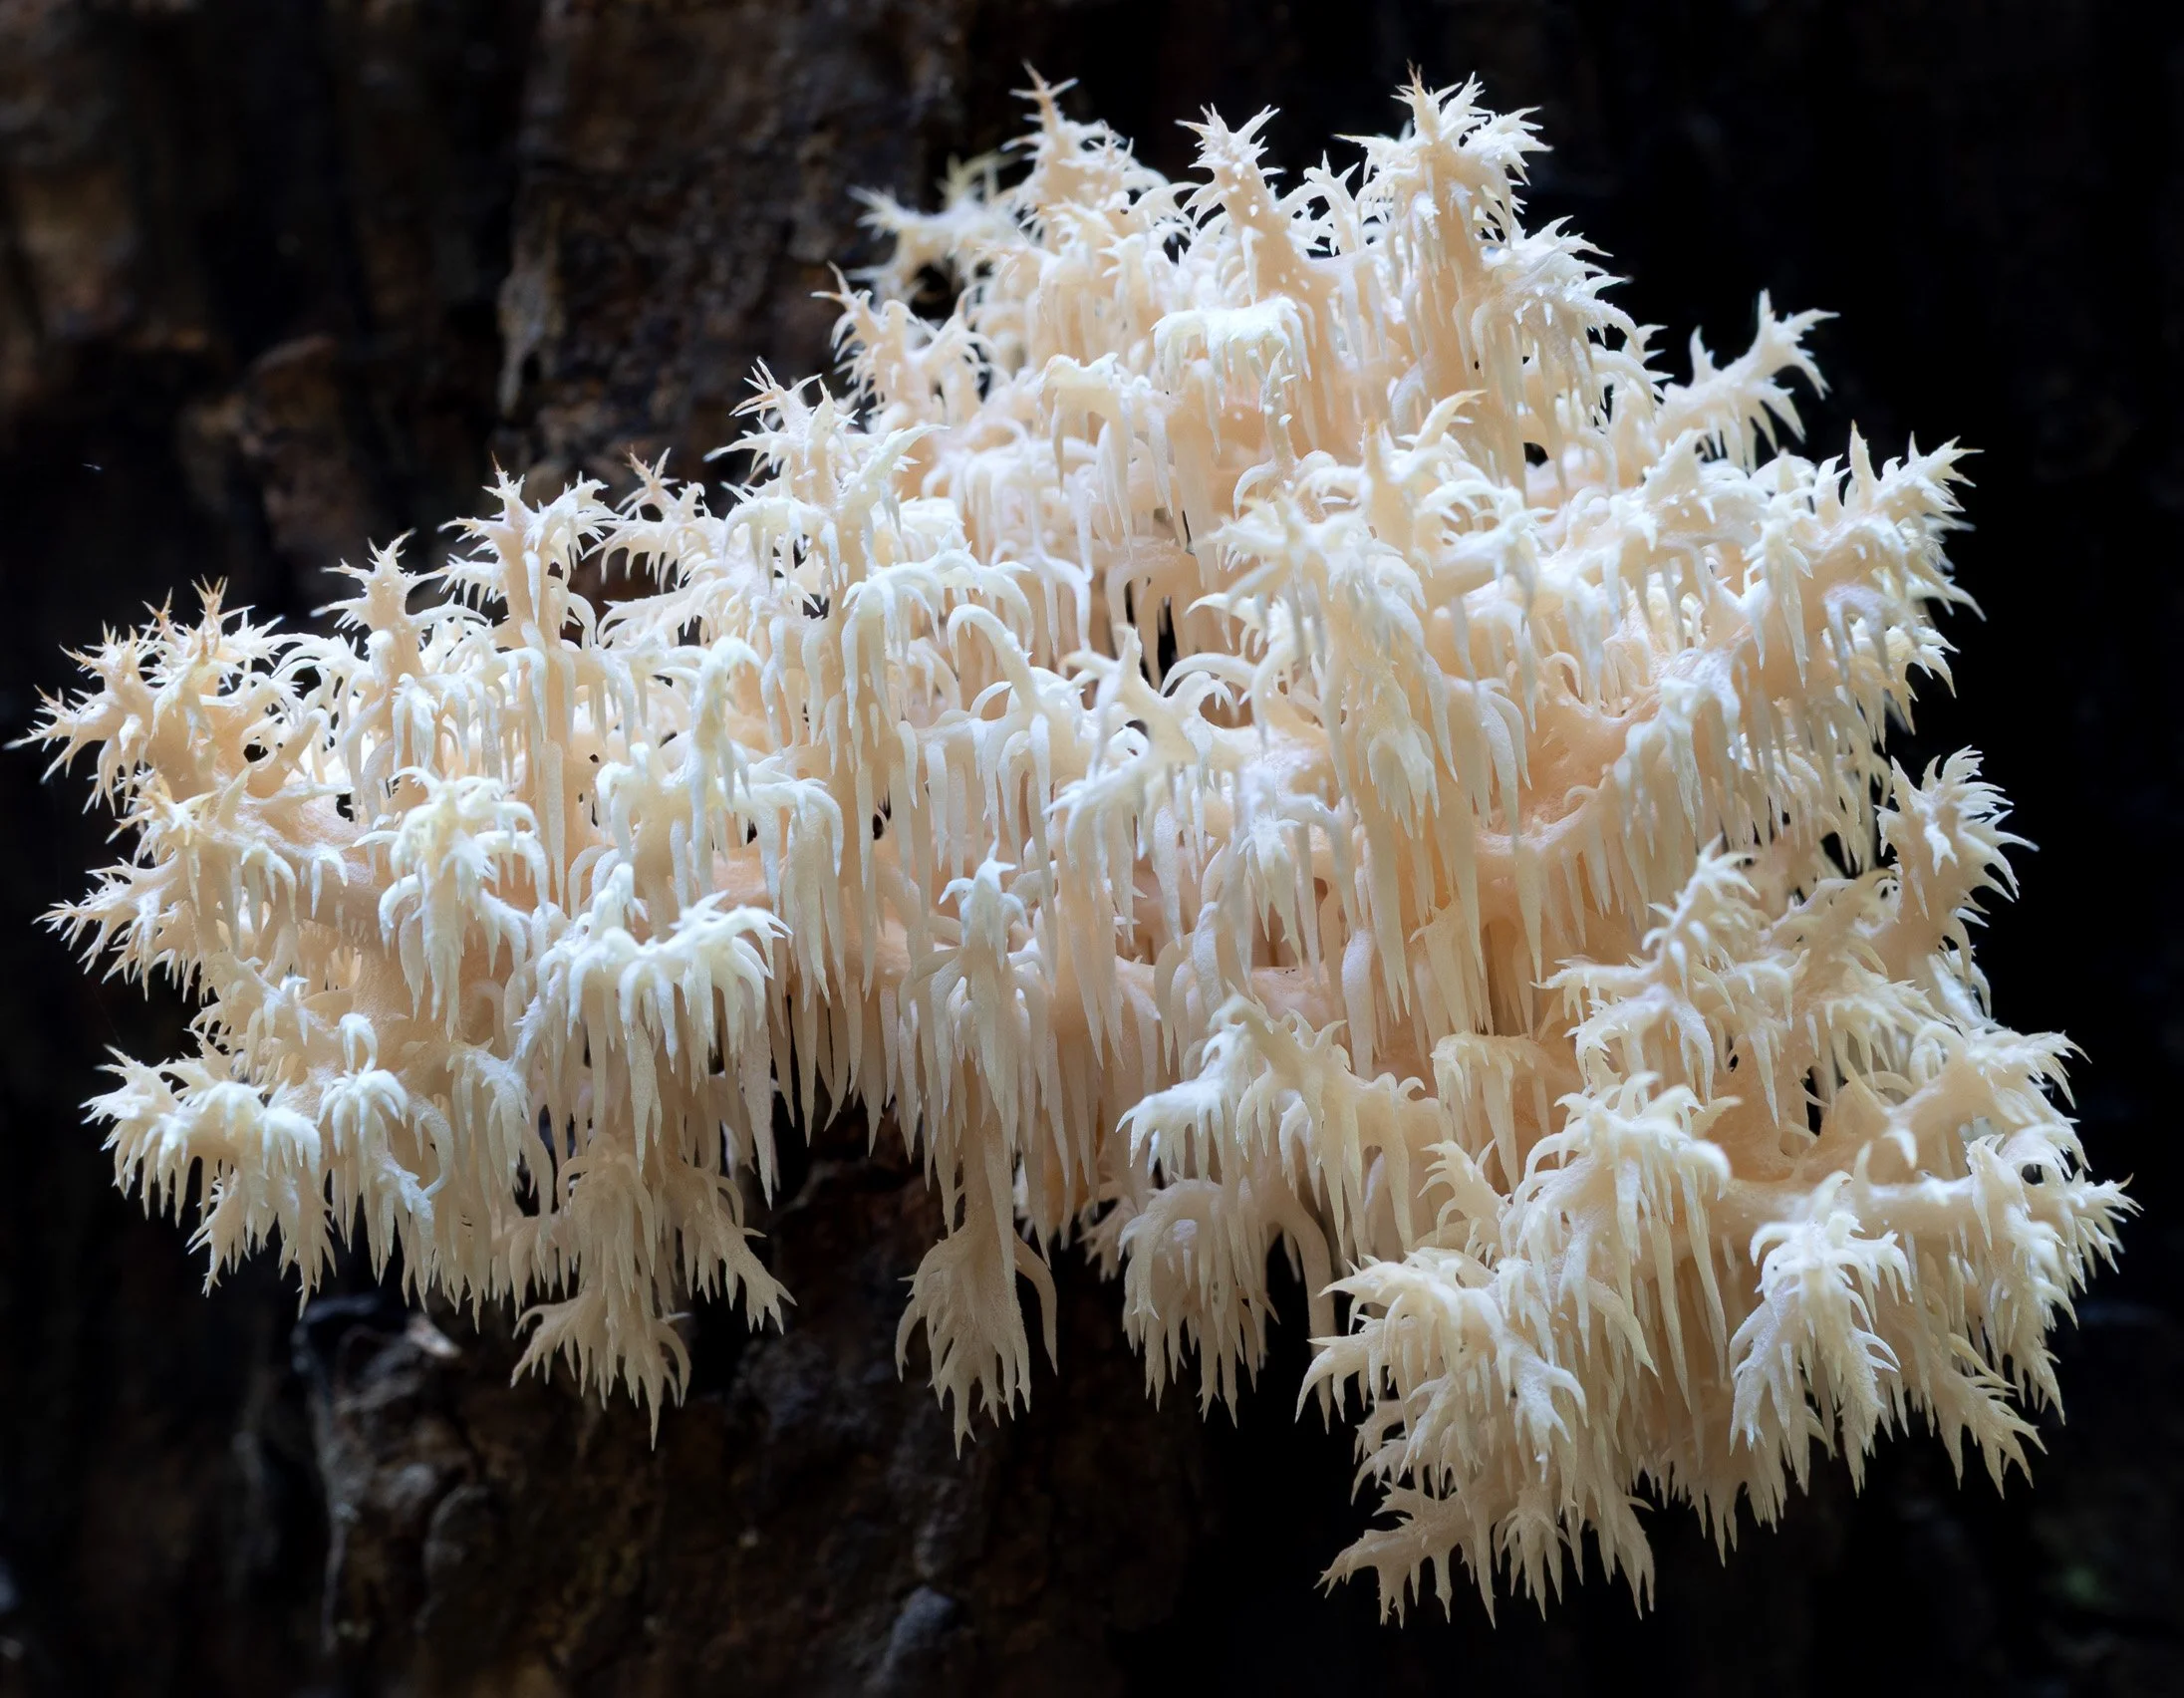
"Photography is an illusion of reality with which we create our private world"
— Arnold Newman
WHITE
• Purity. • Cleanliness. • Truth. • Innocence. • Chastity
• Spirituality. • Sophistication. • Refinement. • Newness
• Blandness. • Sterility

"I need to be an objective observer to maintain my sense of composition"
— Werner Bischof
GREEN
• Nature. • Growth. • Fruitfulness. • Renewal. • Freshness • Tranquility.
• Hope. • Youth. • Health. • Peace. • Good Luck • Coolness
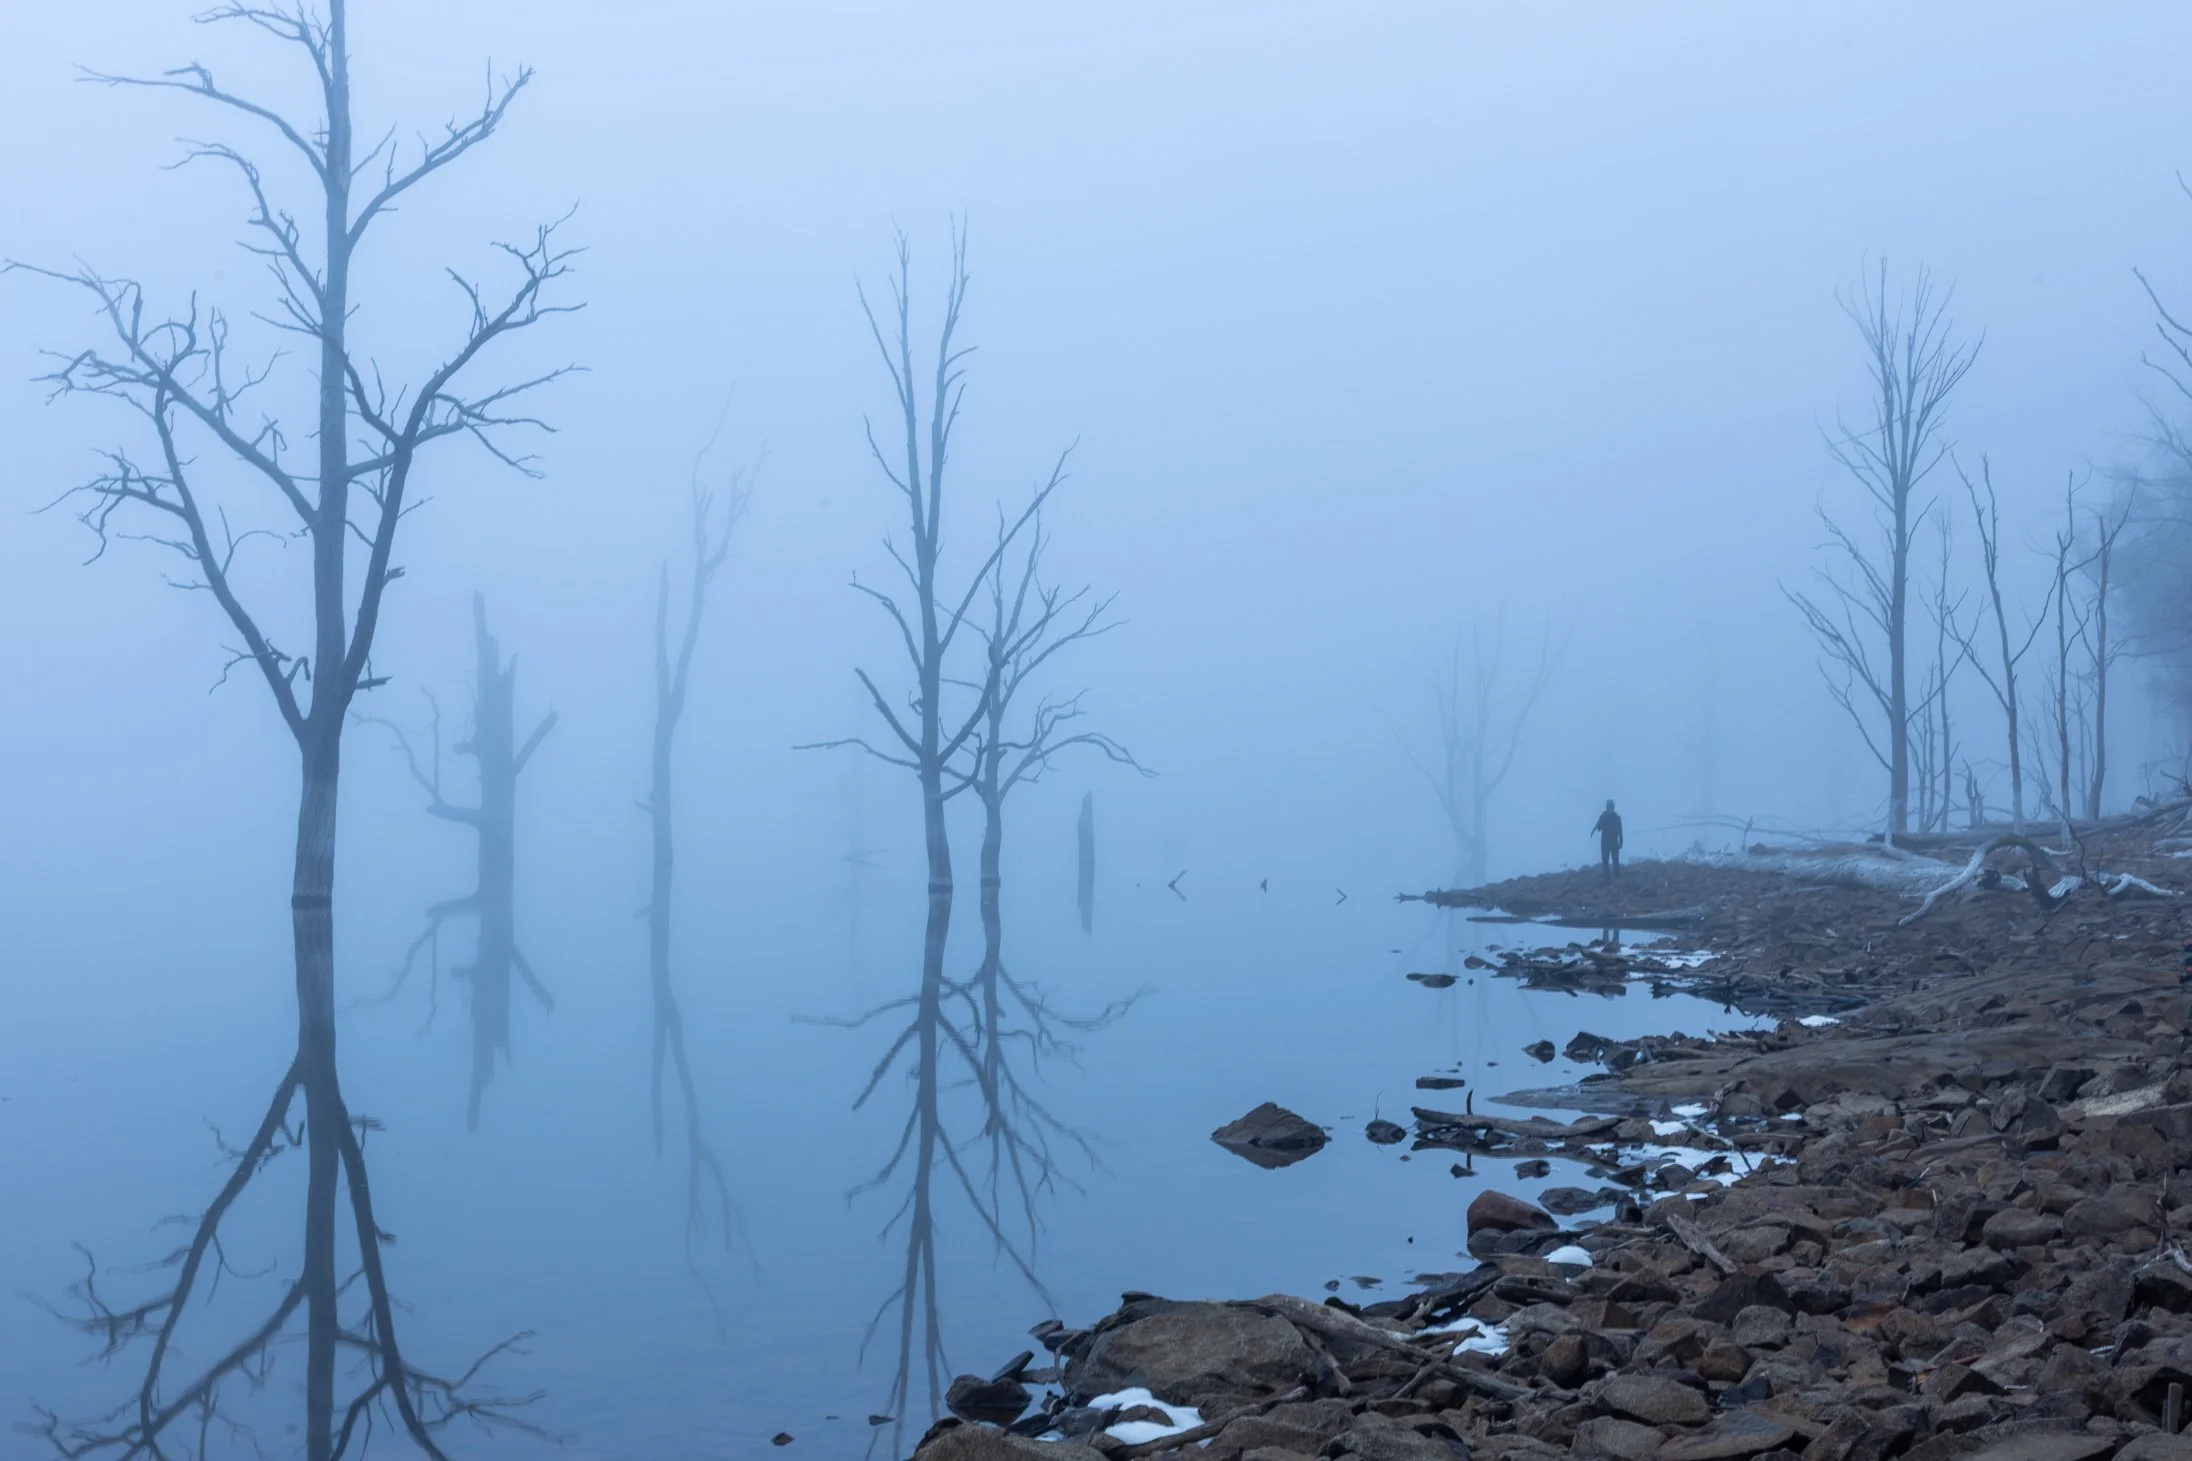
"I wish more people felt that photography was an adventure the same as life itself and felt
that their individual feelings were worth expressing"
— Henry Gallahan
BLUE
• Spirituality • Trust. • Truth • Cleanliness • Tranquility
• Contentment • Passivity • Understanding • Conservatism. • Security
• Technology • Masculinity • Coolness & Cold. • Melancholy
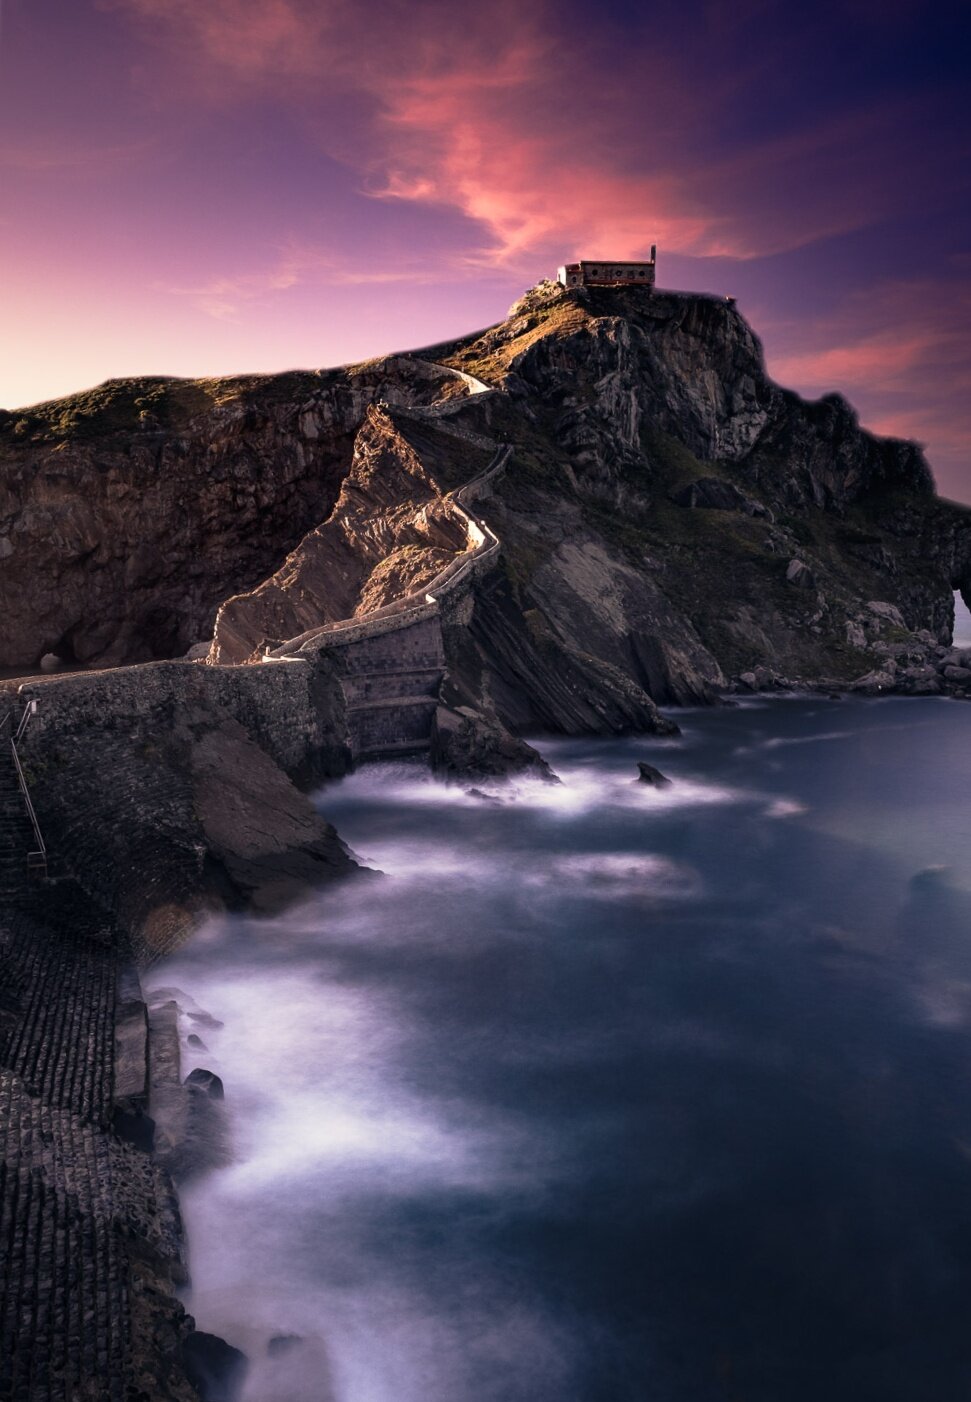
"Photography is the art of subtraction. Subtracting any elements you don't want, less is
more."
— Alfonso Calero
PURPLE
• Spirituality • Mysticism • Magic. • Faith. • Unconscious
• Dignity. • Mystery. • Creativity. • Awareness. • Inspiration
• Passion • Imagination. • Sensitivity. • Aristocracy & Royalty

Japanese Perspective: Pink cherry blossoms are the beauty of impermanence & a fleeting moment
IN SUMMARY
Warm colors (red, orange, yellow) are stimulating and advance toward the viewer, evoking emotions like passion and joy. Cool colors (blue, green, purple) create a calming effect, receding into the background to provide depth.
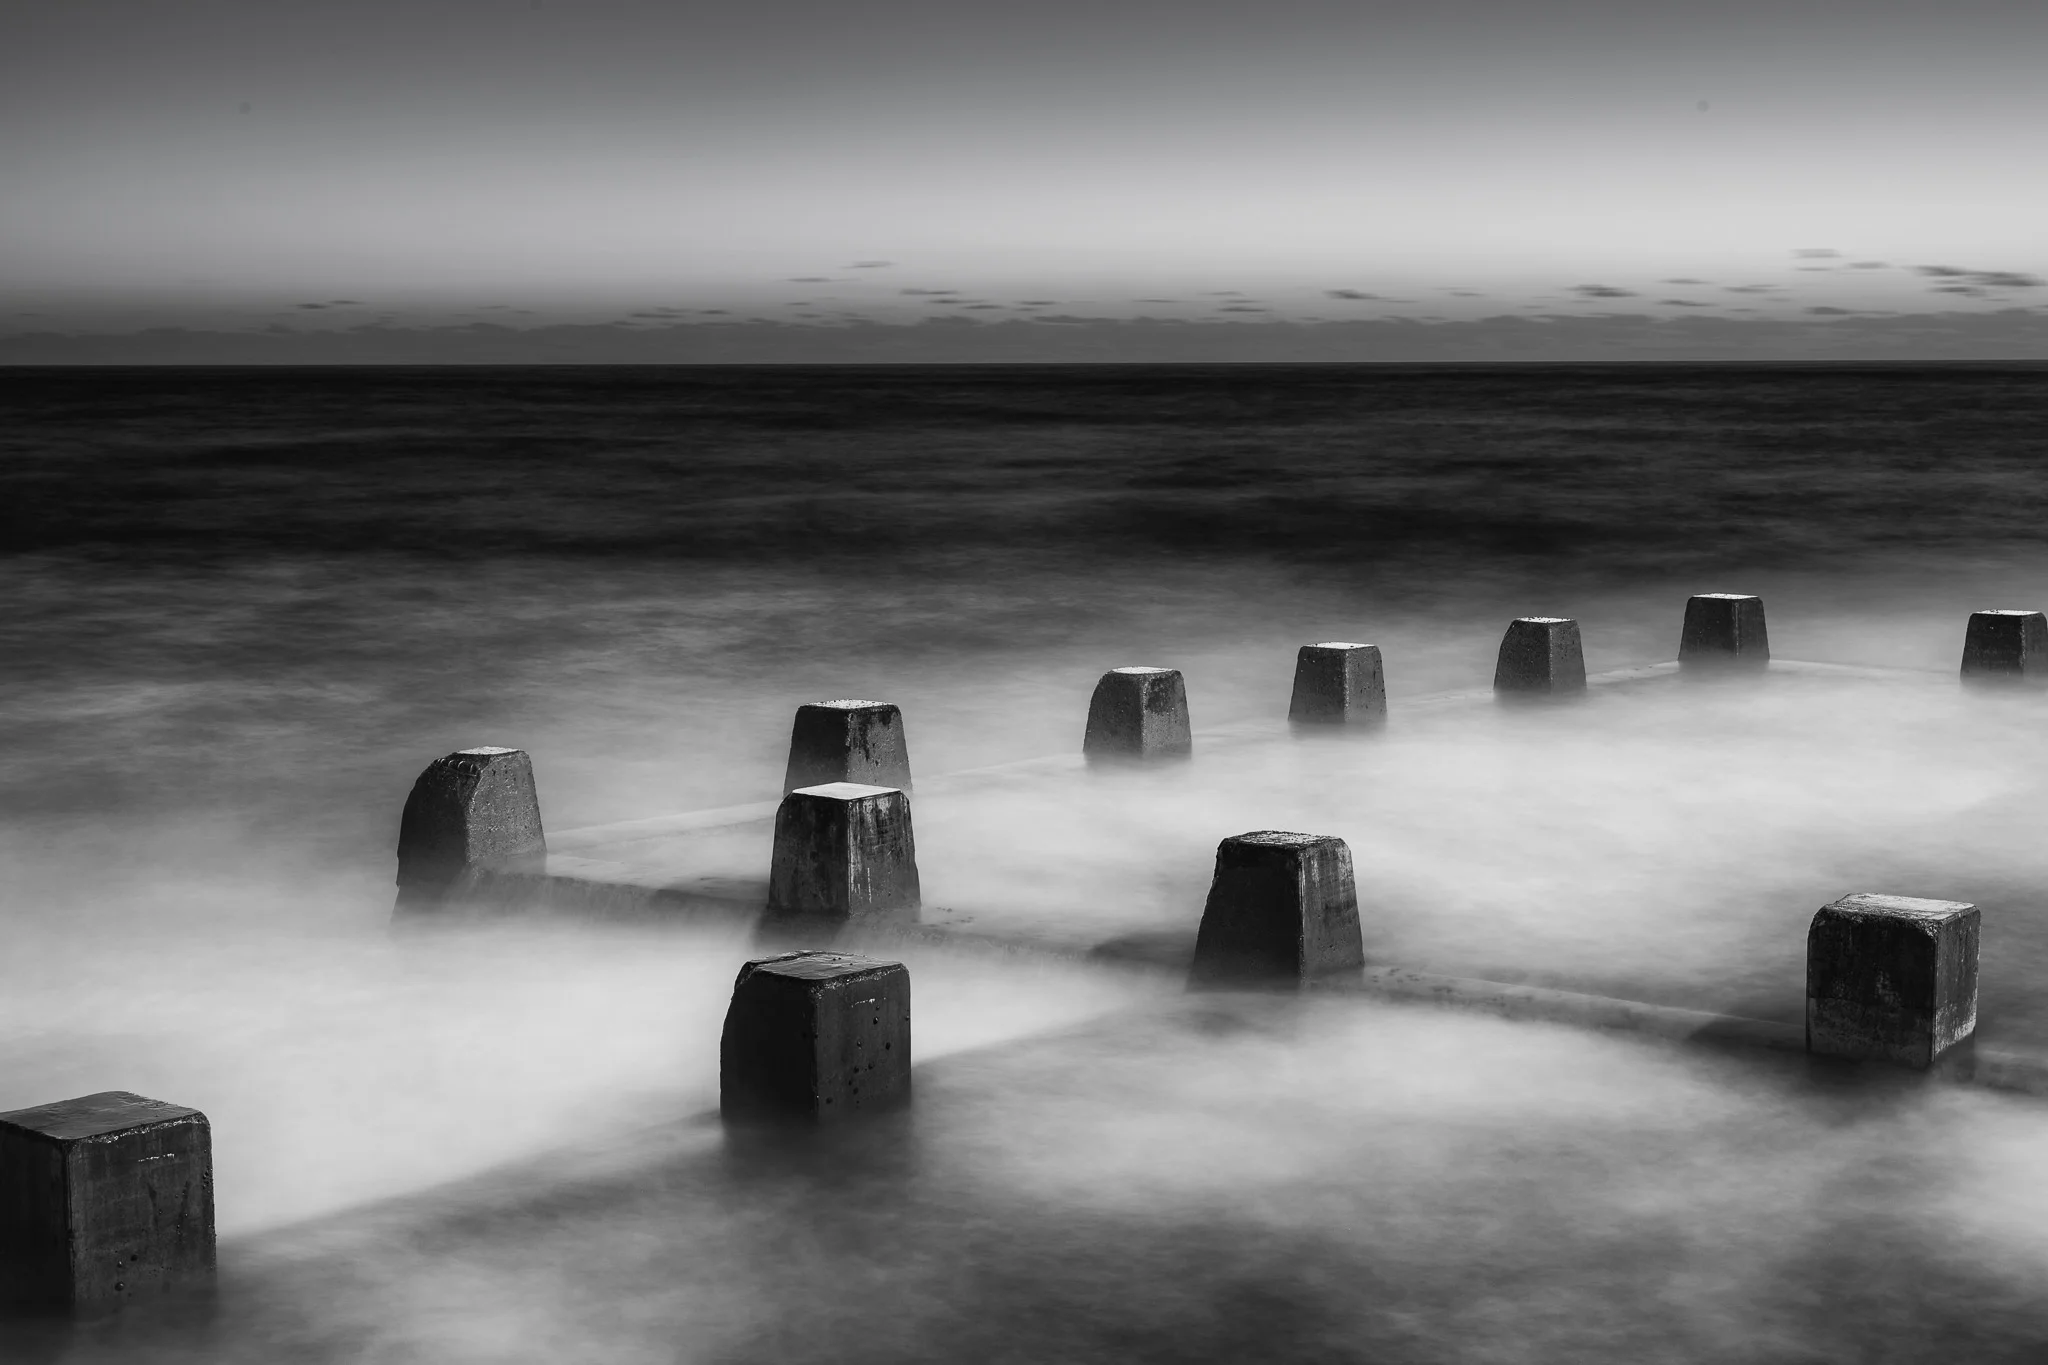
5 Reasons To Shoot B&W Seascapes
Black and white seascape photography strips away the distraction of color, forcing both the photographer and the viewer to engage with the raw, elemental nature of the ocean.
Here are five reasons why this medium is so compelling:
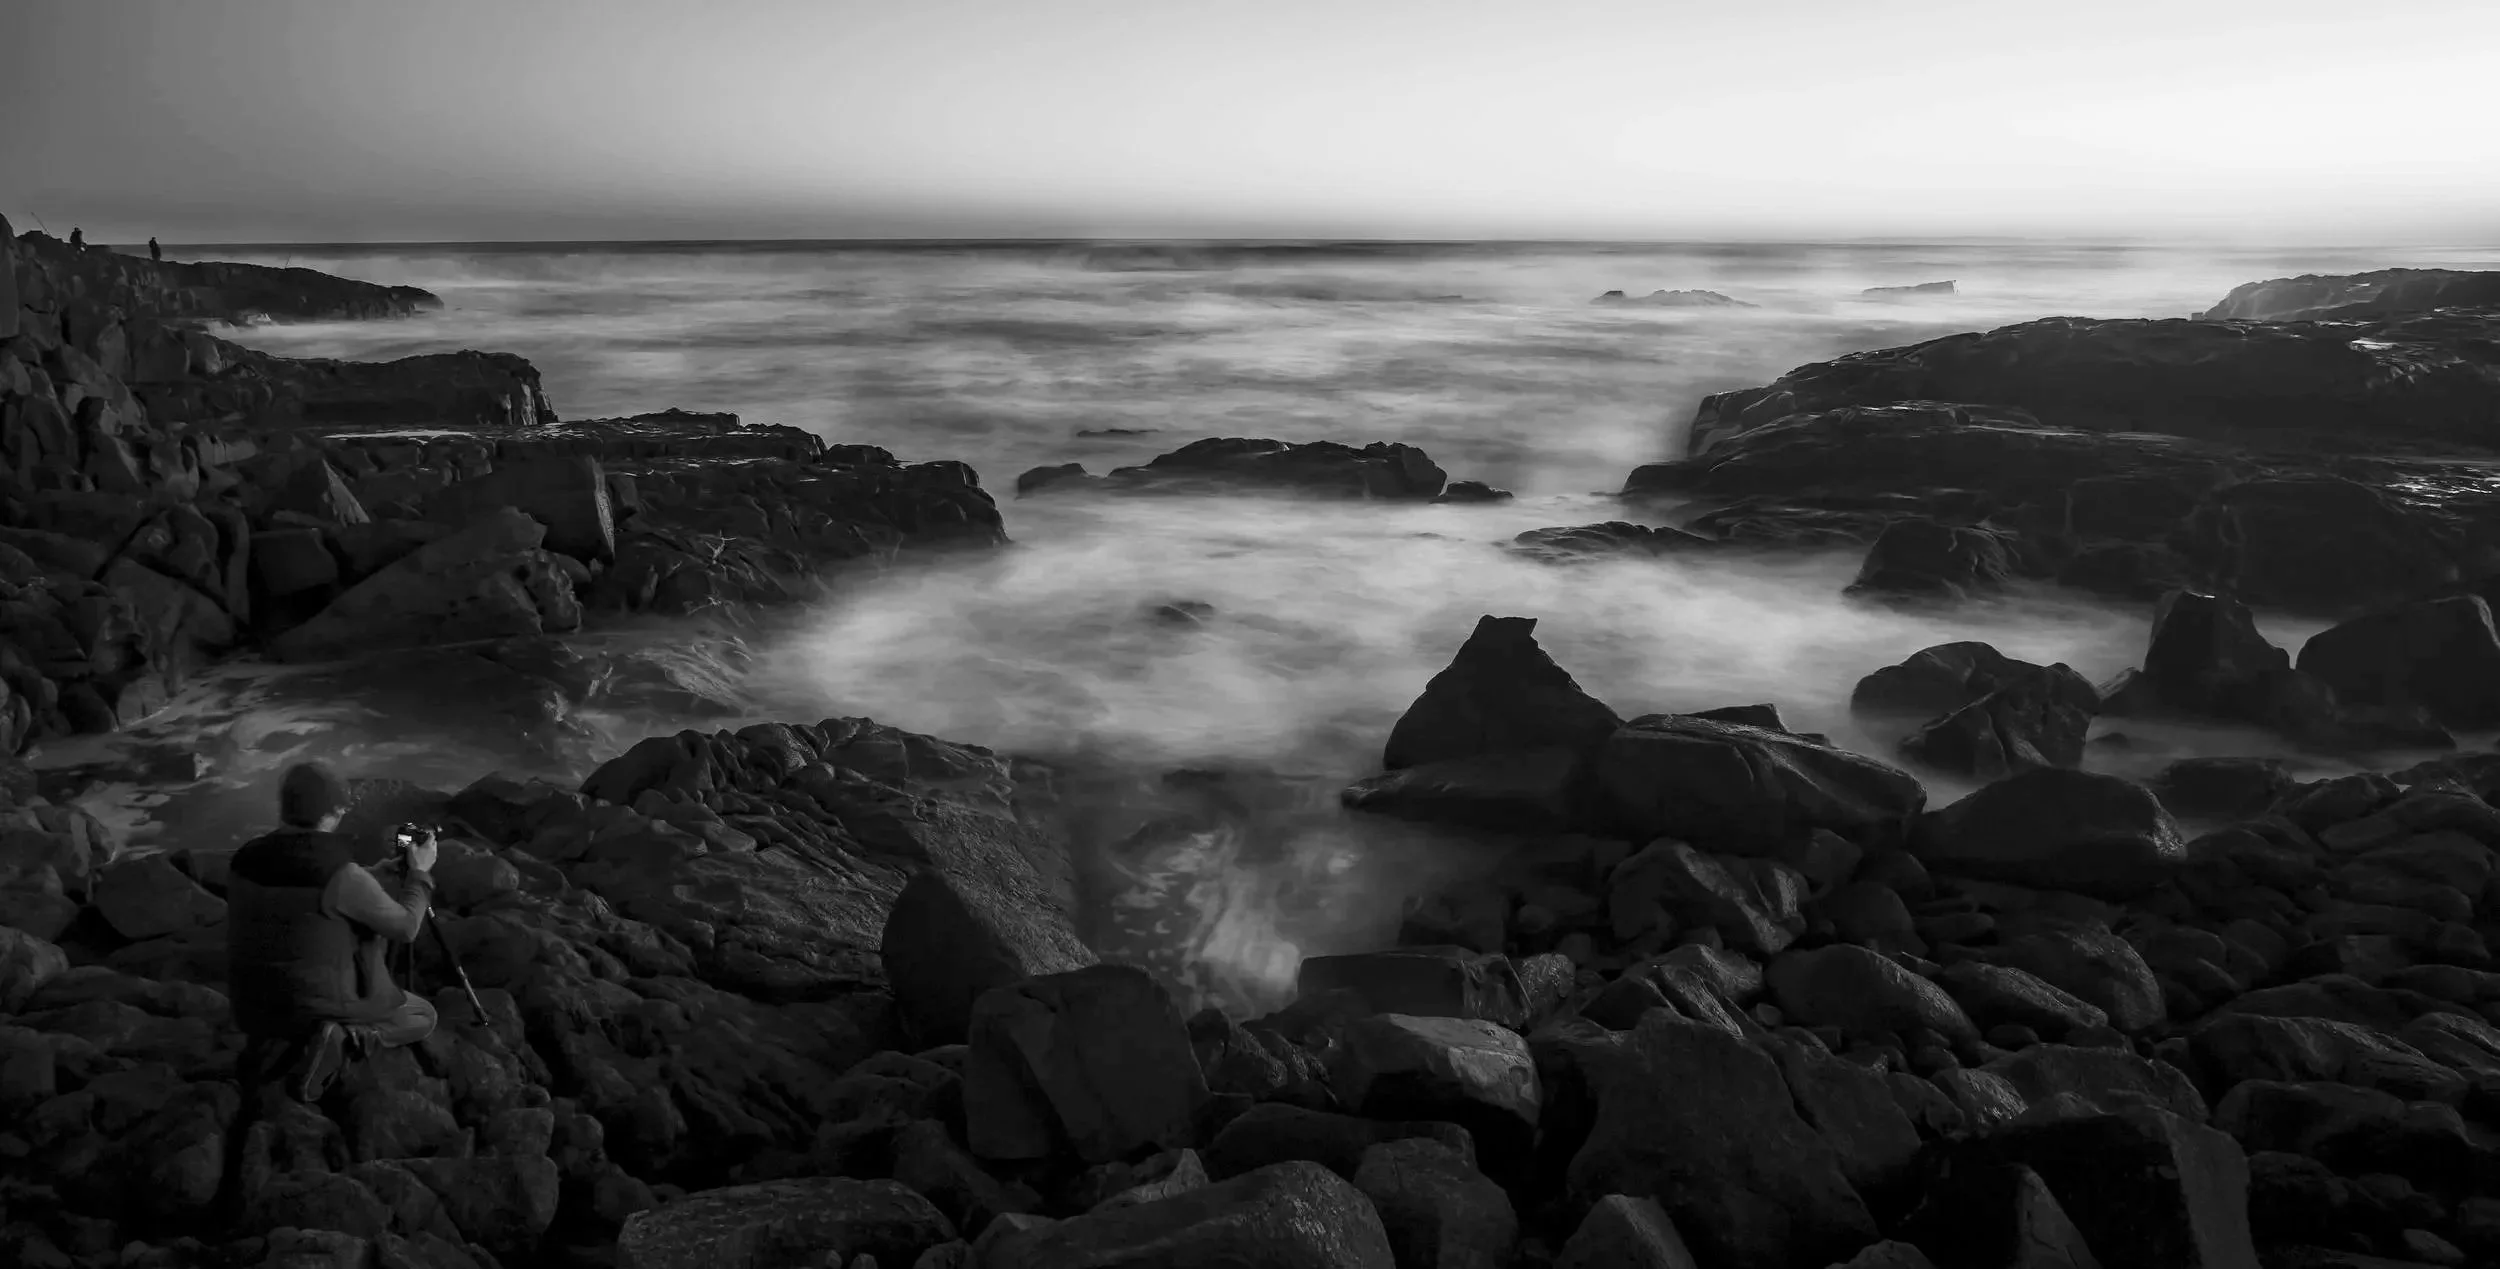
Birrubi Beach, Port Stepens
1. Emphasis on Texture and Contrast
Without color to differentiate elements, the "feel" of the image takes center stage. You can emphasize the jagged, tactile surface of wet rocks against the soft, ethereal spray of crashing waves. The interplay between deep shadows and bright foam creates a l la range that feels more dramatic and powerful than a color equivalent.
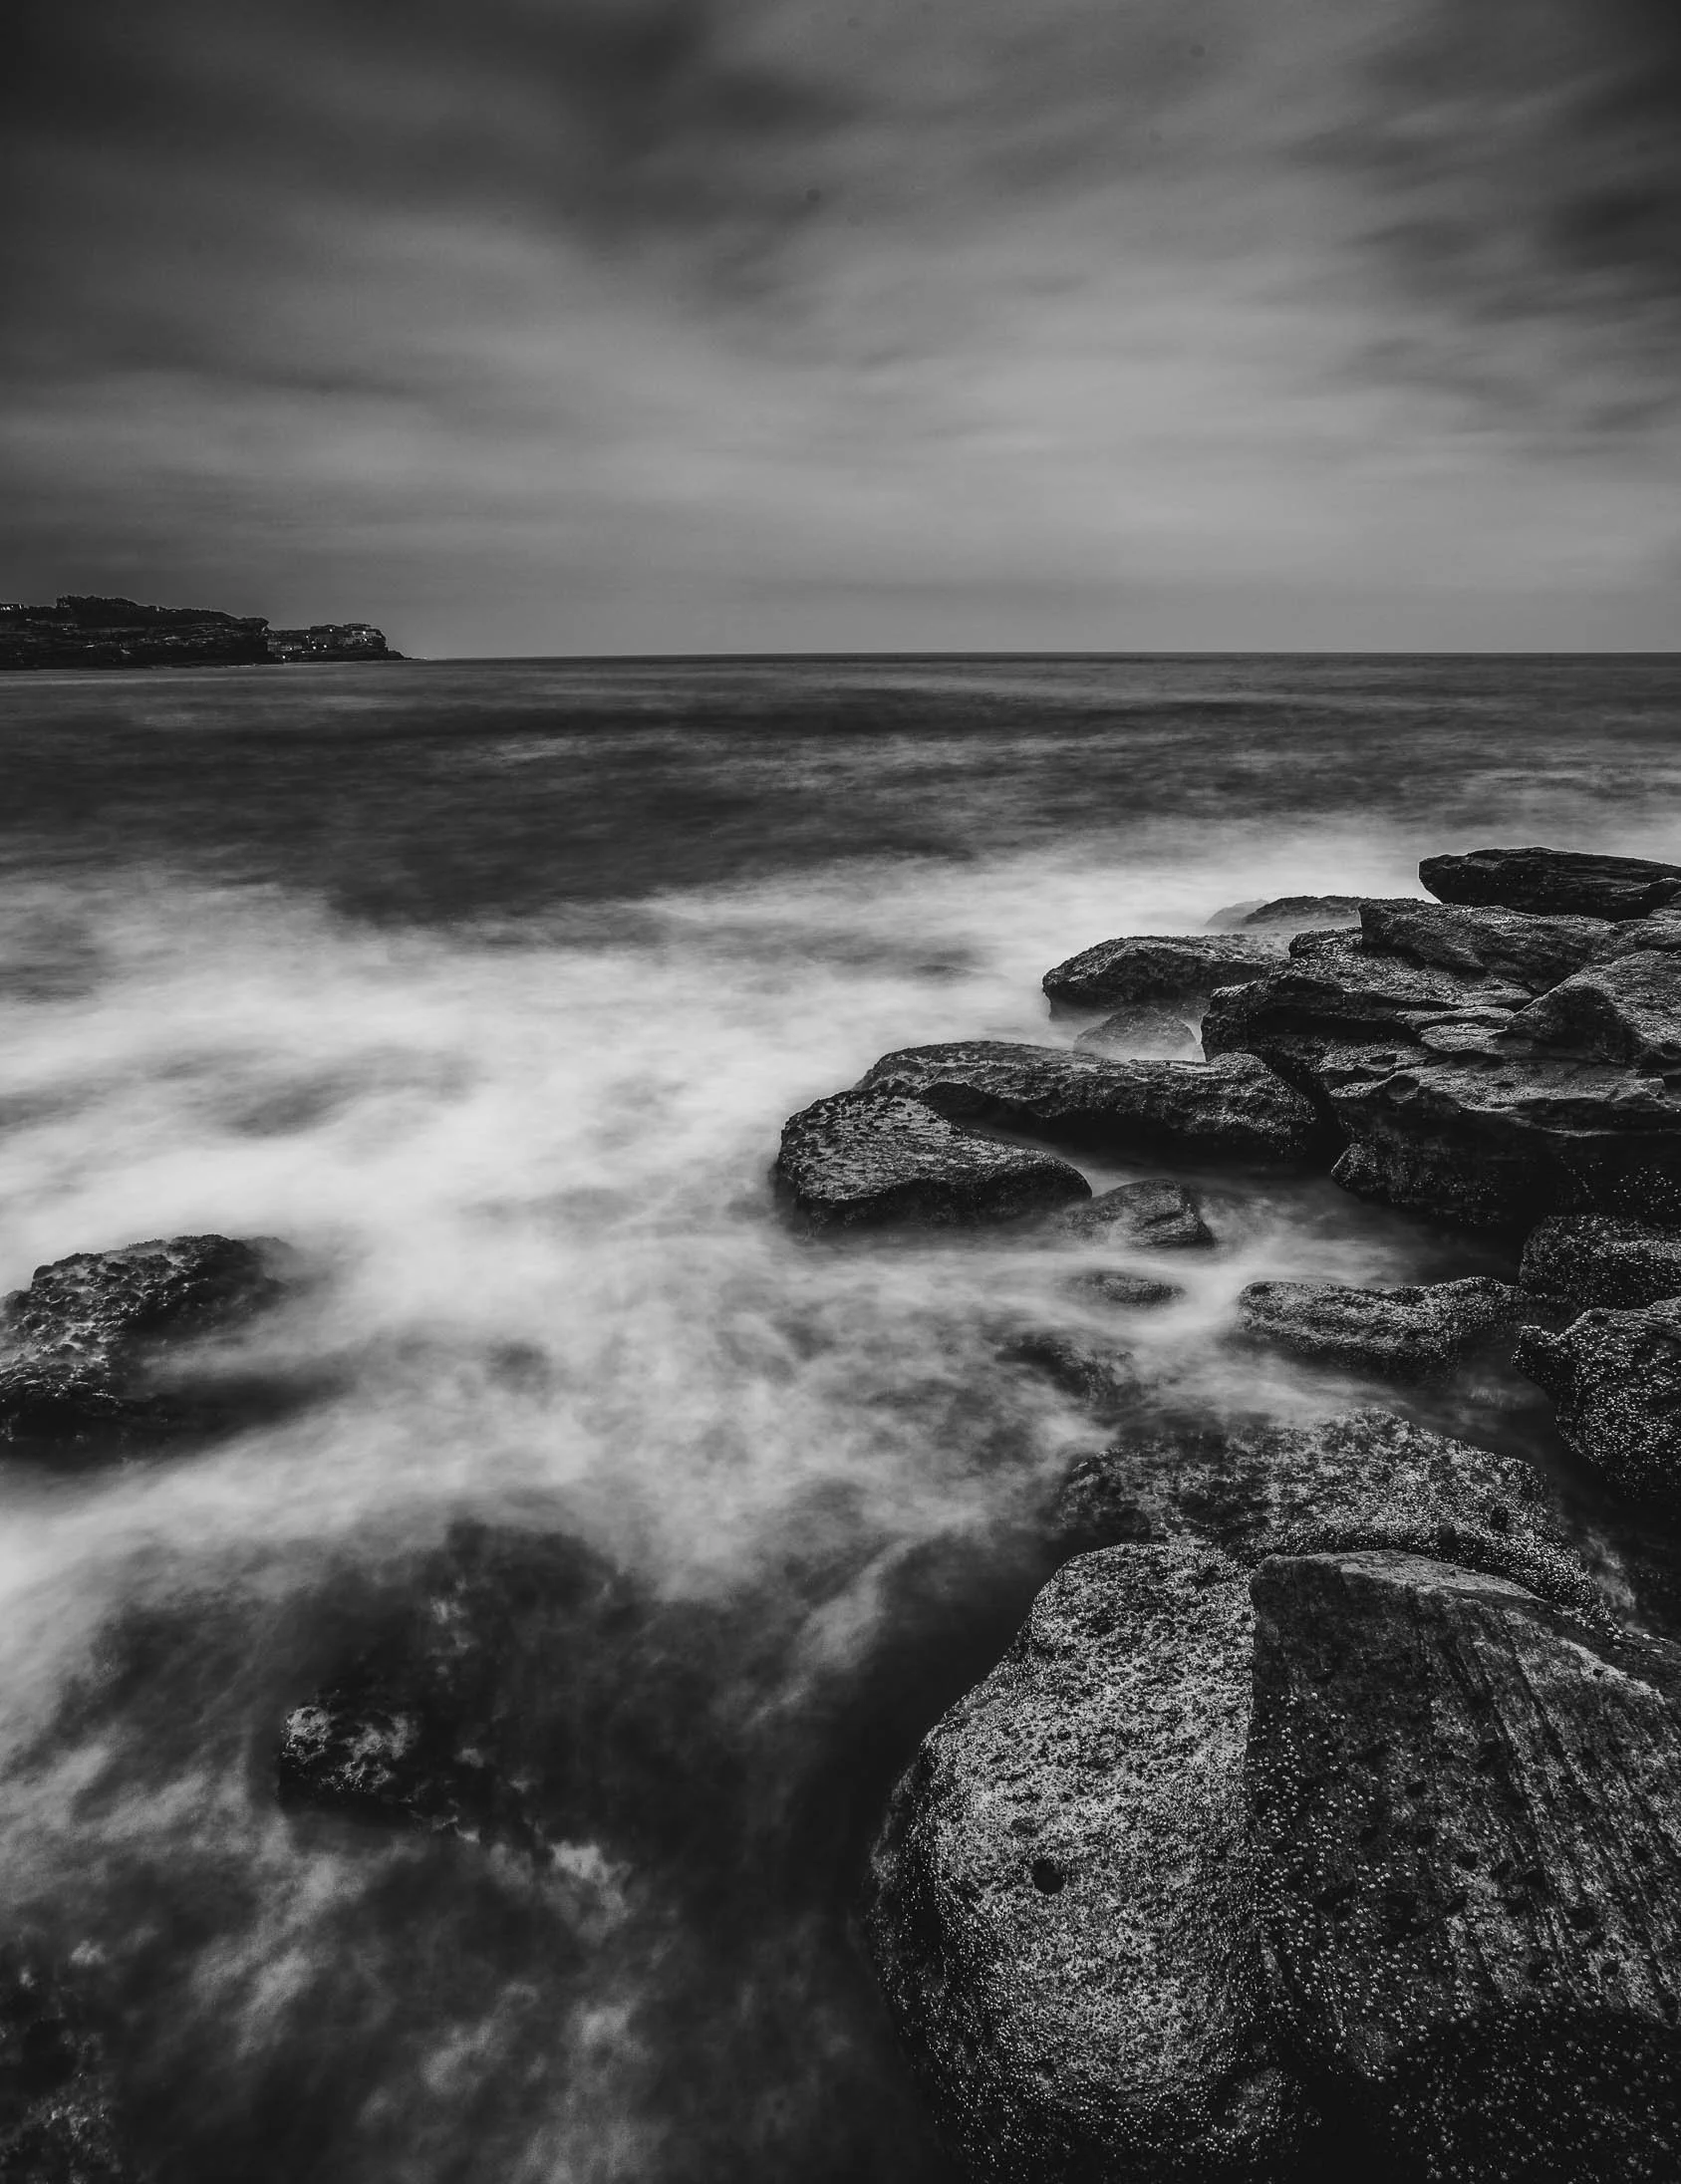
2. Timelessness and Abstraction
Color often anchors a photo to a specific time of day or season (like the orange of a sunset). Black and white removes those chronological markers, lending the seascape a timeless, fine-art quality. It allows the viewer to focus on the ocean as a primal force rather than just a specific afternoon at a specific beach.
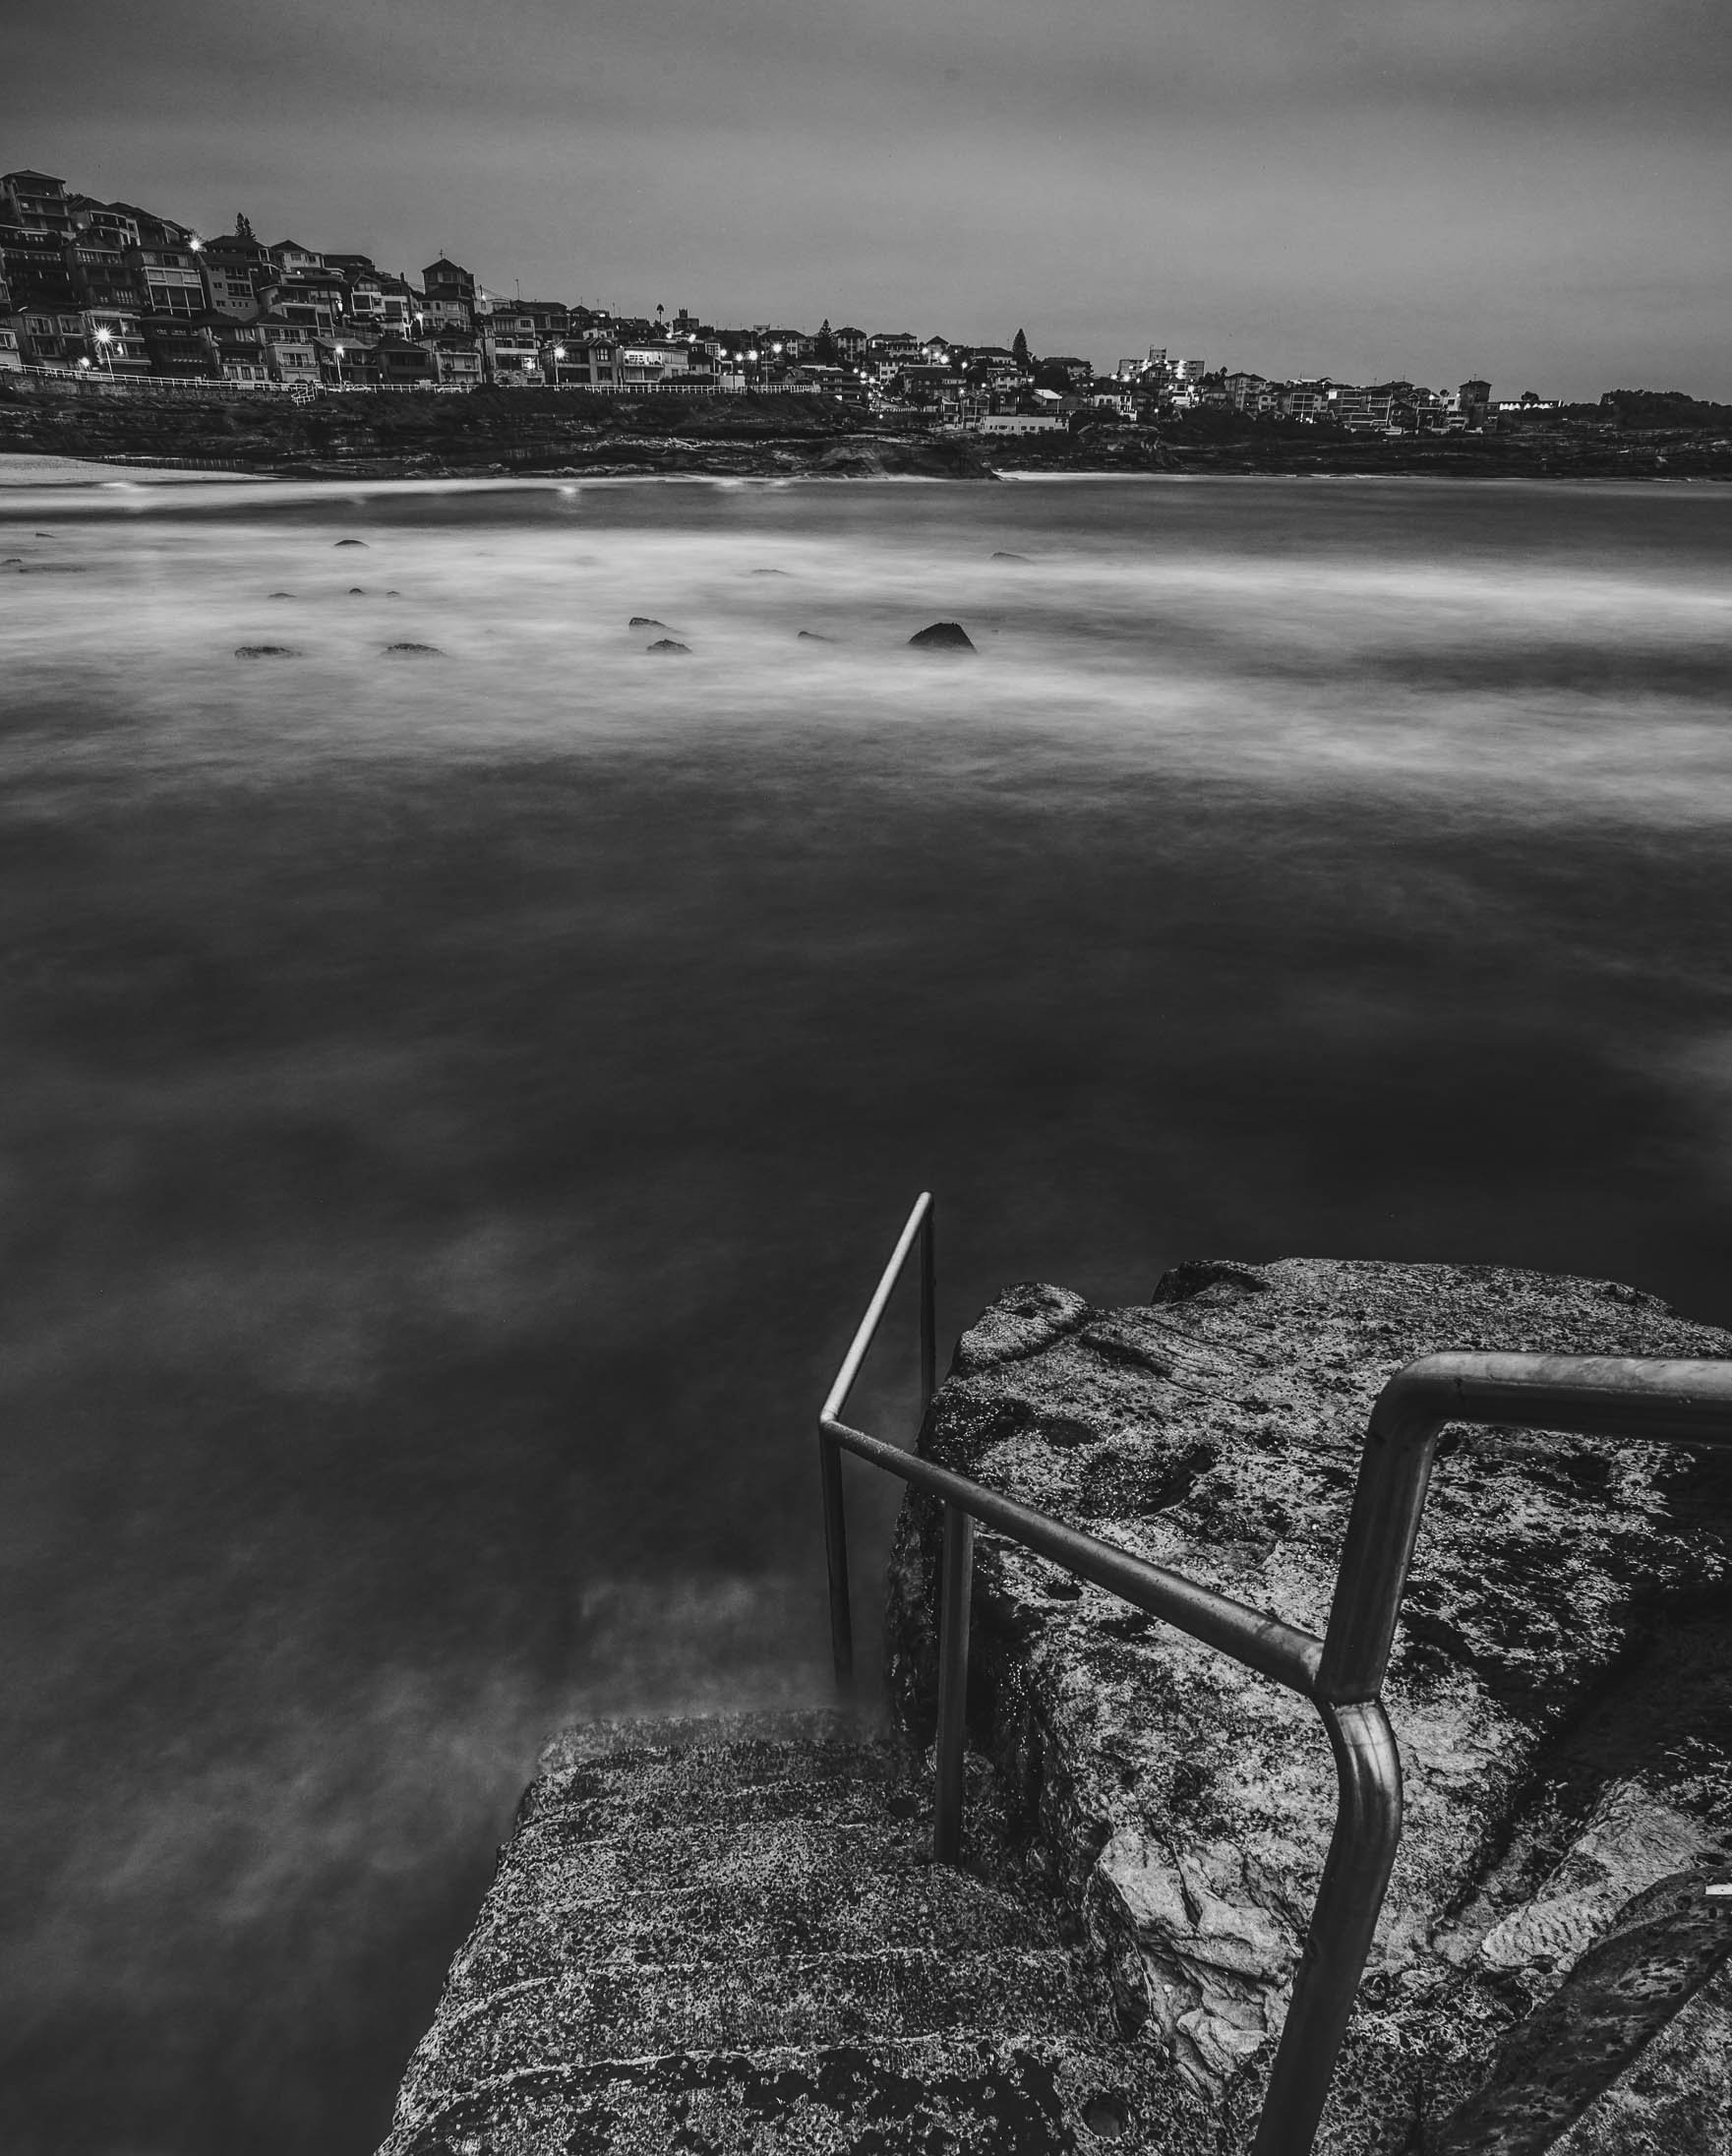
3. Masterful Use of Long Exposure
Seascapes are the perfect playground for long-exposure techniques. Converting these shots to monochrome highlights the tonal gradients created by moving water.
Mist-like water: Long exposures turn chaotic waves into a silky, fog-like texture.
Leading lines: Without color, the structural lines of a pier or a receding tide become much more prominent, guiding the eye through the composition.
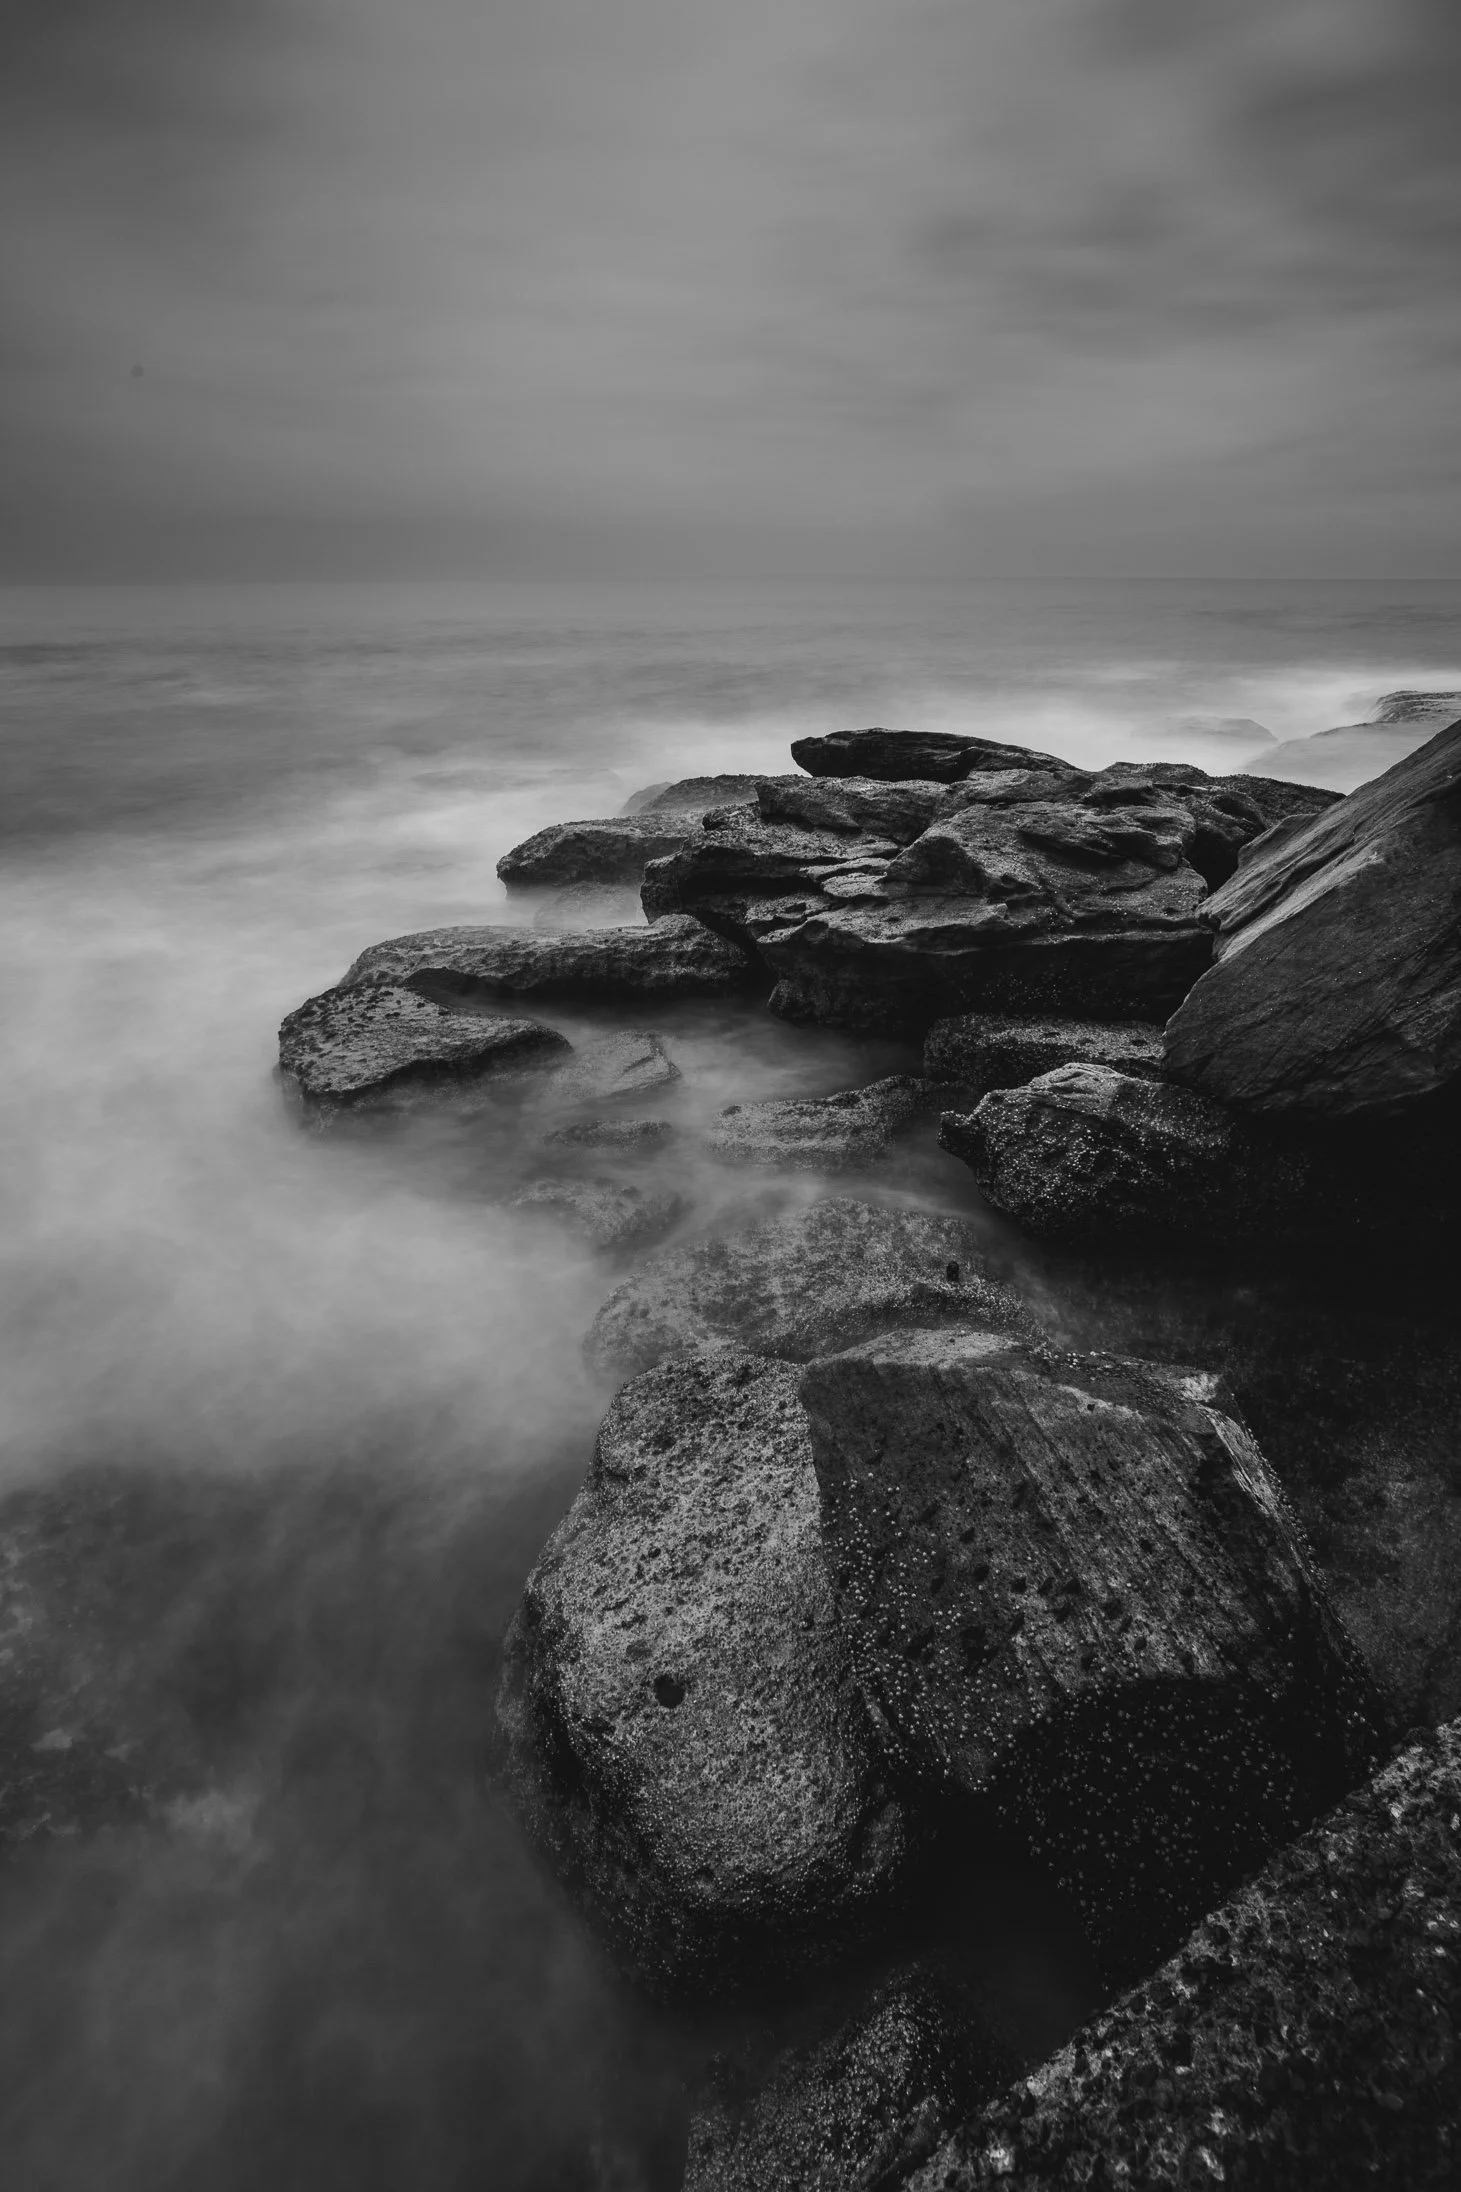
4. Highlighting Form and Geometry
In monochrome, the composition relies heavily on shape and silhouette. The curve of a shoreline or the vertical starkness of an ocean pool becomes a structural element in a larger geometric puzzle.
5. Evoking Mood and Atmosphere
Black and white excels at capturing the "soul" of the weather.
Melancholy: A grey, overcast day becomes a moody, contemplative study of solitude.
Power: A storm becomes a high-contrast battle between dark skies and white crests. It simplifies the emotional palette, allowing you to tell a clearer, more evocative story of the sea’s temperament
How Art Can Influence Your Photography Style
Photography style can be influence or inspired from art. Below are two examples.
I am especially drawn to Hanga (woodblock prints) from the Edo Period (1603 and 1868). This style of art is known as Ukiyo-e.
In particular I like Ando Hiroshige (1797 - 1858) and Hasui Kawase (1883 - 1957) and their use of colour palettes and compositions, and I've found incorporating these into my photographs captured in Japan quite satisfying.
If you're interested in trying this for yourself with artworks you like, here's a few things to help you on your way.

桜 (Sakura) Lake Kawaguchi
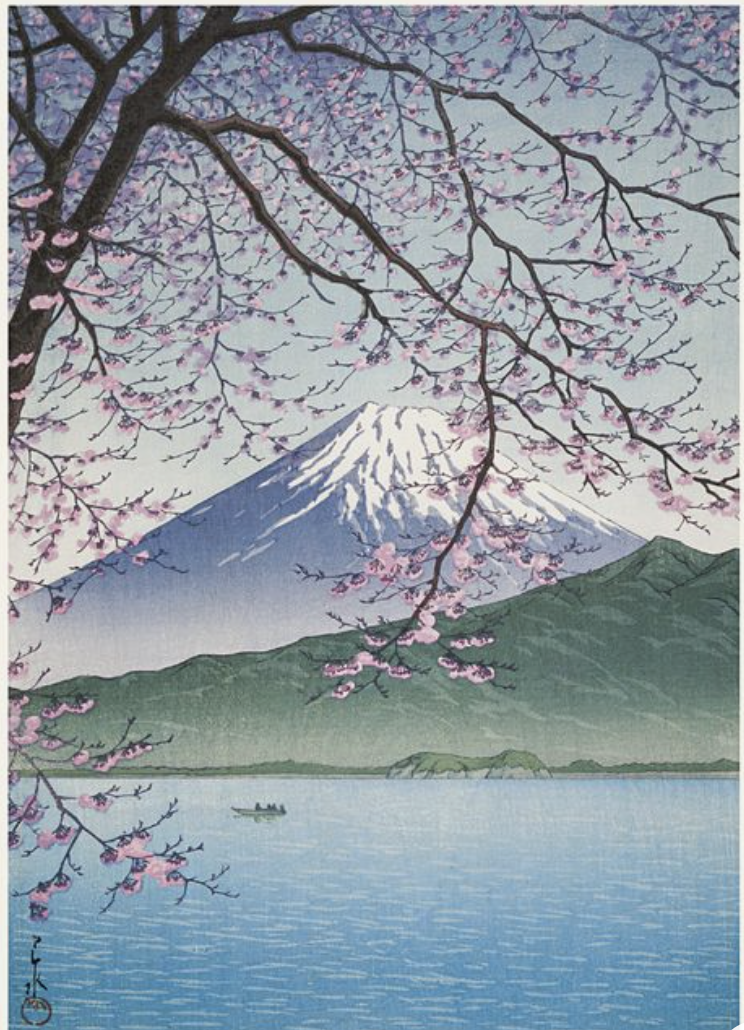
By Hirose Kawase
As a starting point, I research and collect as many images I like in Pinterest and via books from the library.

波紋 (Ripple) Lake Kawaguchi
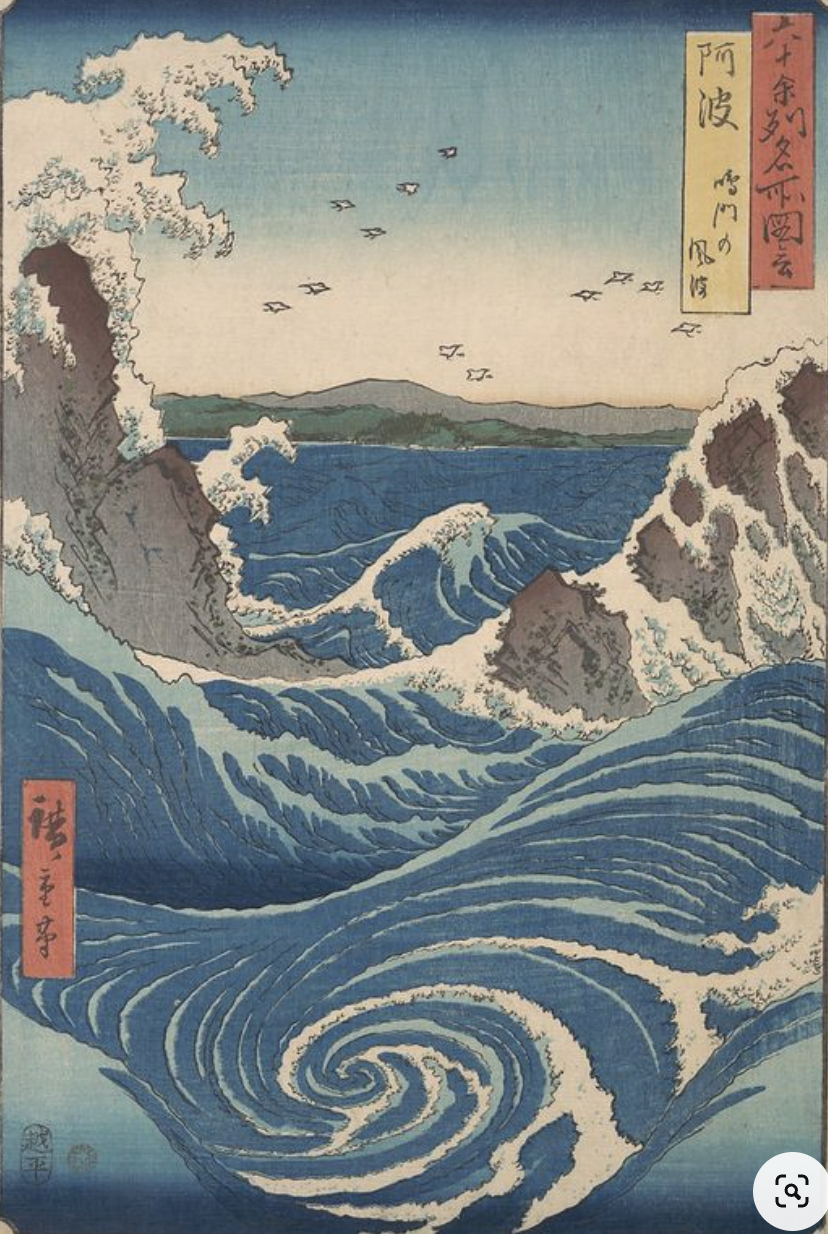
Naruto Whirlpool, Awa Province, from the series Views of Famous Places in the Sixty-Odd ProvincesUtagawa Hiroshige Japanese
1. Collect as many images of the artists or artists you like in Pinterest and books (library)
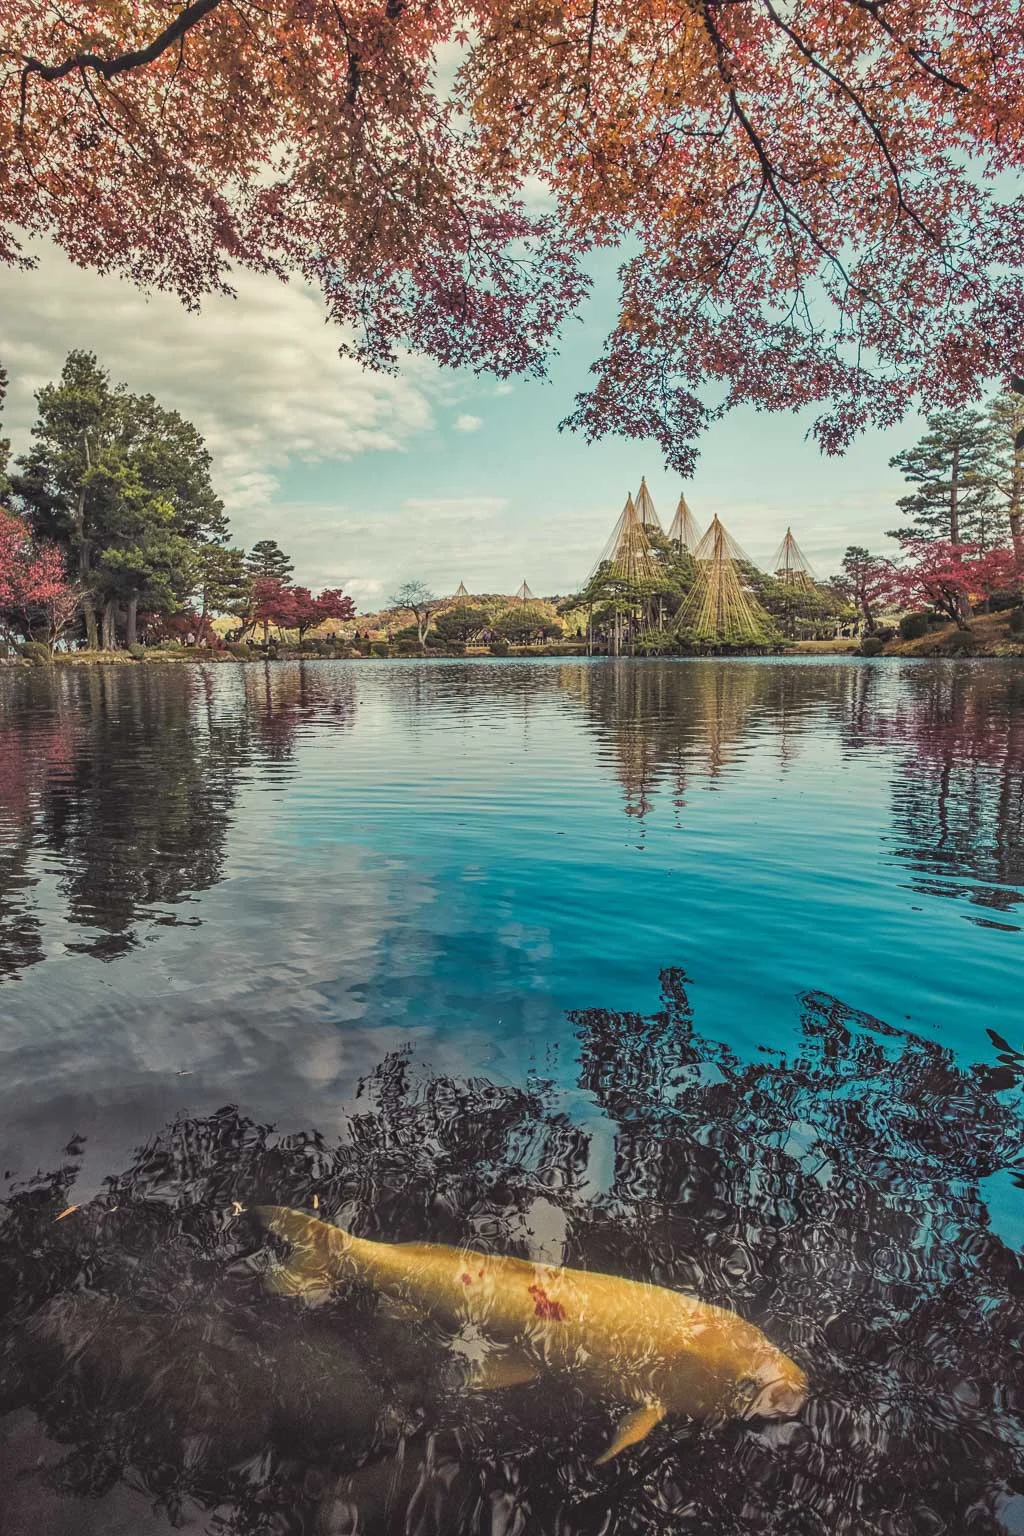
鯉 (Koi) Kenrokuen, Kanazawa
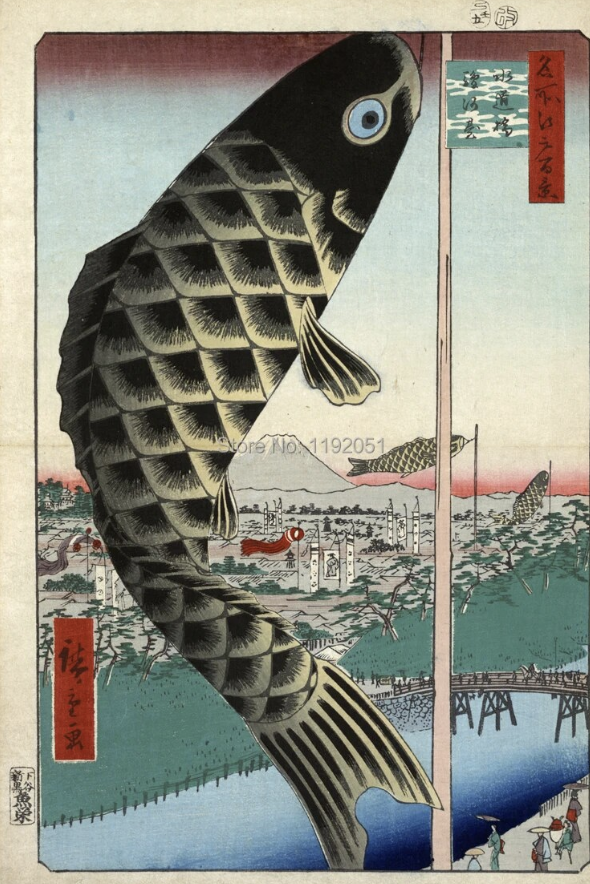
Suido Bridge and Suruga Hill By Ando Hiroshige
2. Take a screenshot of the paintings you like and find out the 5 main colours used in their palette (i.e app color harmony)
紅葉 (Autumn Leaves) Kenrokuen, Kanazawa
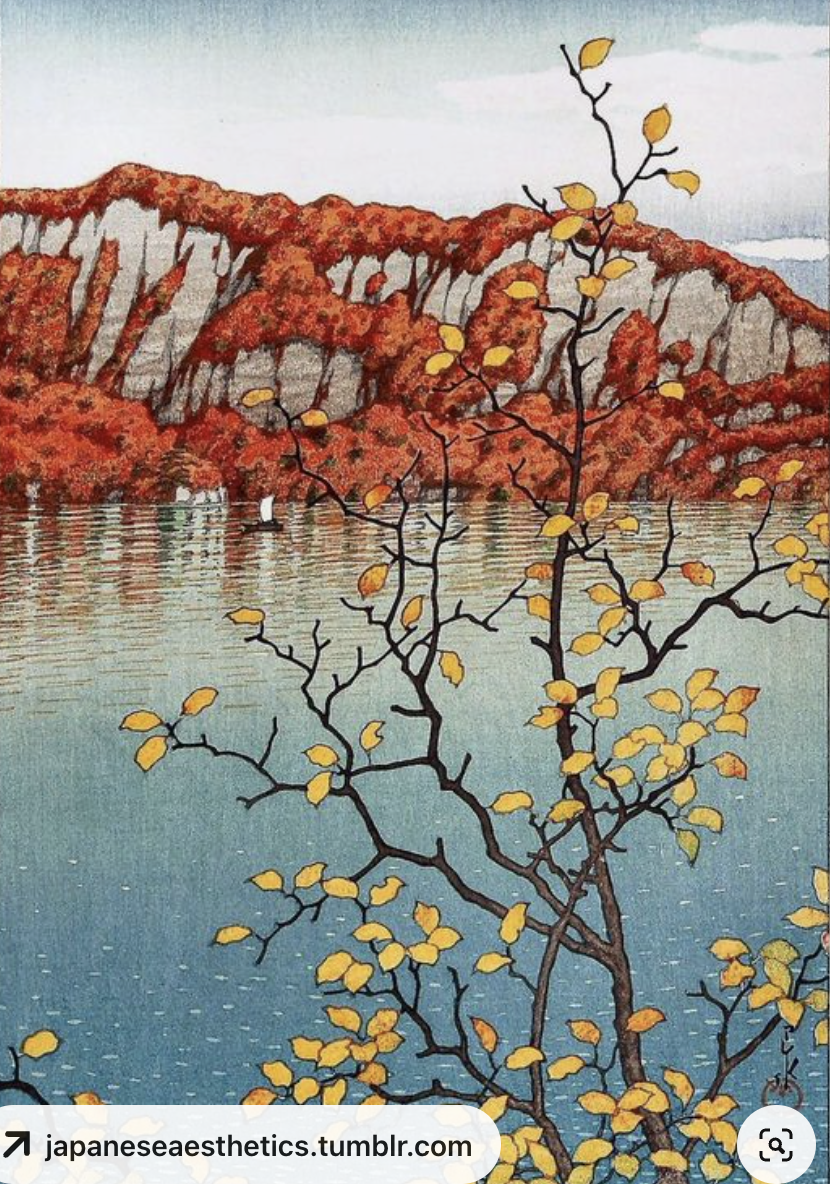
By Kawase Hasui
Albert Namatjira was an Arrernte painter from the MacDonnell Ranges in Central Australia, widely considered one of the most notable Australian artists. As a pioneer of contemporary Indigenous Australian art, he was arguably one of the most famous Indigenous Australians of his generation.
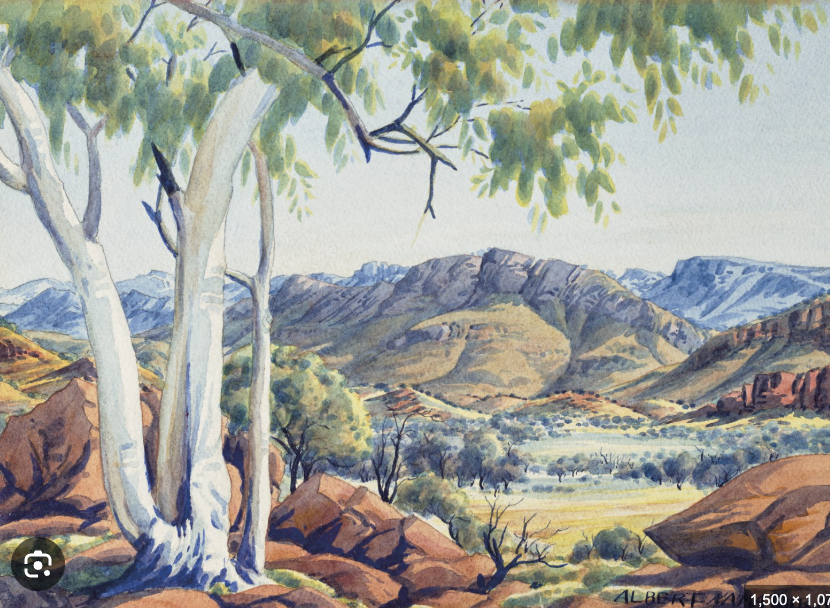
Albert Namadjira

Uluru
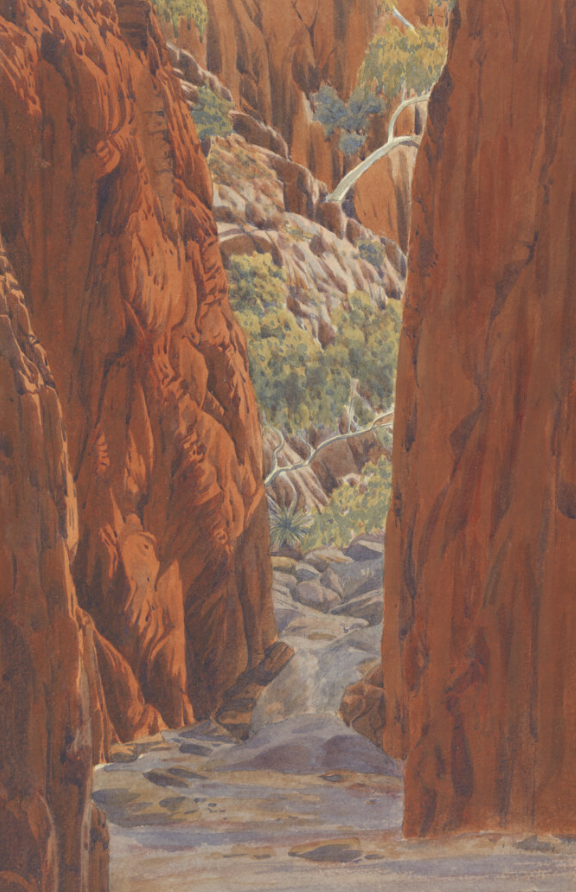
Albert Namadjira

Uluru
His colour palate and compositions were simply a source of inspiration not a copied influence.
3. Apply similar colors (not exact) in Lightroom through colour grading (Midtones, Highlights and Shadows) and other lightroom tools to get close to the gamut of colors used.
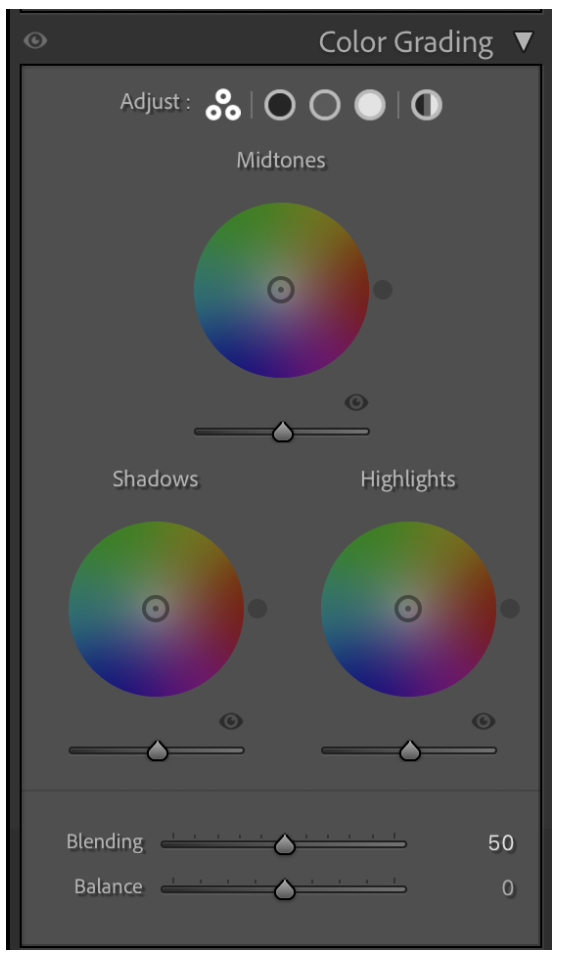
From there, it's then a matter of either shooting a similar composition to your subject, or capturing something else entirely, and then matching the colours from the painting to your photo.
You do this through applying similar colours in Lightroom in the Colour Grading section of the Develop module (by adjusting the Midtones, Highlights and Shadows) to get close to the gamut of colours used.
How to Shoot Street Photography
Born and raised in Manila till I was 15 years old. It’s a bit of a homecoming each year I come back to the Philippines on one of my photo tours. A fresh look at an old country. Where there is absolute chaos, calm can be found. It’s all about perception and attitude being here in the tropical heat.
Street Photography Tips
Born and raised in Manila till I was 15 years old. It’s a bit of a homecoming each year I come back to the Philippines on one of my photo tours. A fresh look at an old country. Where there is absolute chaos, calm can be found. It’s all about perception and attitude being here in the tropical heat.
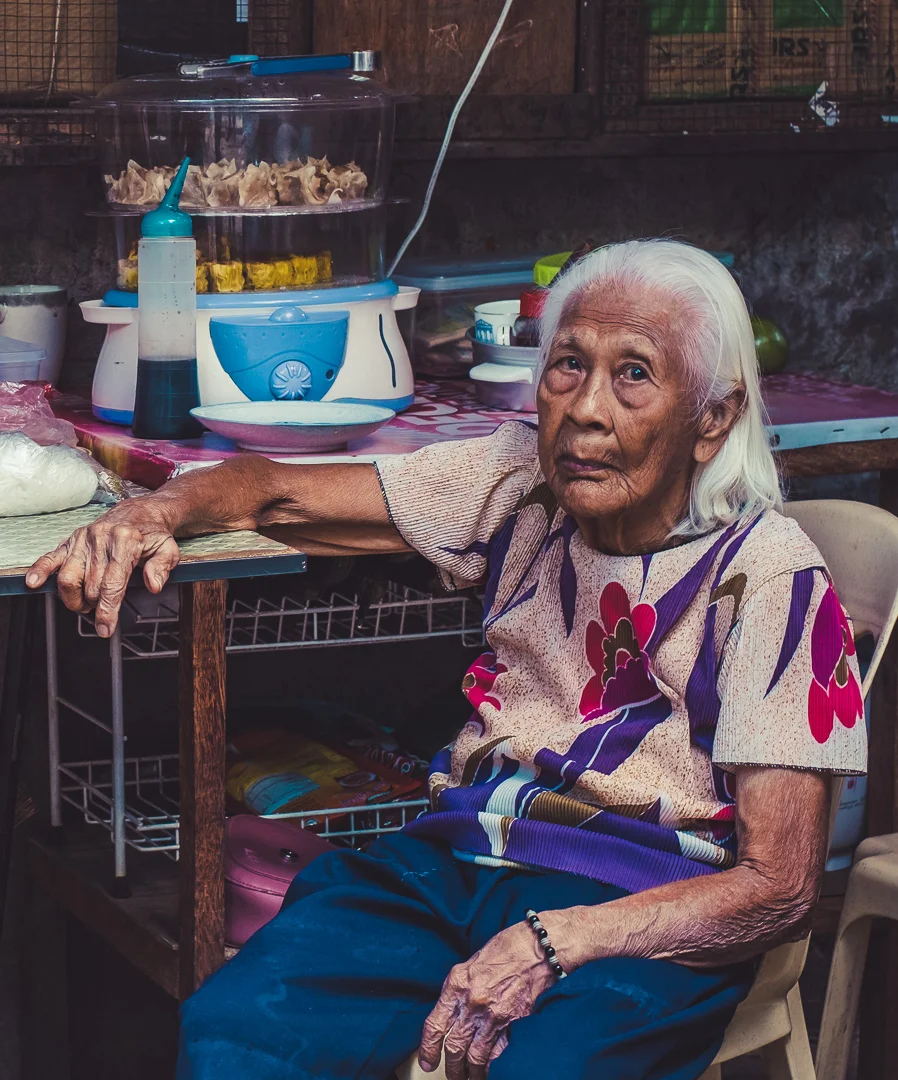
When you land in Manila you just have to go with the flow. You can’t fight the mayhem that seems to be waiting around every corner.
Having a sense of humour will allow you to relax and embrace this beautiful country for all it’s flaws. Here is a short article on how to use your skills as a photographer to help a charity in a slum.

Street Photo Tour
Growing up in Manila I spent most of my childhood in a gated community next to this slum area called Malibay. Driven more by ignorance and fear, I never ventured into this neighbourhood.
Now as a grown up regularly visiting the Philippines, I am curious to explore and learn what is beyond the walls separating the rich and the poor.

Intramuros Old Manila
How to Help
It’s a very simple concept that can be done with a little planning and careful execution. Building a relationship with a local school to gain access and trust is paramount in the success of this passion project. It’s a careful balance of sending the correct message on the correct channels to spread the good word.
After an hour of being shown around the school and then making a donation to help their cause, it’s time to explore the neighbourhood. One of the school teachers becomes our local guide.
Most locals are the parents of the children that come to this free school. They welcome us with open arms and through introduction we get to hear their stories.

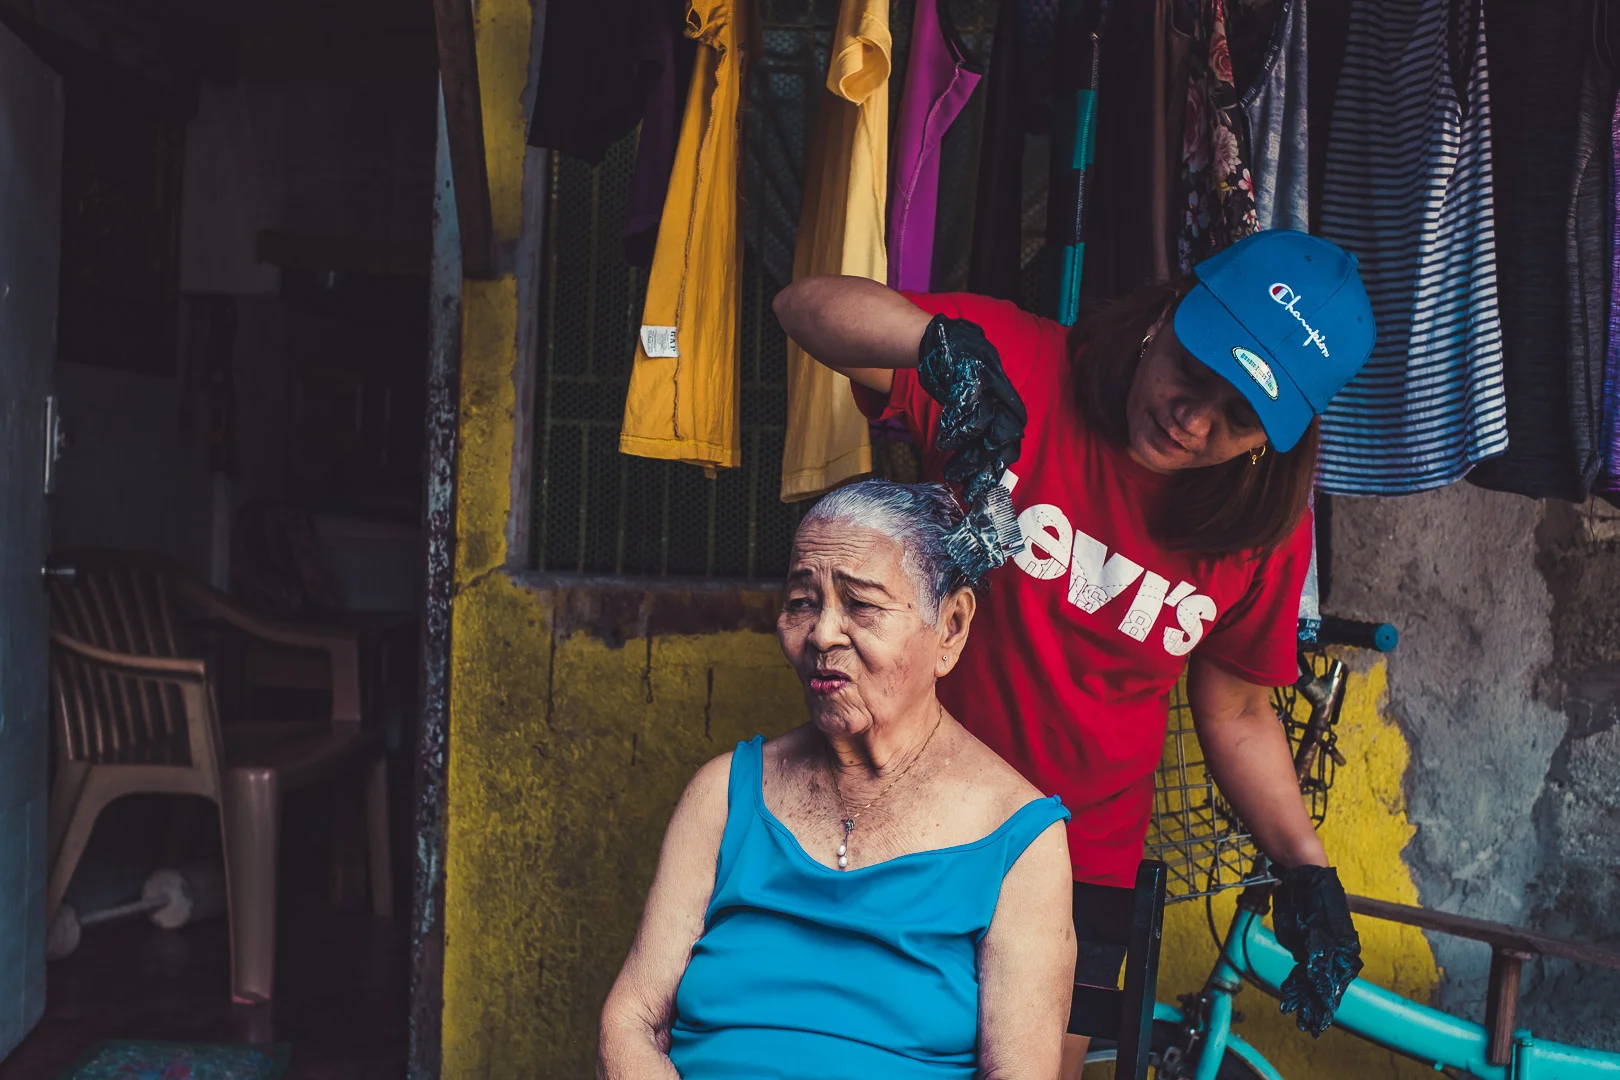
Outdoor Hairdresser
It’s a simple exchange of small talk, local politics and learning about their hardships. If the situation feels unobtrusive, then a quick portrait can be done. Since I am fortunate to keep coming back it is always nice to have some prints ready to give back.
Our images can then raise some awareness and perhaps also give the opportunity for other foreigners to experience and contribute. There are many fundraising events where our images can help tell their story.

Intramuros, Old Manila
The value of a printed photo is under rated with the digital age. The tangible effect of receiving an image and putting it in a frame, is something they can cherish forever and really appreciate.
Each year I come back I would like to continue giving them more and more family portraits. It’s not everyday they get to have their portrait done for free.
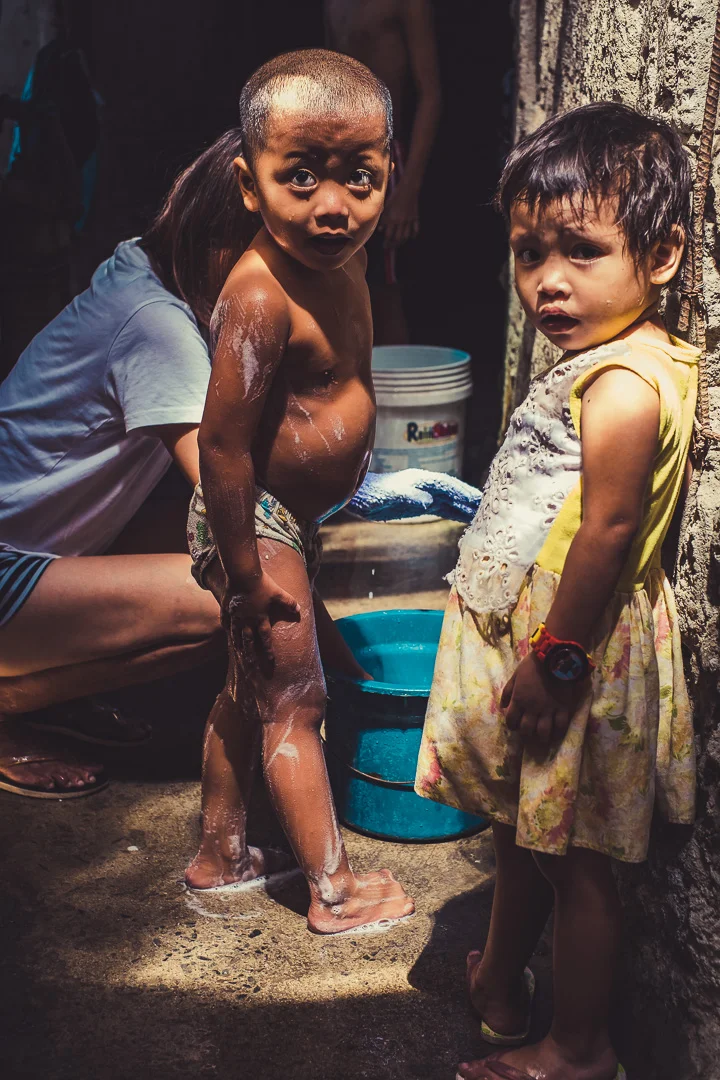
Outdoor bath

Outdoor Cooking
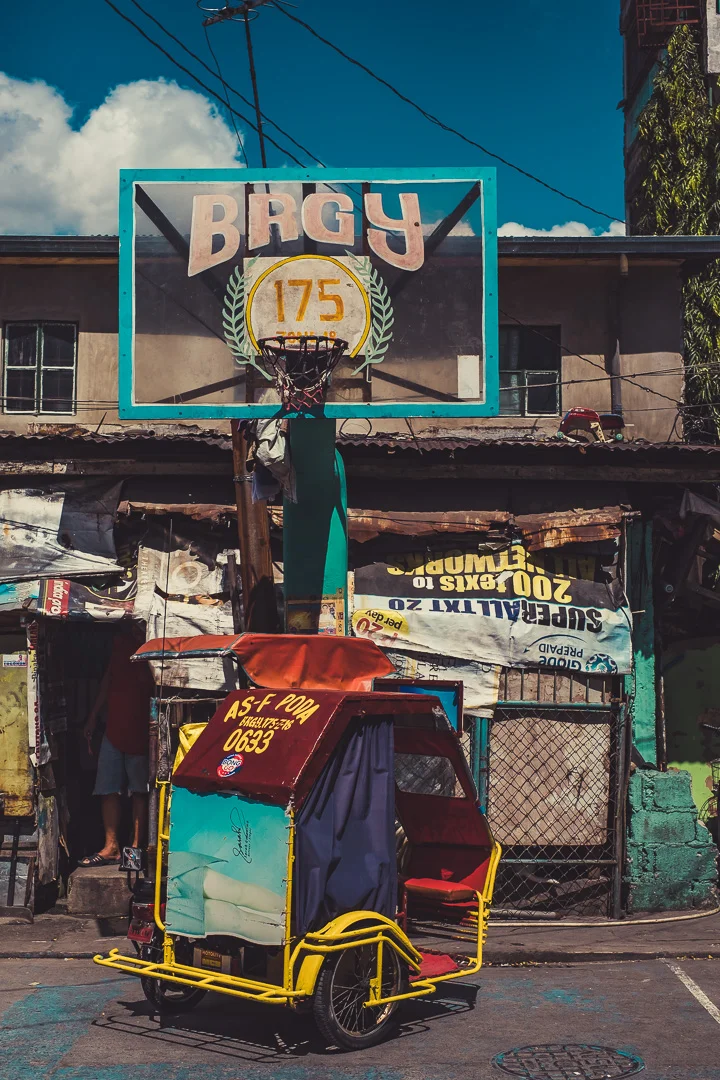
Work & Play: The Cycle Driver & Basketball Court.
The sense of community is strong. The outdoor bath and kitchen are part of most slums because of a lack of space. The local government owns this land.
Despite efforts to relocate them to other more rural areas outside Manila, the lack of work has driven them back here. Dirty water and disease still plague these areas.

Sari Sari Store
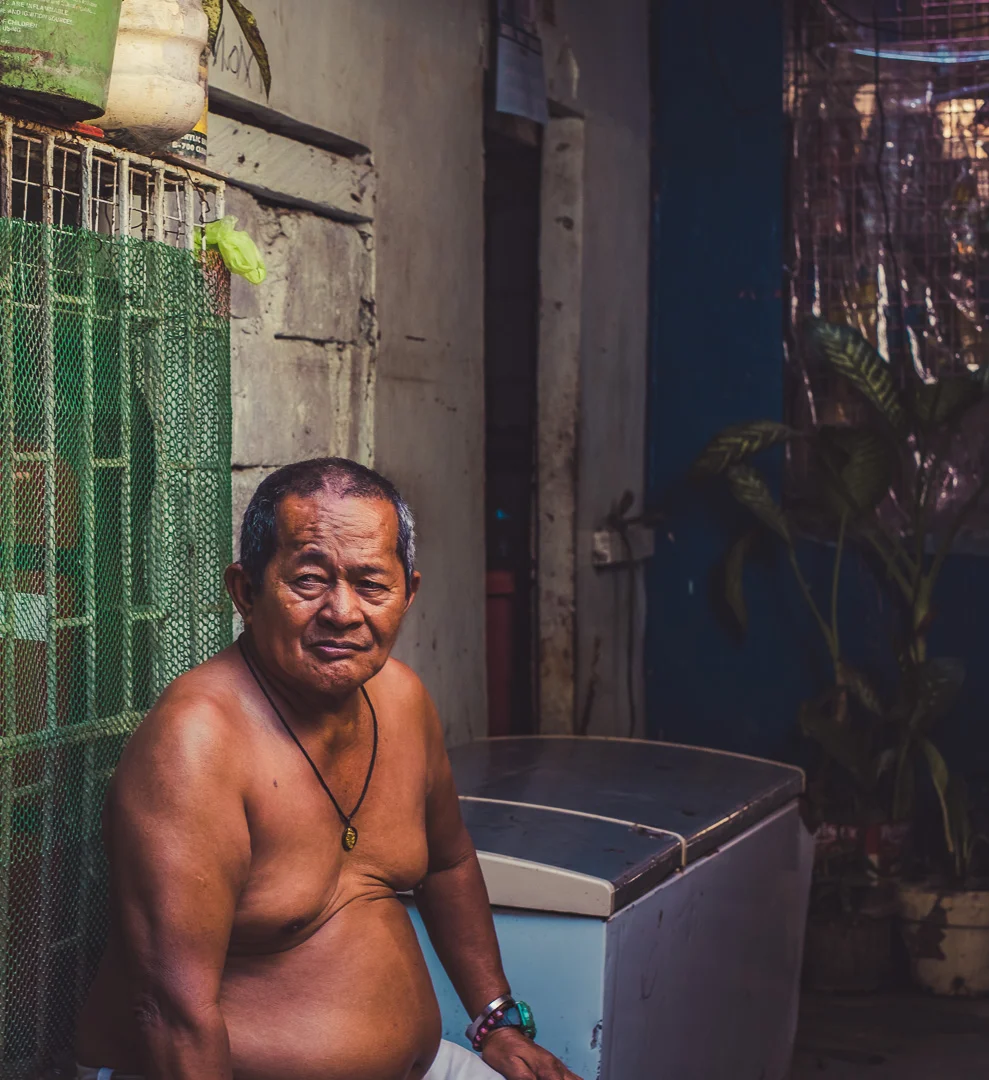
Pasay, Manila

Roosters For Sale
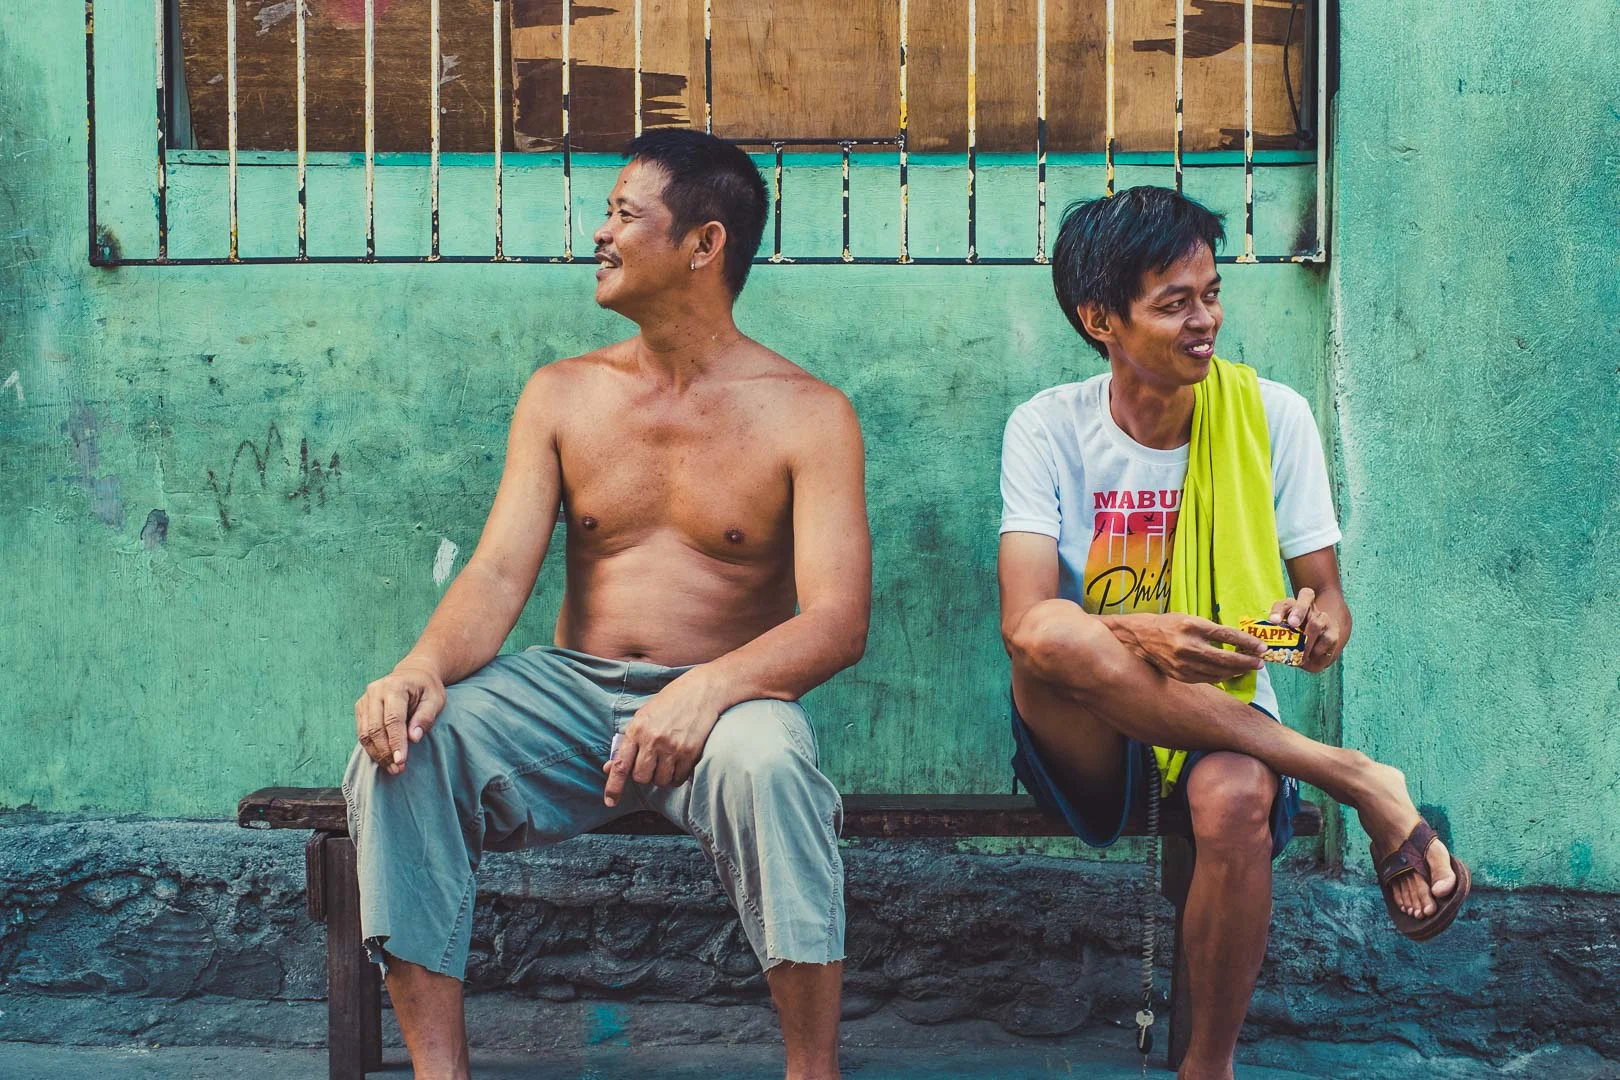
Despite the hardships the poor seem to be richer with humanity. The media often paints a picture of violence on the drug wars that have been happening in the Philippines for the last two years.
The locals tell me it's safer to walk the streets at night. These series of photos show the relentless spirit and warmth of a Filipino. It’s not easy living here but somehow they manage to help each other through thick or thin. Hopefully, this short article will also be shared and bring good fortune to this community and others.
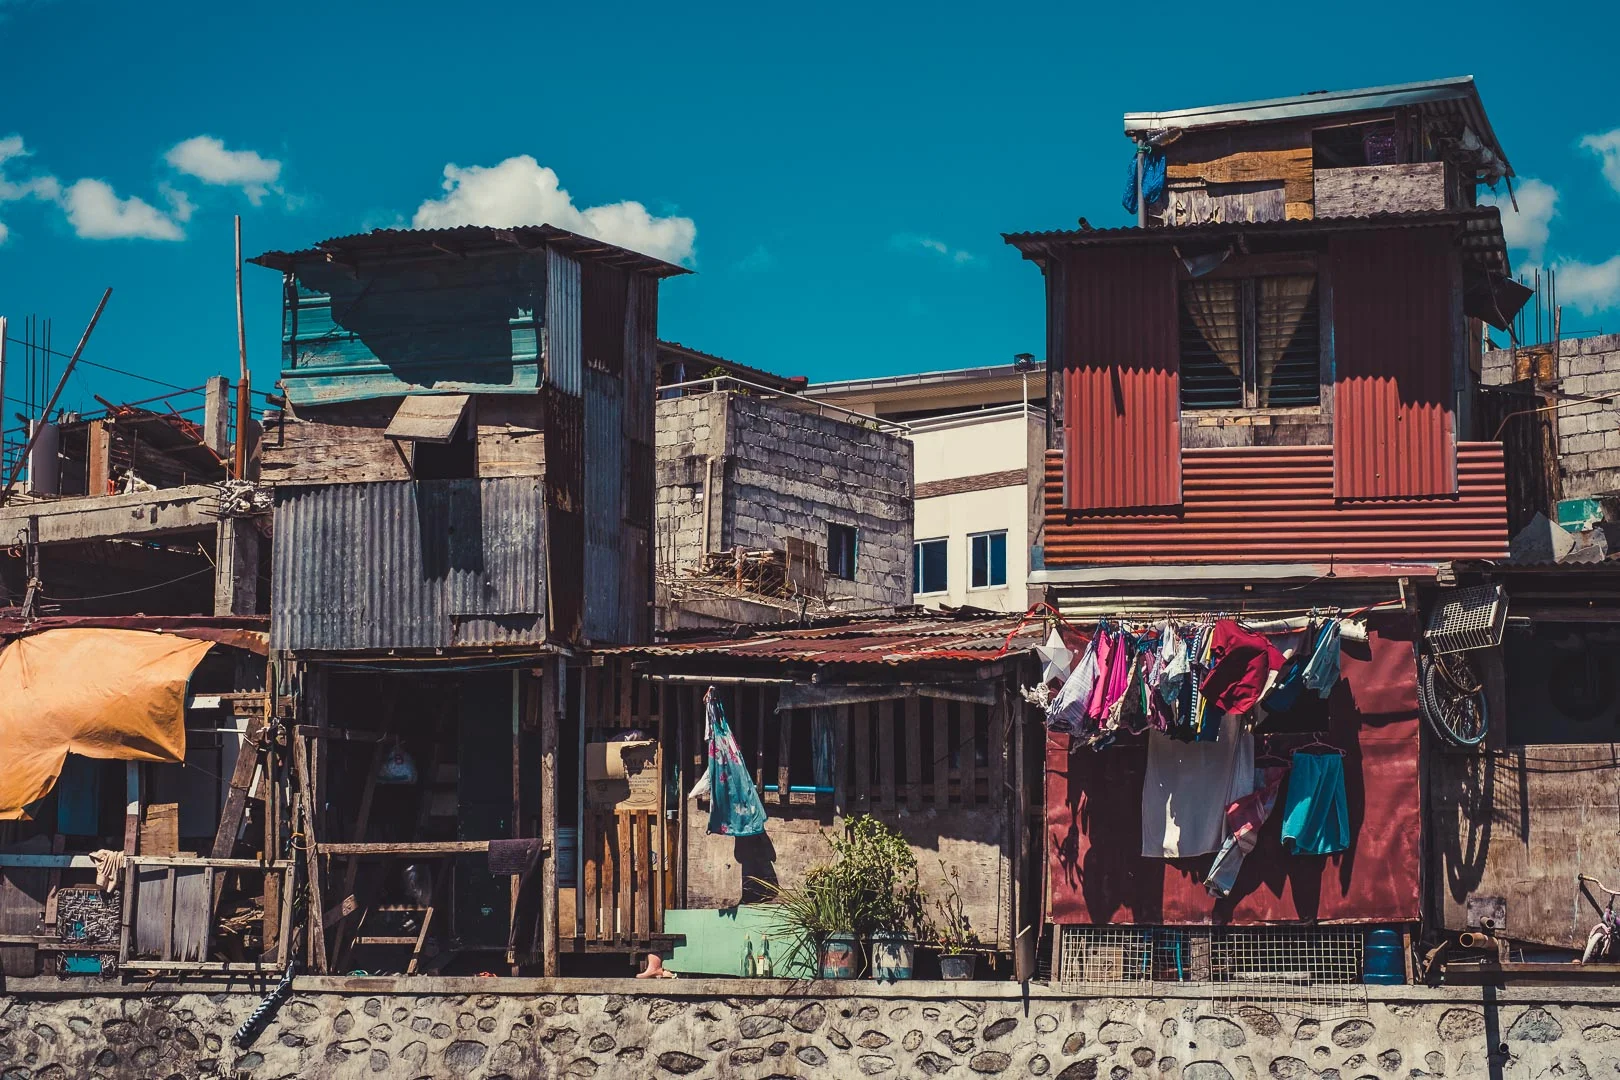
Slum
My Travel Photography Kit
Camera: Fujifilm XT3 | Lenses: 35mm (F1.4) & 14mm (F2.8) | Tripod: Sirui T024SX | 13 Inch MacBook Pro | Total Weight: 5 Kg.
Join me on my Philippine Photo Tour

The Psychology of Shapes in Photography

The psychology of shapes in photography refers to the study of how different shapes and their characteristics can evoke certain emotions, perceptions, and reactions in viewers. Shapes are fundamental elements of visual composition and can play a significant role in influencing the psychological impact of a photograph. Here are some common shapes and their psychological associations:

Brisbane City
It's important to note that the psychological impact of shapes can also be influenced by color, lighting, context, and personal experiences. Different individuals may interpret shapes in photography differently based on their cultural background and individual perceptions. Therefore, understanding the psychology of shapes can help photographers communicate specific emotions or messages effectively, but it's important to consider the overall composition and context of the image.

Brisbane City
Circle Shape
No angles means softer or milder. Circles often convey a sense of eternity as they keep looping back to the same point.

March Fire Festival, Kyushu, Japan
Circles: Circles are often associated with unity, harmony, and perfection. They can create a sense of calmness, balance, and continuity. Circles can also evoke feelings of protection and nurturing. In photography, circular shapes can be found in objects like sunsets, full moons, or round architectural elements.

Aizumura, Fukushima, Japan
Square & Rectangle Shape
Formed by straight lines and right angles which convey a sense of reliability and security. Feeling of safety and containment.
Squares and Rectangles: Squares and rectangles are associated with stability, order, and rationality. These shapes often convey a sense of reliability, balance, and structure. They can create a feeling of solidity and represent man-made objects or architectural elements.
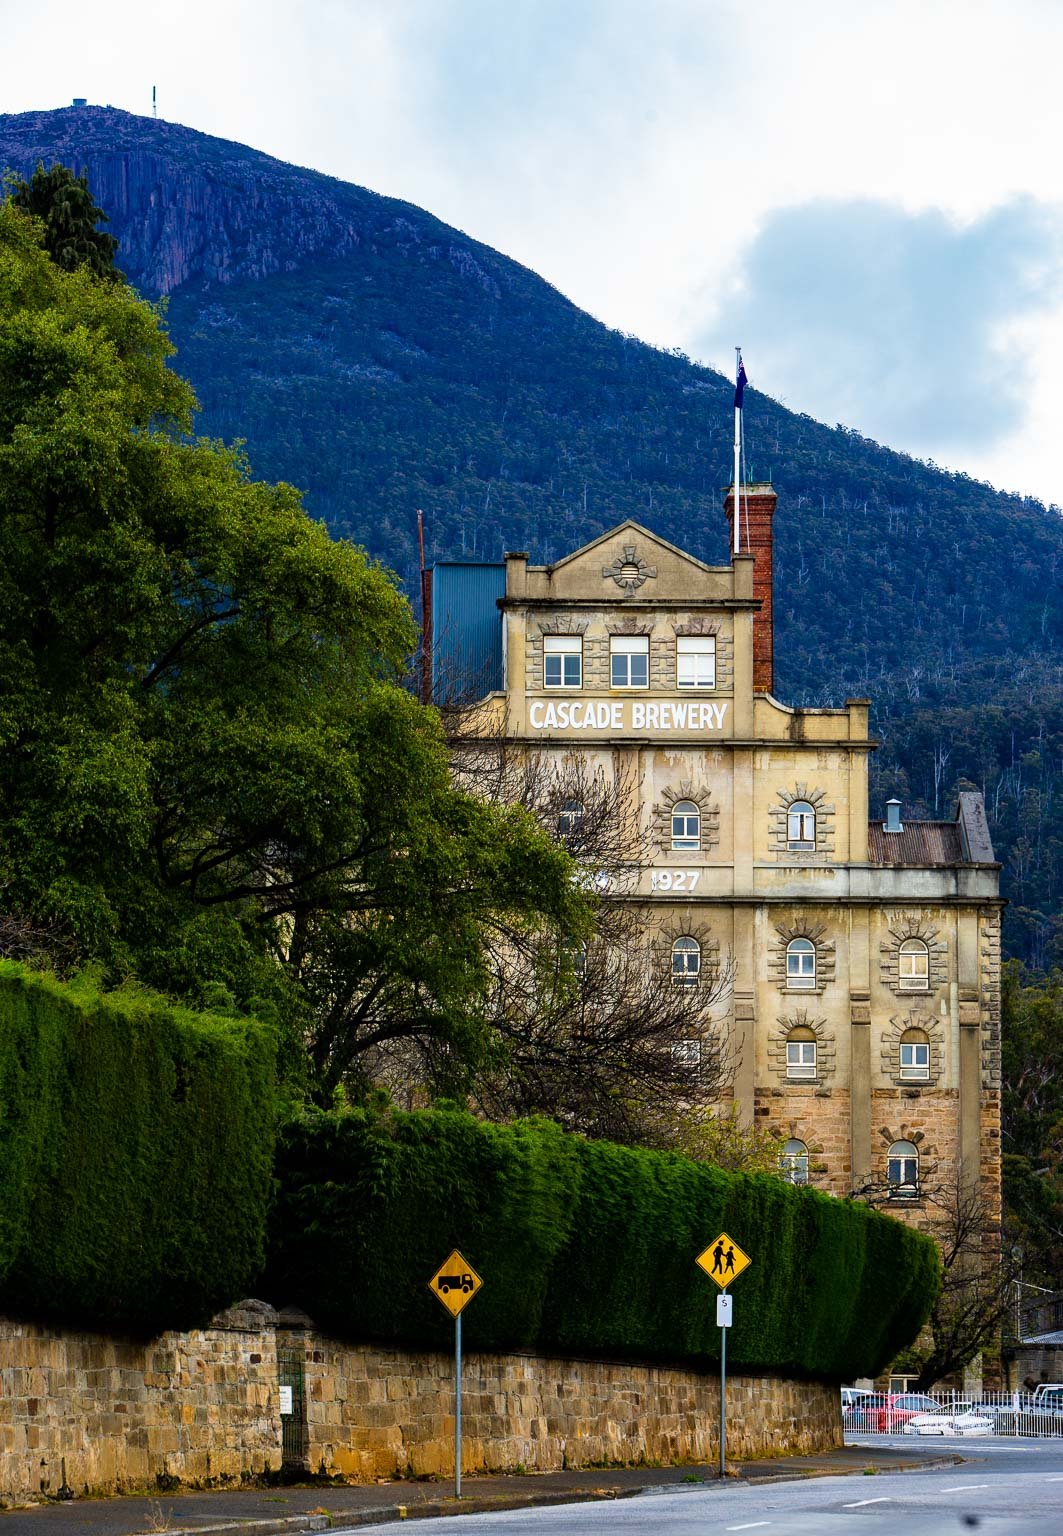
Cascade Brewery, Hobart, Tasmania
Triangle Shape
A Polygon with 3 edges and 3 vertices which often depict an ambiance of energy and dynamic shape. Triangles also convey motion and direction.
Triangles: Triangles are dynamic shapes that can convey a sense of tension, energy, and movement. They are often associated with power, strength, and stability. In photography, triangles can be created by converging lines or by composing the image with triangular shapes, leading the viewer's eye towards a focal point.

Matsumoto Castle, Japan
Natural Shapes
They are more organic and represent elements we can relate to in the natural world such as flora and fauna. These shapes are often formed by angles and points. Even shadows or negative space can create natural shapes as well
Curved Lines: Curved lines are organic and flowing, often associated with grace, softness, and elegance. They can create a sense of tranquility and evoke emotions like calmness and relaxation. In photography, curved lines can be found in natural landscapes, flowing rivers, or the contours of a person's body.

Sado Island, Japan
Abstract Shapes
Often shapes that repeat themselves with or without order in a pattern. Sometimes creating order in the chaos or rhythm in the object or subject hard to decipher or contain.

Aoraki/Mt.Cook New Zealand
Zigzag Lines: Zigzag lines are dynamic and create a sense of energy, excitement, and action. They can convey a feeling of chaos or instability. Zigzag lines can be used to add a sense of movement or tension in a photograph, capturing the viewer's attention and adding visual interest.

Water Reflections in Twizel, New Zealand
Geometric Patterns: Geometric patterns, such as grids or repeating shapes, can create a sense of order, precision, and efficiency. They often convey a modern and organized aesthetic. Geometric patterns can be found in architectural photography or in man-made structures.

5 Types of Rhythm in Photography

Tasmania, Australia
Visual communication using rhythm as a composition element is a way of creating a sense of movement, flow, and harmony in a design or artwork. Rhythm can be achieved by repeating, varying, contrasting, or echoing visual elements such as shapes, colors, lines, and textures. Click on any image or painting for more info. They are all linked!

Hachimantai, Japan
Rhythm can also be influenced by the intervals or spaces between the elements, creating different patterns and effects. Rhythm can help to guide the viewer's eye, draw attention to certain areas, and convey a mood or message.

Hokkaido, Japan
Five examples of rhythm
1. Regular rhythm: The elements are arranged in a systematic and orderly way, creating a sense of balance and harmony. For example, the geometric abstractions of Piet Mondrian use regular rhythm to create a minimalist and modern aesthetic.

Piet Mondrian’s Geometric Abstractions

Osaka, Japan
2. Flowing rhythm: The elements are arranged in a smooth and continuous way, creating a sense of movement and fluidity. For example, the swirling brushstrokes of Vincent van Gogh's Starry Night use flowing rhythm to create a dynamic and expressive atmosphere.

Vincent van Gogh's Starry Night
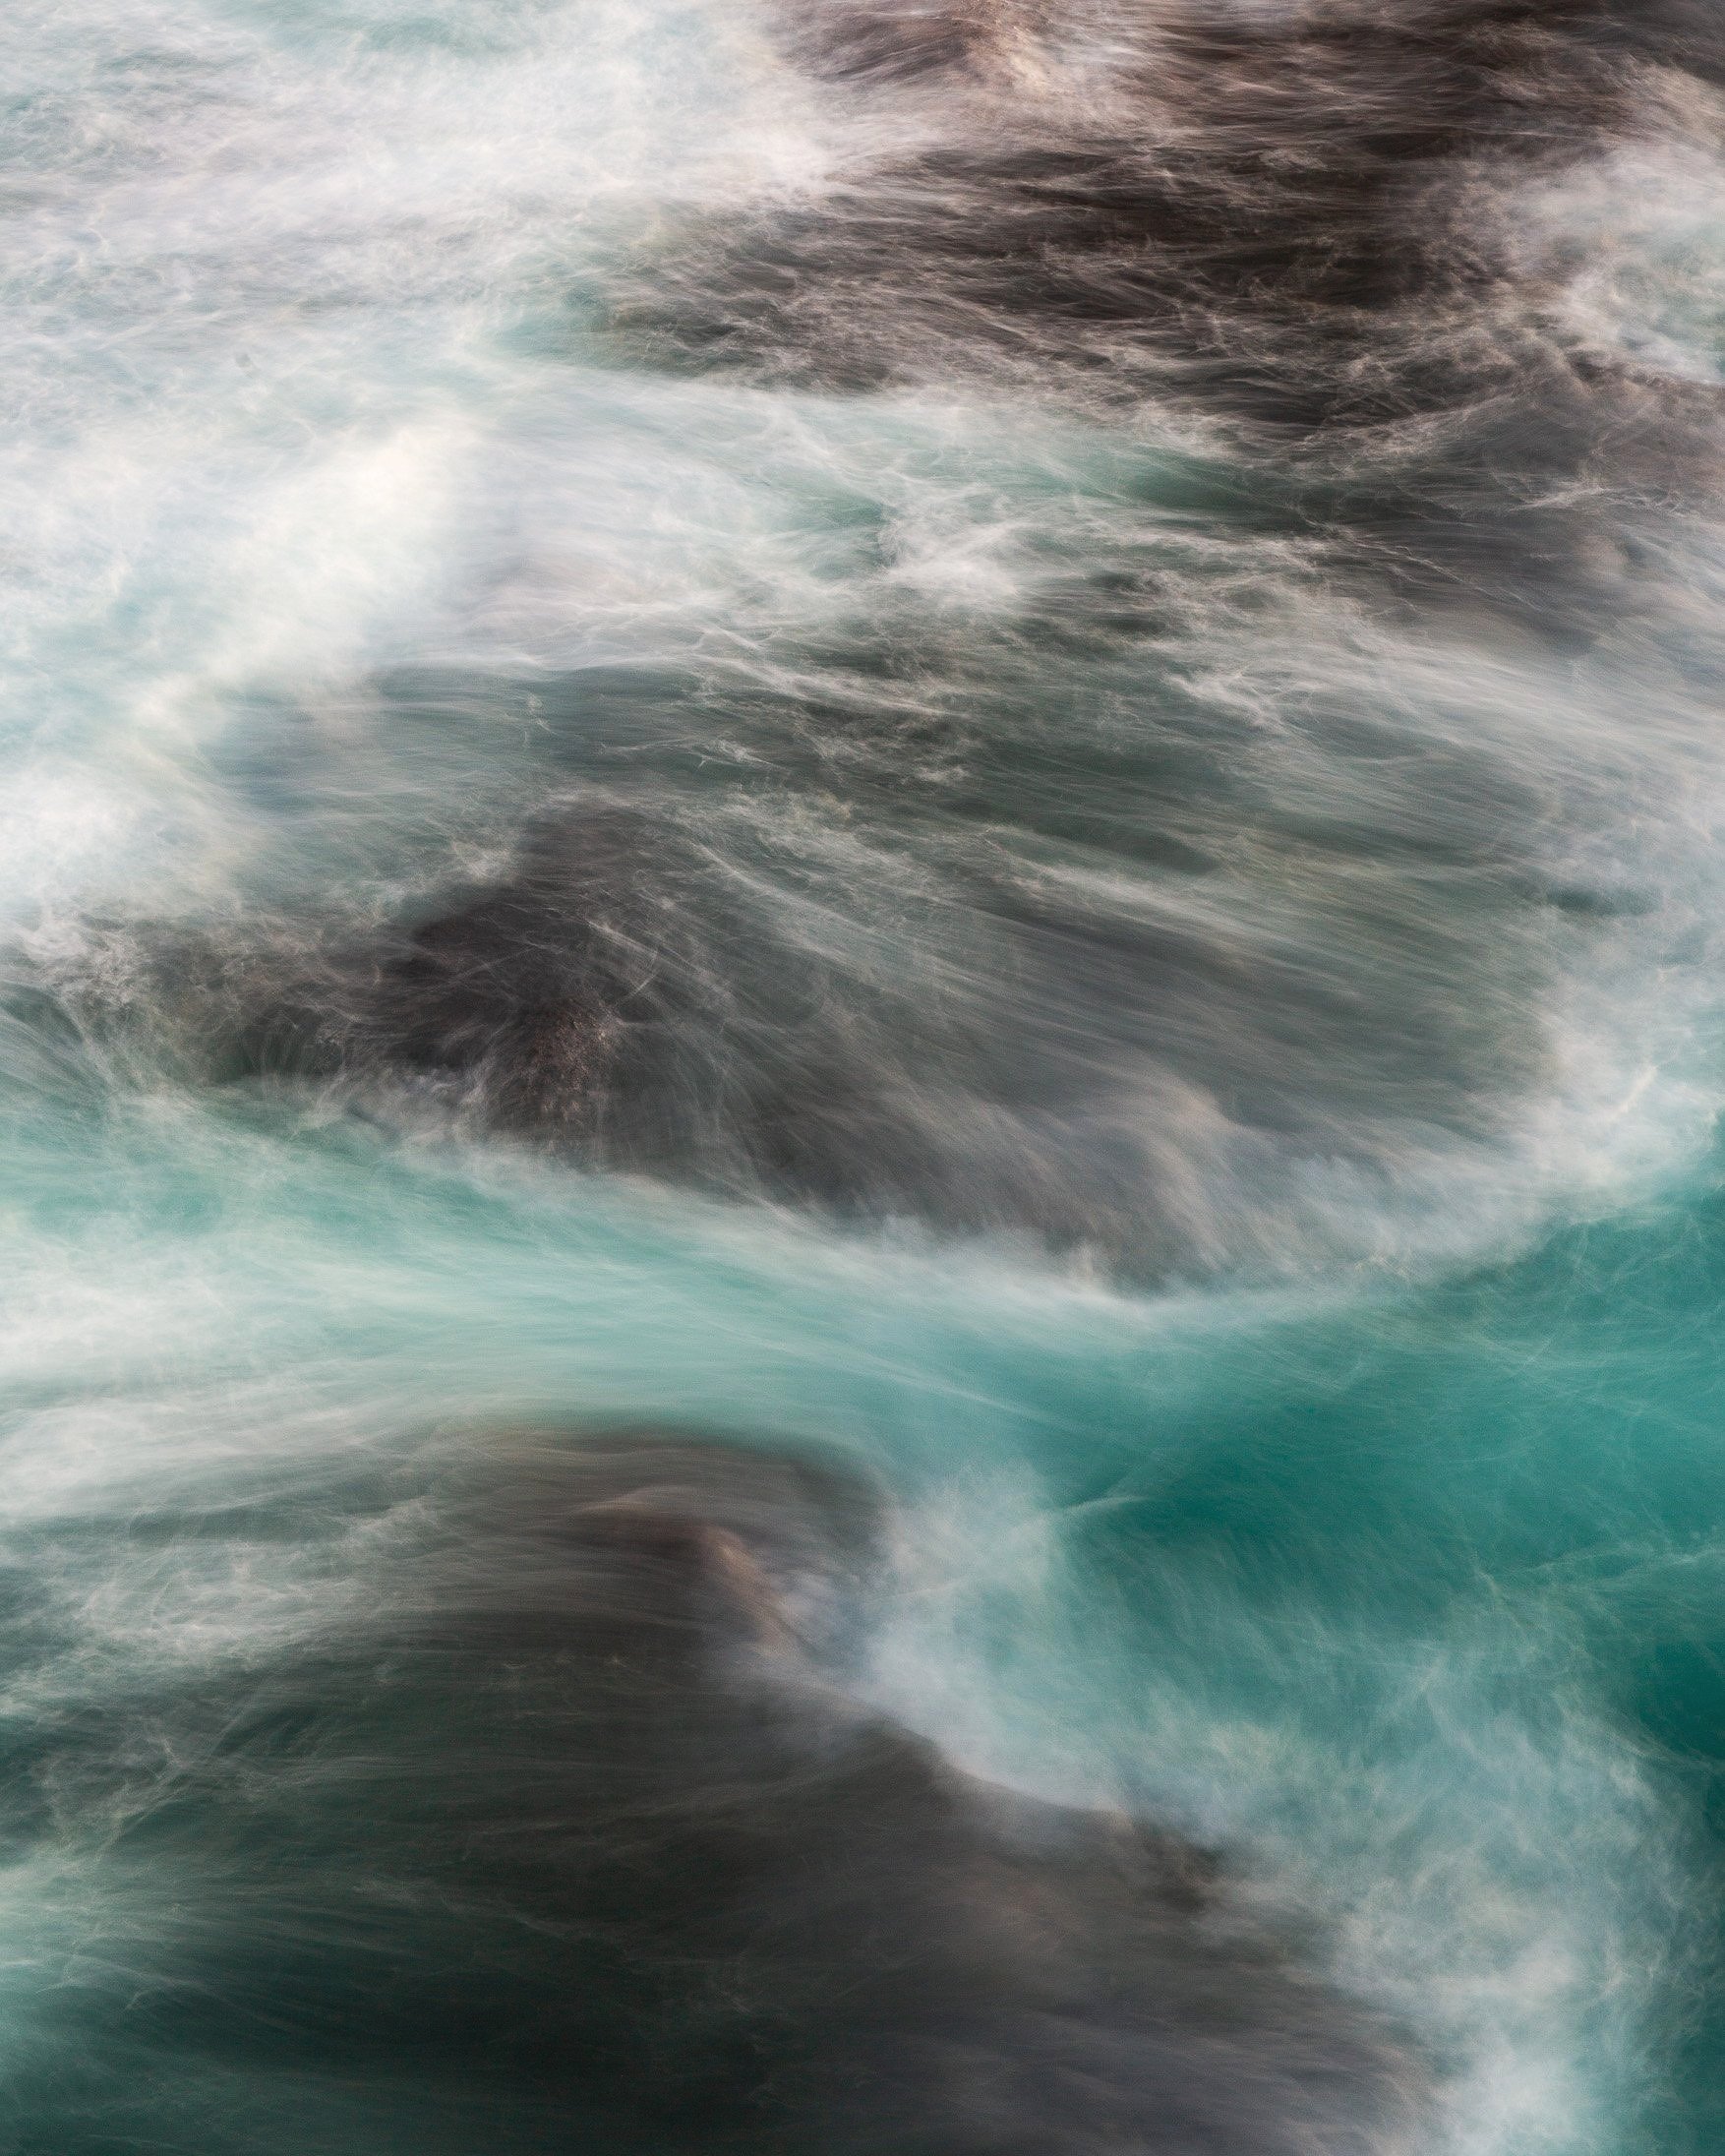
Faroe Islands
3. Progressive rhythm: The elements change gradually in size, shape, color, or direction, creating a sense of growth and development. For example, the concentric circles of Wassily Kandinsky's Several Circles use progressive rhythm to create a sense of depth and complexity.

Wassily Kandinsky's Several Circles

Tohoku Region, Japan
4. Alternating rhythm: The elements alternate between two or more different types, creating a sense of contrast and variety. For example, the black and white stripes of Bridget Riley's Blaze use alternating rhythm to create a sense of optical illusion and vibration.
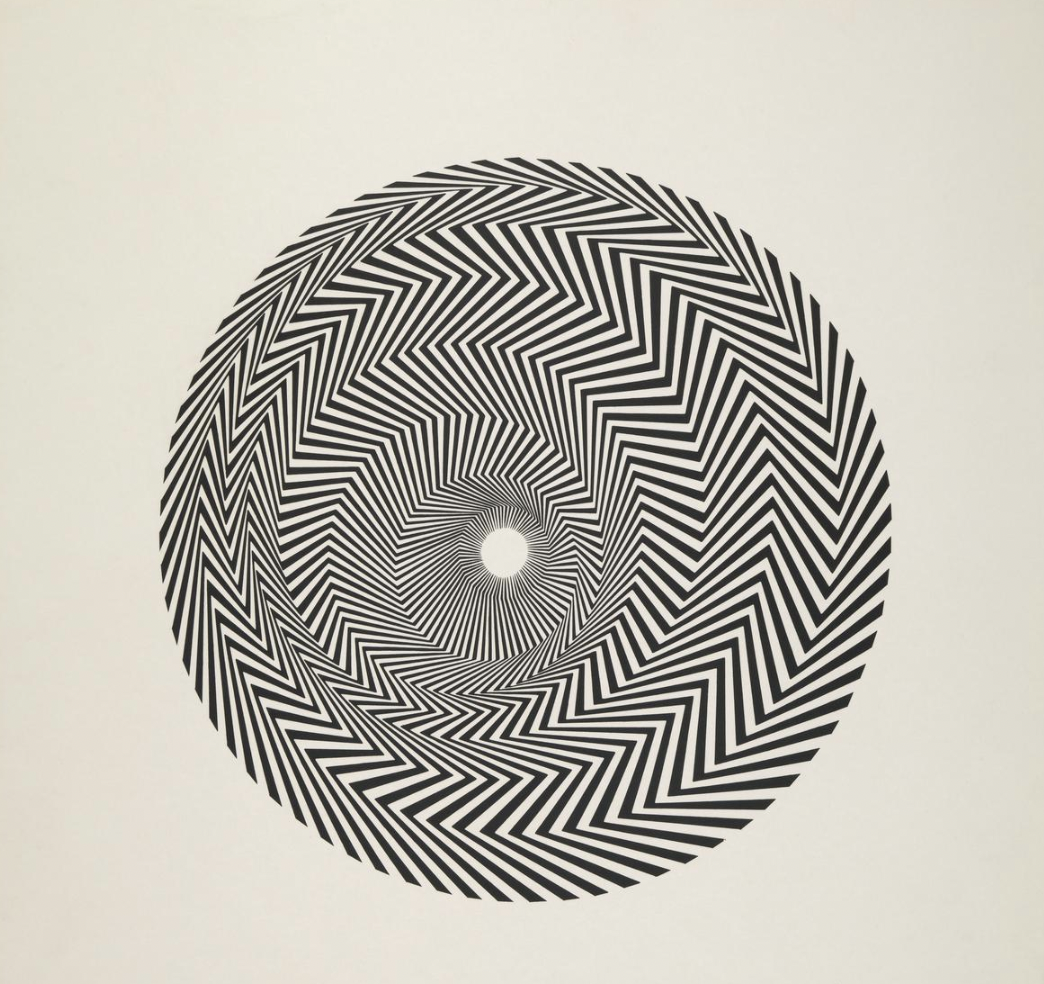
Bridget Riley's Blaze
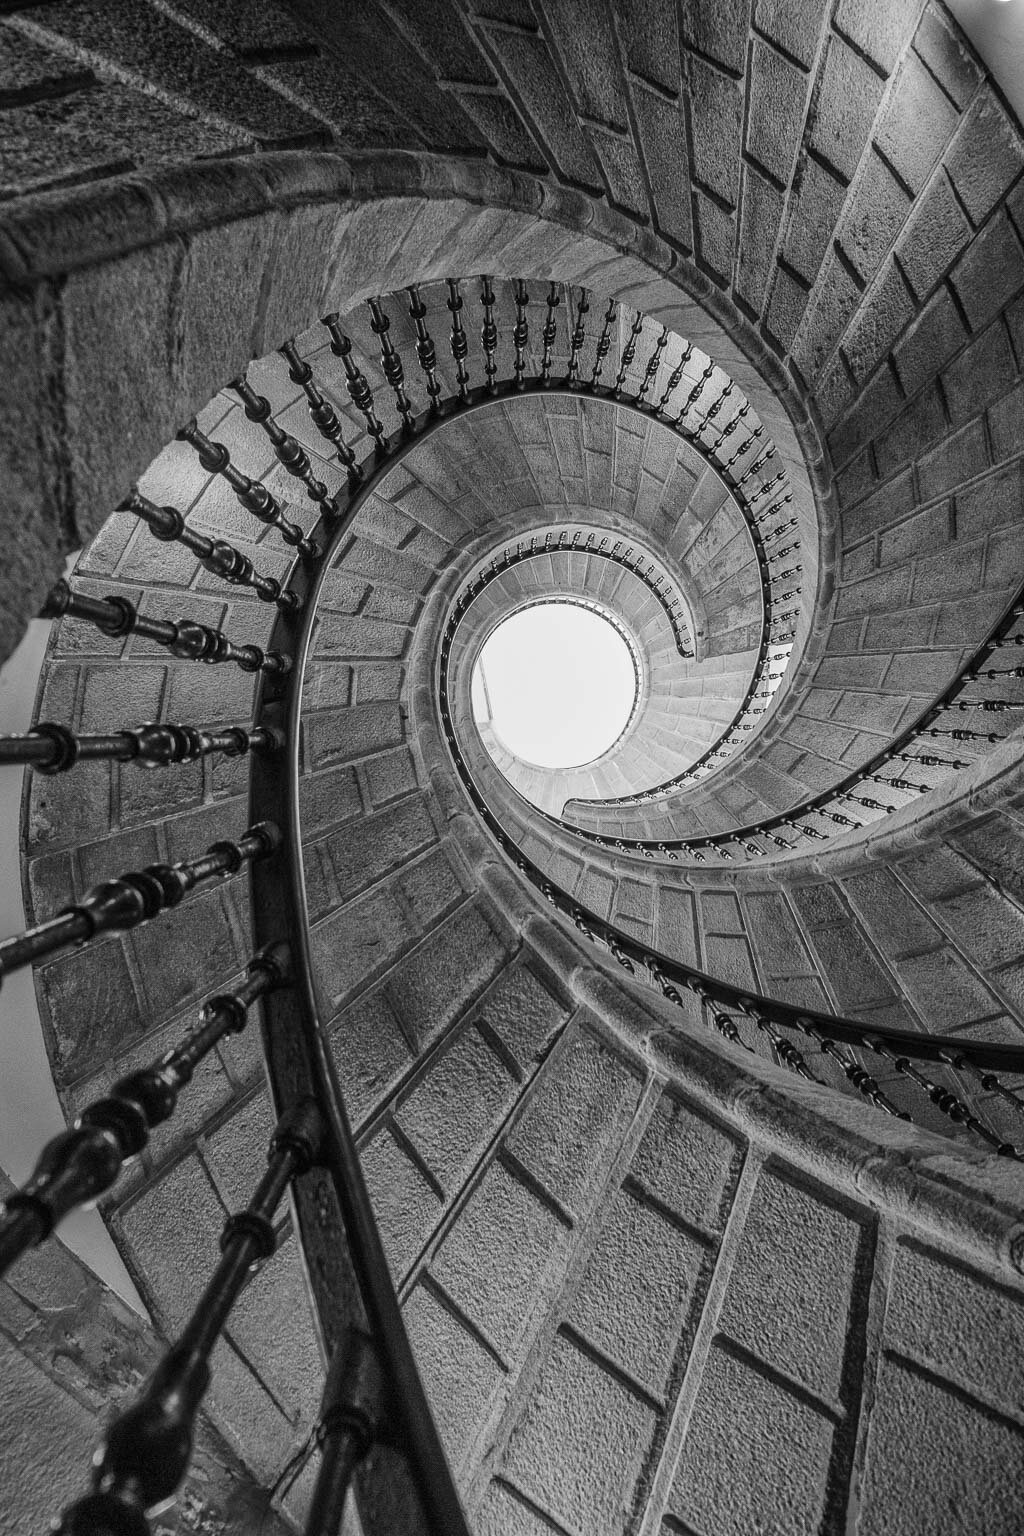
Northern Spain
5. Random rhythm: The elements are arranged in a random and unpredictable way, creating a sense of chaos and disorder. For example, the splattered paint of Jackson Pollock's Number 1 use random rhythm to create a sense of spontaneity and freedom

Jackson Pollock's Number 1
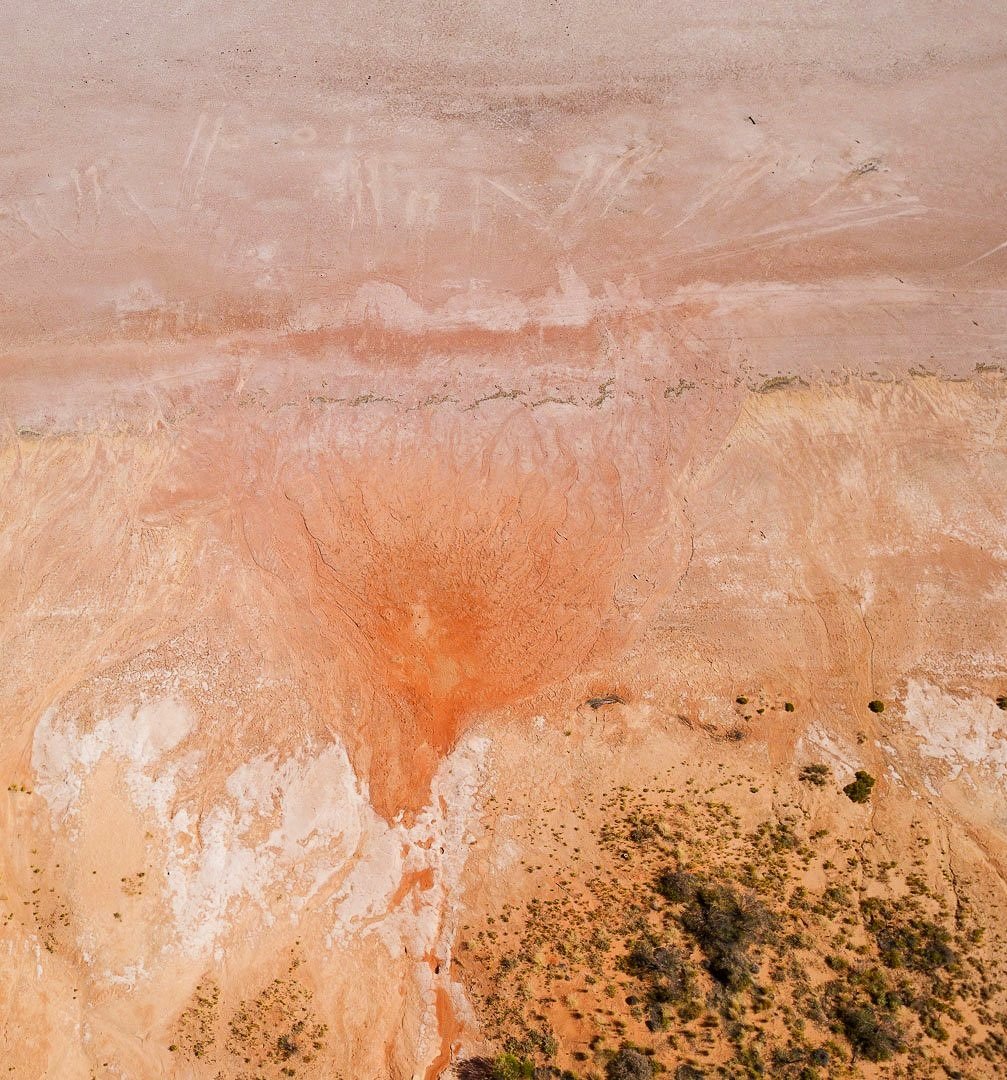
Uluru, Australia

The Psychology Of Photography
Photography in my opinion is a collection of your memories. There are visual triggers that lead to us being attracted to certain objects and subjects to capture what we individually feel are comforting or thought provoking images. Colour and shapes can help accentuate the feeling and emotions we wish to evoke in a single photo or series of photos to show a narrative.

The Psychology Of Colour
The psychology of color plays a significant role in various aspects of photography, including composition, mood, and visual storytelling. Colors can evoke different emotions, create a sense of harmony or tension, and even influence how viewers perceive and interpret an image. Here are some key aspects to consider regarding the psychology of color in photography:
Emotional Impact: Colors have the power to evoke specific emotions and feelings. Warm colors like red, orange, and yellow tend to create a sense of energy, excitement, and passion. Cool colors like blue, green, and purple often convey calmness, tranquility, and introspection. Understanding the emotional impact of colors can help photographers elicit specific responses from viewers.
Contrast and Visual Hierarchy: Colors can be used to create contrast and establish visual hierarchy within a photograph. Vibrant or saturated colors tend to attract attention and can serve as focal points in an image. On the other hand, muted or desaturated colors can create a more subtle and harmonious atmosphere.
Color Harmony: Colors can be combined in various ways to create a harmonious or discordant effect. Complementary colors (opposite each other on the color wheel) can create a strong visual impact and a sense of balance. Analogous colors (adjacent on the color wheel) create a more harmonious and soothing effect. Understanding color relationships can help photographers create visually pleasing compositions.
Cultural and Contextual Associations: Colors often carry cultural and contextual associations that can influence how they are perceived. For example, red may symbolize love and passion in Western cultures, while it can signify luck and celebration in some Eastern cultures. Additionally, colors can be associated with specific themes or subjects. For instance, green is often linked to nature and growth, while blue can be connected to water and tranquility.
Personal Interpretation: It's important to note that individual experiences, memories, and cultural backgrounds can shape how people perceive and interpret colors. While there are general psychological associations with colors, it's essential to consider the subjective responses of viewers as well.
When incorporating the psychology of color into photography, photographers can experiment with various color palettes, lighting conditions, and post-processing techniques to enhance the emotional impact and visual storytelling of their images. It's crucial to understand the intended message or mood and how different colors can help communicate that effectively to the viewer.

Sakura in Japan
WHITE
Purity and Innocence: White is often associated with purity, cleanliness, and innocence. It is commonly used in weddings, christenings, and other ceremonial occasions to represent new beginnings and a clean slate.
Simplicity and Minimalism: White is often associated with simplicity and minimalism. It can evoke a sense of clarity, openness, and spaciousness. Many minimalist designs and modern interiors incorporate white to create a sense of calm and tranquility.
Perfection and Precision: White is often associated with precision, accuracy, and perfection. In fields such as science, medicine, and technology, white is used to convey a sense of professionalism, accuracy, and attention to detail.
Sterility and Coldness: While white can represent cleanliness and purity, an excessive use of white or a stark white environment can also create a sterile and cold atmosphere. This association is often found in medical settings, where white is used to convey sterility and hygiene.
Positive Emotions: White is often associated with positive emotions such as joy, happiness, and hope. It can evoke feelings of lightness, positivity, and optimism.
Clarity and Objectivity: White is often associated with clarity and objectivity. It is used in graphic design, data visualization, and presentations to create a clean and clear visual representation of information.
Spirituality and Transcendence: In some cultures and religious contexts, white is associated with spirituality, transcendence, and enlightenment. It can symbolize purity of the soul, spiritual awakening, or divine presence.

Hokkiado - Winter Wonderland

Sakura in Ueno, Tokyo
BLACK
Symbolism: Black is often associated with concepts such as darkness, mystery, power, authority, elegance, formality, and sophistication. It can convey a sense of seriousness, control, and intensity.
Emotions: Black can evoke different emotional responses depending on the context. It may evoke feelings of strength, resilience, and protection, but it can also be associated with negative emotions such as fear, grief, or sadness. Black is often connected to mourning in many cultures.
Individual Interpretations: Personal experiences, cultural backgrounds, and individual preferences can significantly influence how people perceive and respond to the color black. Some individuals may find black to be comforting and reassuring, while others may associate it with negativity or even perceive it as cold and oppressive.
Visual Impact: Black is known for its ability to create contrast and enhance the visibility of other colors. It is commonly used to make other elements stand out, such as in graphic design, fashion, and advertising.
Context and Associations: The meaning of black can vary depending on the specific context and associations. For example, black is often used to represent authority and power in formal settings, such as black suits worn by professionals. It can also be associated with rebellion and counterculture, as seen in the fashion industry or certain subcultures.
Perceptions of Black: In terms of perception, black is the absence of light and color. It can create a sense of depth or emptiness, and it is often associated with silence and stillness.

Dried Fish in the Faroe Islands

Red Moon Sydney
RED
Emotion and Passion: Red is often linked to strong emotions such as love, anger, and excitement. It can elicit feelings of passion, desire, and power. The color is frequently used to symbolize love and romance.
Attention and Alertness: Red is a highly stimulating color that grabs attention and stands out in our visual field. It has the longest wavelength in the visible spectrum, making it physically more noticeable. As a result, it is commonly used to signal caution, urgency, or importance, such as in warning signs, stop signs, or emergency signals.
Energy and Vitality: Red is associated with energy and vigor. It can boost arousal levels, increase heart rate, and stimulate the senses. In some cases, exposure to the color red has been shown to enhance physical performance and improve attention to detail.
Aggression and Intensity: Red is also associated with aggression, anger, and dominance. It can evoke feelings of power and assertiveness. In certain contexts, such as sports or competitive environments, the color red has been found to influence competitive behavior and outcomes.
Appetite and Food: Red is often used in food branding and advertising due to its potential to stimulate appetite. It has been suggested that the color red can increase hunger and evoke a sense of urgency in relation to food consumption.
Symbolism and Cultural Meanings: The meaning and symbolism of red can vary across different cultures and contexts. For example, in Western cultures, red can represent love, passion, and danger. In some Eastern cultures, it symbolizes luck, celebration, and happiness.

Fukushima inAutumn, Japan

Siquijor Island Sunset, The Philippines
GREEN
Nature and Harmony: Green is strongly linked to nature, plants, and the environment. It symbolizes growth, freshness, and vitality. Being surrounded by greenery or even looking at the color green can evoke feelings of peace, harmony, and balance.
Relaxation and Calmness: Green has a calming effect on the mind and body. It is believed to have a positive impact on stress reduction and can help to create a sense of relaxation and tranquility. Many people find spending time in nature or engaging with green spaces to be rejuvenating.
Healing and Renewal: Green is often associated with healing and renewal. It is commonly used in healthcare settings as it is believed to promote a sense of well-being and aid in recovery. The color green can also symbolize new beginnings and a fresh start.
Balance and Harmony: Green is considered a harmonizing color that can bring balance and stability to our emotions and thoughts. It is often associated with the heart chakra in spiritual practices, representing love, compassion, and emotional equilibrium.
Growth and Renewal: As green is the color of plants and vegetation, it is often linked to growth, fertility, and abundance. It can inspire feelings of hope, optimism, and personal development. Green can be particularly motivating for those seeking progress and change in their lives.
Environment and Sustainability: With the increasing awareness of environmental issues, the color green has come to symbolize sustainability, eco-friendliness, and environmental consciousness. It is often used in branding and design to represent companies or products that prioritize environmental responsibility.
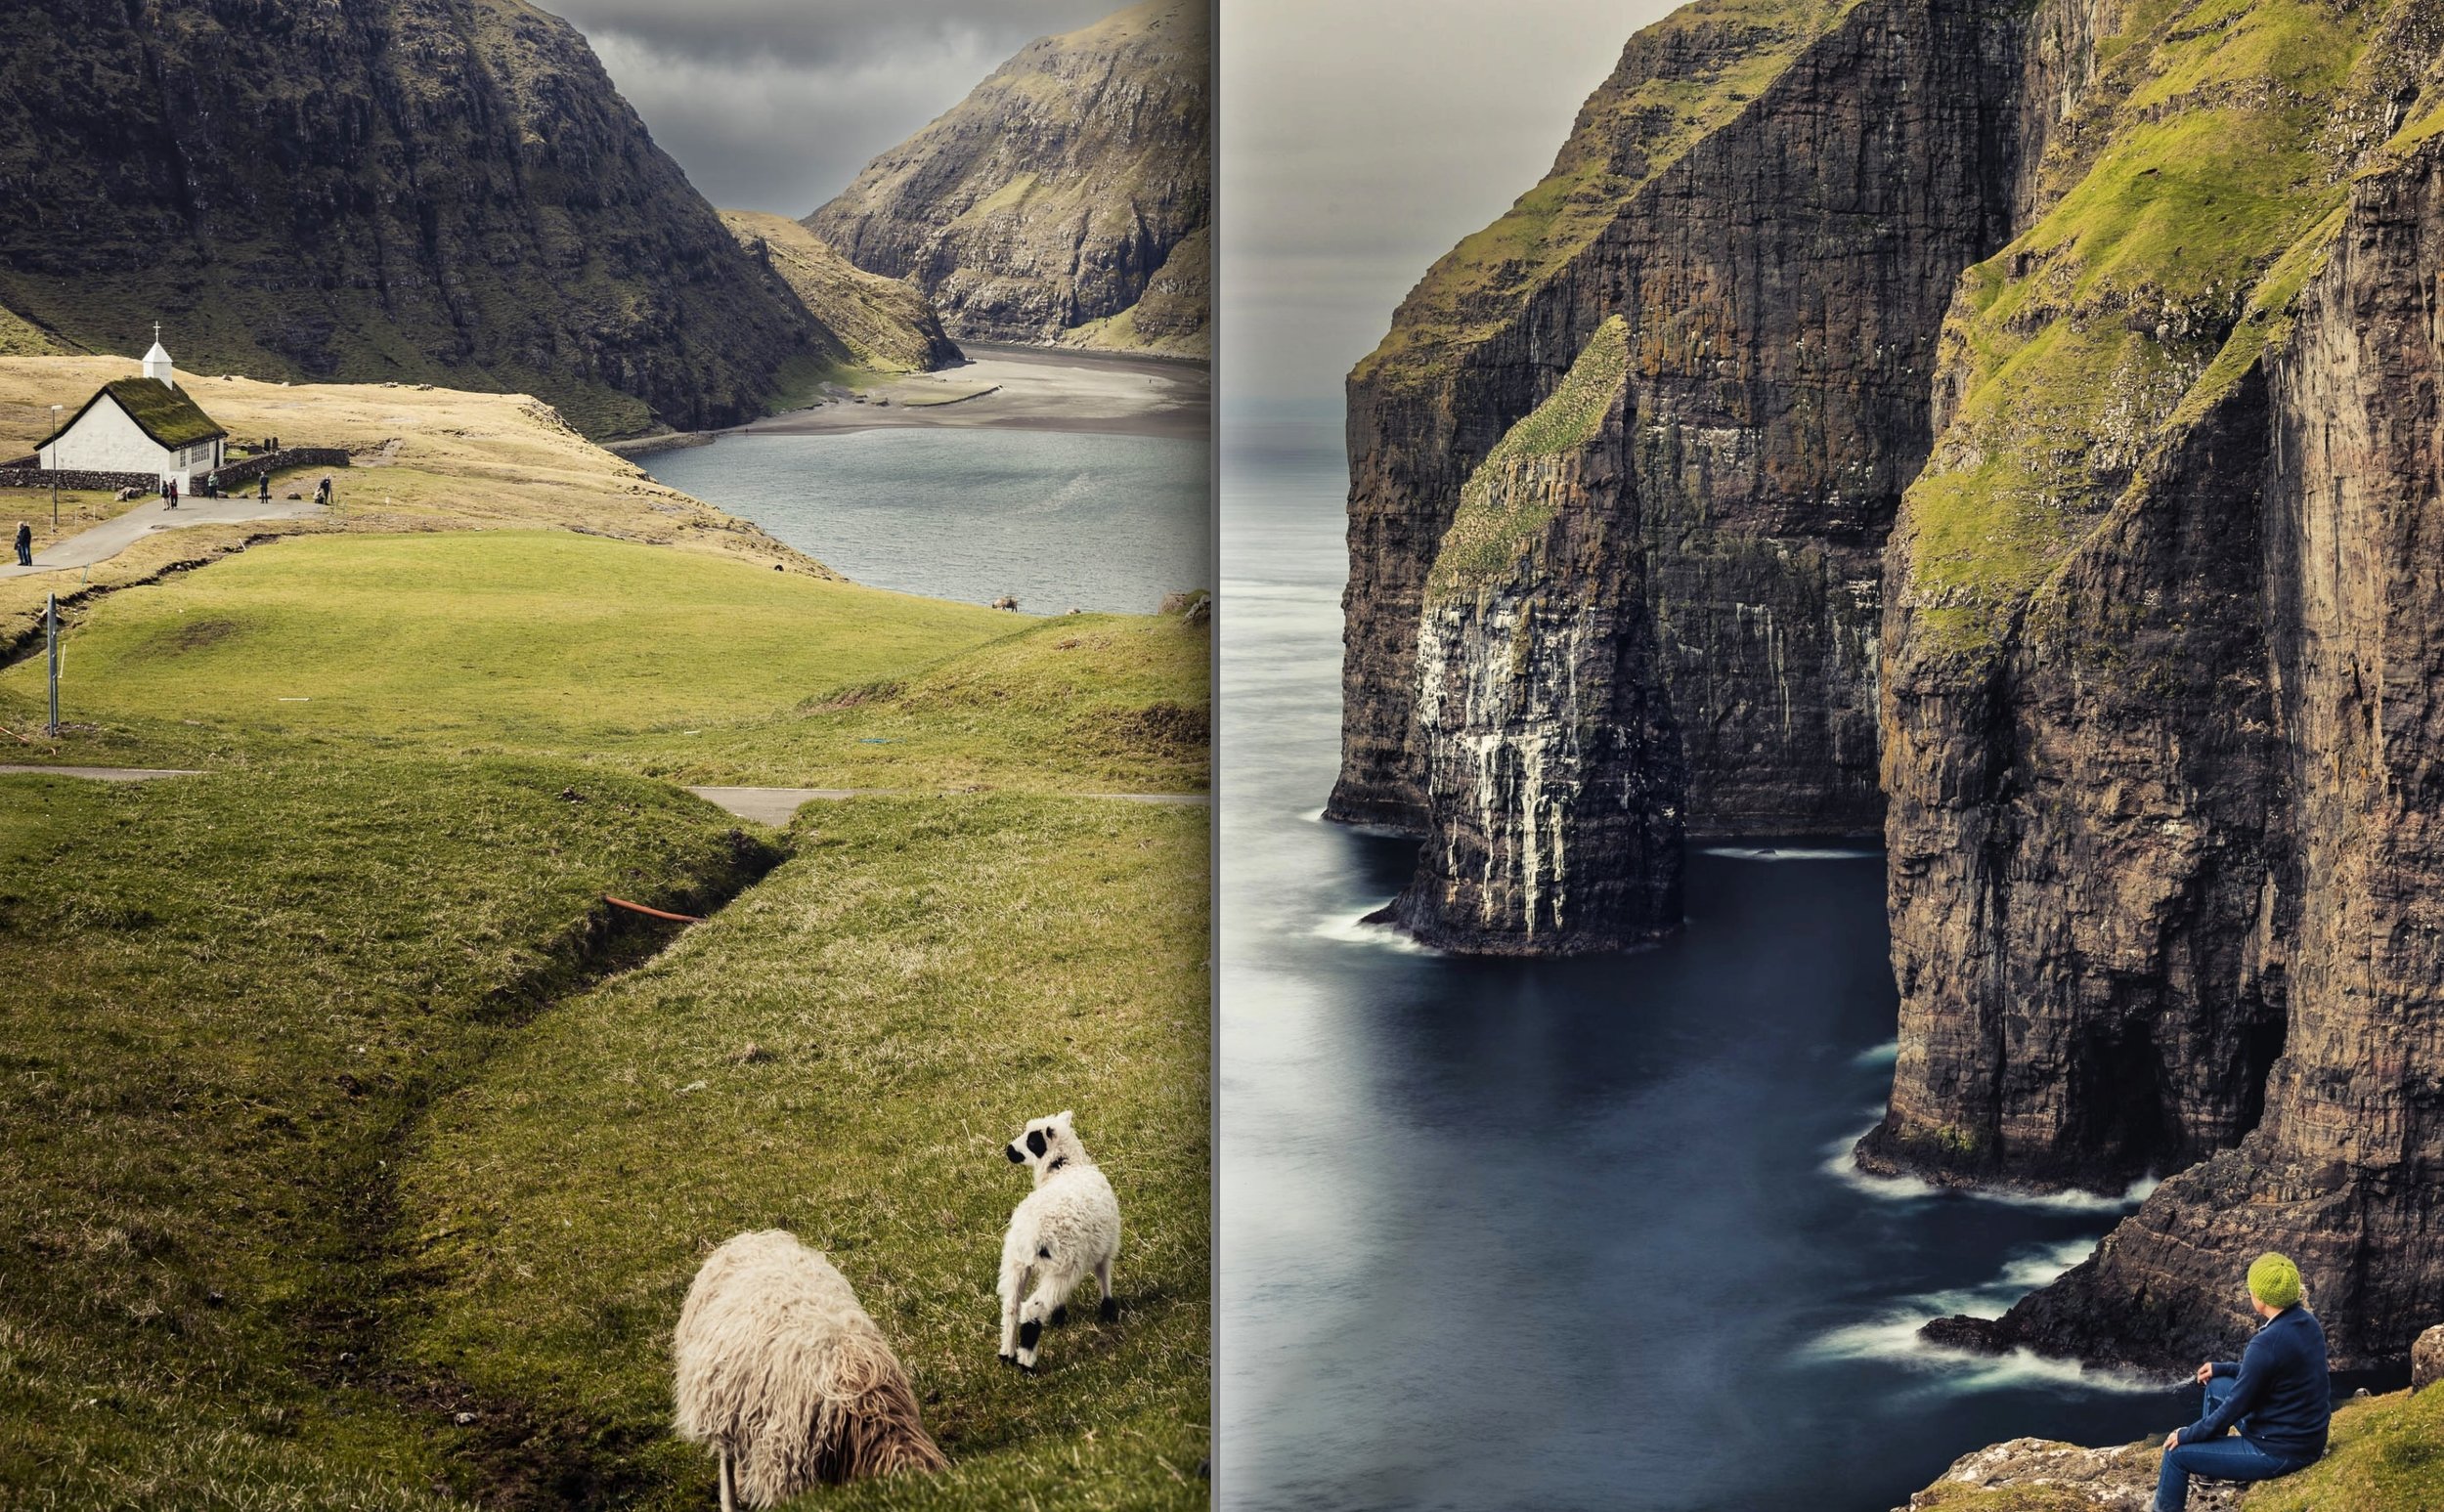
Faroe Islands in Summer
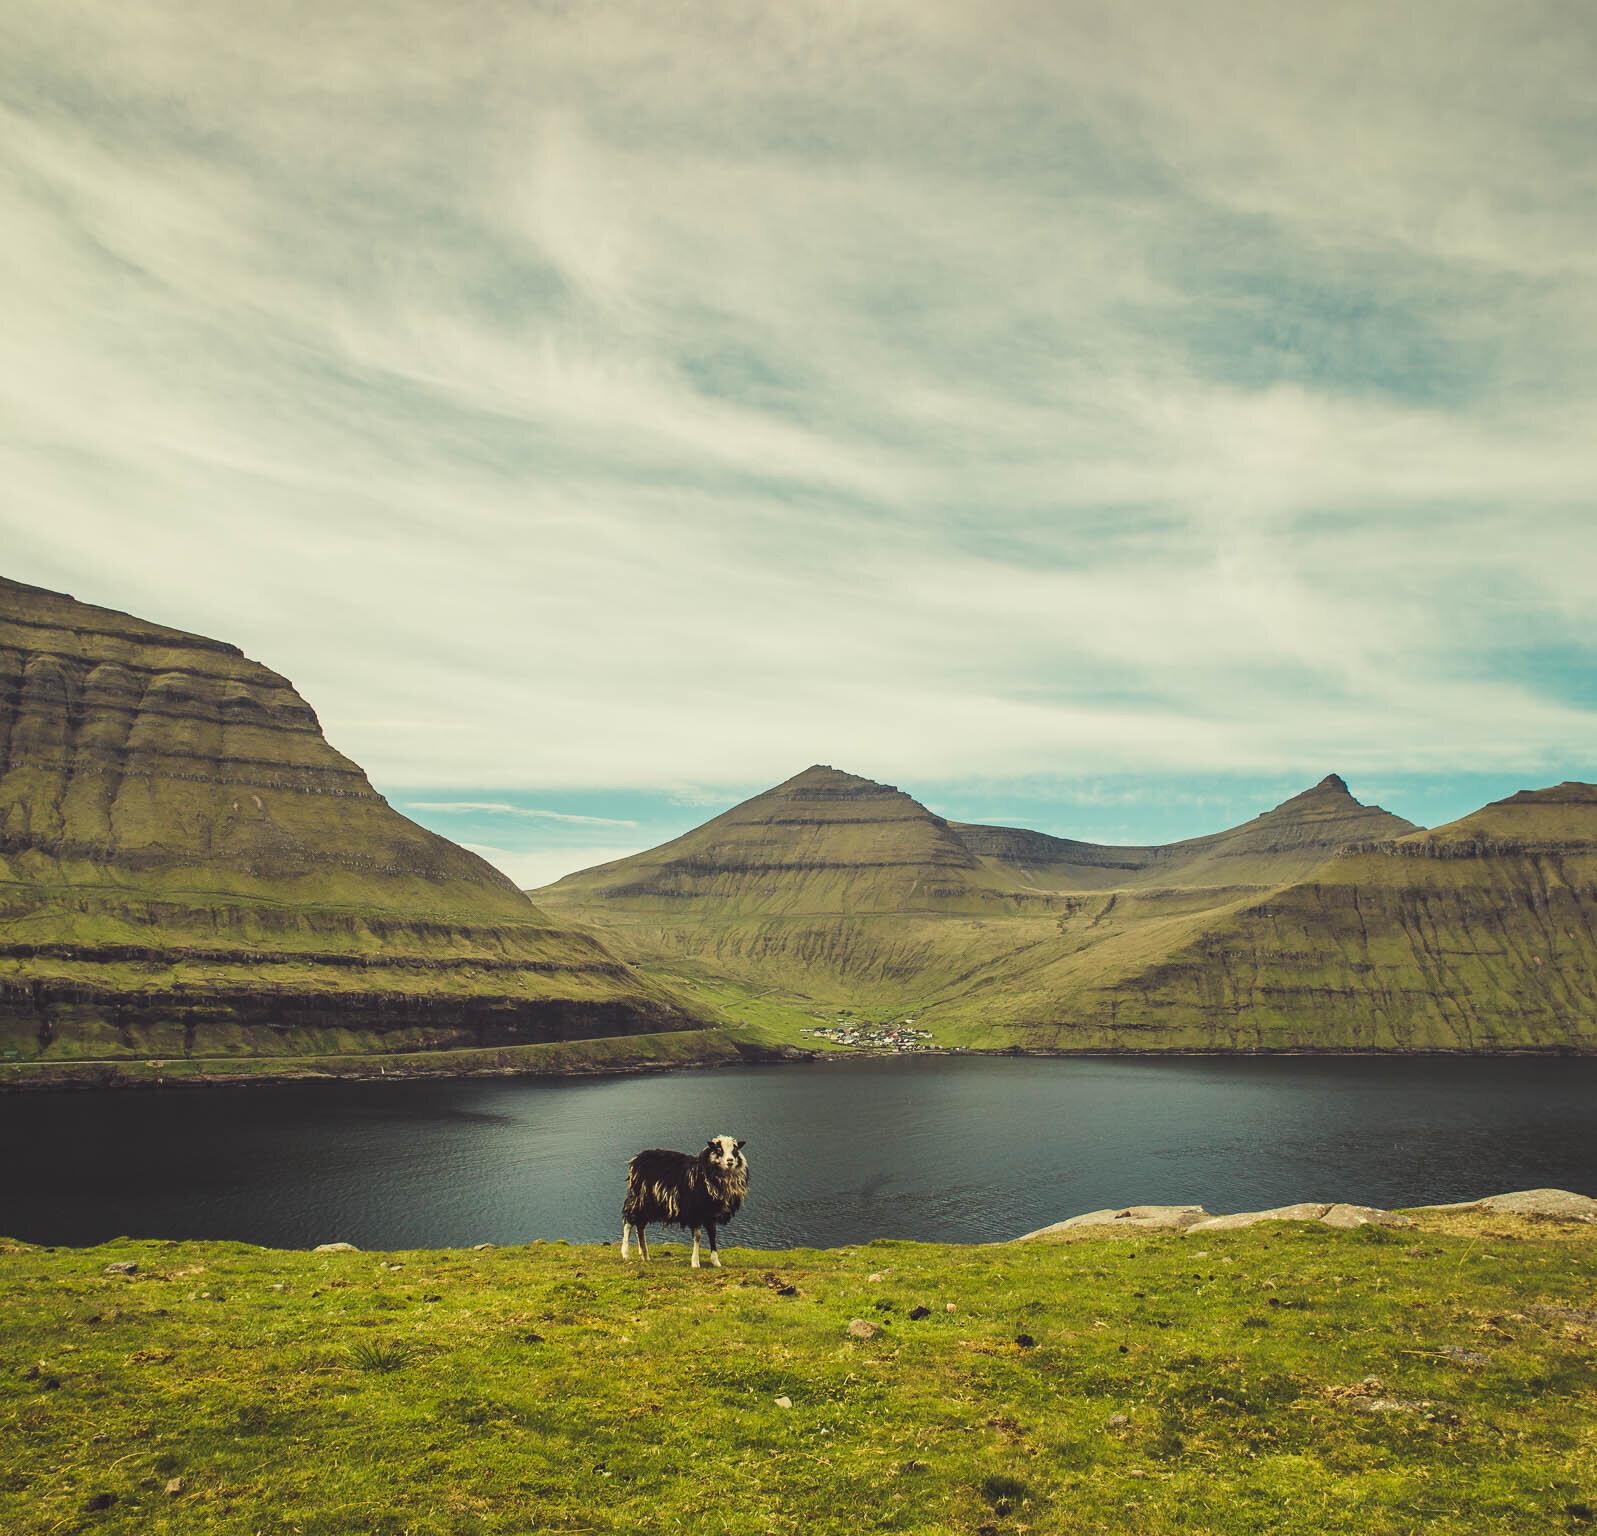
Faroe Islands Sheep
BLUE
Calming and Relaxing: Blue is often perceived as a soothing and calming color. It has a tranquilizing effect on the mind and can help reduce anxiety and stress. Many people find that being in blue surroundings or looking at the color blue can evoke a sense of serenity and promote a feeling of relaxation.
Trust and Security: Blue is often associated with feelings of trust, reliability, and security. It is frequently used in corporate logos and branding to create a sense of dependability and credibility. Blue can also be perceived as a symbol of loyalty and integrity.
Productivity and Focus: Blue is thought to stimulate productivity and enhance concentration. It is often recommended for work environments or study spaces as it can promote mental clarity and focus. However, using too much blue in an environment may lead to feelings of coldness or detachment.
Intelligence and Confidence: Blue is sometimes associated with intelligence and competence. It is often seen as a professional color and is commonly worn in business settings. People wearing blue attire may be perceived as more confident and capable.
Sadness and Melancholy: While blue is generally considered a positive color, it can also evoke feelings of sadness or melancholy. The phrase "feeling blue" is often used to describe a state of sadness or depression. The association of blue with these emotions may be due to cultural or individual factors.
Coolness and Serenity: Blue is frequently associated with coolness, such as the color of water or the sky. It can create a sense of spaciousness and openness. Lighter shades of blue are often used in bedrooms or spaces meant for relaxation due to their serene qualities.

Barangaroo, Sydney

Crown Casino, Sydney
PINK
Pink: Pink is often linked to femininity, tenderness, and nurturing. It can evoke feelings of love, compassion, and playfulness. Pink is generally seen as a calming color that promotes relaxation and soothes emotions. It can also represent sweetness and innocence.
Cherry Blossoms in April, Japan
YELLOW & ORANGE
Yellow: Yellow is often associated with feelings of happiness, optimism, and warmth. It can stimulate mental activity, creativity, and communication. Yellow can also grab attention and promote a sense of cheerfulness. However, excessive yellow can be overwhelming and may evoke feelings of caution or anxiety.
Orange: Orange combines the energy of red and the happiness of yellow. It is associated with enthusiasm, excitement, and warmth. Orange can create a sense of adventure and stimulate social interaction. It can also represent creativity and motivation. However, like yellow, too much orange can become overwhelming.
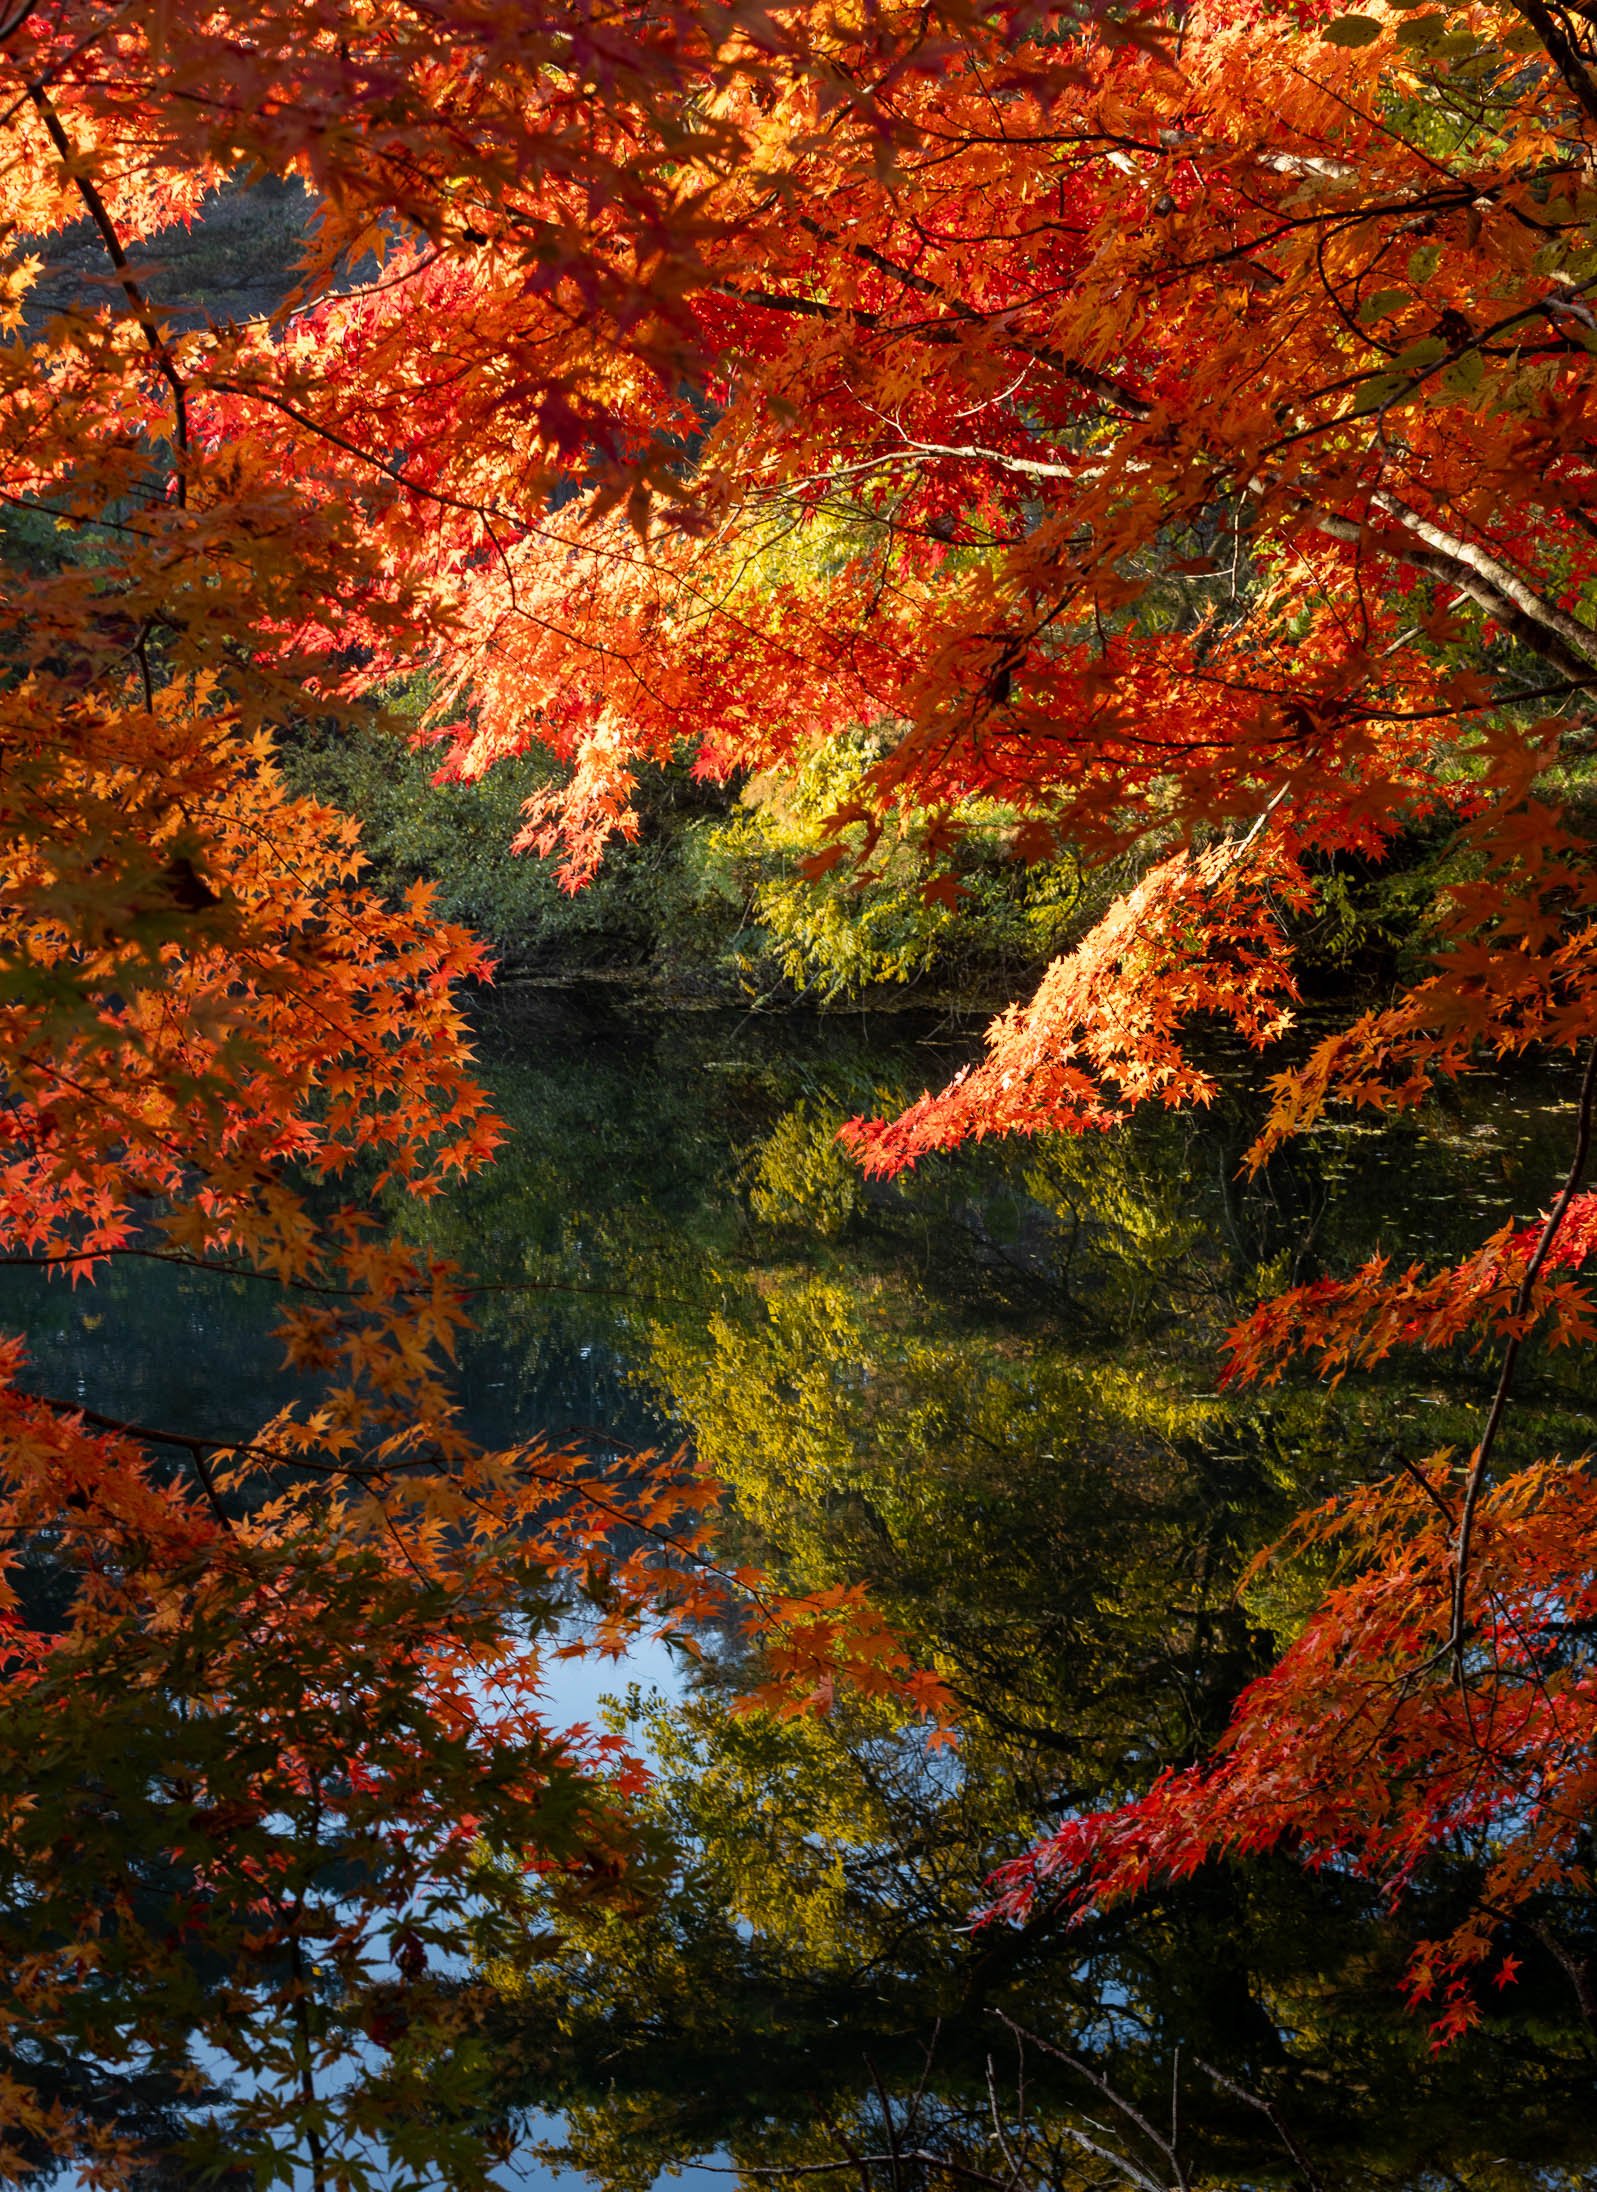
Fukushima, Japan
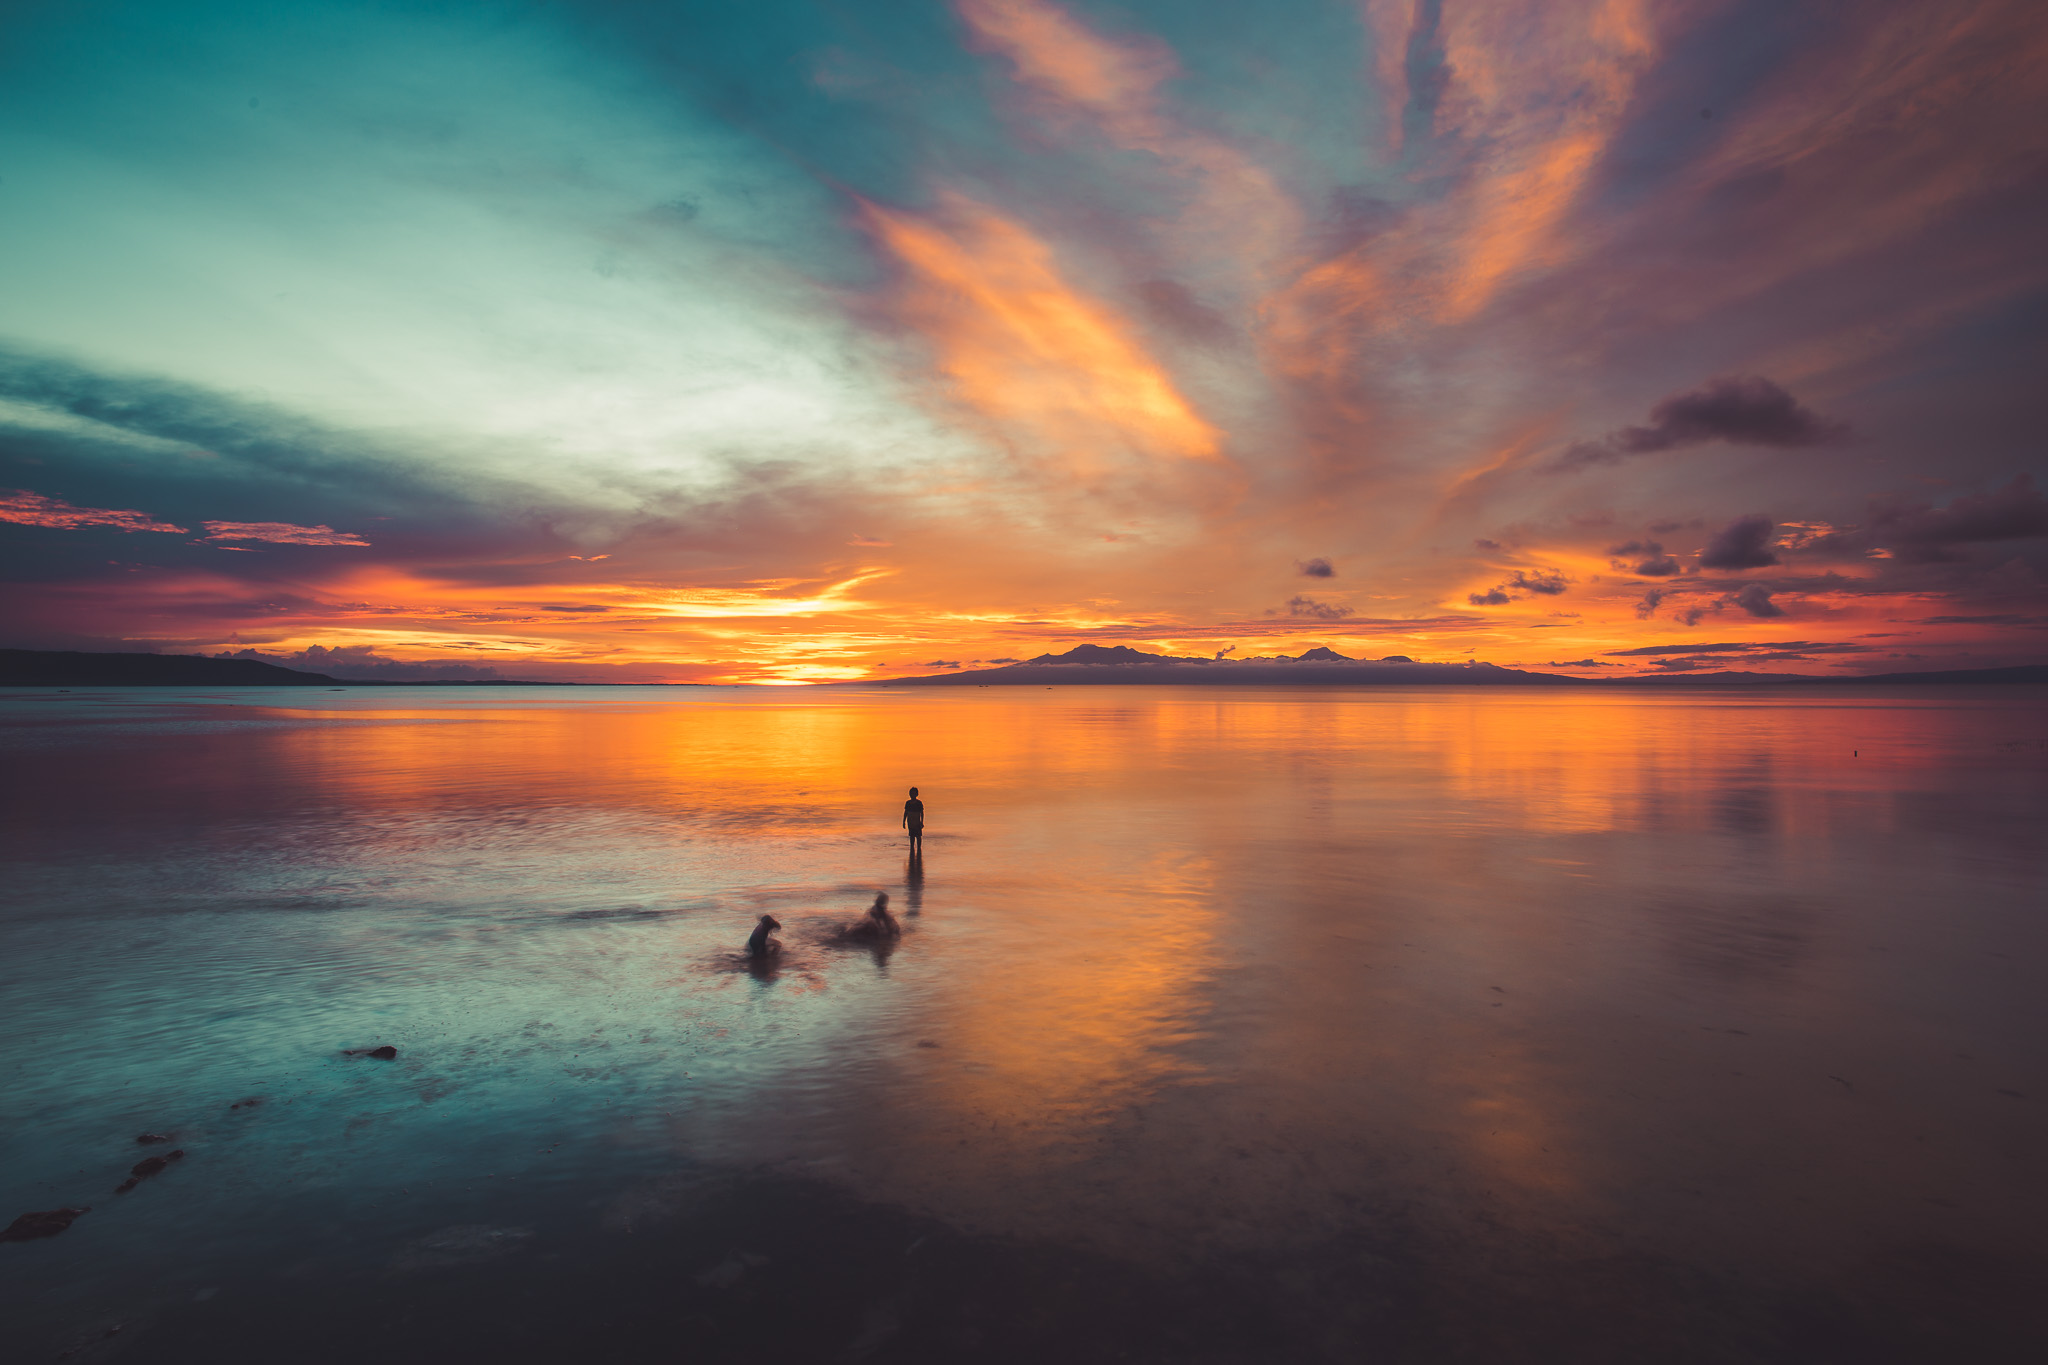
Siquijor, The Philippines
PURPLE & VIOLET
Violet: Violet is associated with spirituality, imagination, and creativity. It has a soothing and calming effect on the mind and is often linked to introspection and reflection. Violet can symbolize luxury, elegance, and wisdom. It is a color that stimulates the imagination and encourages inspiration.
Purple: Purple is often associated with royalty, power, and luxury. It combines the stability of blue with the energy of red. Purple can evoke feelings of creativity, spirituality, and mystery. It is also linked to introspection and intuition. Purple can be used to promote a sense of luxury or to stimulate artistic endeavors.

Sydney dusk

Asturias Spain, Sunset
BROWN
Brown: Brown is a color often associated with the earth, nature, and reliability. It can evoke a sense of warmth, stability, and comfort. Brown is often seen as a grounding color that promotes a feeling of security. It can also represent simplicity, practicality, and reliability.
Uluru, Australia
The Psychology of Shapes in Photography
The psychology of shapes in photography refers to the study of how different shapes and their characteristics can evoke certain emotions, perceptions, and reactions in viewers. Shapes are fundamental elements of visual composition and can play a significant role in influencing the psychological impact of a photograph. Here are some common shapes and their psychological associations:
It's important to note that the psychological impact of shapes can also be influenced by color, lighting, context, and personal experiences. Different individuals may interpret shapes in photography differently based on their cultural background and individual perceptions. Therefore, understanding the psychology of shapes can help photographers communicate specific emotions or messages effectively, but it's important to consider the overall composition and context of the image.

Fushimi Inari, Kyoto
Circle Shape
No angles means softer or milder. Circles often convey a sense of eternity as they keep looping back to the same point.
Circles: Circles are often associated with unity, harmony, and perfection. They can create a sense of calmness, balance, and continuity. Circles can also evoke feelings of protection and nurturing. In photography, circular shapes can be found in objects like sunsets, full moons, or round architectural elements.

Sado Island
Square & Rectangle Shape
Formed by straight lines and right angles which convey a sense of reliability and security. Feeling of safety and containment.
Squares and Rectangles: Squares and rectangles are associated with stability, order, and rationality. These shapes often convey a sense of reliability, balance, and structure. They can create a feeling of solidity and represent man-made objects or architectural elements.

Bondi Icebergs
Triangle Shape
A Polygon with 3 edges and 3 vertices which often depict an ambiance of energy and dynamic shape. Triangles also convey motion and direction.
Triangles: Triangles are dynamic shapes that can convey a sense of tension, energy, and movement. They are often associated with power, strength, and stability. In photography, triangles can be created by converging lines or by composing the image with triangular shapes, leading the viewer's eye towards a focal point.
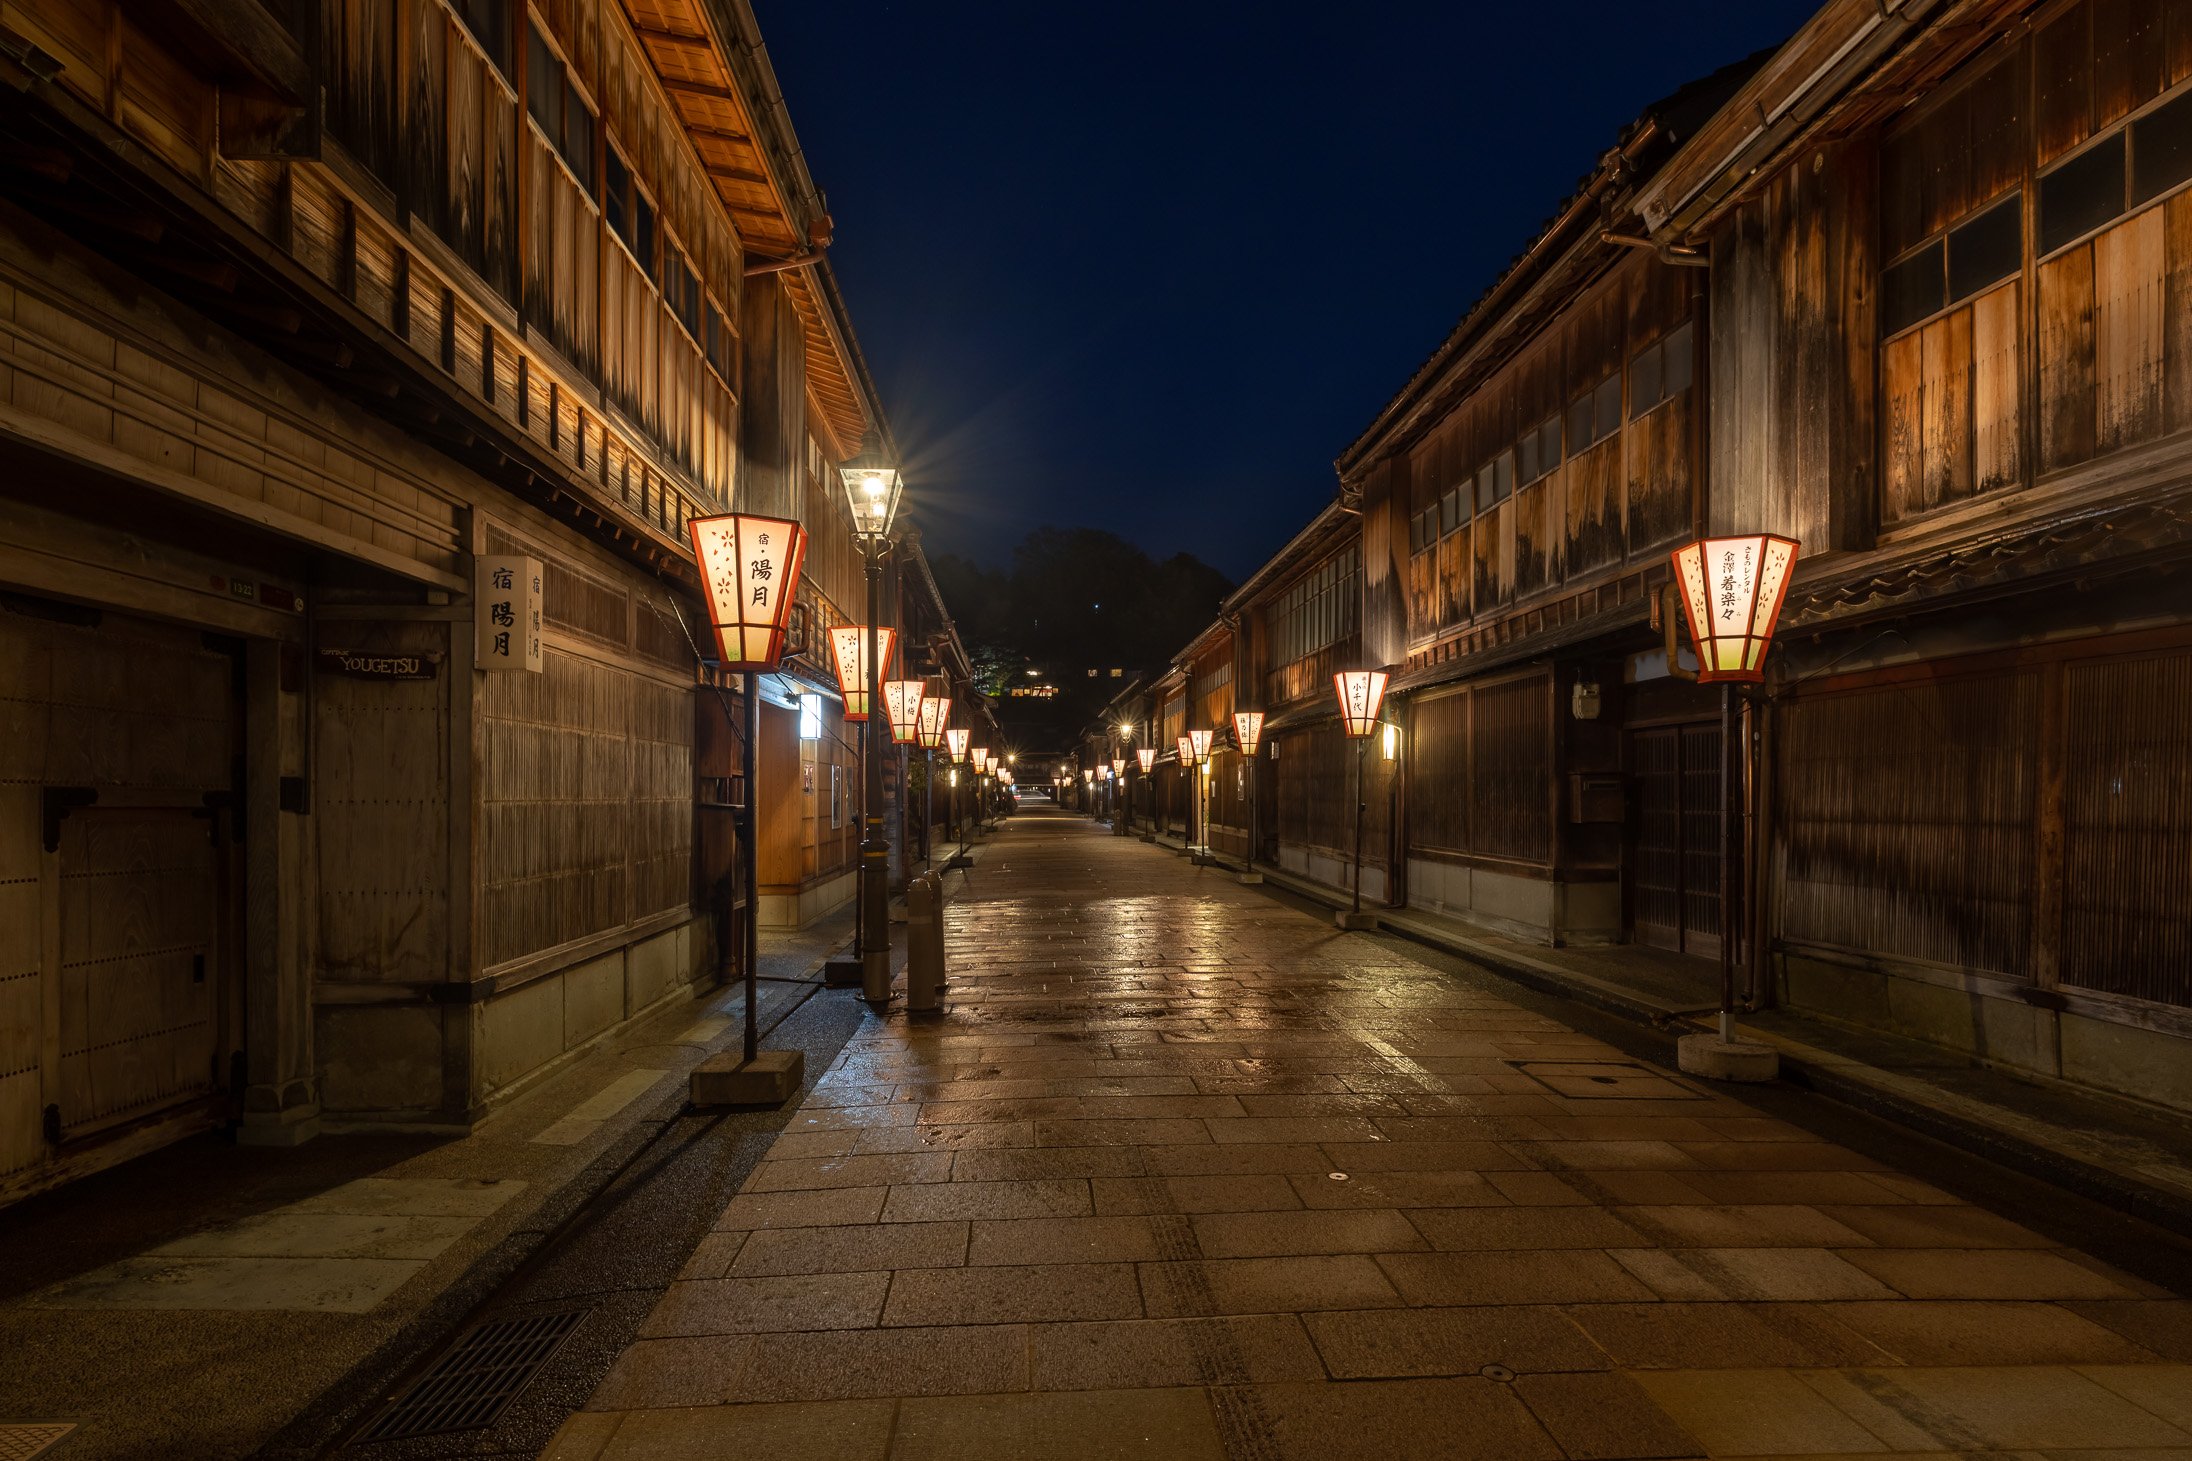
Tea District, Kanazawa, Japan
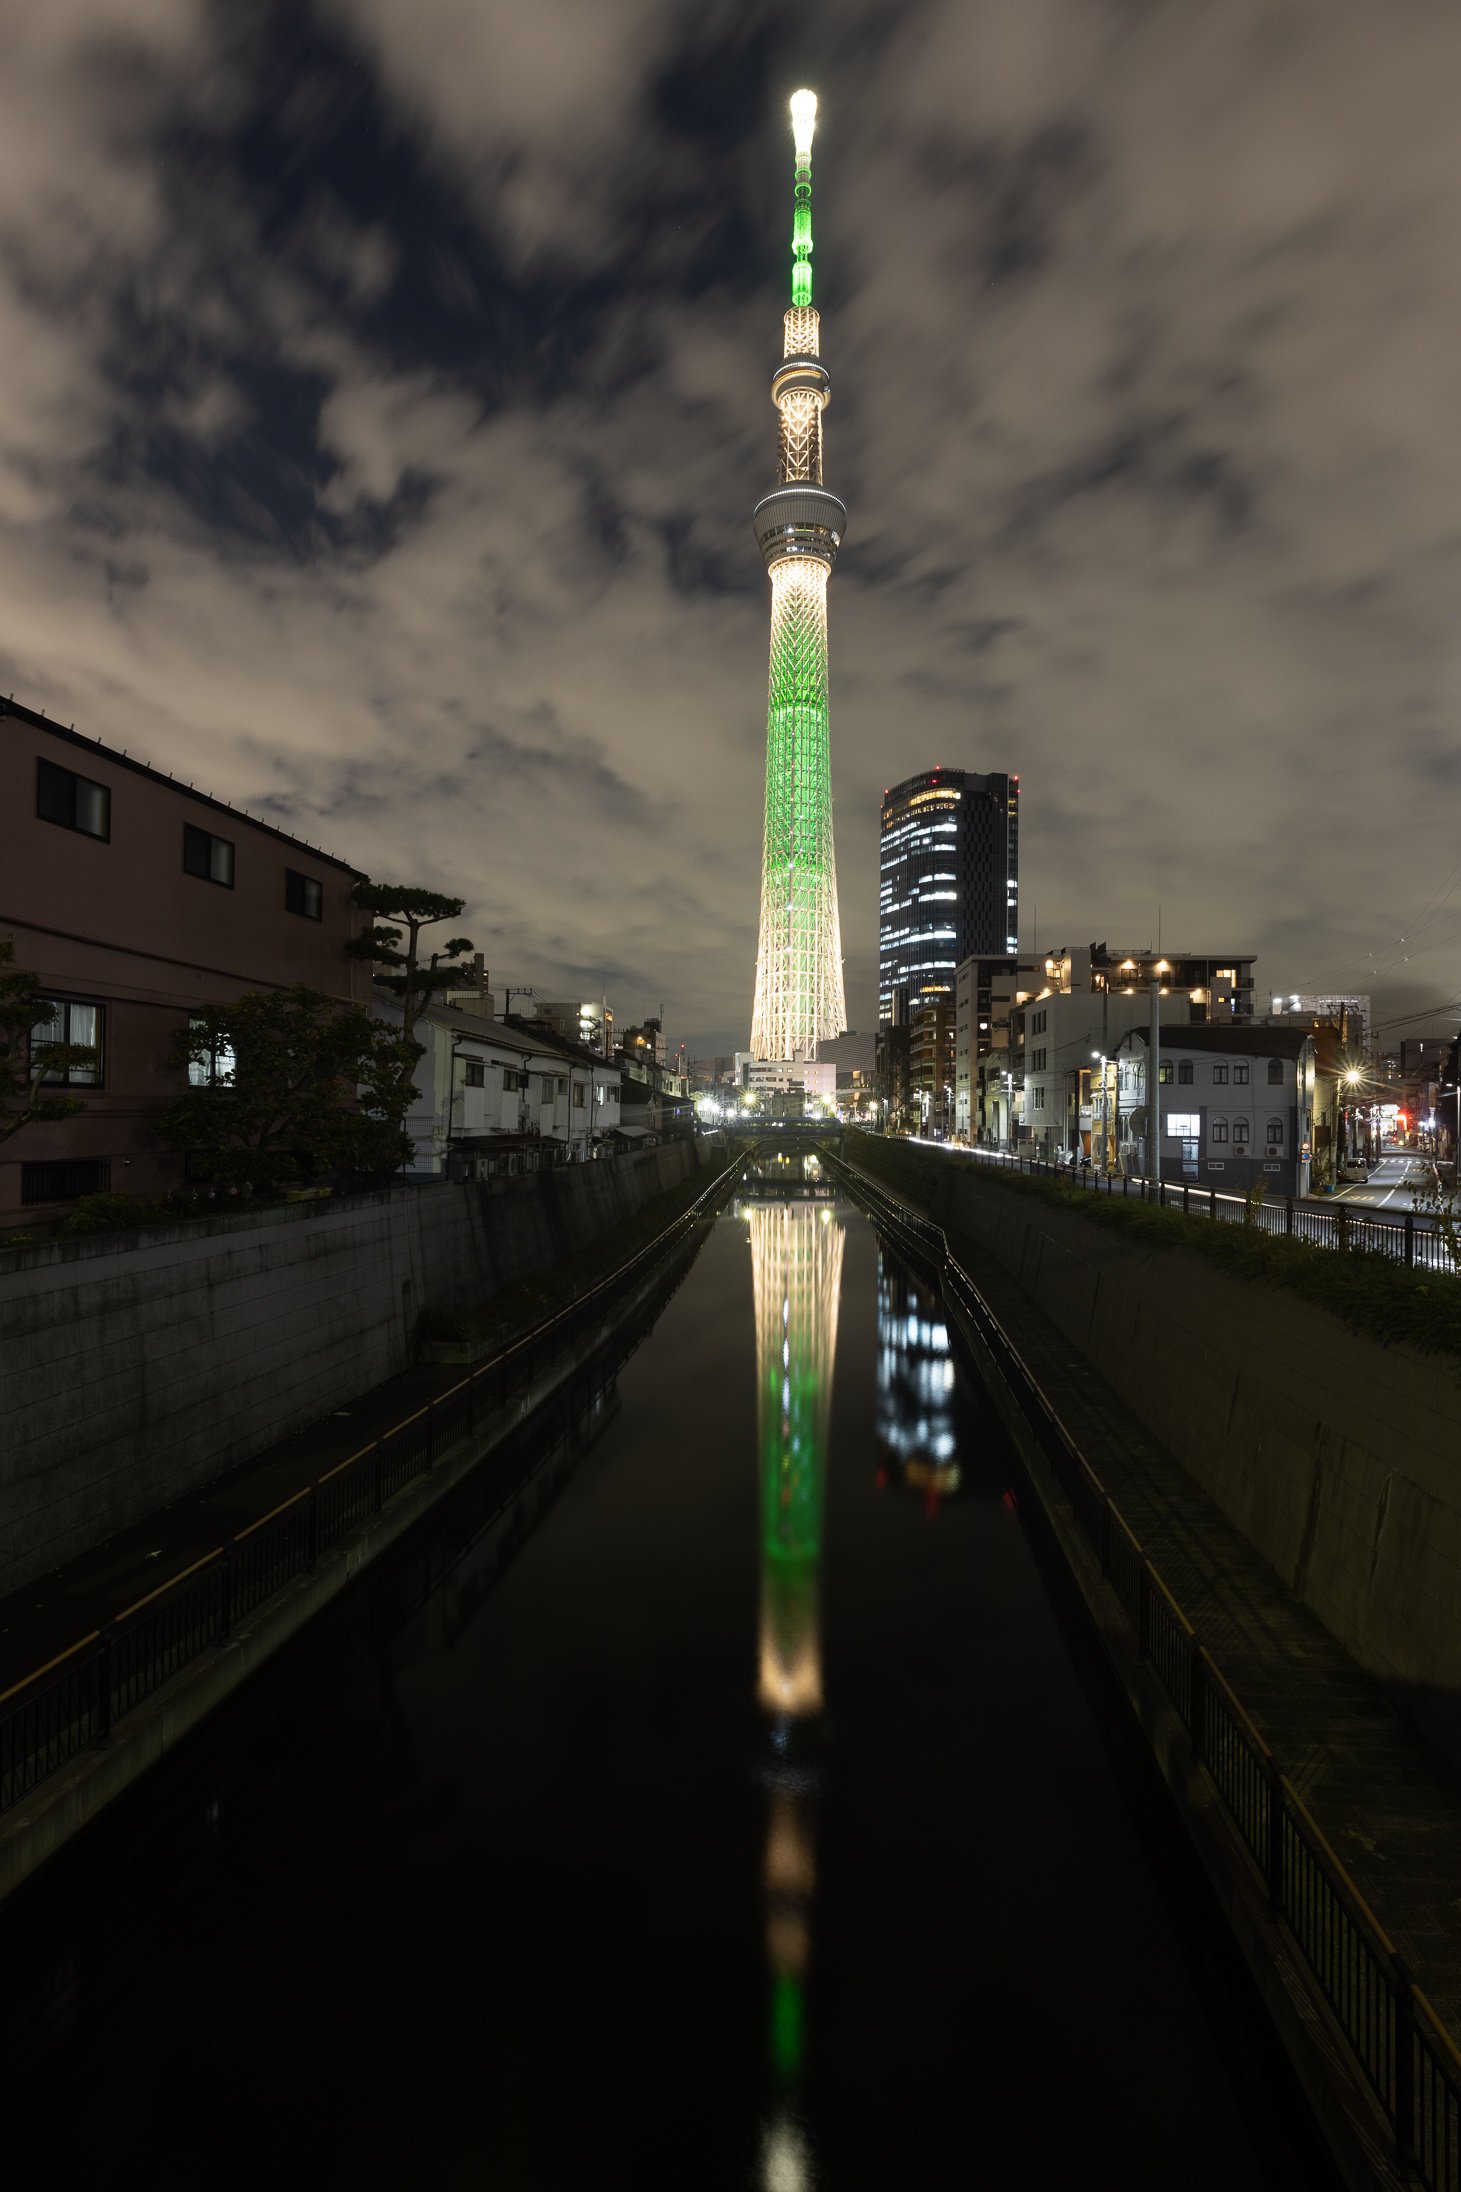
Sky Tree, Tokyo
Natural Shapes
They are more organic and represent elements we can relate to in the natural world such as flora and fauna. These shapes are often formed by angles and points.
Curved Lines: Curved lines are organic and flowing, often associated with grace, softness, and elegance. They can create a sense of tranquility and evoke emotions like calmness and relaxation. In photography, curved lines can be found in natural landscapes, flowing rivers, or the contours of a person's body.

Faroe Islands Poppy

Sado Island
Abstract Shapes
Often shapes that repeat themselves with or without order in a pattern. Sometimes creating order in the chaos or rhythm in the object or subject hard to decipher or contain.
Zigzag Lines: Zigzag lines are dynamic and create a sense of energy, excitement, and action. They can convey a feeling of chaos or instability. Zigzag lines can be used to add a sense of movement or tension in a photograph, capturing the viewer's attention and adding visual interest.
Geometric Patterns: Geometric patterns, such as grids or repeating shapes, can create a sense of order, precision, and efficiency. They often convey a modern and organized aesthetic. Geometric patterns can be found in architectural photography or in man-made structures.

Abstract in Tasmania

Sydney Sunset

Mastering Smartphone Photography
Mastering smartphone photography involves understanding the capabilities of your smartphone's camera and learning techniques to capture high-quality photos. Here are some tips to help you improve your smartphone photography skills:
Title: Mastering Smartphone Photography: A Comprehensive Guide to Capturing Stunning Photos
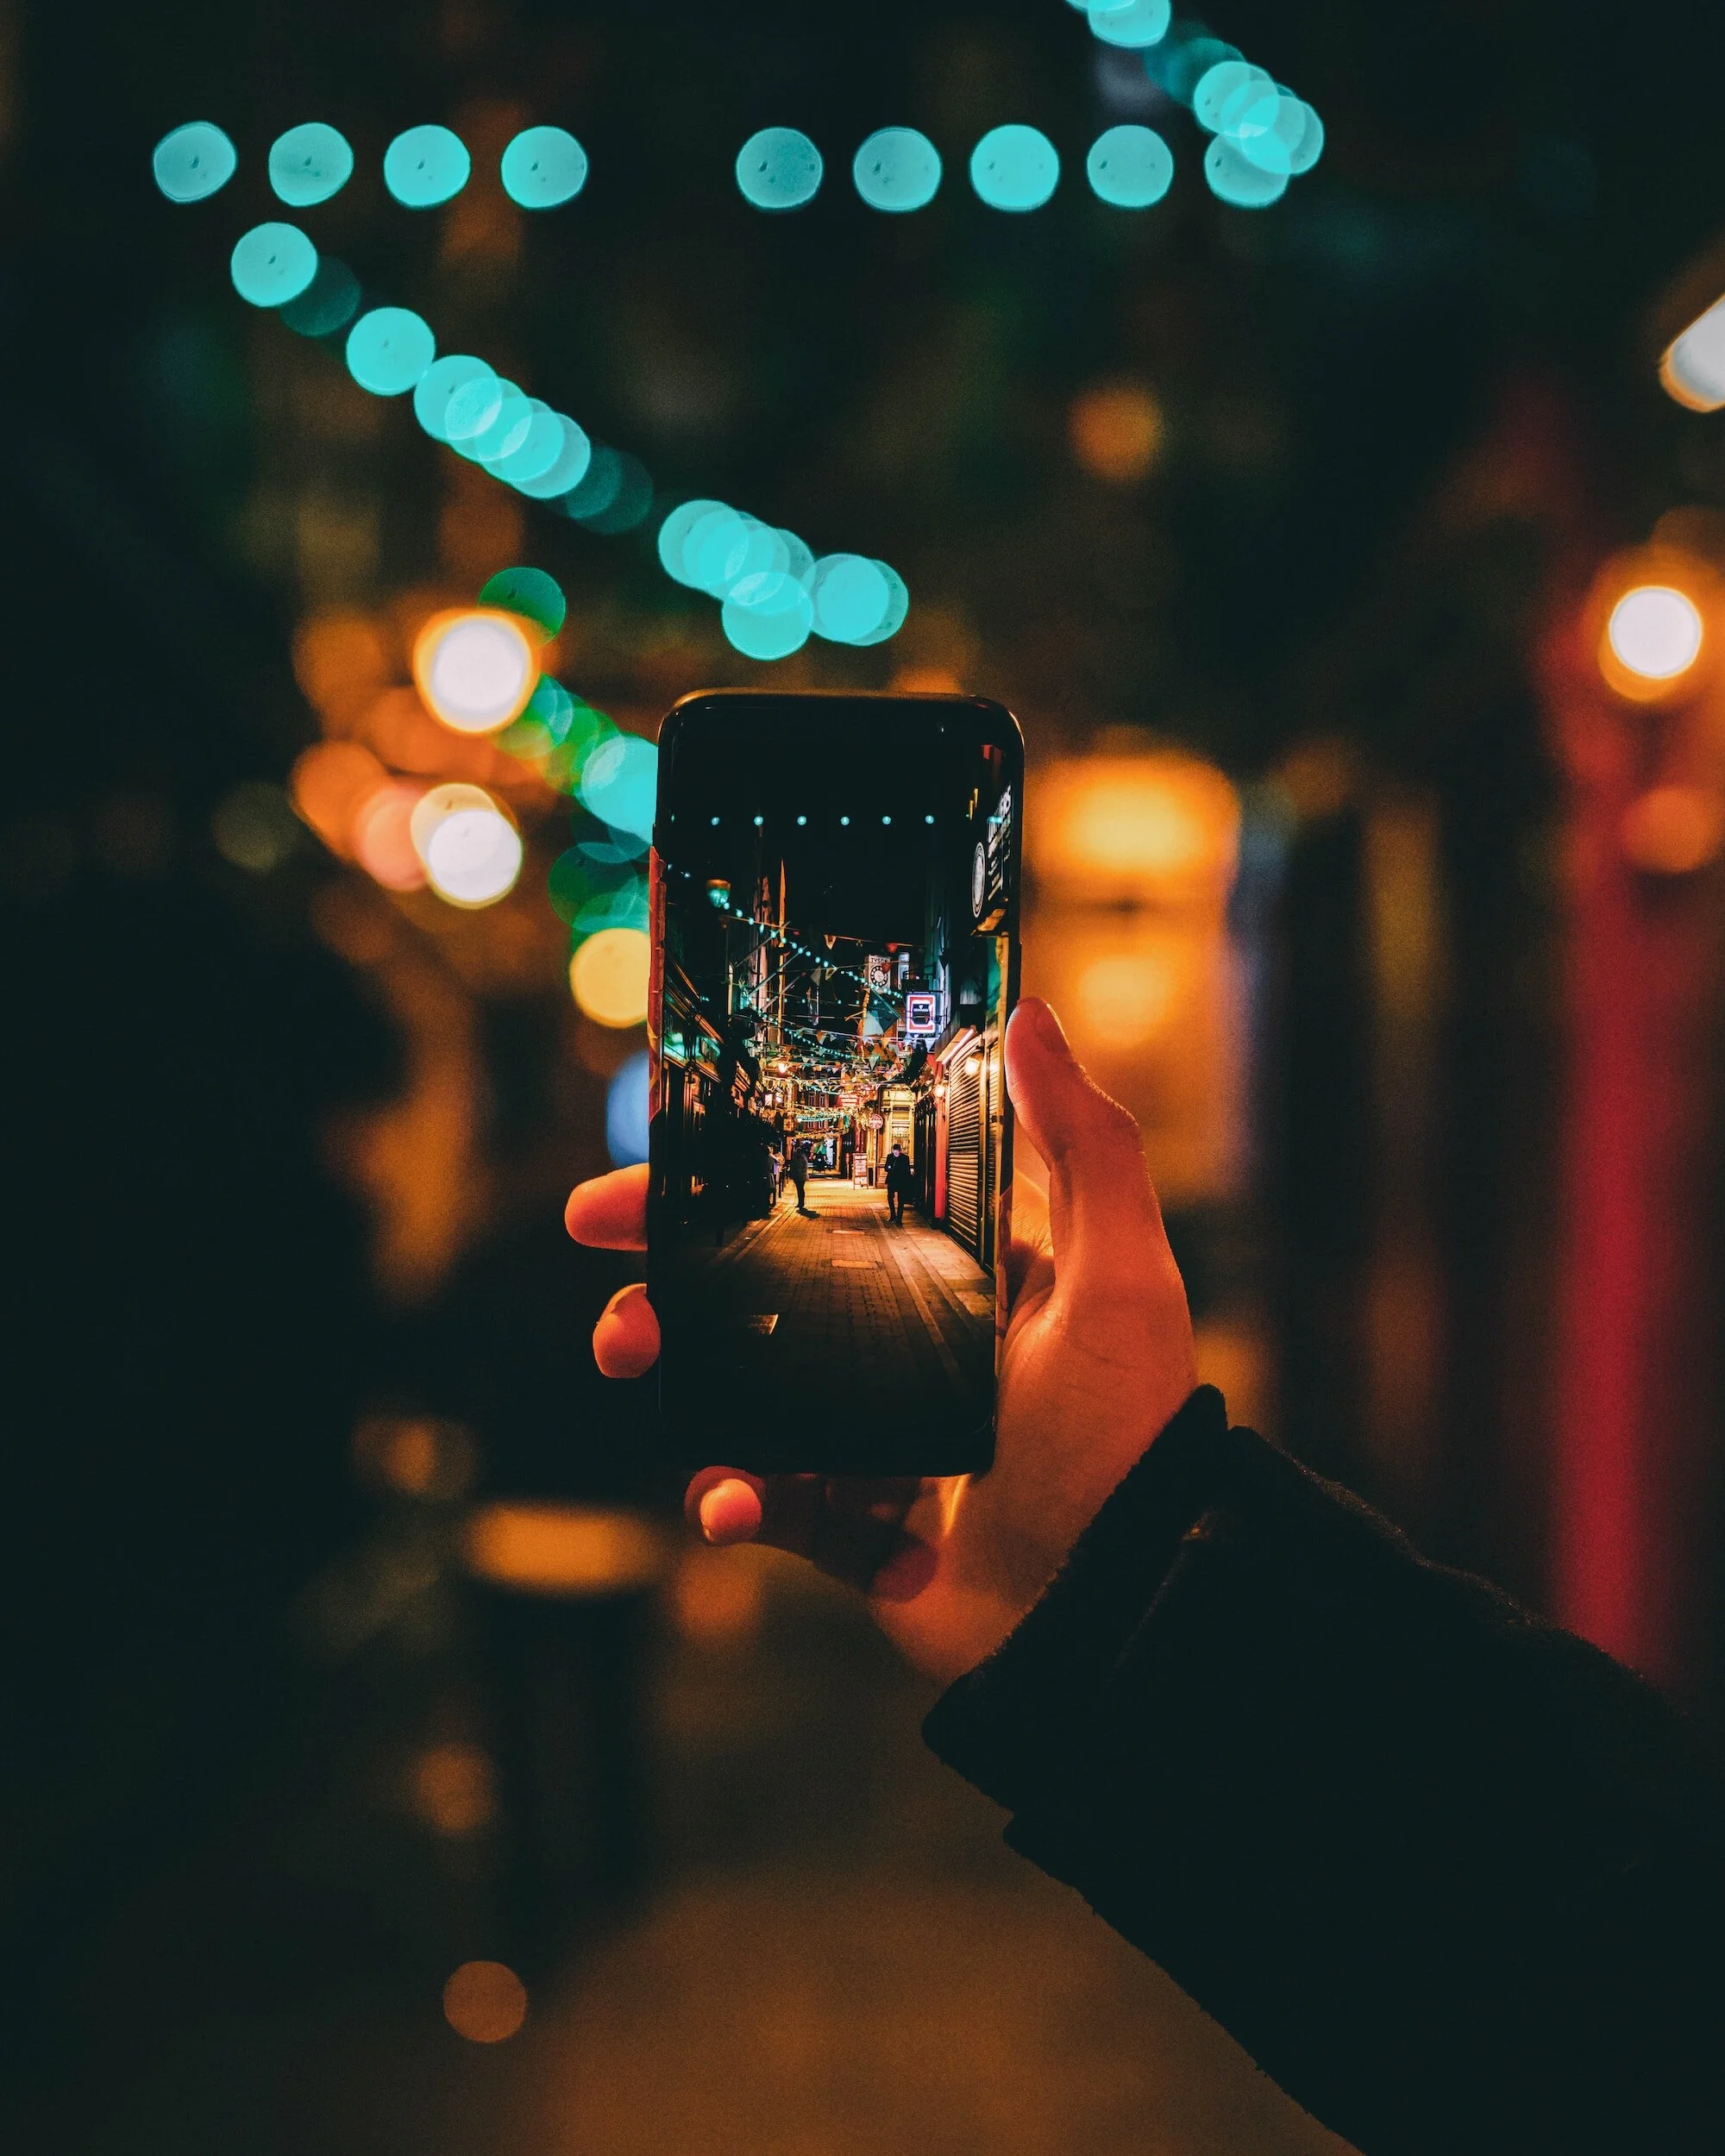
Mobile Camera Basics
Access: Open the app via the home screen, app drawer, or lock screen shortcuts.
Switching: Use the toggle icon to flip between the front (selfie) and rear cameras.
Zooming: Pinch the screen or use the slider. Physical movement is better than digital zoom, which lowers image quality.
Modes: Experiment with options like Portrait, Night, or Panorama to fit your specific environment

Shooting Modes:
Auto: The default setting for everyday shots; the camera handles all technical adjustments automatically.
Portrait: Blurs the background while keeping the subject sharp to create a professional, "depth-of-field" look.
Night: Uses long exposure and software to capture clear, detailed photos in low-light or dark environments.
Panorama: Stitches multiple shots together as you pan, perfect for wide landscapes or large groups.
Pro/Manual: Provides full control over ISO, shutter speed, and focus for experienced users.

Basic Technical Cheat Sheet
Manual Adjustments:
Exposure: Controls brightness. Tap the screen to set a focus point, then swipe up or down to manually lighten or darken the shot.
Focus: Tap your subject on the screen to sharpen it. Check your app for tracking or continuous autofocus features to keep moving subjects clear.
White Balance: Ensures colour accuracy based on lighting. Use Auto for general use, or select presets (like Daylight or Fluorescent) to match your environment.
Features and menus vary by model, so the best way to master your device is through manual exploration and experimentation.

Composition Cheat Sheet
Composition Techniques:
Balance & Structure: Use the Rule of Thirds (gridlines) for balance, and look for symmetry or patterns to create harmony.
Guiding the Eye: Use leading lines or natural framing to direct the viewer’s focus toward your subject.
Perspective: Change your point of view (high or low angles) and use negative space (empty areas) to make your subject pop.
Impact: Fill the frame to remove clutter, and use bold colour contrast or lighting to add depth.
Creativity: Don't be afraid to break the rules—the best shots often come from experimenting with unconventional styles to tell a story
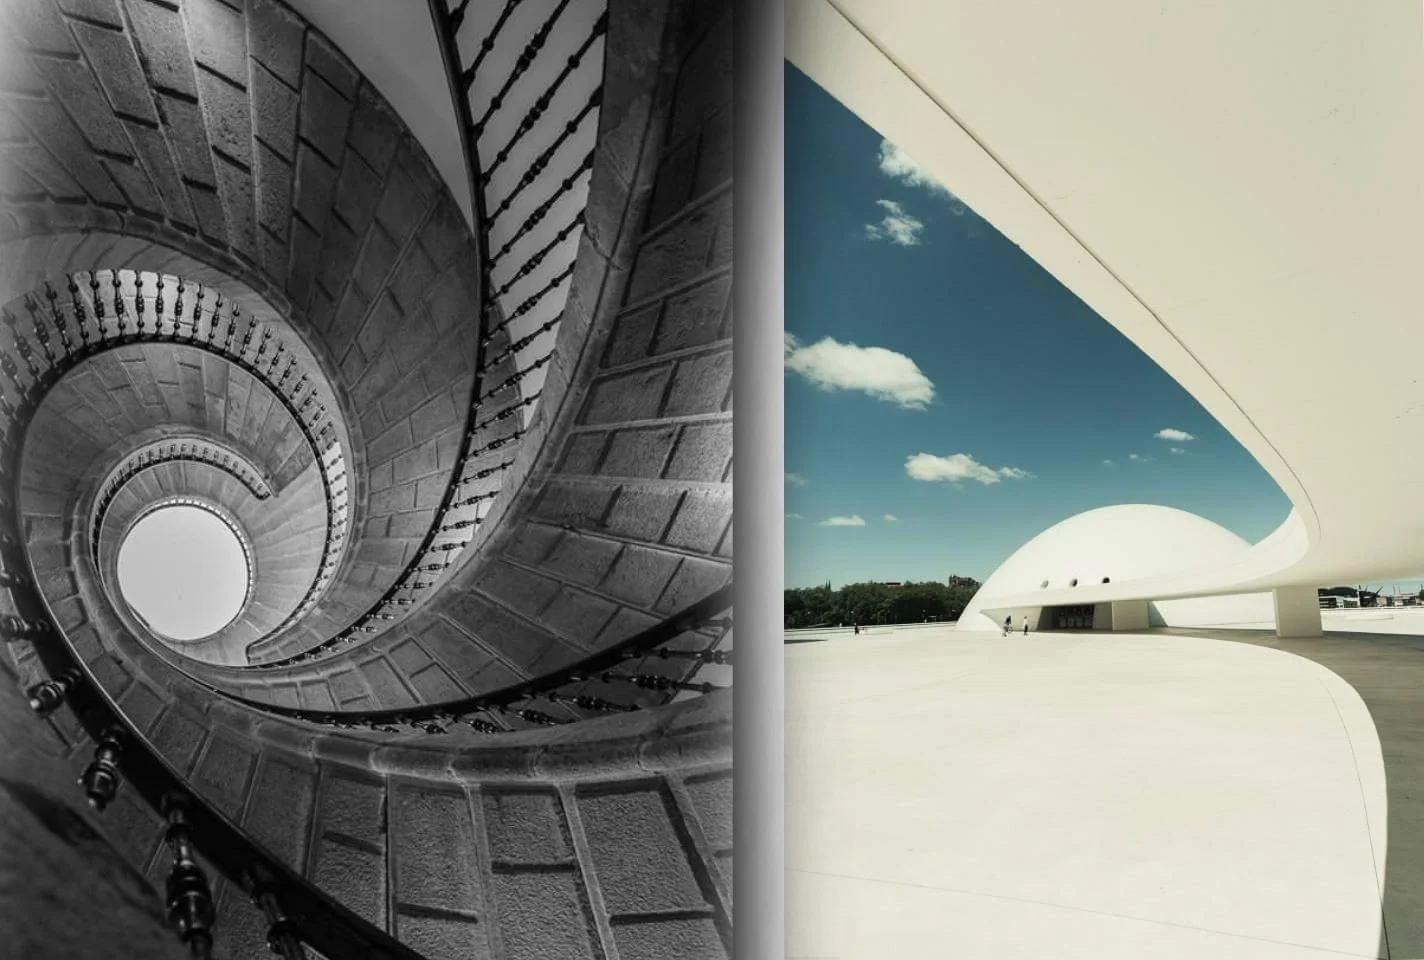
Spanish Architecture - Old & Modern
Using Natural Light
Quality & Timing: Aim for Golden Hour (soft/warm) or Blue Hour (cool/moody). Observe how direction and intensity change throughout the day.
Softening Light: Avoid harsh midday sun by moving to the shade or using a diffuser to spread light evenly.
Backlighting: Place the light behind your subject to create artistic silhouettes or a glowing "halo" effect.
Faroe Islands Landscapes
Solving Lighting Challenges
High Contrast: Use HDR mode or exposure blending to keep details in both the brightest highlights and darkest shadows.
Mixed Light: If indoor and outdoor lights clash, manually adjust your White Balance to fix weird colour casts.
Low Light: Stabilise your phone with a tripod, use a wider aperture (if your phone allows), and slightly increase ISO (but watch for grain).
Controlling Exposure
The Triangle: Balance Aperture, Shutter Speed, and ISO to find the perfect brightness.
Exposure Compensation: Use the manual slider (usually a sun icon) to quickly brighten (+) or darken (-) your shot.
Tools: Check your Histogram to ensure you aren't "clipping" (losing detail) in the blacks or whites.
Focus Control
Autofocus: Tap your subject on the screen to set the focus point; use face detection for better portraits.
Manual Focus: If your phone allows, use sliders to manually sharpen subjects that autofocus might miss (like objects behind glass).
Blurring the Background (Shallow Depth of Field)
Physical Distance: Move closer to your subject and keep the background distant to naturally blur the surroundings.
Software: Use Portrait Mode or third-party apps to simulate a professional blurred background (bokeh).
Pro-Tips for Sharp Photos
Stability: Use two hands, brace your elbows, or use a tripod to prevent blur from camera shake.
Focus Lock: Long-press your subject to lock focus so the camera doesn’t reset when you move.
Burst Mode: Hold the shutter button to take rapid-fire shots, increasing your chances of a sharp photo of moving subjects.
Top Editing Apps
Adobe Lightroom: Best for advanced tools like selective edits and professional presets.
Snapseed: A Google-developed app featuring a healing brush and perspective correction.
VSCO: Famous for film-inspired filters and a minimalist aesthetic.
Photoshop Express: A simplified tool for quick fixes like cropping and exposure.
Afterlight: Great for adding textures, overlays, and unique frames.
Essential Editing Techniques
Correction: Crop to improve composition and straighten tilted horizons.
Lighting & Color: Adjust Brightness and Contrast for impact, and tweak White Balance to fix unnatural skin tones or lighting.
Detail: Use Sharpening for crispness and Clarity to make textures pop.
Cleanup: Use Spot Healing to remove blemishes or distracting background objects.
Style: Apply Filters/Presets for a consistent look, but use moderation to keep the photo looking natural.

Snapseed Editing App
Creative Editing Techniques:
Blending & Composites: Use Double or Multiple Exposures to overlay images for a surreal effect. Combine various elements into a Collage to tell a story.
Dynamic Range & Detail: Use HDR to merge exposures for balanced light and shadow, and Panoramic Stitching to create ultra-wide views.
Motion & Focus: Use Long Exposure for silky water or light trails. Try Tilt-Shift to blur the top and bottom of a photo, making real-life scenes look like miniature models.
Styling: Use Color Grading to shift hues and tones for a specific mood. Enhance Reflections and Symmetry to add depth and visual balance to your shots.
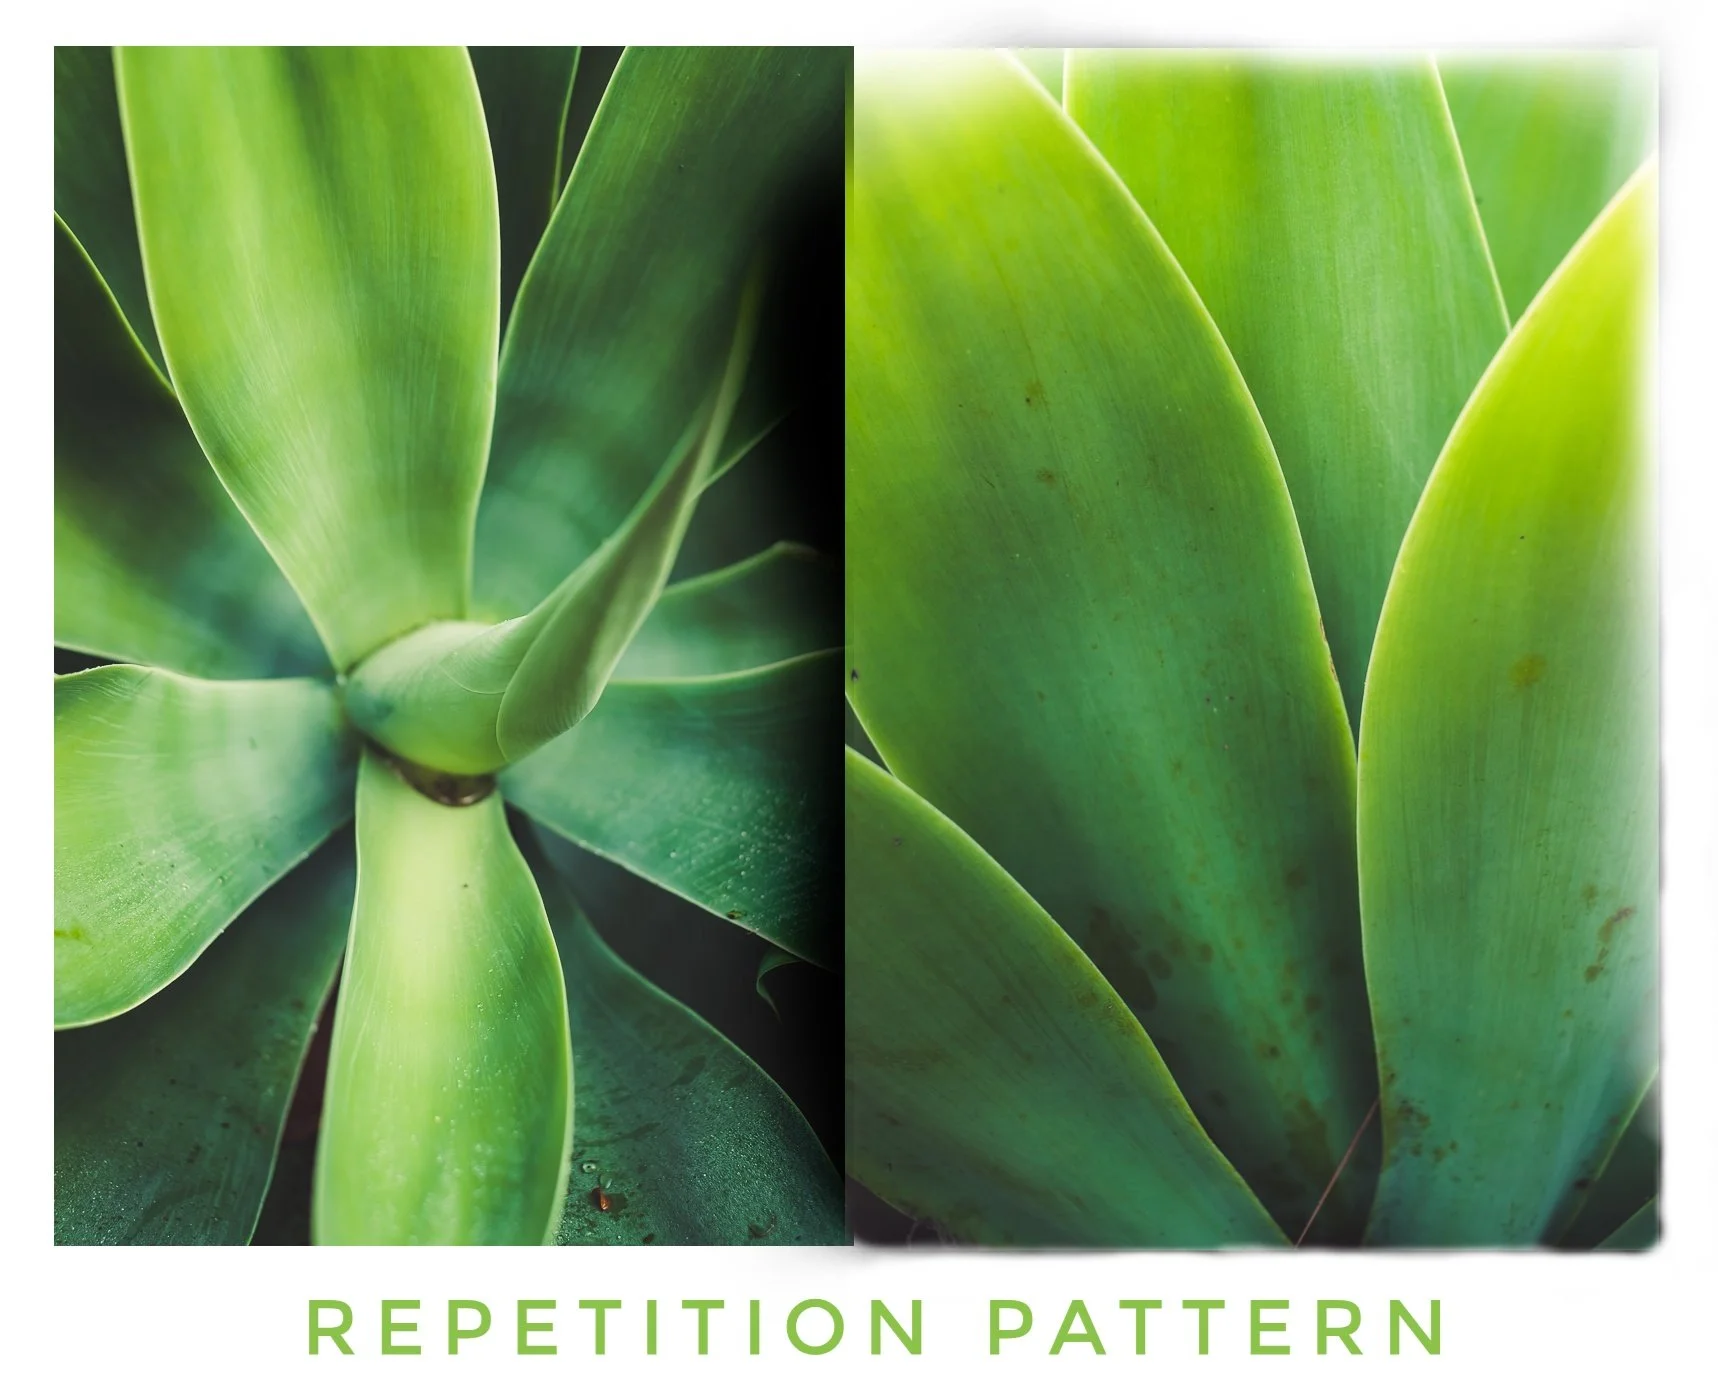
Selective Editing (Targeted Adjustments)
Selection Tools: Use the lasso, brush, or marquee tools to isolate the specific area you want to change.
Adjustment Layers: Apply changes like brightness or colour non-destructively, meaning you don't permanently alter the original photo.
Layer Masks: Use black paint on a mask to hide an effect and white paint to reveal it, allowing for pixel-perfect precision.
Refining: Use feathering or smoothing to blend the edges of your edits so they look natural rather than "Photoshopped."
Personalising with Text & Graphics
Design-Heavy Apps: Use Canva or Over for professional-looking templates, fonts, and graphic overlays.
Creative Software: Use Adobe Photoshop or Pixlr for high-level control over text placement, blending modes, and custom stickers.
Social Media: Quick options like Snapchat are great for adding fun, casual stickers and filters before saving to your gallery.
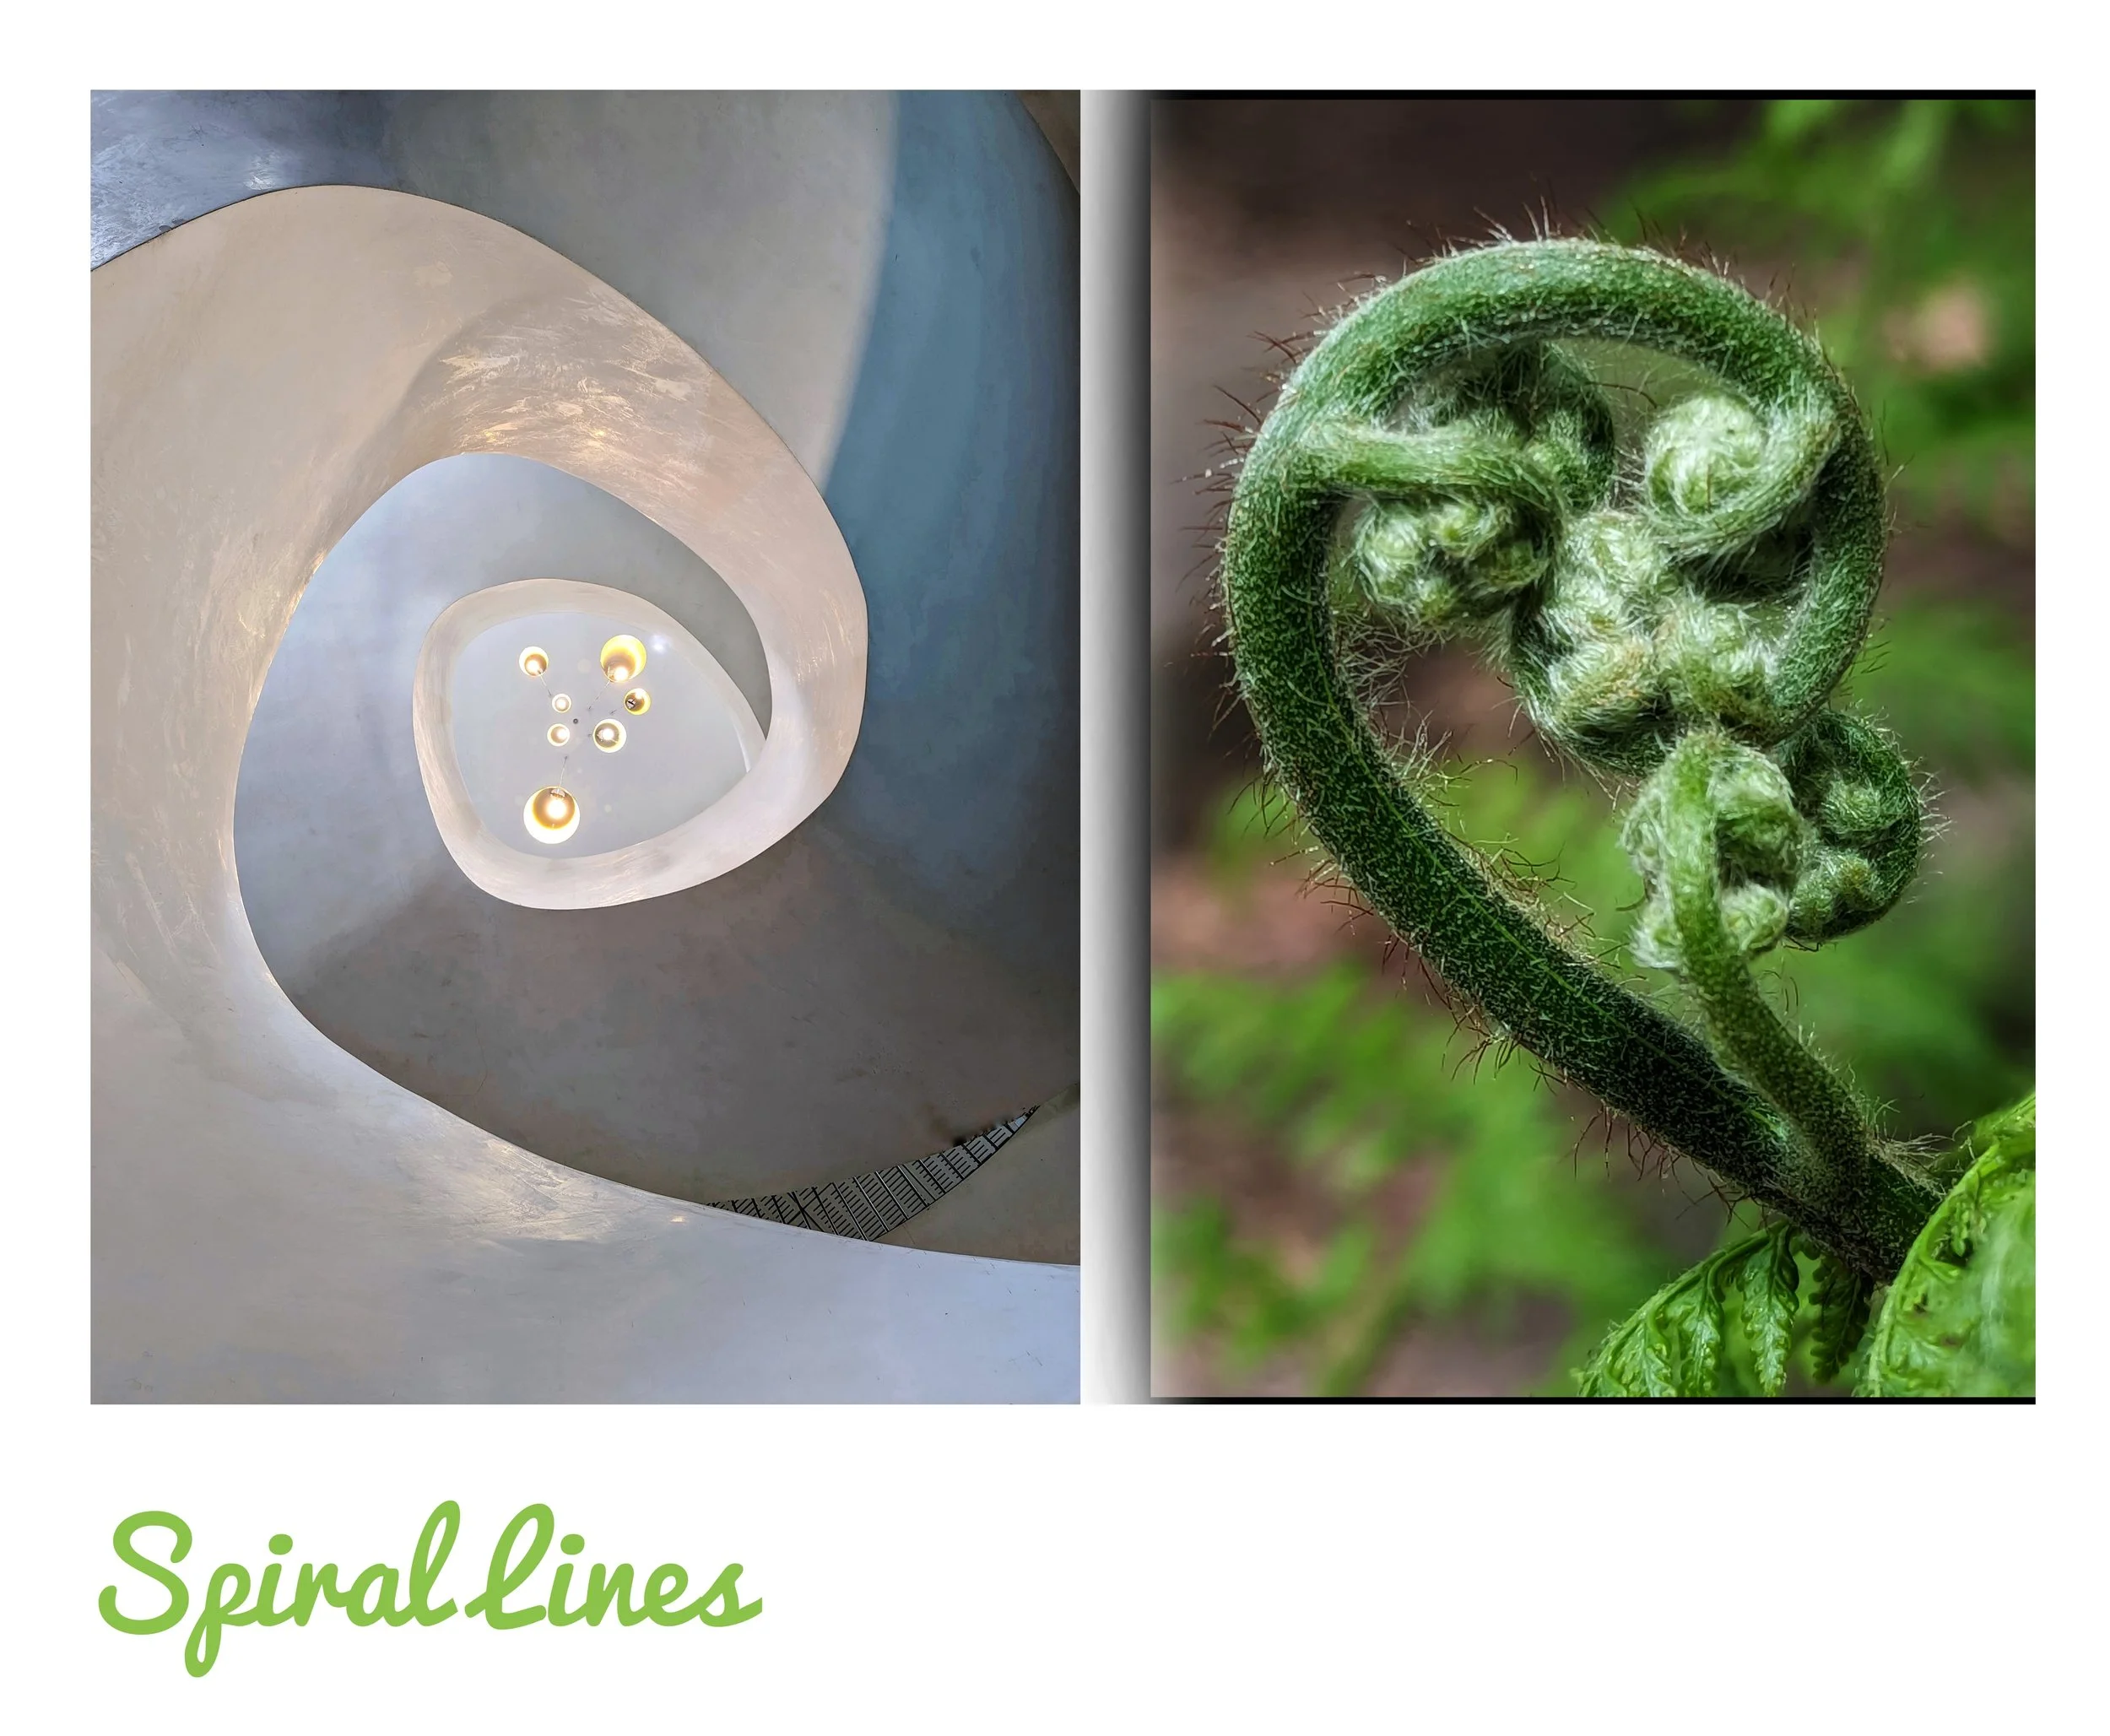
Capturing the Shot
Portrait Mode: Use this built-in feature to create a blurred background (bokeh). If your phone lacks it, use the Lens Blur tool in Snapseed during editing.
Posing & Direction: Talk to your subject to get natural expressions. Focus on candid moments and experiment with different angles to capture their personality.
Natural Lighting: Use soft, diffused light (like near a window or in shade). Avoid harsh, direct sunlight to prevent unflattering shadows.
Enhancing the Result
Skin & Features: Use Portrait editing apps to subtly retouch skin, remove blemishes, and brighten eyes.
Technical Tweaks: Adjust exposure and white balance specifically to ensure skin tones look accurate and healthy.
Styling: Apply filters to add mood, but use them sparingly so the subject remains the main focus.
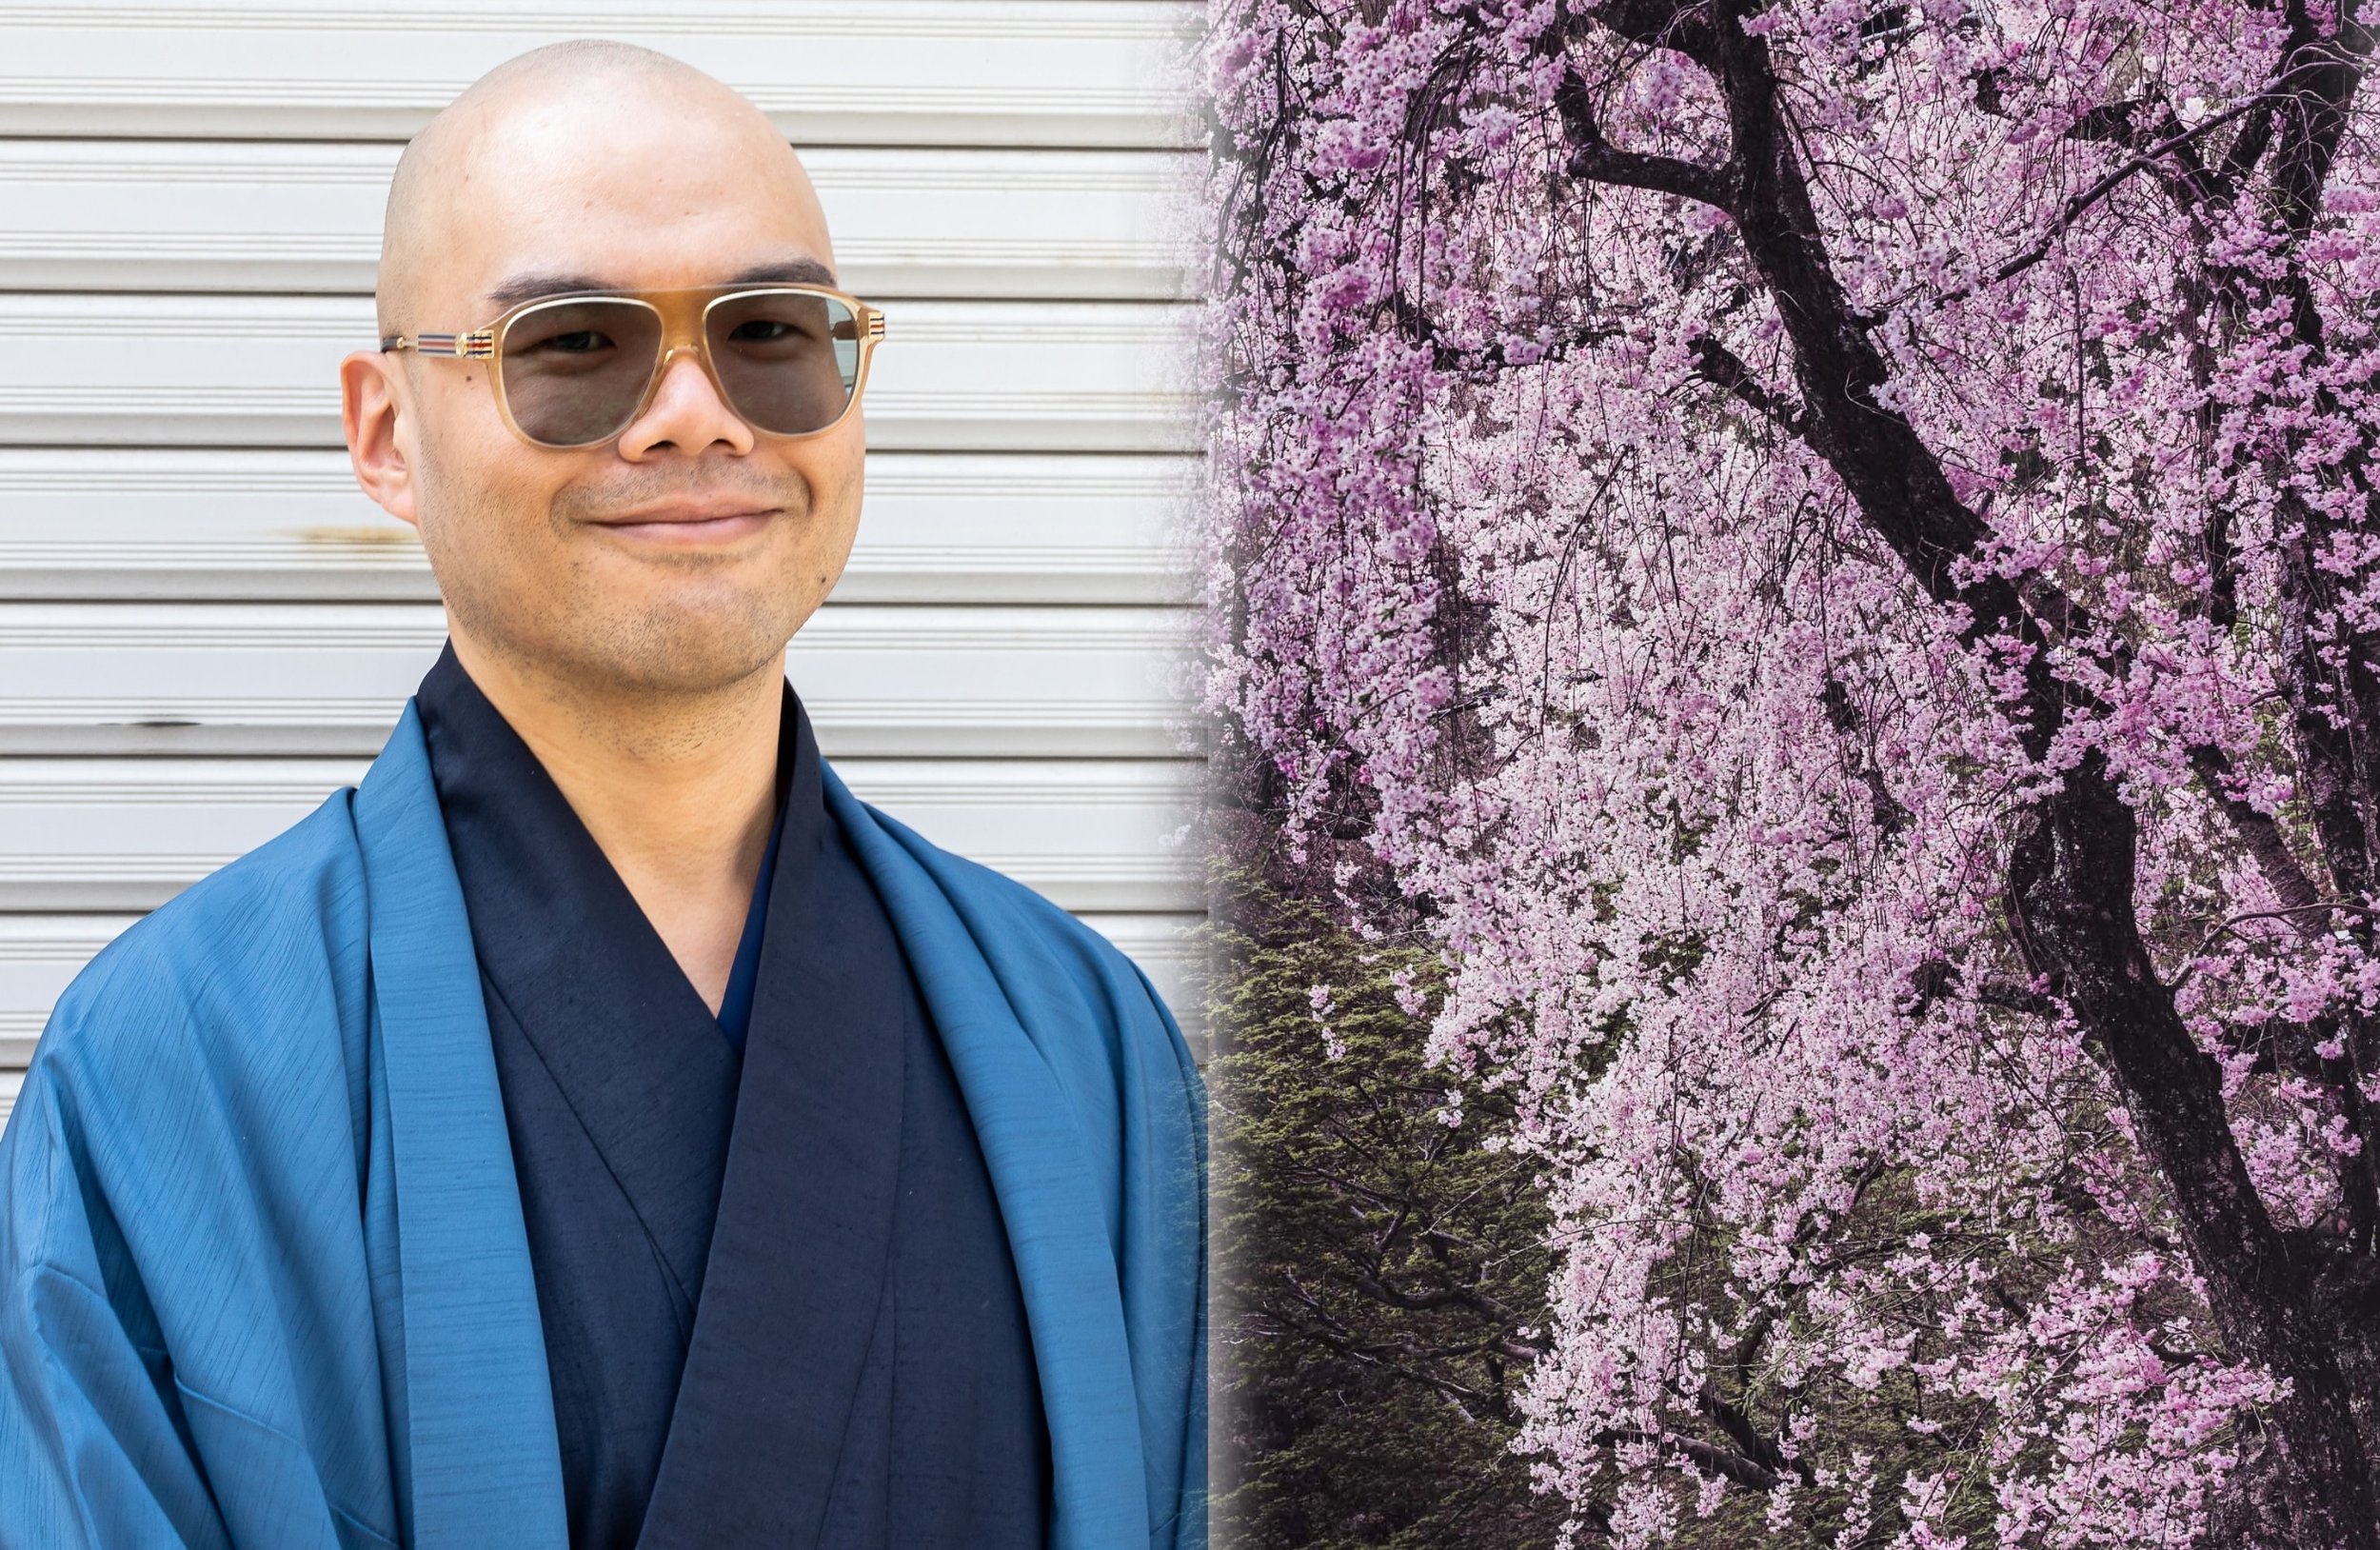
Planning & Composition
Preparation: Research landmarks and check the weather beforehand. Lighting and conditions significantly shift the mood of a photo.
Structure: Use the Rule of Thirds by placing key elements along gridlines or intersections for balance.
Visual Guidance: Incorporate leading lines (like roads or rivers) to guide the viewer’s eye and seek out symmetry for harmony.
Perspectives: Get low or find high vantage points to offer a unique viewpoint.
Facebook +8
Lighting & Camera Modes
Golden & Blue Hour: Shoot during the soft, warm light of Golden Hour (sunrise/sunset) or the moody, deep tones of Blue Hour.
HDR Mode: Use this in high-contrast scenes to balance details in both shadows and bright areas.
Panorama: Pan slowly and steadily to capture expansive vistas that a single wide-angle shot can't fit.
Facebook +3
Finishing Touches
Refine: Fine-tune brightness, contrast, and saturation in editing apps to bring out your photo's best qualities.
Personal Style: Use these techniques as a foundation to experiment and develop your own photographic voice.

Kyoto Dusk - Tripod used in night mode
Essential Tools
Night Mode: Use this built-in feature to merge multiple exposures for brighter, detailed shots. Keep your hands very steady, as it uses a longer exposure time.
Stability: Low light requires a slow shutter, so use a tripod, lean against a wall, or use a self-timer to prevent blur from camera shake.
Manual Control: If available, lower the shutter speed for more light, but keep ISO as low as possible to avoid grainy "noise."
Special Scenarios
Cityscapes: Look for reflections and vibrant lights. Use leading lines (like lit-up bridges) to create depth in the dark.
Fireworks: Use a tripod and a long exposure to capture light trails. Manual settings work best here to keep the ISO low while the shutter stays open.
Astrophotography: Find a spot away from light pollution. Use a tripod, set focus to infinity, and use a long exposure to capture stars or the Milky Way.
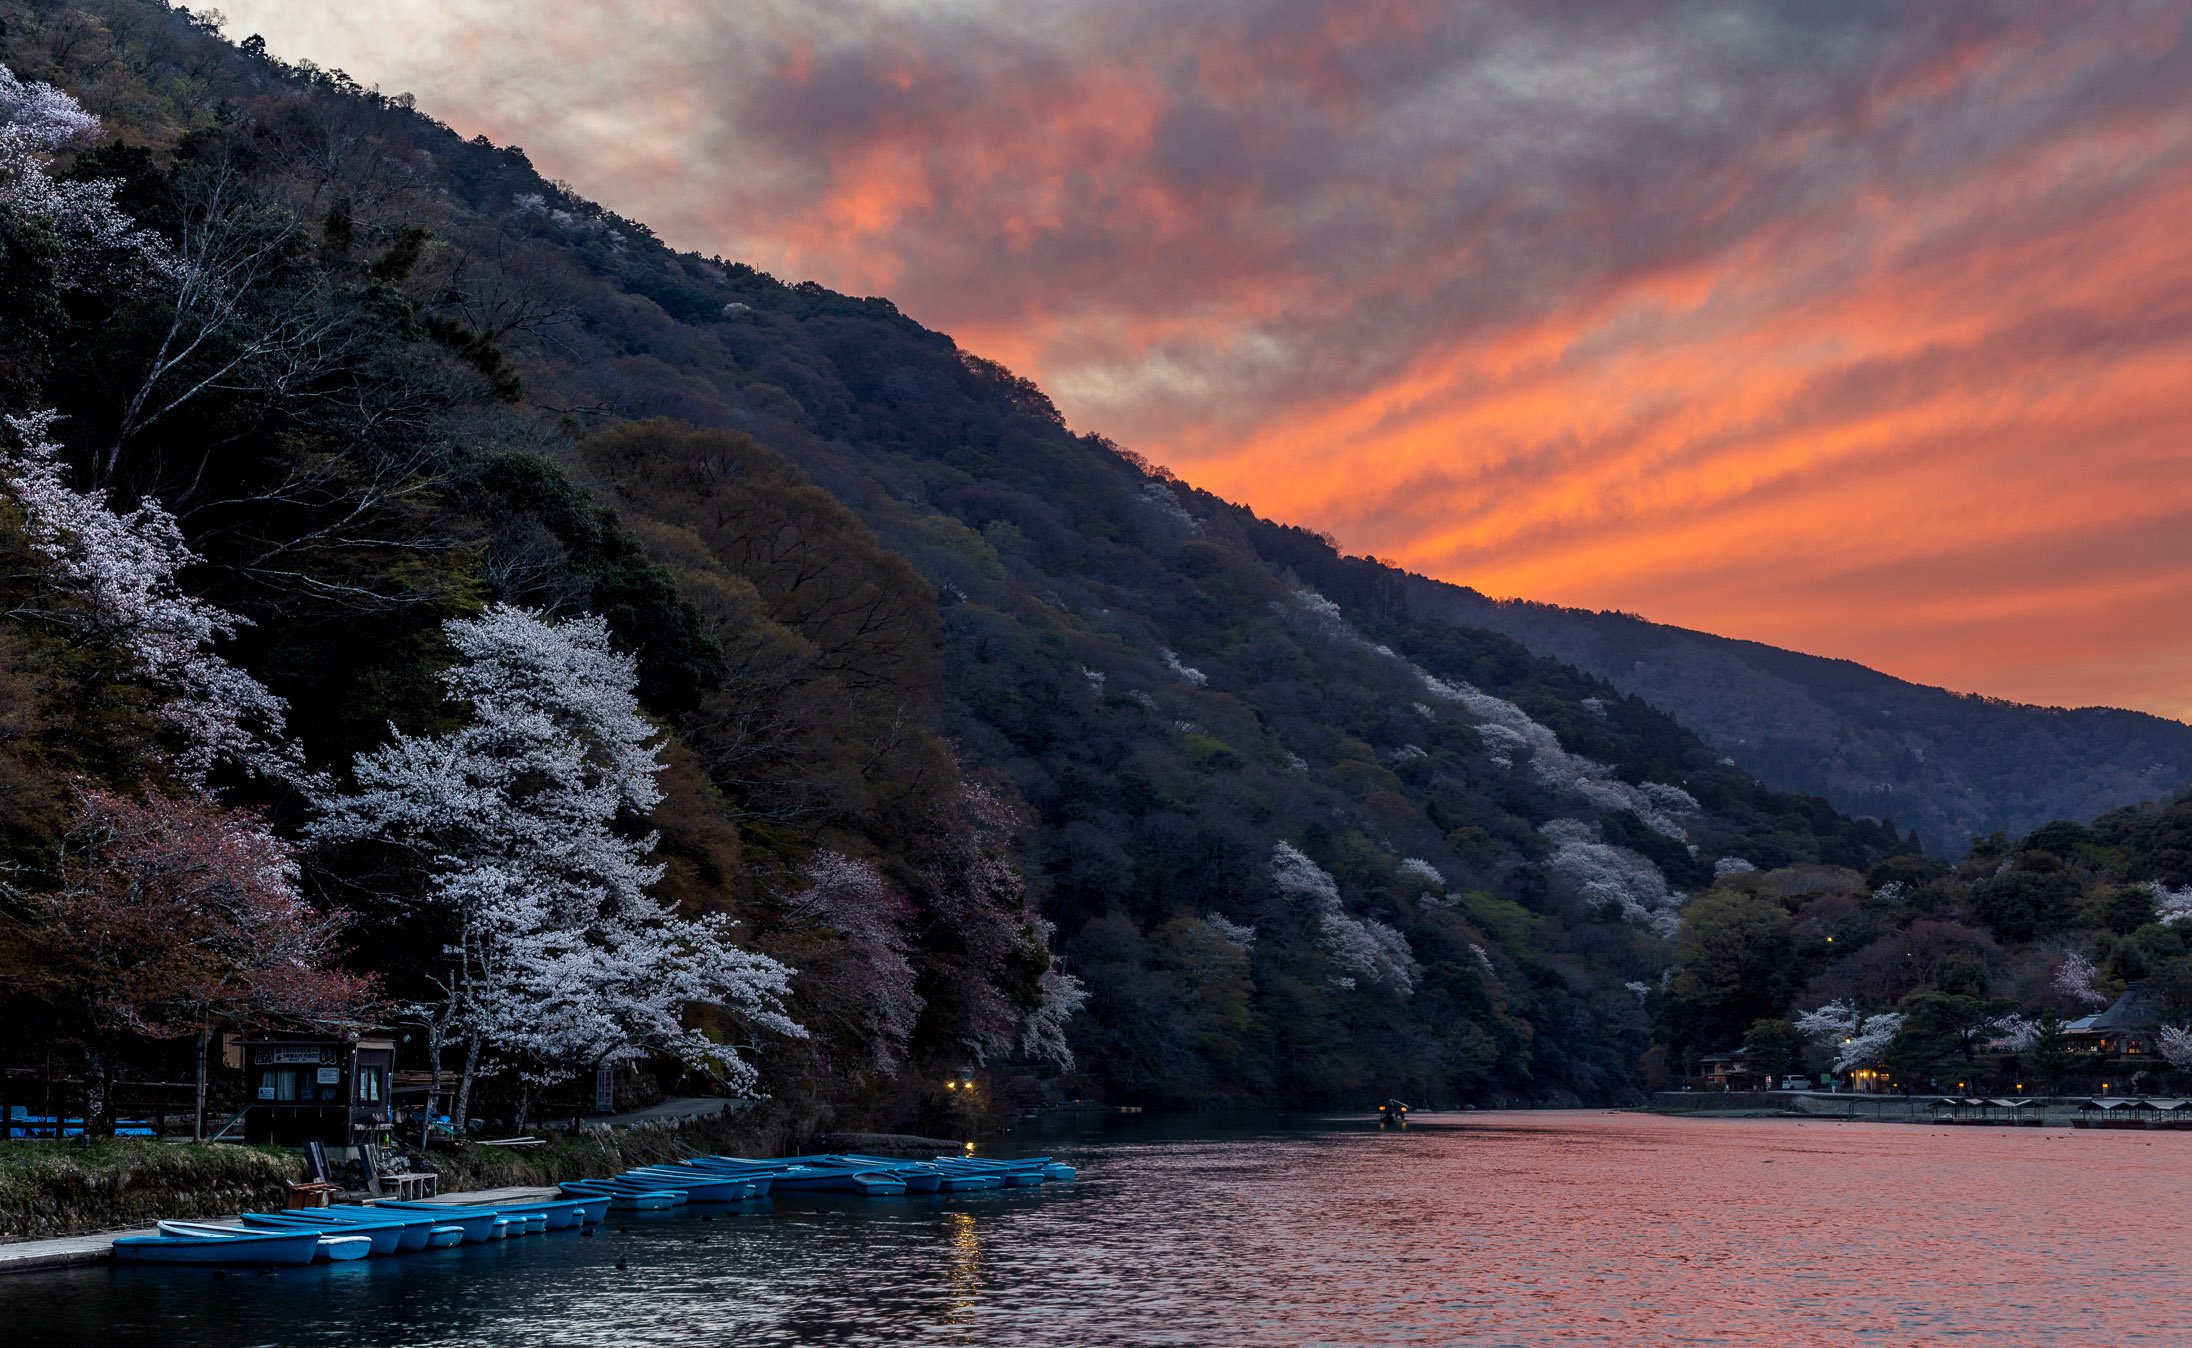
Tripod & Night mode used
Advanced Techniques
Long Exposure: Use apps to manually slow the shutter speed for creative effects like light trails, light painting, or silky water.
RAW Format: Shoot in RAW to keep all sensor data. Unlike JPEGs, these files offer maximum flexibility for post-processing and detail recovery.
Manual Control: Use third-party apps to take full command of ISO, shutter speed, and white balance to match your exact creative vision.
Pro Accessories
External Lenses:
Wide-angle: For expansive landscapes.
Telephoto: For high-quality zoom.
Macro: For extreme close-ups (flowers/insects).
Stabilisation: Use tripods or gimbals to eliminate shake, especially for long exposures and video.
External Lighting: Use portable LED lights or softboxes to overcome the limitations of small smartphone sensors in dark environments.
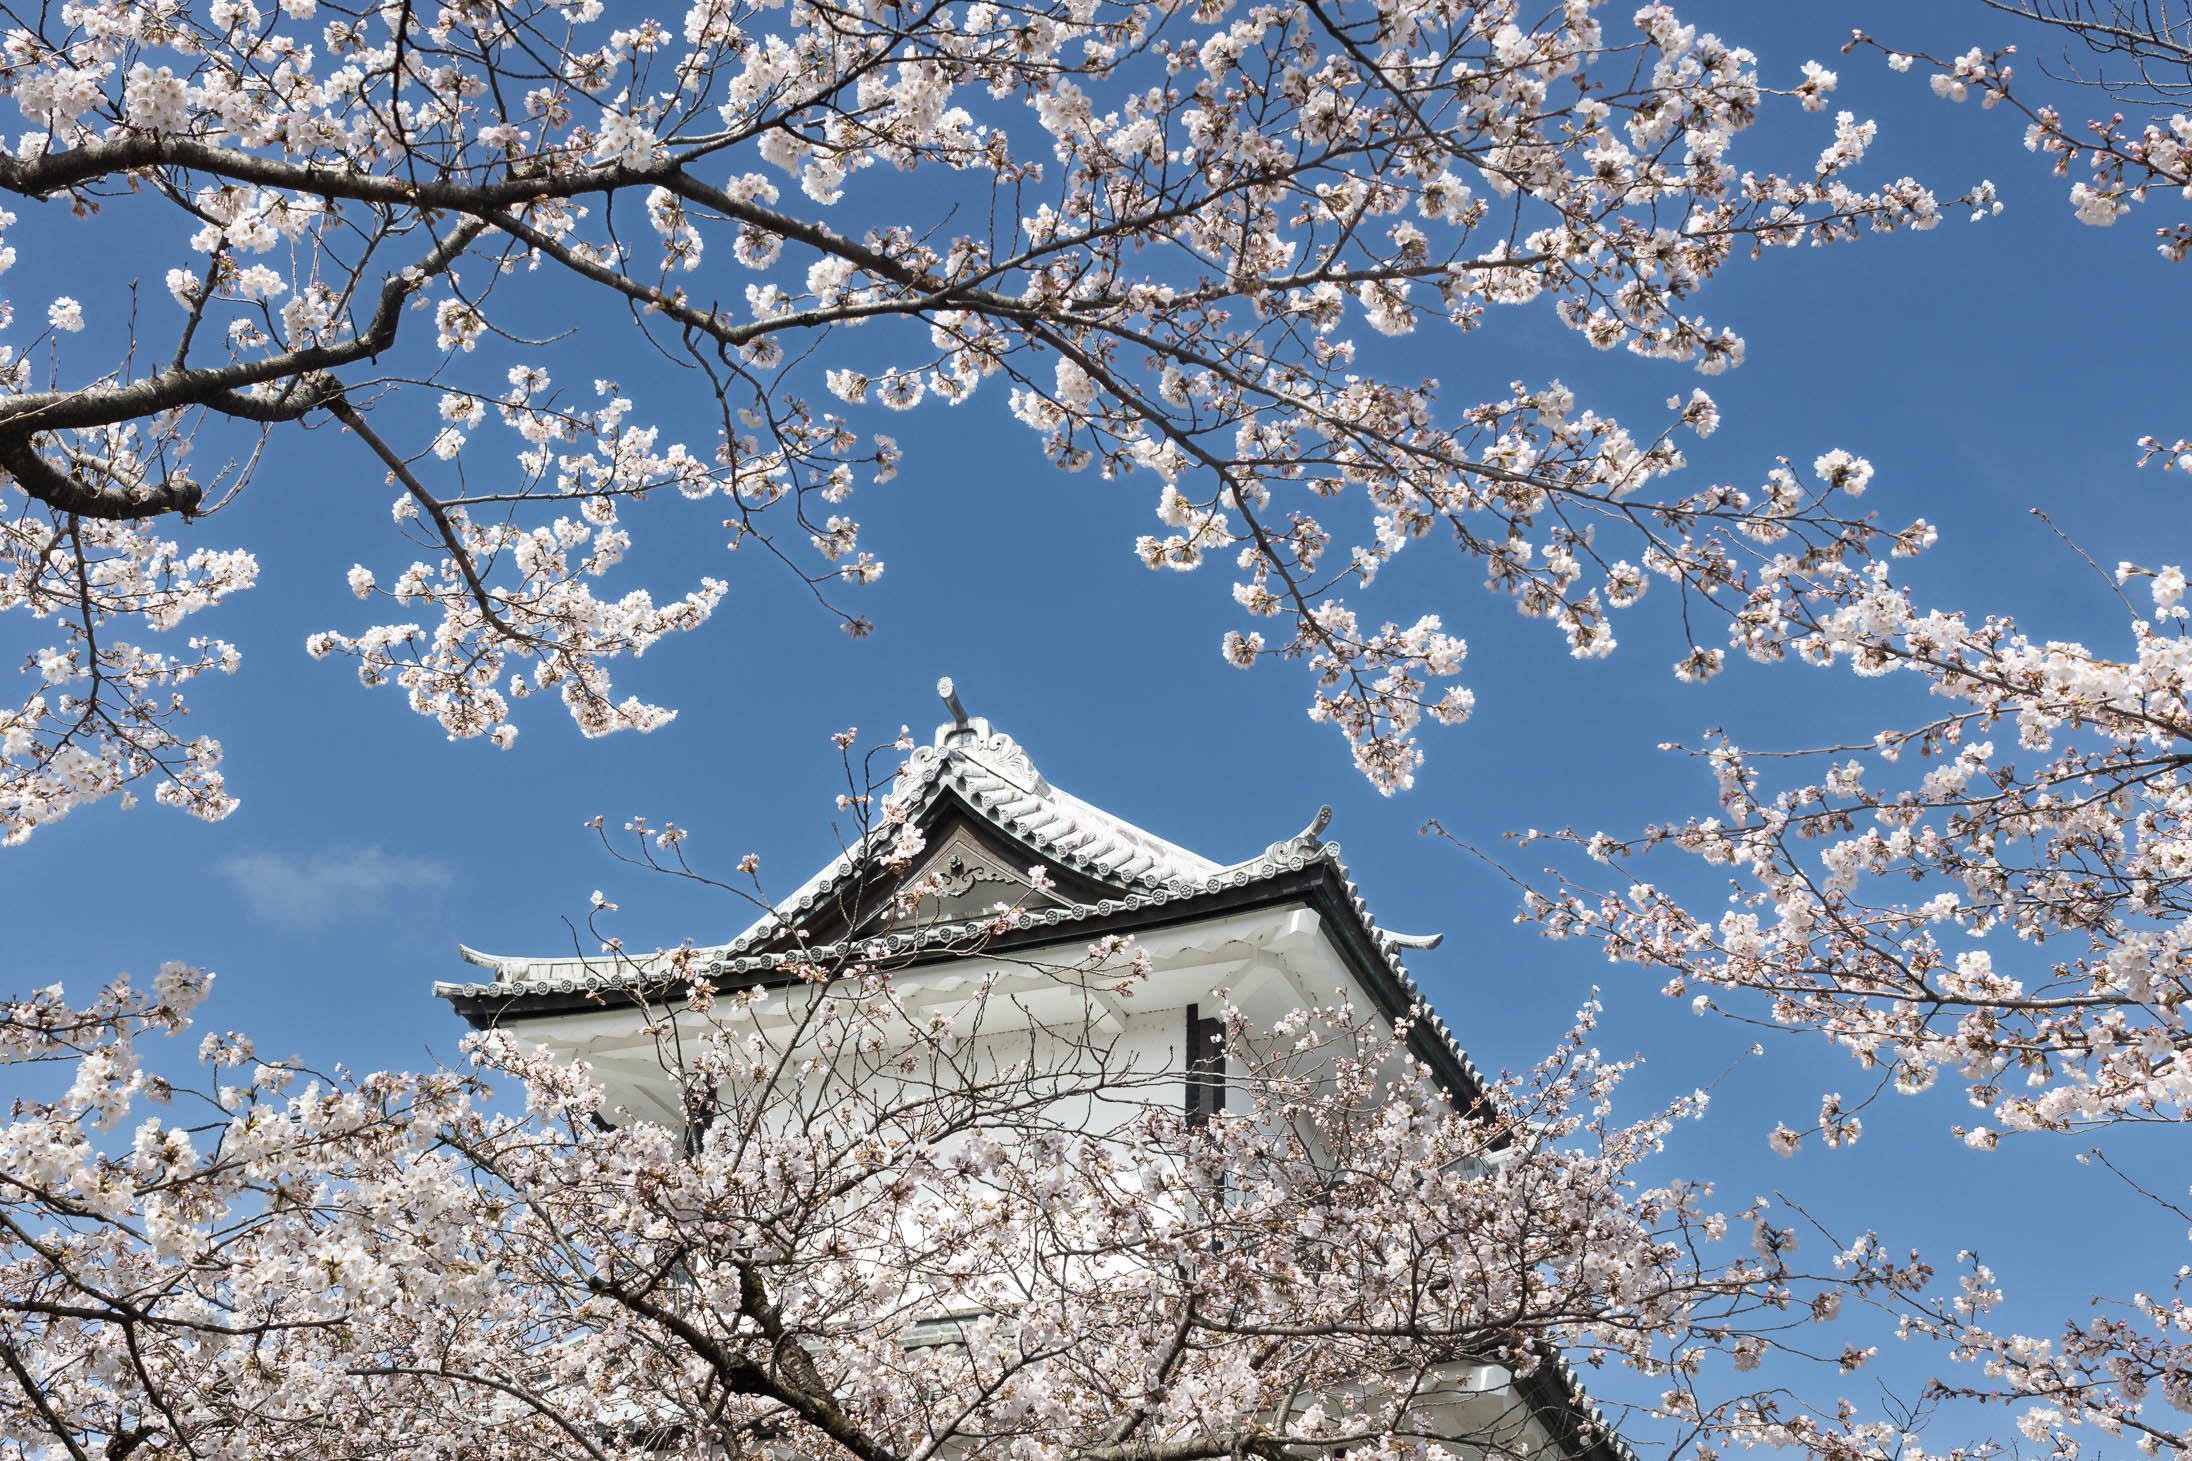
Kanazawa in Spring
Optimising for Social Media
Sizing & Format: Resize photos to match each platform's specific aspect ratio (e.g., vertical for Instagram) and use JPEG for the best balance of quality and fast loading.
Compression: Use tools to shrink file sizes without losing visual detail; this ensures your images load instantly for viewers.
Protection: Add a discreet watermark (like your name or logo) if you want to protect your images from unauthorised use.
Building a Portfolio
Curate: Quality over quantity. Select only your best work to create a strong, cohesive narrative.
Platform & Design: Use sites like Squarespace, Behance, or 500px. Choose a clean, responsive layout that looks great on both desktop and mobile.
Organise: Group photos into categories or themes and add brief captions to provide context or tell a story.
Update: Regularly refresh your gallery with new work to show your growth as a photographer.

Instagram Post - Kyoto at night handheld
Community Engagement:
Be Active: Join platforms like Instagram, Flickr, or EyeEm to share your work and interact with others through likes and comments.
Use Hashtags: Research and apply relevant photography hashtags to increase your visibility and connect with specific niche groups.
Compete: Join challenges and contests to test your skills and get your work noticed by a wider audience.
Network: Collaborate on projects or attend local meetups to find inspiration and build connections with other photographers.
Grow: Seek constructive feedback in forums and stay open to learning from more experienced peers to sharpen your skills.

Kyoto in Spring
Fixing Common Photo Issues
Blur & Sharpness: Stabilise your phone using a tripod or surface. Always tap your subject to lock focus before shooting to avoid soft images.
Lighting: If a shot is too bright or dark, swipe up or down on the screen to manually adjust exposure. Use Night Mode or HDR to reduce grain (noise) in dark settings.
Composition: Avoid centering every subject. Use the Rule of Thirds or Leading Lines to make photos more professional and engaging.
Mistakes to Avoid
Physical Habits: Never use digital zoom (walk closer instead) and always clean your lens with a microfiber cloth to remove oily smudges.
Editing & Settings: Avoid over-processing with too many filters. Explore your phone’s native modes (like Macro or Portrait) rather than sticking to Auto.
Safety: Regularly back up your library to the cloud or a computer to prevent losing your work.
Battery & Storage Tips
Power: Lower your screen brightness, close unused background apps, and use Battery Saver mode when shooting for long periods.
Space: Regularly clear your cache and delete duplicate or poor-quality shots. Move large files to Cloud Storage (Google Drive/iCloud) or an external drive to keep your phone fast.
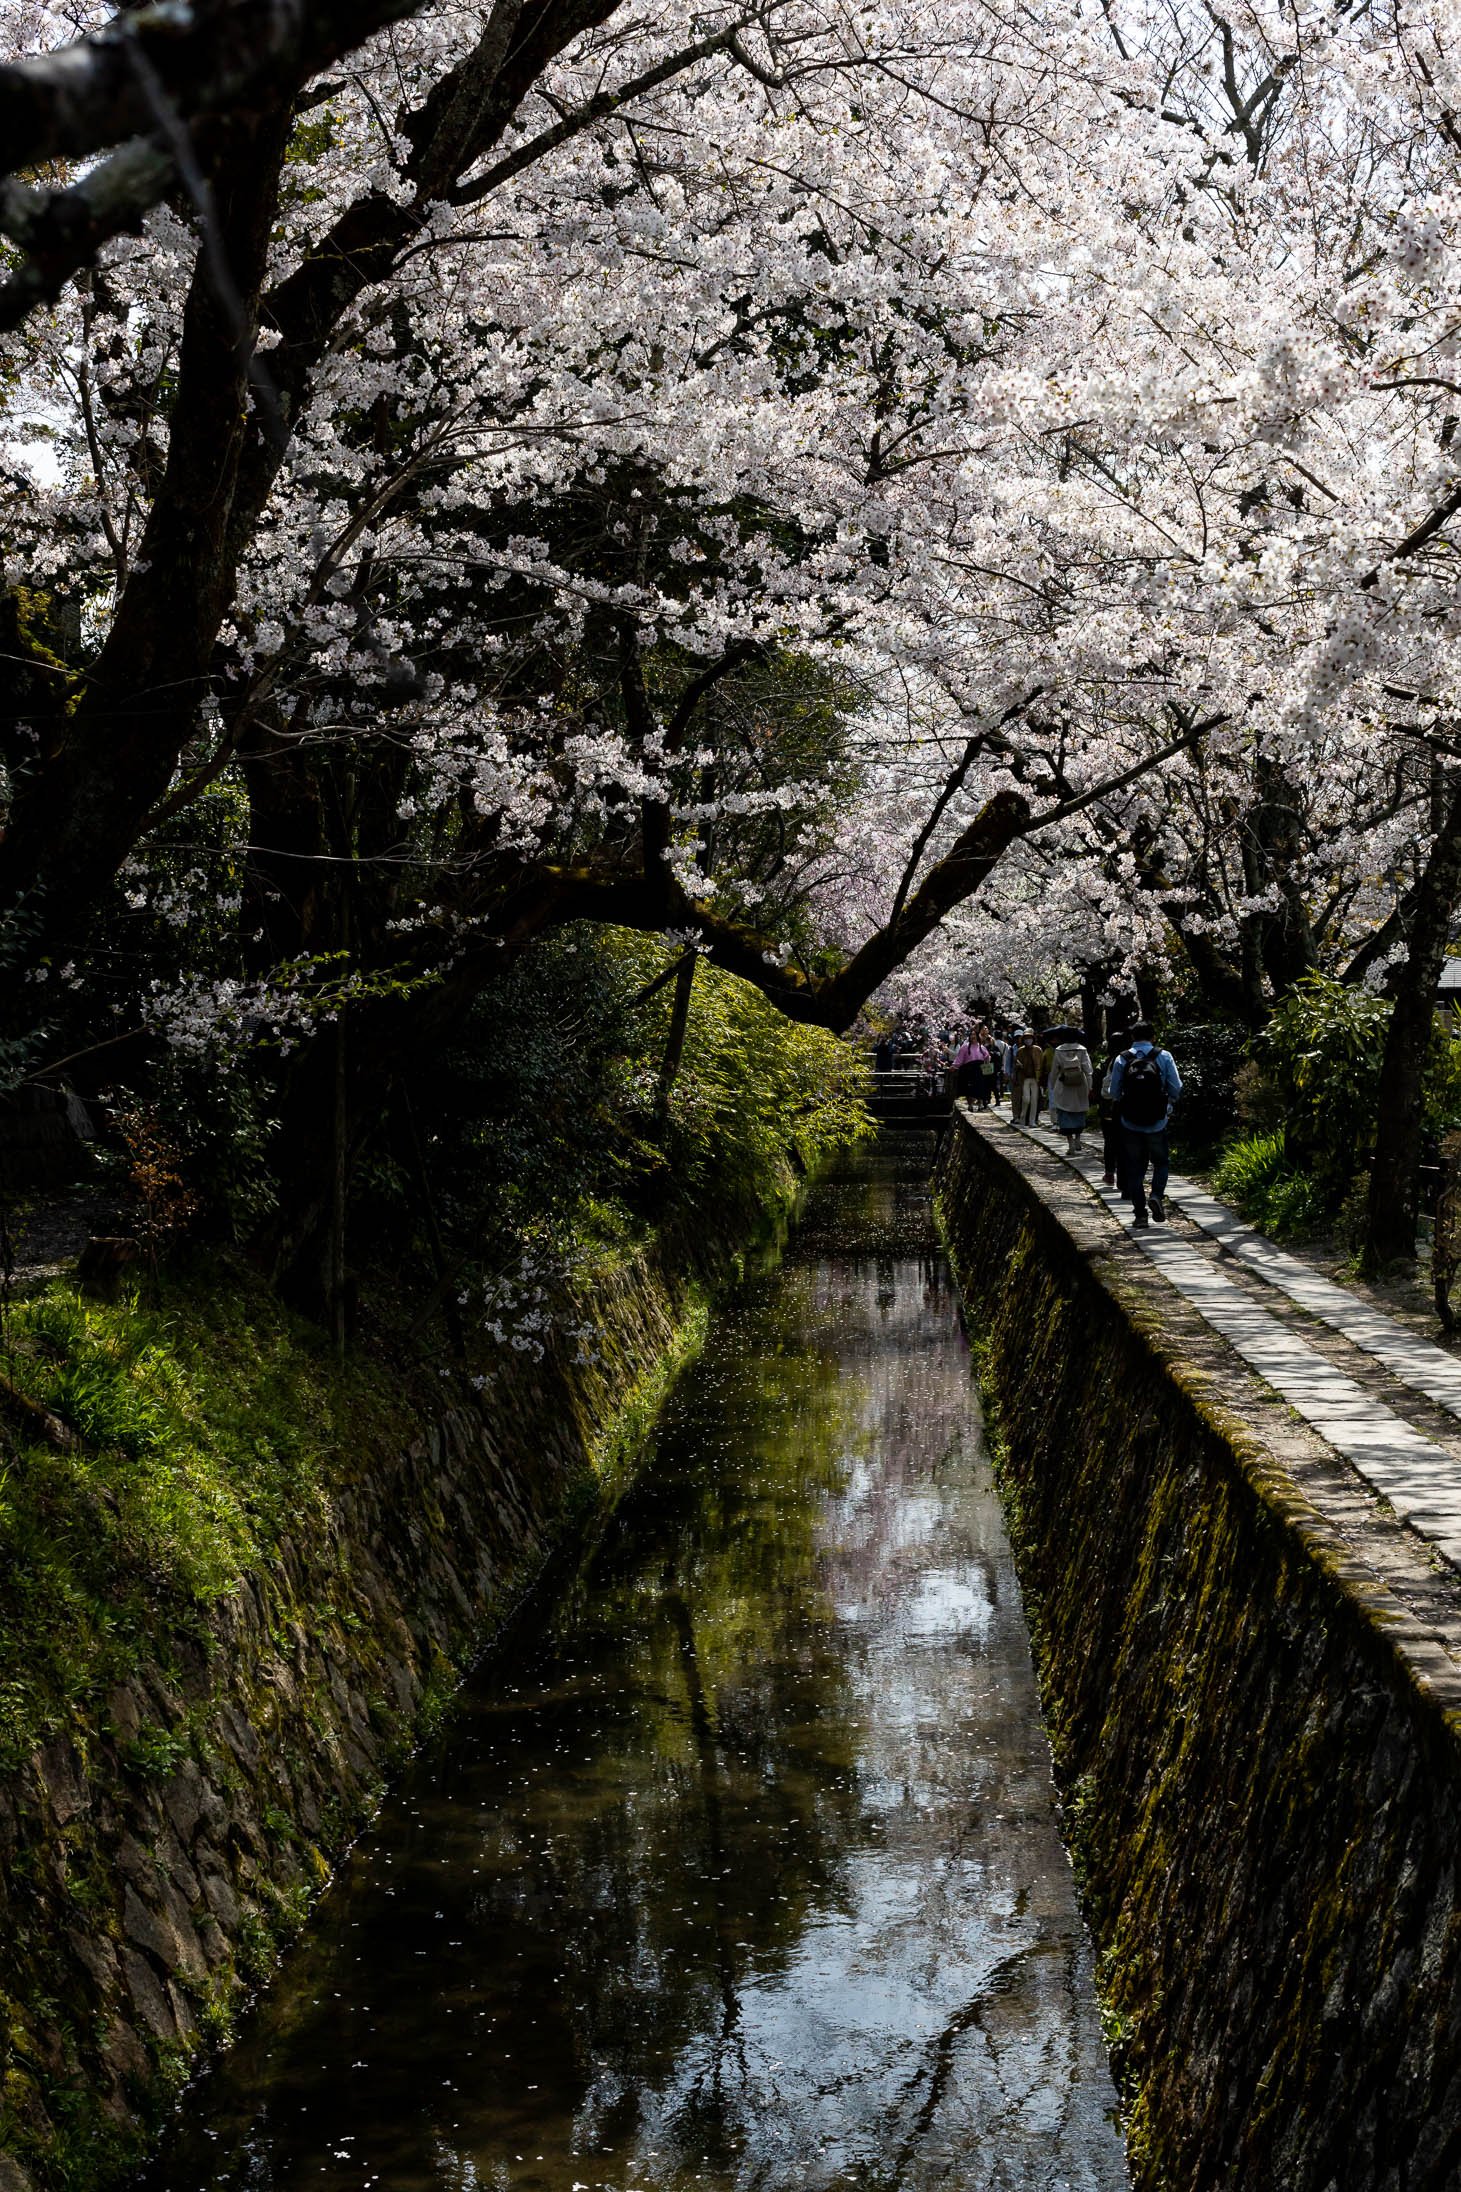
Philosophers Path - Kyoto
Key Takeaways Recap
Technique: Use Composition (Rule of Thirds), Lighting (Golden Hour), and Manual Focus/Exposure to build a strong foundation.
Versatility: Master different styles like Portraits, Macro, Panoramas, and HDR to handle any subject.
Post-Processing: Use Editing Apps to refine your look and develop a unique visual style.
Mindset: Experiment constantly and practice regularly to find your creative voice.
Next Steps for Growth
Learn: Watch tutorials on YouTube or take structured courses on Udemy.
Connect: Join communities like VSCO or Flickr to share work and get inspired.
Read: Explore books like The Art of iPhone Photography for deeper insights.
Engage: Attend workshops or local exhibitions to learn from the pros in person.
Final Thought: Smartphone photography is a continuous journey. With the tools and techniques you've learned, you're ready to capture stunning, professional-quality images.
Hokkaido in Winter

Sydney's 5 Best Landscape Locations
This article is for first time visitors to Sydney, Australia. The city and its beaches are riddled with picturesque spots so it will be difficult not to find a unique location. I will include the general areas around the beautiful harbour.

Cahill Expressway overlooking George Street.
Sydney's 5 Best Landscape Locations
This article is for first time visitors to Sydney, Australia. The city and its beaches are riddled with picturesque spots so it will be difficult not to find a unique location. I will include the general areas around the beautiful harbour.
Being located on the east coast of Australia most of the beaches are idyllic for a sunrise followed by the obligatory breakfast at a cafe. The ambiance at dawn to sunrise along the beaches gives you an insight into how locals enjoy their lifestyle.

On land, you will be dodging joggers, dog walkers, yoga classes, and photographers. In the ocean, surfers, swimmers, and kayakers are a common daily ritual for most locals who live close to the coast.
1. The Rocks, Dawes Point
The Rocks, Dawes Point is located directly under the Sydney Harbour Bridge. With a length of 504 meters its guaranteed to be a majestic view.
Shooting ultra wide will help to get a sense of the scale. Looking north you can catch glimpses of North Sydney City and Luna Amusement Park. Ideally, a night shot just after sunset would be perfect.

2. The Rocks, Campbells Cove
The Rocks, Campbells Cove is another top spot when using different elements in the foreground to lead the eye to the famous Opera House. Facing east a sunrise shot from this spot would also be perfect.
The International Boat Terminal viewing deck where this black and white of the bridge and Luna Park was taken can also be a fabulous vantage point. Close up with a 24-70mm lens you can look straight down on the Opera House as well.

3. Milsons Point
Milsons Point is on the north side of the bridge looking back at the city, Dawes Point, and the Opera House. With the sun behind you at sunset, you will be facing south for this shot. I am standing next to Luna Entertainment Park.

4. Barangaroo
On the western side of Millers Point past the historic Rocks, you will find the sandstones along the banks. Barangaroo area used to be part of the territory of the Gadigal people, the original inhabitants of Sydney.
The area was a very important hunting and fishing region for the local Aboriginal people. Beware of the slippery rocks and the occasional splash that comes from a passing ferry or boat.
Looking west you can also capture a sunset with Anzac Bridge in the distance. This image is facing northeast so a sunrise from here may light up the sky depending on the time of the year.

5. Macquaries Point
Mrs. Macquarie's chair carved out of the sandstone rock on the point was a perfect spot for the fourth Governor General's wife to cure her homesickness. All the large ships that come into the harbor pass this point.
This image is facing west at sunset. Sydney is picturesque from any angle along the foreshore. I would also highly recommend riding a public ferry to Watson's Bay to catch a similar view from a much farther distance.

Other Points of Interest
City Side

Observatory Hill

Hickson Road Reserve

Bridge Stairs

Beulah Street Wharf
North Side
Mary Booth Lookout Reserve - Walk past Jeffrey Street Wharf to find this little narrow spot worth a shot at sunset.
Beulah Street Wharf - Walking along the shoreline you can also find some other great vantage points towards Jeffrey Street and Beulah Street Wharf (near The Prime Minister's house).
This spot is good for sunrise or sunset. A 16-35mm lens would be ideal if you wish to include the Opera House, Bridge, and City in a very wide sweeping view. At dusk on a weekday, it's peak hour for the ferries.
Clark Park - Located across the road from the Kirribilli Club or next to Wendy Whiteley’s Secret Garden is a top spot with views of the city from behind the train depot.
4 Best Sydney Beach Locations
Along the eastern coastline are numerous beaches worth shooting for a dawn/sunrise. Here are few samples depending on how rough or smooth you want to take the shot.
Never turn your back on the ocean. Always check for tides and swells and bring a towel to keep dry. After your sunrise shoot, you can also jump in for a swim in the ocean or a rock pool as seen in some of the photos below.
Turimetta Beach (Northern Beaches)
Drive down Sydney Road and turn right into Narrabeen Park Parade and right again into Peal Place. It's next to the beach lookout and beach reserve. From there you have a steep hike down the stairs.

DJI Mavic Pro Drone
2. Narrabeen Pool (Northern Beaches)
Drive along Narrabeen Park Parade until you cross over South Creek where you find a sign to North Narrabeen Rock Pool and carpark.

DJI Mavic Pro Drone
3. Bronte Pool (Eastern Suburbs)
There are more than 100 rock pools in the state. They all have their own character. Bronte Pool is small but faces directly into a sunrise at certain times of the year. You are certain to run into a Seascape Photographer especially on a weekend. They have become as common as a surfer and swimmer.

4. Coogee Pool (Eastern Suburbs)
Located on the southern end of Coogee Beach is the small ocean pool. It's an ideal spot at high tide at Dawn. You can still set up far enough to avoid getting soaked. It's free for anyone to go for a swim. I usually use an 18mm or 50mm lens from this spot. The pools are a safe way to avoid the dangerous rip tides.

MY TRAVEL PHOTOGRAPHY KIT
Camera: Fujifilm XT3 | Lenses: 35mm (F1.4) & 14mm (F2.8) | Tripod: Sirui T024SX | Macbook Pro 13 inch | Total Weight: 5 Kg.
Join me on a Private Photo Tour
Clark Park

Lightroom Classic Basic Workflow & Photoshop Focus Stackin
In 45 minutes (Video) I run through my basic workflow in Lightroom. I will show you how fast and easy an edit can be and how uncomplicated archiving your library and exporting your files for print or web use.
In this 45 minute (Video) I run through my basic workflow in Lightroom. I will show you how fast and easy an edit can be and how uncomplicated archiving your library and exporting your files for print or web use.
In my video linked above I will also introduce you to my home office studio naturally lit table top set up. As a weekly ritual playing with light and shade, it’s very therapeutic to make some still life set ups and work on new concepts. Personal projects should be a part of every creative venture.

Flaming Torch, is a species native to northern South America and parts of the Caribbean, but I found it in my backyard in Sydney.

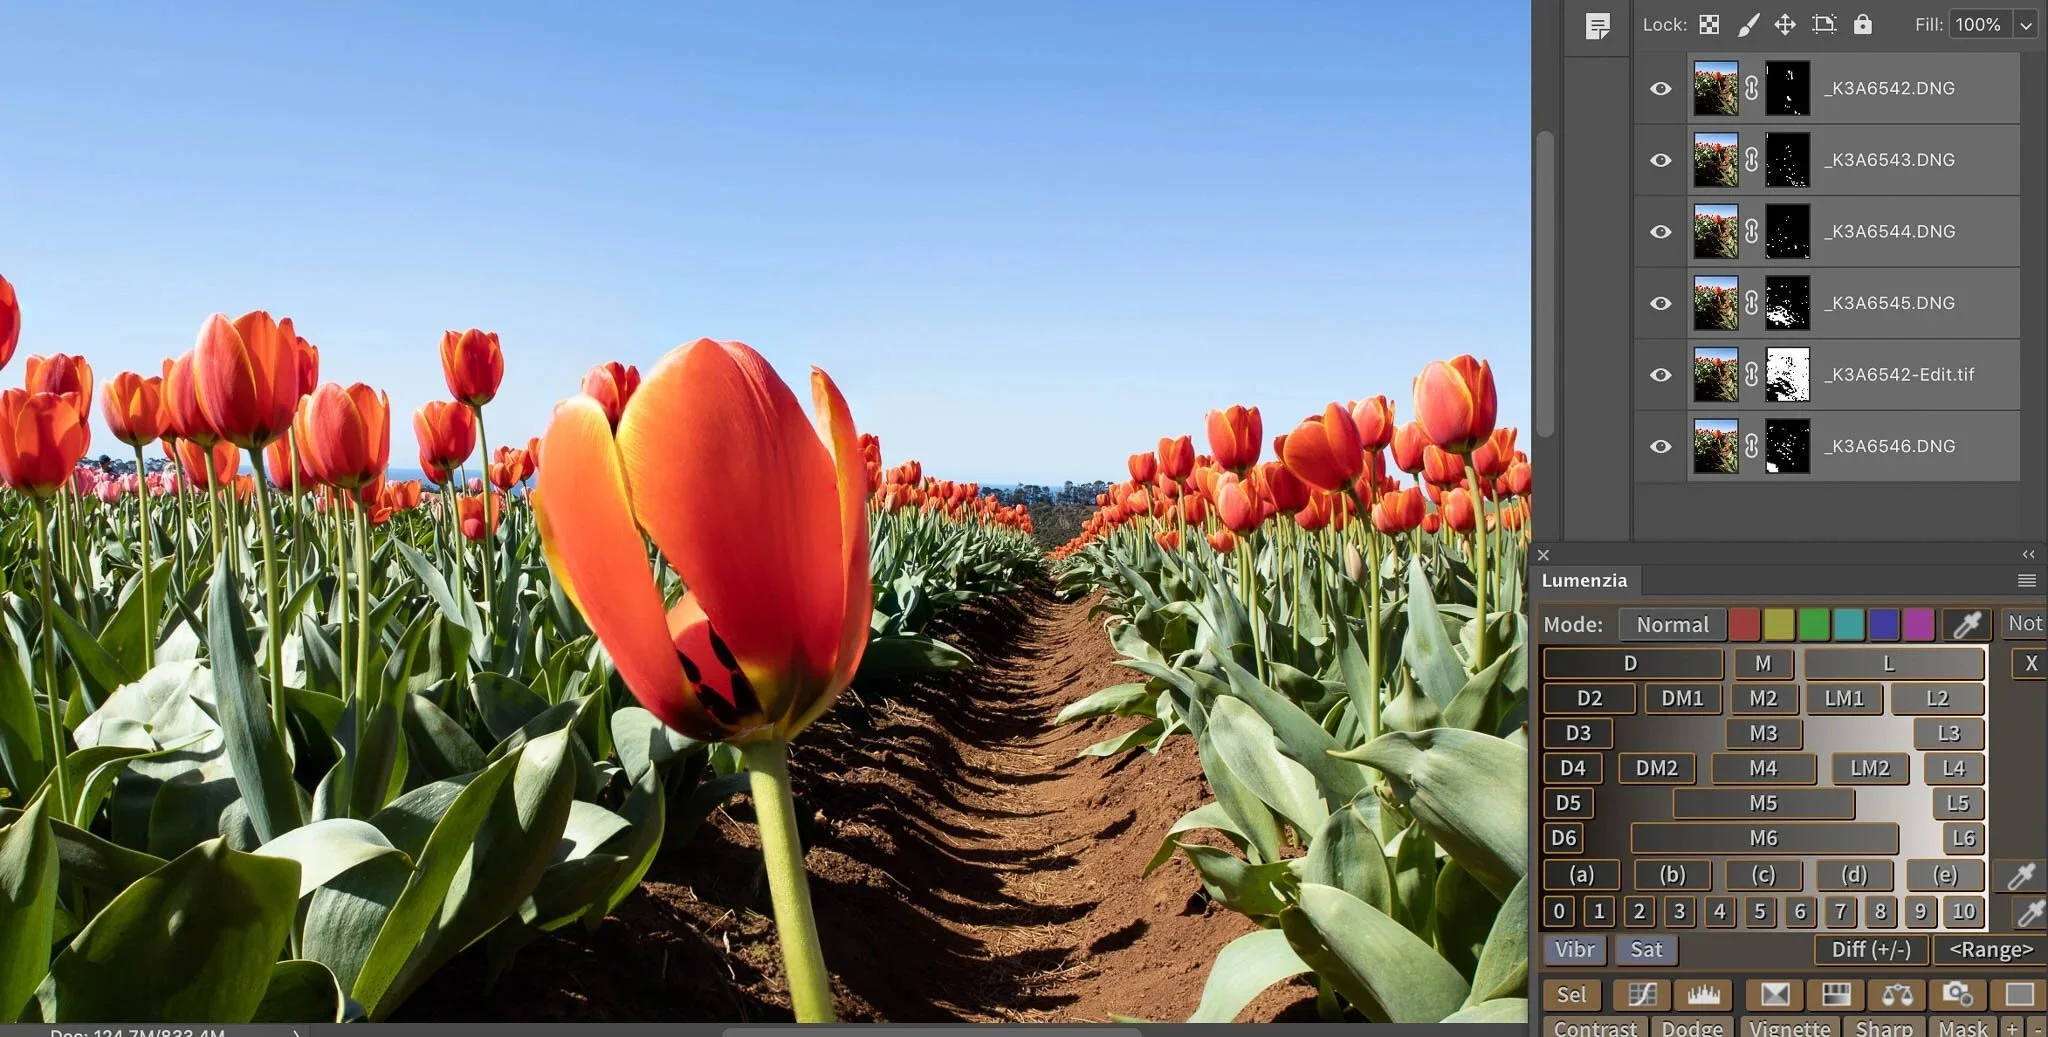

Miniatures is a work in progress inspired by https://miniature-calendar.com/

Night Photography - Composite 5 Steps
Ever wanted to blend a series of your best night shots but was not sure of the process. It actually is much more simple than you think. It’s all about location, planning and great composition. Vivid light festival was the perfect venue to practice this effect.

2019 Vivid Light Festival - Image by Isaac Vorrieter
Night Photography - 5 Best Tips
Ever wanted to blend a series of your best night shots but was not sure of the process. It actually is much more simple than you think. It’s all about location, planning and great composition. Vivid light festival was the perfect venue to practice this effect.
Below are 5 easy steps to get your creative juices excited about night photography. The ideas are endless and the ambience at night is other worldly. As seen in the images above and below, I assisted my customers in editing these shots with the same 5 step process. 5
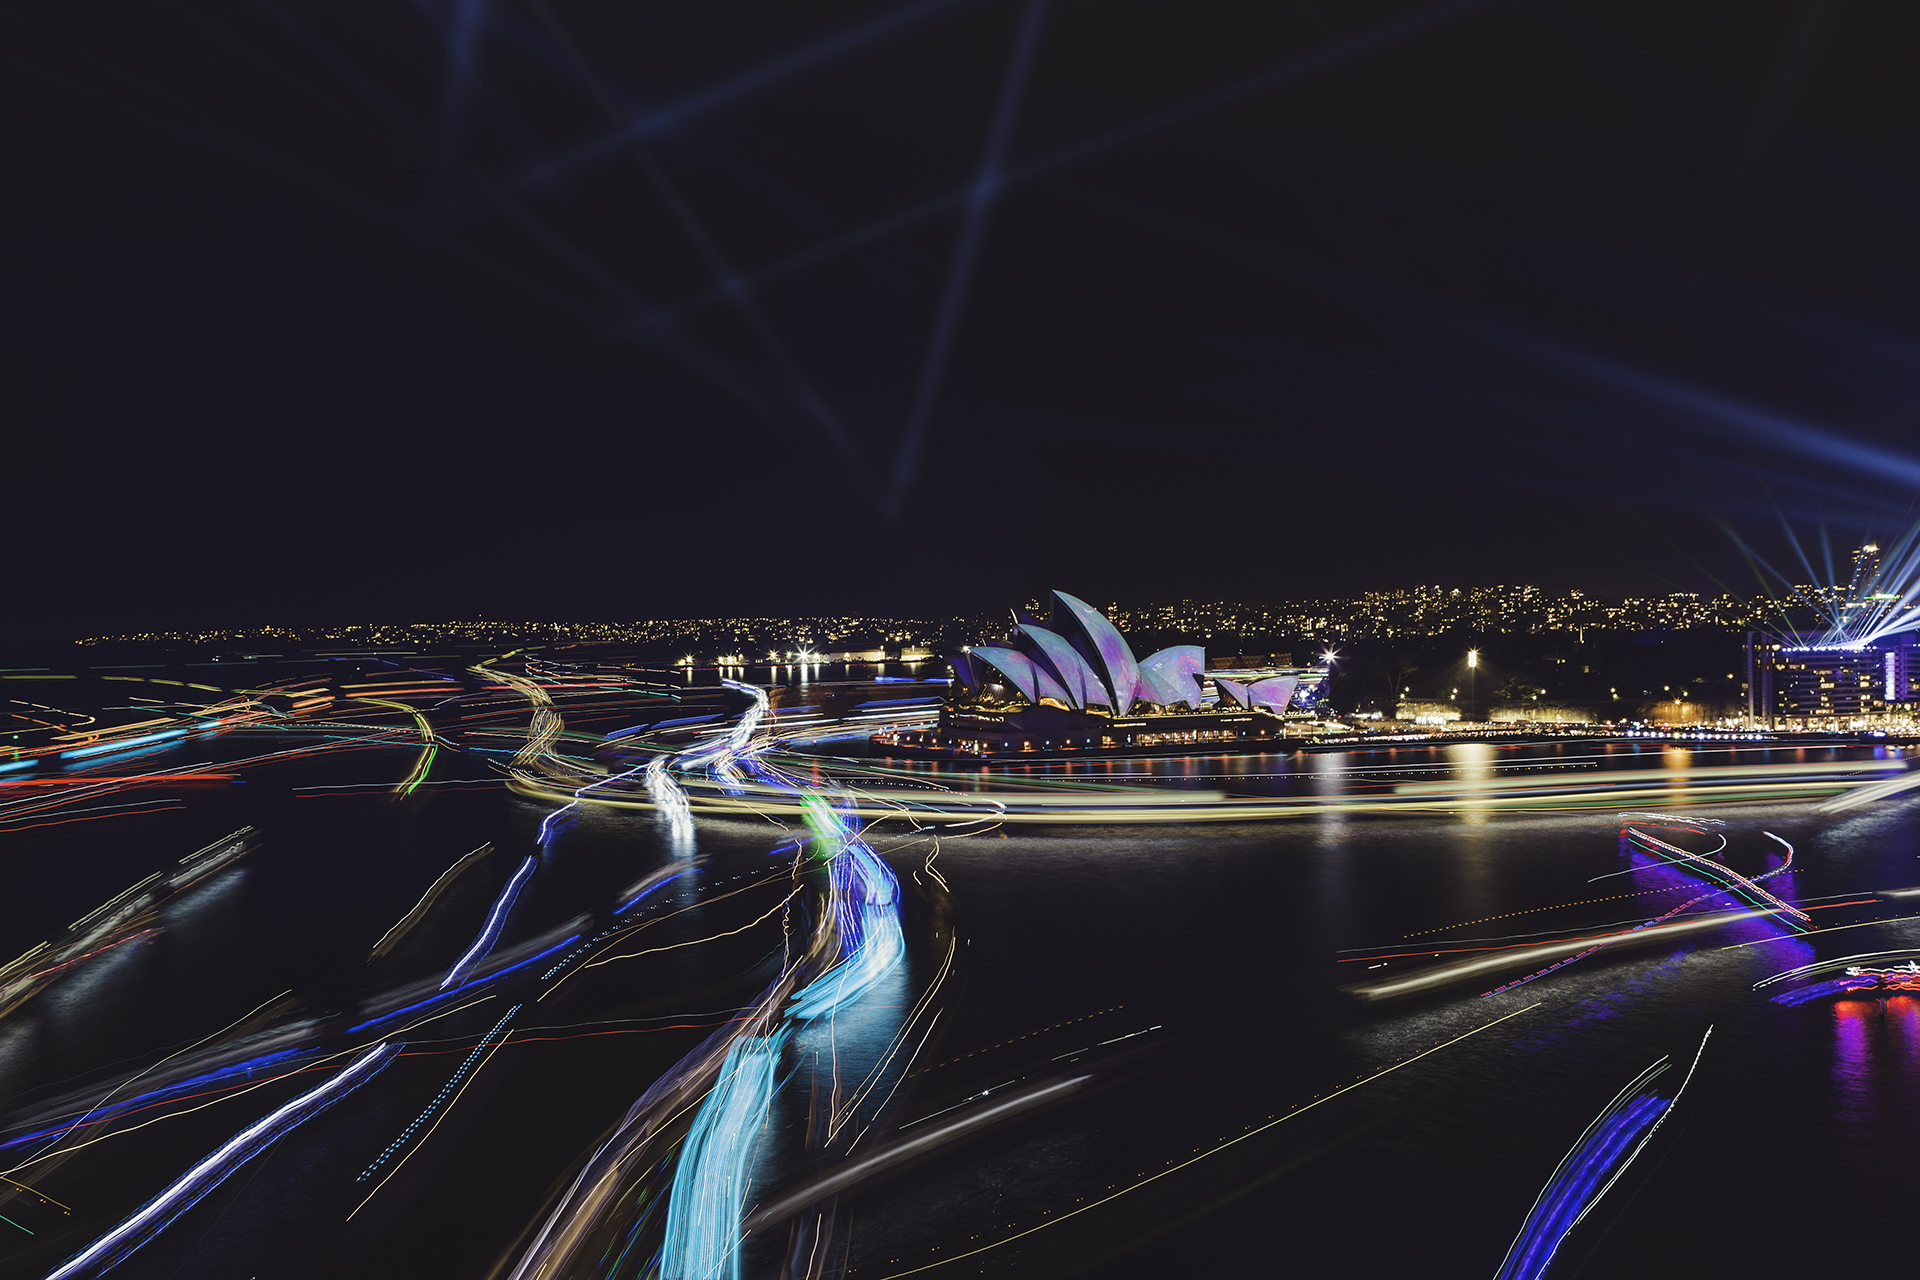
2019 Vivid Festival - Image by Maggie Hong
1. Make a Series
Goes without saying a tripod will be an essential tool. All your images need to stay in one position. Choose a tripod that is sturdy and has at least eye level height. There might be some locations that need to be higher than chest height because of railings, walls or fences.
Tripods that don’t move too much with wind or ground movement will be advantageous as well. Once you have locked down on your ideal composition make sure there is a lot of movement in the scene.
The image above was done with 10 photos. Each photo at 30 seconds, F11 on ISO 100. Every location will require some minor tweaking with one or more of the three base settings. When you scroll through your images to check the review make sure you have not moved your camera even a millimetre.
You can try different types of movement such as car trail lights in a busy location. Back red lights are always easier to work with than front white lights which appear blown out. If you wish to darken the road then a simple ramp up of F16-22 will work well.
If you have a 3 - 6 stop filter and cable release you can also increase your exposure time in bulb mode. Bulb mode allows you to shoot longer than 30 seconds. try up to 1 minute with a series of 5 - 10 shots. My favourite angle if accessible is from up high looking down on traffic.

Ueno, Tokyo

Adobe Lightroom - Open As Layers
2. Open As Layers
Once you have edited and chosen your best series of photos from the exact location, simply open them up as layers. I tend to use Adobe Lightroom first for all my editing and then I simply right click to open as layers in photoshop. It is important that whatever edits you do for your series that cropping is uniform for all of them.

Align all Layers in Photoshop
3. Align Layers
Simply select all layers and click edit > Auto Align Layers. If the layers seem to have skewed or moved a bit, you can fix this at the end process. You can either crop or use the content aware tool to add in missing sections of the photo.

Lighten Blend Mode in Photoshop
4. Lighten Blend Mode

Blend Mode - Click Lighten Option
Underneath Normal you will have multiple options for blend mode. Once you scroll over and then click the Lighten option you will immediately see all layers blending into one fabulous shot. Make sure all your layers are selected.
5. Flatten All layers
For the last and final step, flatten all layers to decrease your file size. As seen in the screen shot below, make sure to still have all your layers selected. Click on layers and at the bottom of the sub menu you will find the option to flatten all layers.

Ueno, Tokyo

5 Best Photo Locations - Osaka
Osaka is a city full of energy with a zest for humour. Daily jokes at work are compulsory. Once you get off the train anywhere in the city a spark of charisma is apparent around every street corner. It’s a city that shows itself off better at night. It’s a city of merchants and hagglers always enjoying their day at work with a laugh and good sales banter.

Train Spotting in Osaka - Panning Handheld @ 1/15th-1/30th. (Motion Blur Filter added in PS)
Osaka is a city full of energy with a zest for humour. Daily jokes at work are compulsory. Once you get off the train anywhere in the city a spark of charisma is apparent around every street corner. It’s a city that shows itself off better at night. It’s a city of merchants and hagglers always enjoying their day at work with a laugh and good sales banter. After several years of visiting Osaka as a photographer, I have found you the best spots to visit at the perfect time of day. Once you get into the rhythm of this city’s pace, it can actually become infectious.

Osaka Locations Overview
Two or Three days in Osaka should be enough to cover these suggested locations. For sunset and night time locations I would start with Abino Harukas or Umeda Sky Building followed by Tsutenkaku and finishing with Namba for the night. During the day I would visit the Aquarium and the Castle. Aside from these iconic locations, street photography can also be a fun genre to delve into. You can allocate 2-3 hours in each location depending on the weather.

Abino Harukas 60th Floor
Umeda Sky Building & Abino Harukas
The best way to see any city is to start with a view from above. This gives you more scope to explore and discover areas you would like to visit. I have two observatory choices for the best views of Osaka. Both cost 1,500 yen and are at least 60 floors up. Both will give you different angles of view and have some pros and cons. Umeda’s outside area can be quite cold and windy but there will be no glass reflections. Abino Harukas has glass but can keep you warmer in the cooler months. If you are getting some glass reflections a dark jacket behind the camera and the lens almost touching the glass, will minimise reflections.

Umeda Sky Building Views with Highway through building.
A 24-70mm lens range should cover most areas. Umeda will give you a clean shot towards the infamous highway through building. If you are pressed for time, I would opt for Abino Harukas over Umeda Sky Building. It’s quicker to walk to from a train station. Umeda as a piece of modern and unique architecture (exterior) is a major draw card. Hiroshi Hara the architect is also known for other great structures such as Kyoto Station & Sapporo Stadium. Even though it was built in 1993 it still looks unique. A point of difference has to be the the escalator up 173 m that joins the twin buildings.

Osaka Views from Abino Harukas 60th floor.
2. Shinsekai Or Tsutenkaku
The best time to visit this area would have to be at dusk when the lights come on followed by dinner in the area. Osaka is known for 3 main dishes: Takoyaki, (Octopus Balls) Kushikatsu, (Deep Fried Assorted Skewers) and Okonomiyaki (Savoury Pancake). My favourite is Okonomiyaki made from eggs, flour, grated yam and shredded cabbage. You can add pork, squid, shrimp or meat. It’s delicious, try it! The area is quite small which only really cover 2 blocks with about 100 restaurants.
This is not a ritzy suburb, its the old downtown area. Be prepared for some local characters known to belt out a few loud screams after a few too many sakes. Street portrait opportunities with or without permission may be found easily.

Tsutenkaku (ISO 100, F11 @ 30 secs) using a tripod and 6 stop filter.

Namba Neon (ISO 400, F11 @ 2-4 seconds) Tripod essential. (Lights change quick)
3. Namba or Dotonbori
You know you have arrived in the heart of the city when you are here after dusk. Just like Tsutenkaku it comes alive when Neon Nippon turns on. If you only have a short stay in Osaka, then you might be able to see both areas in one night. It’s only a 12 minute train ride away from Tsutenkaku. Namba however covers a much larger area to look around. Be prepared to be shoulder to shoulder with endless crowds. The most famous of spots would have to be in front of Glico Neon sign. You can also take a 900 yen boat ride along the canal to see Osaka from a different perspective.

Wolf playing Melodian in Dotonbori
4. Osaka Castle
In my opinion the exterior is far more impressive than the interior. Save yourself the entrance fee for a delicious Ramen instead. The interior is newly renovated, crowded and underwhelming. However, for no fee at all, you can stroll around the outside and find many interesting angles. Many Trip Advisor reviews rave about the views but I would hazard a guess at choosing Umeda or Abino. Going in spring or autumn might allow you to juxtaposition a tree or two in front of the castle.

Osaka Castle

Osaka Aquarium
Osaka Aquarium
On an overcast or rainy day a great escape in doors can be spent in the aquarium. 3 hours before or after lunch should cover most key shots.
The main fish tank is huge 34 spiral tank four floors containing 5,400 tons of water, serving as the home of whale sharks, the largest fish species in the world. The most beautiful way to show off these beautiful sea creatures is a silouehette.
Other highlights in this tank are Manta Rays and hammerhead sharks. Another highlight are the jellyfish. The whole experience despite the crowds can be very relaxing if you find a quiet corner to sit and watch.
My Travel Photography Kit
Camera: Fujifilm XT3 | Lenses: 35mm (F1.4) & 14mm (F2.8) | Tripod: Sirui T024SX | Macbook Pro 13 inch | Total Weight: 5 Kg.
Join me in Osaka in March

Philippines Best Photo Locations
Born and raised in Manila till I was 15 years old. It’s a bit of a homecoming each year I come back to the Philippines on one of my photo tours. A fresh look at an old country. Where there is absolute chaos, calm can be found. It’s all about perception and attitude being here in the tropical heat.

Patricia, Charles & Alfonso
Philippines Best Photo Locations
Born and raised in Manila till I was 15 years old. It’s a bit of a homecoming each year I come back to the Philippines on one of my photo tours. A fresh look at an old country. Where there is absolute chaos, calm can be found. It’s all about perception and attitude being here in the tropical heat.
When you land in Manila you just have to go with the flow. You can’t fight the mayhem that seems to be waiting around every corner. Having a sense of humour will allow you to relax and embrace this beautiful country for all it’s flaws.
Join me on this visual roller coaster of gorgeous light. What other places in the Philippines do you think are as equally beautiful
Roosters For Sale
Bohol Island
Finally a new airport has been built on Panglao Island. Floor-to-ceiling glass windows and a wave-shaped ceiling outfitted with solar panels welcome visitors to the country's newest airport.
The 13,337-square meter gateway to Bohol province's Chocolate Hills, white sand beaches and tarsier sanctuaries is also a showcase of sustainability. First Stop is White Beach on Panglao Island and the Bohol Bee Farm.

Bohol Bee Farm Dusk

White Beach, Panglao Island
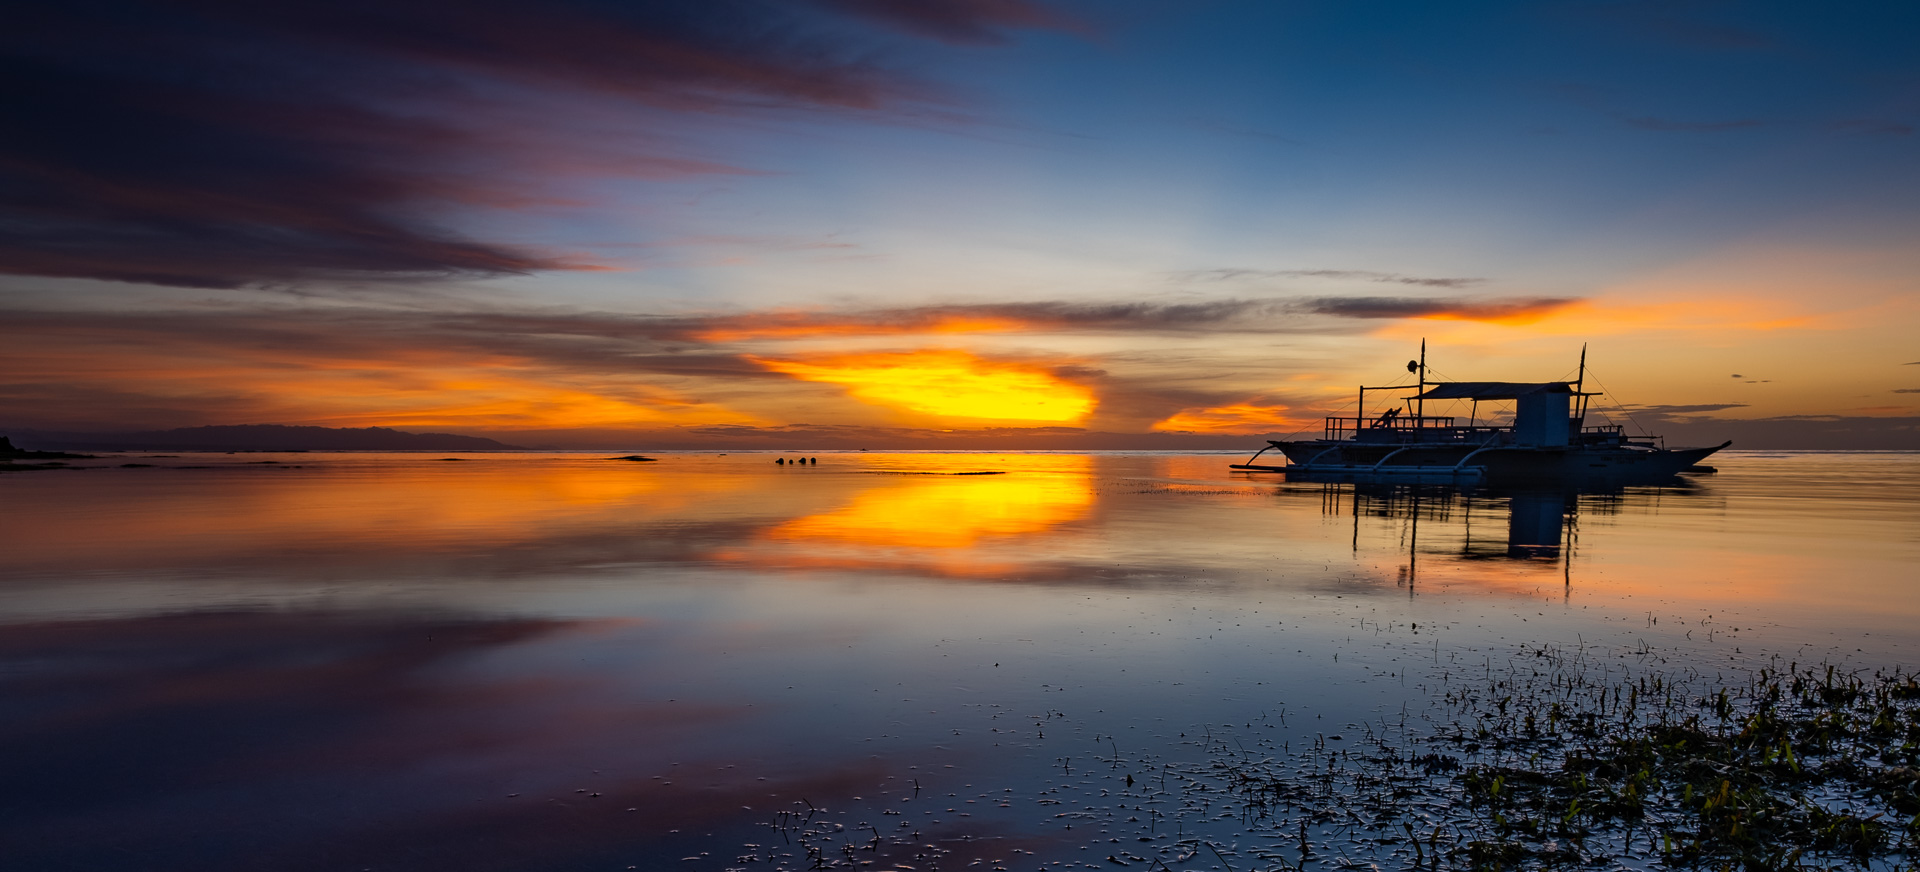
Bohol Bee Farm Sunrise
Loboc River
About an hour and half drive from Panglao Island you will find the emerald green waters of Loboc River. Acres of nipa palm line all along the river bank.
The Loboc river passes through the town center of the Municipality of Loboc, offering a riverside view of the Loboc church across the highway.
Various activities on the river, including the river cruise and standup paddle boarding typically feature a scenic trip upriver to Busay falls, or to various points in the river where visitors can enjoy buffets, cultural presentations, firefly watching, birding, and even paddle board yoga at the Fox & Firefly Cottages.
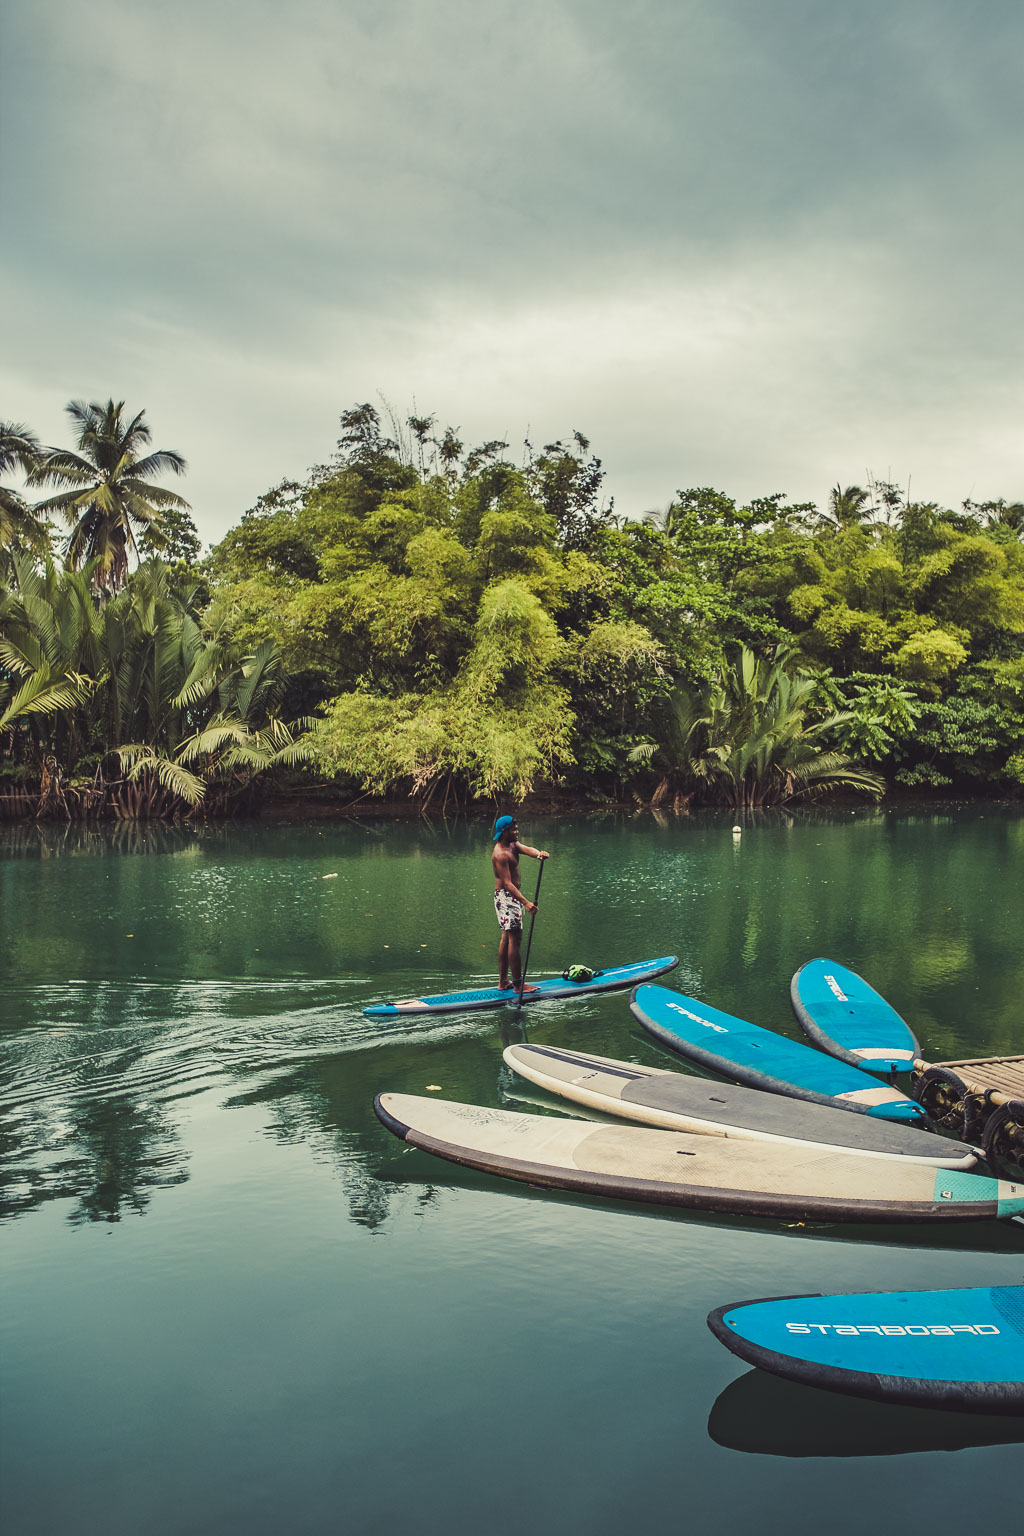
Fox & Firefly Cottages

Loboc River footbridge
https://theculturetrip.com/…/chasing-the-dying-light-of-bo…/
Watching golden pteroptyx macdermotti fireflies float in the mangrove forests of Bohol, Philippines is one of nature’s most bewitching spectacles. Yet it may not be long before the lights go out.
These image is a composite of ten images each photographed with a minutes long exposure.

Fireflies
Tarsier
About a 30 minute drive from Loboc River we visited the Tarsier Sanctuary just after opening to beat the crowds of tourists. The protected primates are a mere handful size and can only live for 24 years.
Called the “world’s smallest monkey” for its physical similarities to that primate, the tarsier, along with the lemur, tree shrew and loris, in fact belong to a more primitive suborder Prosimii or prosimian.
All I can think of when I see these peculiarly cute creatures is YODA from star wars.
More info here: http://www.tarsierfoundation.org/the-philippine-tarsier

Tarsier Sanctuary

Tarsier Sanctuary
Chocolate Hills
The nearest town of Carmen is only 15 minutes away. You can stay the night at Villa Del Carmen for some home cooking. A short stroll away is the town of Carmen.
We stayed the night to capture a sunset and sunrise but unluckily both days were a bit over cast. Nevertheless it’s still worth a look at these amazing hills. About 50 years ago a National Geographic Photographer visited the hills and thought they looked like Hershey’s Kisses Chocolate. Hence the name has stayed since.
There are at least 1,260 hills but there may be as many as 1,776 hills spread over an area of more than 50 square kilometres. They are covered in green grass that turns chocolate brown during the dry season.
These conical hills are geomorphological features called cockpit karst, which were created by a combination of the dissolution of limestone by rainfall, surface water, and groundwater, and their subaerial erosion by rivers and streams after they had been uplifted above sea level and fractured by tectonic processes.

Siquijor Island
After a 2 hour ferry ride with Ocean Jet from Tagbilaran in Bohol we were eager to explore Siquijor. With about 95,000 inhabitants the perimeter of the oval shaped island can be tackled in about 3 hours.
Highlights on the island include white sandy beaches, Mangrove swamps, crystal clear water, waterfalls and faith healers.
A couple of nights stay is sufficient to relax and go on a full day expedition. I would recommend a driver to take you around. for the whole day to really enjoy all the island has to offer.

San Juan Beach, Siquijor
Sunrise & Sunset
At 6am our sunrise began at the sleepy village of Talingtin to capture the mangrove trees along the shoreline. We happen to photograph them at low tide which gave us access to get closer on foot.
For sunset we hit two locations both in the area of San Juan. On our first night we kicked some sand at Paliton Beach and on our second night we had some San Miguel Beer at Ocean Bar and Grill on the beach.
Both locations also delivered some low tides and calm waters.

Motion Blur Effect - Sunrise at Paliton Beach
Aloha Bar & Grill Sunset of San Juan Beach

Aloha Bar & Grill Sunset of San Juan Beach

Talingtin Sunrise with Mangrove Tree

Talingtin Sunrise with Bangka

Long Exposures with a 6 stop filter - Paliton Beach

Our staff member at Island View Cottages.
Other Highlights on the island include Cambugahay Falls, Salagdoong Beach and a fish spa. The falls require a 220 step hike down so I would suggest you have some bottled water for your trip back up.
Once down at the falls you will have a choice of 3 falls to swim or swing. Swinging requires a small payment for any Tarzan or Jane action. The fish spa tickles and causes a few laughs for a 5 minute sitting on your way home.

Salagdoong Beach Cliff Jump

Salagdoong Beach

Cambugahay Falls
Negros Island
After a 1 hour boat ride to Dumaguete City we drove out of town to stay at the Wuthering Heights Bed & Breakfast. A large concrete building sitting a top a hill overlooking the island of Cebu. The perfect spot for a cup of brewed coffee on the rooftop patio at sunrise.
Other points of interest nearby are the Sunday Market in San Jose and Balinsasayao Twin Lakes. The Twin Lakes operated by the government with a strong conservation program to preserve all wildlife and pristine waters.
Most people go on a short boat ride across the lake, hike a 10 minute steep path and finally view the adjoining lake from an observation deck.
The whole journey will take about 45 minutes to an hour. It’s worth a look simply to breath in the clean mountain air.

Balinsasayao Pond before Twin Lakes.

Balinsasayao Pond before Twin Lakes.

Balinsasayao Twin Lakes.
Sunday Market in Poblacion, San Jose if you can time your schedule is a community affair. Many local farmers come into town and fill the basket ball court (Community Center) with fruit, vegetables, meat and fish.
After morning mass locals pour out of the church into the market. It s a visual feast of local faces.

Sunday Market in Poblacion, San Jose

Sunday Market in Poblacion, San Jose

Sunday Market in Poblacion, San Jose

Sunday Market in Poblacion, San Jose
Oslob, Cebu Island
At 3am we were woken with a hot cup of coffee for our 1 hour journey to Cebu Island on a car ferry. Also known as a RORO (Roll on Roll Off) we cruised silently in perfectly calm waters.
By 5:30am I was lining up for an hour to get some tickets (1,500 PHP) for our Whale Shark Experience.
By 8:30am we finally made the front of the line with our life jackets on ready to board the small bangkas (outrigger boat) Swimming with a Whale Shark in Oslob is a controversial experience.
Some say it’s not natural behaviour for the fish to be fed and surrounded by hundreds of people. Others say it is much easier than going to Donsol in Leyte to look for them with no guarantee at all of spotting them in the wild let alone swimming with them this close.

Oslob Whale Shark Experience
Batanes Islands
Located closer to Taiwan than the Philippines. An hour and a half flight from Manila. The Mayor is really into agri-tourism. Imagine being able to shoot alongside a farmer at sunset on a rolling hill.
You can drop into a fishing village and catch a fisherman mending his nets. I like to describe the landscapes as being the Ireland of Asia. Its lush green, lots of rainy days and rustic.
There are two main islands, Batan and Sabtang. When you fly into Basco you will be on Batan. Sabtang is an hour boat ride away. The best time of year to go is between November and February. You can take a chance between March and October but the typhoons and strong winds will make it difficult to travel.

Valugan Boulder Beach Sunrise, Batan Island

Racuh A Payaman (Marlboro Hills)

Basco Lighthouse
My Travel Photography Kit
Camera: Fujifilm XT3 | Lenses: 35mm (F1.4) & 14mm (F2.8) | Tripod: Sirui T024SX | 13 Inch MacBook Pro | Total Weight: 5 Kg.
Join me on my Philippine Photo Tour

Mt. Fuji's 5 Best Landscape Locations
I have been visiting the surrounding areas of Mt. Fuji for the last ten years and would have to say the easiest way to get around quickly is in a hire car. Most of the best viewing points are from the lakes and hill tops.
Mt. Fuji's 5 Best Landscape Locations
I have been visiting the surrounding areas of Mt. Fuji for the last ten years and would have to say the easiest way to get around quickly is in a hire car.
Most of the best viewing points are from the lakes and hill tops. The distances to each lake with public transport are far and not frequently available.
Most tourist take a day trip from Tokyo but I would suggest an over night stay. This will give you a chance to catch a sunset and sunrise. Mountain weather can be very unpredictable so be prepared to have heavy cloud cover on Mt. Fuji.
Here is a link to check live web cams in many key locations. I usually go in Autumn or Spring to capture the beautiful autumn leaves and cherry blossoms. There are many other points of interest to shoot so here are some suggestions worth exploring.

Kawaguchiko - ISO 100, F11 @ 5 seconds (Tripod)
Gear Used:
Tripod: Carbon Fibre Sirui 024x, Canon 5D Mark III, Carl Ziess Distagon 18mm & Nisi Filter (CPL,6 & 10 stop filters) Editing with Adobe Lightroom, Photoshop and Nik software on a 13 inch Macbook Pro.

Google Map Routes
Lake Kawaguchiko
On the Northern shore you are certain to find great vantage points from Oishi Park in autumn or spring. Be prepared to run into crowds of tourists looking for the best trees with Cherry Blossoms or Cypress leaves.
If you are looking for some nice light then early morning or late afternoon in the golden hours are perfect up to 2 hours before sunset or after sunrise. Keep in mind that the sun drops earlier out of view as surrounding mountains can block off the sun rays. Sunrise and sunset times vary through out the year so best to check using google earth or special apps like Photo Pills, Sun Surveyor or Ephemeris to name a few.

Kawaguchiko - ISO 200, F11 @ 1/125th (CPL)
Lake Saiko
If you continue driving along the shoreline heading on Kohoku View Line road you will go through a tunnel to see Saiko immediately after.
Saiko Nebahama Parking lot is the best spot to stop for a view looking back at Mt. Fuji. Great leading lines can be used with all the colorful canoes and fishermen dotted along the banks.

Saiko - ISO 200, F11 @ 1/125th (CPL)
Lake Shojiko
Only a 12 minute drive from Saiko will take you to a campsite along the western shoreline. I would suggest a mid afternoon drive to be able to access all 3 lakes as quickly as possible.
Many City slickers escape to these areas for a weekend camping of R&R.
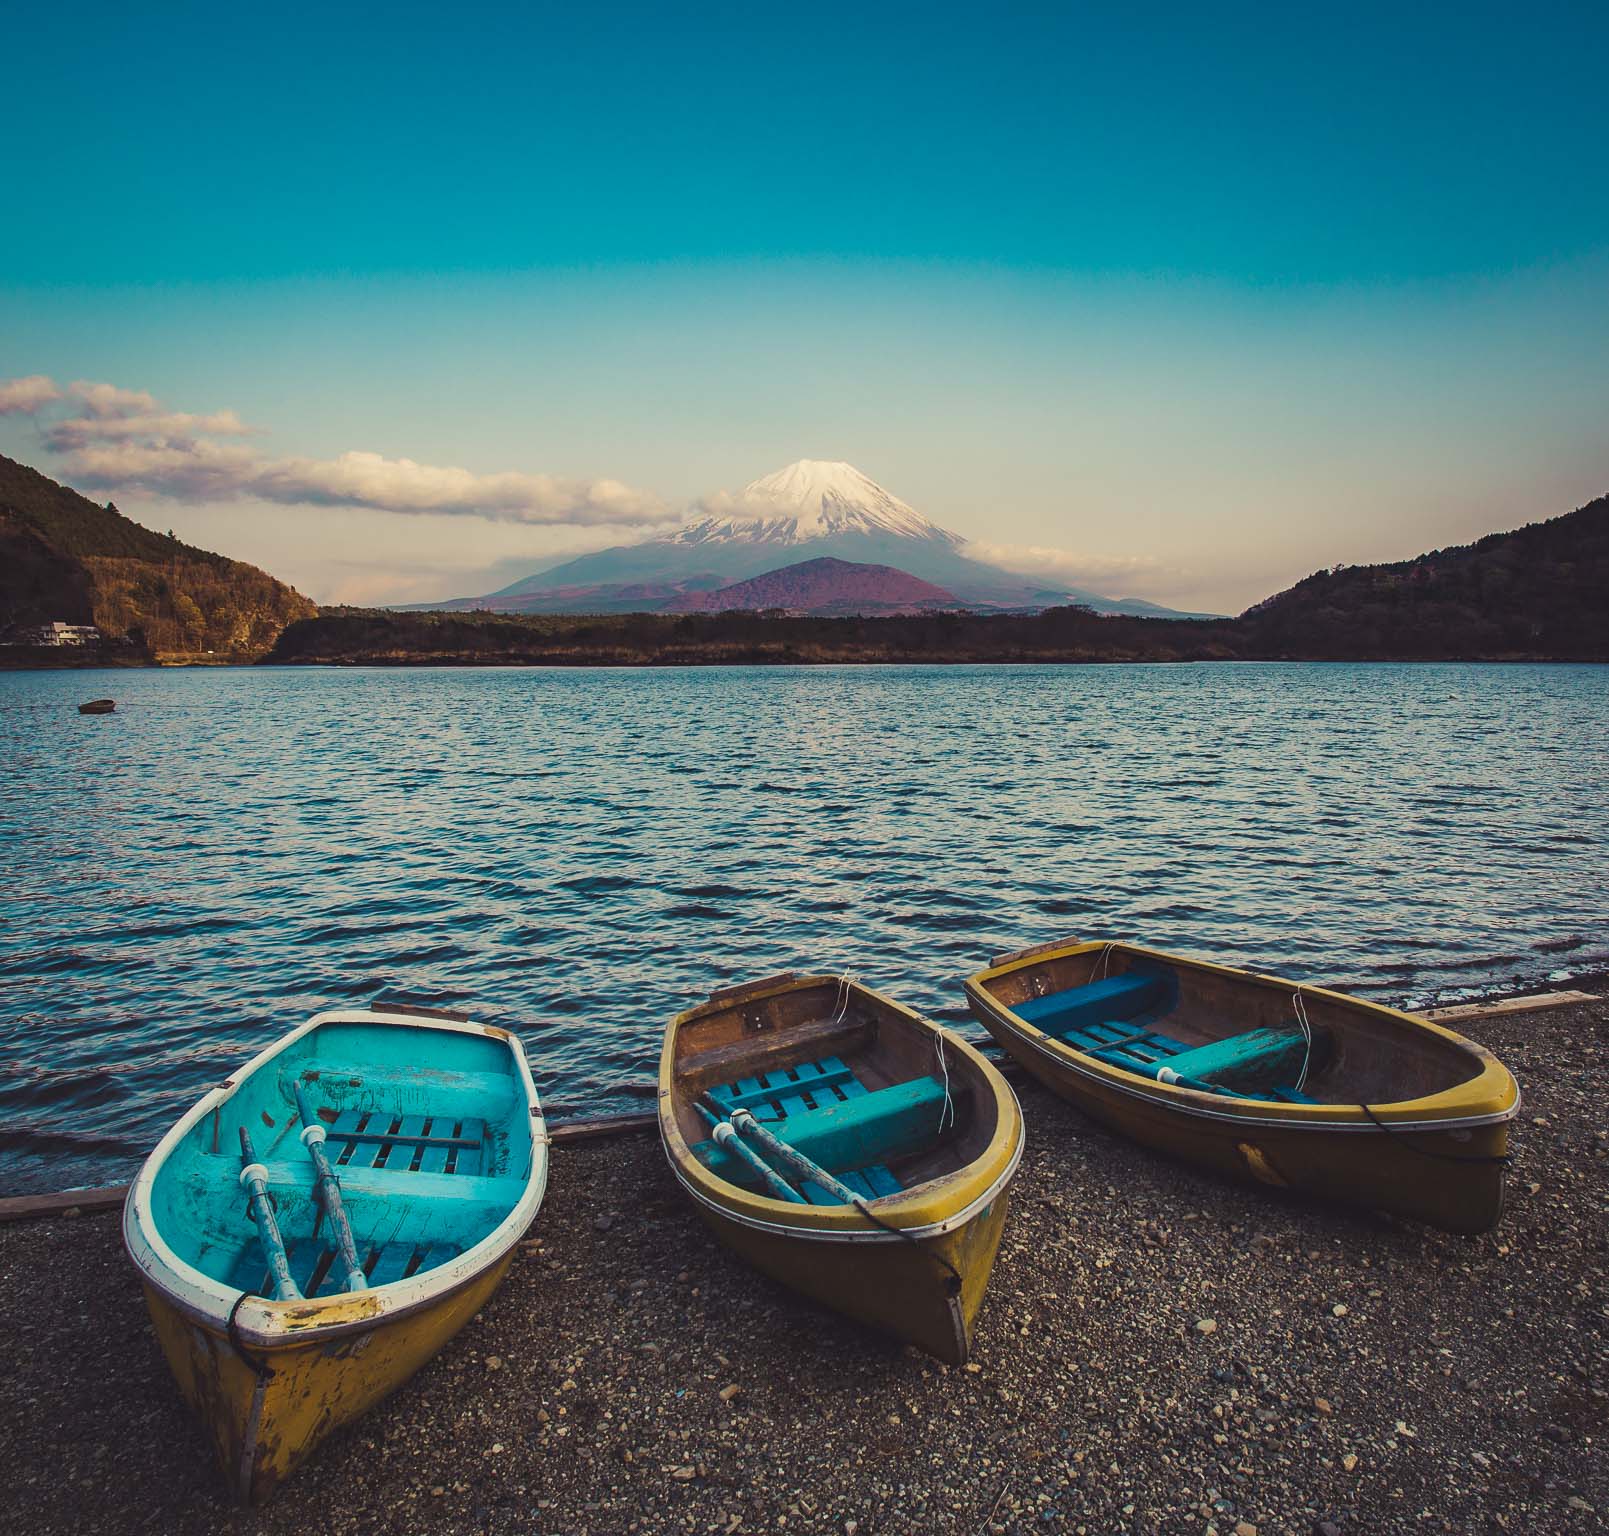
Shojiko - ISO 50, F11 @ 1 second (Tripod) CPL
Lake Yamanakako
Since this lake is on the Eastern side of all the five lakes, I would suggest going here in the morning after a sunrise shot at Chureito Pagoda.
The weather can be quite unpredictable as seen in the image below which was shot in early April of 2017. I was expecting some Cherry Blossoms but instead I got snow and some white swans.

Yamanakako - ISO 100, F11 @ 1/125th (CPL)
Chureito Pagoda
Iconic pagoda on a hilltop facing Mt. Fuji in Arakurayama Sengen Park that's reached via 398 steps. This should get your heart pumping and build up your appetite before breakfast.
Tripods and drones are not allowed up hear. In the distance you can sometimes hear the defence force training with gunfire and canons.
Every morning senior citizens make the the climb and do their daily exercises. What a beautiful day to start each day.
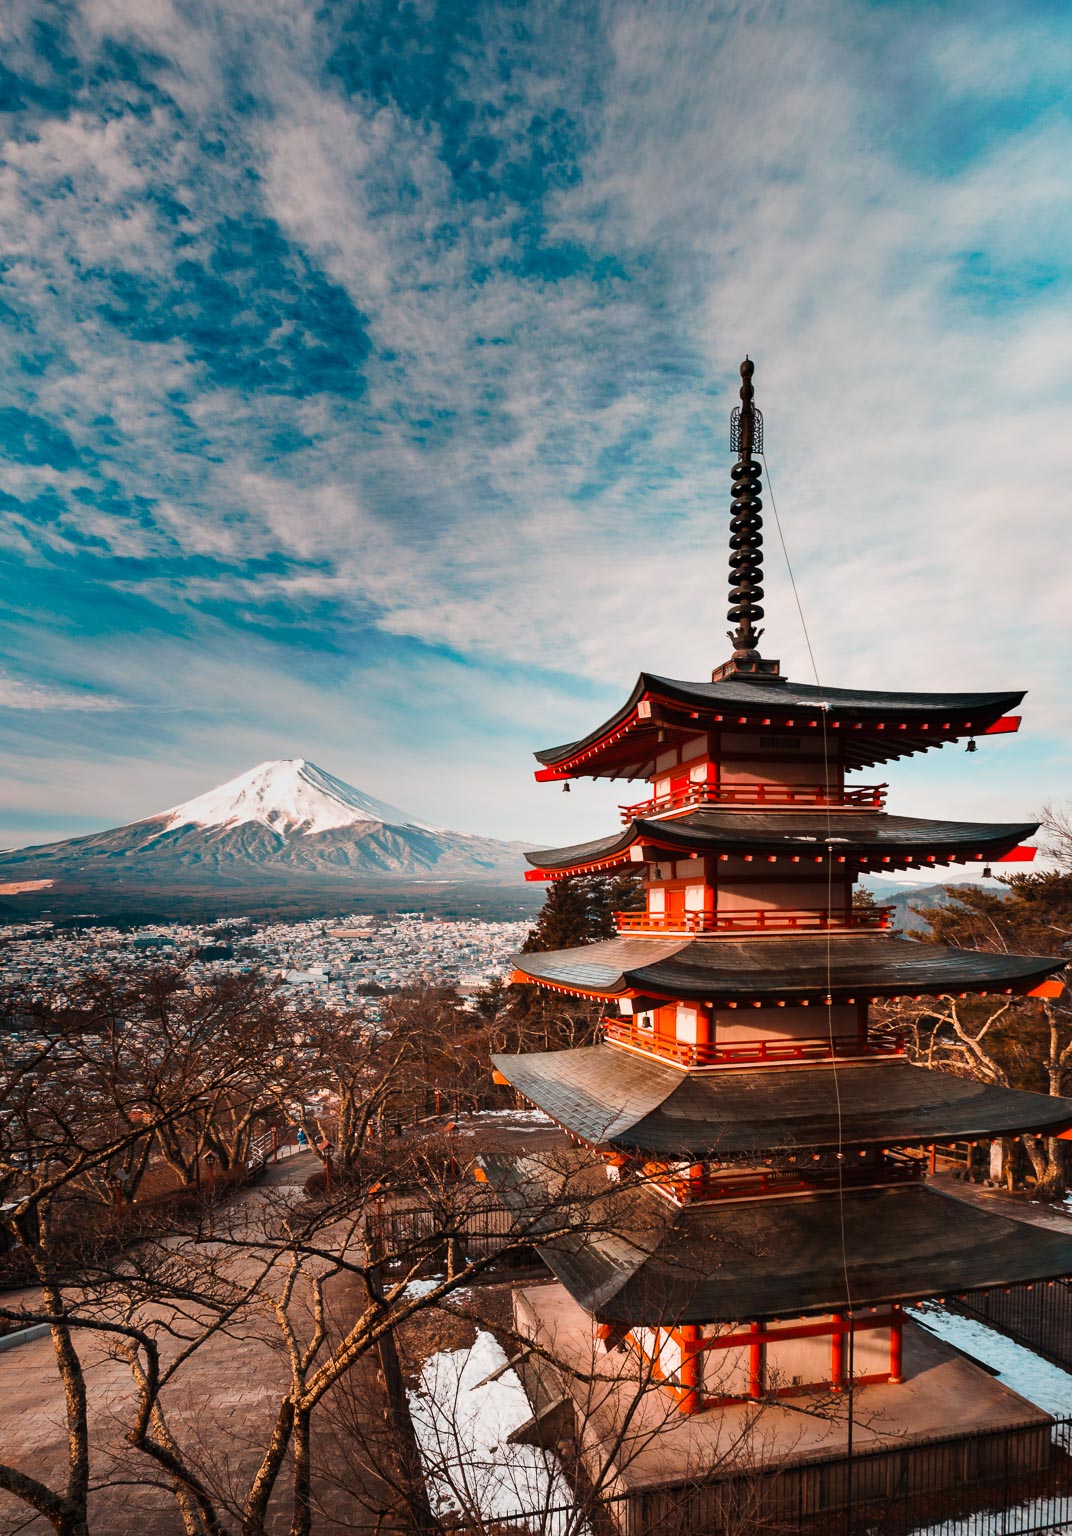
Chureito Pagoda - ISO 400, F11 @ 1/60th
Other Points of interest:
Fuji Q Highlands Amusement Park
Has the steepest roller coaster in the world with a 124 degree drop angle and 14 inversions. Bring your puke bag. Good luck trying to enjoy the view of the tallest mountain in Japan at a majestic height of 3776m. Mt. Fuji is an active volcano which last exploded in 1707.

Mt. Fuji - ISO 200, F8 @ 1/100th (Canon 85mm F1.2 Lens)
Shiraito Falls
The Shiraito Falls (白糸の滝, Shiraito no Taki) are located in the southwestern foothills of Mount Fuji. Ranked among the most beautiful waterfalls in Japan, the 150 meter wide cascade is fed by the volcano's spring water and flows off the edge of a 20 meter high cliff in thin white streams that resemble hanging threads of silk - hence its name. The base of the waterfall is easily accessible from the road via a walking trail in just a few minutes.

Shiraito Falls - ISO 100, F11 @ 1/4
Lake Ashinoko, Hakone
Lake Ashinoko (芦ノ湖, Ashinoko) was formed in the caldera of Mount Hakone after the volcano's eruption 3000 years ago. Today, the lake with Mount Fuji in the background is the symbol of Hakone. The lake's shores are mostly undeveloped except for small towns in the east and north and a couple of lakeside resort hotels.


6 Tips - Shoot For The Stars
Want to capture beautiful images of the night sky? Alfonso Calero has six great tips to help you shoot for the stars.
Want to capture beautiful images of the night sky? Alfonso Calero has six great tips to help you shoot for the stars.
01 WHEN TO SHOOT
While you may be tempted to start shooting as soon as the sun goes down it's best to wait until the warm glow of twilight has completely faded. Generally speaking, you'll get the best clarity and contrast if you wait at least two hours after sunset and stop shooting two hours before dawn.
Winter is the best time to shoot the night sky in the Southern Hemisphere, as the air is cleaner and clearer and the stars appear brighter. Shooting while there is a quarter, half or full moon will introduce unwanted light to your images and make the stars appear fainter. Aim for a clear moonless night.

02 WHERE TO SHOOT
Light pollution is the number one enemy of star gazing, so seek out a location well away from cities and towns.There are a number of tools you can use to work out where the stars will be at a certain location and time. Stellarium (available for iOS and Android devices) shows an accurate 3D map of the night sky, based on the time you set, your GPS location and the orientation of the phone. To find a specific star or constellation it's simply a matter of setting the date and time and panning the camera around until you see the stars you want to shoot.

03 COMPOSITION
You'll find it helps to plan your composition before the sun goes down so can see what's happening around you. Try to include a foreground element in the shot such as a tree, mountain, historic home or bush track. Shots of stars by themselves can be interesting but if you can include other elements it's likely you will hold people's interest for longer. To add a dynamic feel to your photos, it's generally a good idea to avoid putting the horizon in the middle of the frame. Most images work better with the horizon placed on a third or quarter line.

04 GEAR
You don't need a lot of expensive gear to photograph stars but there are a few essentials. First up, you'll need a camera that allows you to shoot at slow shutter speeds – at least 30 seconds and preferably longer. Most DSLRs and high-end compact cameras offer good shutter-speed control with a 'Bulb' (B) mode that basically keeps the shutter open for as long as the shutter button is pressed. A bulb mode is required to capture star trails, which are commonly photographed over several hours.
To keep your shots steady, you'll need a sturdy tripod and a remote release. Better than a simple cable or remote release, a programmable intervalometer allows you to shoot time-lapse sequences and program exposures longer than 30 seconds in Bulb (B) mode.
If you're using a DSLR, check to see if your camera has a mirror lock-up option. This prevents the small vibrations that reverberate through the camera when the mirror slaps up and down.
You can use any lens for night photography but fast, wide angle lenses (16-24mm, 35mm equivalent) are the most popular.
A good headlamp will keep you from tripping over in the dark and help you see what you're doing while keeping both your hands free to operate the camera. I also recommend a strong LED torch to 'paint in' foreground details like trees and rocks. (For some great examples of what you can do with 'torch painting', take a look at Sydney-based photographer Peter Solness' work.

05 TECHNIQUE
Set your camera to manual exposure and take your time working through the settings. If you are photographing the Milky Way, start with a shutter speed of 30 seconds, aperture of f/2.8 and ISO of 3200. Check the results on the camera's LCD – zoom in to check sharpness and noise – and adjust the settings as required. If there is any evidence of star trails you will need to choose a faster shutter speed to obtain a sharper image.
You'll probably find that autofocus is a lost cause at night so switch to manual focus and take your time. I find that Live View offers the most accurate focussing, especially if you can zoom in on the LCD to fine-tune your setting. If you are focussing on a subject in the foreground, use your torch to light up the point you want to focus on. Shoot a test shot and check the focus in review before you proceed.
Finally, if your camera allows it, shoot in RAW mode. RAW files contain more data than JPEG files and thus allow more flexibility when it comes to adjust white balance, exposure, contrast, noise and sharpness.

06 POST PRODUCTION
If your images are well exposed and focused, you shouldn't have to do too much in post production. If you are using a program like Lightroom, you'll find that small changes to contrast and white balance can make a big difference to the overall impact of the photo. Noise is an issue with night photography as most shots are taken at high ISOs. Zoom in on the image and use the Noise Reduction sliders to clean up the image.
One of the challenges with night photography is creating images where both the sky and foreground are well exposed. One option that can be useful is to shoot two images; one exposed for the sky the other for the foreground. As long as the camera doesn't move between shots, it is a relatively easy task to merge the images together in a program like Photoshop.


5 Reasons to Enjoy Landscapes in Winter
"Winter is Coming" is a famous quote from Jon Snow of the T.V. Show "Game Of Thrones". While many people might go into a G.O.T form of hibernation at this time of year, that doesn't have to happen!
"Winter is Coming" is a famous quote from Jon Snow of the T.V. Show "Game Of Thrones". While many people might go into a G.O.T form of hibernation at this time of year, that doesn't have to happen!
Photography can lift your spirits and bring loads of better photo opportunities even in the freakin' cold weather.
So pull out your jacket and gloves and get out and explore the creative possibilities that are waiting.
Here are some reasons why you should be out and about shooting some great images at the coldest time of the year.

1. Sunrise is not as early
You don't have to wake up at 5 am to catch a dawn shoot or wait till 9 pm to hook a sunset.
Winter days are definitely shorter with a sunrise at around 7 am and sunset at 5 pm. Of course as the months pass times will change slightly.
Aside from knowing the correct time for a sunrise or a sunset, it is also important to arrive at least 30-45 minutes before a sunrise and stick around just as long after a sunset.
The blue hour, as it is known, can produce some magic moments. When shooting for the stars then knowing when you have a full moon or not can also affect your photo opportunities.

2. The air is cleaner outside
Indoor air quality also becomes a greater concern during the winter because of the amount of time that people stay inside in poor ventilation.
Without adequate circulation, carbon dioxide levels can become an issue, leading to headaches and lethargy.
Generally, outdoor air quality is better than indoor air, so the best antidote is to get outside regularly.

3. The stars are clearer
There is less humidity and the best view of the Milky Way is available at this time of year.
The atmospheric conditions like light pollution and humidity also affect the view. Clearer skies are more often experienced in winter.
Here is a link to an article on astrophotography basics.

4. Lower light levels
Because of the lower angles of the sun (the same lower angles that make it so bloody cold), your "quality of light" is generally better throughout the day and shadows are longer (sometimes a good element for your photos).
If your shooting day presents you with cloudy, overcast weather, you might also consider changing to the “Cloudy” white balance setting to add some warmth to your photos and minimize any blue cast.
This means your ND filters or grad hard or soft filters are not being used as much.

5. Lower sun
For aerial photography, snowy and frosty conditions perfectly emphasise ridges and features and they can be photographed with a clarity not seen at any other time of the year.
The low level to which the sun rises casts much longer shadows, making visibility of above ground features much easier to spot.
Heavy brooding skies, the low sun and those stormy seas and frost-coated landscapes.


Five Days in the Faroe Islands
The Faroe Islands are an archipelago between the Norwegian Sea and the North Atlantic, about halfway between Norway and Iceland, 320 kilometres (200 miles) north-northwest of Scotland. The islands are an autonomous country within the Kingdom of Denmark.

The Faroe Islands are an archipelago between the Norwegian Sea and the North Atlantic, about halfway between Norway and Iceland, 320 kilometres (200 miles) north-northwest of Scotland. The islands are an autonomous country within the Kingdom of Denmark.
Their area is about 1,400 square kilometres (541 square miles) with a population of 50,322 in October 2017.


The Faroes' terrain is rugged, and the islands have a sub-polar oceanic climate: windy, wet, cloudy, and cool. Despite this island group's northerly latitude, temperatures average above freezing throughout the year because of the Gulf Stream.

Between 1035 and 1814, the Faroes were part of the Hereditary Kingdom of Norway. In 1814, the Treaty of Kiel granted Denmark control over the islands, along with two other Norwegian island possessions: Greenland and Iceland.
The Faroe Islands have been a self-governing country within the Kingdom of Denmark since 1948. The Faroese have control of most domestic matters. Areas that remain the responsibility of Denmark include military defence, policing and the justice department, currency, and foreign affairs.

View down to Funingur photographed at midnight.
However, as they are not part of the same customs area as Denmark, the Faroe Islands have an independent trade policy and can establish trade agreements with other states.
The islands also have representation in the Nordic Council as members of the Danish delegation. The Faroe Islands also have their own national teams competing in certain sports.
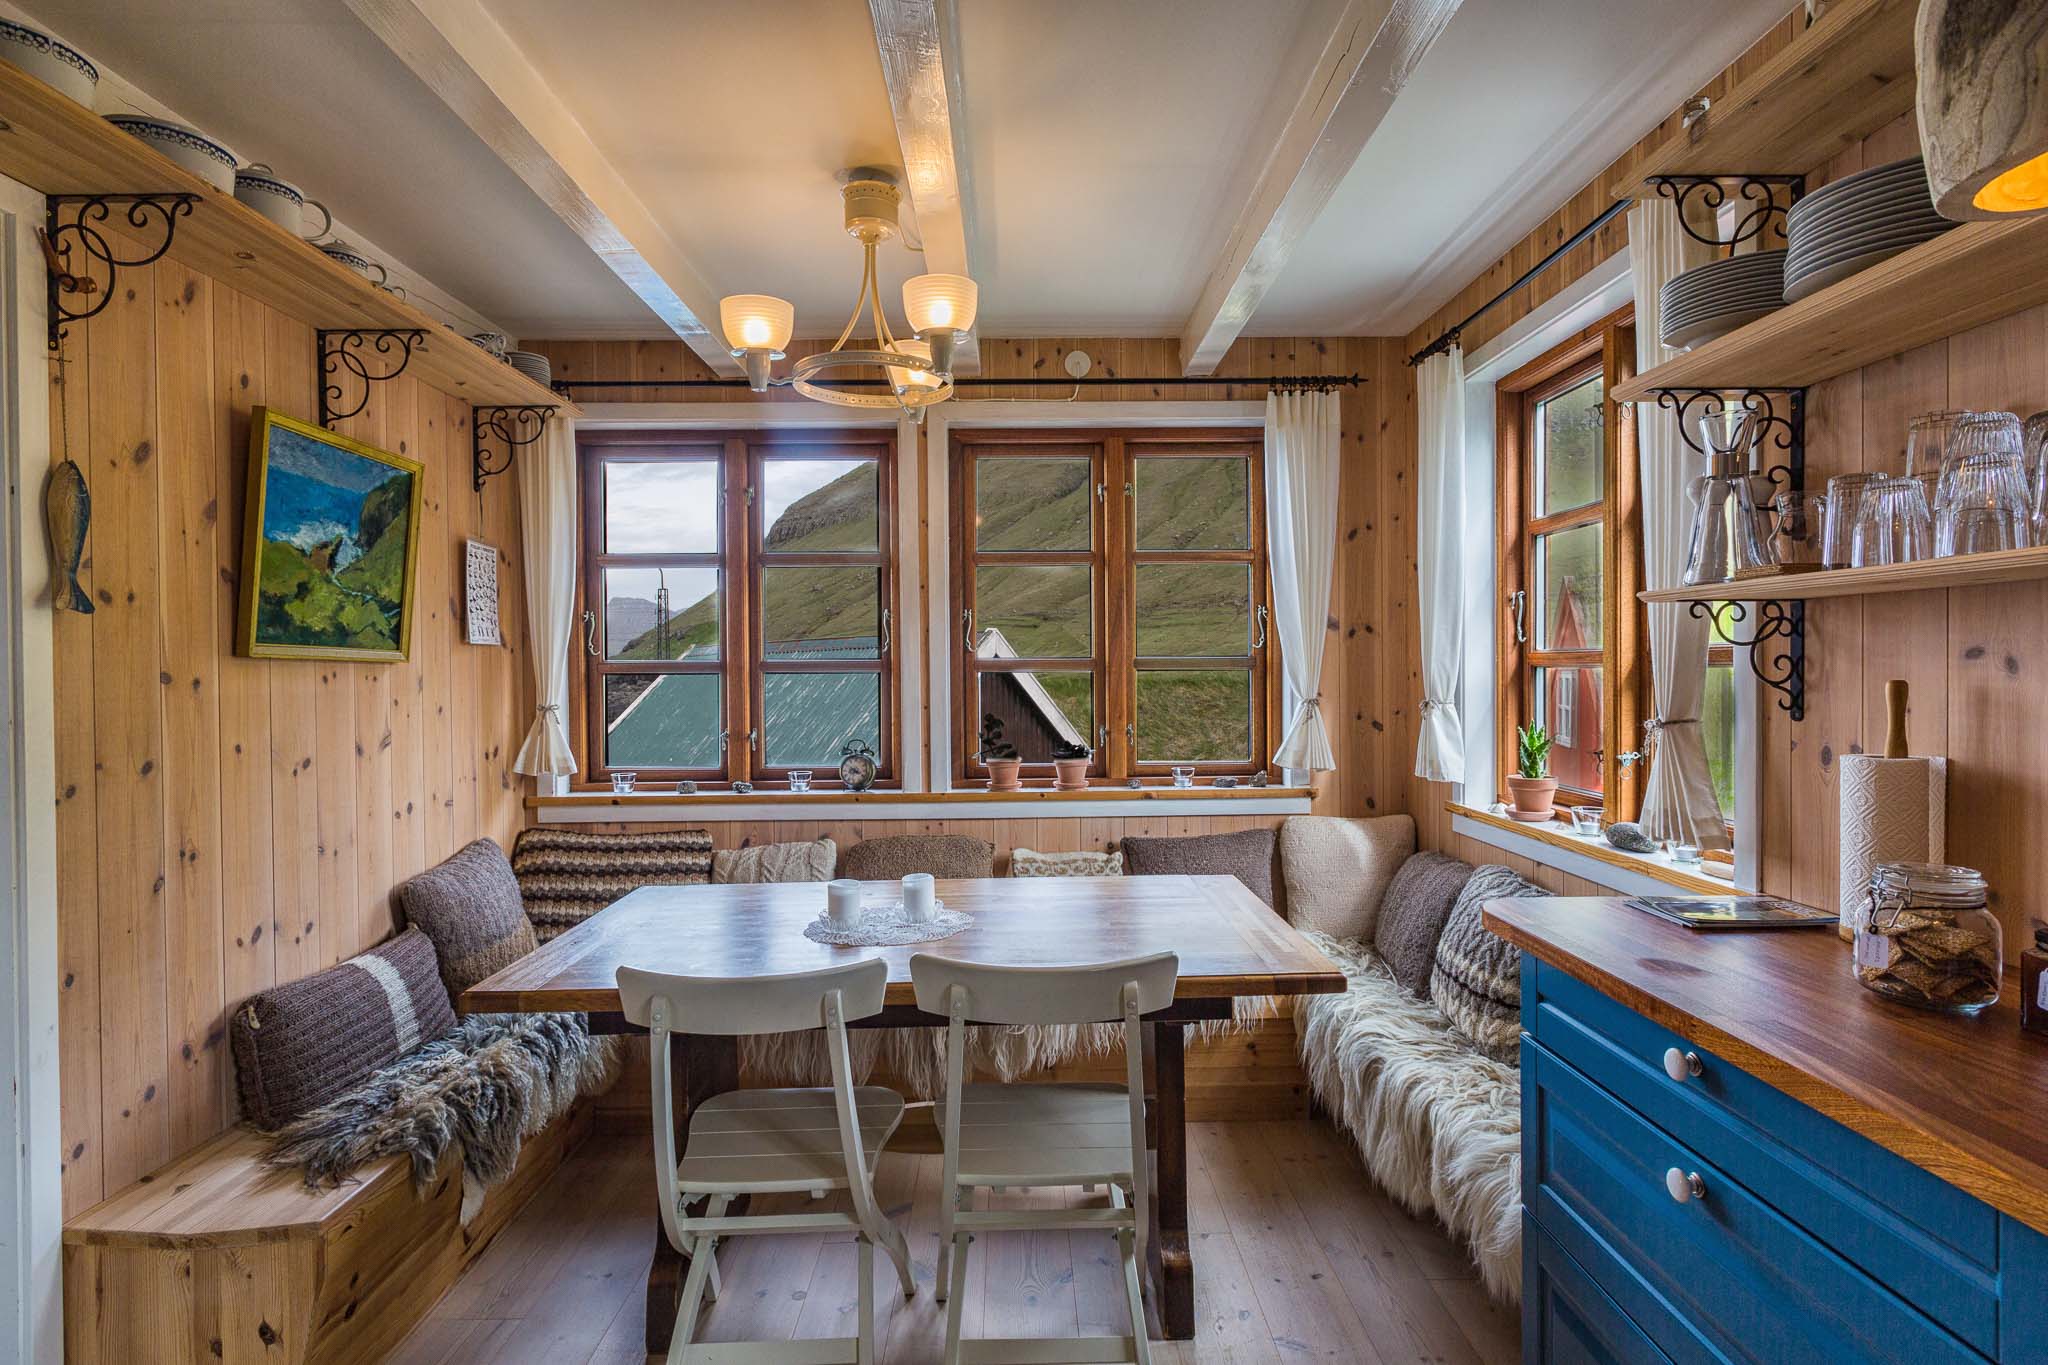
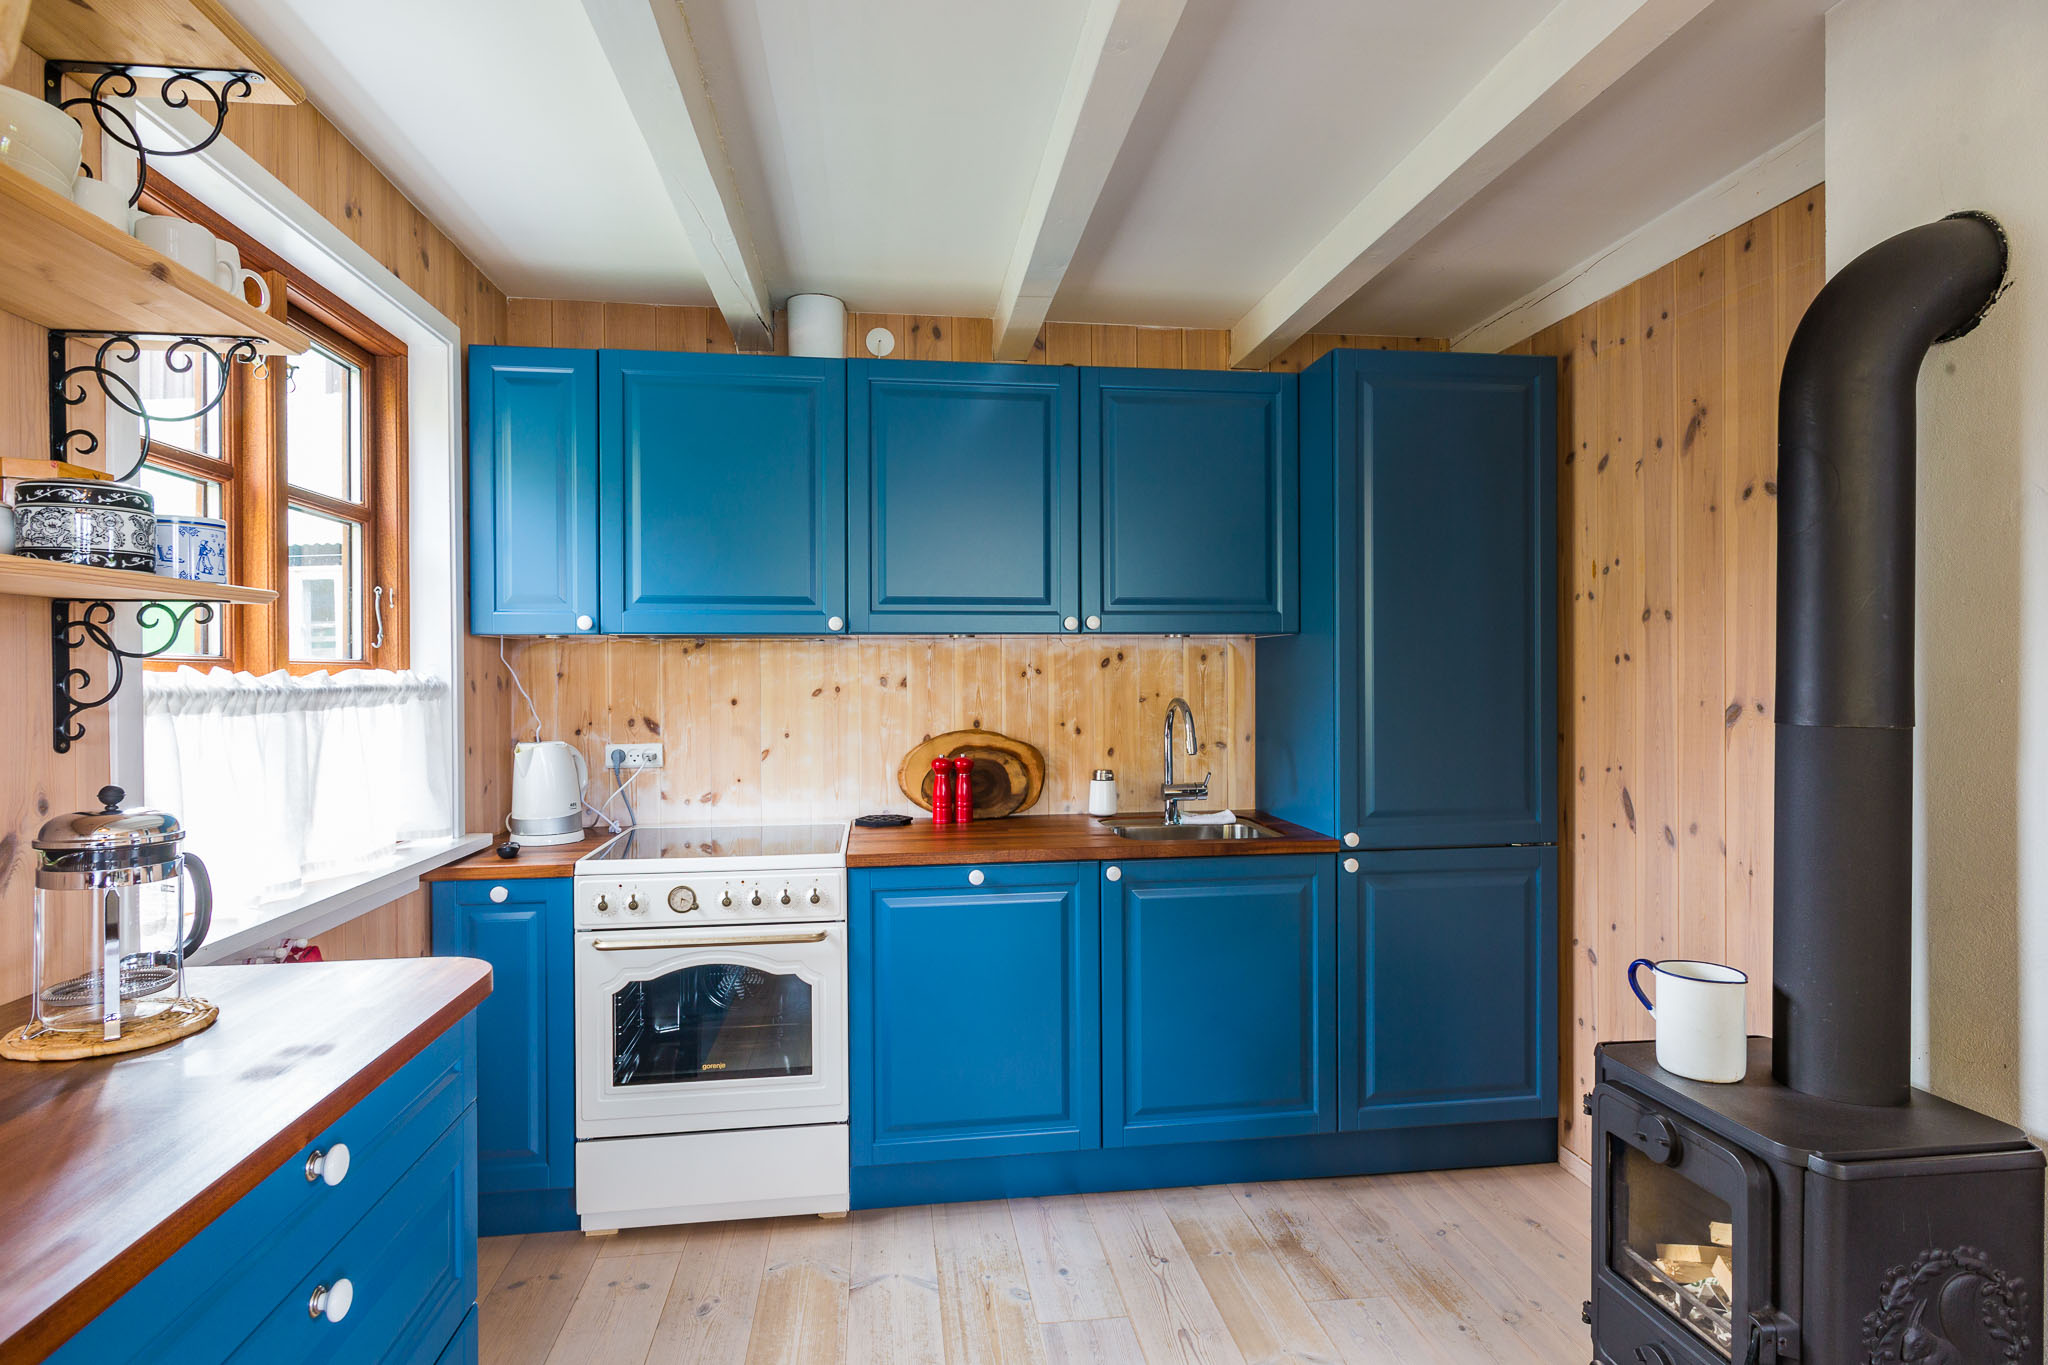
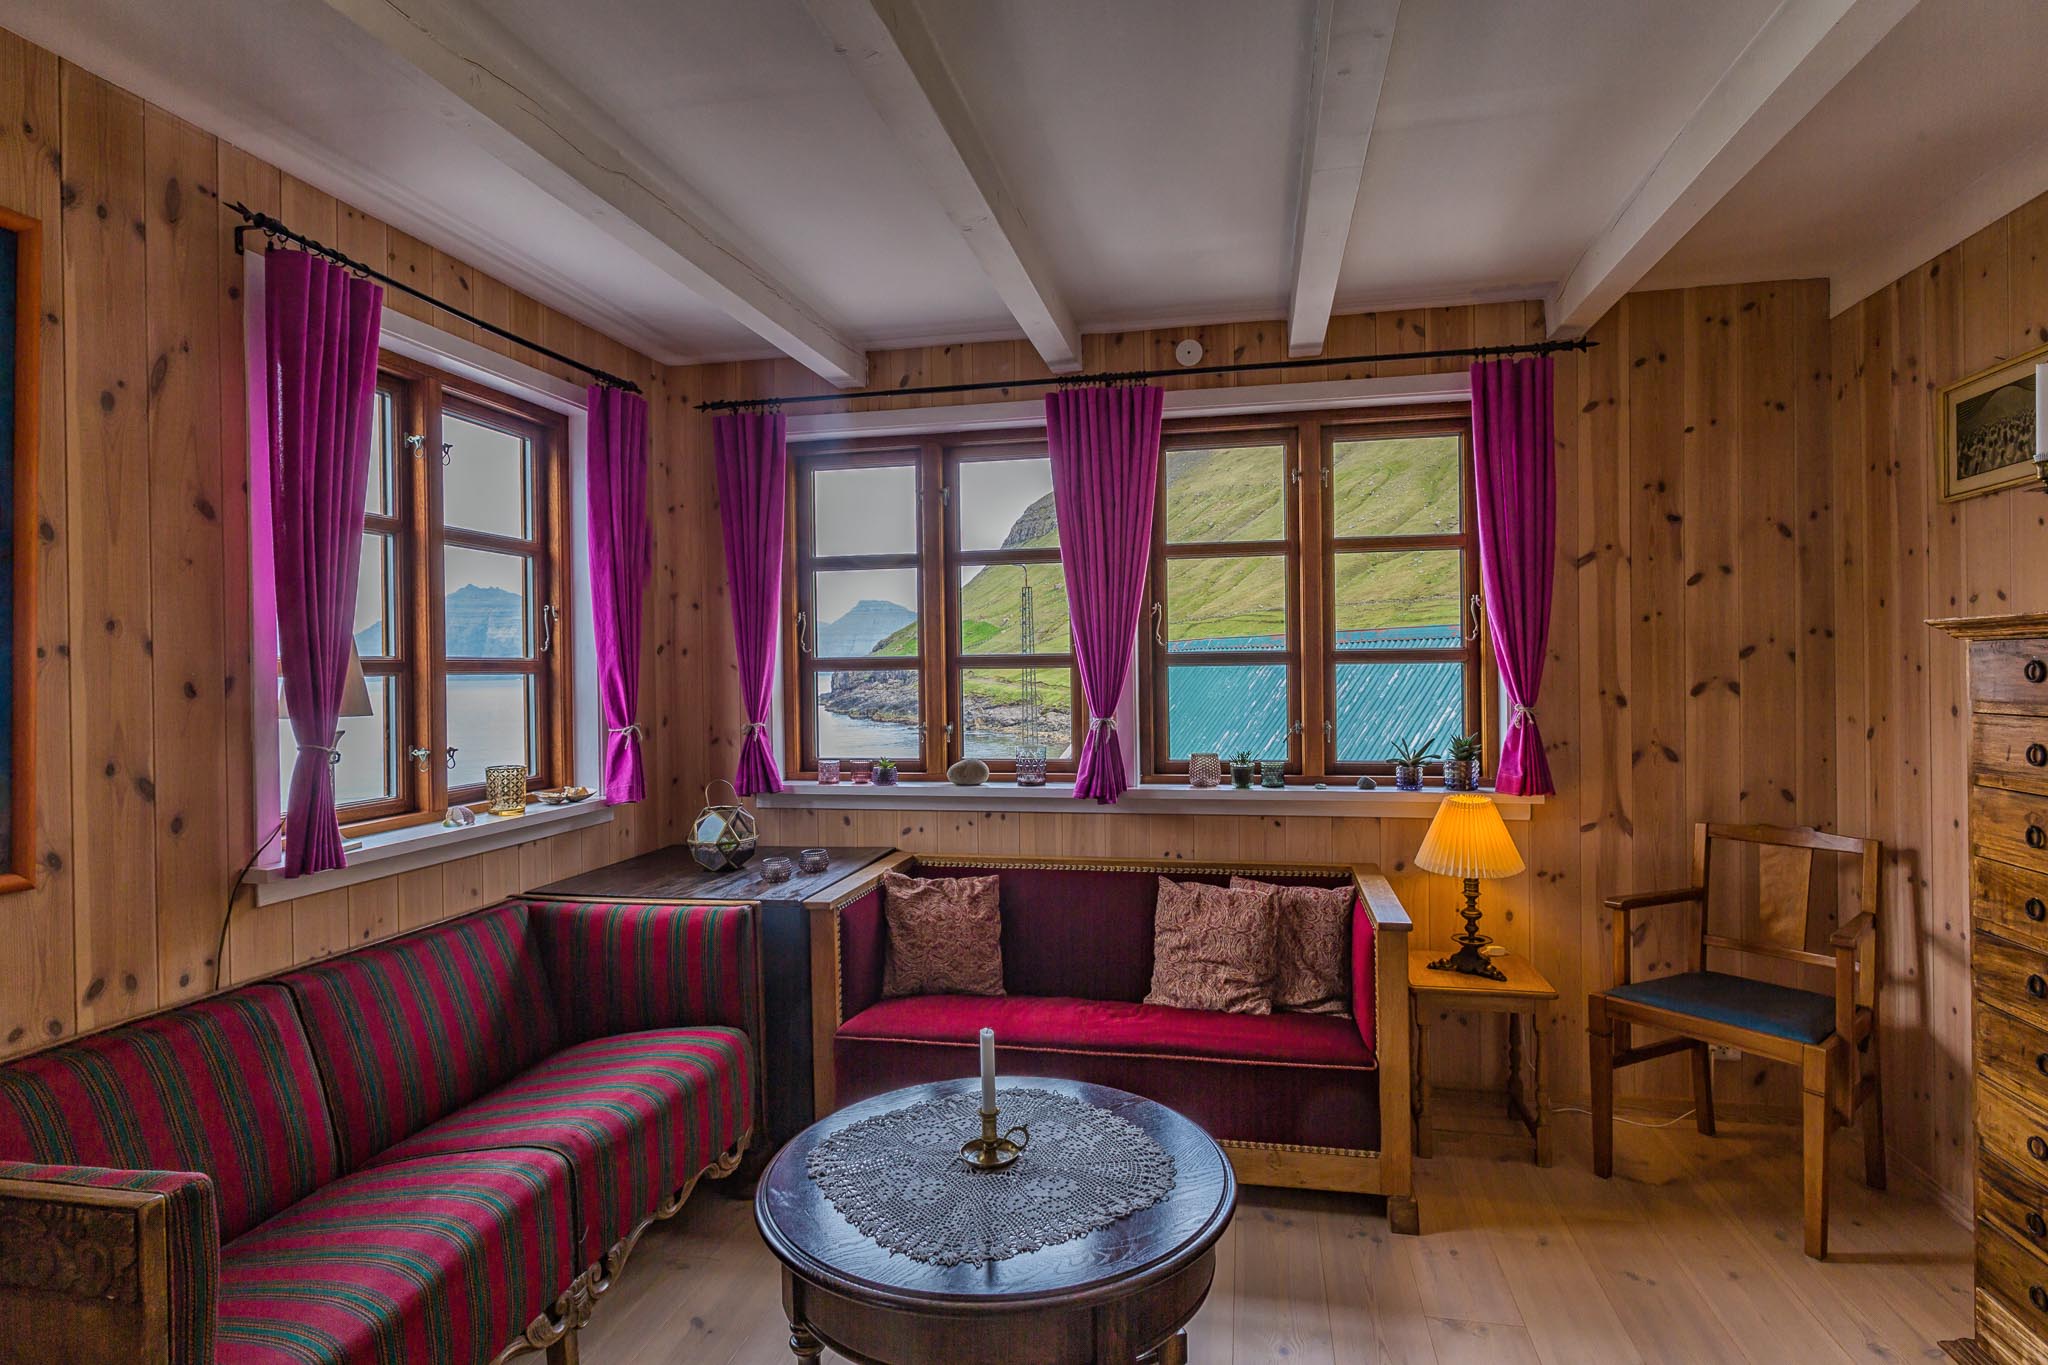
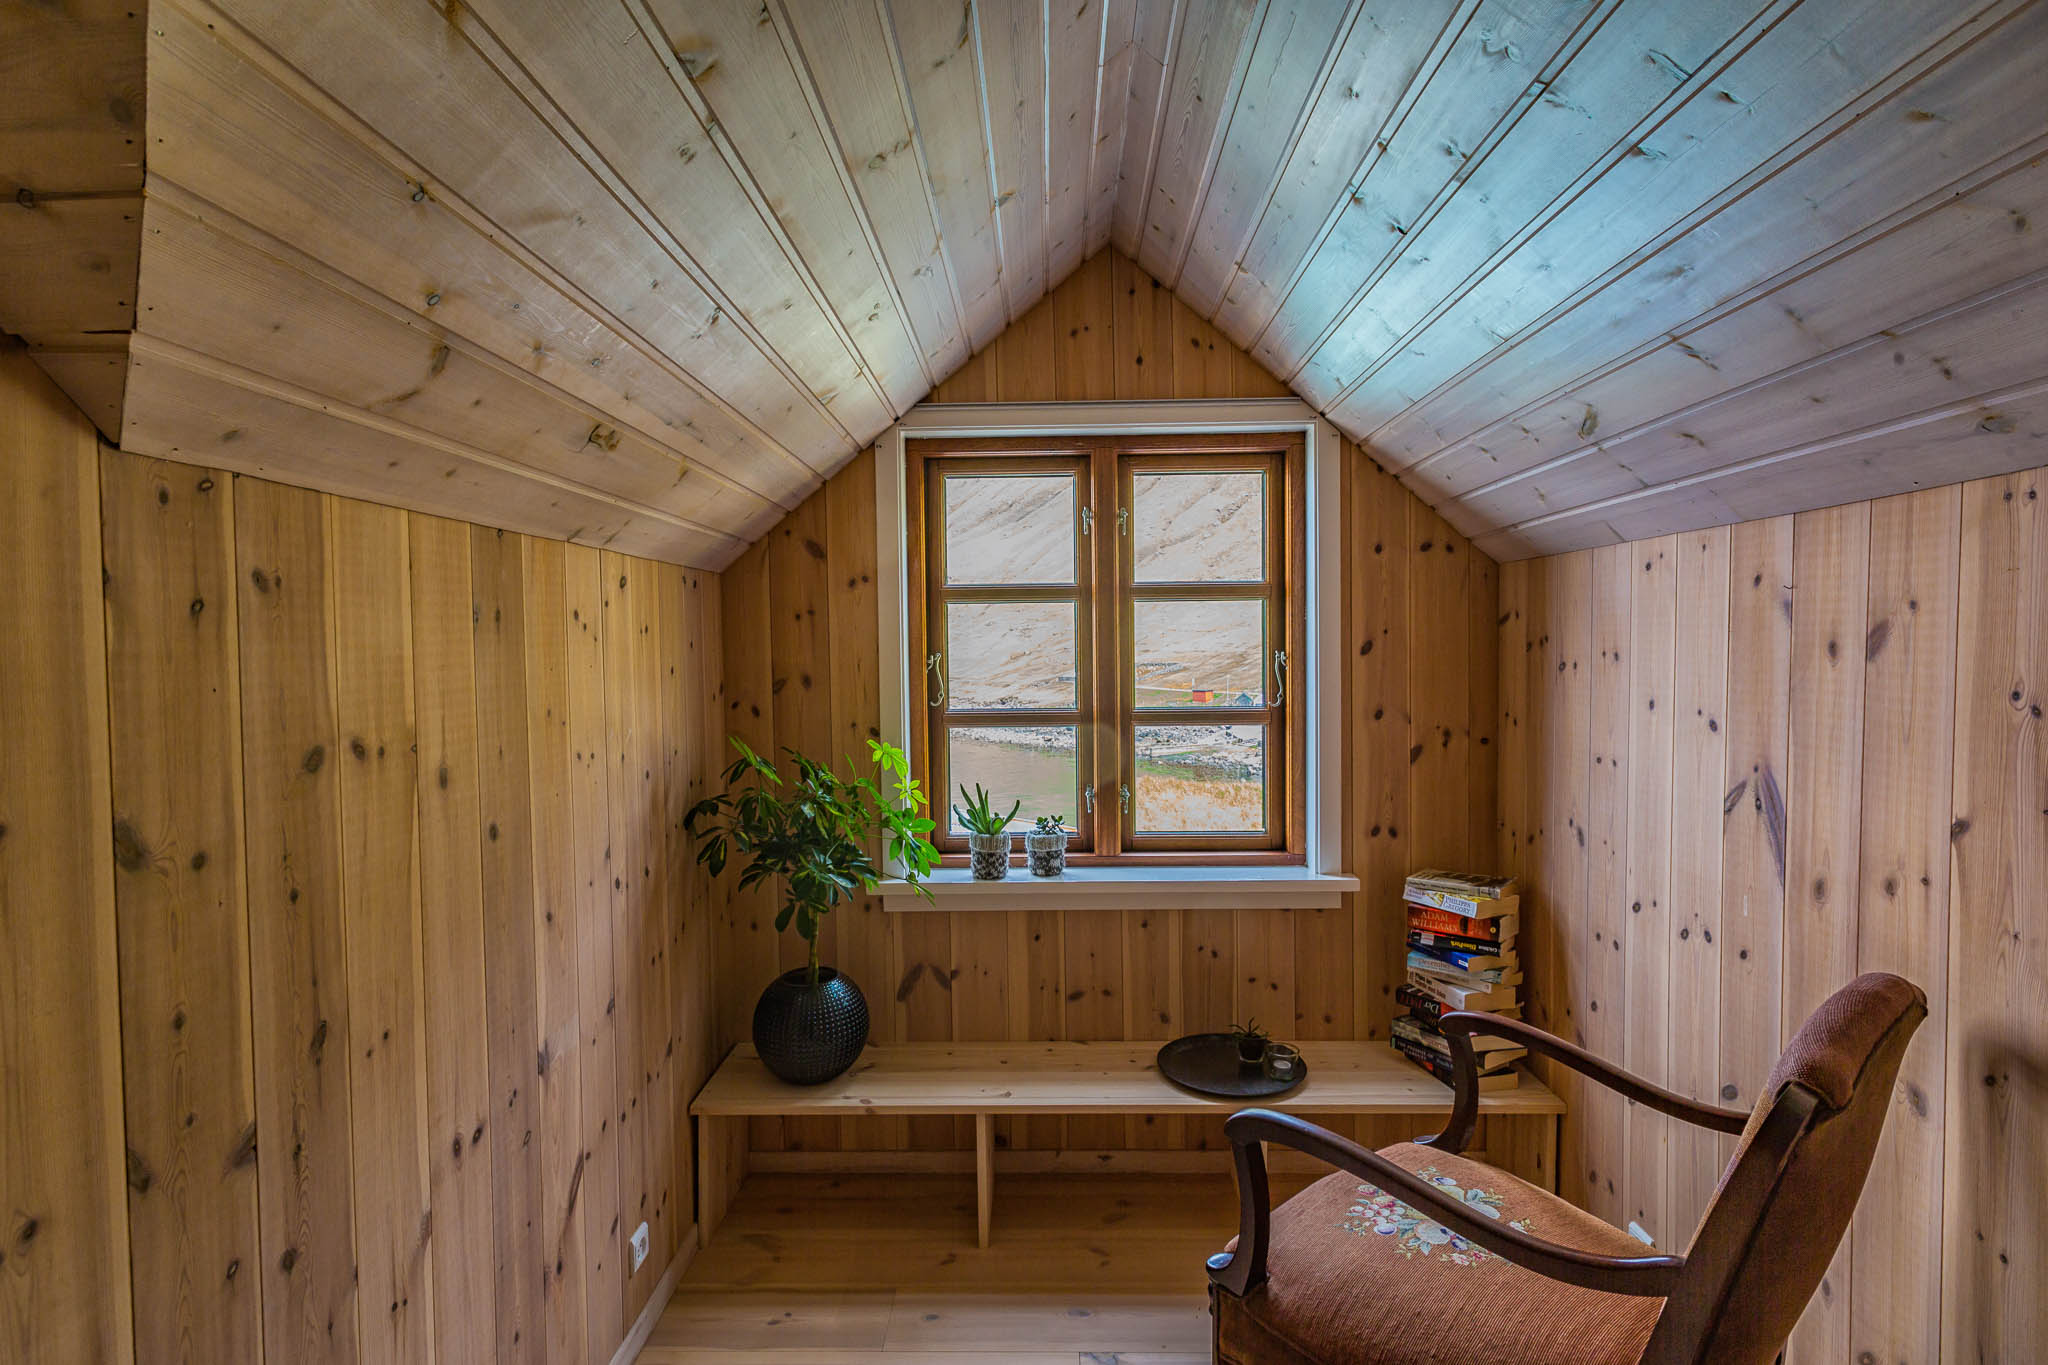
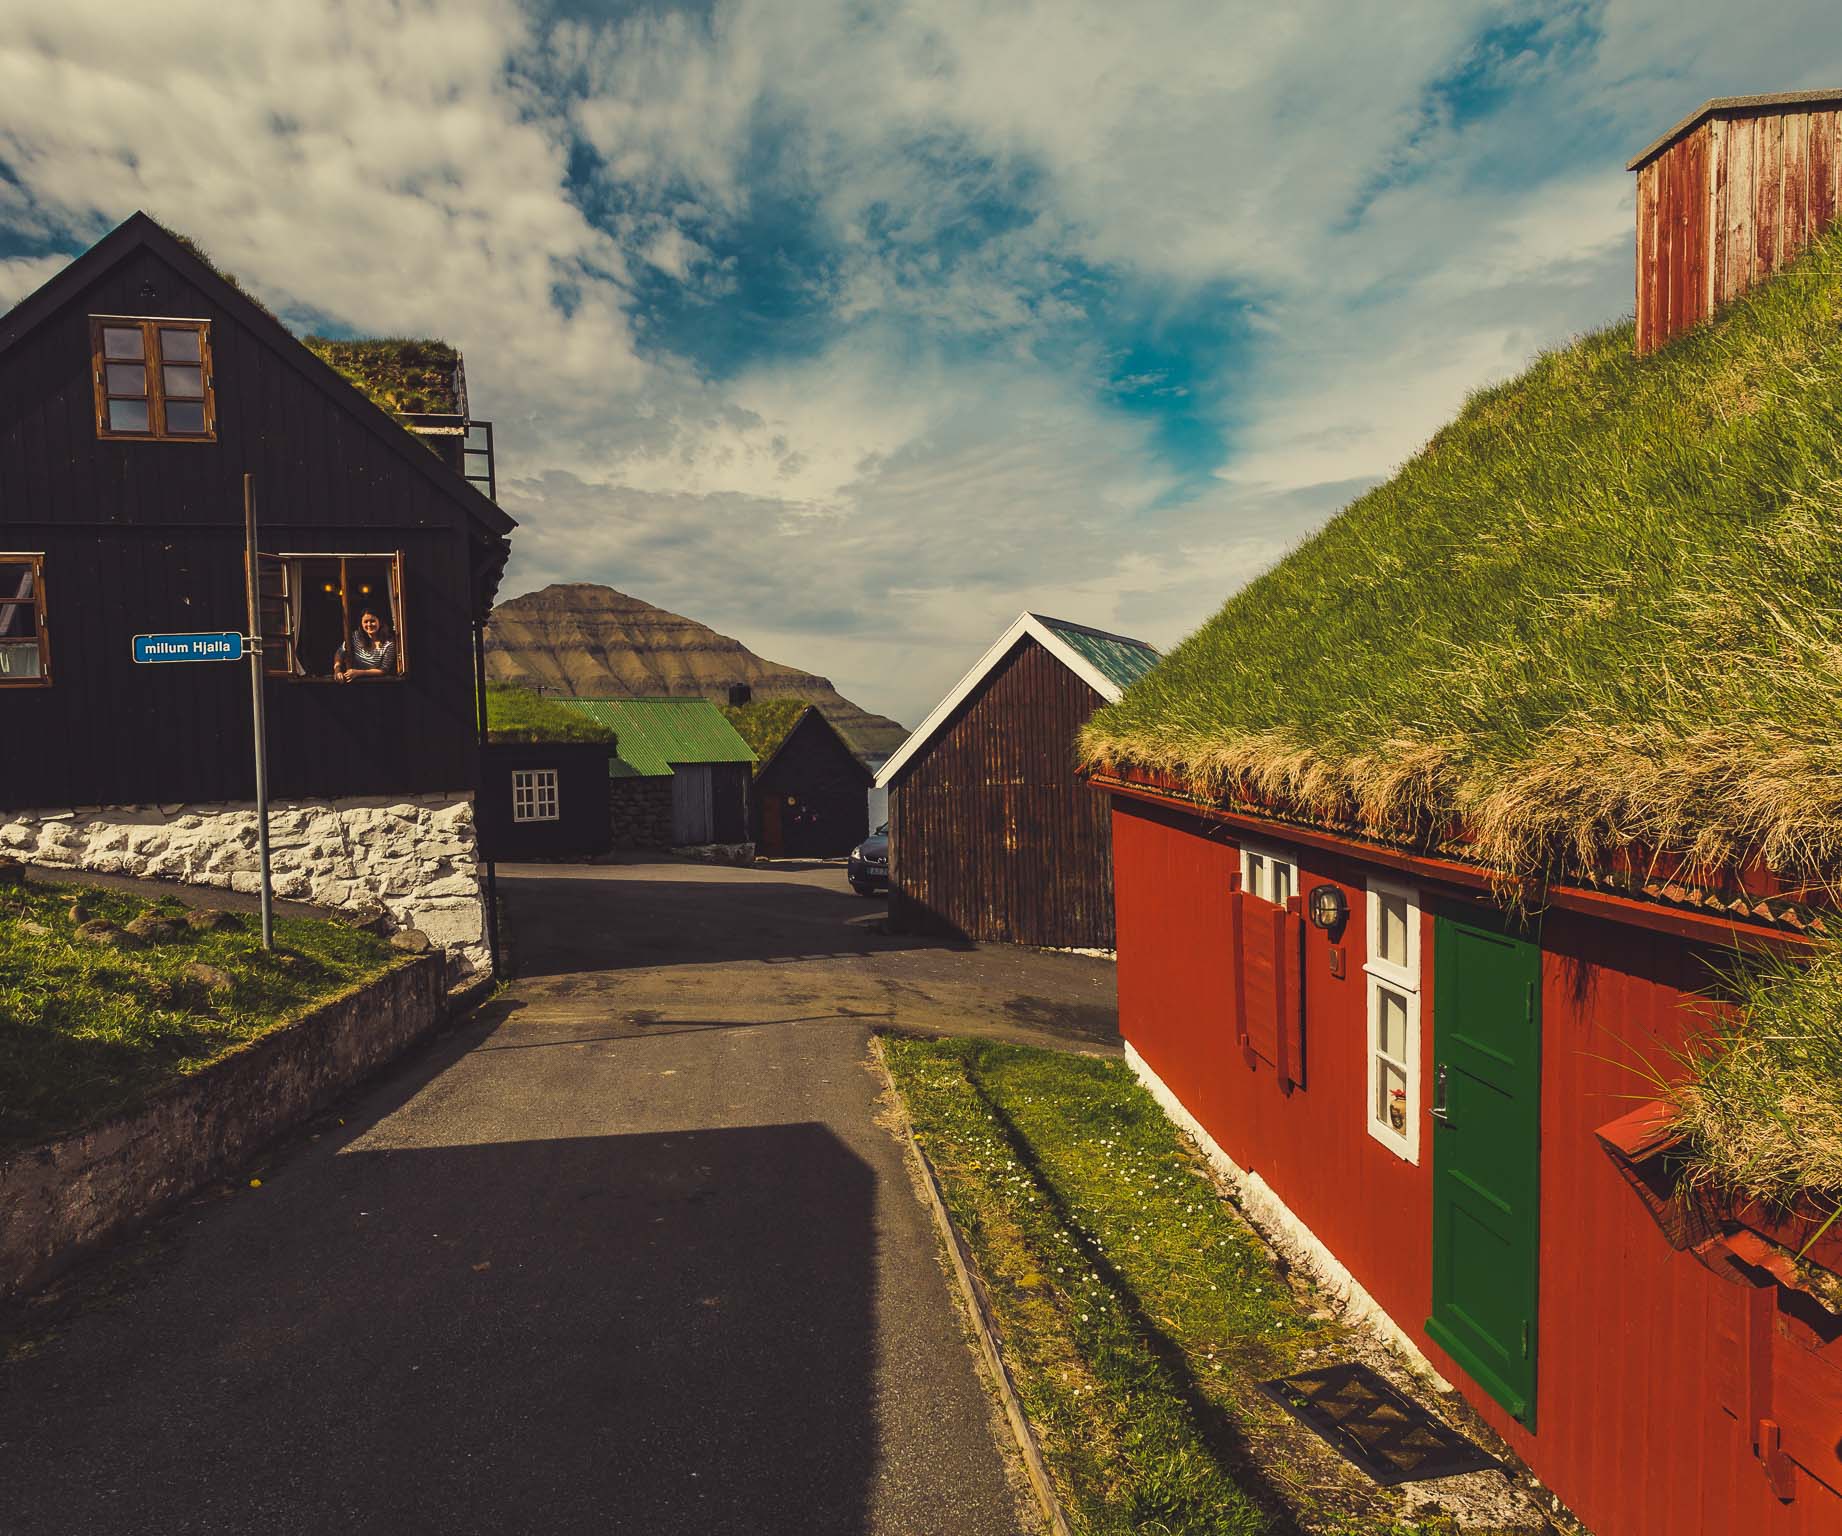
DAY 1 Elduvik
Elduvík is located in the Funningsfjørður-inlet on Eysturoy's northeast side. The village which has a population of 23 is split into two parts by a small river. The church in Elduvík dates from 1952. Visible from Elduvík is the nearby island of Kalsoy.
This was our base for two nights to explore the best landscape spots within 30 minutes drive. Our accomodation was in a grass roofed house and built over 200 hundreds years ago. With recent renovations of the property it was very comfortable as seen in the pictures above. Click the image to see a slideshow.
Funningsfjørður is a village located at the end of a fjord of the same name. It was founded in 1812 and has since 2005 been part of the municipality of Runavík. From Elduvik its a quick 15 minute drive and on the way to other key locations 30 minutes away.

Eiði is a village located on the north-west tip of Eysturoy, Faroe Islands. Its name means isthmus in the Faroese language. The town has a population of 669 inhabitants.
Eiði was settled by Vikings in the 9th century AD. Just outside the village you can capture some great vantage points for a spectacular sunset. The drive into the valley is equally as spellbinding.

Gjógv is a village located on the northeast tip of the island of Eysturoy, in the Faroe Islands and 63 km north by road from the capital of Tórshavn.
If you are driving to Eidi you might as well have a quick look as it's only a 15 minute detour on the way back to Funingur.

Gjogv at midnight in summer.
The drive into Eiði before sunset was surreal with the clouds hanging low over Eiði lake. The sheep were extremely friendly and posed nicely for a sunset shot.

Eiði Lake
Day 2 Viðareiði is the northernmost settlement in the Faroe Islands and lies on the Island of Viðoy, which belongs to the Norðoyar Region. From Elduvik it takes about an hour driving through various under ground tunnels that connect the islands.
Viðareidis church is a stone church in Viðareiði built in 1892. It is beautifully situated, overlooking the sea and towards Enniberg and Kunoyarnakkur.
Despite not being able to see these two points because of cloud and fog cover the atmosphere of the area was eerie and calming. Calming because of the low tide and eerie because of the cloud and fog. The green grass is lush and has deep tones of dark olive.

There are more sheep (70K) than people living on the islands. Since most islands are treeless and are elongated in shape, most roads run along the perimeter. You are never more than 5km to the nearest shoreline.
It's main industry is Salmon Fish Farms which can be seen dotted everywhere. Lamb is also the main industry and all other food products are flown in daily from Denmark. At the local supermarket you find lots of fresh fruit and vegetables.
Another fun fact about the sheep is their clever use as a tourist campaign to join forces with google maps. Attaching cameras to their backs we are now able to get some unique street and mountain views.

On the way back to Elduvik we passed Hvannasund a village located on the west coast of the island of Viðoy. It faces Norðdepil on Borðoy. The villages are connected to each other by a causeway where the image above was taken.
There are no traffic lights in the tunnels so when crossing over islands you might have one lane. Within the tunnels there are spots you can pull into while a car drives past. The capital of Torshavn has 3 traffic lights as this is where most people live (21K).

Day 3 Torshavn
Tórshavn, on Streymoy Island, is the capital city of the Faroe Islands. It's known for its old town, Tinganes, crammed with wooden turf-roofed houses on a small peninsula. When the roof meets the ground level sheep are used to mow the lawn. Staying in one of the these houses is a great experience when visiting the Faroes.

Old Town in Torshavn
On the 1st of June we happened to be in town for Cultural Night. All shops open till 11pm and many food stalls line the streets in festive ambience of community. Music is a big part of Faroese culture with many bands and indie artists performing at various venues.
We stumbled upon a local talent called Jasmine at the Sirkus Bar. Our accomodation owned by a famous fashion designer called Gudrun & Gudrun was stylish and comfortable with a relaxing view of a small port in front of the cottage.
Fog seemed to be engulfing the town for most of our stay as we heard fog horns blowing for most of the early morning.
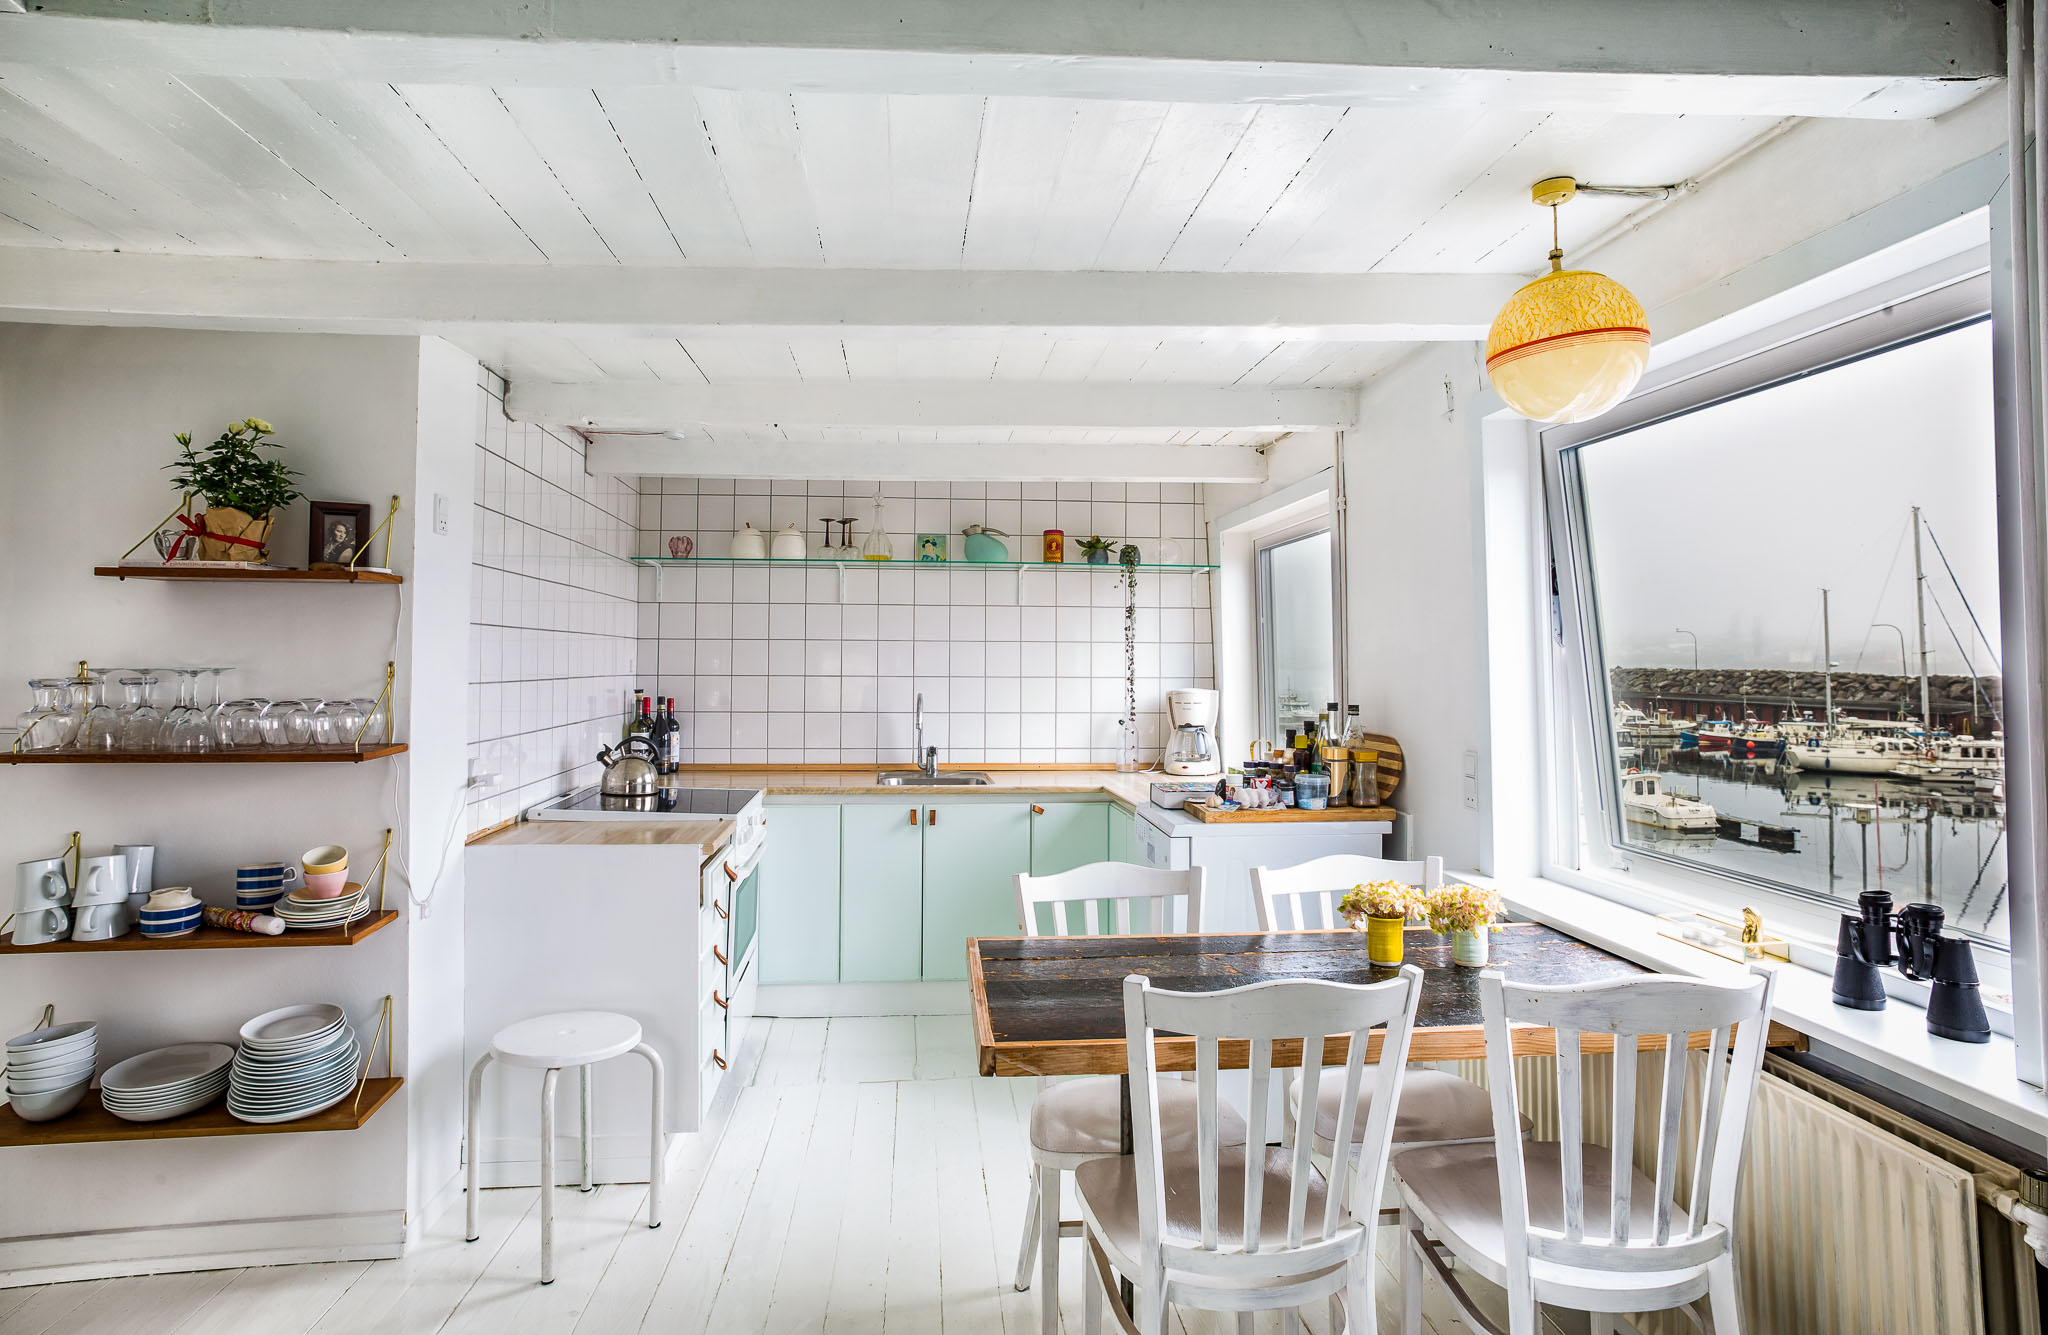
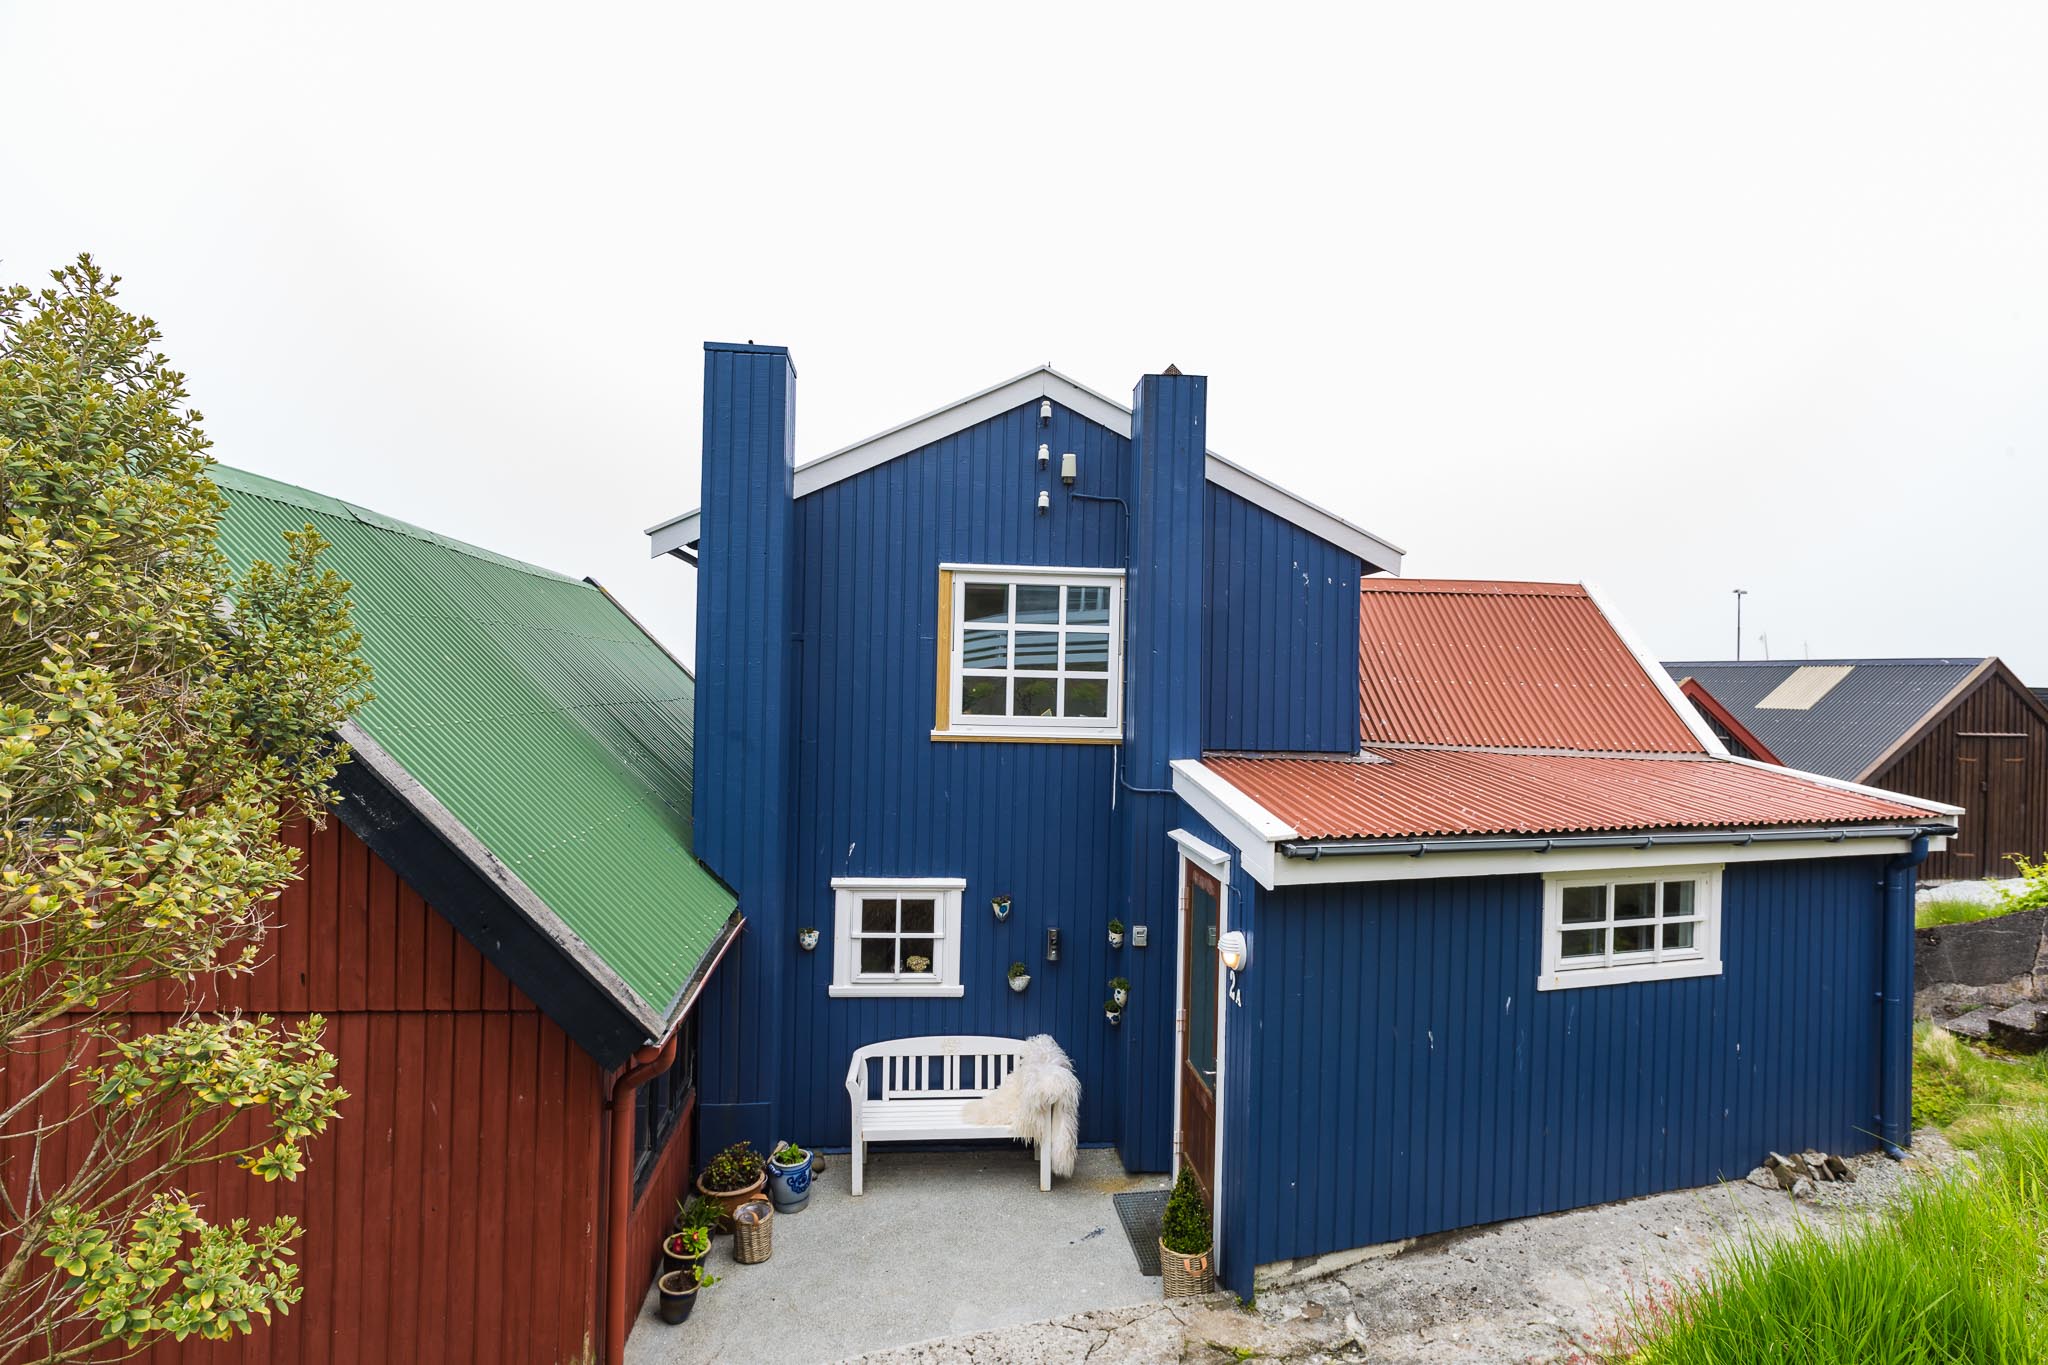
The Faroe Islands may not be an independent country, but it still has one of the oldest Parliaments in the world. Tinganes, where parliament first met in the 9th century, is probably one of the oldest parliamentary meeting places in the world that is still in use. It is also a picturesque part of the capital city, Torshavn.
Sheep are clearly a national staple, in fact, the islands’ name comes from the Viking word for sheep, but salmon is equally as important, and delicious. The local company Bakkafrost is the eighth largest salmon farming company in the world.

Torshavn Port in thick fog.
Day 4 Sandavagur
Sandavágur is a city on the south coast of the Faroese island of Vágar, and has been voted the most well-kept village in the Faroes twice. And it's the most famous city in the country, and best voted traveling experience. I stayed here the night and not quite sure if I missed something but it seemed just like any other town.
The highlight of the area is photographing what is close by. If you are looking for cascading waterfalls flowing into the ocean from cliff tops, then Gasadalur is only a 30 minute drive away. On the way there you will see the arch shaped mammoth rock and spike tops on the island next to it.
Drangarnir is the collective name for two sea stacks between the islet Tindhólmur and the island Vágar in the Faroe Islands. The individual names of the sea stacks are Stóri Drangur and Lítli Drangur.

Drangarnir
If you wish to get a closer look at Drangarnir an 8 hour return walk is needed to get to the closest cliffs. The village of Bøur is a village in the Sørvágur Municipality of the Faroe Islands, 4 km west of Sørvágur, with a population of 75 is where you can get this view.
The ferry pictured below is coming back from the island of Mykines where if you are lucky you can see puffin birds.

Drangarnir & Tindholmur
From Bøur to Gandasalur is a 10 minute drive. They have recently marked the cliff top walk to the cascading Mulafossur Waterfall to avoid accidents.
If some torrential rain has come and high tide is hitting the coastline you can get some atmospheric shots. We unfortunately had a beautiful clear blue sky day which is very rare.
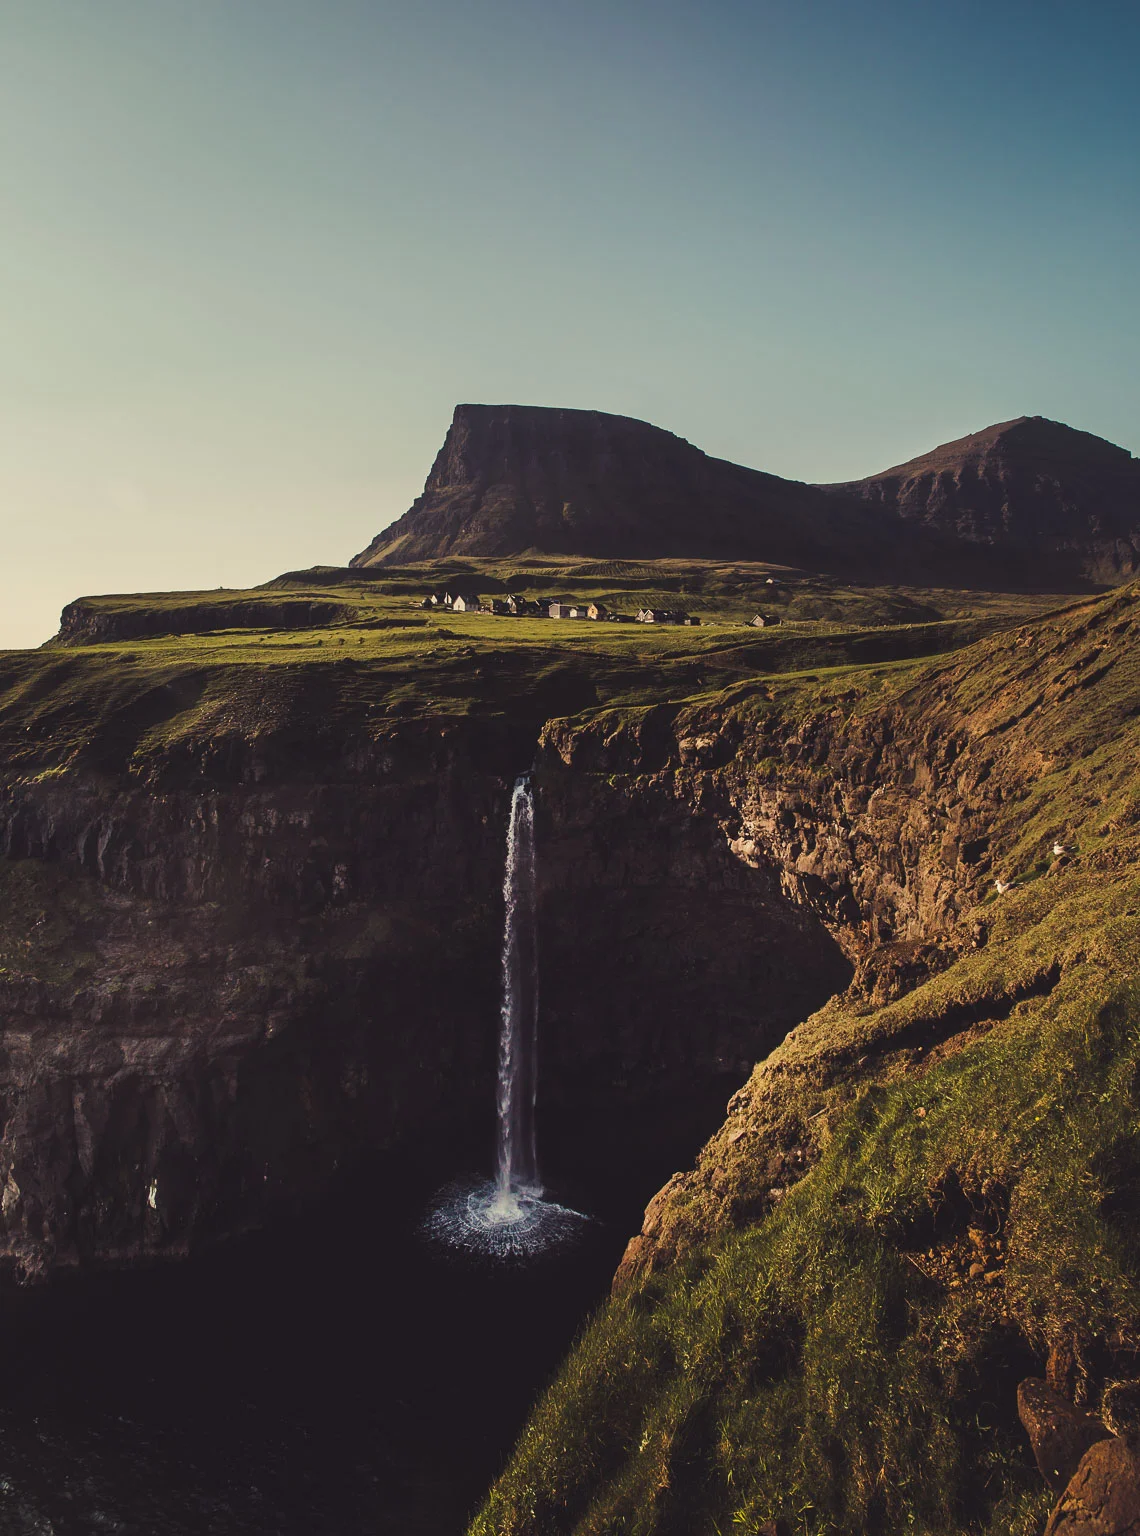
Mulafossur Waterfall

Mulafossur Waterfall
Day 5: Witches Finger
In the village of Sandavagur you can take short walk along the cliff face. On our final day on the way to the airport we crossed our fingers to hope for a break in the fog that had been covering the witches finger for 24 hours. Low and behold the for a brief moment we saw her for this quick shot.

Witches Finger
Reality VS Expectation: Unfortunately, the 4th day we attempted the 2 hour return climb to Trælanípan to view Sorvagsvatn Lake we had zero visibility with heavy fog. Despite waiting for an hour at the cliff top view this is all we saw. Have a look at this spot we missed out on from Mads Petersen video.
If you wish to join me on a photo tour please send me an email to let me know which month works best for you. If you wish to join my next photo tour, please click this link for more info.


A Photographic Guide to Hokkaido in Winter
I've recently returned from Hokkaido, Japan, where I spent a week doing research for my 2019 photo tour. The exploration took me to Biei for snowscapes and Tsurui-mura for wildlife.
A Photographic Guide to Hokkaido in Winter
I've recently returned from Hokkaido, Japan, where I spent a week doing research for my 2019 photo tour. The exploration took me to Biei for snowscapes and Tsurui-mura for wildlife.
Flying into Asahikawa from Haneda (Tokyo), it was easy to get to Biei and settle for the next 3 nights.

Sea Eagles

Red Crowned Crane Birds
Biei
Biei is a town located in Kamikawa Subprefecture, in the centre of Hokkaido. In winter it is known for its minimalist snowscapes, however most of these are on farms and most farms are private, making them difficult to access.
I found my 100-400mm lens was perfect for shooting over fences and into the fields, and this worked perfectly to get most of the shots I needed. In fact almost all my snowscapes and wildlife shots were done with this lens.

Red Crowned Crane Birds
The winter light can be soft and luminous on the best of days, but be patient when it's looking flat and dark. The light and dark tones that reveal folds in the snowscapes are key to a successful image.
When shooting subjects like this, the challenge is to find at least three points or areas on the landscape, then use them to create a harmonious balance in your frame.
Try a great leading line and a dominant focal point to rest your eyes for detail and interest.

Biei Snowscapes

Shika Deer
The subtle red fox tracks were a small detail in some shots that really added to the ambience. Atmosphere was also brought about more easily with a little wind to kick up the powder snow.
Diamond dust with the morning light was a very special capture if the conditions were perfect.

Fox Footprints
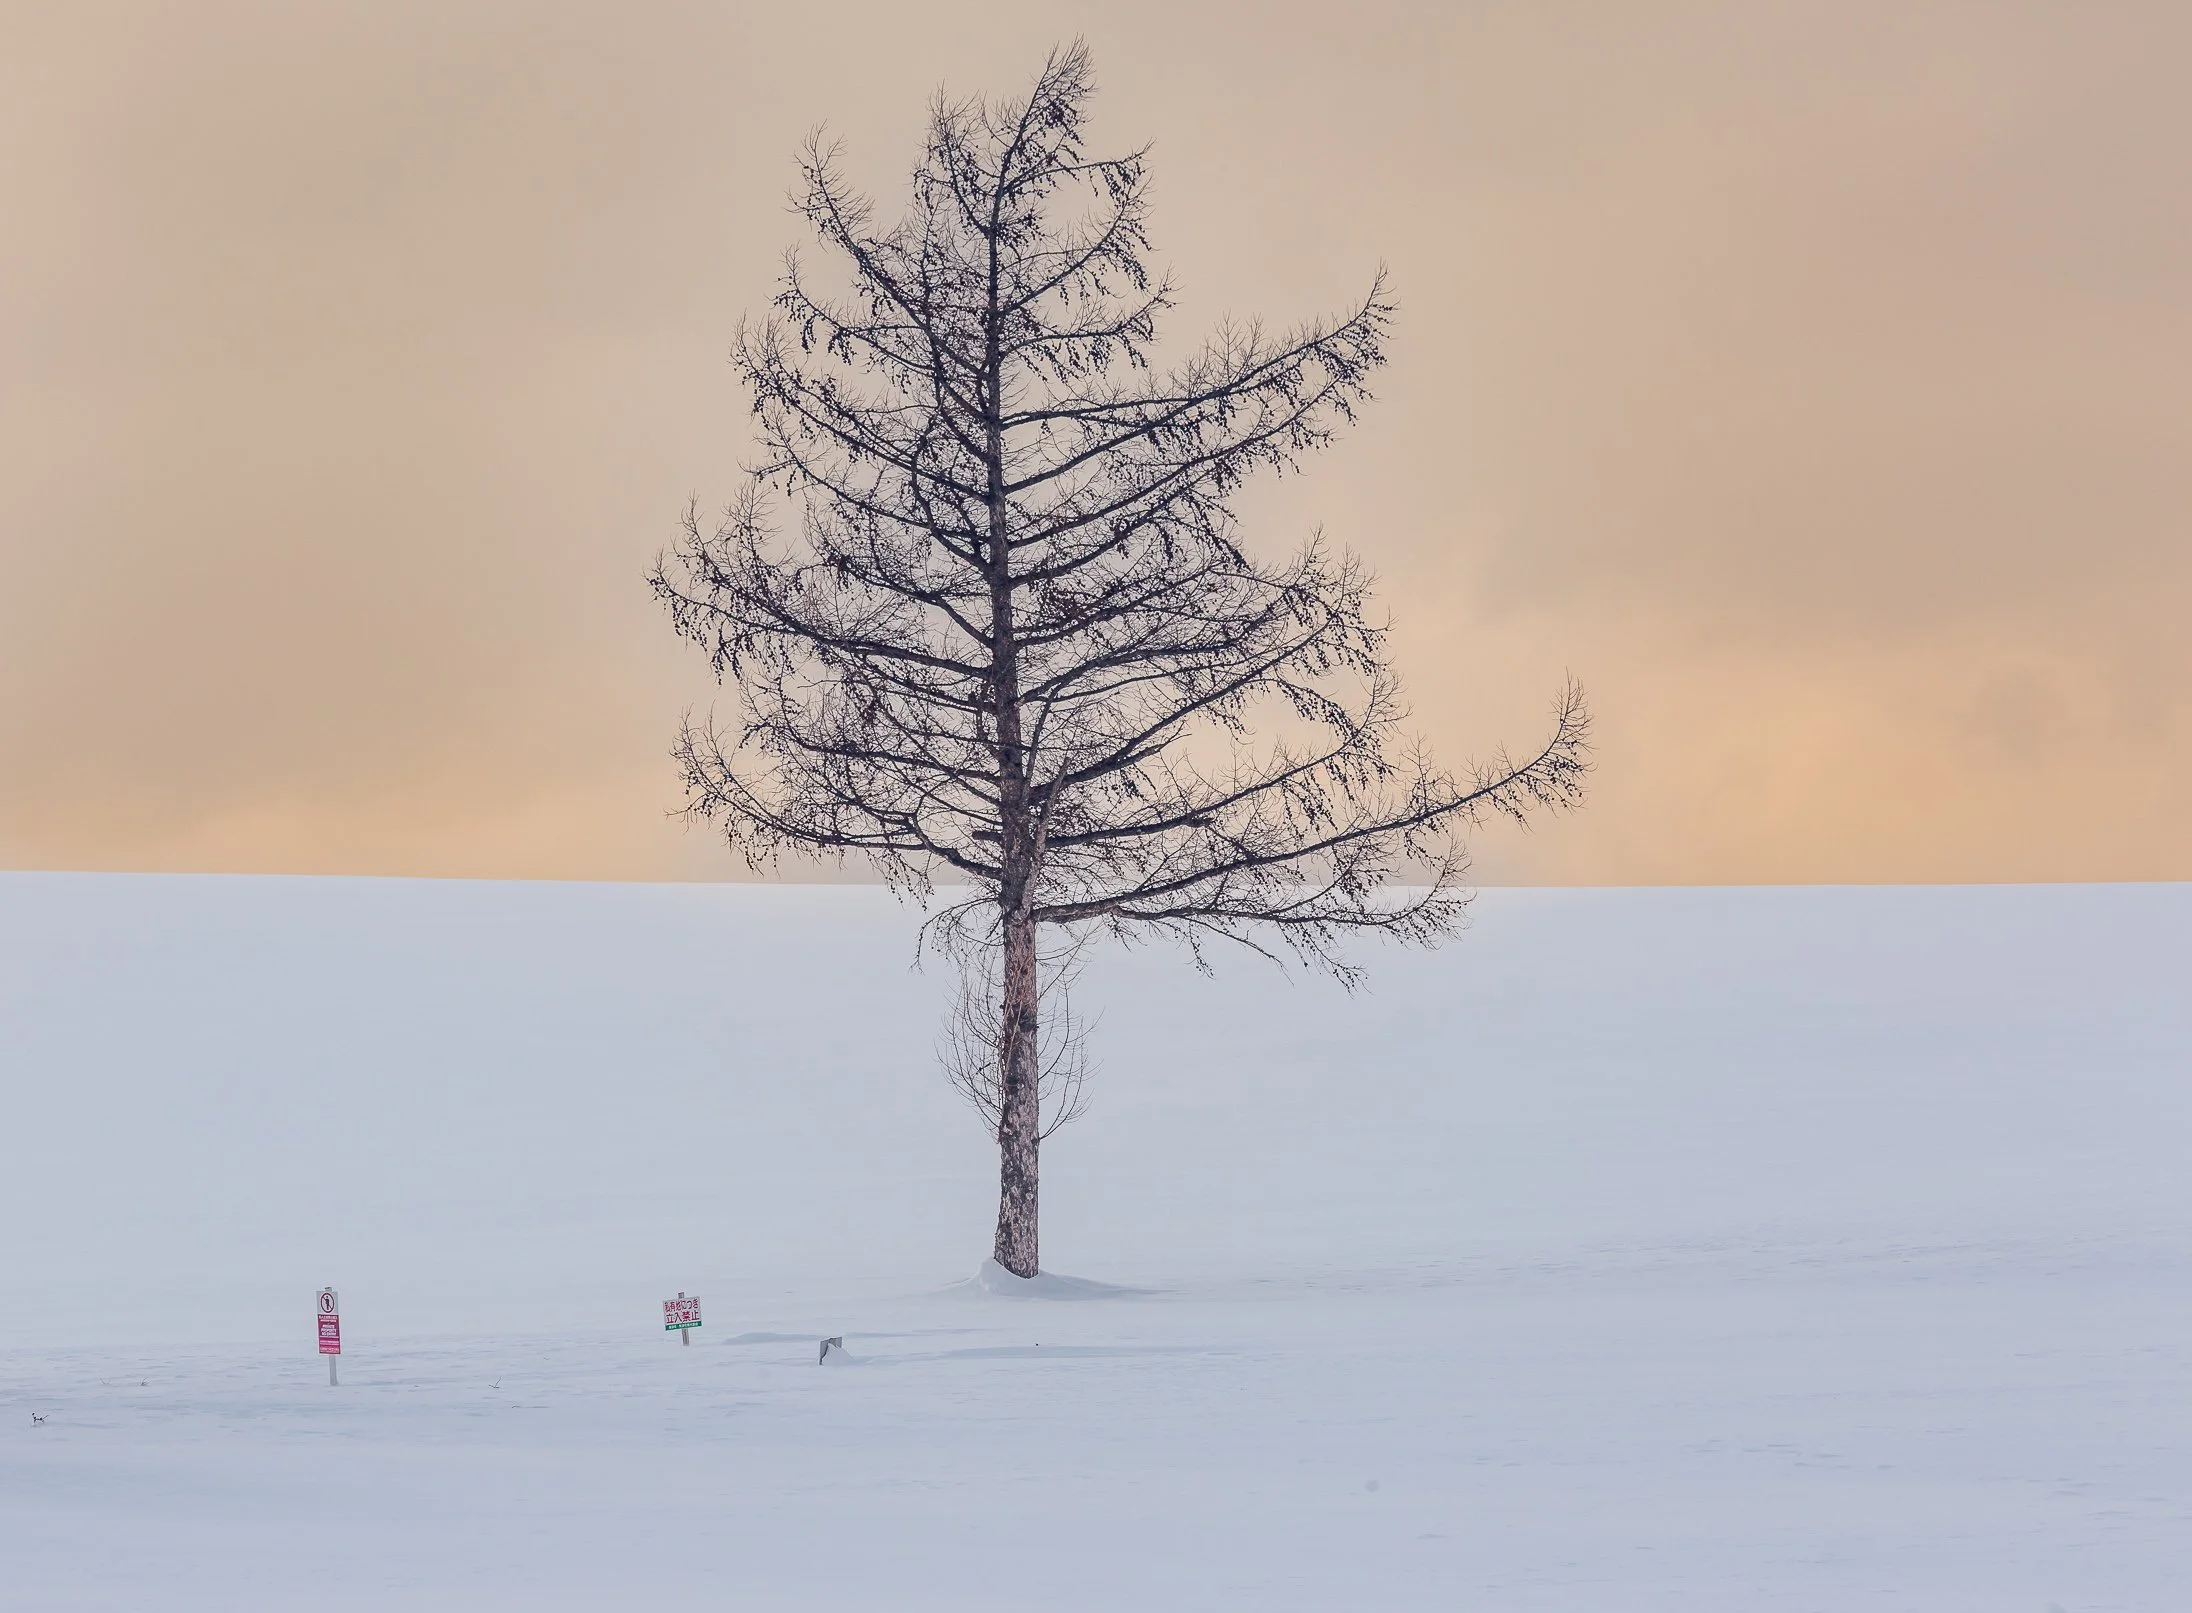
Biei Snowscapes
The white silence and purity of a clean landscape converts very nicely into black and white.
Tsurui-mura, Lake Kusharo and Rausu
For the second half of the trip I ventured to the South and North east parts of Hokkaido to visit three key areas: Tsurui-mura, Lake Kusharo and Rausu.

Ural Owls
Tsurui-mura was my base for photographing red crowned Cranes and Ural Owls. The crane sanctuary is a great spot to be at 9am and 2pm daily when they feed the birds, and every morning after sunrise they also gather on a river nearby.
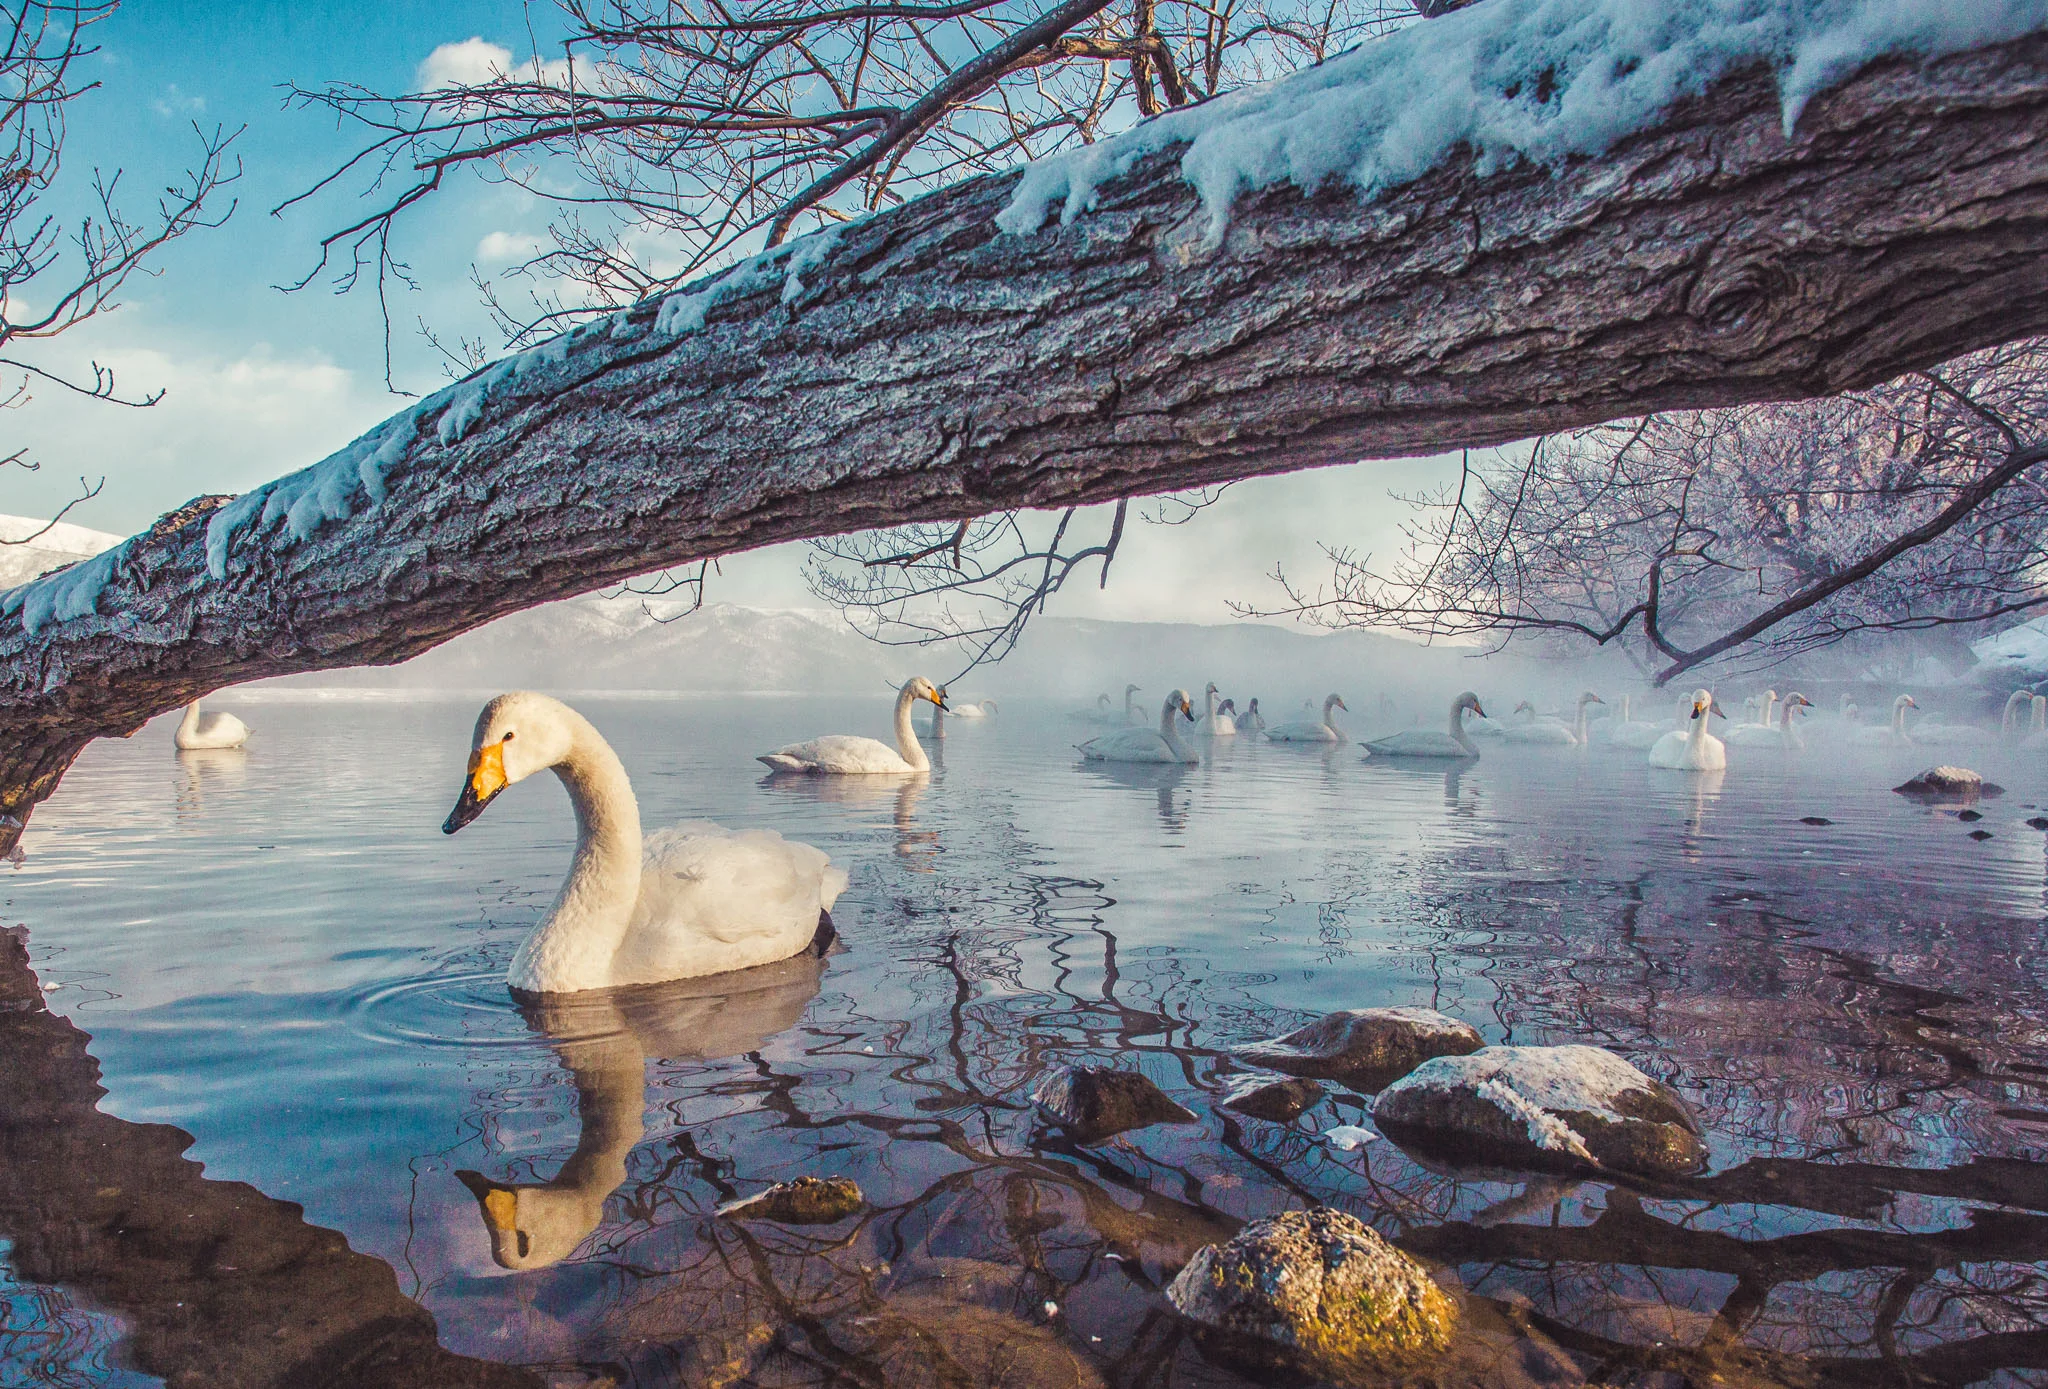
Whopper Swans
Be prepared for hundreds of keen photographers to be shoulder to shoulder with you and their tripods. Most will be set with an 800mm lens going trigger happy at 10 frames a second.

The cranes are in Tsurui-mura all year but most shooters love to combine the birds dancing in the snow during February.
Over the next two years however, feeding from the sanctuary will slow down to encourage the birds to be more self sufficient.

At Kusharo Lake we focused on Whooper Swans and Marsh Teet birds. A wide angle was used for most of the very friendly swans.
For the little birds a 400mm lens and a fast tracking focus mode worked wonders. Once again we were very lucky with the weather conditions, and the morning mist and fog created a dreamy atmosphere.
The iced lake and snow capped mountains were an added bonus.

For our last stop we ventured by car two hours north east to the coastal port of Rausu. Here we boarded a small cruise boat to search for sea Eagles to feed on the ice.
The Shiretoko Peninsula as seen on the long panorama shot below was stitched from 8 hand-held images.

Gear
For this trip I carried a minimalist kit - a Canon 5D Mark III, 100-400mm f4-f/5.6, and a Carl Zeiss 18mm Distagon lens. If you decide to travel at this time of year, be aware that extremely cold weather can affect your gear and you, and your feet and hands are the most important parts to protect to avoid frostbite.
Frozen Ice Patterns
For my clothing I had 3 layers for every part of my body. I bought rubber high boots with good grippy soles to avoid slipping on icy surfaces. You can also attach spikes to your boots if needed. Heat packs that last 24 hours can be purchased from most convenient stores.
They are called Hokkairo not Hokkaido. These are handy to keep your batteries warm if extremely cold. Keep your camera in your bag to keep it warm when you're not shooting.
Join Me In Hokkaido


7 Ways To Unlock Your Creativity
Let's be honest, regardless how creative you may be we all have our highs and lows. In the field of photography, creativity should be an essential part of why we started. Our passion needs to be unleashed. Here are some ways to help you unlock your creativity.

Mt. Fuji
Let's be honest, regardless how creative you may be we all have our highs and lows. In the field of photography, creativity should be an essential part of why we started. Our passion needs to be unleashed. Here are some ways to help you unlock your creativity.
Start a Project
Create regular projects for yourself until a series or cohesive body of work emerges. If you had to put together six to ten of your best images, what would they be about? Is there a narrative that you wish to express? What genre of photography are you looking to utilize? Keep a journal of your drawings or written ideas. I still have journals from years ago that I reference. The concept needs to be thought about properly. Merge your hobbies with your project. For example, I have combined my love of art, history, and culture. Why not try some new equipment or techniques for your project. You will choose between found pictures (e.g., photojournalism) and created pictures (e.g., conceptual). If you are lucky you might even be able to combine found with created pictures. Adding a composite of images in editing might lead to a series. A large part of the process is the wandering mind and experimenting.

Be Ready
Sometimes the best images are completely spontaneous. Half the skill is recognizing the special moments when they arise. Even if you don't see anything that particularly inspires you, try to get in the habit of shooting every day to improve your creative and technical skills. It takes hard work and discipline to get in the mood. Find out if you are more creative early in the morning or late at night. Set yourself some creative challenges to explore for certain elements and principles in composition (i.e., look for texture and repetition of shapes). Dreams, if you can remember them, are also a source of ideas. Salvador Dali, the surrealist painter, used to have an afternoon siesta with a paintbrush in his hand ready to paint.
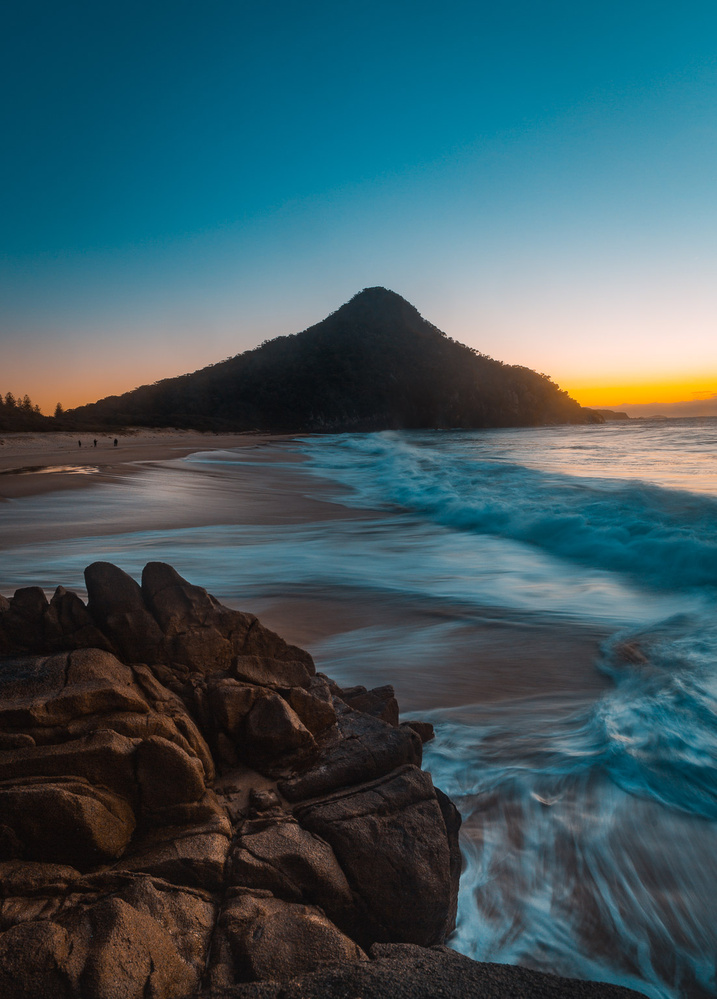
Pre-Visualize
What do you have to do to turn your idea into reality? What are the challenges and how can you solve them? Collect reference material. I enjoy using Pinterest to create my own mood boards for possible projects. I love to explore different styles of painting and periods of art. For example, I enjoy dark and moody landscapes that have a melancholic feel. English Painter Sidney Richard Percy depicts what I am drawn to. Also, I often use three books to check on photography and art: "The Art Book" by Phaidon Press, "The 20th Century Art Book," and "The Photography Book." Even though some of you may not have an interest in art, you have to admire a painter's ability to capture light and master composition.

Change Your Perspective
I am glad I have not deleted some old photos to edit them again differently. Travel is a great way to stimulate your creativity. Visiting a new country, eating something bizarre, or learning a new language are all simple steps to re-wire new pathways. Experiencing a new culture and interacting with locals will surely give you a fresh perspective on life. In Claire Rosen's book "Imaginarium" she talks about divergent thinking and concepts that can come from a place, a person, an object, or an event to name a few. Be playful with your ideas and try not to think too literal. Comedian Robin Williams showed how this works best at 3:10 in this video.

Shoot Less, Shoot Better
Shoot without looking at the preview, this will force you to be in the moment. This will also force you to concentrate more on your idea and not on technical data. Also, try to imagine that each shot is precious. If you slow down and think about what you're doing, the number of images you shoot might go down, but the quality of your images will almost certainly go up. Turn off your preview mode while you are shooting a short 10-20 minute challenge. If you still have a film camera why not shoot a roll or two. Set yourself a timeline to work through this exercise to brainstorm ideas. When editing your best shots look at them once to avoid being indecisive and being too self-critical. Go with your gut feeling and intuition to make quick choice.

Trust
The only person you need to please is yourself. Don’t let anyone tell you how or what to shoot. Once you have an idea, follow it though to its conclusion. If there is someone else you trust and value their opinion, why not bounce your ideas off them? Collaborate with other artists who understand what you are trying to visually communicate. De-construct your ideas for time and budget. Sometimes I feel a need to gain more skills in Photoshop as a digital artist. Other times, I may need more experience lighting subjects to convey an emotion I am not achieving. The whole journey of discovery takes time, patience, and perseverance.

Understand Yourself
This seems like a logical step but it is one that is often overlooked. To get a basic understanding of psychology I often read from experts like Jeremy Dean who focuses many of his articles on creativity. Over the last 20 years of using photography as a medium of my self-expression, it has been very gratifying to tap into my past as a source of inspiration. I think of photography like a window to my subconscious memories. The end goal is to grow as a photographer and develop your skills and style to express yourself. Regardless of the outcomes, I always find it a very healthy experience. Have you got other ways to get you ready for creativity?